Ravioli Casserole…

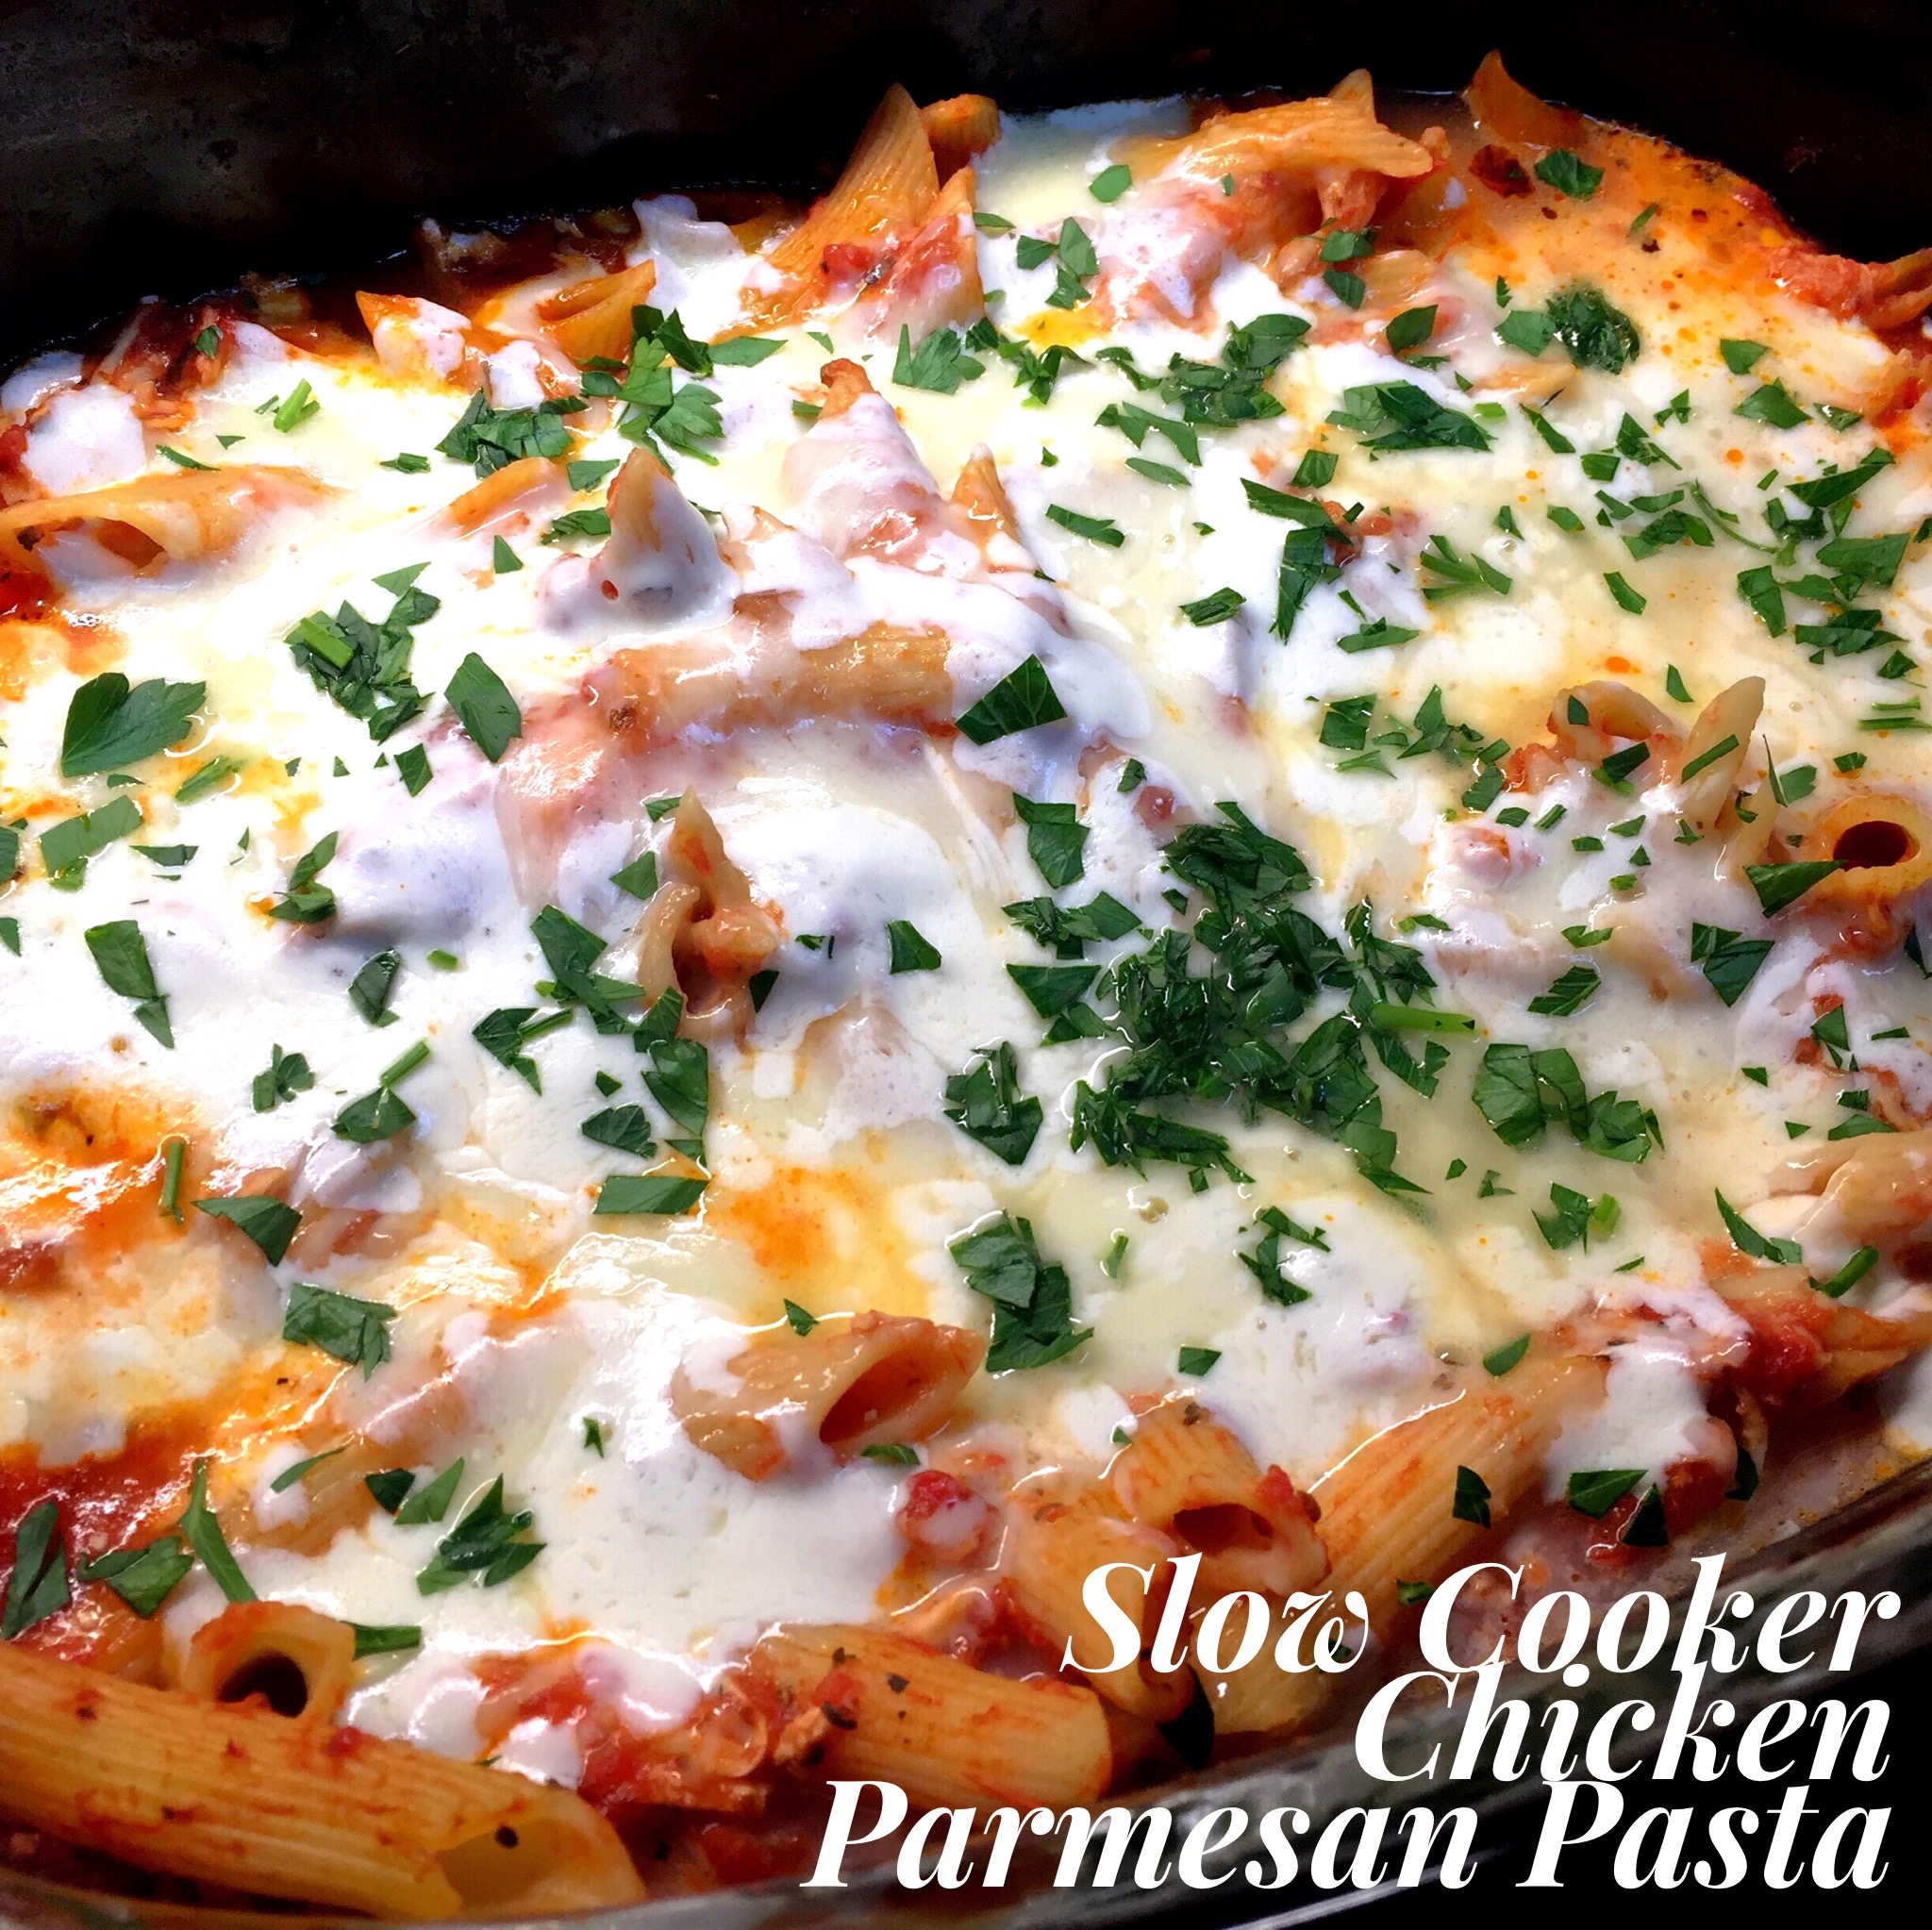
Lately I found myself buying store bought food and doctoring it up. It’s a great way to get a quick meal on the table but with some fresh flavors you don’t often find in simple store bought food. This time I decided to take a package of chicken and mozzarella stuffed ravioli and create a casserole that was simply fabulous. I posted a couple of pictures online and got several requests to post the recipe. So here goes…

Lesson Learned 1 – Use a gourmet ravioli: Although the regular type ravioli (like Butoni) is fine, the type of ravioli I used was much bigger and more flavorful. I used a 9 ounce package of chicken and mozzarella stuffed ravioli that I bought at my local grocery store. 

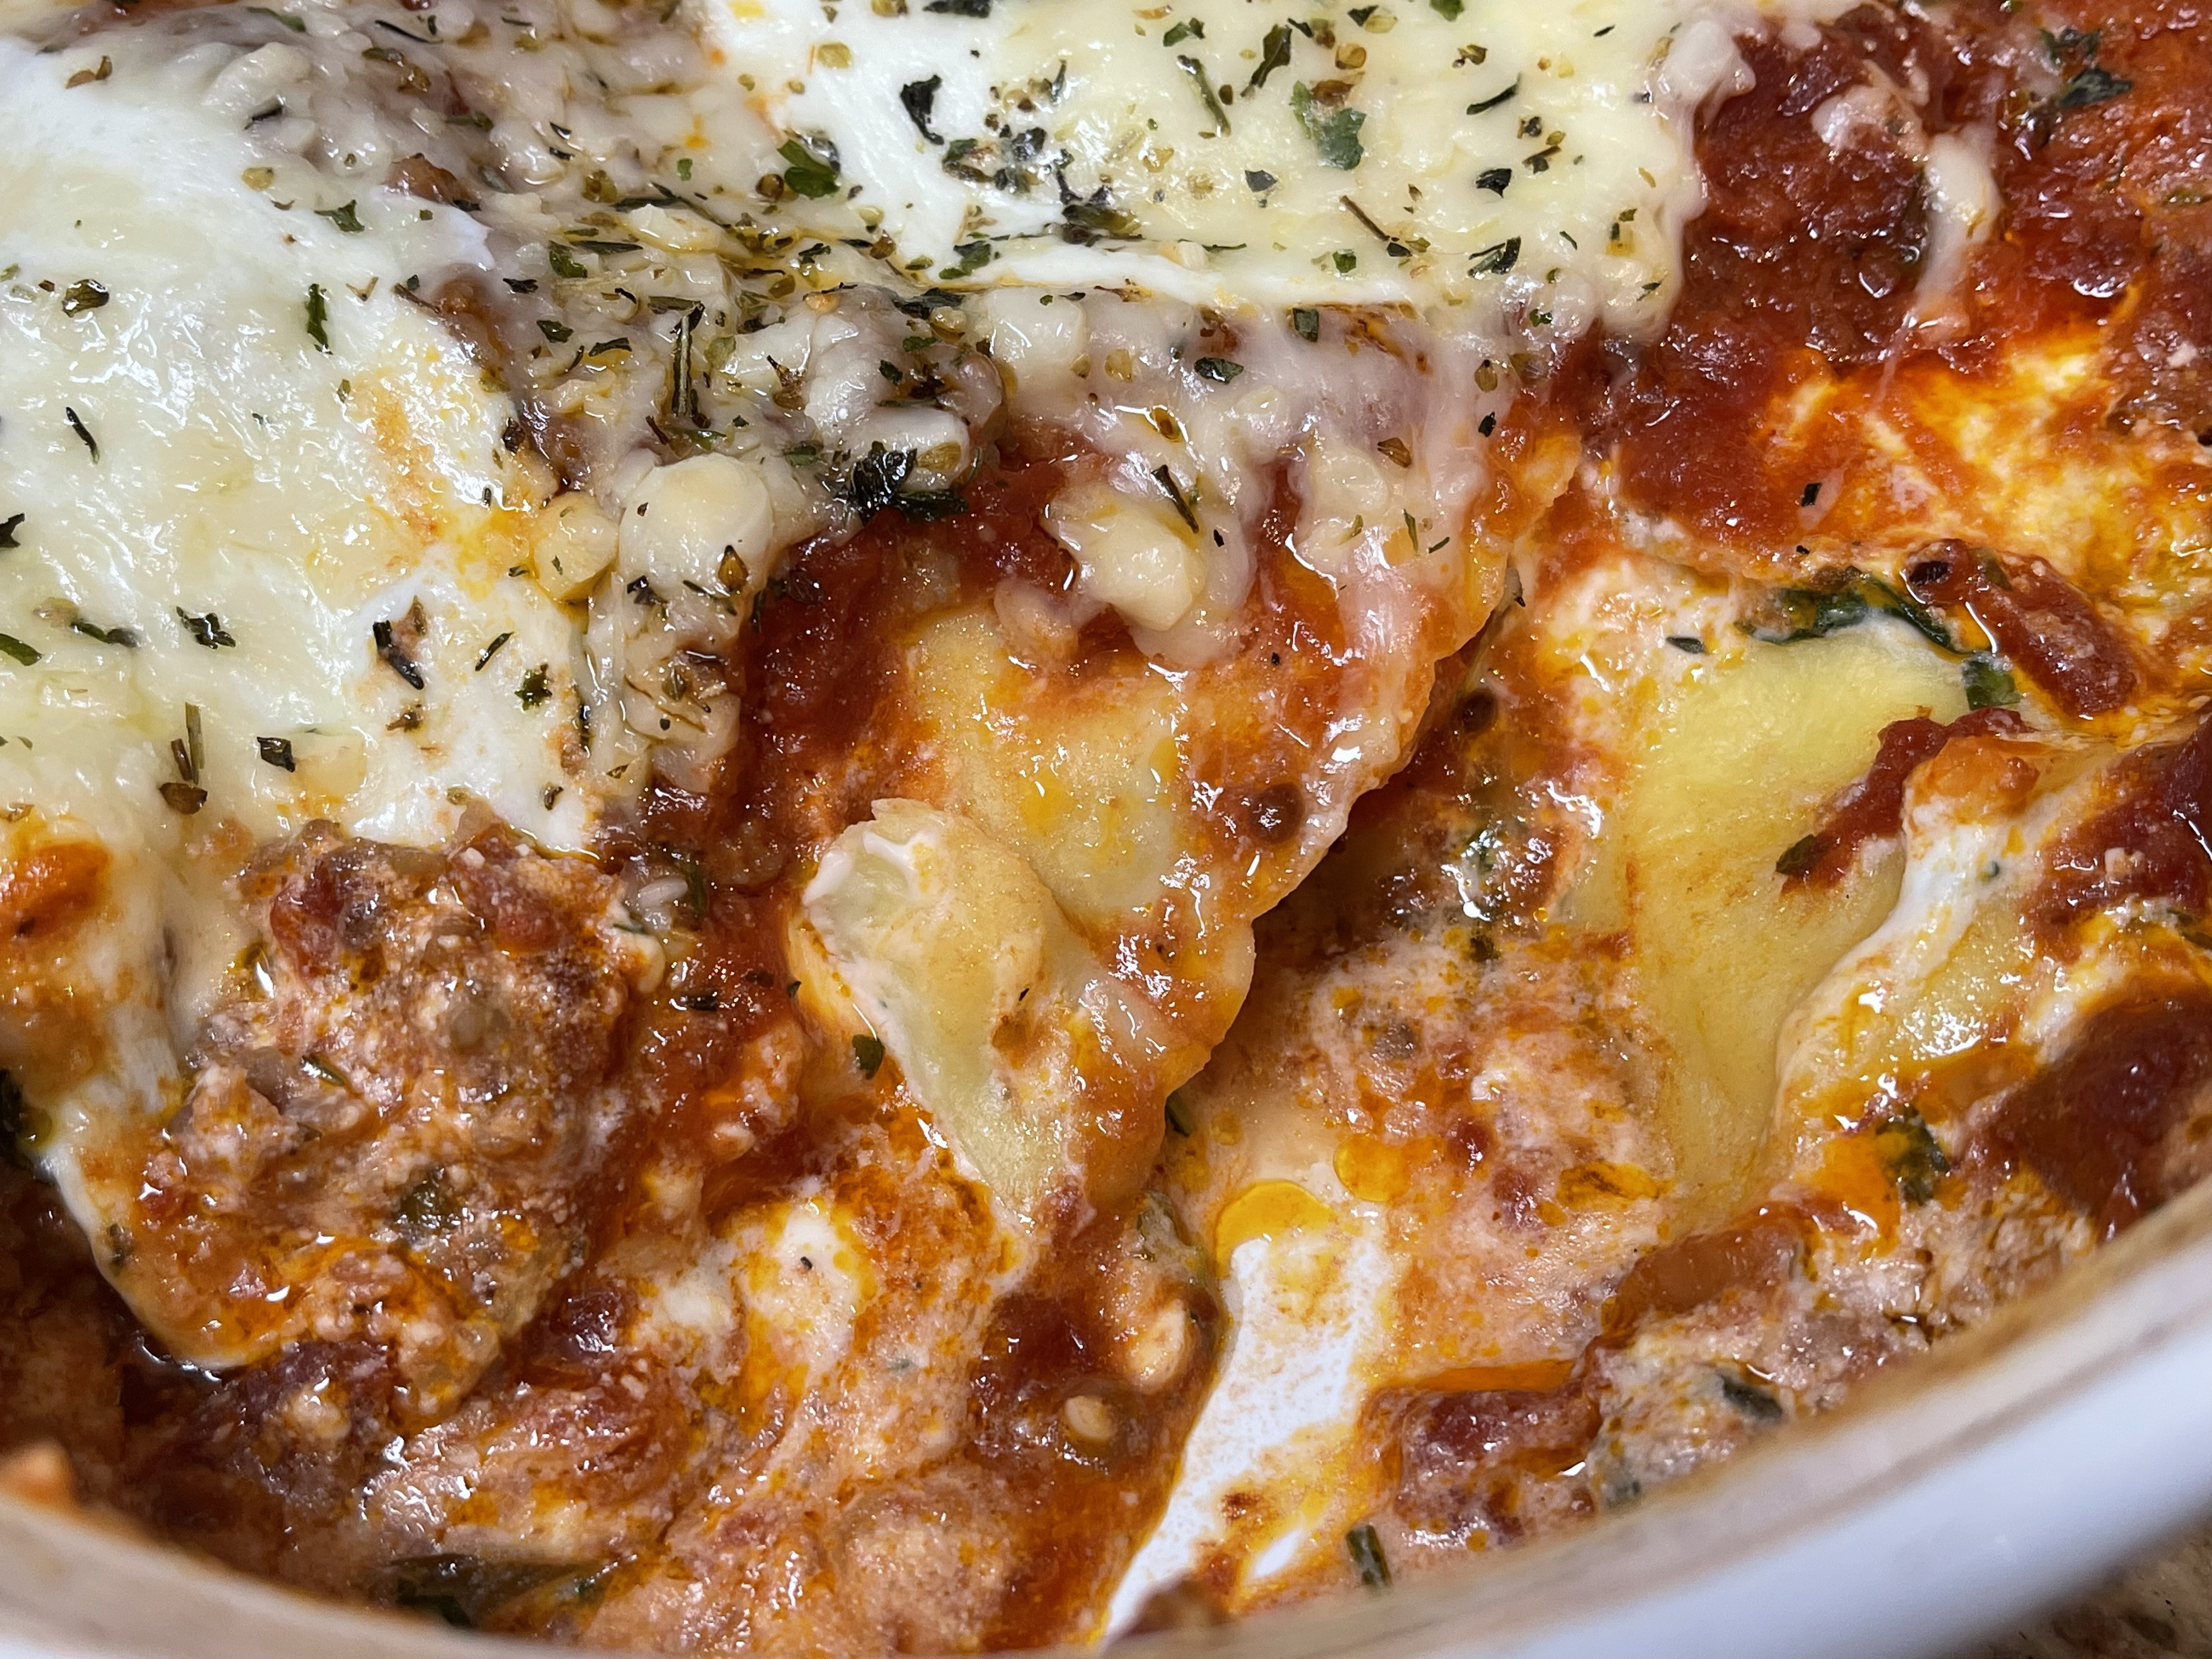
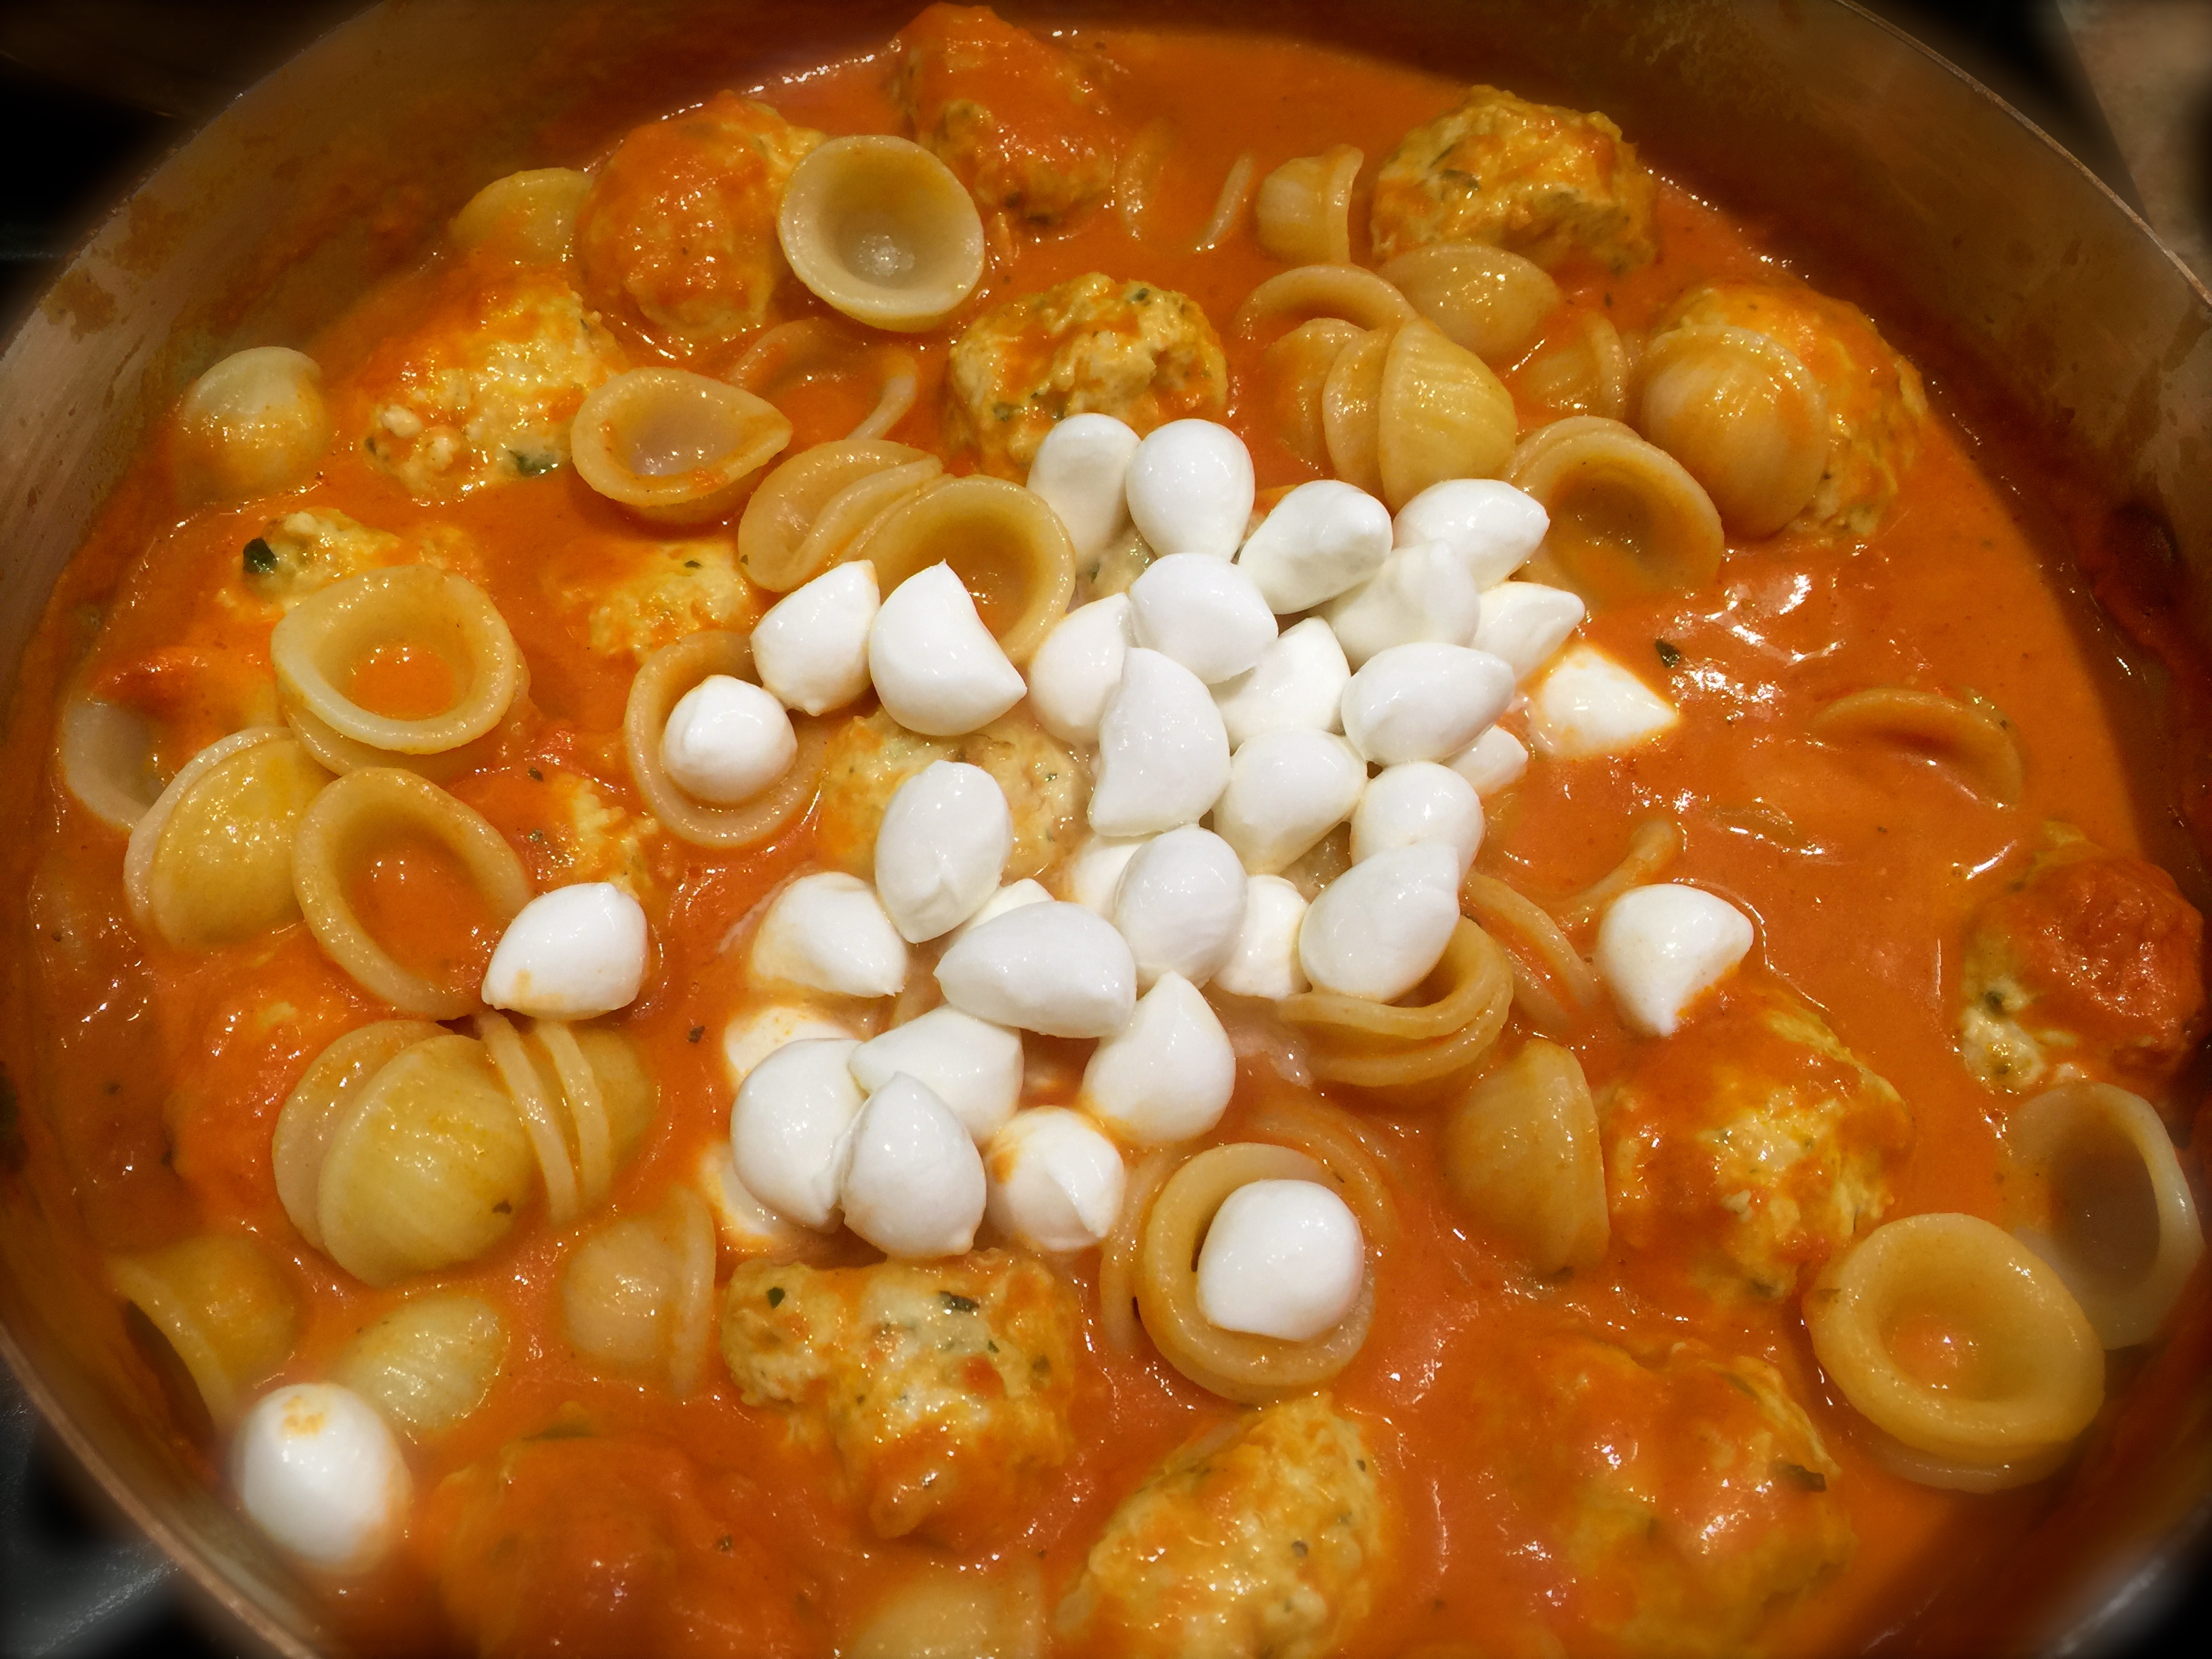
Lesson Learned 2 – Don’t be afraid to experiment: I found a basic ravioli casserole recipe online and then added some additional agreements. Case in point, the recipe I used call for a 1/2 cup of cottage cheese. I substituted a half cup of whole milk ricotta. The ricotta/cream cheese mixture turned out divine and much better, at least in my estimation, by using the ricotta instead of the cottage cheese. But if all you have on hand is cottage cheese, use it. I also added some Italian seasoning both to the ravioli mixture and then on top of the casserole. And I cooked up some sweet Italian sausage and added it to the marinara sauce. I also added the mozzarella slices on top and that created a great gooey consistency to the casserole. So go ahead, be brave. It is so worth it. 

Lesson Learned 3 – Grate your own parmesan: Again, if you can, buy parmesan by the brick and grate it in your food processor. The texture and flavor is so much better.

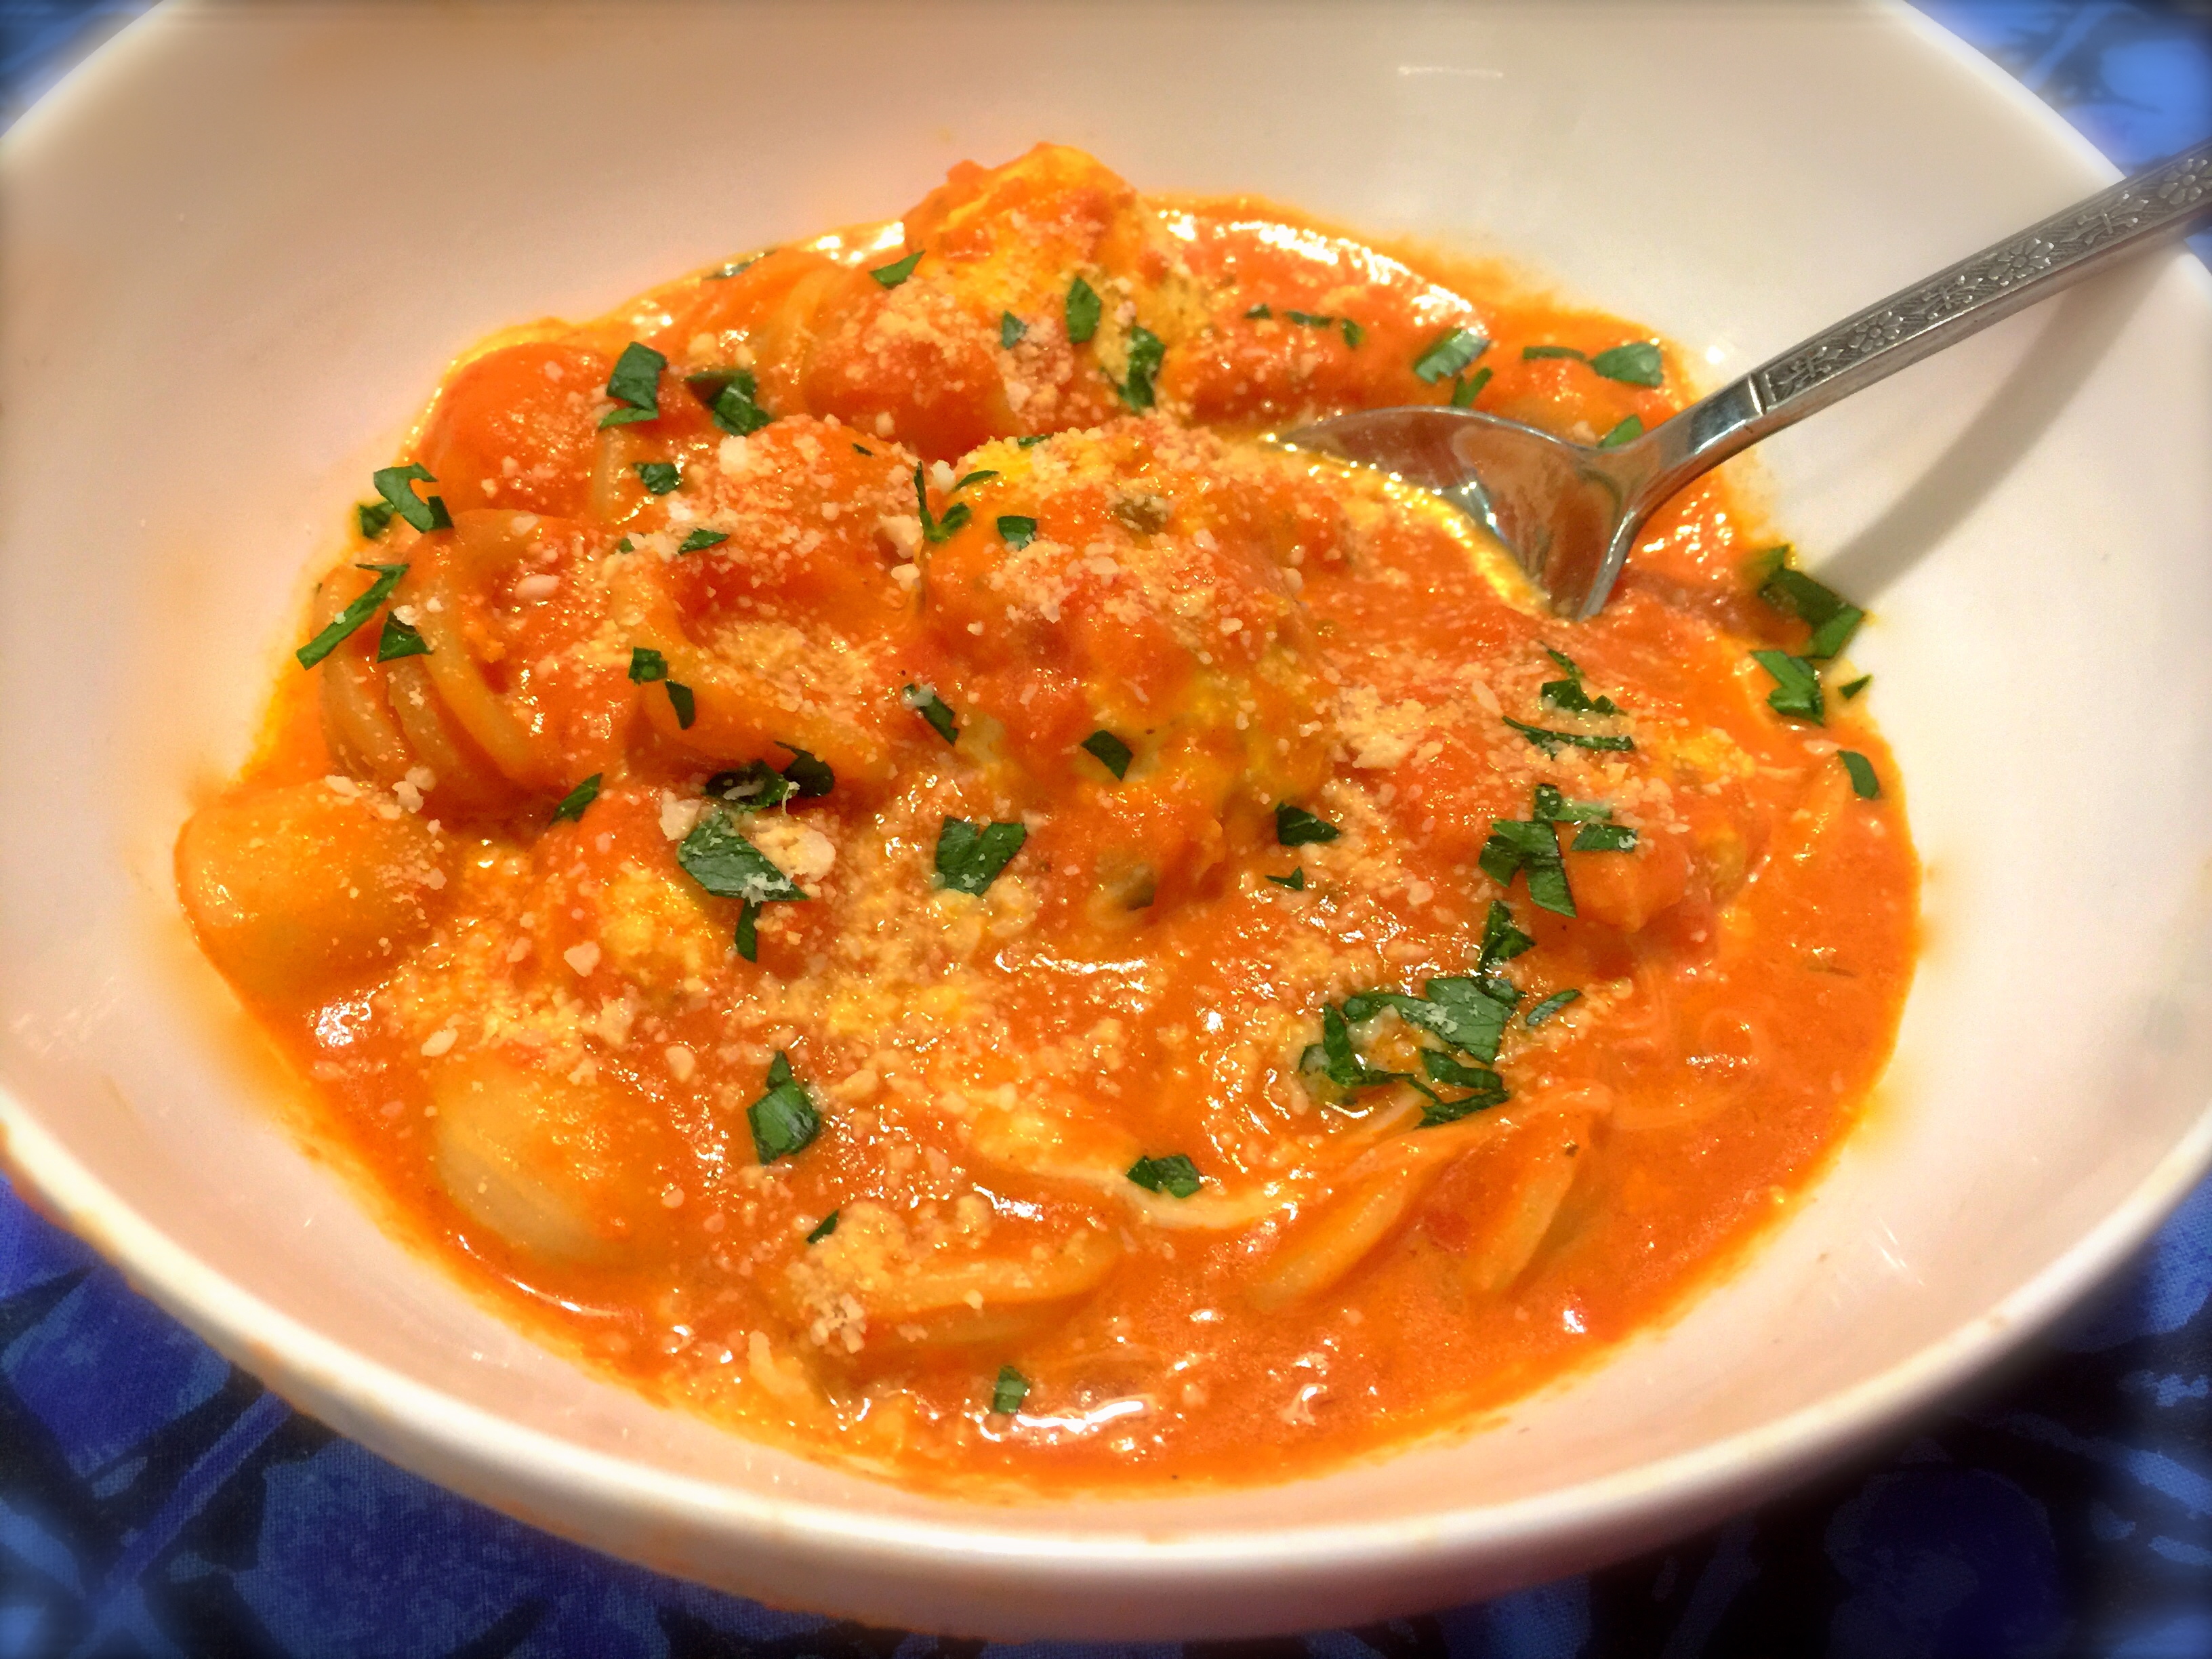
I was so pleased with how this turned out. I hope you try this recipe. I know you will love it.

Ravioli Casserole...

  • Servings: 6
  • Difficulty: Easy
  • Print

INGREDIENTS:

1/2 pound sweet Italian sausage, cooked 

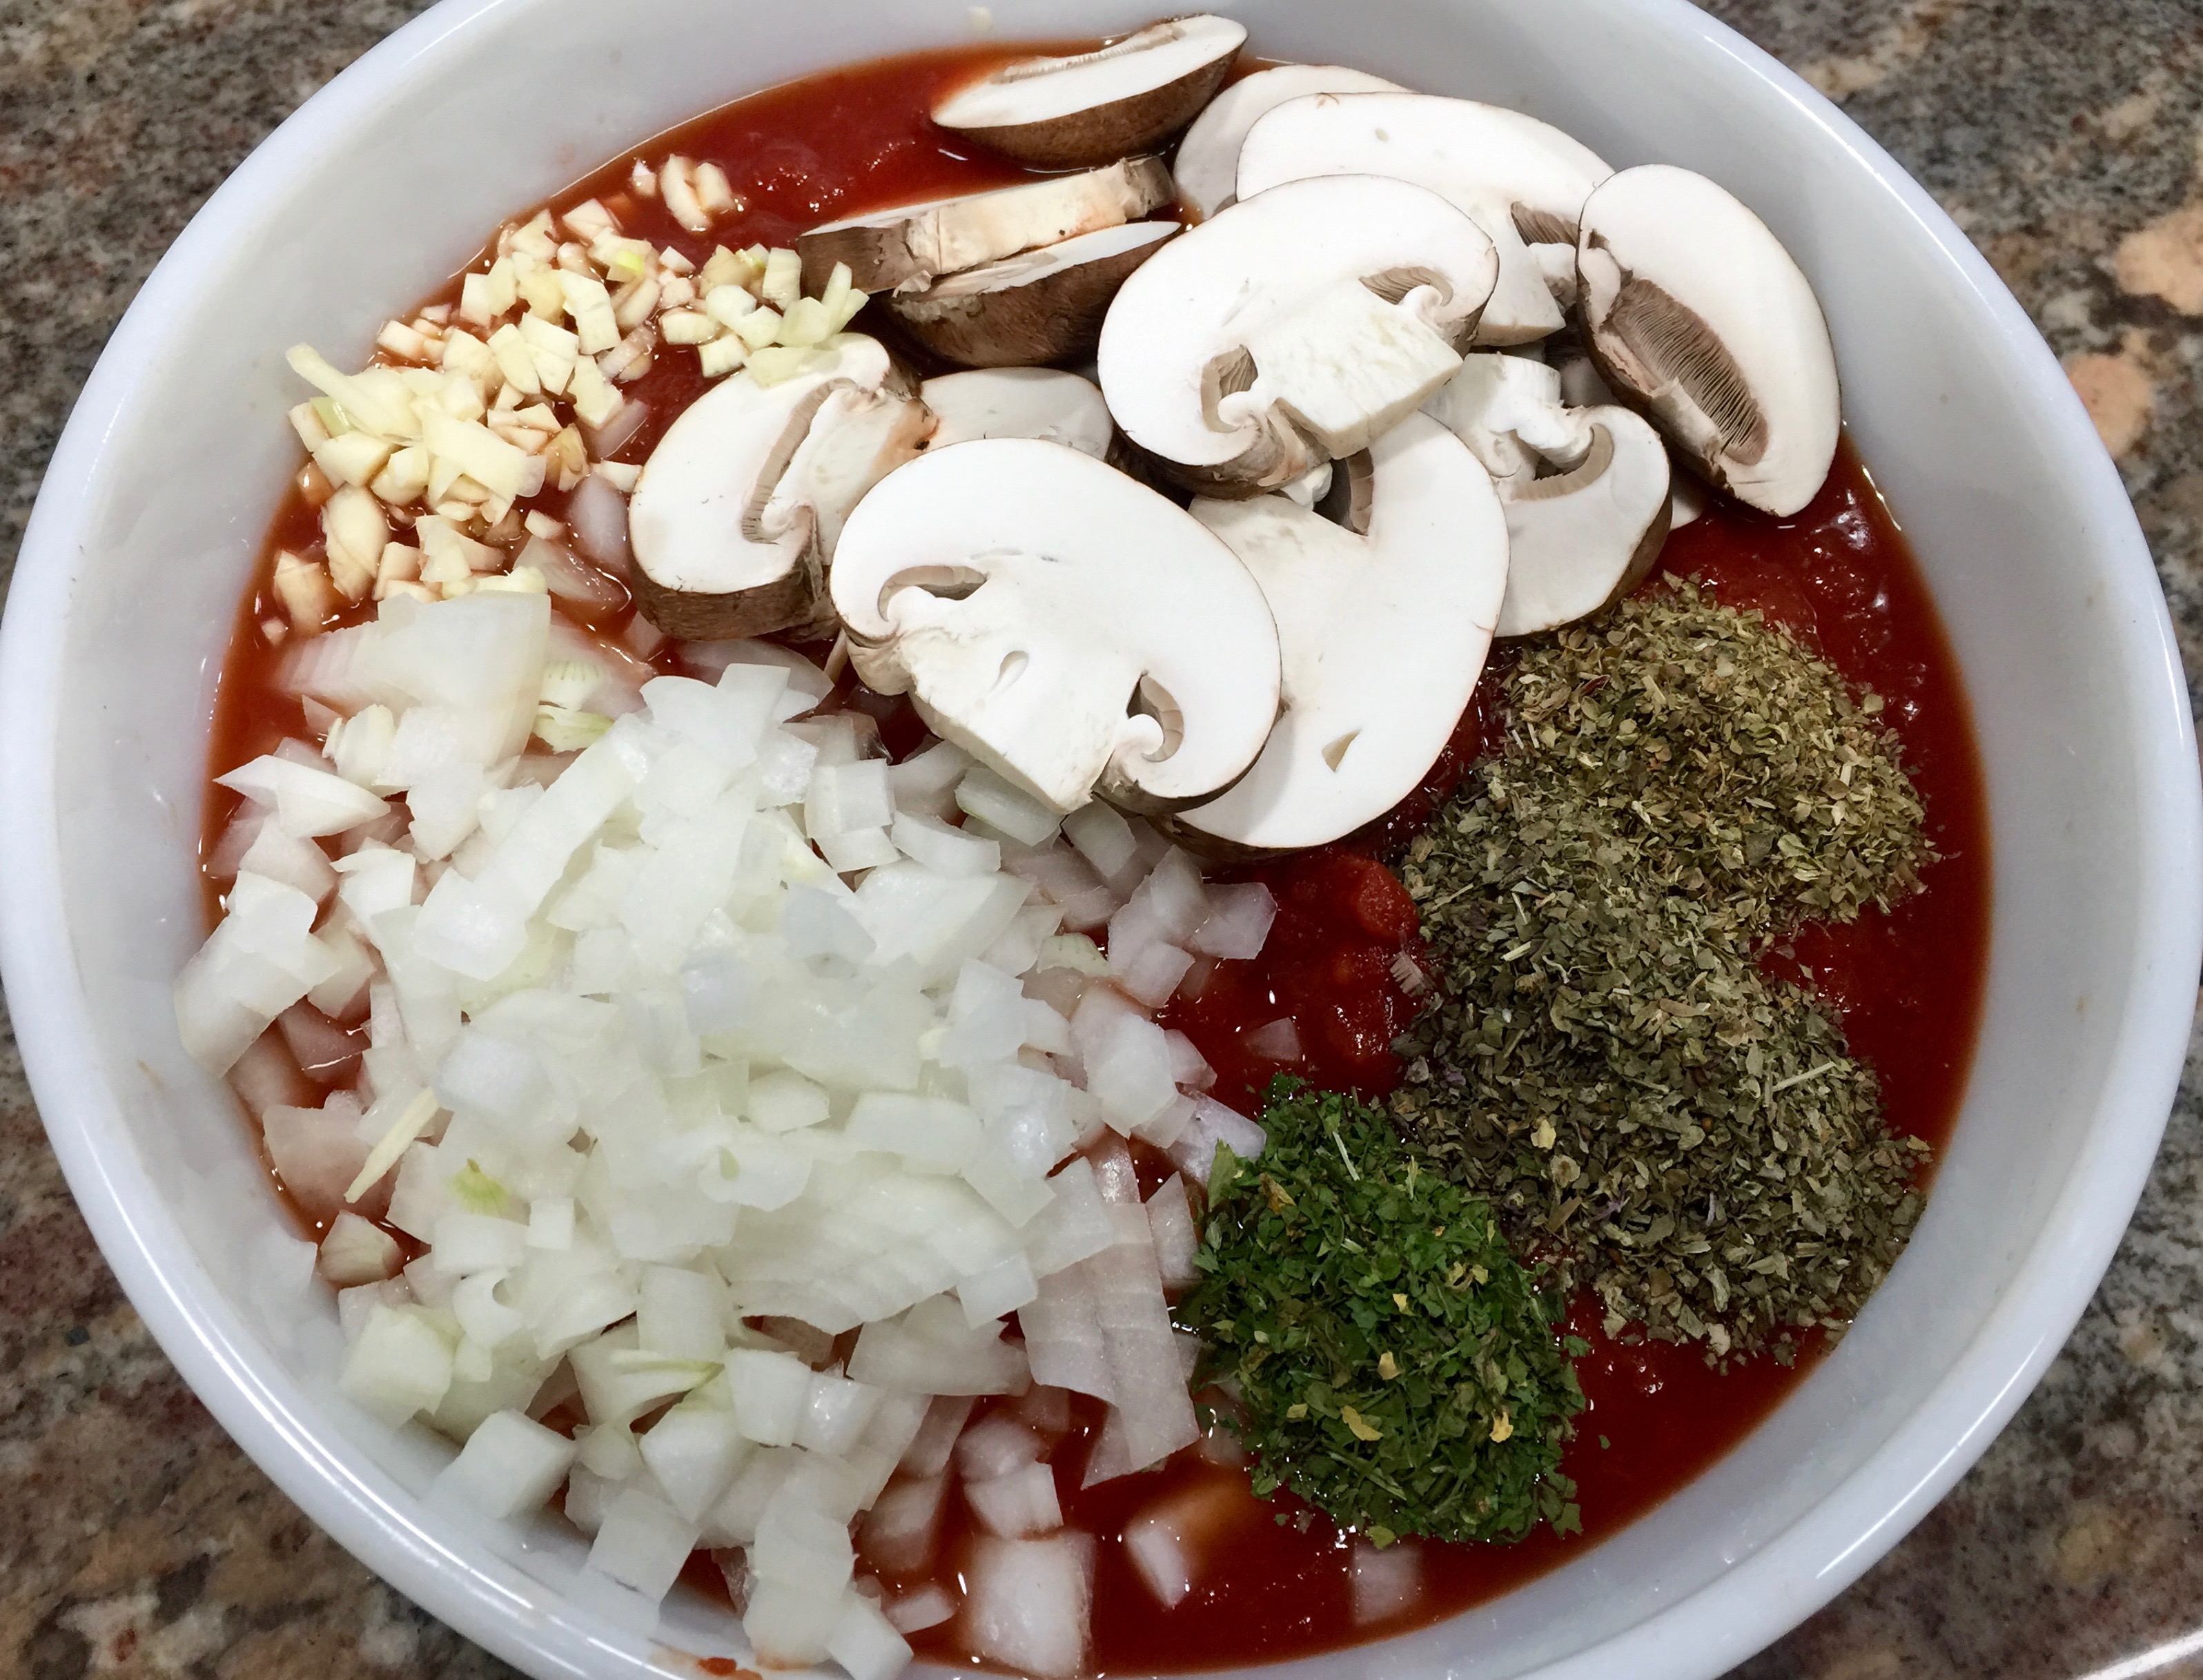
1 28 oz. jar of marinara sauce

1/2 cup whole milk ricotta

4 oz. cream cheese, room temperature

1/8 cup sour cream

1/2 tsp. garlic powder

2 Tbs. fresh flat leaf parsley

2 tsps. Italian seasoning, divided

1 Nine oz. package of gourmet ravioli

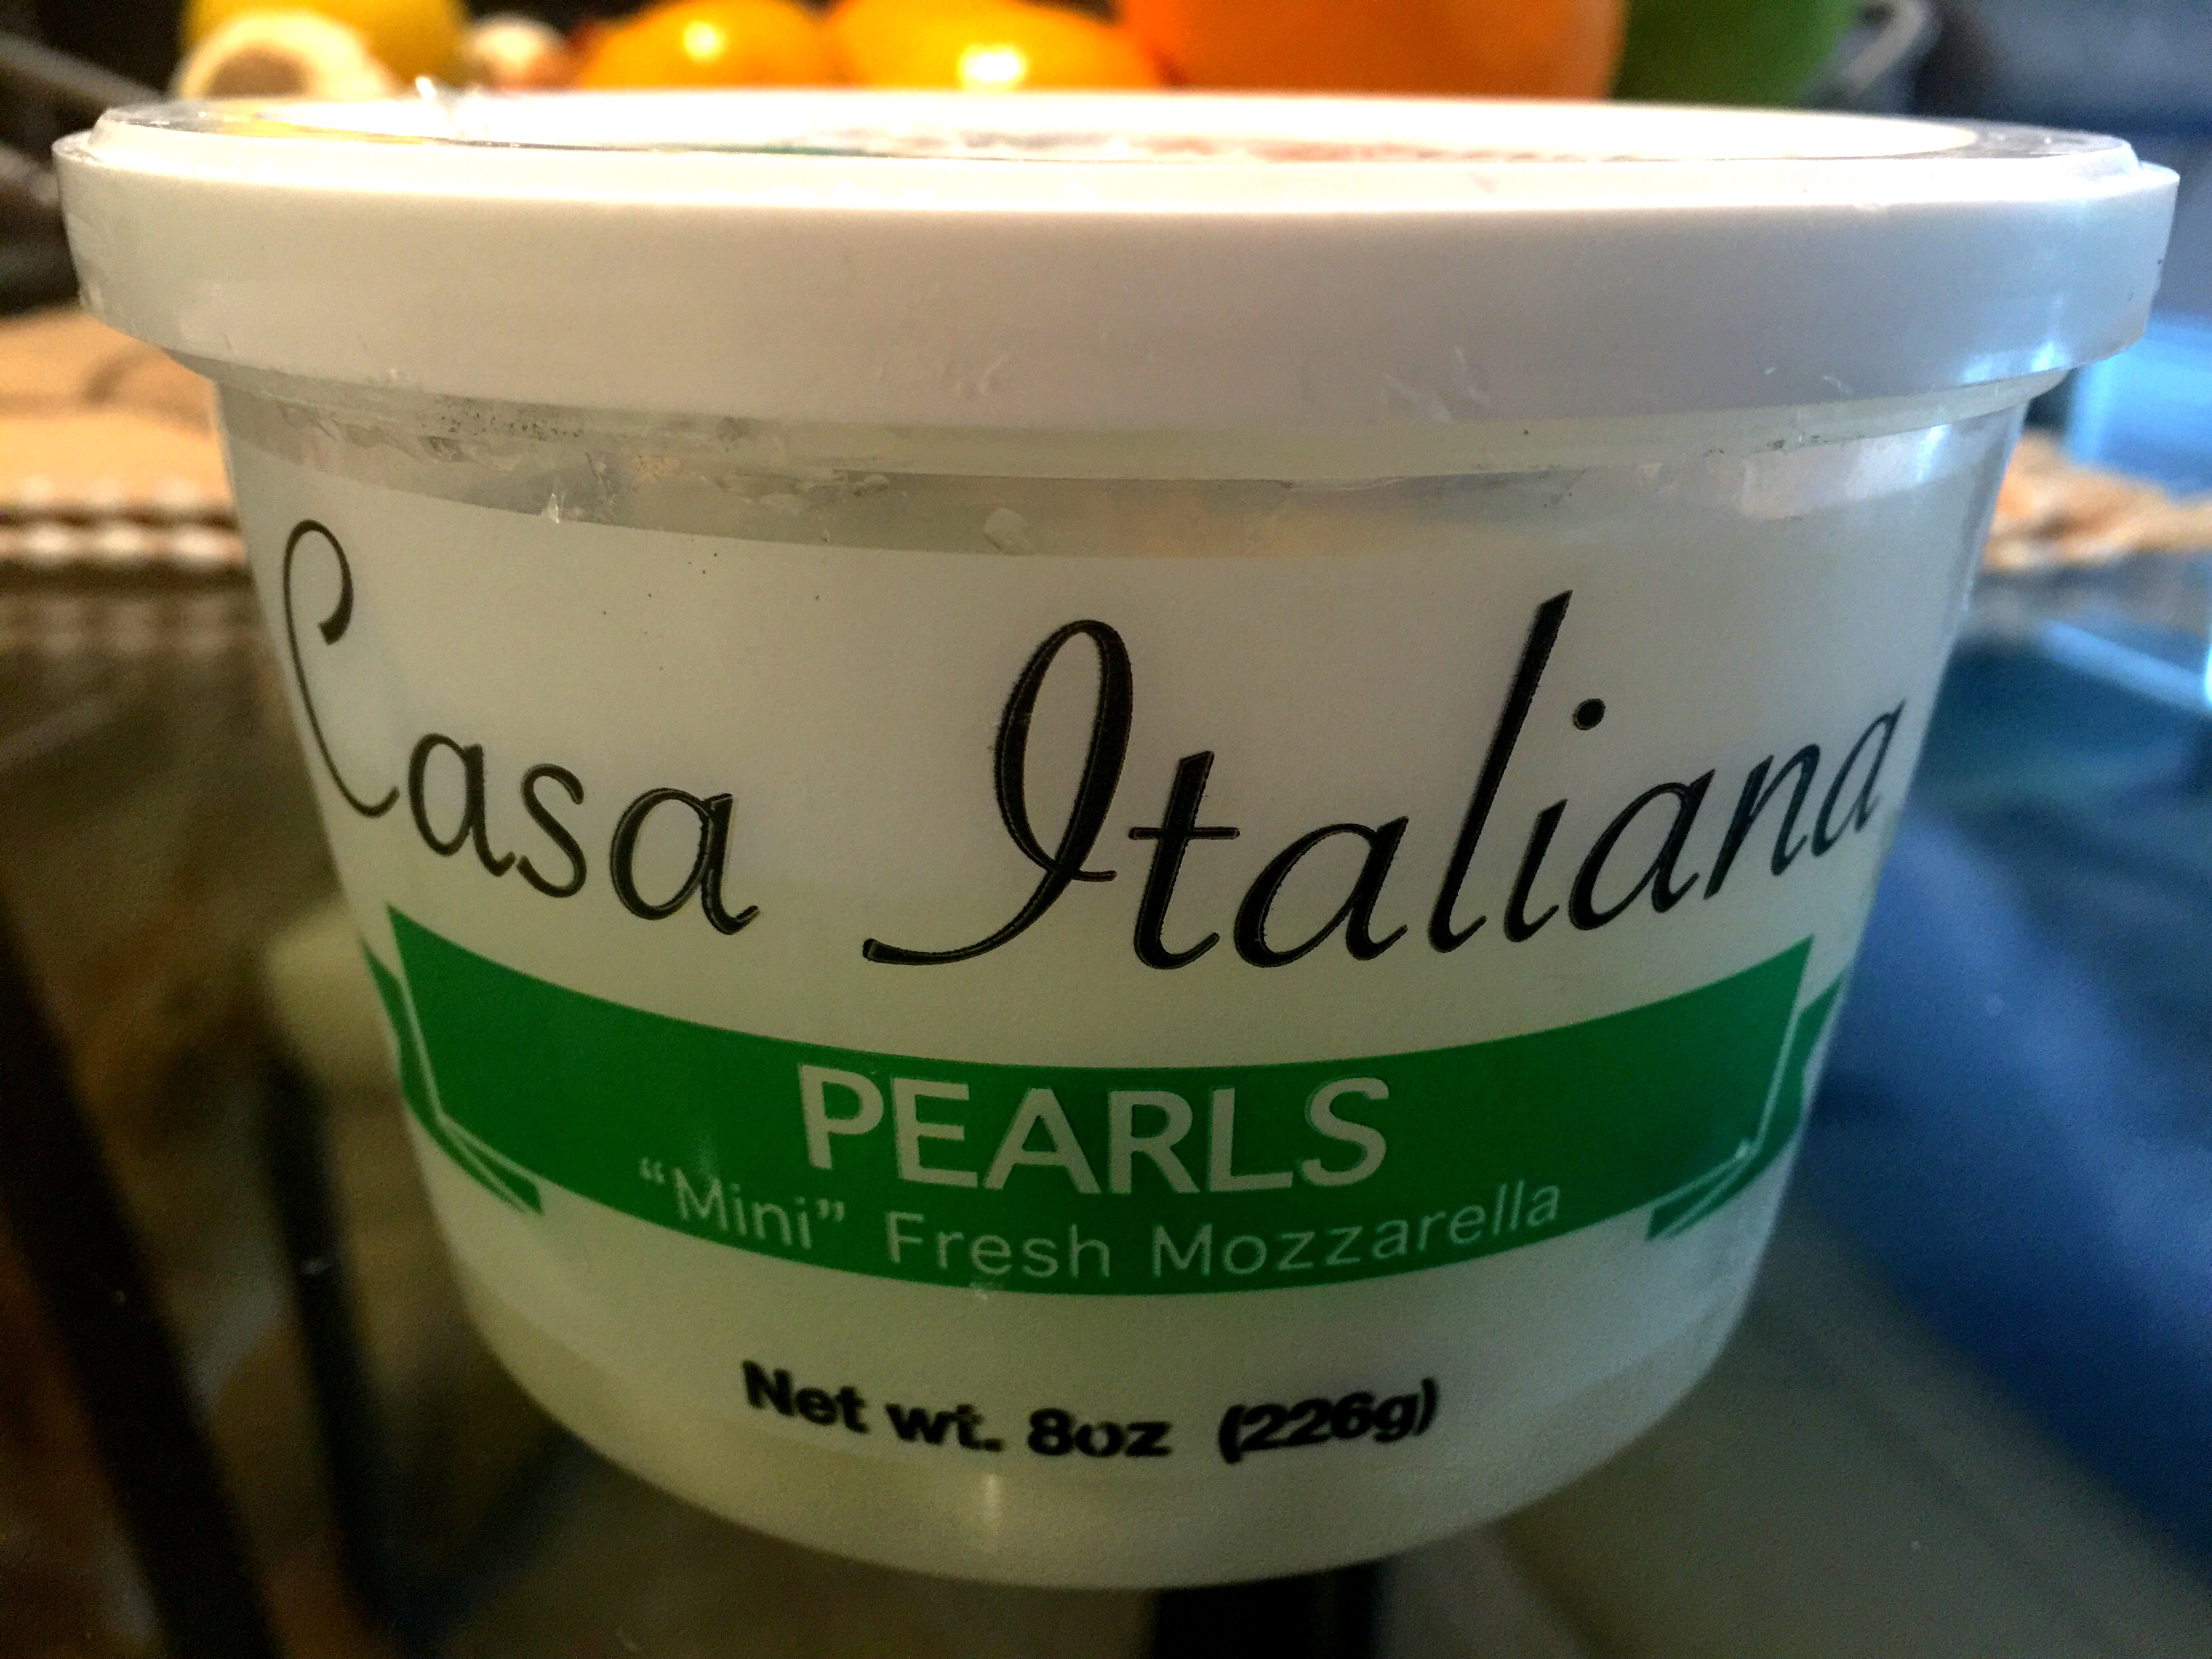
Packaged sliced mozzarella, 6 slices

1/3 cup grated parmesan

DIRECTIONS:

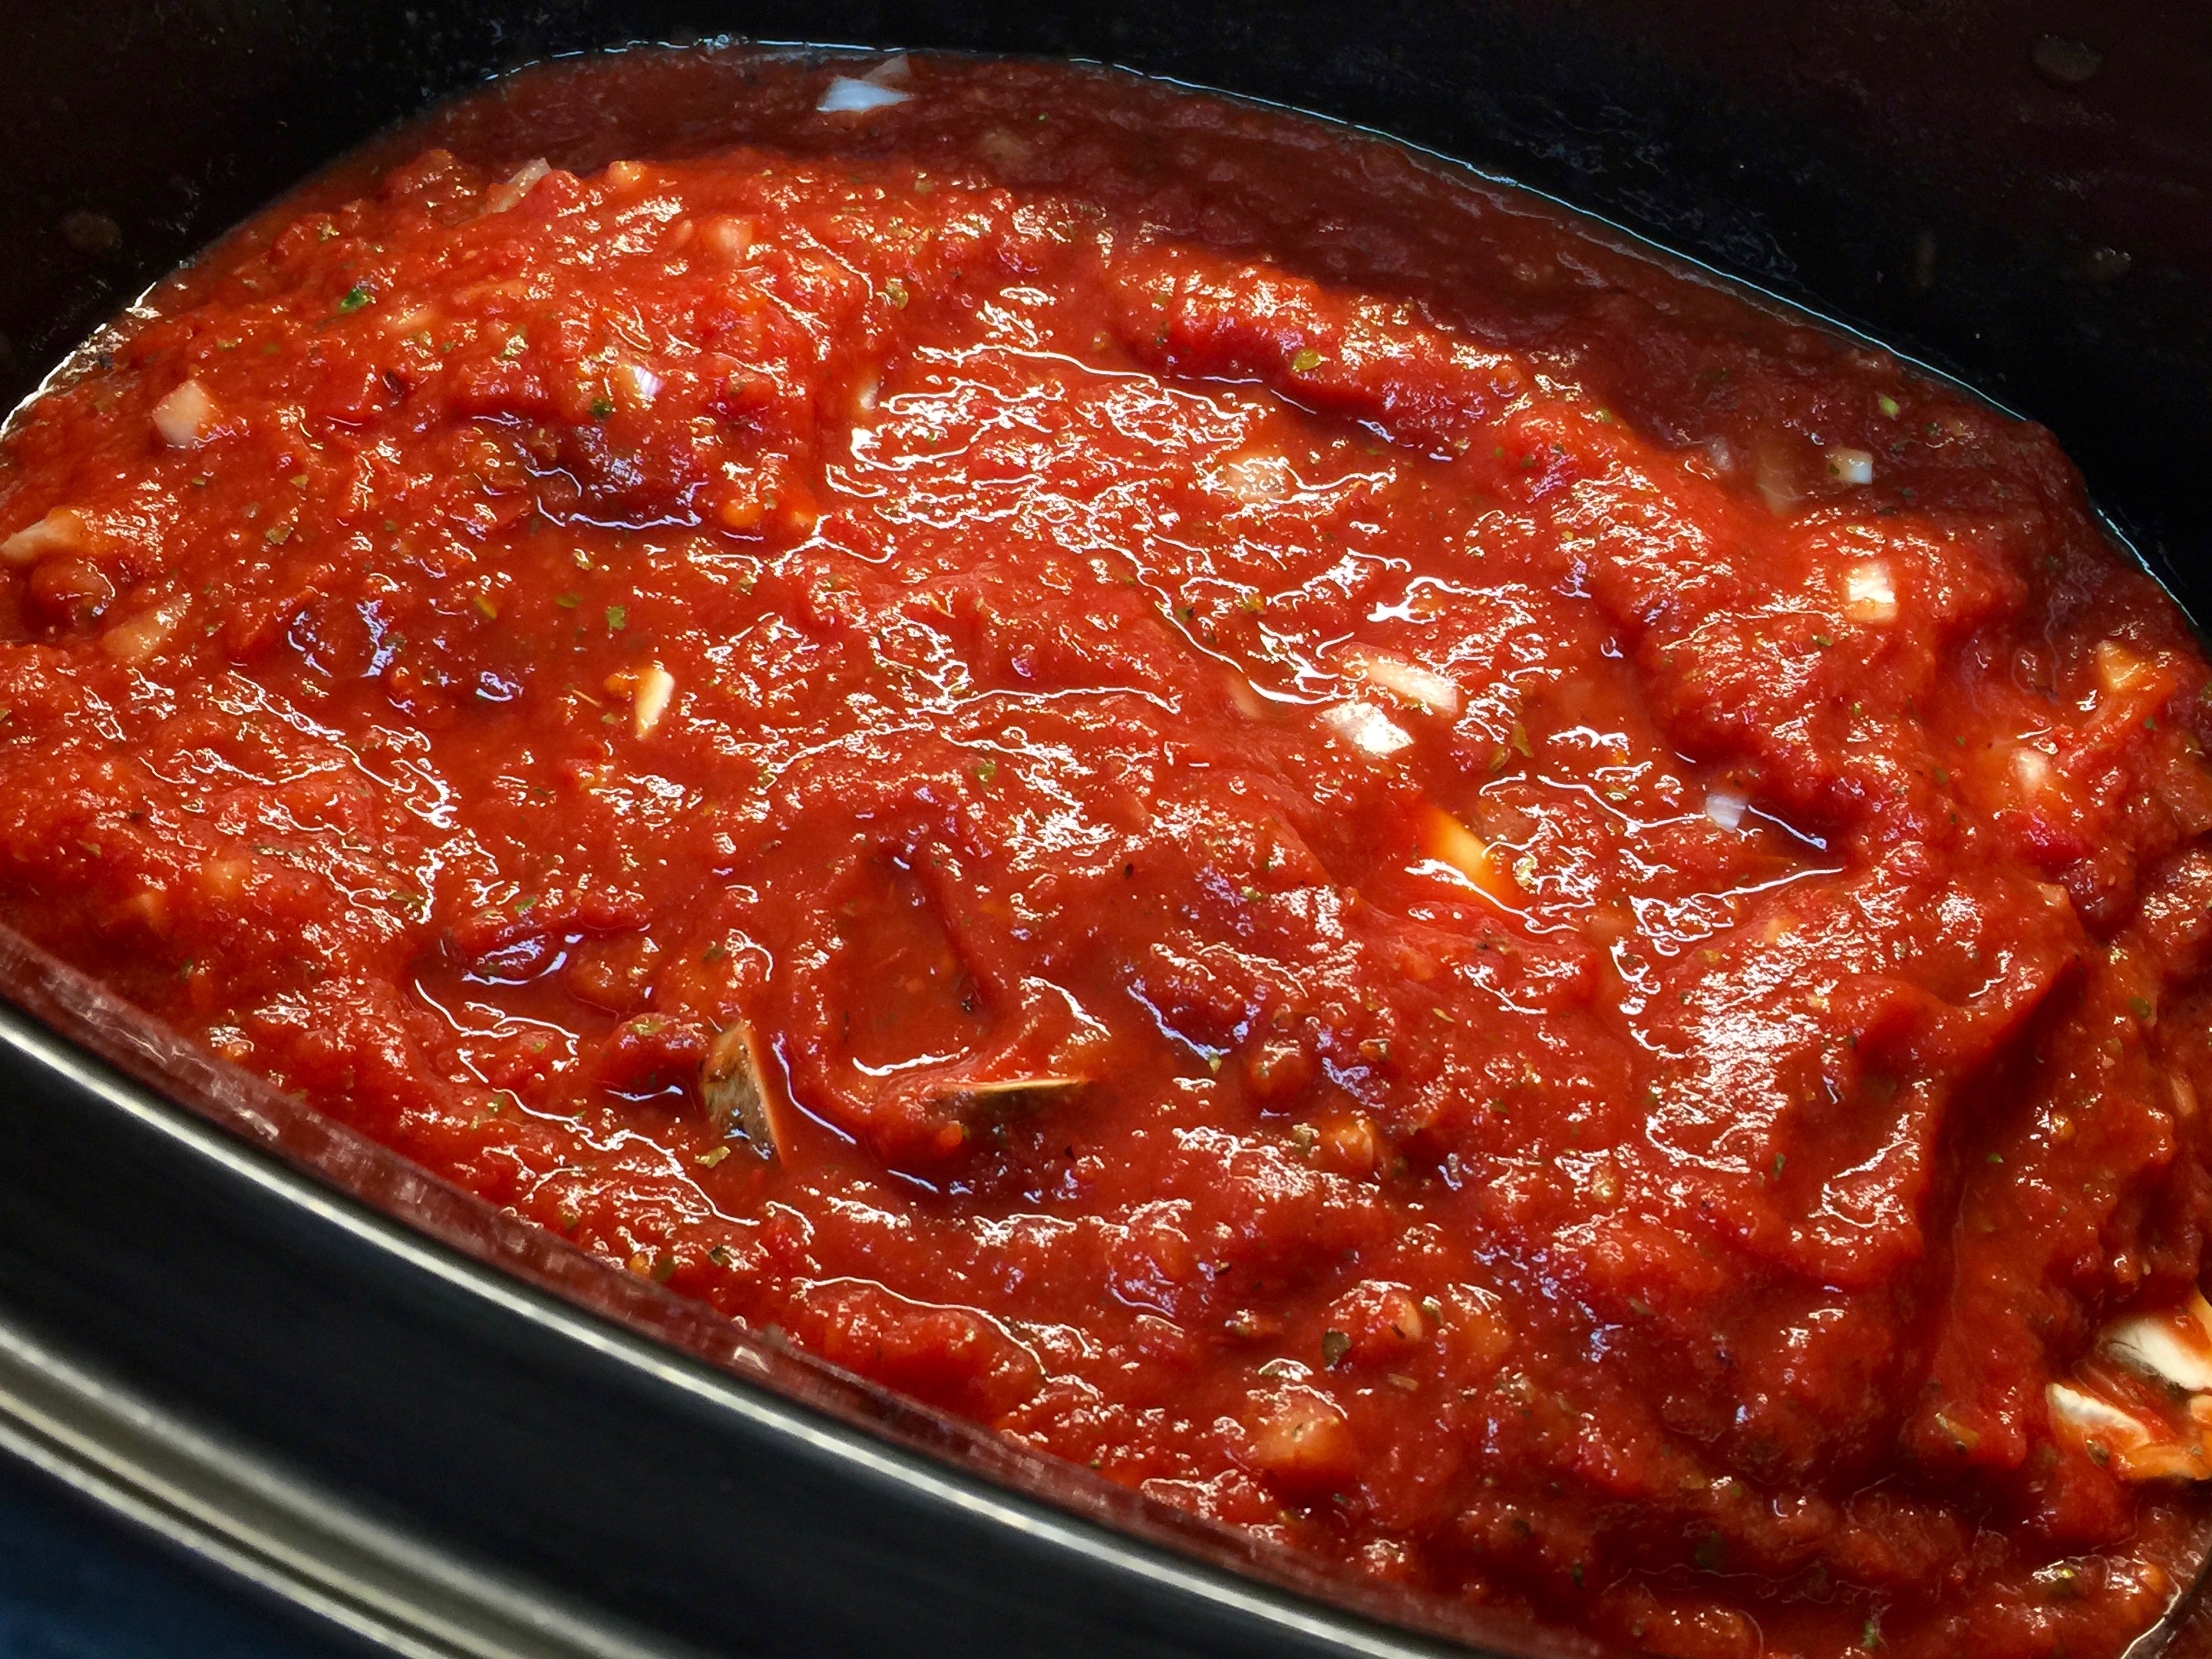
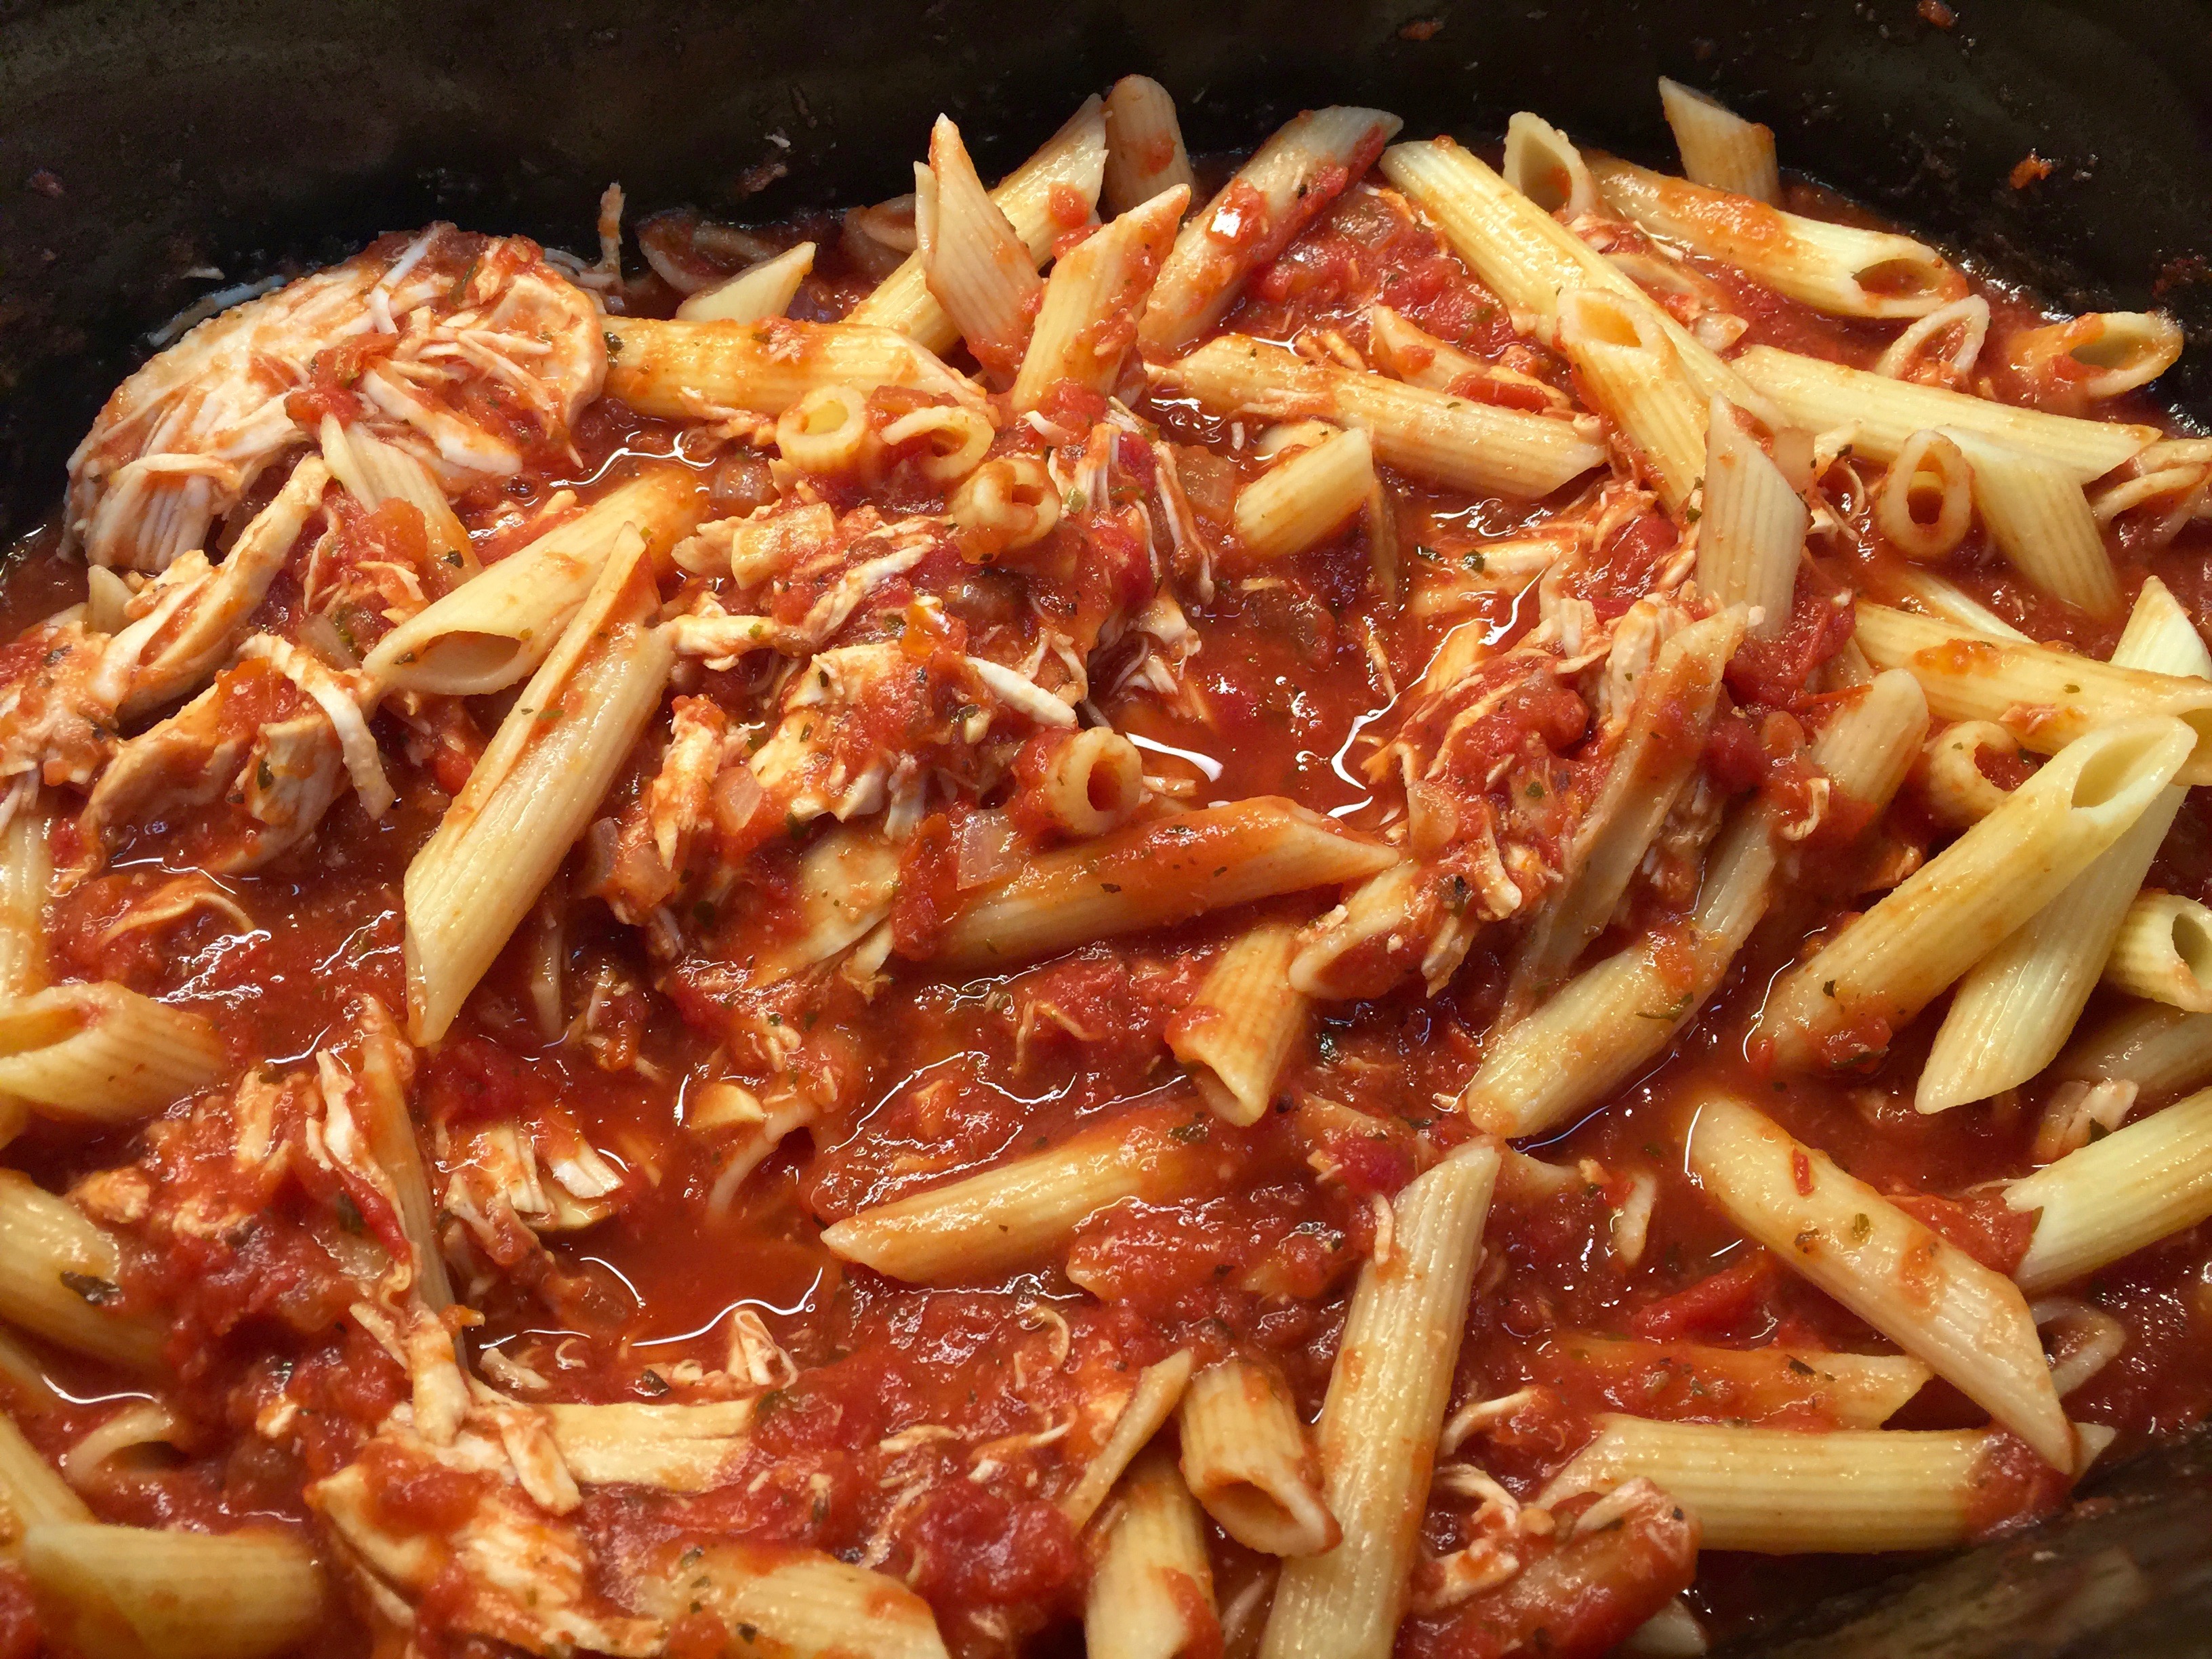
Preheat the oven to 375. Spray a 3 quart casserole dish with cooking spray. In a medium size skillet, cook the Italian sausage. Drain the grease and add the marinara sauce. Bring the marinara sauce to a simmer.

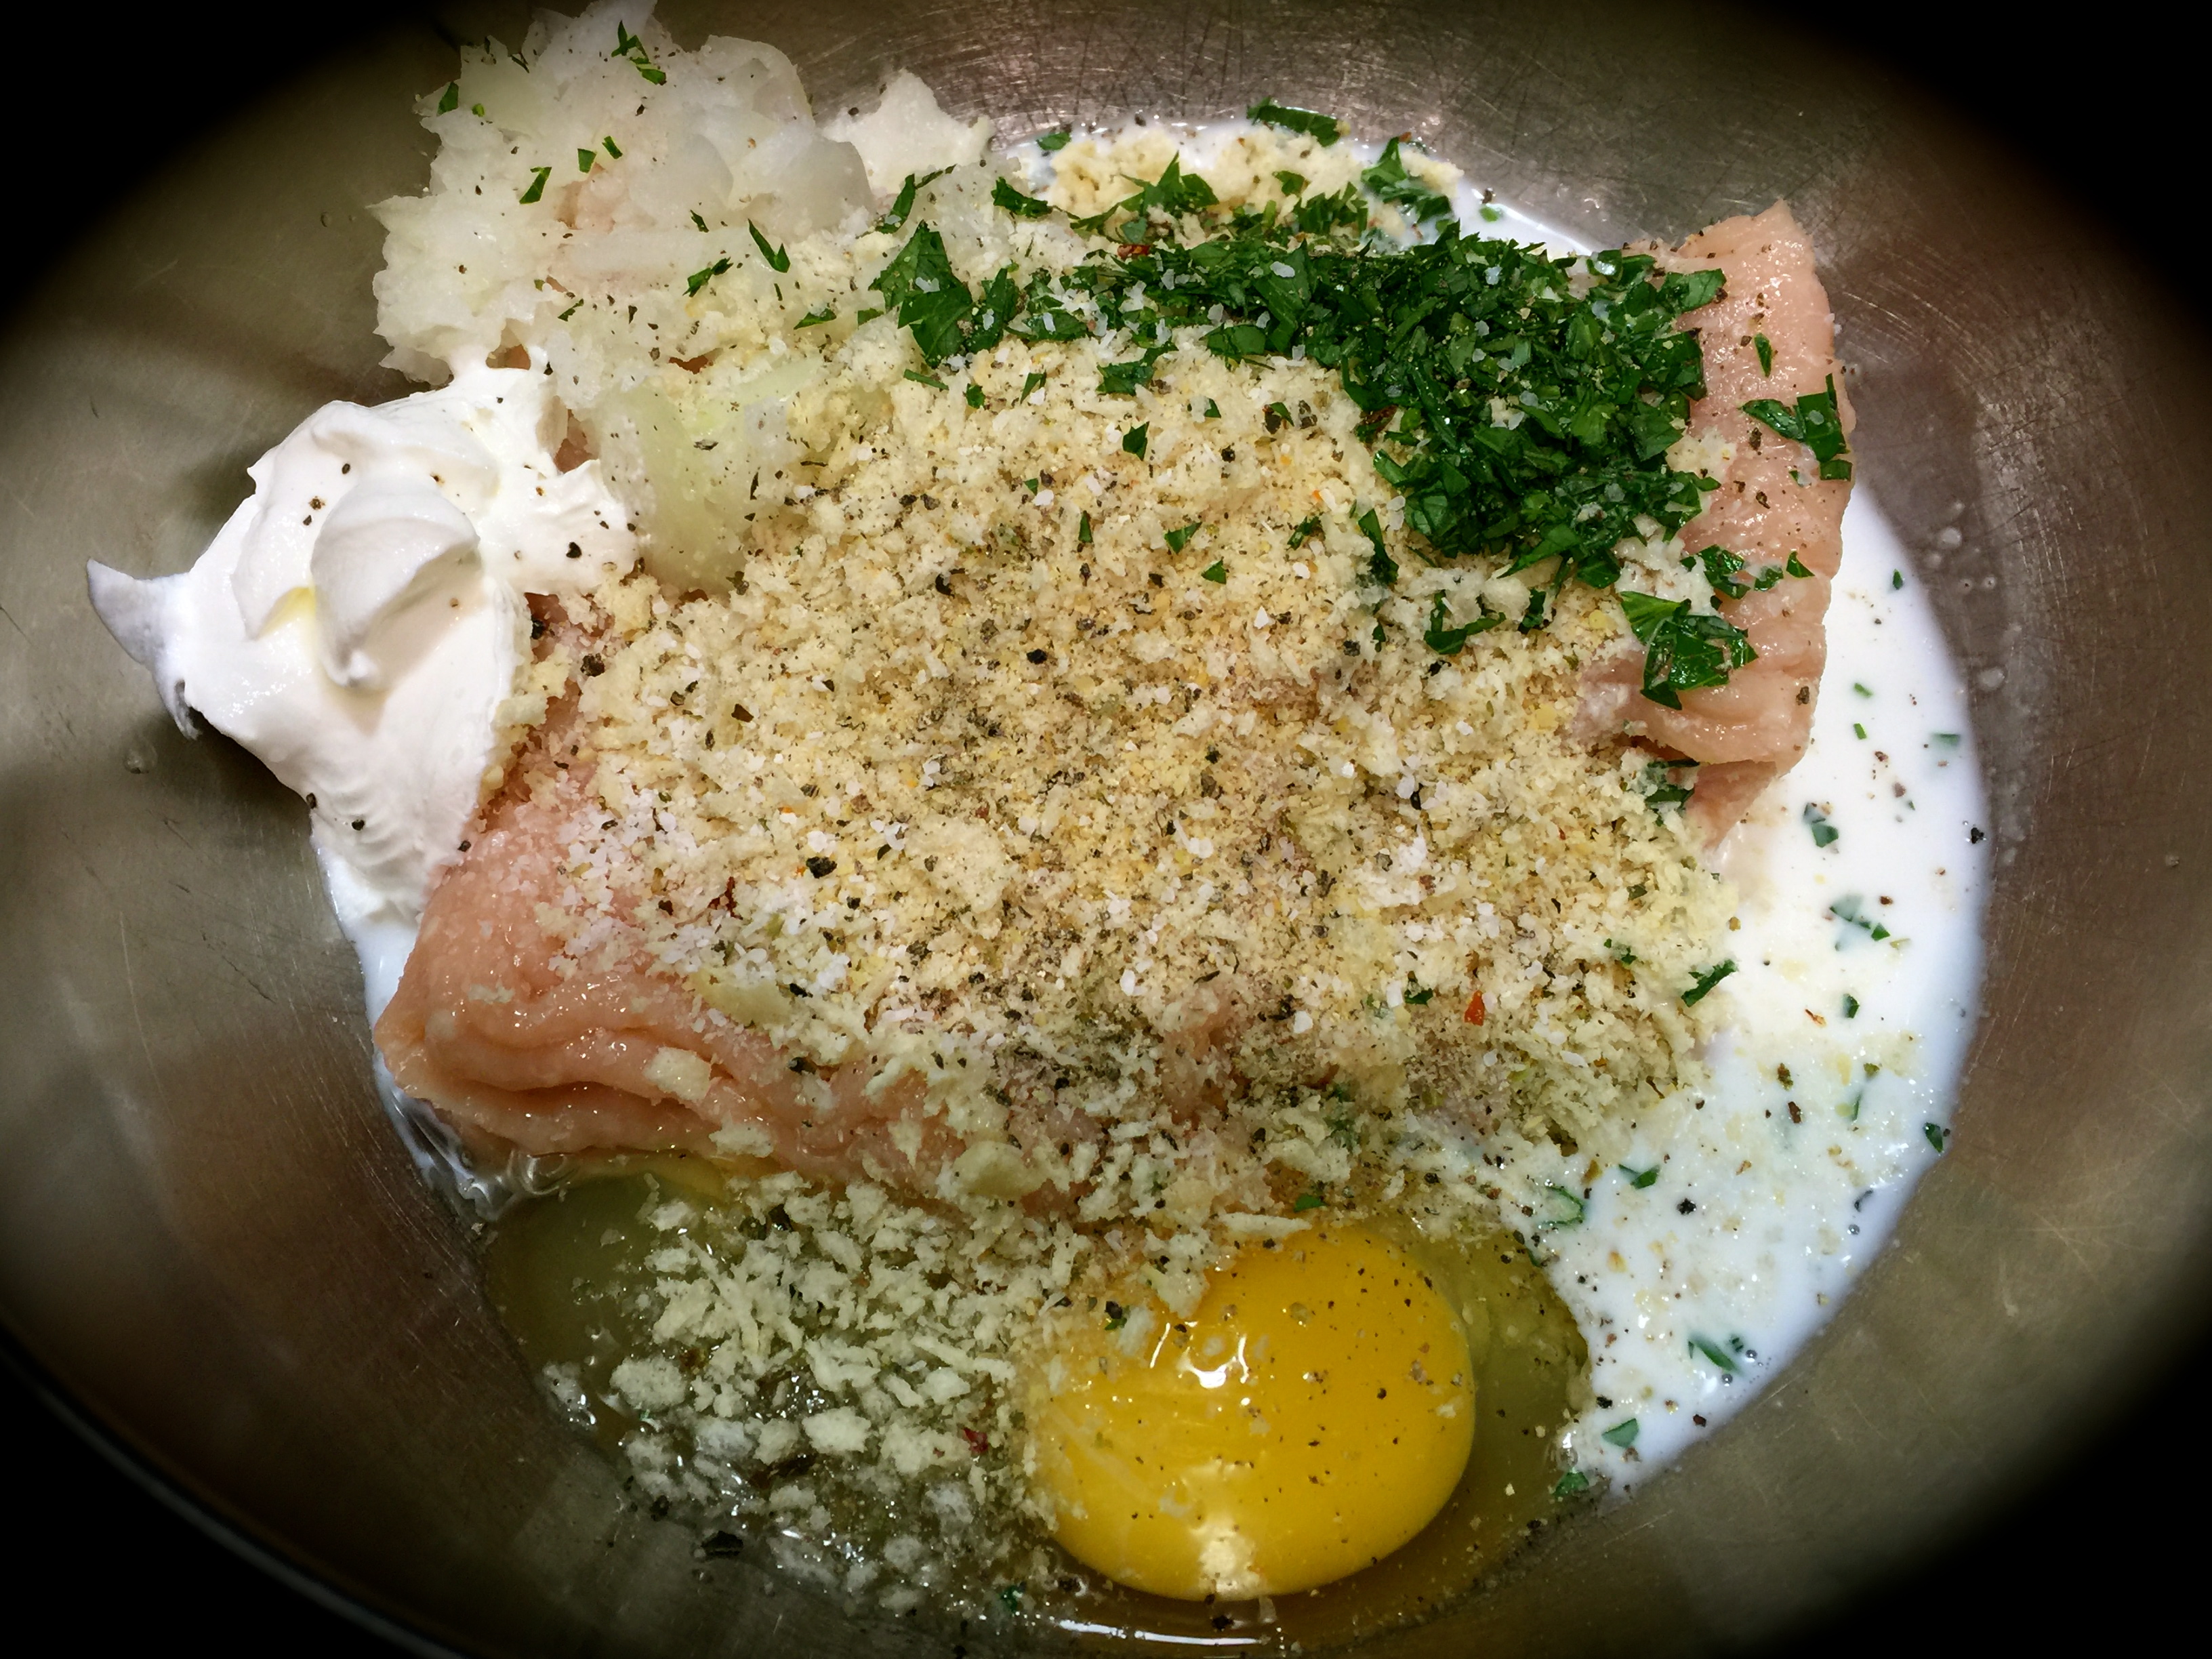
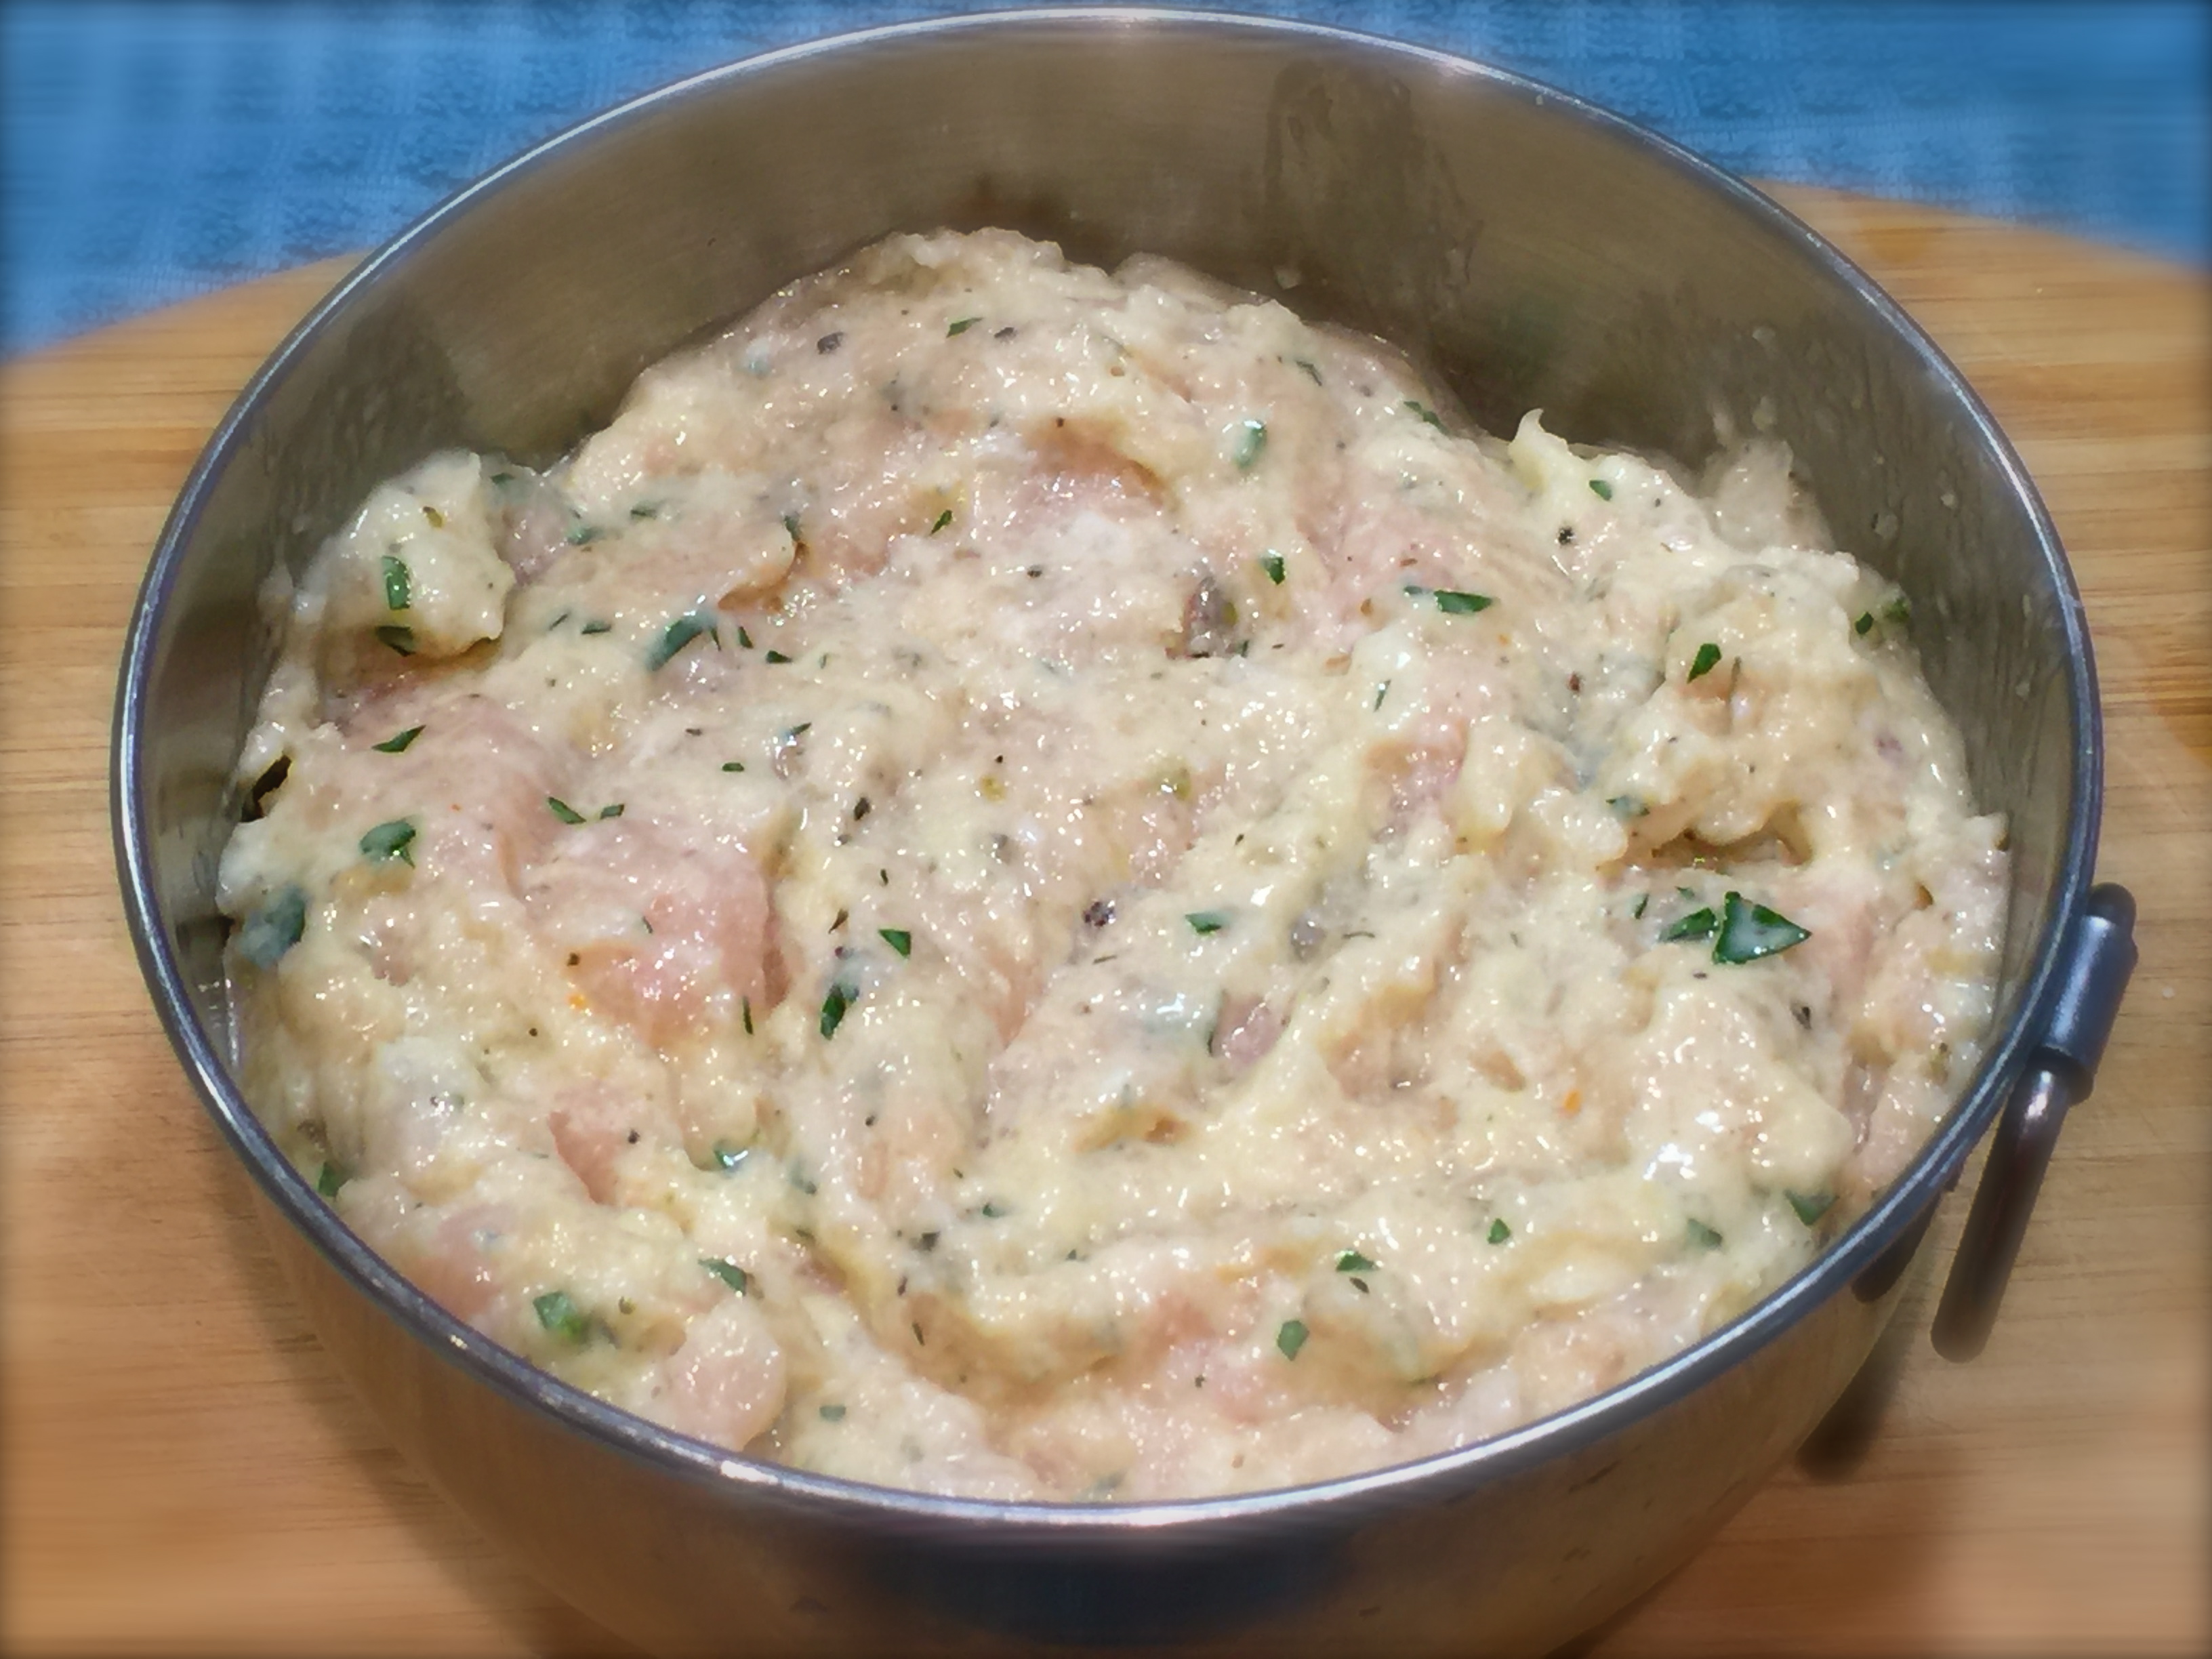
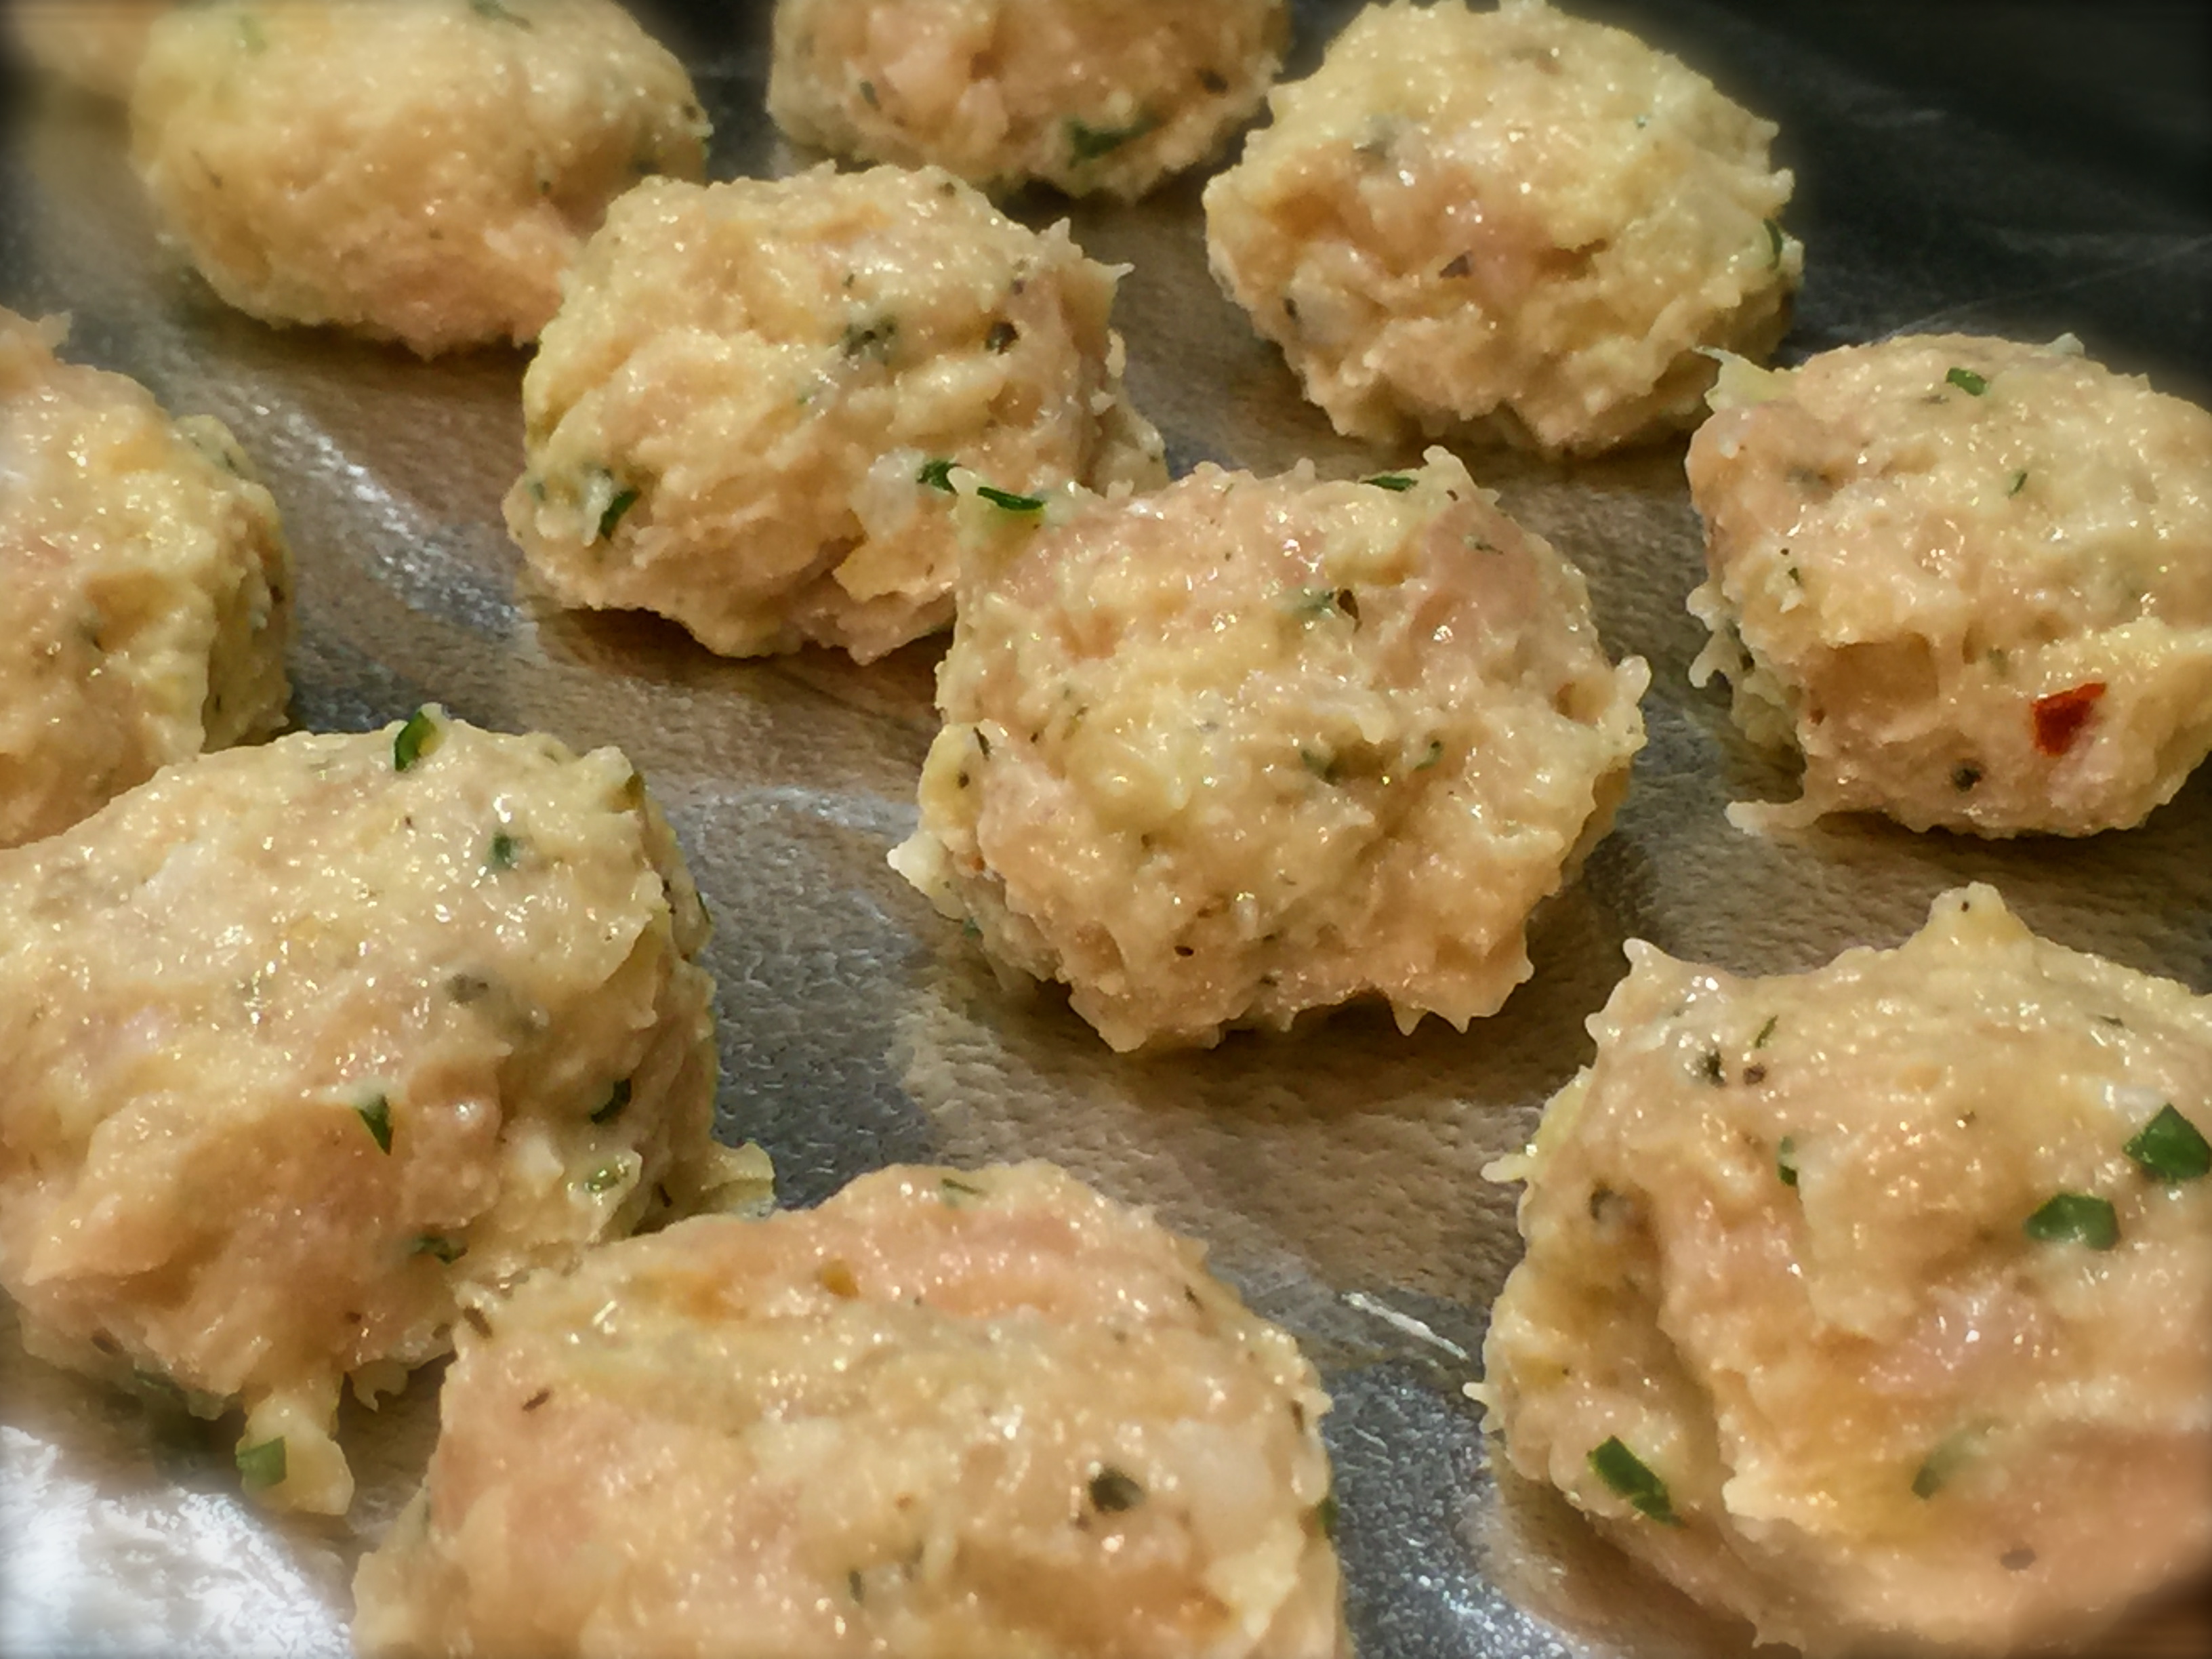
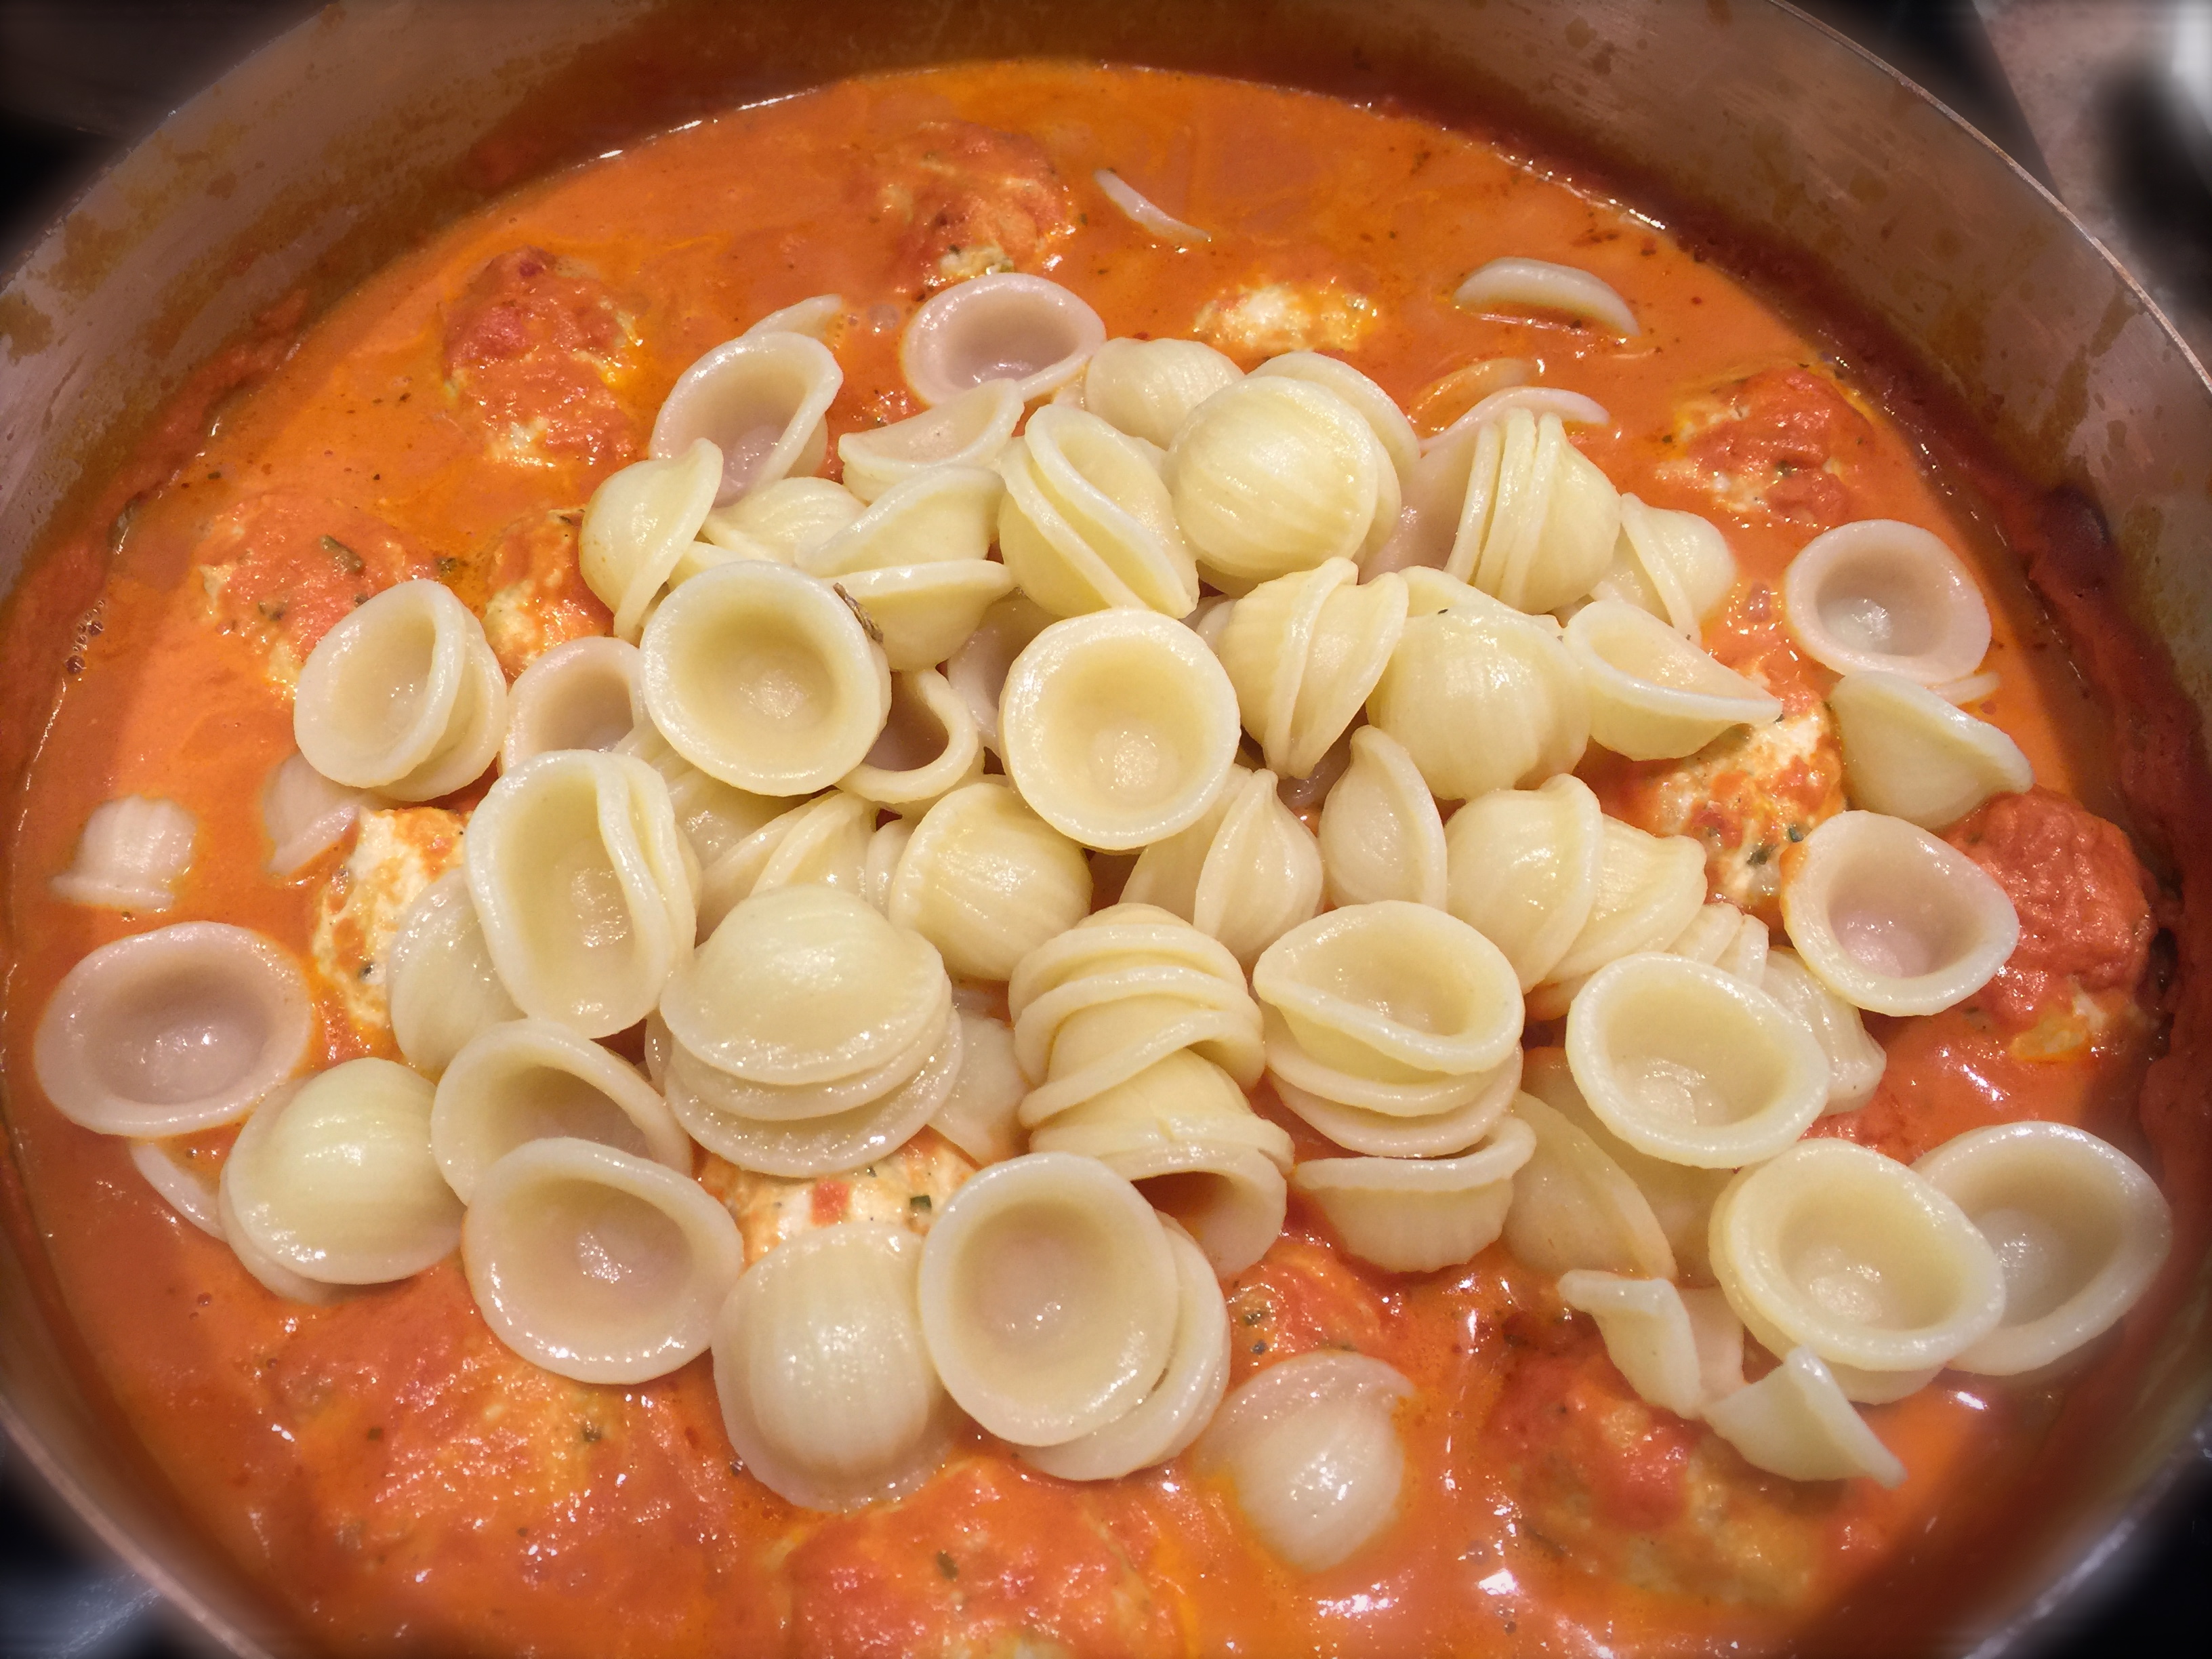
While the marinara sauce is simmering combine the ricotta, cream cheese, sour cream, garlic powder, parsley and 1 tsp. of the Italian seasoning. Stir to combine. Add the ravioli and gently toss it with the ricotta mixture until the ravioli is completely coated. 

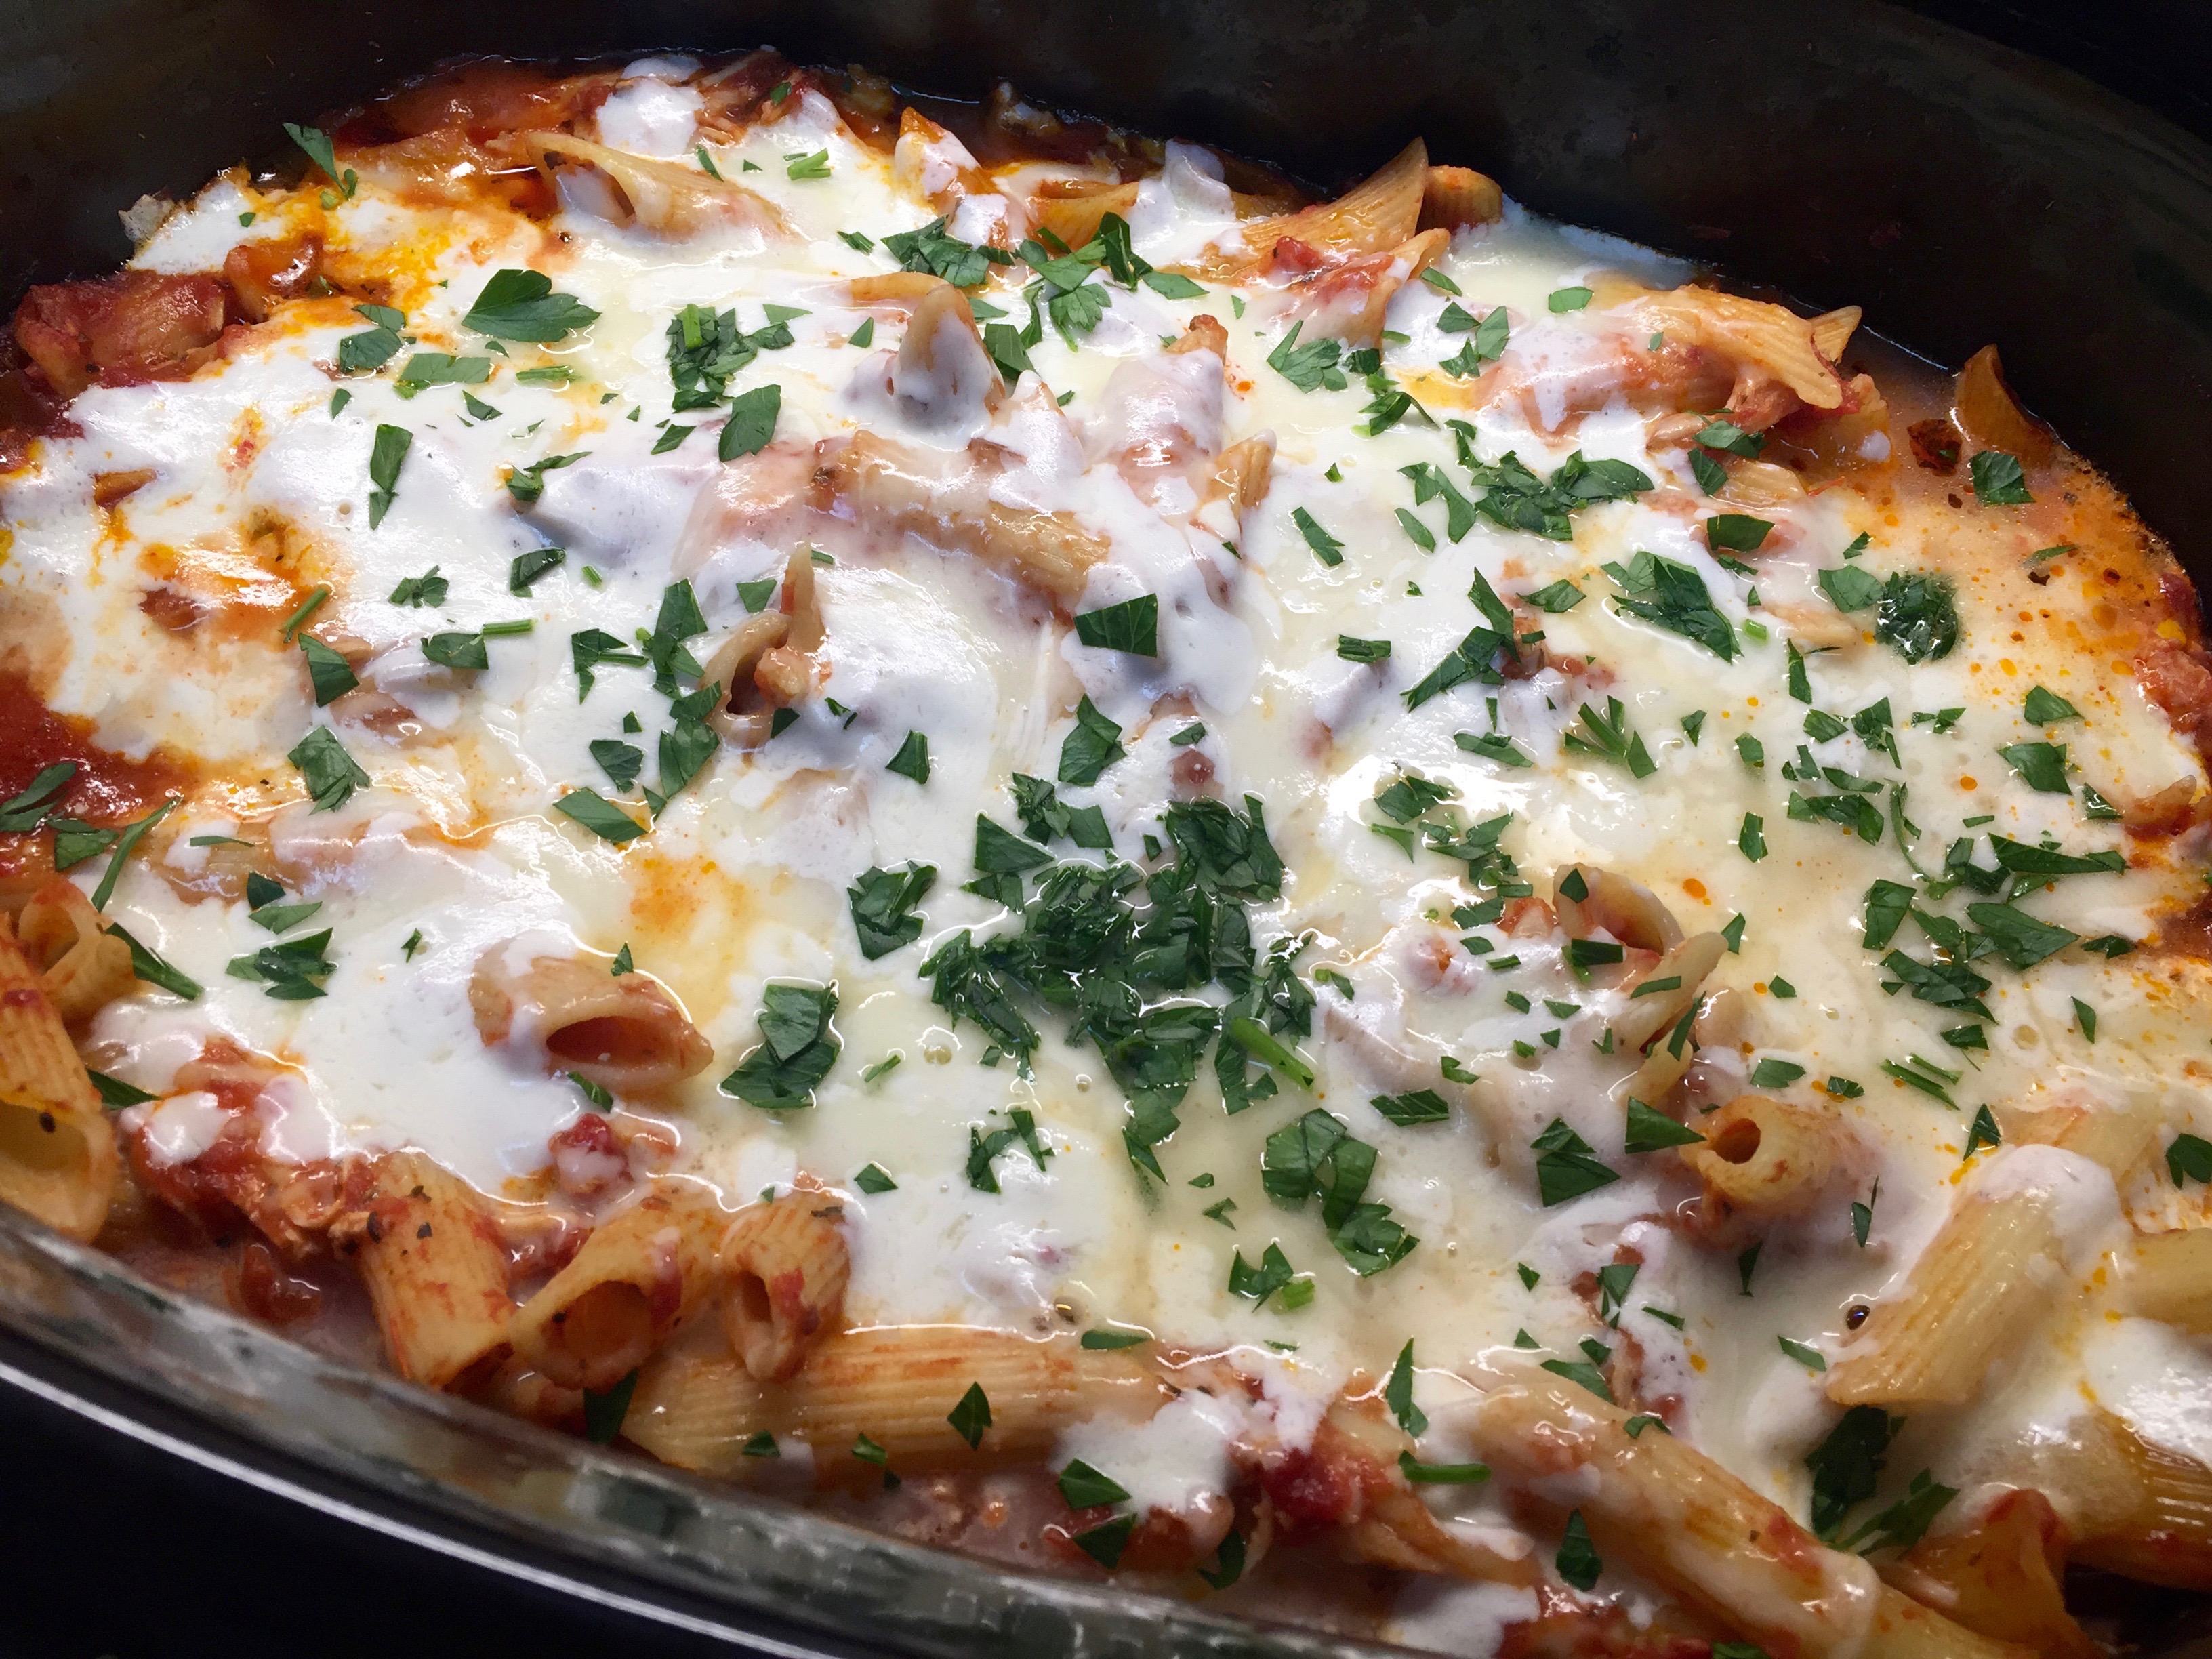
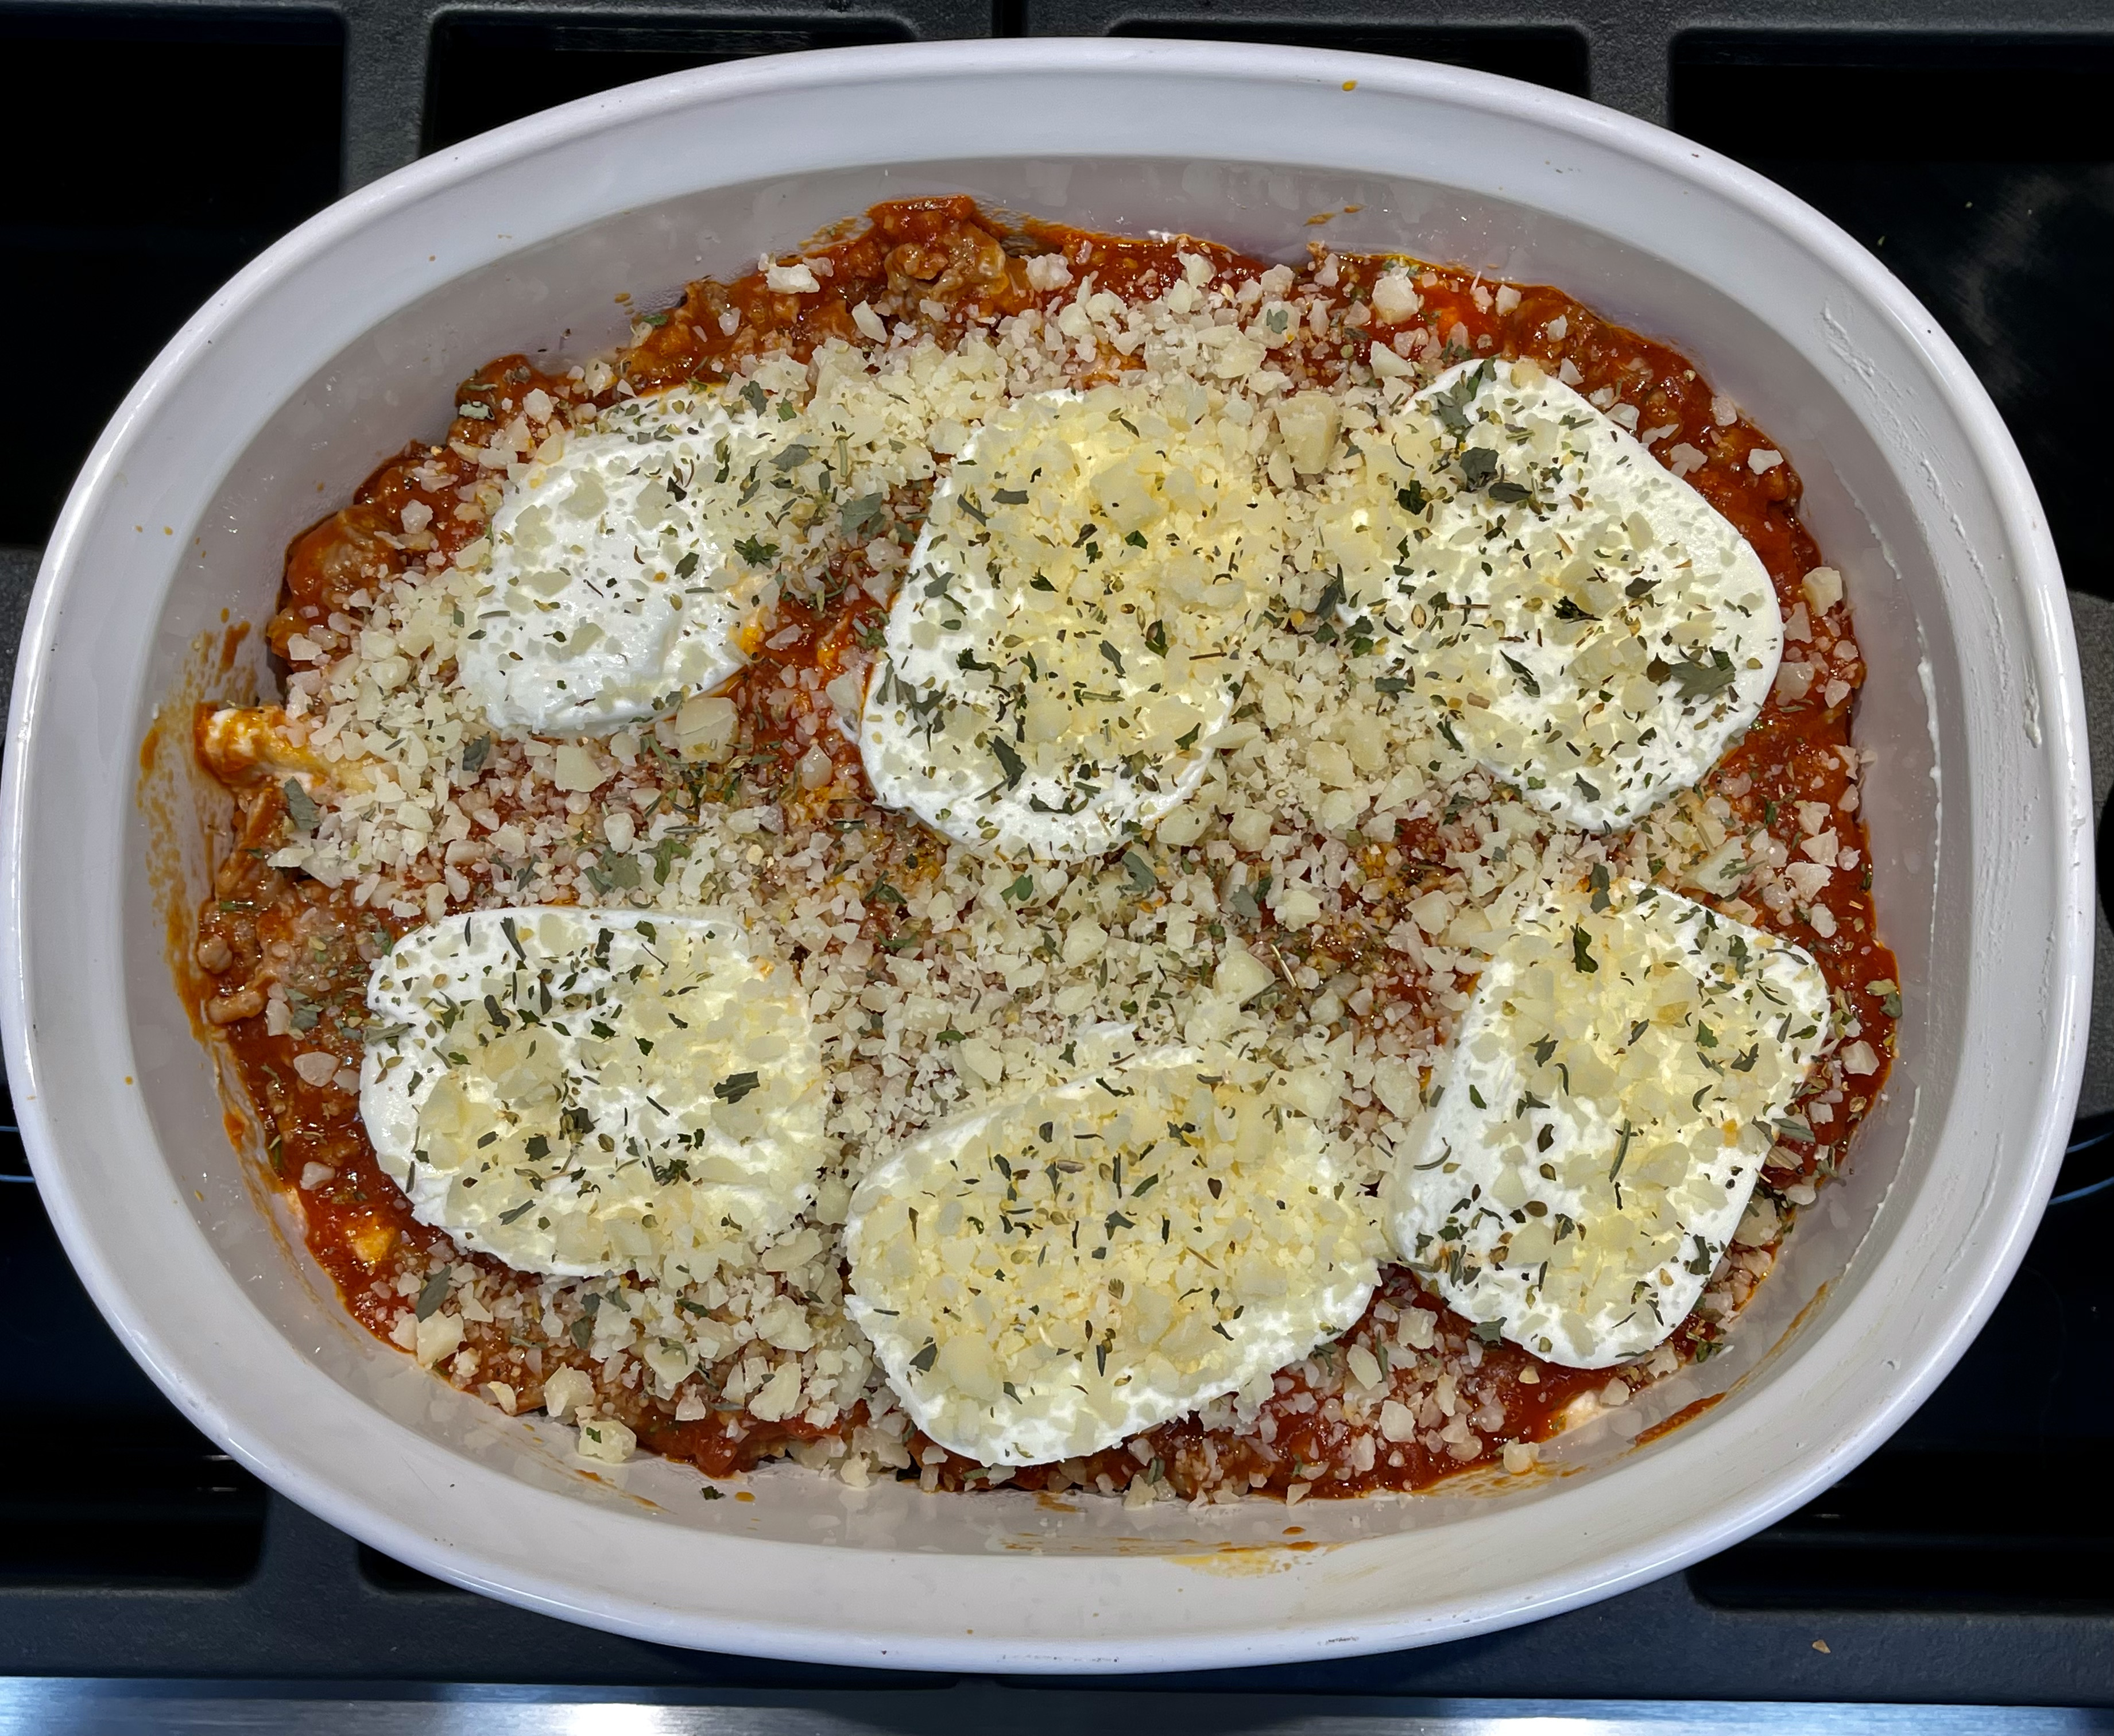
Spread a small portion of the sausage and marinara sauce on the bottom of the casserole dish just to slightly coat it. Spread the ravioli mixture evenly into the dish. Pour the remaining marinara sauce over the ravioli mixture. Place the slices of mozzarella on top of the marinara sauce. Sprinkle the remaining Italian seasoning and grated parmesan over the mozzarella. 

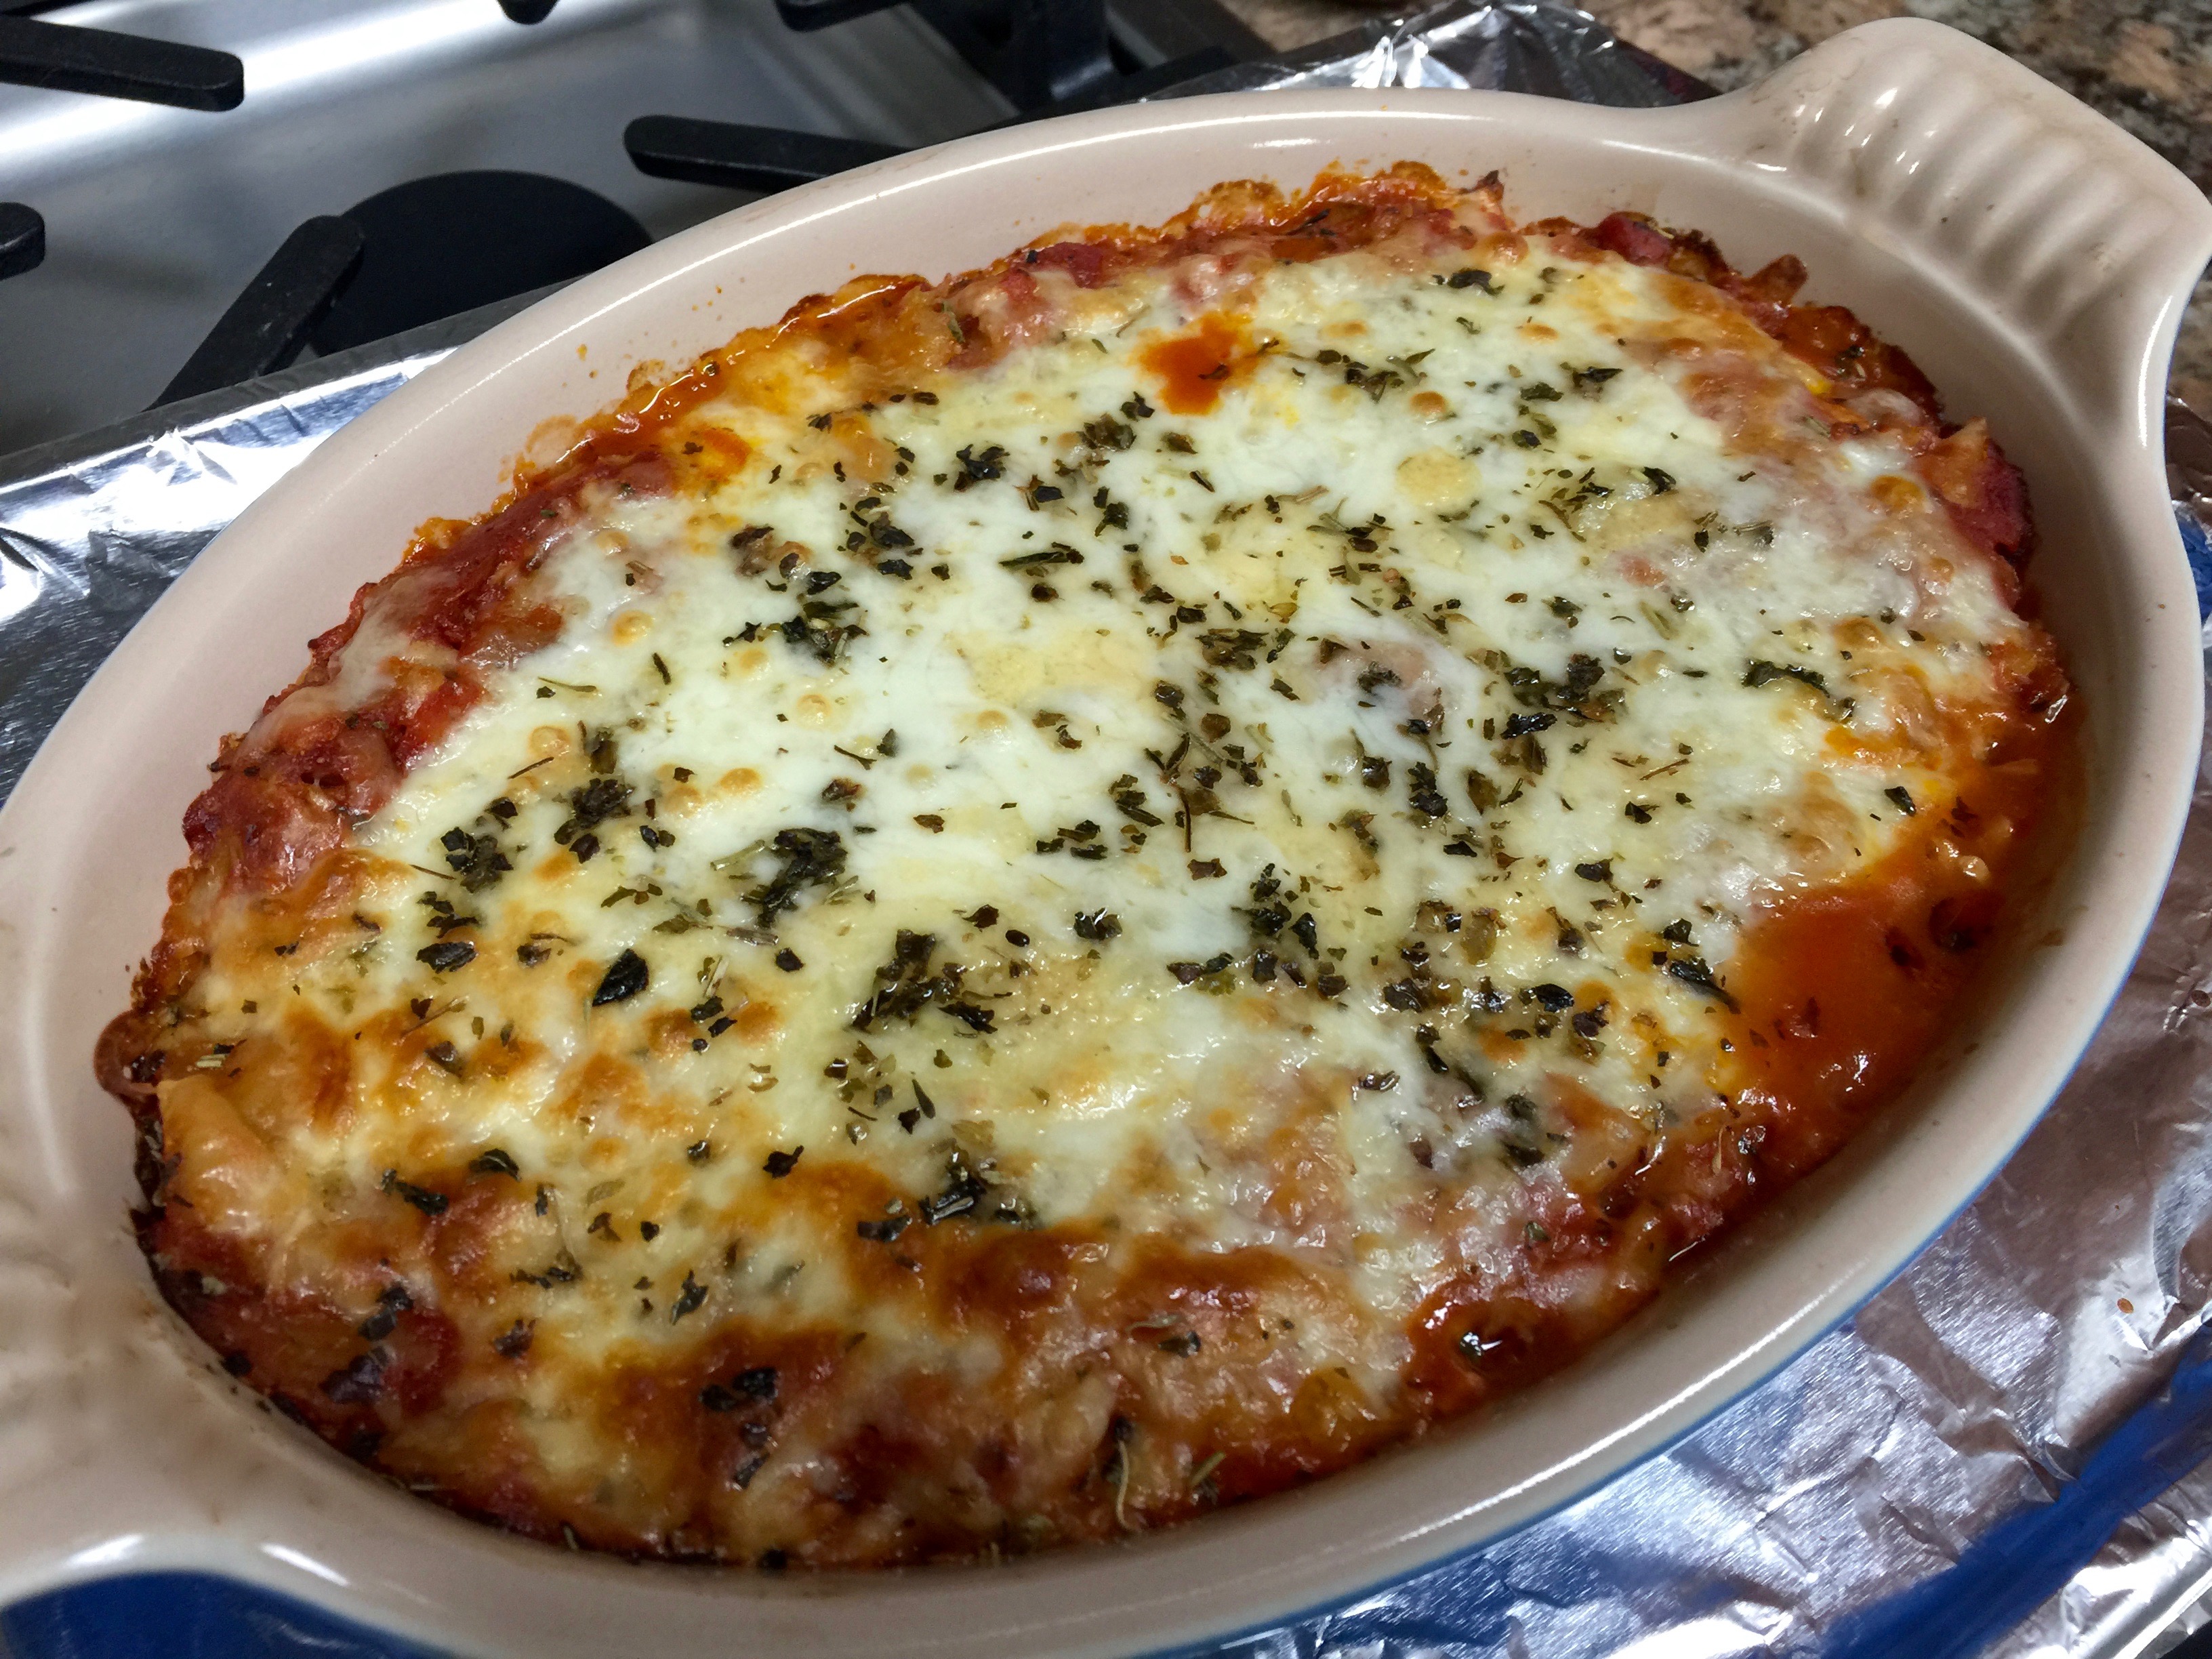
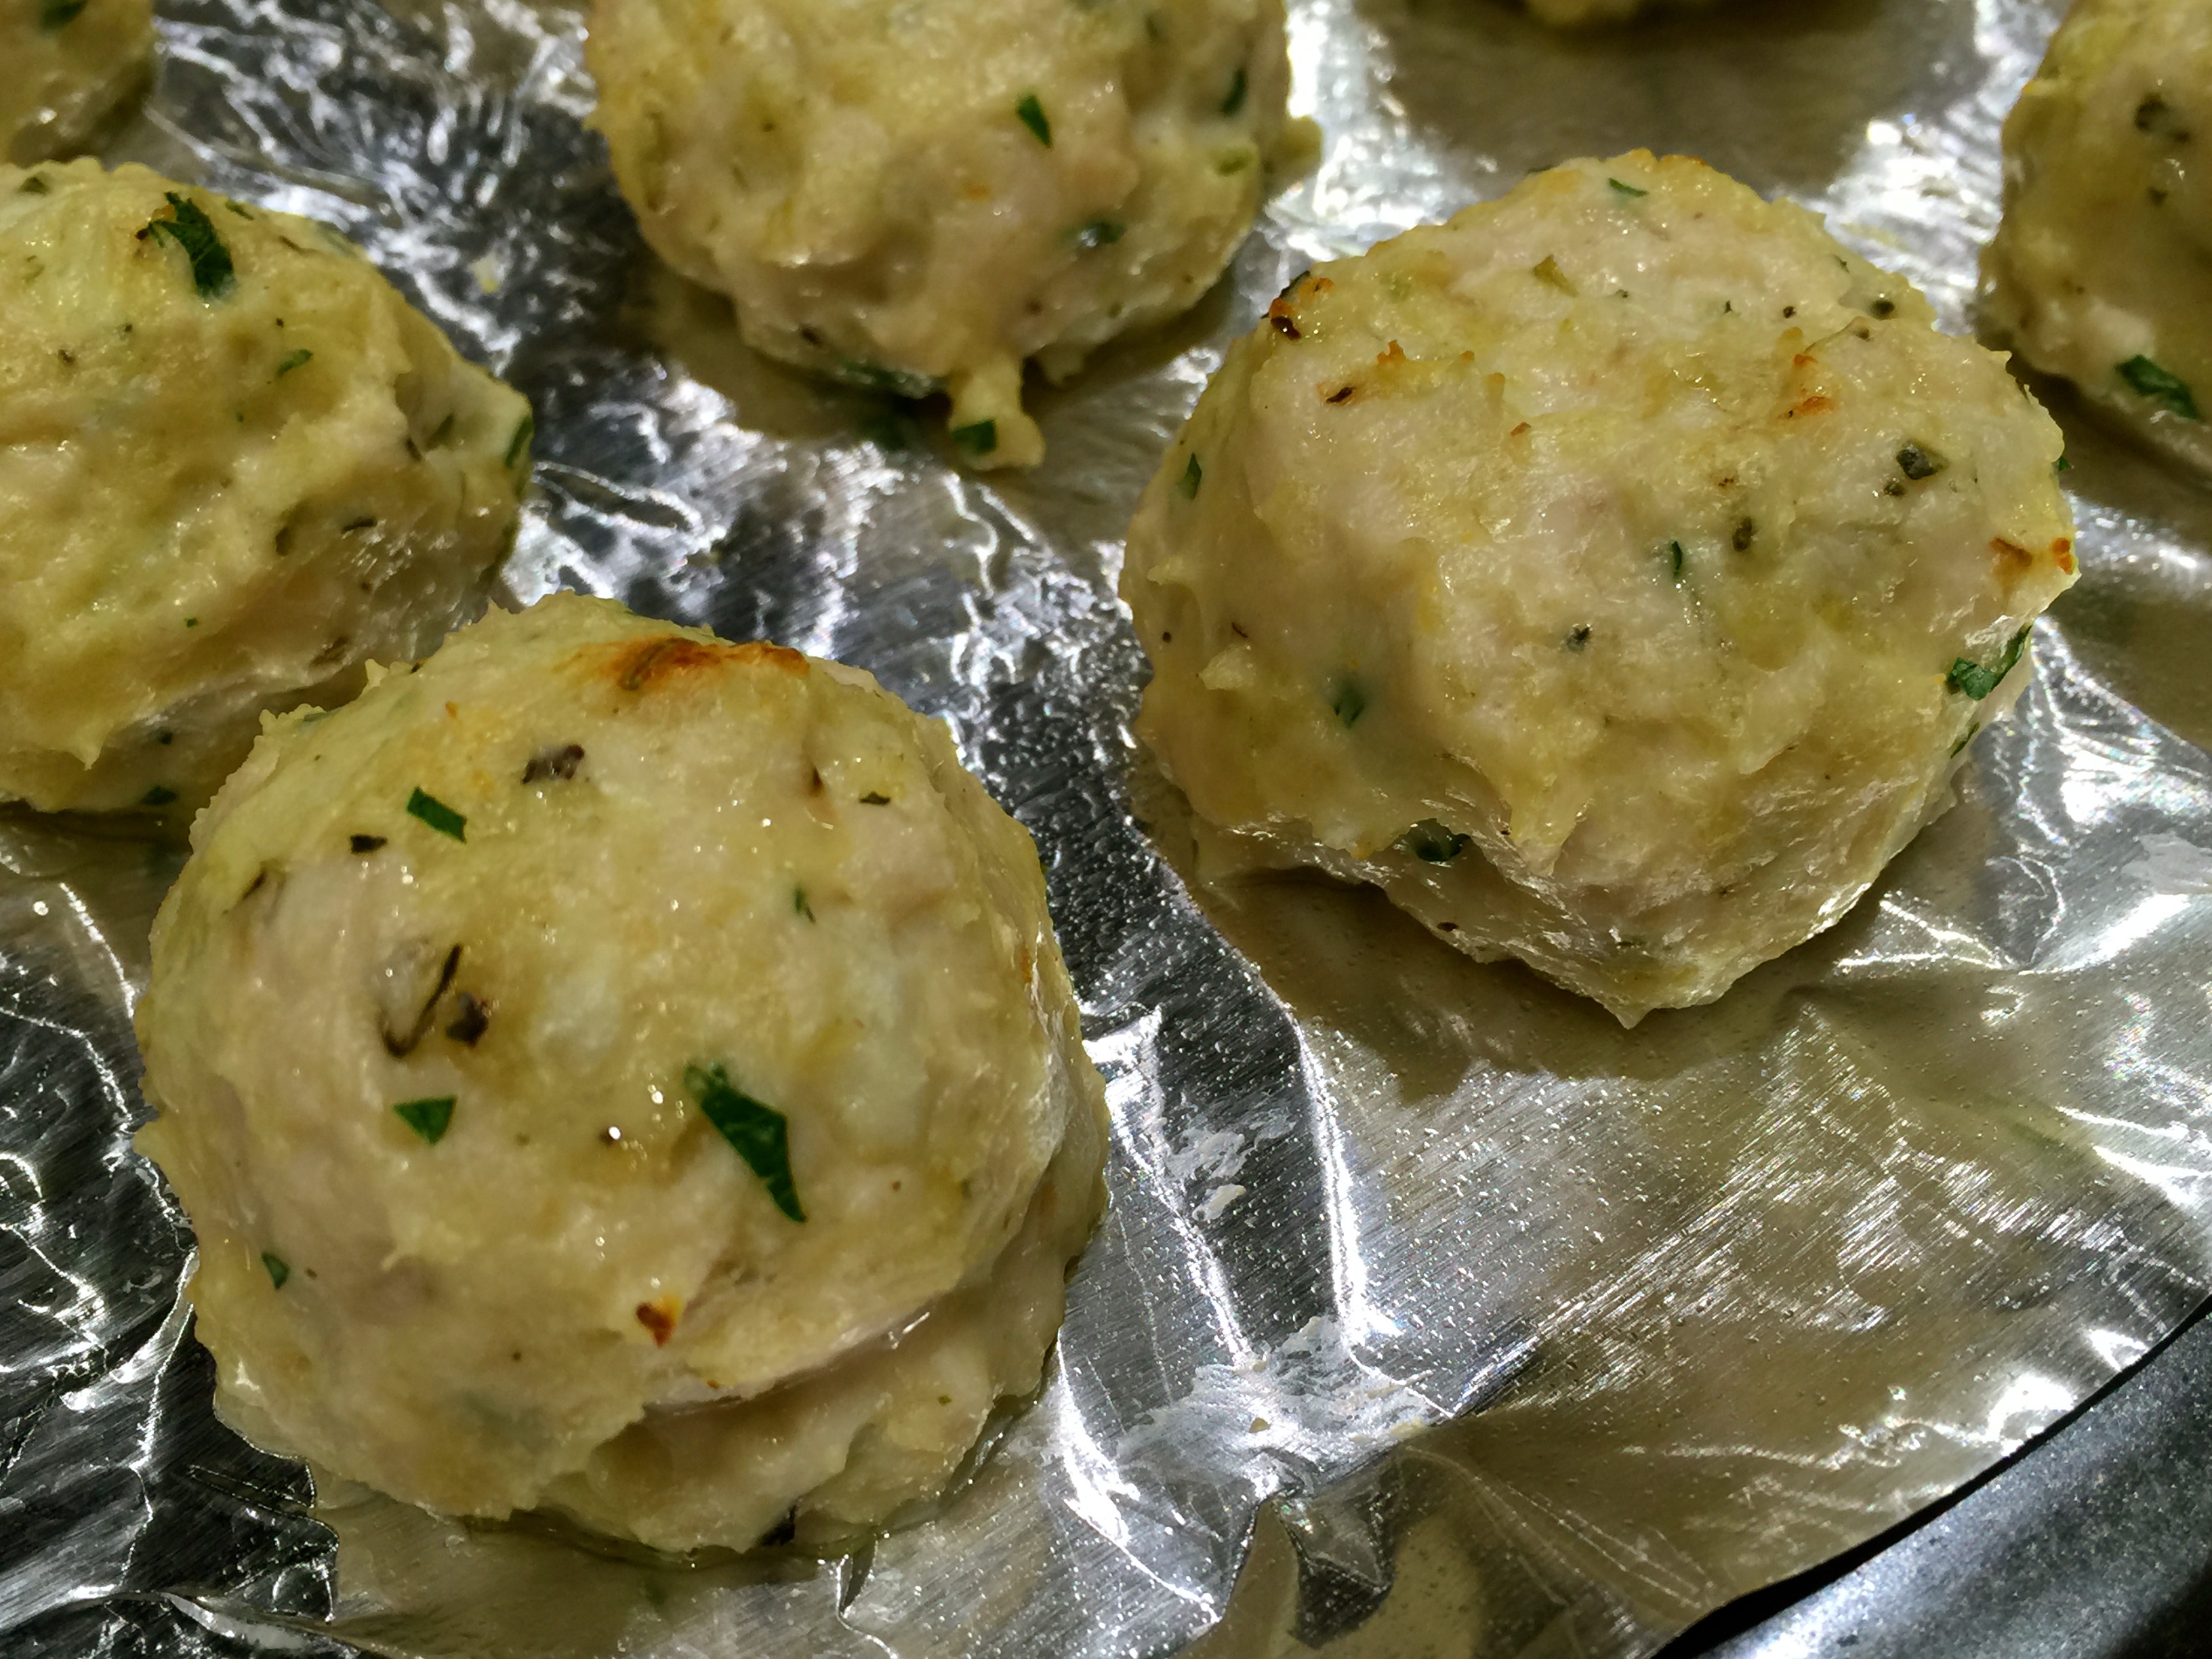
Cover the casserole dish with foil and bake for 35 minutes. (you may want to place the dish on a foil lined baking sheet to prevent any spills on the bottom of your oven). Uncover the casserole and bake for an additional 10 minutes. 

Remove the casserole from the oven and let it sit for 5 minutes. Serve with a side salad and some crusty bread and butter. 


Slow Cooker Chicken Parmesan Pasta…

Happy New Year! Here’s to another year of great recipe sharing and the many lessons learned along the road to cooking and baking successes.

More and more I’ve been using my slow cooker and have become increasingly pleased with my results. The slow cooker is such a handy dandy tool and I like some of the things that I’m learning I can do with it.

I love this recipe for a couple of reasons. First, it’s really delicious. Second, it makes a large batch so you can have it as a main dish for a party or freeze a bunch of meals for those nights went you want something good but easy. With a recipe like this, all you need add is a small salad and some crusty bread and you have one heck of a meal.

So let’s talk slow cooker Penne Chicken Parmesan

Lesson Learned 1 – The process for making this meal could not be any easier: The steps to the process are pretty basic.

  1. Prepare the sauce…

Sauce Ingredients

2. Pour a little of the sauce on the bottom of the slow cooker. Add the chicken breasts. Season them with salt and pepper.

Seasoned Chicken Breasts

3. Pour the remaining sauce on top of the chicken breasts and cook on low for 4 hours.

Cook on low for 4 hours

4. Cook the pasta according to package instructions. Remove the chicken breasts from the sauce and shred. Add pasta and shredded chicken back to the sauce and cook for an additional 30 minutes.

Shred the chicken

5. Add parmesan and mozzarella and cook for an additional 30 minutes.

Lesson Learned 2 – The dish makes the best leftovers: I took the leftovers and froze them in meal sized packages. When I wanted to make it I thawed a package and put it in a casserole dish. I added some more parmesan and mozzarella on top and and some Italian seasoning and baked it covered with foil for 45 minutes at 375 degrees. I removed the foil and baked for an additional 5-10 minutes or until the cheese started to turn a nice golden brown. The picture below is how I served the leftovers. The leftovers tasted divine and from the look of them you would never have guessed they were leftovers.

This is an easy, versatile meal – perfect for this time of year when you’re busy trying to manage the holidays. You’ll feel pampered without a lot of work, and who doesn’t like that. Try this and let me know what you think!

Slow Cooker Chicken Parmesan Pasta

  • Servings: 8-10
  • Difficulty: Easy
  • Print

INGREDIENTS:

4 large boneless, skinless chicken breasts

2 – 28 oz. cans of crushed tomatoes

2 Tbs. tomato paste

1 small onion, diced

4-5 large crimini mushrooms sliced

2 cloves garlic, minced

1 Tbs. dried basil

1 tsp. dried oregano

1 tsp. dried parsley

1 pound penne pasta

1 1/2 cups shredded mozzarella

1/4 shredded parmesan cheese

kosher salt and pepper

2 Tbs. fresh italian parsley, chopped for garnish, optional

Cooking spray

DIRECTIONS:

In a large bowl, combine the crushed tomatoes, tomato paste, onion, mushrooms, basil, oregano, and parsley. Stir to combine.

Spray the inside of a 6 qt. slow cooker with cooking spray. Take one cup of the tomato mixture and spread it on the bottom of the crock. Place chicken breasts on top of the sauce. Salt and pepper the chicken breasts. Cover the chicken breasts with the remaining tomato sauce. Cover and cook on low for 4 hours.

Prepare the penne pasta according to package directions. (this step can be done ahead of time and the pasta put into the refrigerator. About 1/2 hour before adding the pasta to the sauce, take it out of the refrigerator to remove the chill – see lessons learned above).

Remove the chicken from the slow cooker and shred using two forks. Add the chicken and pasta back to the slow cooker, cover and cook on low for another half hour. Add the parmesan and mozzarella on top, cover and cook for another 30 minutes.

Serve immediately and garnish with fresh chopped parsley, if desired.

SaveSave

SaveSave

SaveSave

SaveSave

SaveSave

SaveSave

SaveSave

SaveSave

SaveSave

SaveSave

SaveSave

SaveSave

SaveSave

Chicken Meatballs In Cheesy Tomato Cream Sauce…

I was in search of somewhat quick comfort food meal that was a little bit out of our ordinary faire. My husband suggested trying to make meatballs with ground chicken and I took it from there.

Meatball IngredientsI’d never made meatballs with anything other than ground beef so I was interested to see how they would turn out. They were fabulous, but I have to admit they still tasted like a regular old meatball to me. It was fun experimenting with a different spin on meatballs and the meal was absolutely divine with very little fuss.

So let’s talk chicken meatballs in cheesy tomato cream sauce…

The meatball mixtureLesson Learned 1 – Although in the end they may taste similar, working with ground chicken is different than working with ground beef: Because ground chicken is leaner you have to be careful how you mix it and how much you cook it. Otherwise you will be stuck with dry, tasteless meatballs.

First of all, to keep the mixture moist I added a tablespoon of sour cream and 1/4 cup milk along with an egg. I will warn you now, the mixture will be very moist as seen in the picture to the left. I started out with 1/2 cup of panko bread crumbs and wound up adding about 1/4 cup more. Keep in mind you do want the mixture to be very moist, probably more moist than you think. Although it seemed a little strange at first, this consistency produced tender, juicy meatballs.

You also want to make sure you don’t overcook the meatballs. I formed the meatballs using a well rounded teaspoonful of the mixture and rolling them in my hand. I arranged them on a pan lined with foil and sprayed with cooking spray. They went under the broiler for about 6 minutes and then I cooked them through in the simmering tomato sauce. The pictures below show the meatballs before and after going under the broiler.  There appears to be only a slight difference. You put them under the broiler to “set” them so when you take them out they are only somewhat cooked. But trust me, the tomato sauce will do the rest of the work and you’ll have fabulous and tender meatballs in the end.

Meatballs Before Going Under The Broiler

Meatballs Before Going Under The Broiler

How The Meatball Should Look After Coming Out From The Broiler

How The Meatballs Should Looking Coming Out From Under The Broiler

Lesson Learned 2 – Use good ingredients: I always remember Ina Garten saying that you need to use good ingredients in order to have the best outcome. I am especially referring to the tomato sauce you use. With this particular recipe I used a tomato basil sauce. Now you may turn up your nose on “organic” but I actually spent time reading the labels on many sauce jars and was surprised by some of the ingredients in them. I finally settled on a little known organic brand that had only fresh clean ingredients and no chemical sounding names. It was a little more expensive, but I felt good about what I was eating and the sauce was divine. It’s your choice. I just get a little uncomfortable putting ingredients into my body that I cannot even pronounce.

Mozzarella PearlsLesson Learned 3 – Use only a small amount of mozzarella pearls: I was happy to discover that you can buy mozzarella in a size called “pearls”. They are much smaller than mozzarella balls and just the perfect size for this recipe.

You may think you want to put in more than what is called for in the recipe but I would advise against it. Too many mozzarella pearls and your sauce will get overly thick and gloppy. You want the flavor of the mozzarella and a slight texture of melted stringiness in the cheese. In this case a little goes a long way. If for some reason you add too much and your sauce gets too thick, simply add some of the pasta water to the pot to thin the sauce. Or you can use chicken broth and get the same result.

You can find mozzarella pearls in the dairy case next to the fresh mozzarella. This was quite a find for me as I can envision using them in a lot of other recipes.

Adding Mozzarella Pearls To The Sauce

Mozarella Pearls Added To The Sauce

The biggest part of the work in this recipe is assembling the meatballs. If you are pressed for time prepare the mixture the night before. It takes no time to roll them up and put them under the broiler. The rest is basically adding them to the sauce, heating the sauce while cooking the pasta and adding the mozzarella at the end. My husband gave a two thumbs up to this recipe, so you know it has to be good!

Chicken Meatballs In Cheesy Tomato Cream Sauce…

  • Servings: 4-6
  • Difficulty: Easy
  • Print

INGREDIENTS:

1/2 – 3/4 cup italian style panko bread crumbsChicken Meatballs In A Cheesy Tomato Cream Sauce

1/4 cup whole milk

1 lb. ground chicken

1 egg

2 Tbs finely grated onion

1 Tbs. fresh parsley, minced

1 Tbs. sour cream

1/2 tsp. kosher salt

1/4 tsp. freshly cracked black pepper

2 cups pasta (I used a pasta called orecchiette)

Pasta water, if necessary to thin out the sauce

1 jar organic tomato basil sauce

1 Tbs. tomato paste

1/2 cup heavy cream

1/2 cup mozzarella pearls

Fresh parsley or basil, chopped for garnish.

DIRECTIONS:

For the meatballs: Set your oven rack in the center of the oven and put the broiler on high. In a large bowl combine 1/2 cup panko, milk, chicken, egg, onion parsley, sour cream, salt and pepper. The mixture will be very moist. If too moist add a little more panko being careful not to make the mixture too dry. Take rounded teaspoonfuls of the mixture and roll into meatballs approximately one inch thick. Spray a foil lined pan with cooking spray and arrange the meatballs on the pan. Broil the meatballs for 5-6 minutes until very lightly golden.

Cook the pasta according to the package instructions. While the pasta is cooking put the tomato sauce in a deep pan, and heat. Once the sauce is warmed through add the tomato paste and stir until combined. Add the cream and simmer for a few minutes. Add the meatballs and simmer for an additional five minutes. Add the cooked pasta to the sauce. Add the mozzarella pearls and stir until melted. If pasta sauce is too thick, add some of the pasta water to thin it.

Sprinkle with fresh herbs and serve immediately.

Tomato Basil Sauce With Orecchiette Pasta

Chicken Meatballs In A Cheesy Tomato Cream Sauce

Chicken Meatballs In Cheesy Tomato Cream Sauce…

Pesto Orzo With Roasted Red Peppers and Olives…

Pesto Orzo Roasted Red Pepper Ingredients

Pesto Orzo Roasted Red Pepper Ingredients

I admit, I am not one for making up recipes – creativity in the kitchen is not yet one of my culinary skills. But this recipe is an invention of mine – totally made up on the spot (and I’m sure there is a similar recipe for this out there somewhere) and has now become a side dish staple in our house.

It really evolved from two things, that being a cooking class in which I learned the art of roasting a red pepper (no more store bought jars for me) and a huge crop of basil that forced me to figure out how to make pesto. From there the recipe took shape.  So let’s talk a little bit about home-made roasted red peppers and pesto. Once you’ve made them yourself you will seldom, unless time dictates, go back to buying it pre-prepared at the grocery store.

Flame Roasting A Red Pepper

Flame Roasting A Red Pepper

I first became aware of using roasted red peppers in recipes from watching the Food Network. It seemed that every chef I liked used them in a variety of different recipes but they mostly just got them out of a jar. Don’t get me wrong, the jarred roasted red peppers are great and are a real time saver, but if you want to control the flavor and minimize waste there is nothing like making it yourself. It’s so easy and I have to say rather fun as well.

The trick is you will need fire of some sort to do this, so a gas stove or other source of flame is necessary. All you do is put it on the fire and let it turn black, and I do mean black. Just keep an eye on it and when one side turns black rotate it until the entire pepper is black. That’s it. Then you put it in a container, cover it with plastic wrap and let it sit for at least 20 minutes. After that, you take a paring knife and scrape off the black matter and voila, you have a roasted red pepper! It can’t get simpler than that. I’ll put the complete recipe down below. Oil and herbs round out the flavor, but it is so easy and I like the fact that you control the amount you want to have versus buying a jar of peppers and having half of it sit in the refrigerator until you wind up throwing it out. This is easy and it has real cost savings as well.

The blackened pepper...

The blackened pepper…

The next part is the pesto. The prime ingredient in pesto is fresh basil. I like to grow mine in containers on my deck. Once you figure out how to grow basil you will get it prolifically, trust me. The first year I grew it I was not aware of cutting it back before it began to flower. That resulted in a very small basil crop. The second year I did a little research, did the appropriate trimming and I wound up with basil coming out of my ears. Using your basil to make pesto is a great way to have it year-round. I make mine and freeze it in batches and when I want some I just scoop what I need out of the container and let it thaw. I hear some people freeze it in ice cube trays and just pop cubes of pesto out when they want them. I had way too much basil to even try that. My freezer would’ve become nothing more than a haven for ice cube trays! Pesto freezes very well and every summer I wind up freezing a supply that takes me through to the following summer. I’ve included the pesto recipe below.

Homemade Pesto

Homemade Pesto

The rest is relatively simple, just a matter of cooking the pasta and combining the ingredients. My husband is a big rice fan and I’m not (being born and raised a potato girl) so I’m always looking for ways to either make a substitute for rice or jazzing up rice. Because of that I’ve become quite adept at risotto, my favorite form of rice, but that is for another blog. I found this recipe to be a great substitute for rice. As a matter of fact, my husband originally thought it was rice as orzo is a rice shaped pasta. Try this. I think you’ll really enjoy this one. Here is my recipe rating and lessons learned: Rating: A +++++ – now c’mon, you didn’t think I could rate a recipe made up by me any less than this, could you? But I bet if you try it you’ll agree. The combination of flavors is a perfect compliment to almost any dish. Lesson Learned 1: When I learned about roasting peppers on the stove I was told to let it sit covered for a minimum of 20 minutes before scraping off the burnt edges. I recommend waiting as long as you can. The longer you let it sit the easier it is to scrape it off. If you wait an hour or more it comes off in no time flat. Lesson Learned 2: When making the pesto recipe, initially add only half of the olive oil into the food processor. After that drizzle in the rest. You may find that adding all of the recommended amount may make the pesto too oily. I don’t like my pesto floating in oil, but some do. You can always add more olive oil but you can’t take it away once you’ve added it. Lesson Learned 3: The pesto recipe calls for a half of a clove of garlic. I like my garlicky and so I put in two cloves. Don’t throw them in whole. Just cut them in quarters – that way you will ensure they mix properly in the food processor. You don’t want to be chomping on raw garlic. Lesson Learned 4: The recipe calls for a 1/2 cup of cheese. You can add more to taste if you like. Lesson Learned 5: After you drain the pasta put it back in the pot you cooked it in and mix all the ingredients together under a very low flame. That way any residual liquid will evaporate so you won’t have a watery concoction.  

Pesto Orzo With Roasted Red Peppers and Olives

  • Servings: 4-6
  • Difficulty: Easy
  • Print
INGREDIENTS: 1 1/2 cups uncooked orzo pasta i large red bell pepper 1/4 cup of pesto olive oil (1-2 tsp.) 1/4 cup of kalamata olives chopped 1 TBS garlic and herb bread dipper seasoning DIRECTIONS: Place red pepper over open flame and blacken on all sides. Place in a heat resistant bowl, cover with plastic wrap and let sit for at least 20 minutes. Remove pepper from bowl and scrape off all of the black matter. Cut open, remove the seeds and yellowish veins and cut into lardons (lardons are simply small rectangular slices – see picture below). Add seasoning and desired amount of olive oil. Mix together and set aside. Chop the kalamata olives into small bite size pieces.

Lardons of red pepper mixed with olive oil and seasonings.

Lardons of red pepper mixed with olive oil and seasonings.

In a 3-4 quart saucepan cook pasta according to package directions. Once cooked, drain the pasta and put it back in the pot under a very low heat. Add the pesto (recipe below), roasted red pepper and olives. Stir to combine. Serve immediately.

Basic Basil Pesto

  • Servings: 12
  • Difficulty: Easy
  • Print
INGREDIENTS: 4 cups loosely packed basil leaves 2 cloves garlic 1 small shallot, cut into pieces 3 TBS. pine nuts 1/4 – 1/2 cup olive oil 1/2 cup grated romano or parmesan cheese salt, if desired DIRECTIONS: Wash basil leaves and remove excess water. Place the basil, shallot, pine nuts, cheese and 1/4 cup oil in a food processor. Process, stopping to scrape down the sides of the food processor at least once. Check the consistency of the pesto. If too thick, drizzle in more oil while processing until the pesto reaches the desired consistency. Use or freeze. If not using immediately, store in an airtight container in your refrigerator or freezer.

Mix all ingredients together under a low heat

Mix all ingredients together under a low heat

Orzo Pasta with Roasted Red Pepper and Olives

Orzo Pasta with Roasted Red Pepper and Olives