I’m always looking for a quick and easy dinner recipe and I’m always on the hunt for new ways with chicken. This particular recipe definitely fits the bill in both areas. I like this recipe for a variety of reasons but mostly because it’s so easy and so flavorful. If you’re a chicken fan like I am, this recipe will become one of your favorites.
Recipe Rating – A+: This recipe is so good and easy to prepare that even I was a little amazed. My husband, who normally just gives me either a thumbs up or thumbs down on a new dish, felt compelled to comment. He must have said at least three times, “this chicken is really good.” That in itself is super validation for this particular recipe.
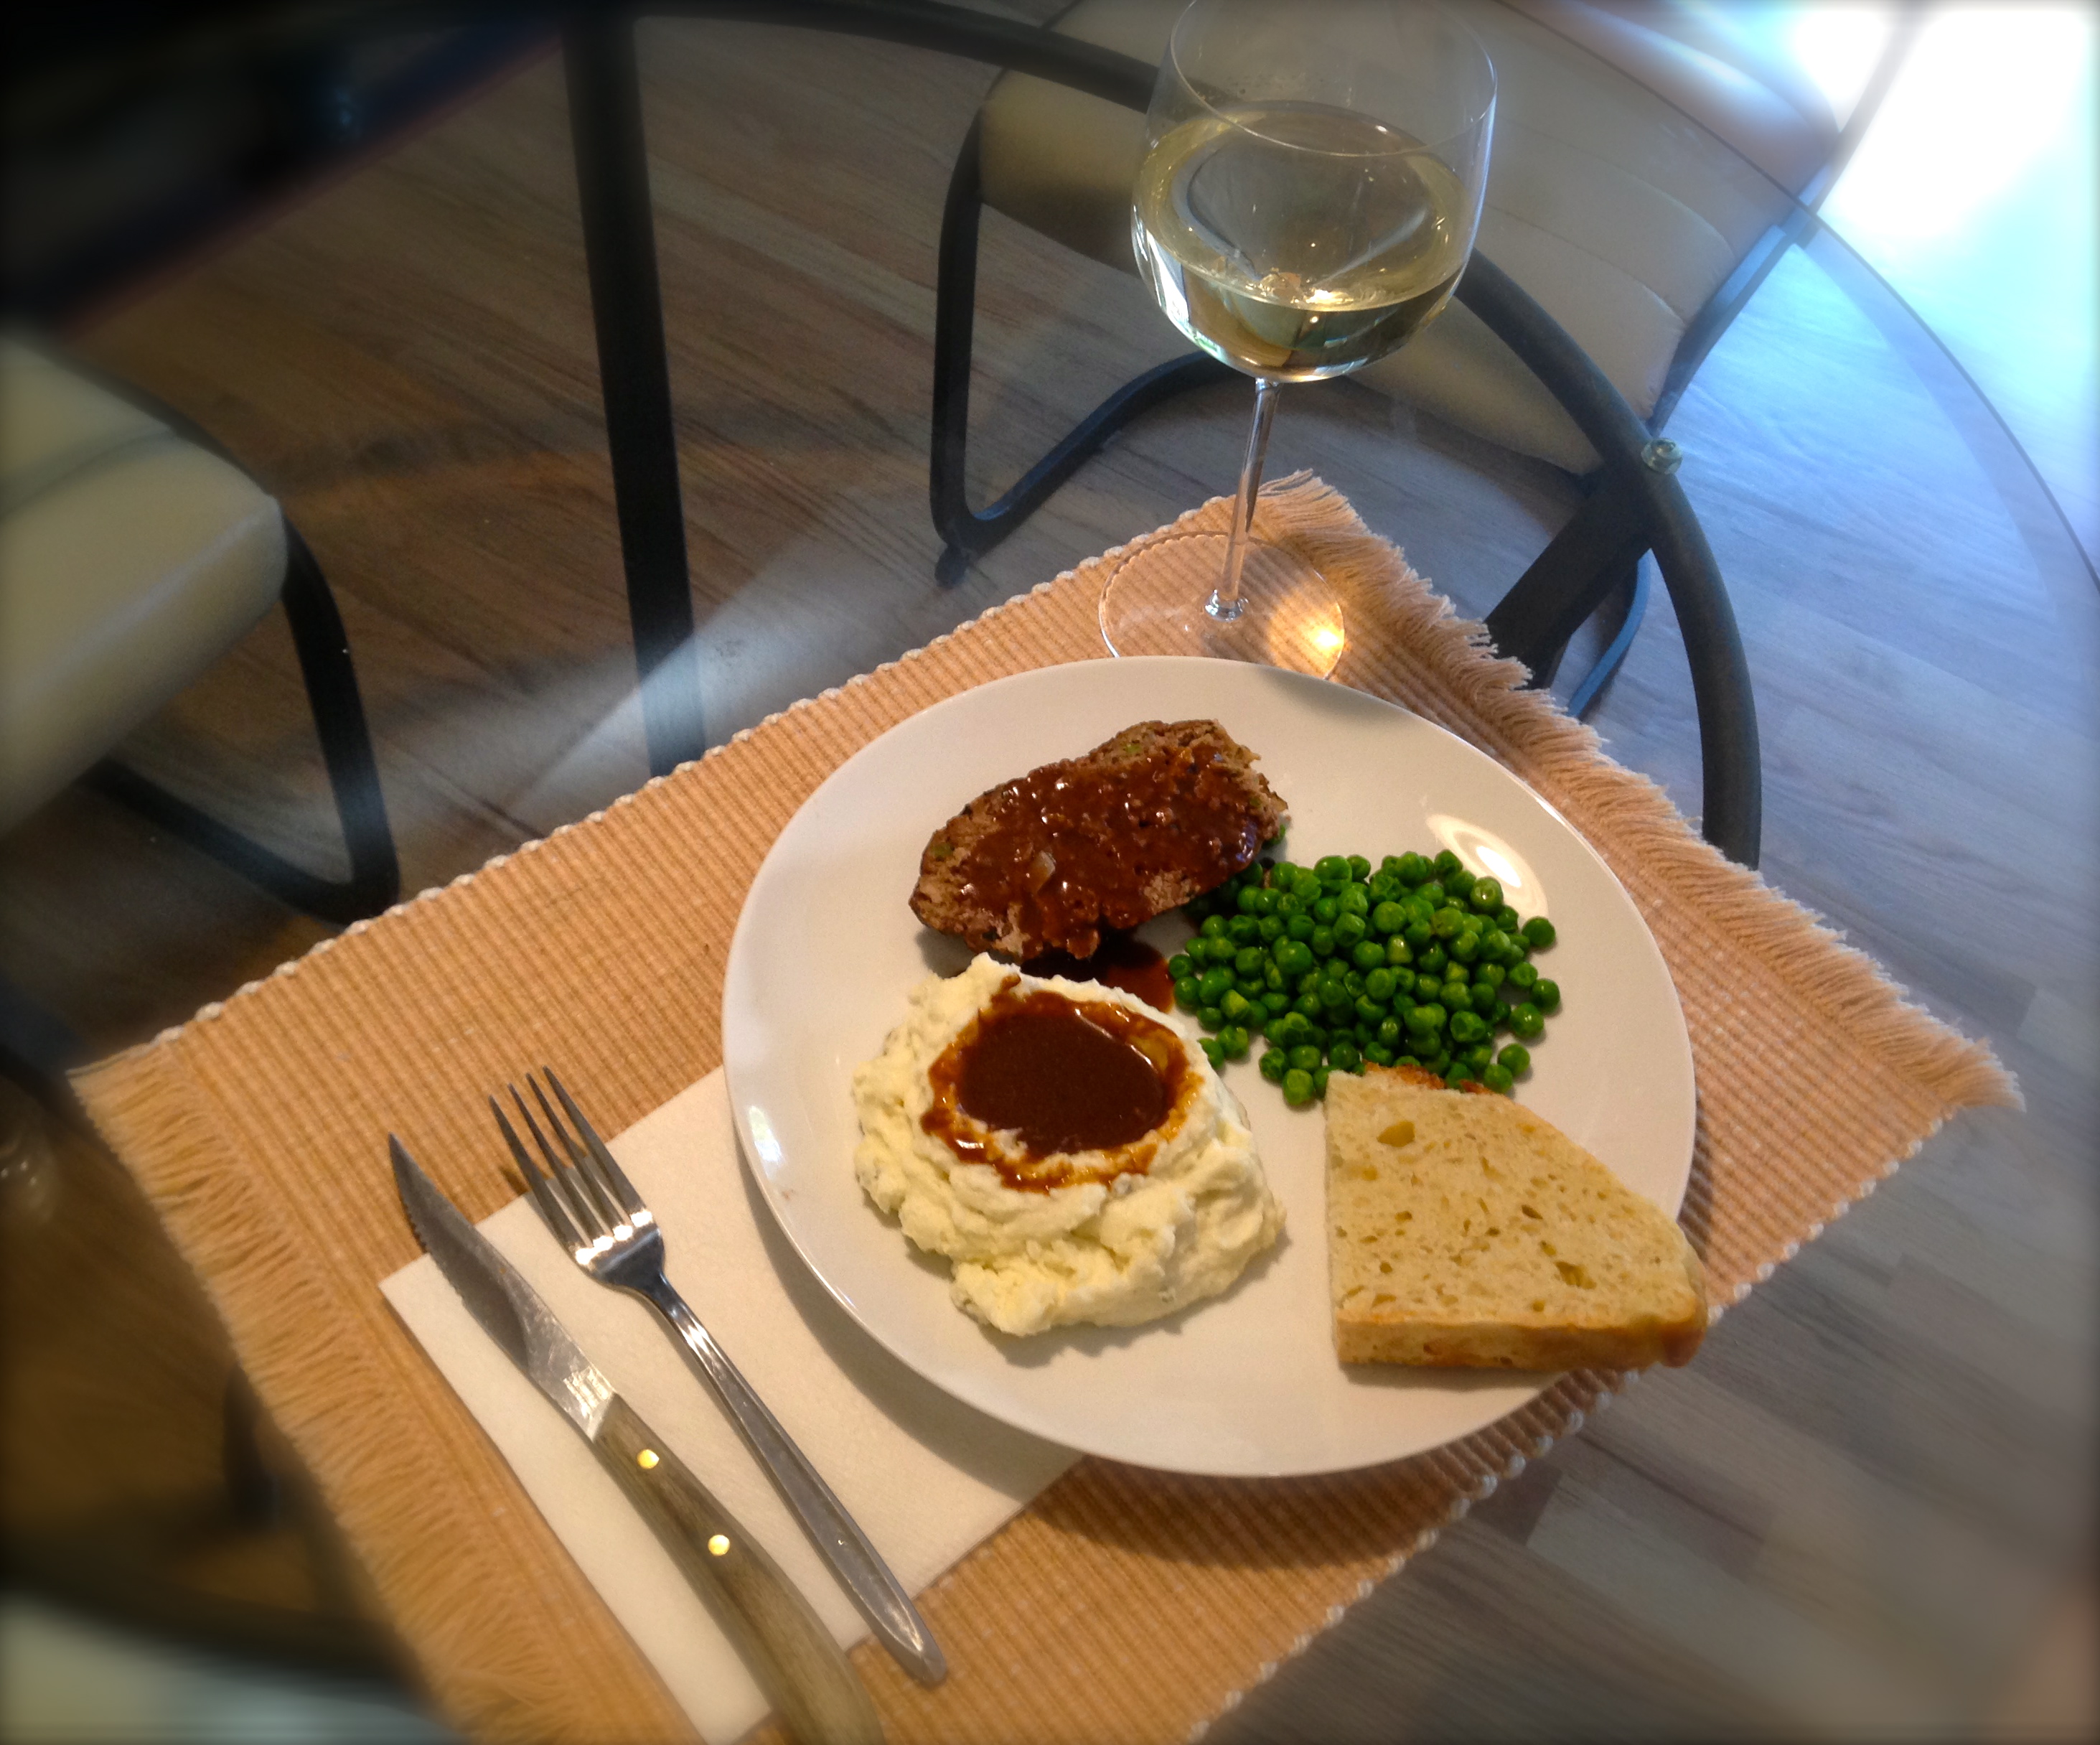
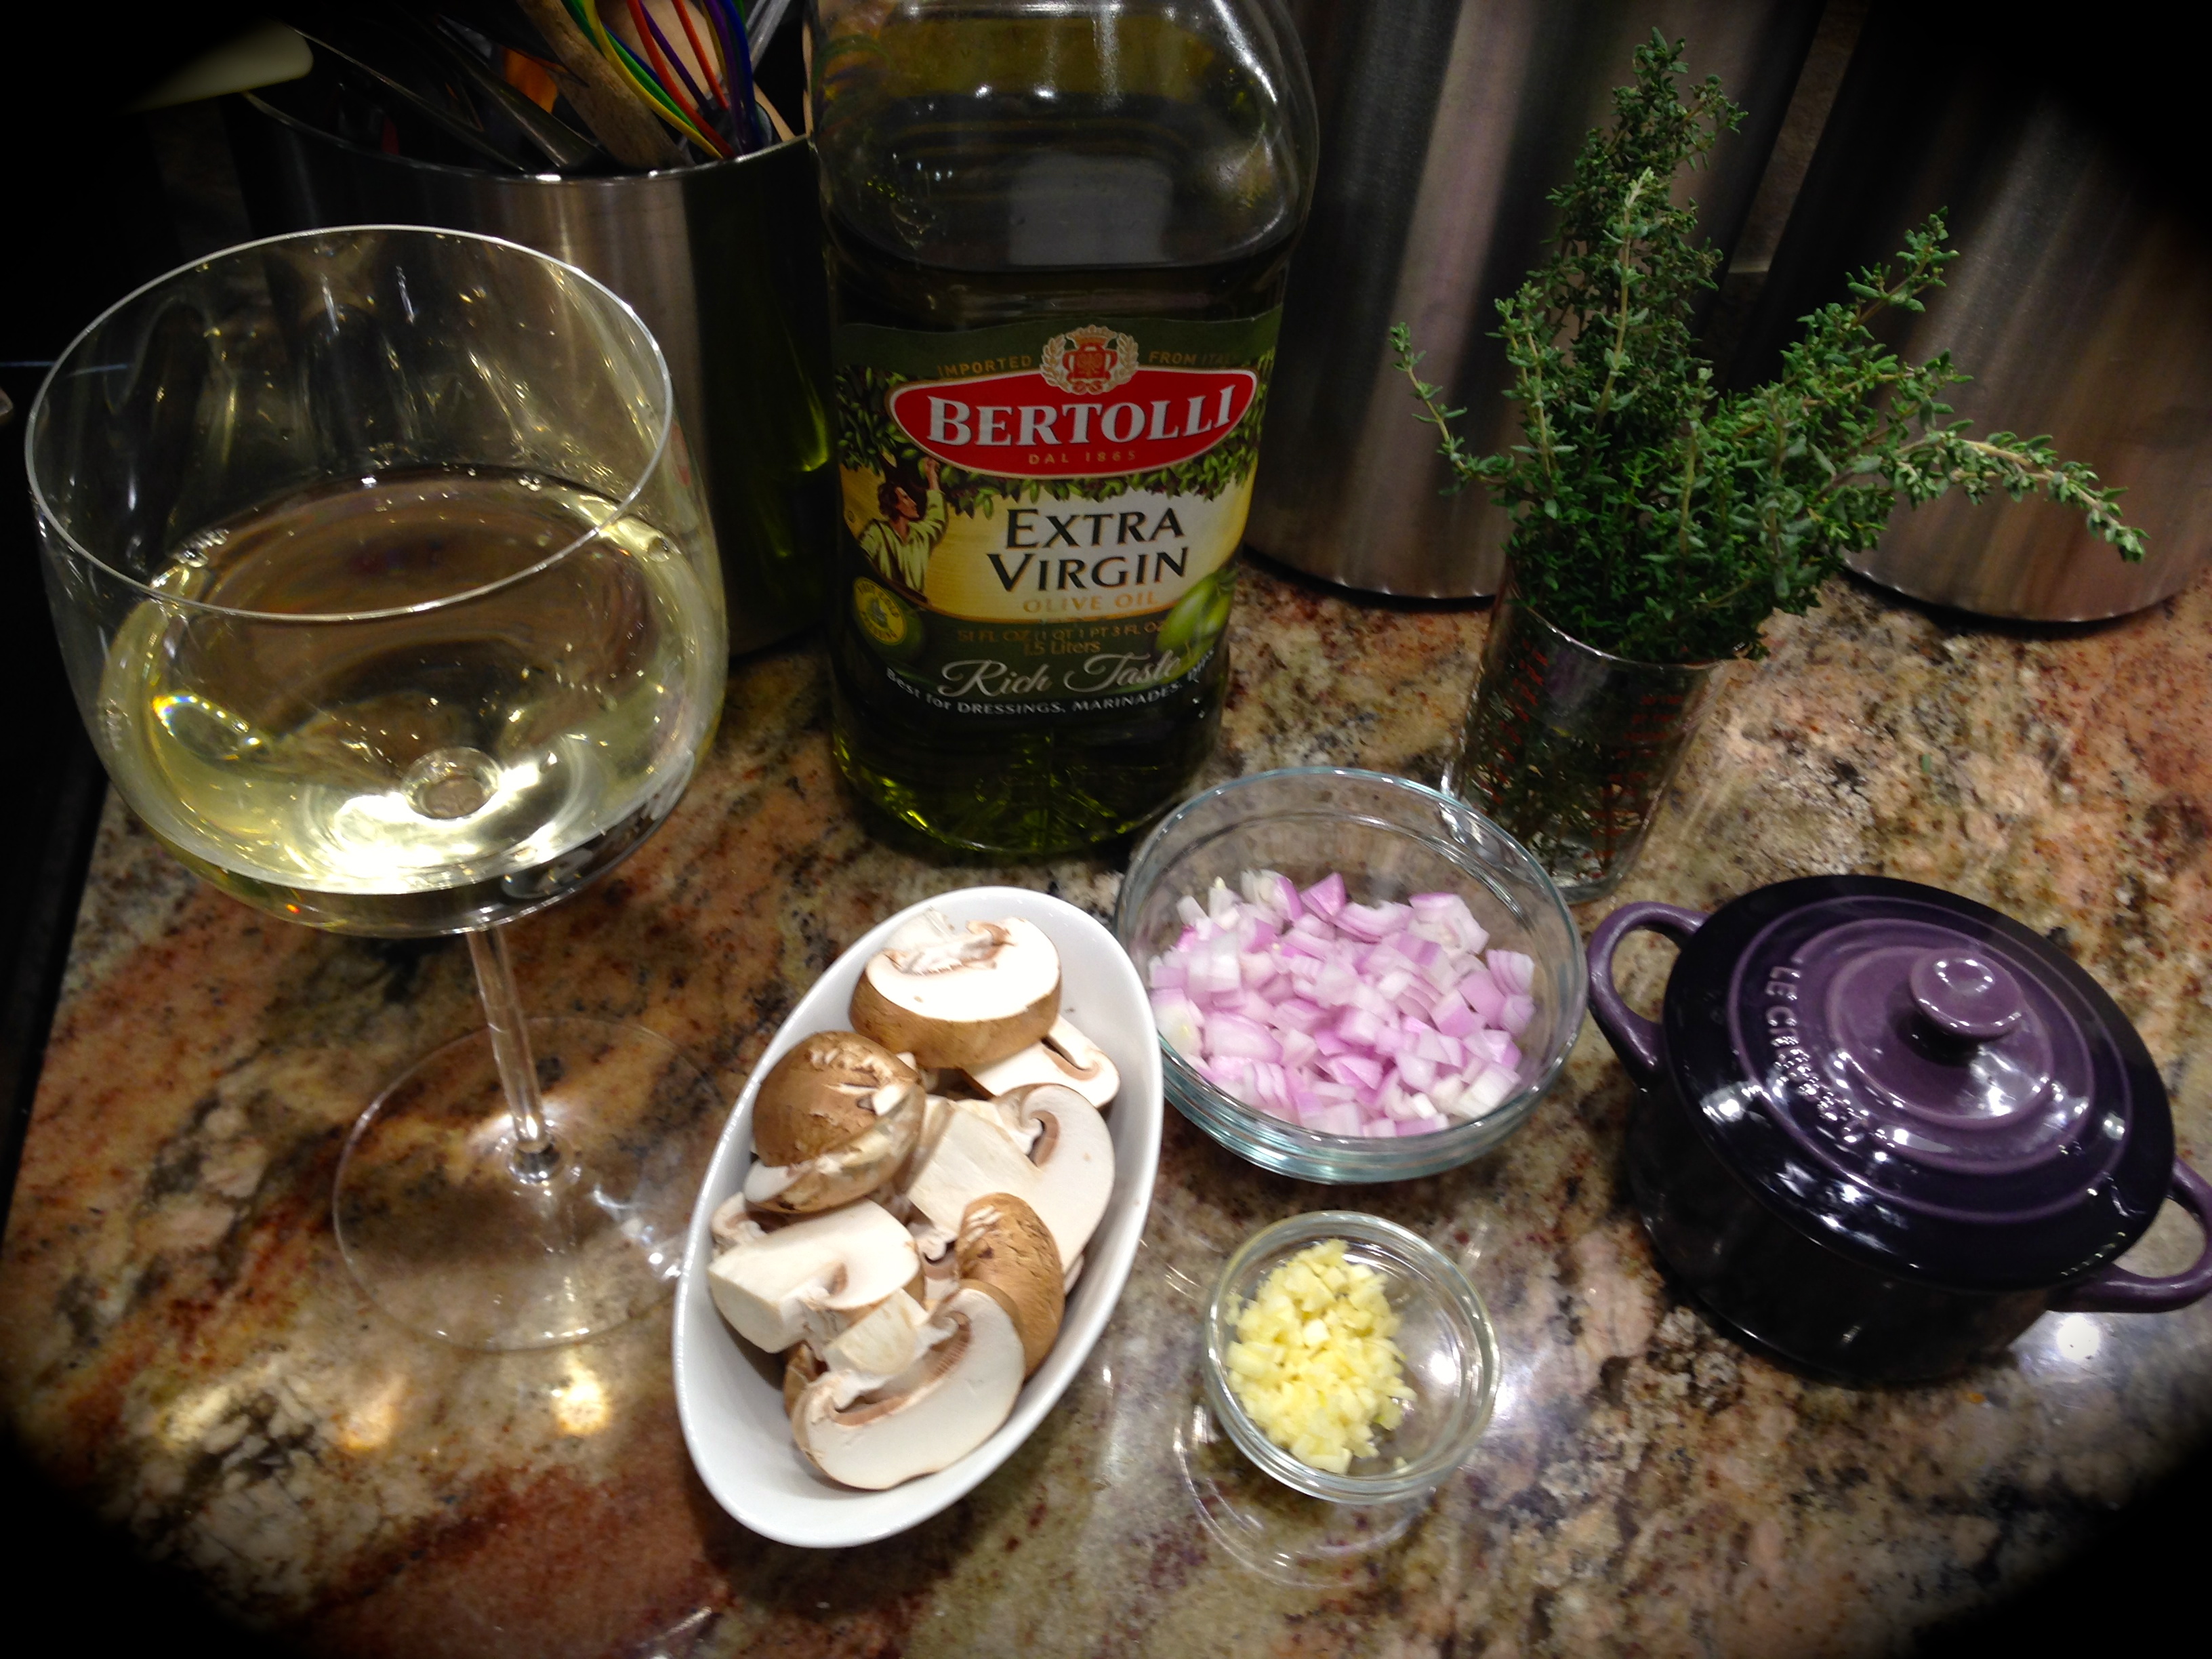 Lessons Learned 1 – Never underestimated the power of having a glass of wine while preparing a new recipe: I just had to put this in here. Usually I am a little nervous when trying out a new dish. Those few sips while I’m cooking away make the experience pleasurable. Add a little music to the mix and I begin to feel like Julia Child’s got nothing on me. I know I’m being slightly tongue and cheek here, but the idea is to do whatever you can to make the experience a good one. Anything that helps you enjoy the process is worth it. Have fun in the kitchen. I know I do.
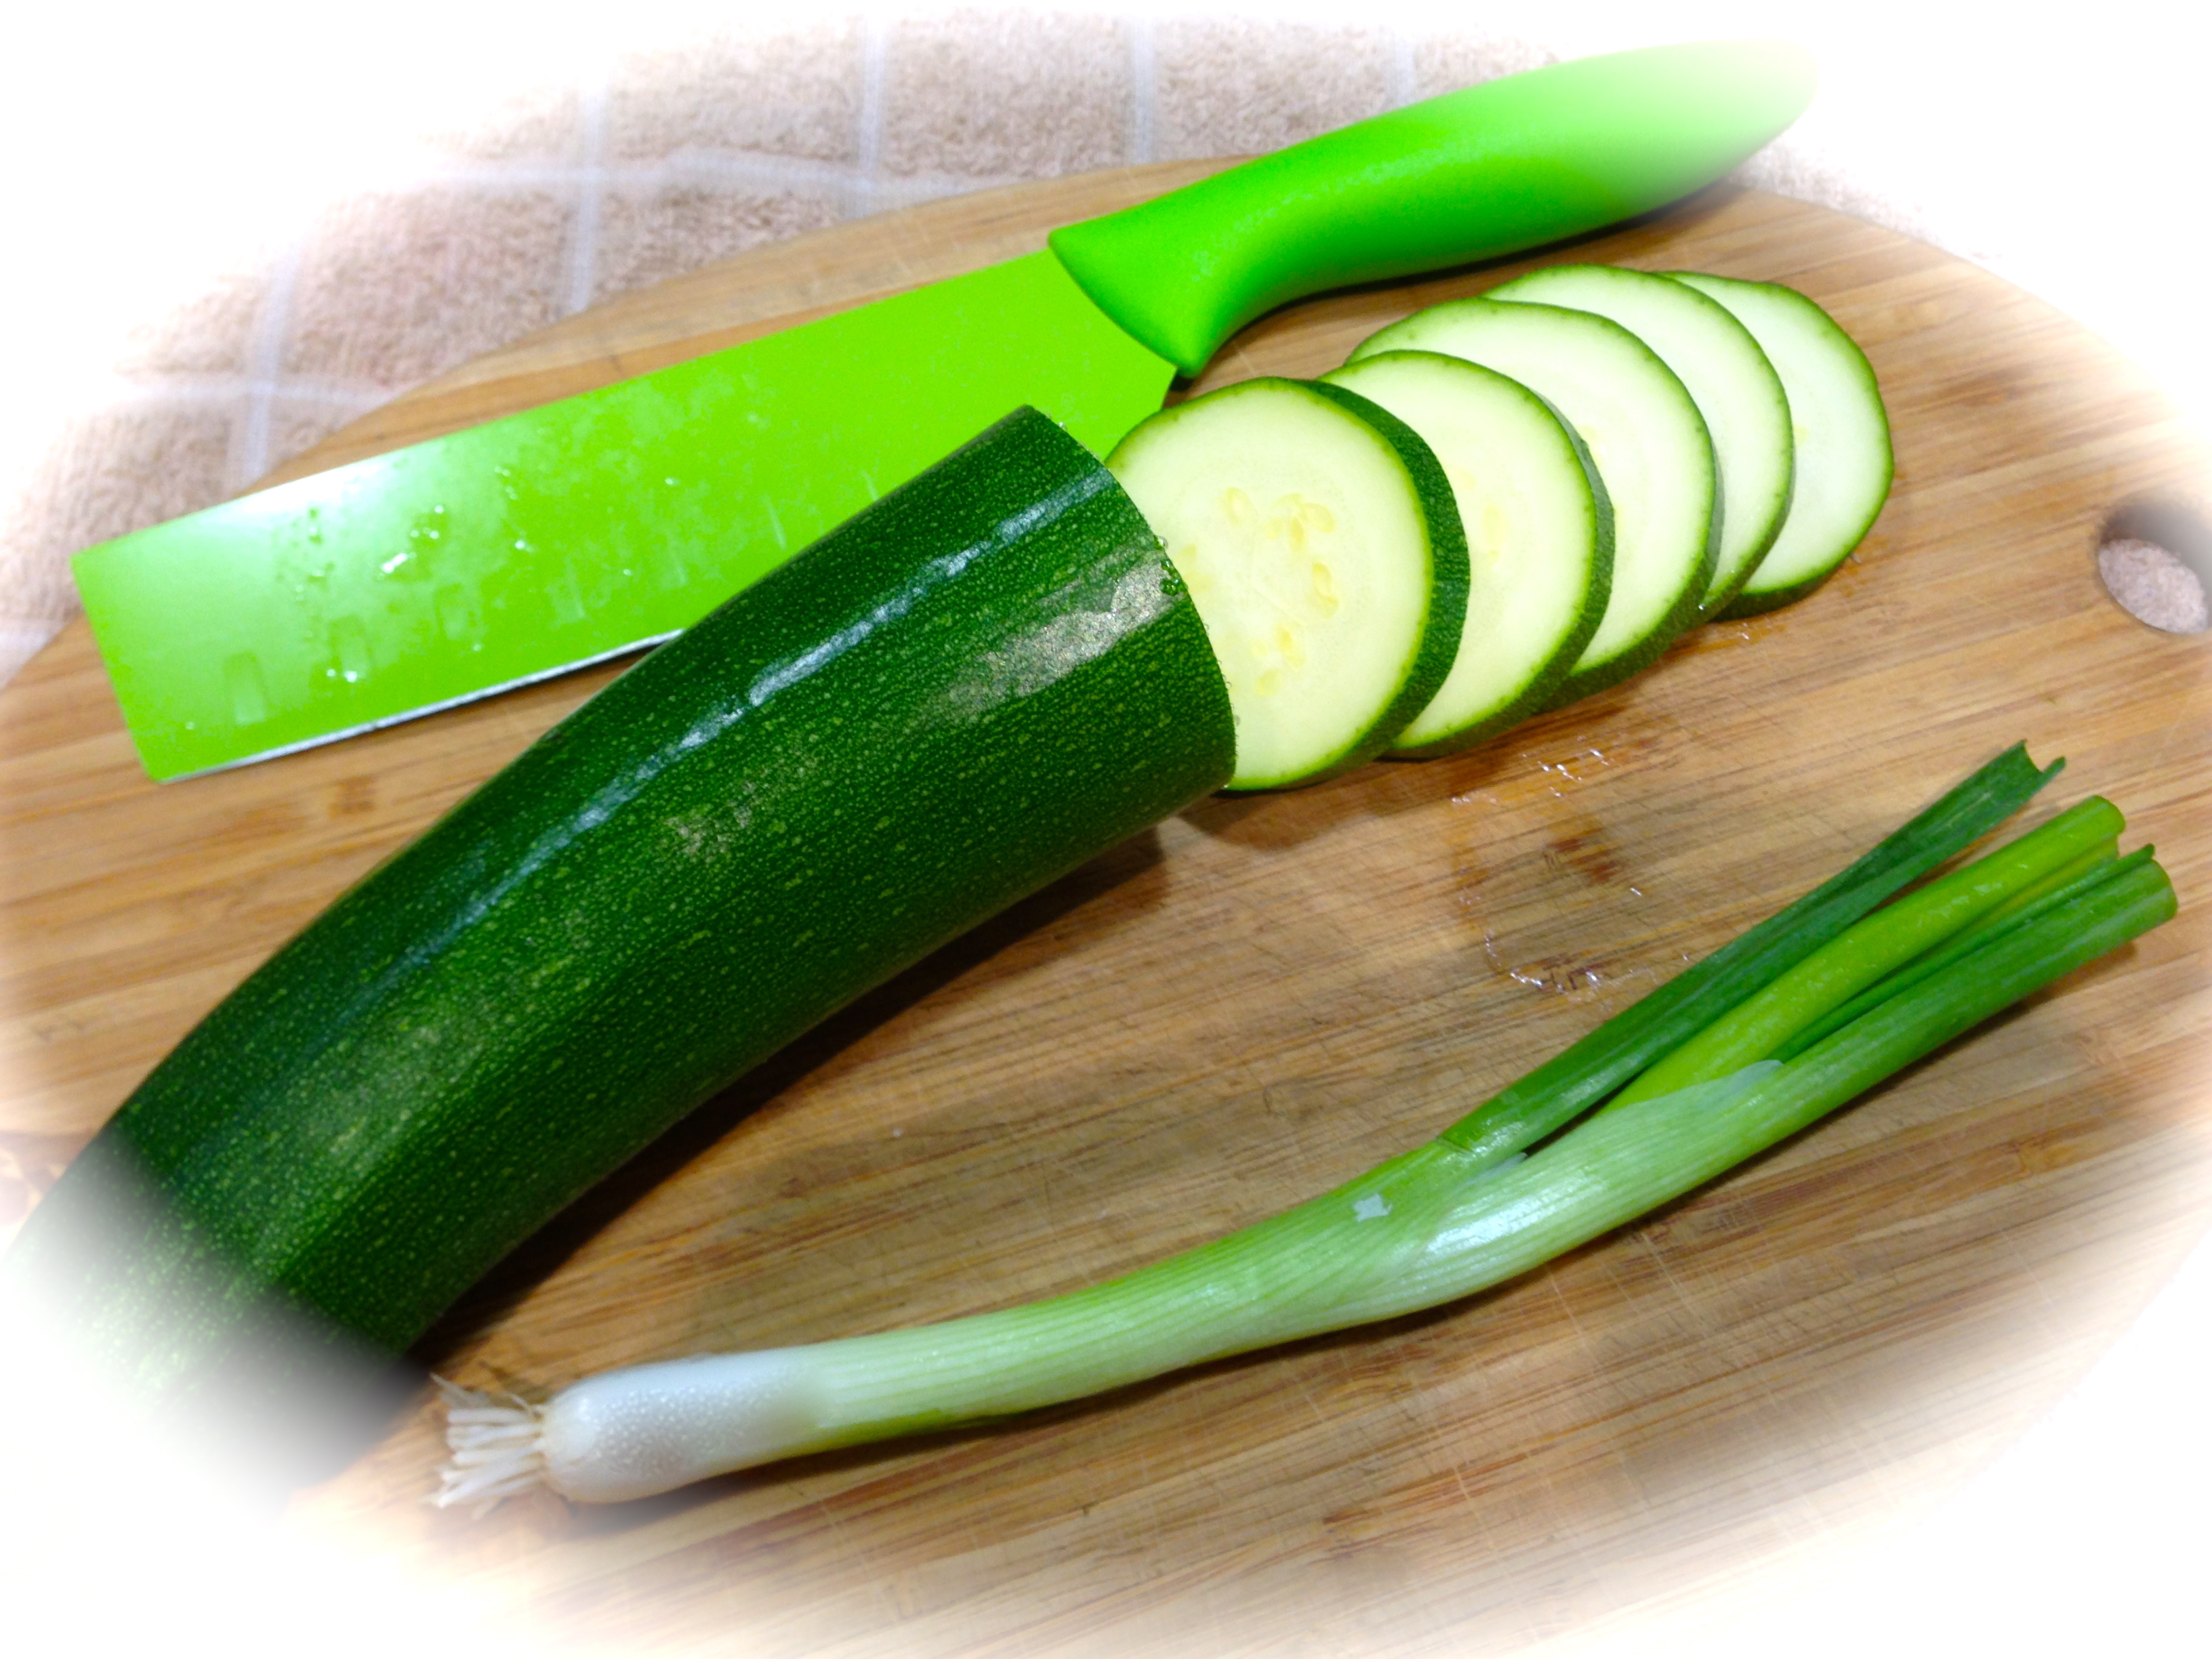
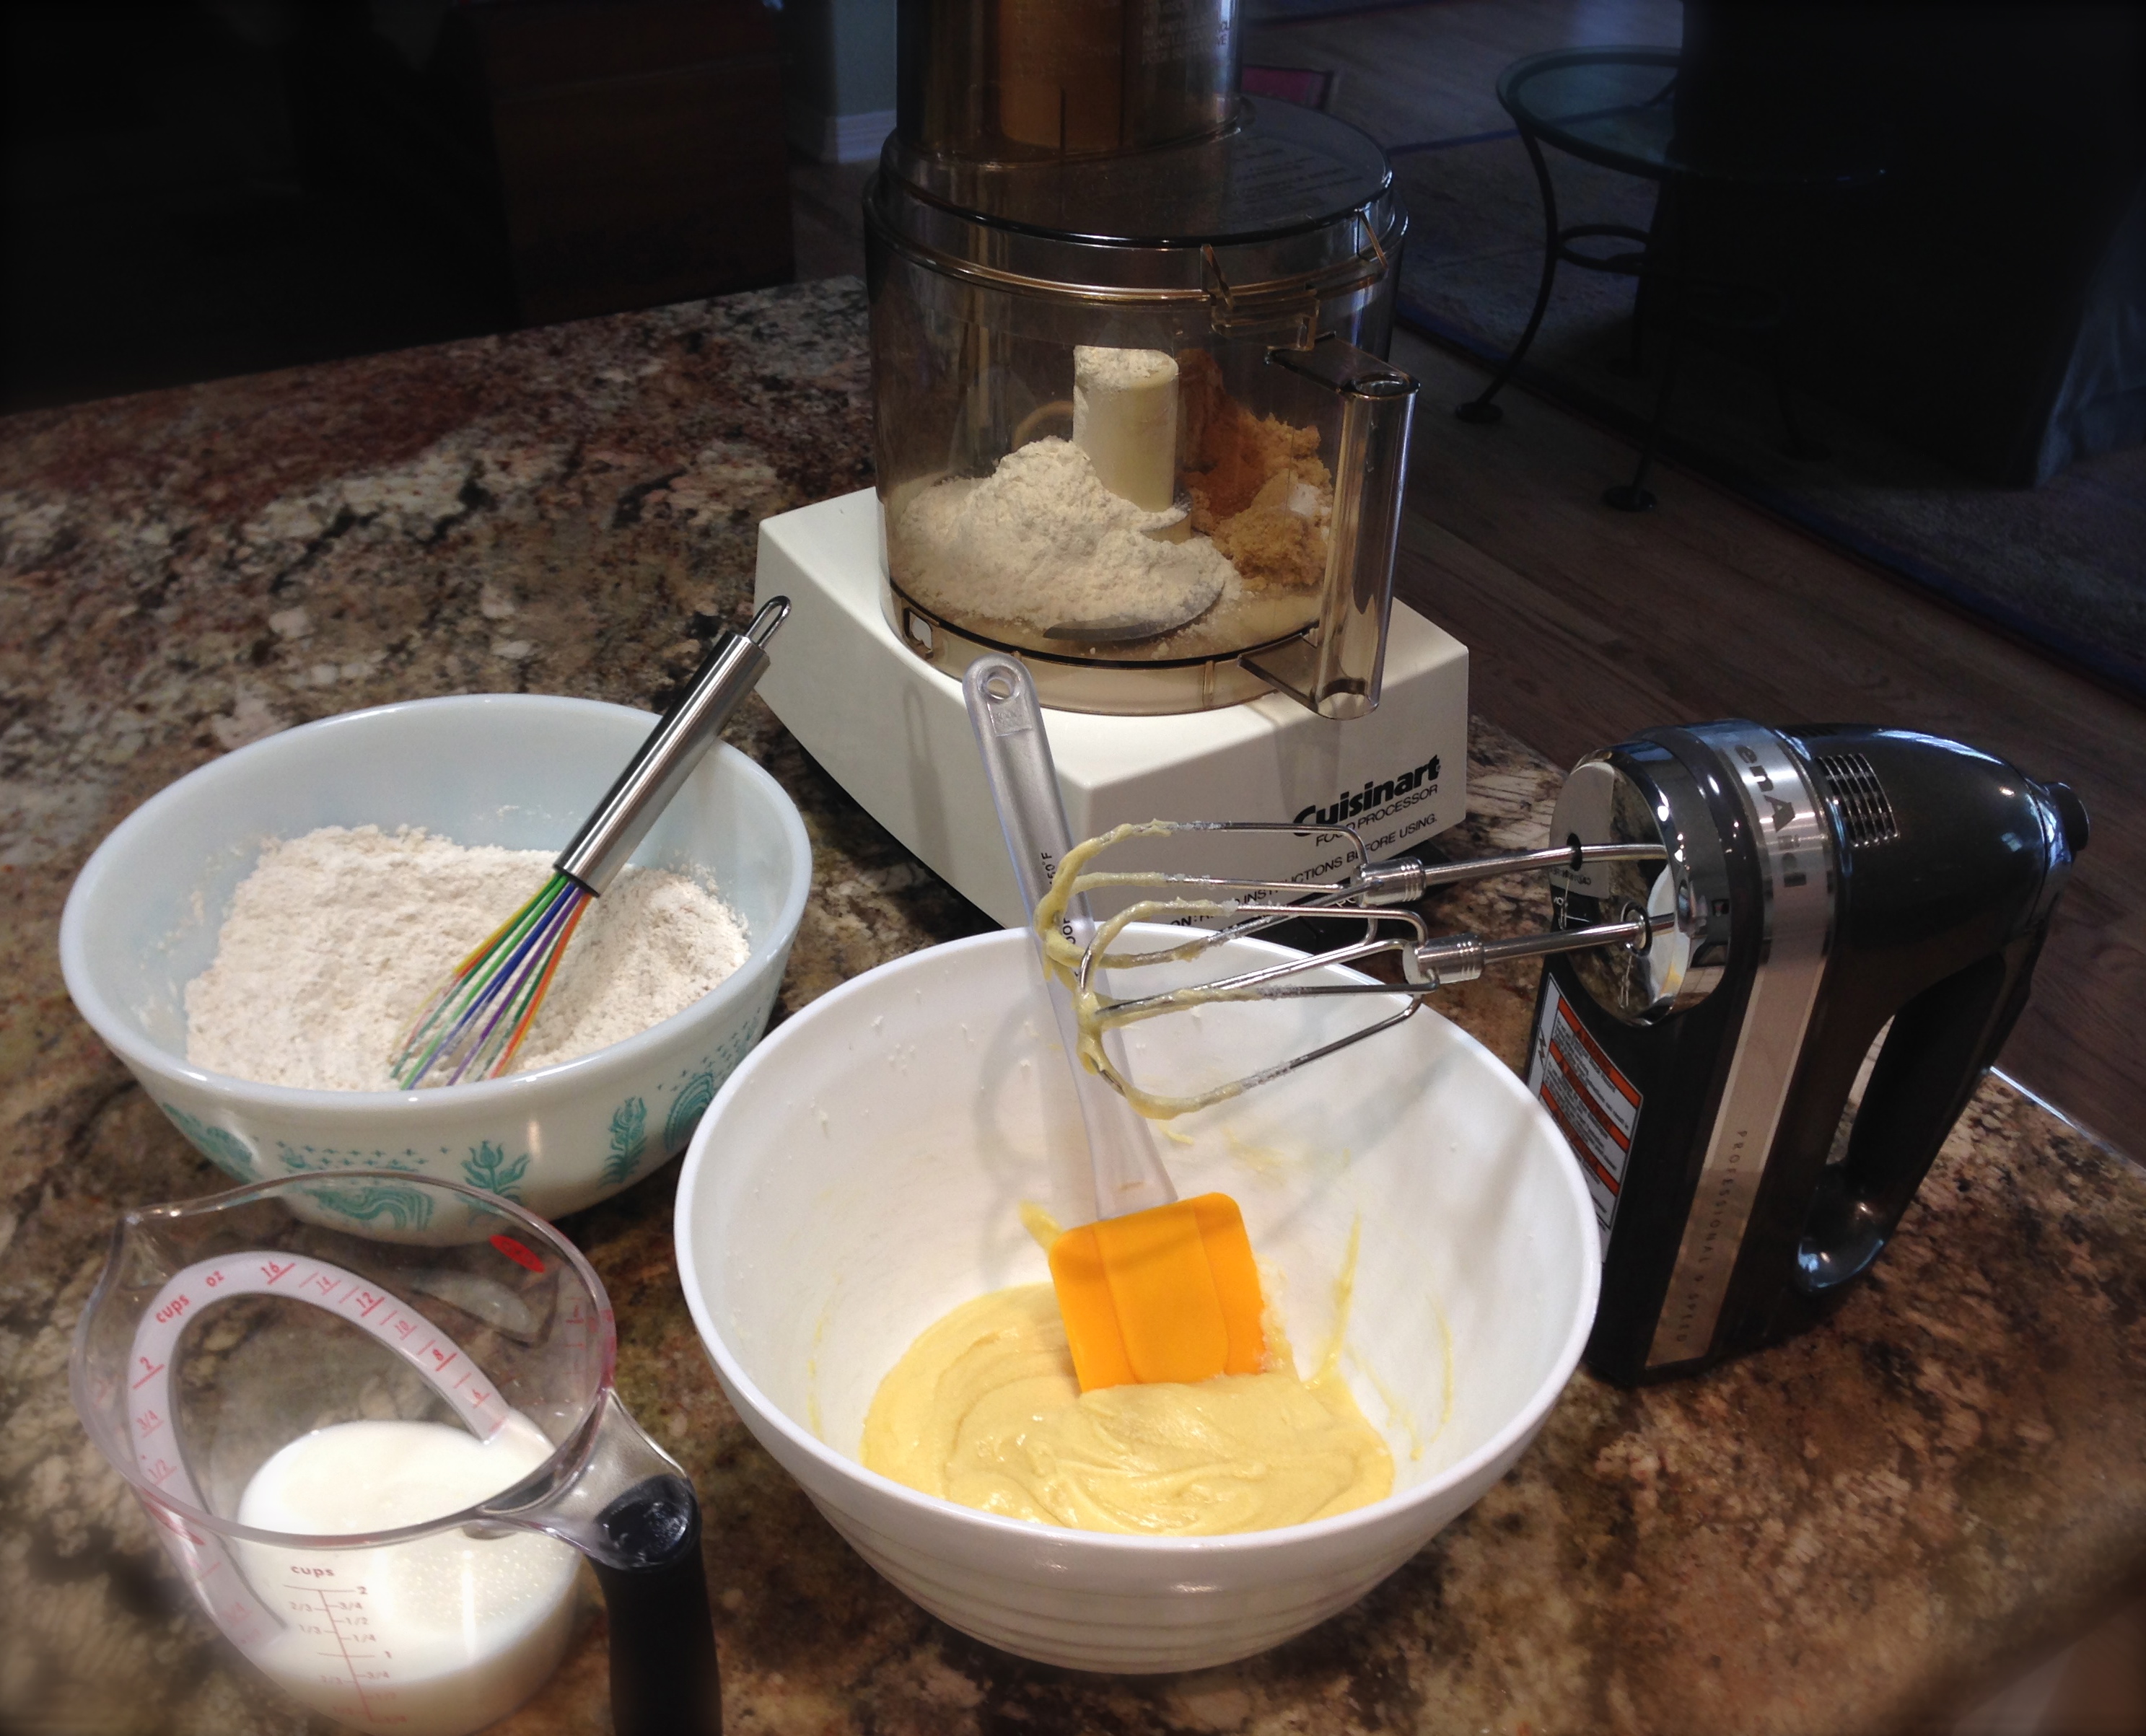
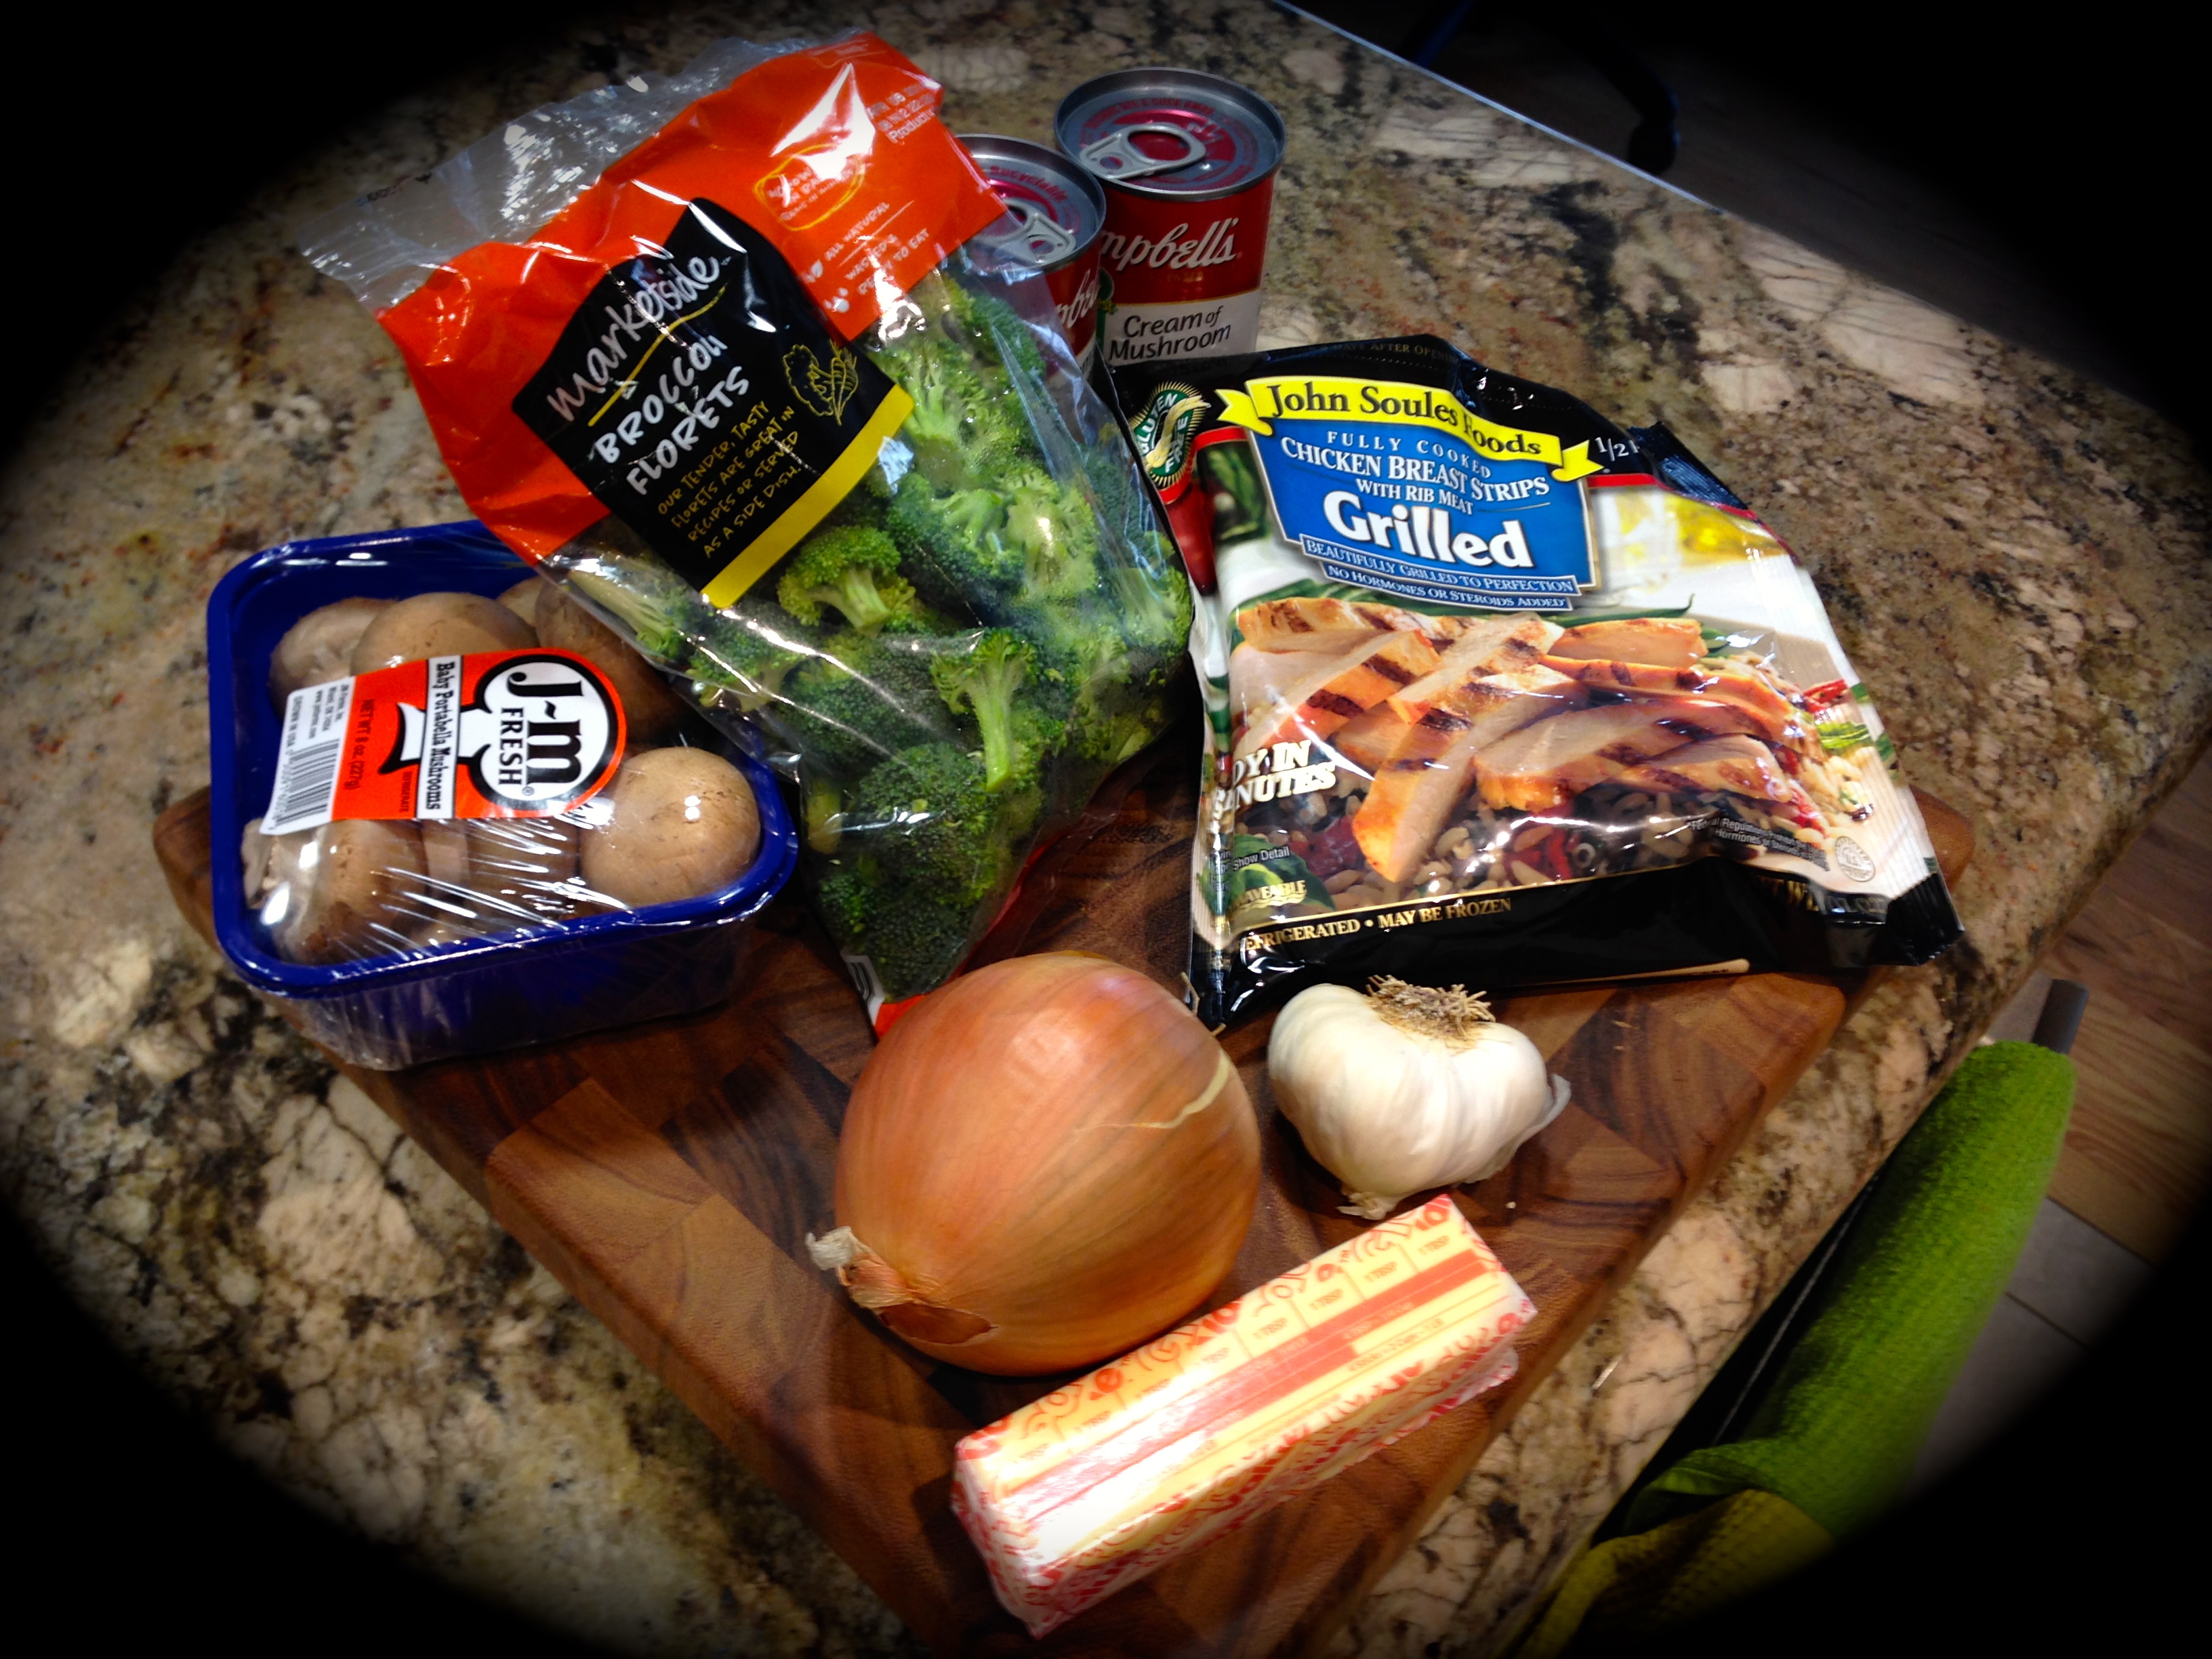
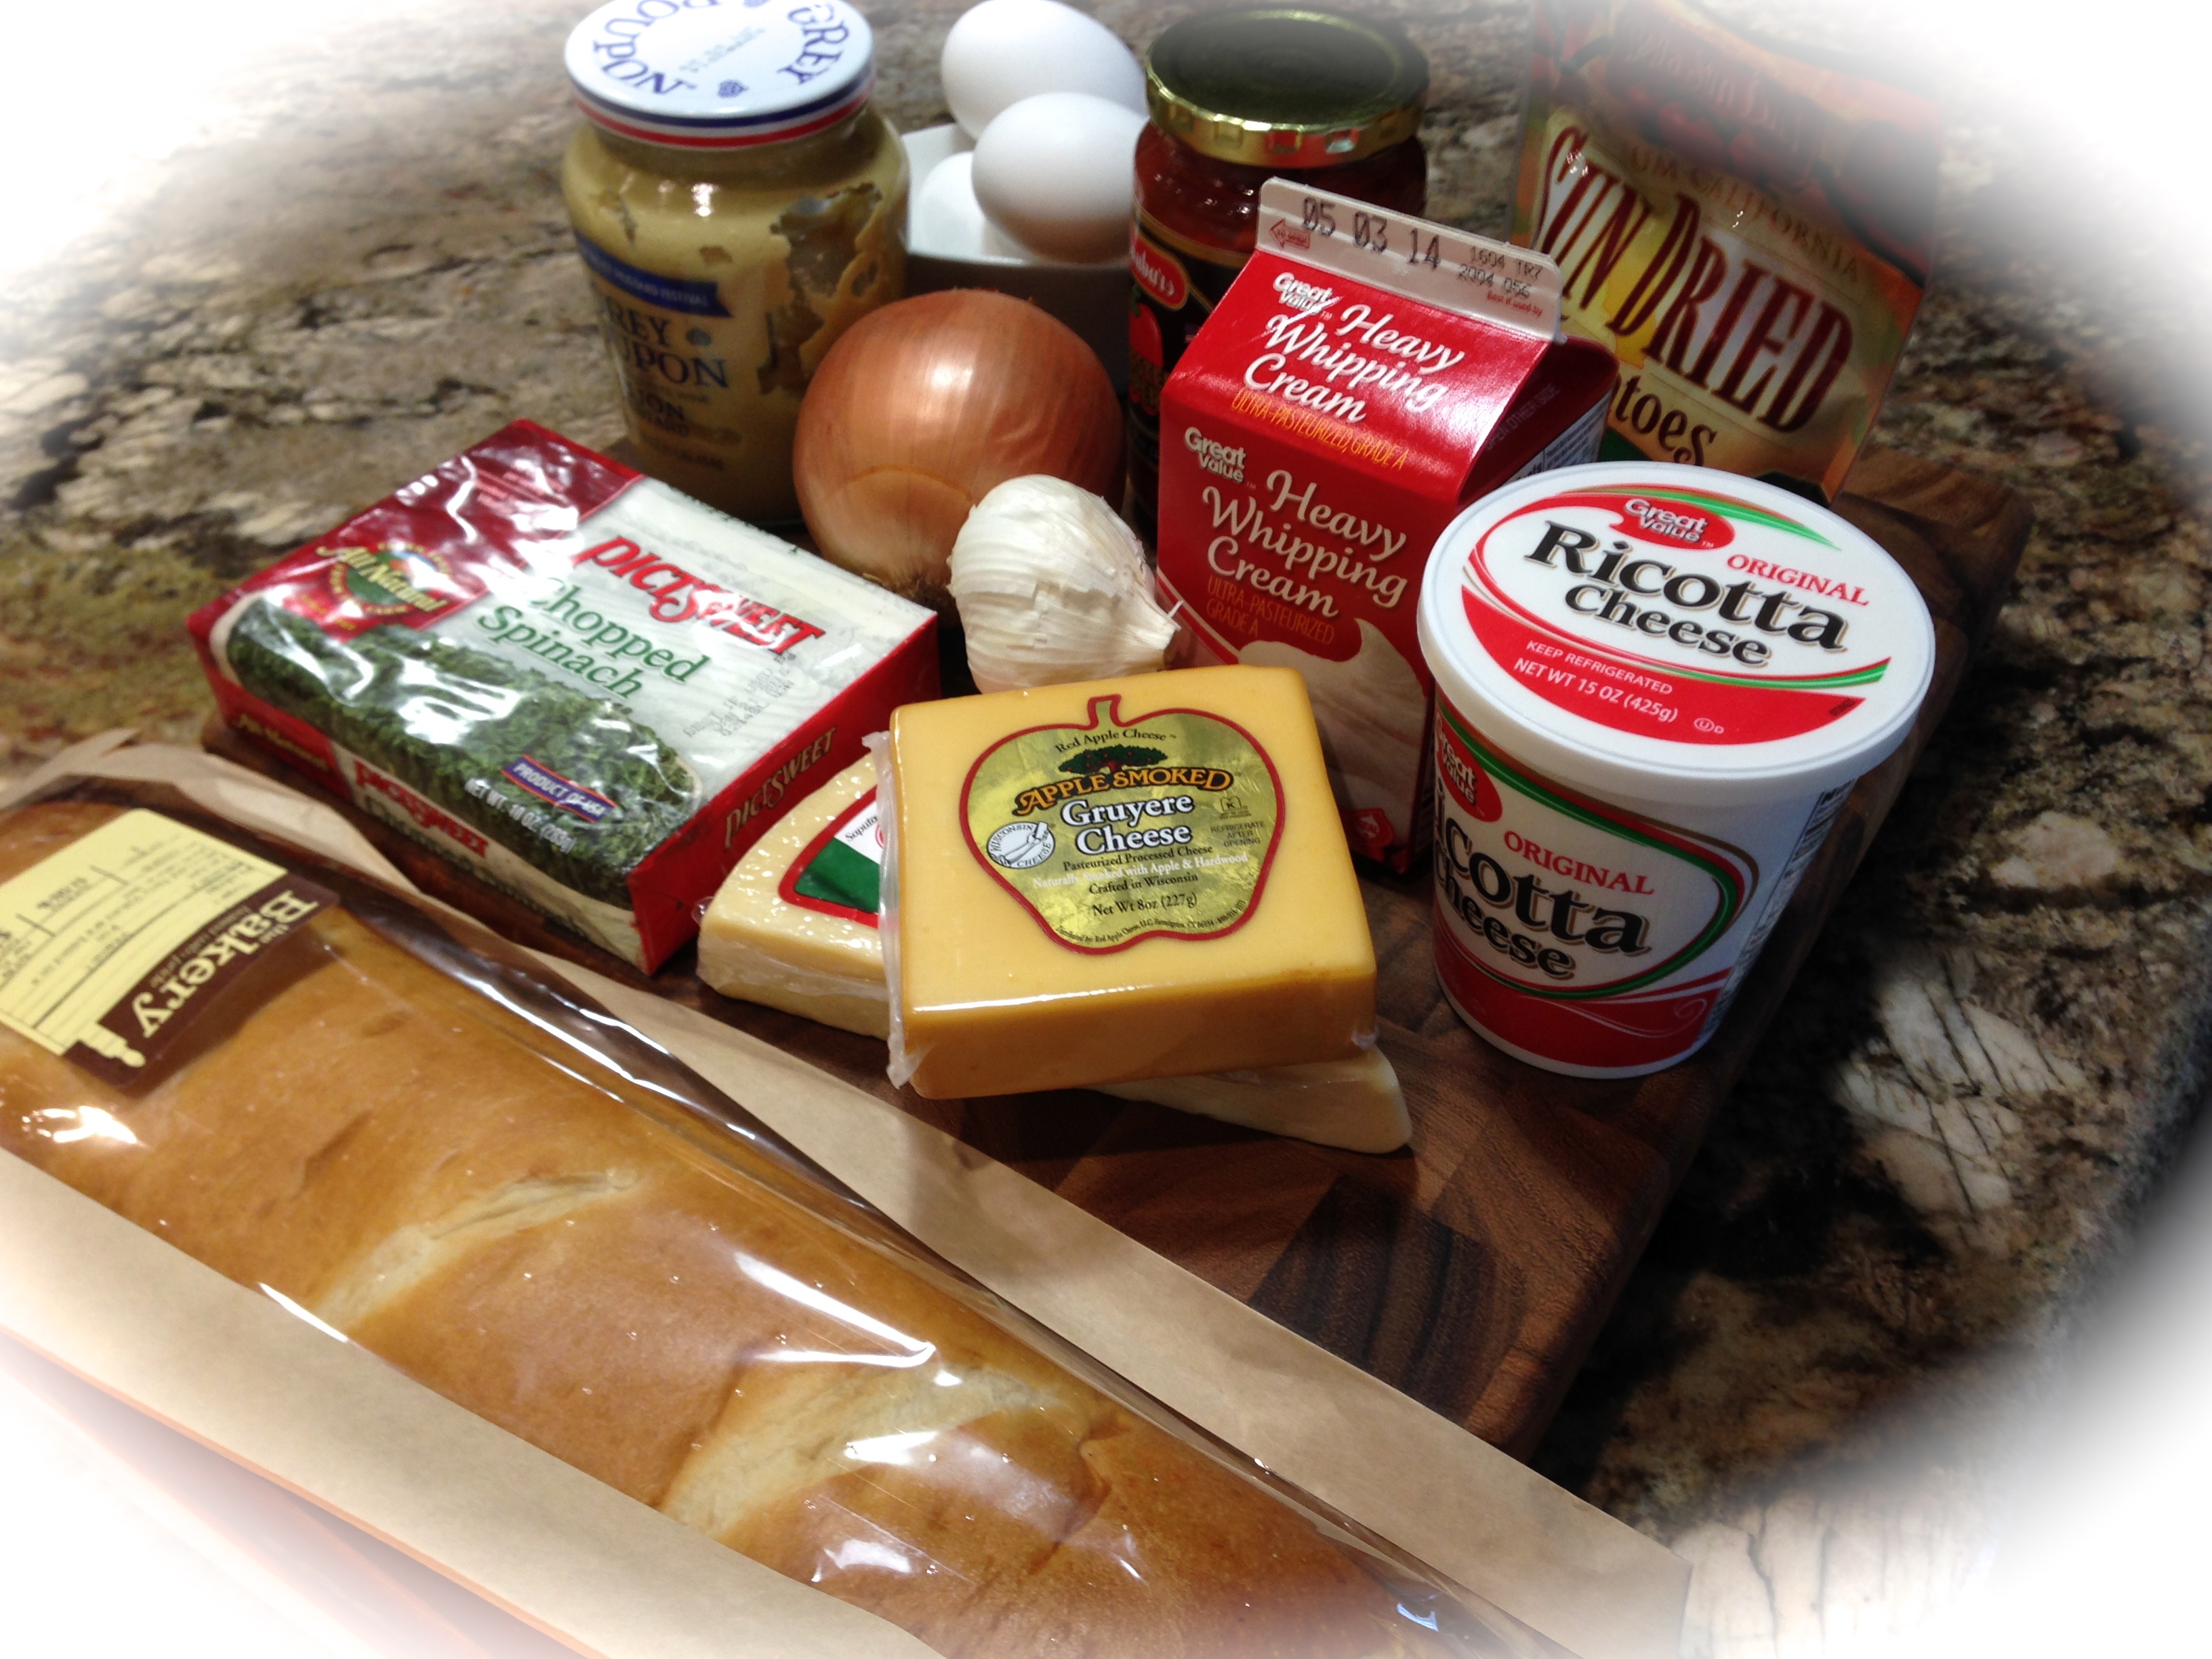
Lesson Learned 2 – Prepping ahead always makes it easier: A couple of years ago my husband got me a Christmas gift of some cooking classes. One of the things that really stuck with me from those classes was the importance of prepping all of your ingredients first. Cooking time should be cooking time and not prepping time. So mince your shallots, slice your mushrooms, chop your garlic and thyme, measure out any ingredients that you don’t feel comfortable eyeballing, such as the sour cream, wine and mustard, and have everything set and ready to go before you start the cooking process. You’ll find it will help keep your kitchen cleaner and more organized and that will also make the experience better.
 Lesson Learned 3: Don’t be afraid to substitute herbs: I used thyme in this recipe because I have it growing in my garden, but fresh tarragon would also work very well. My only caution would be not to substitute dried herbs for fresh ones. I think using fresh thyme provided more depth of flavor, especially with the short cooking time in this recipe.
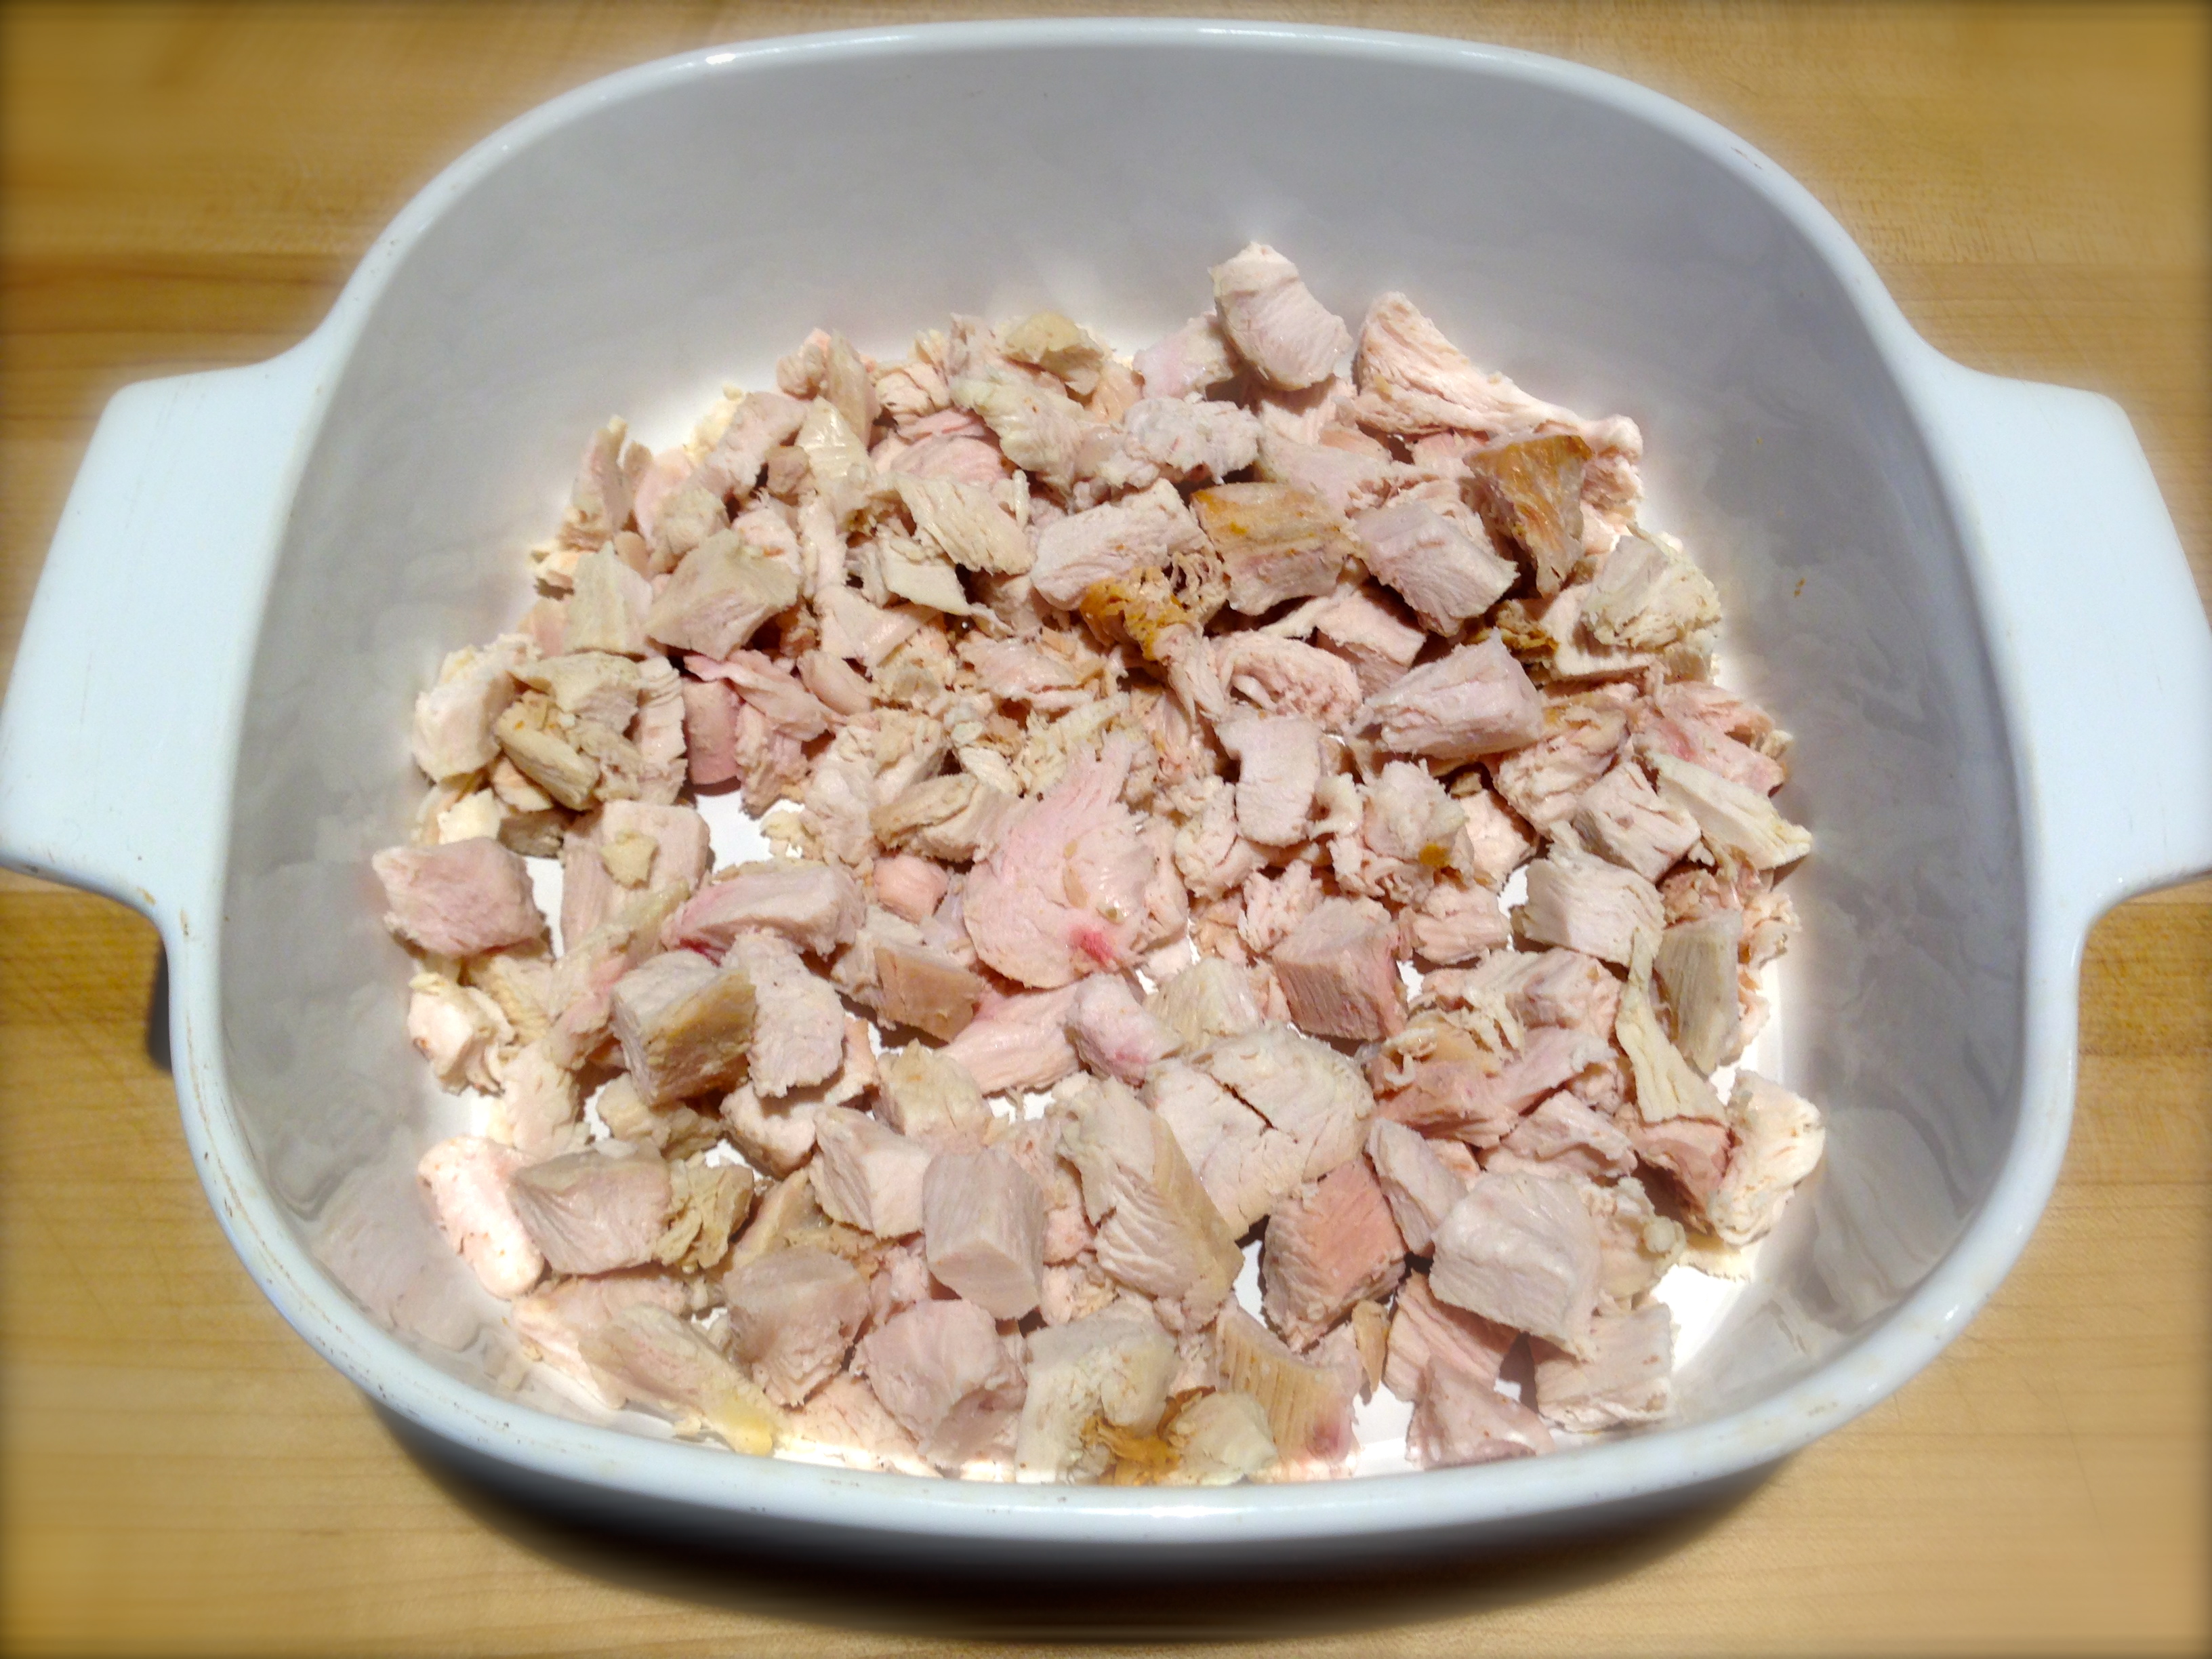
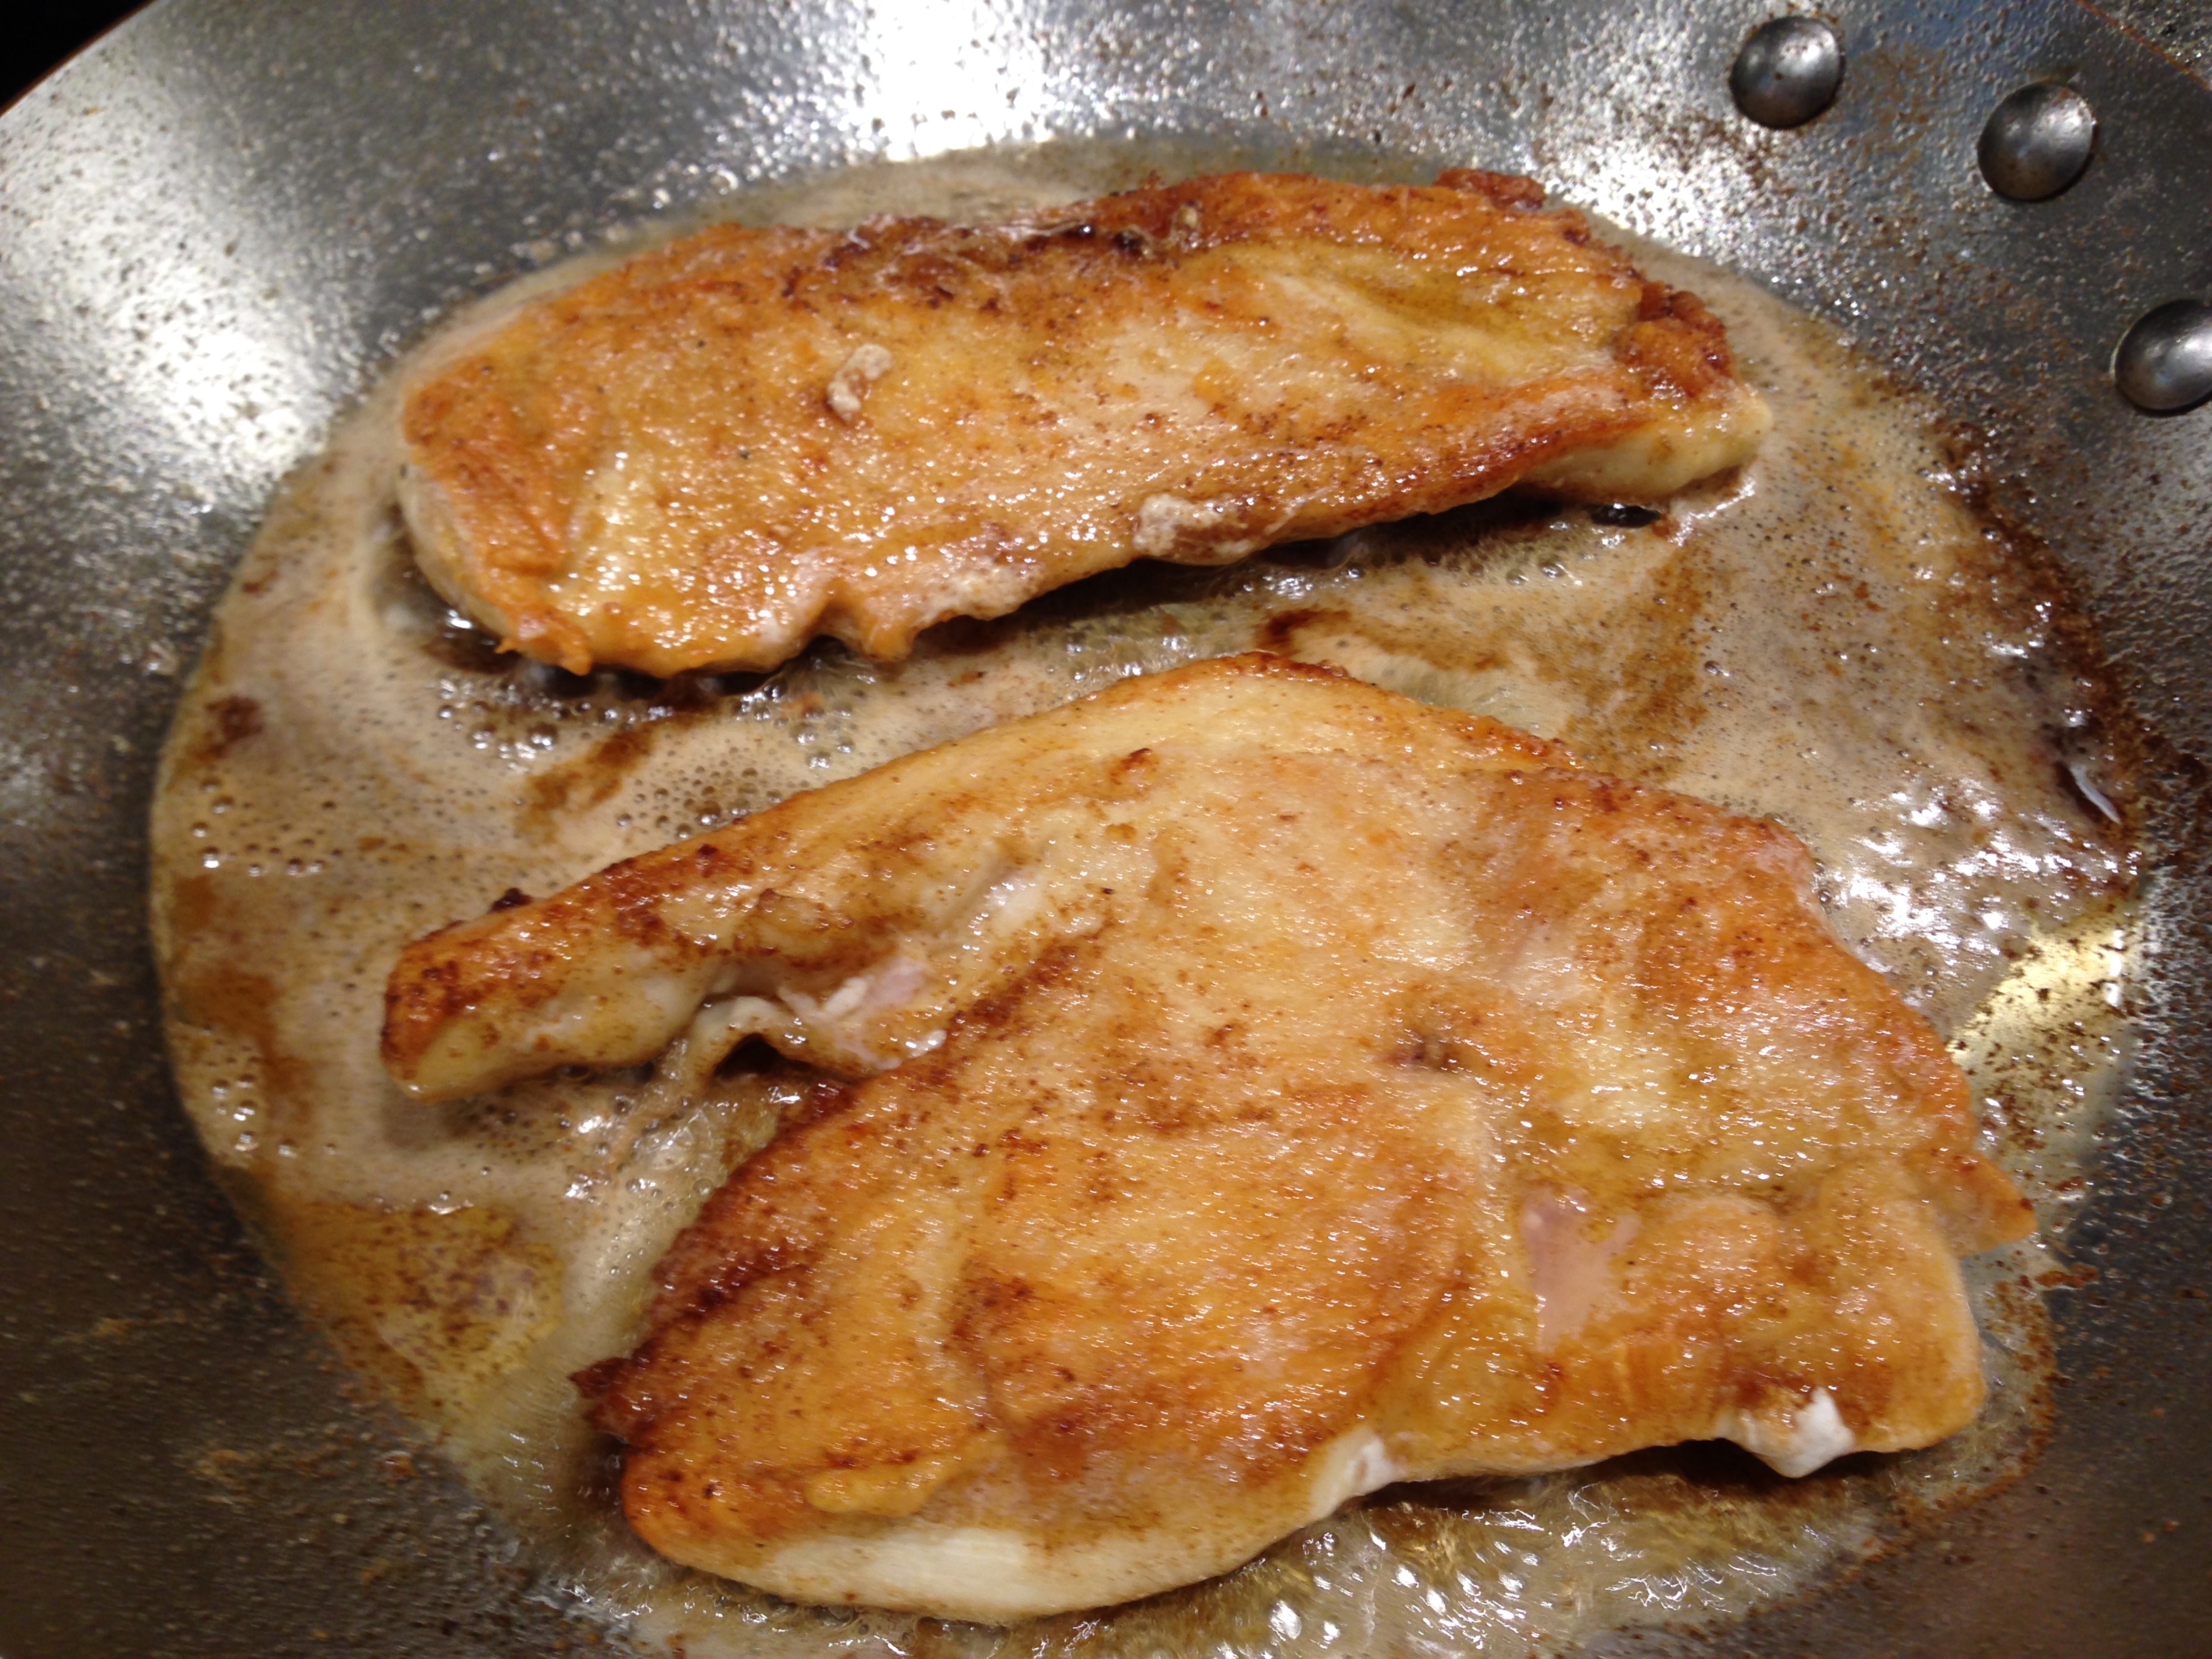
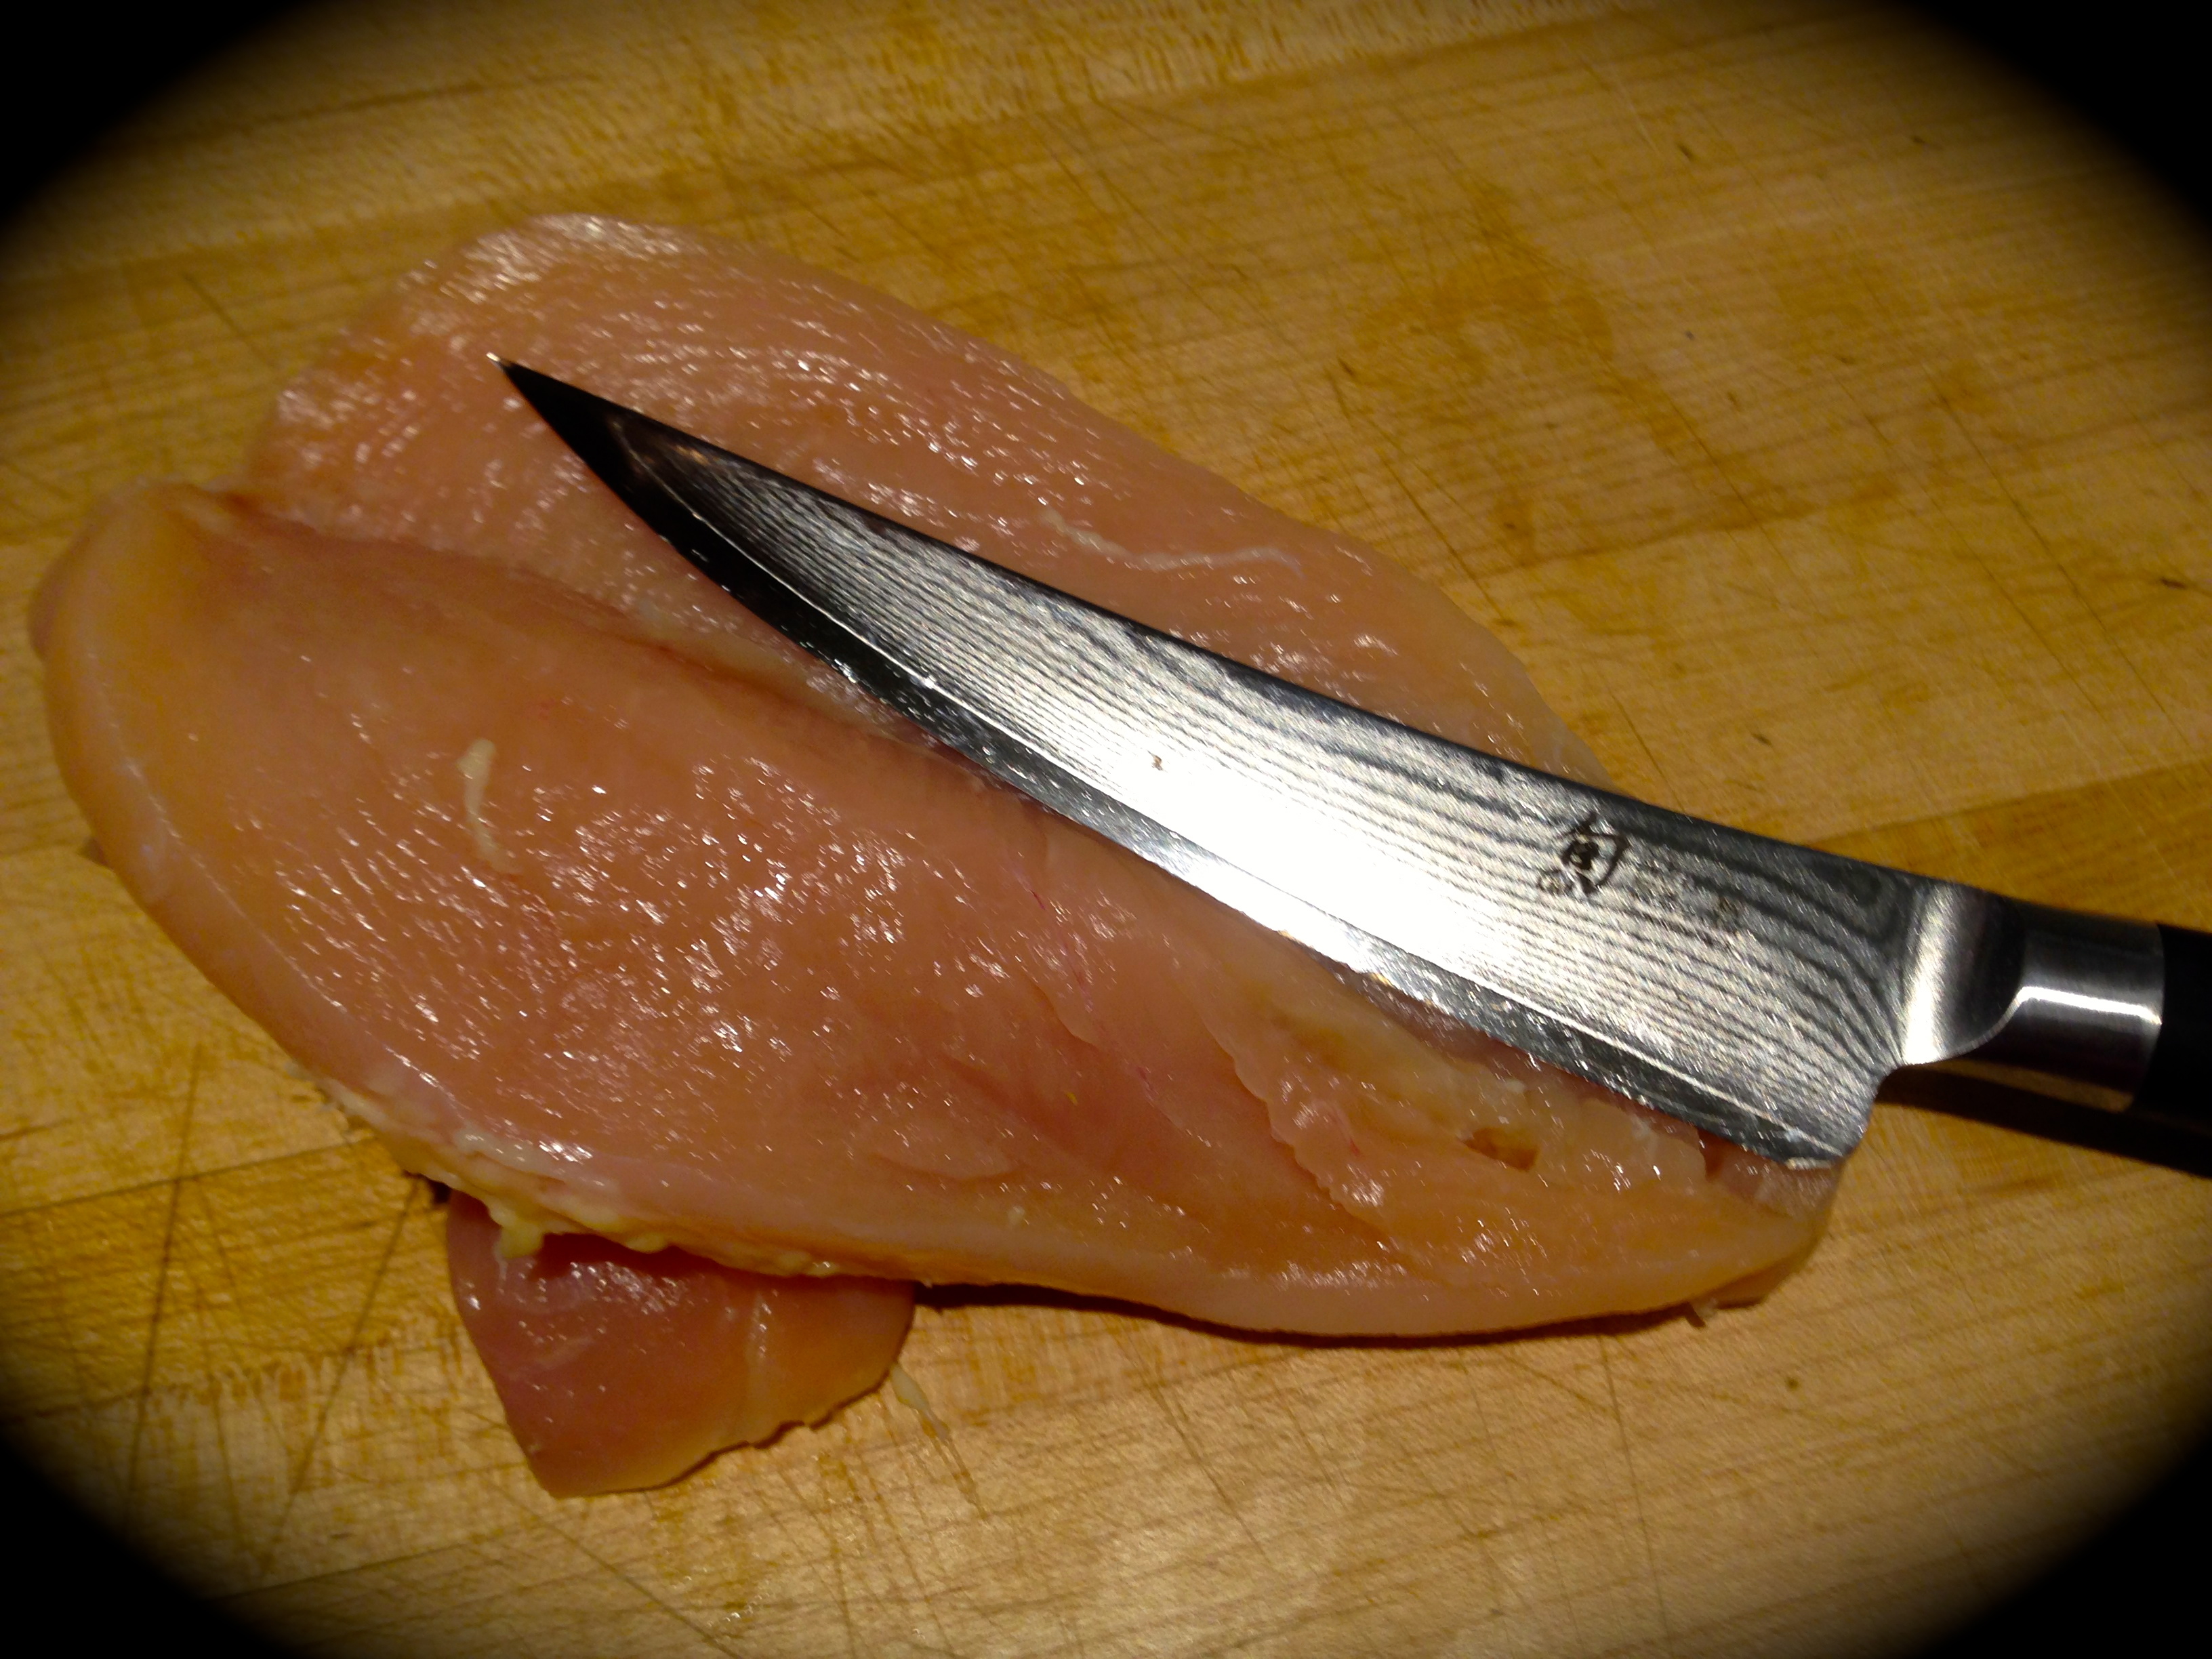
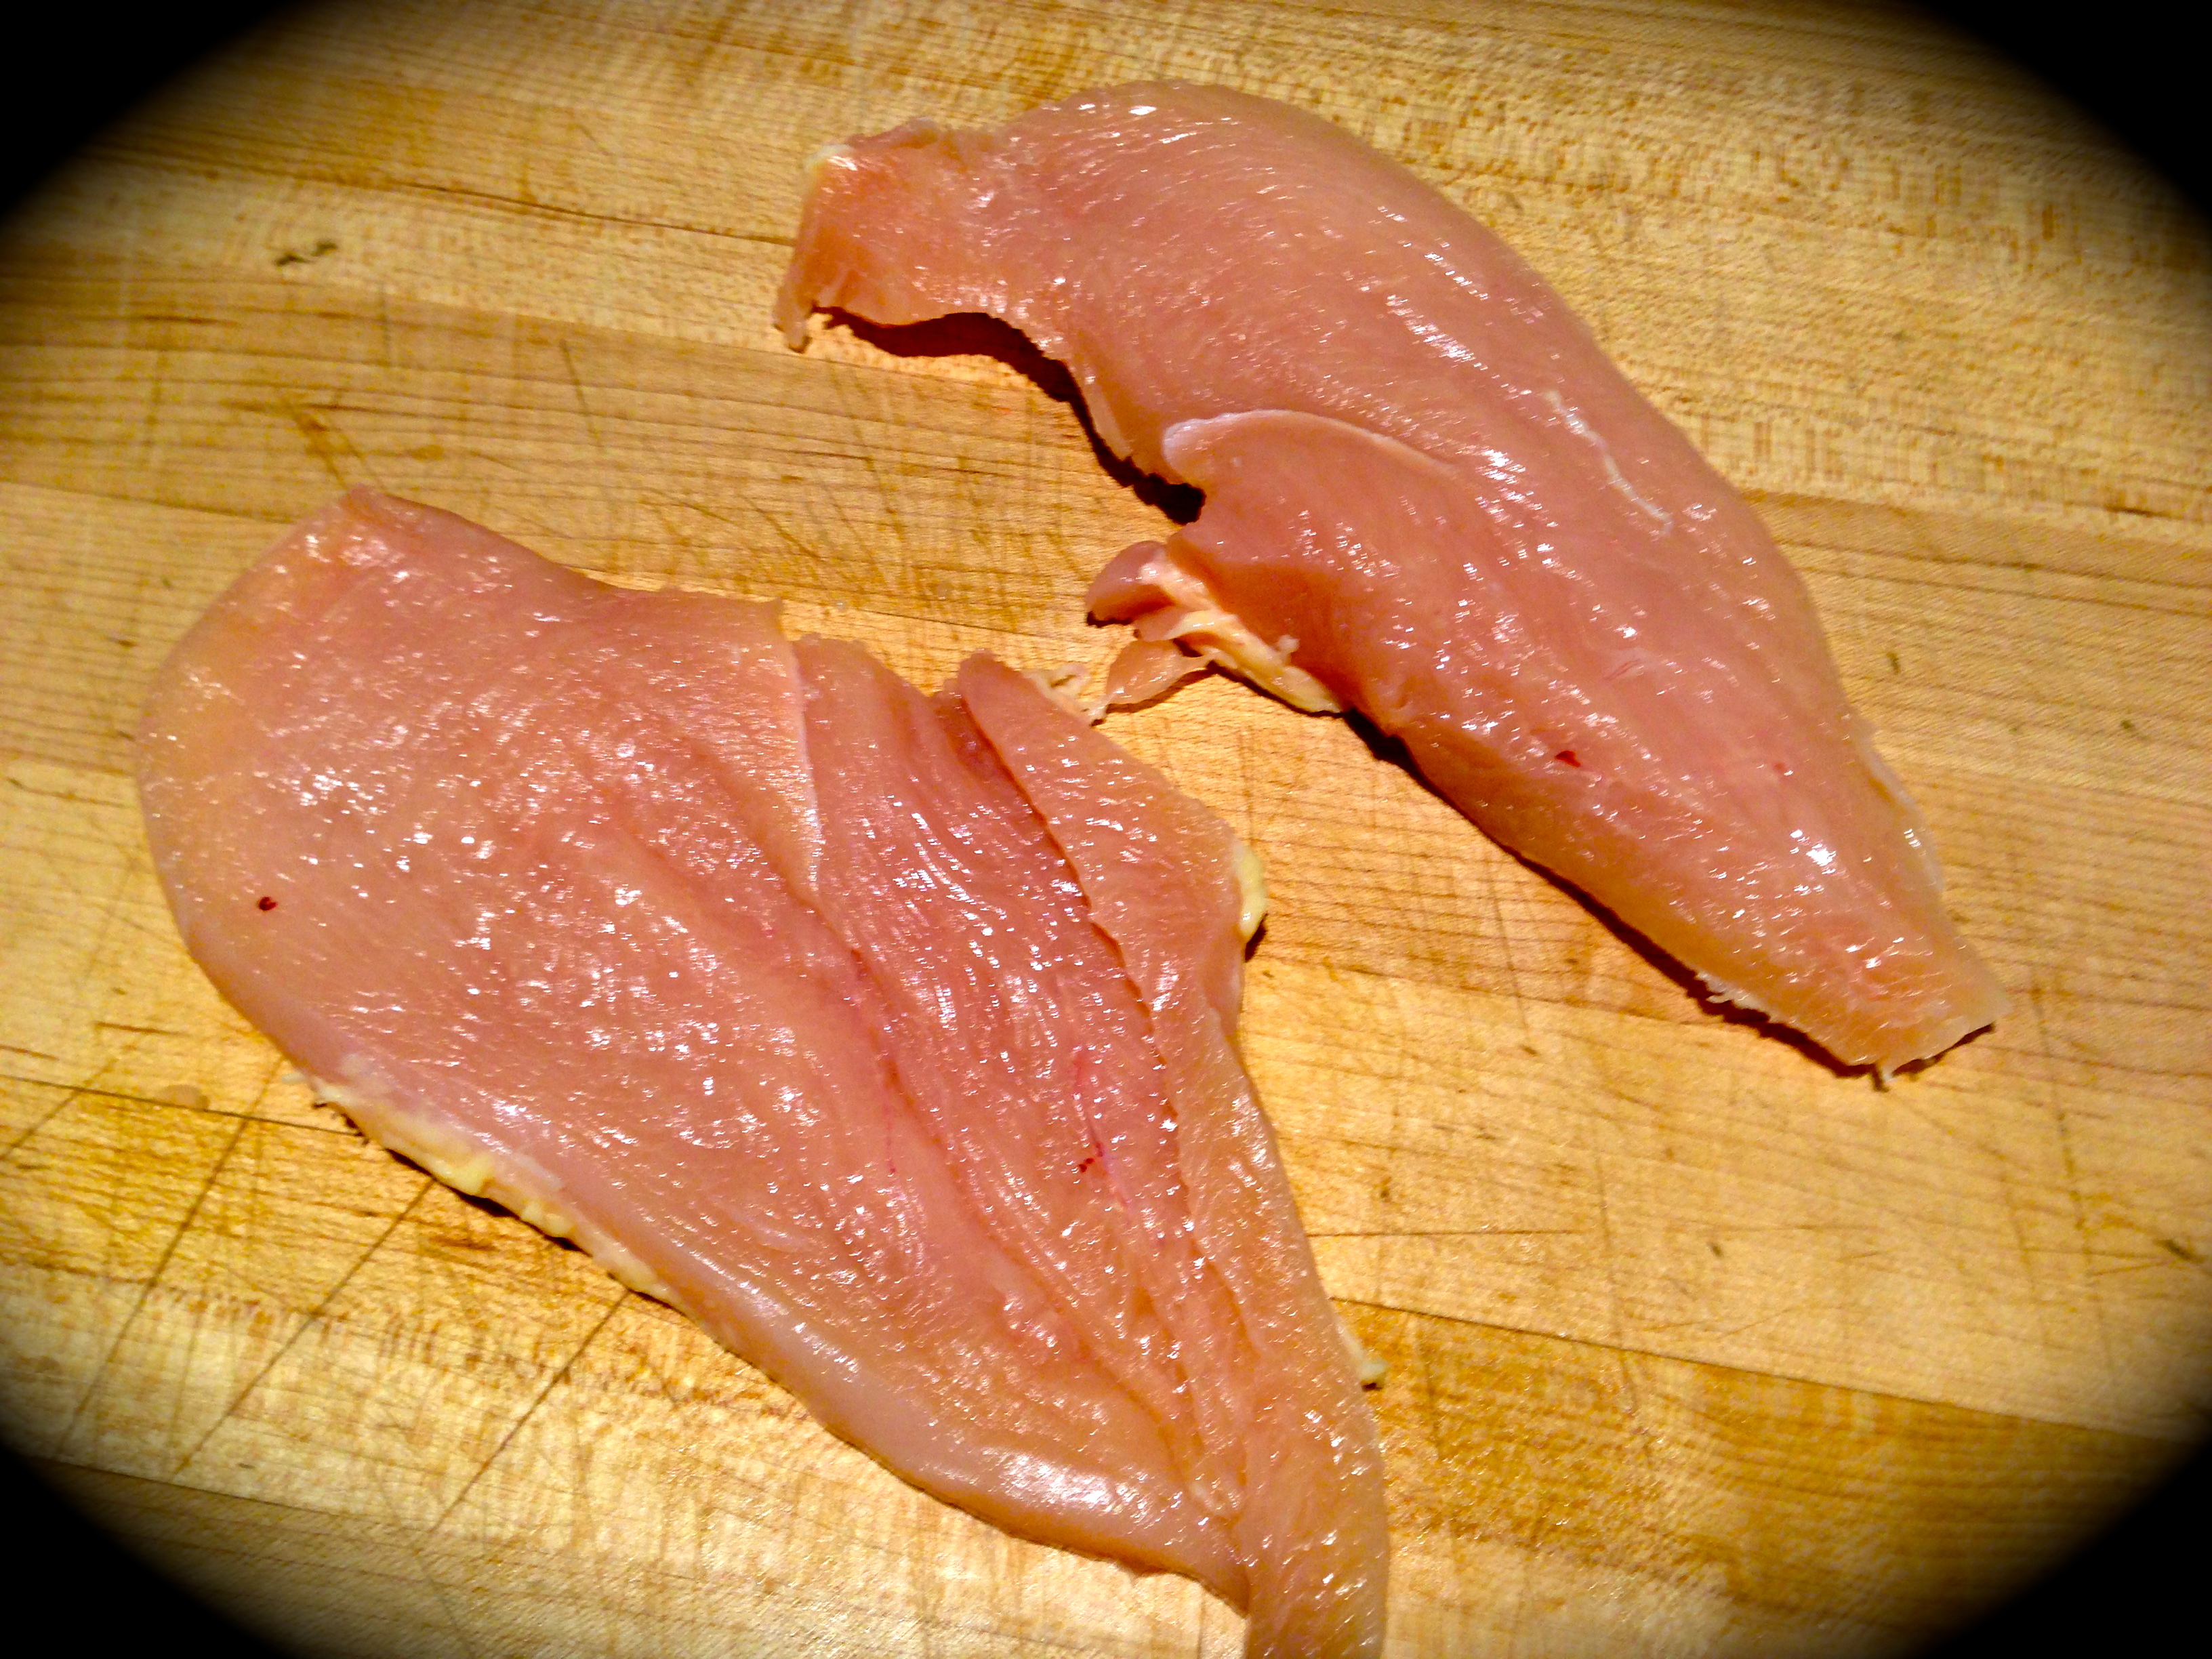
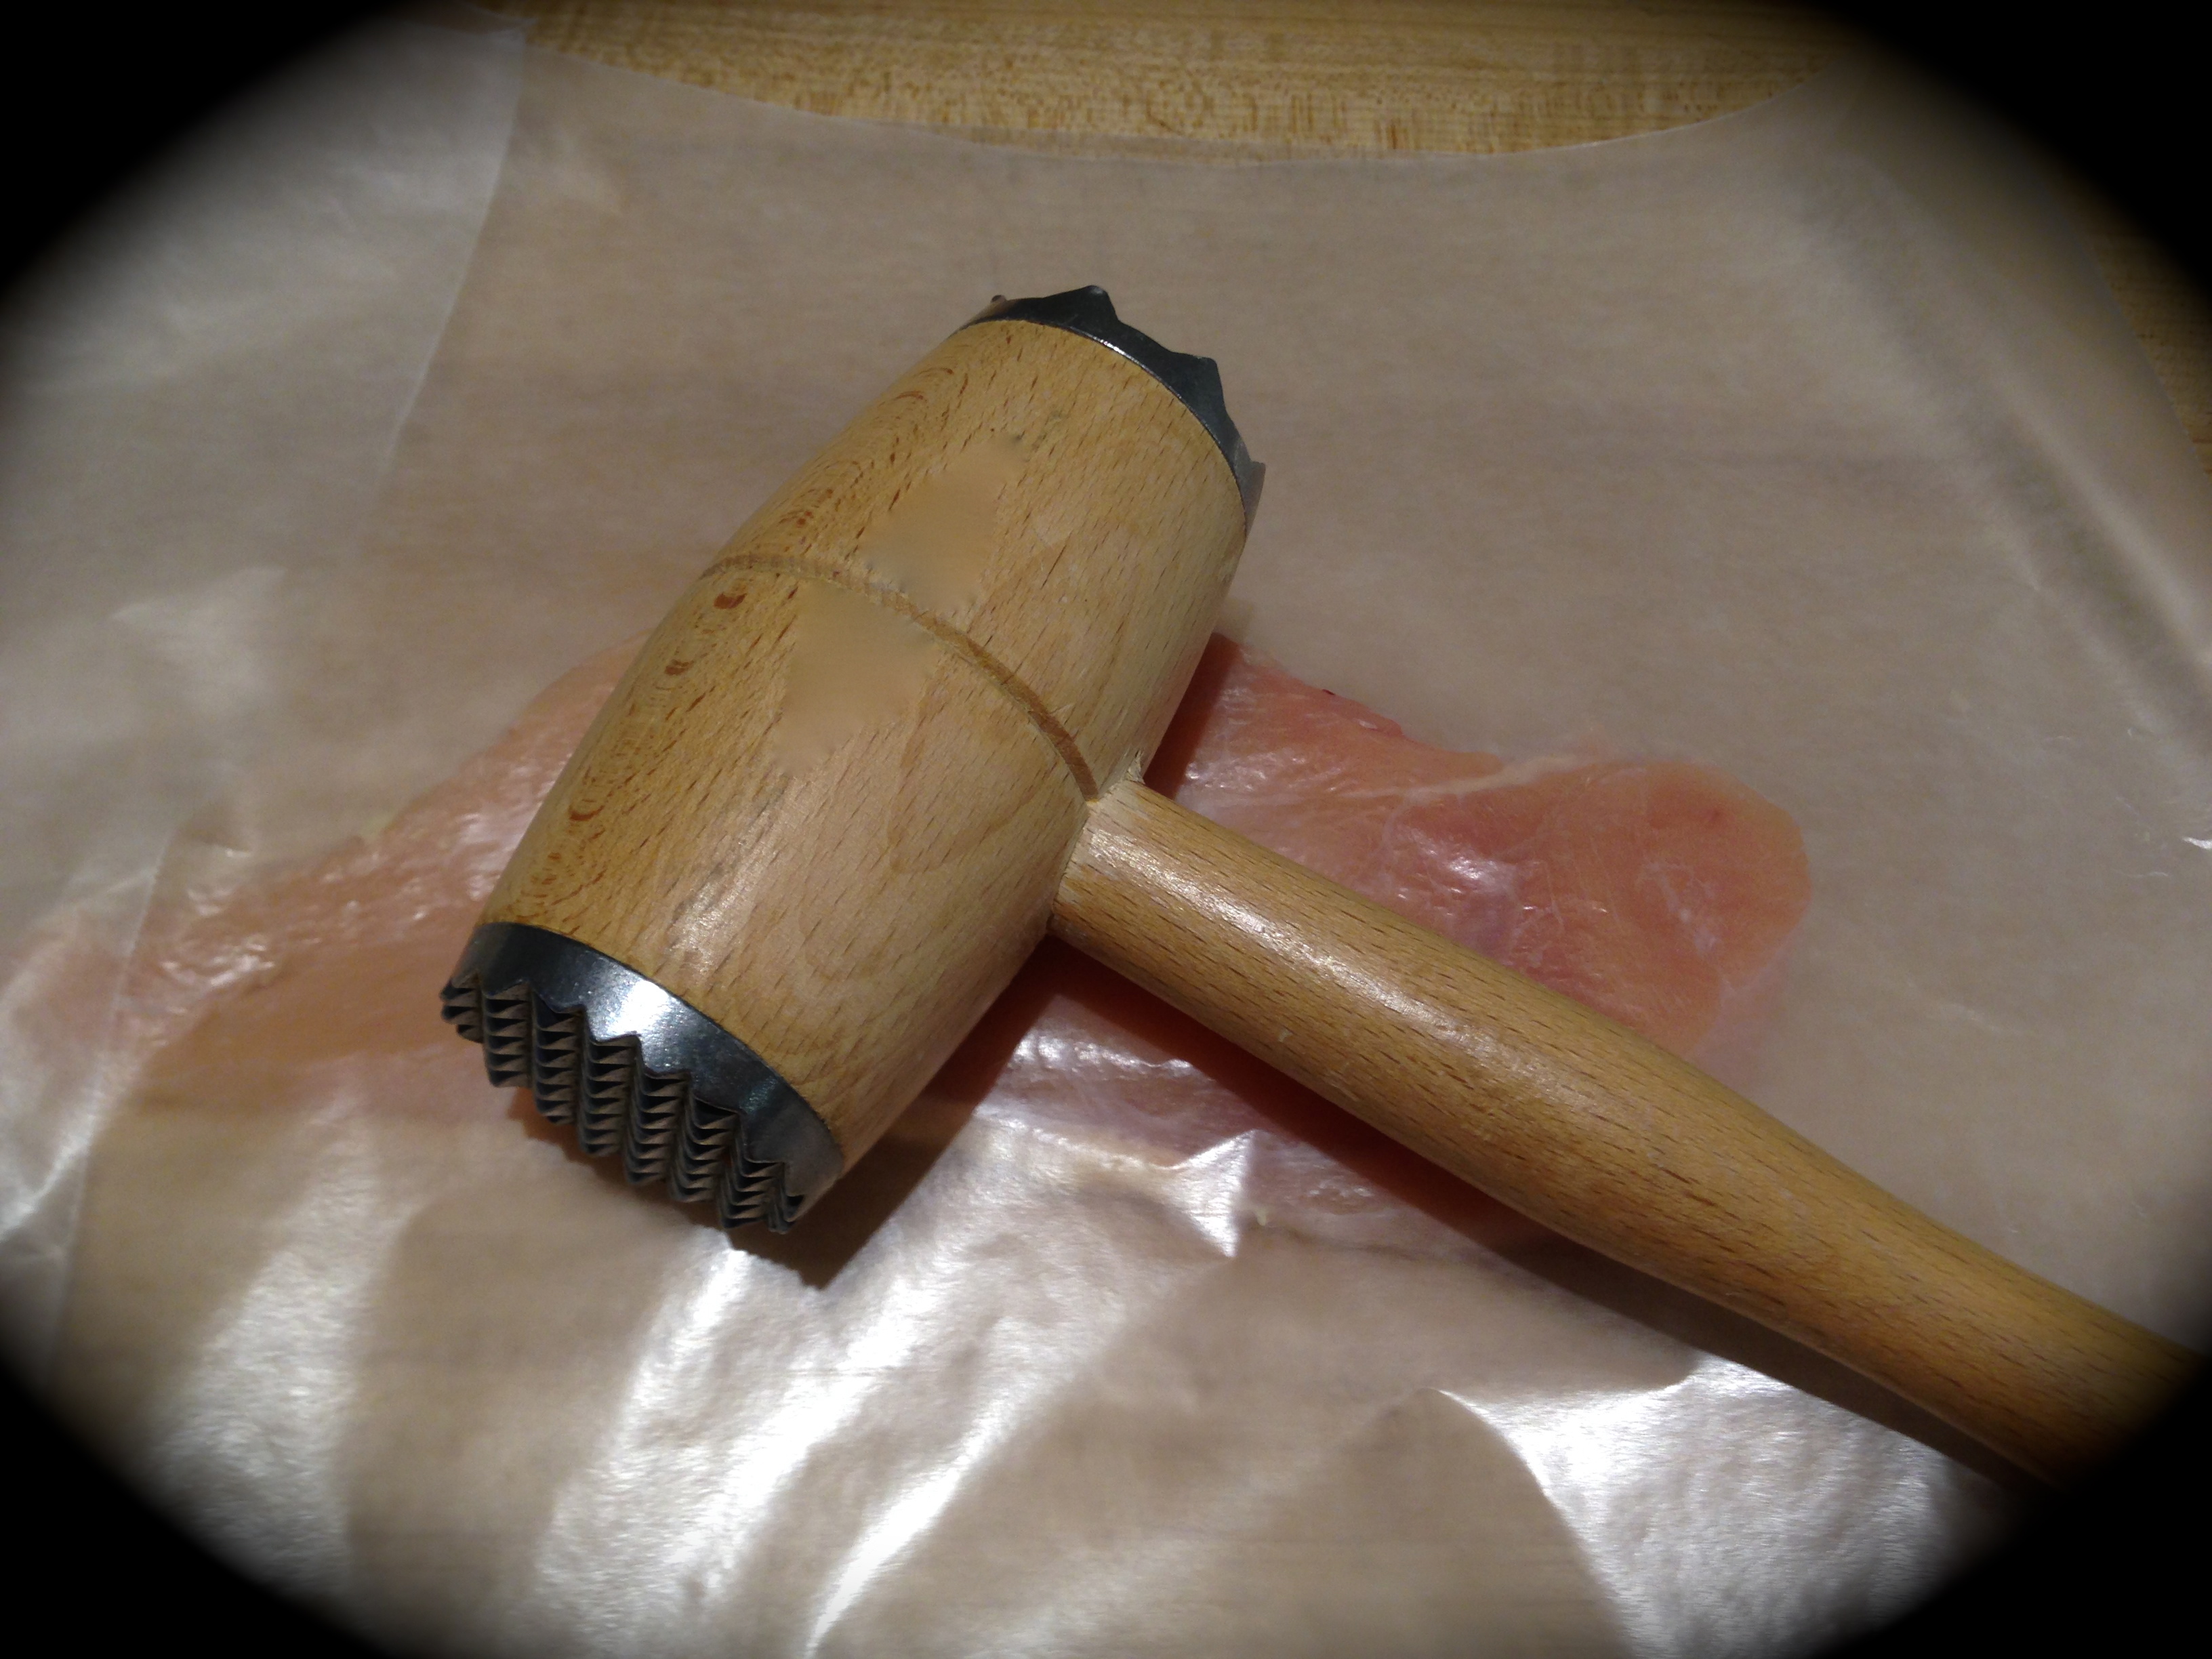
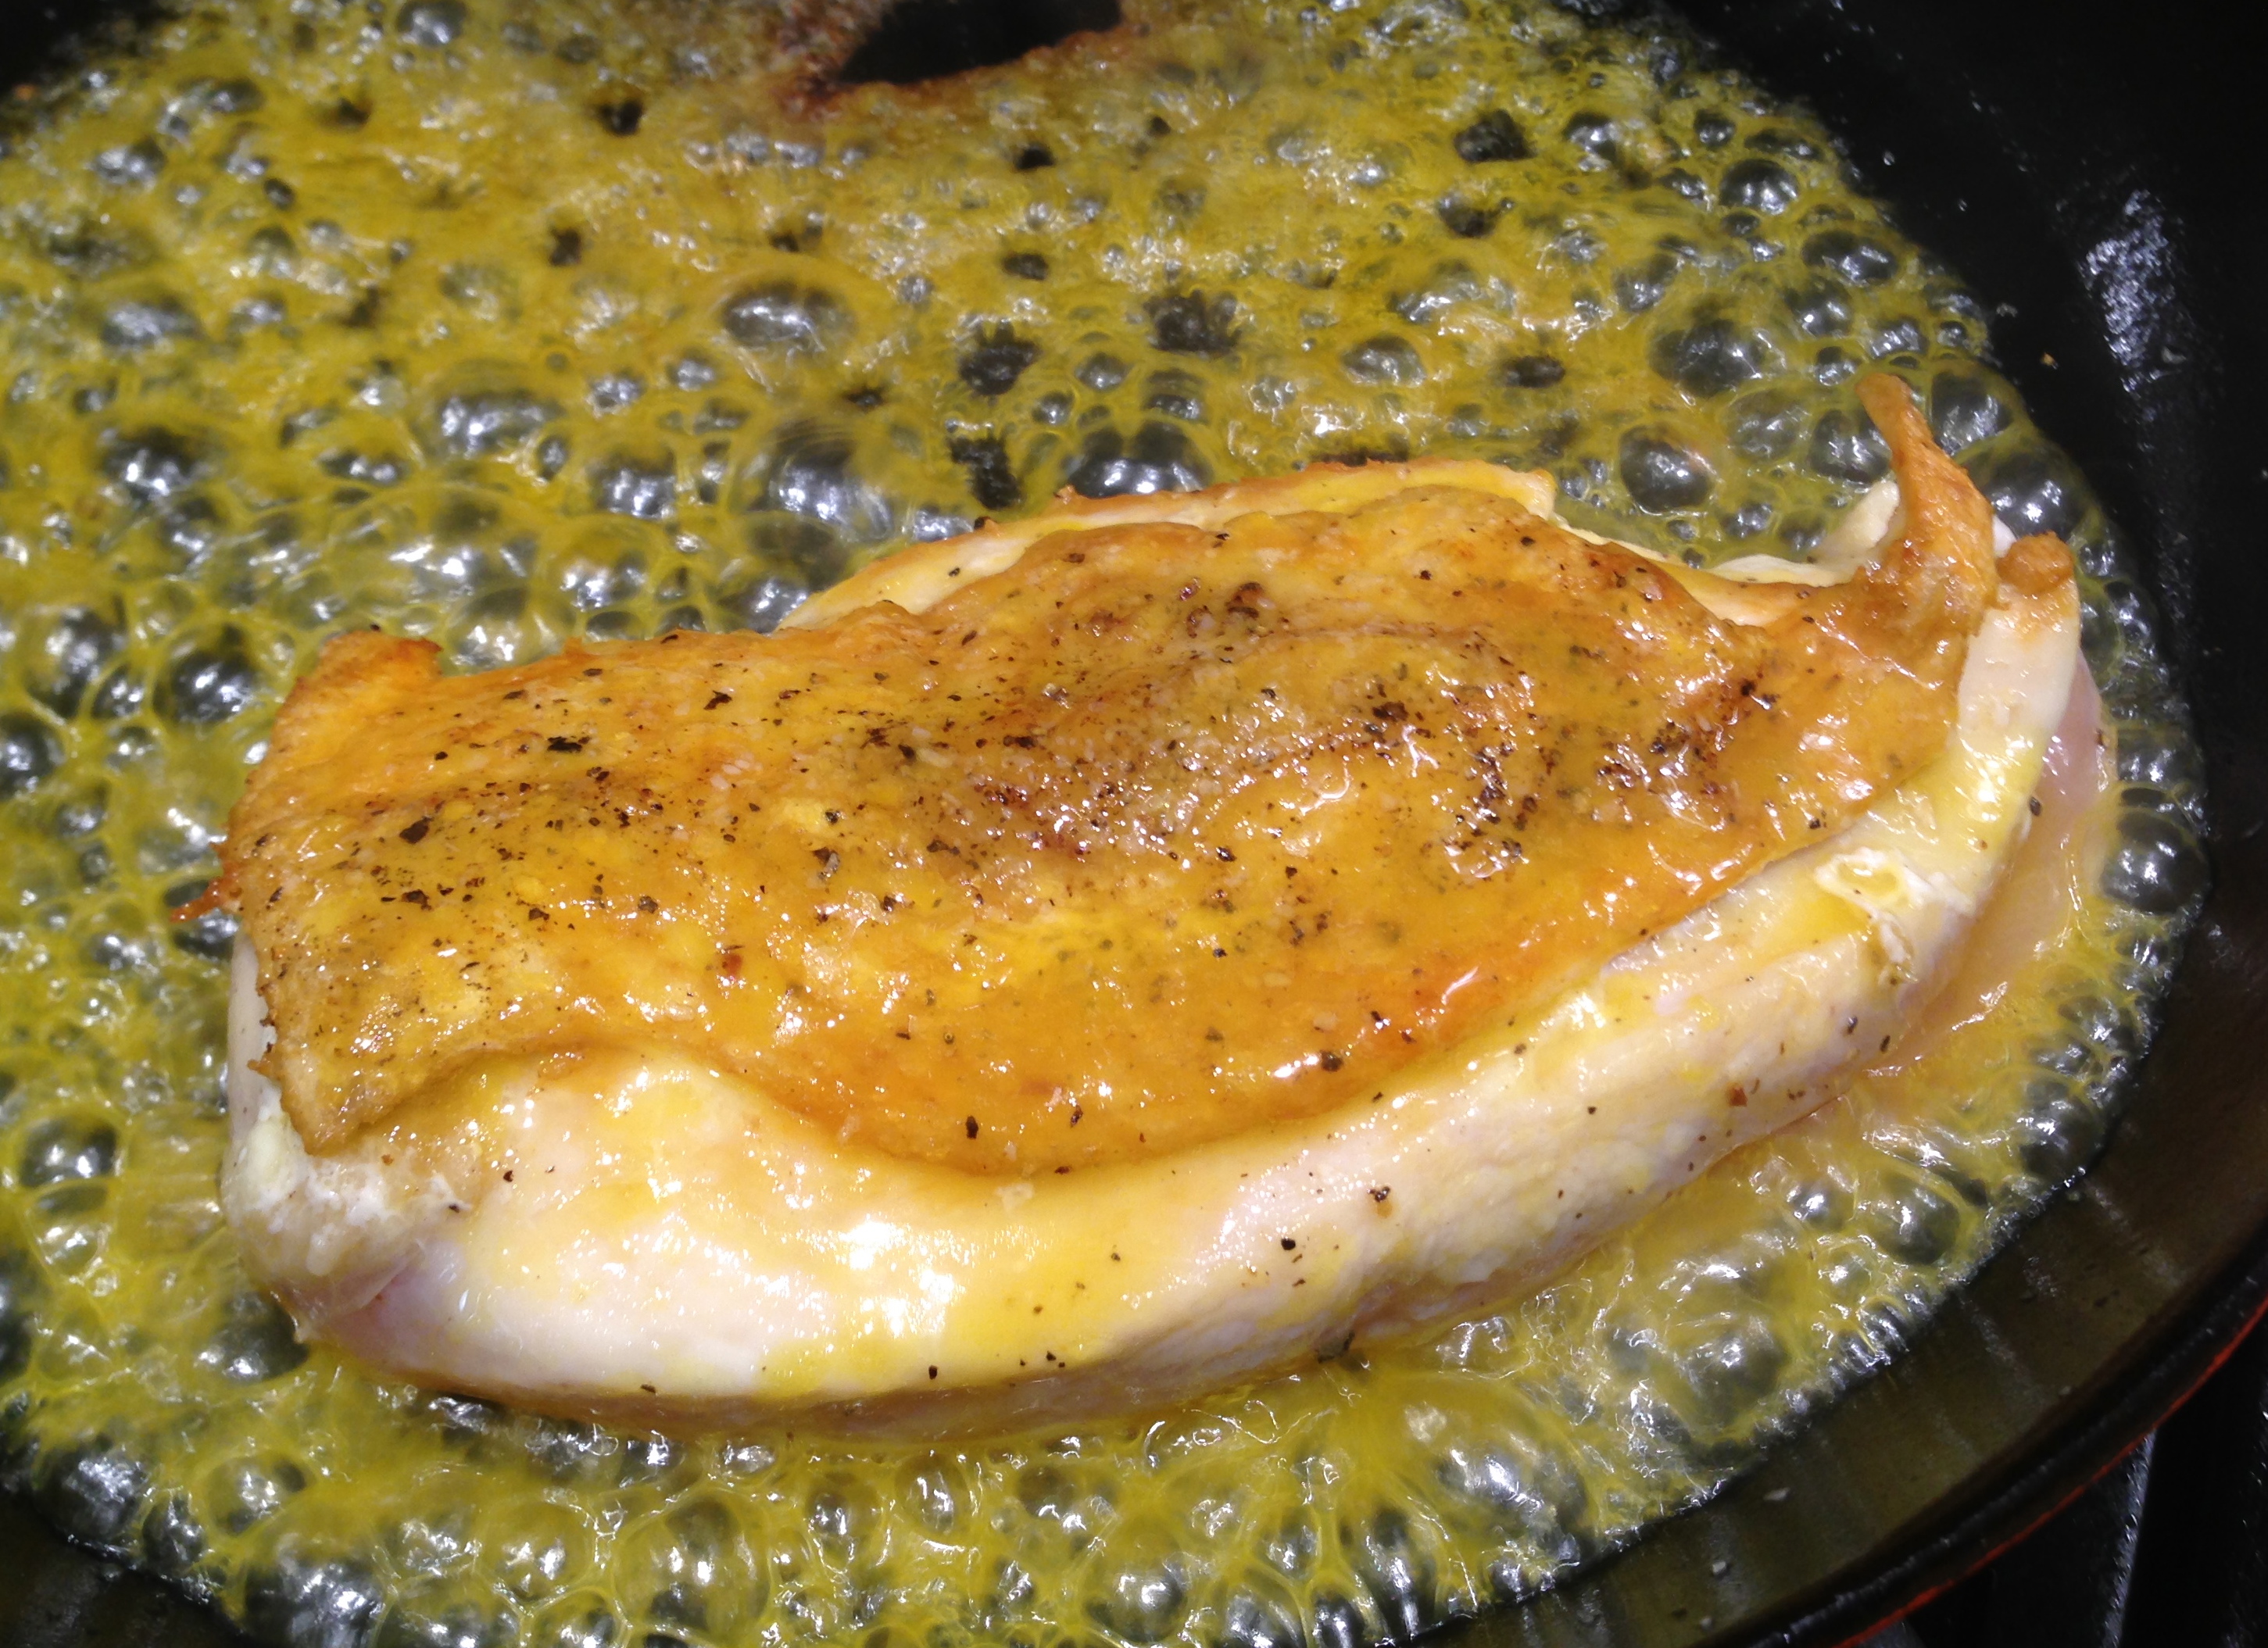
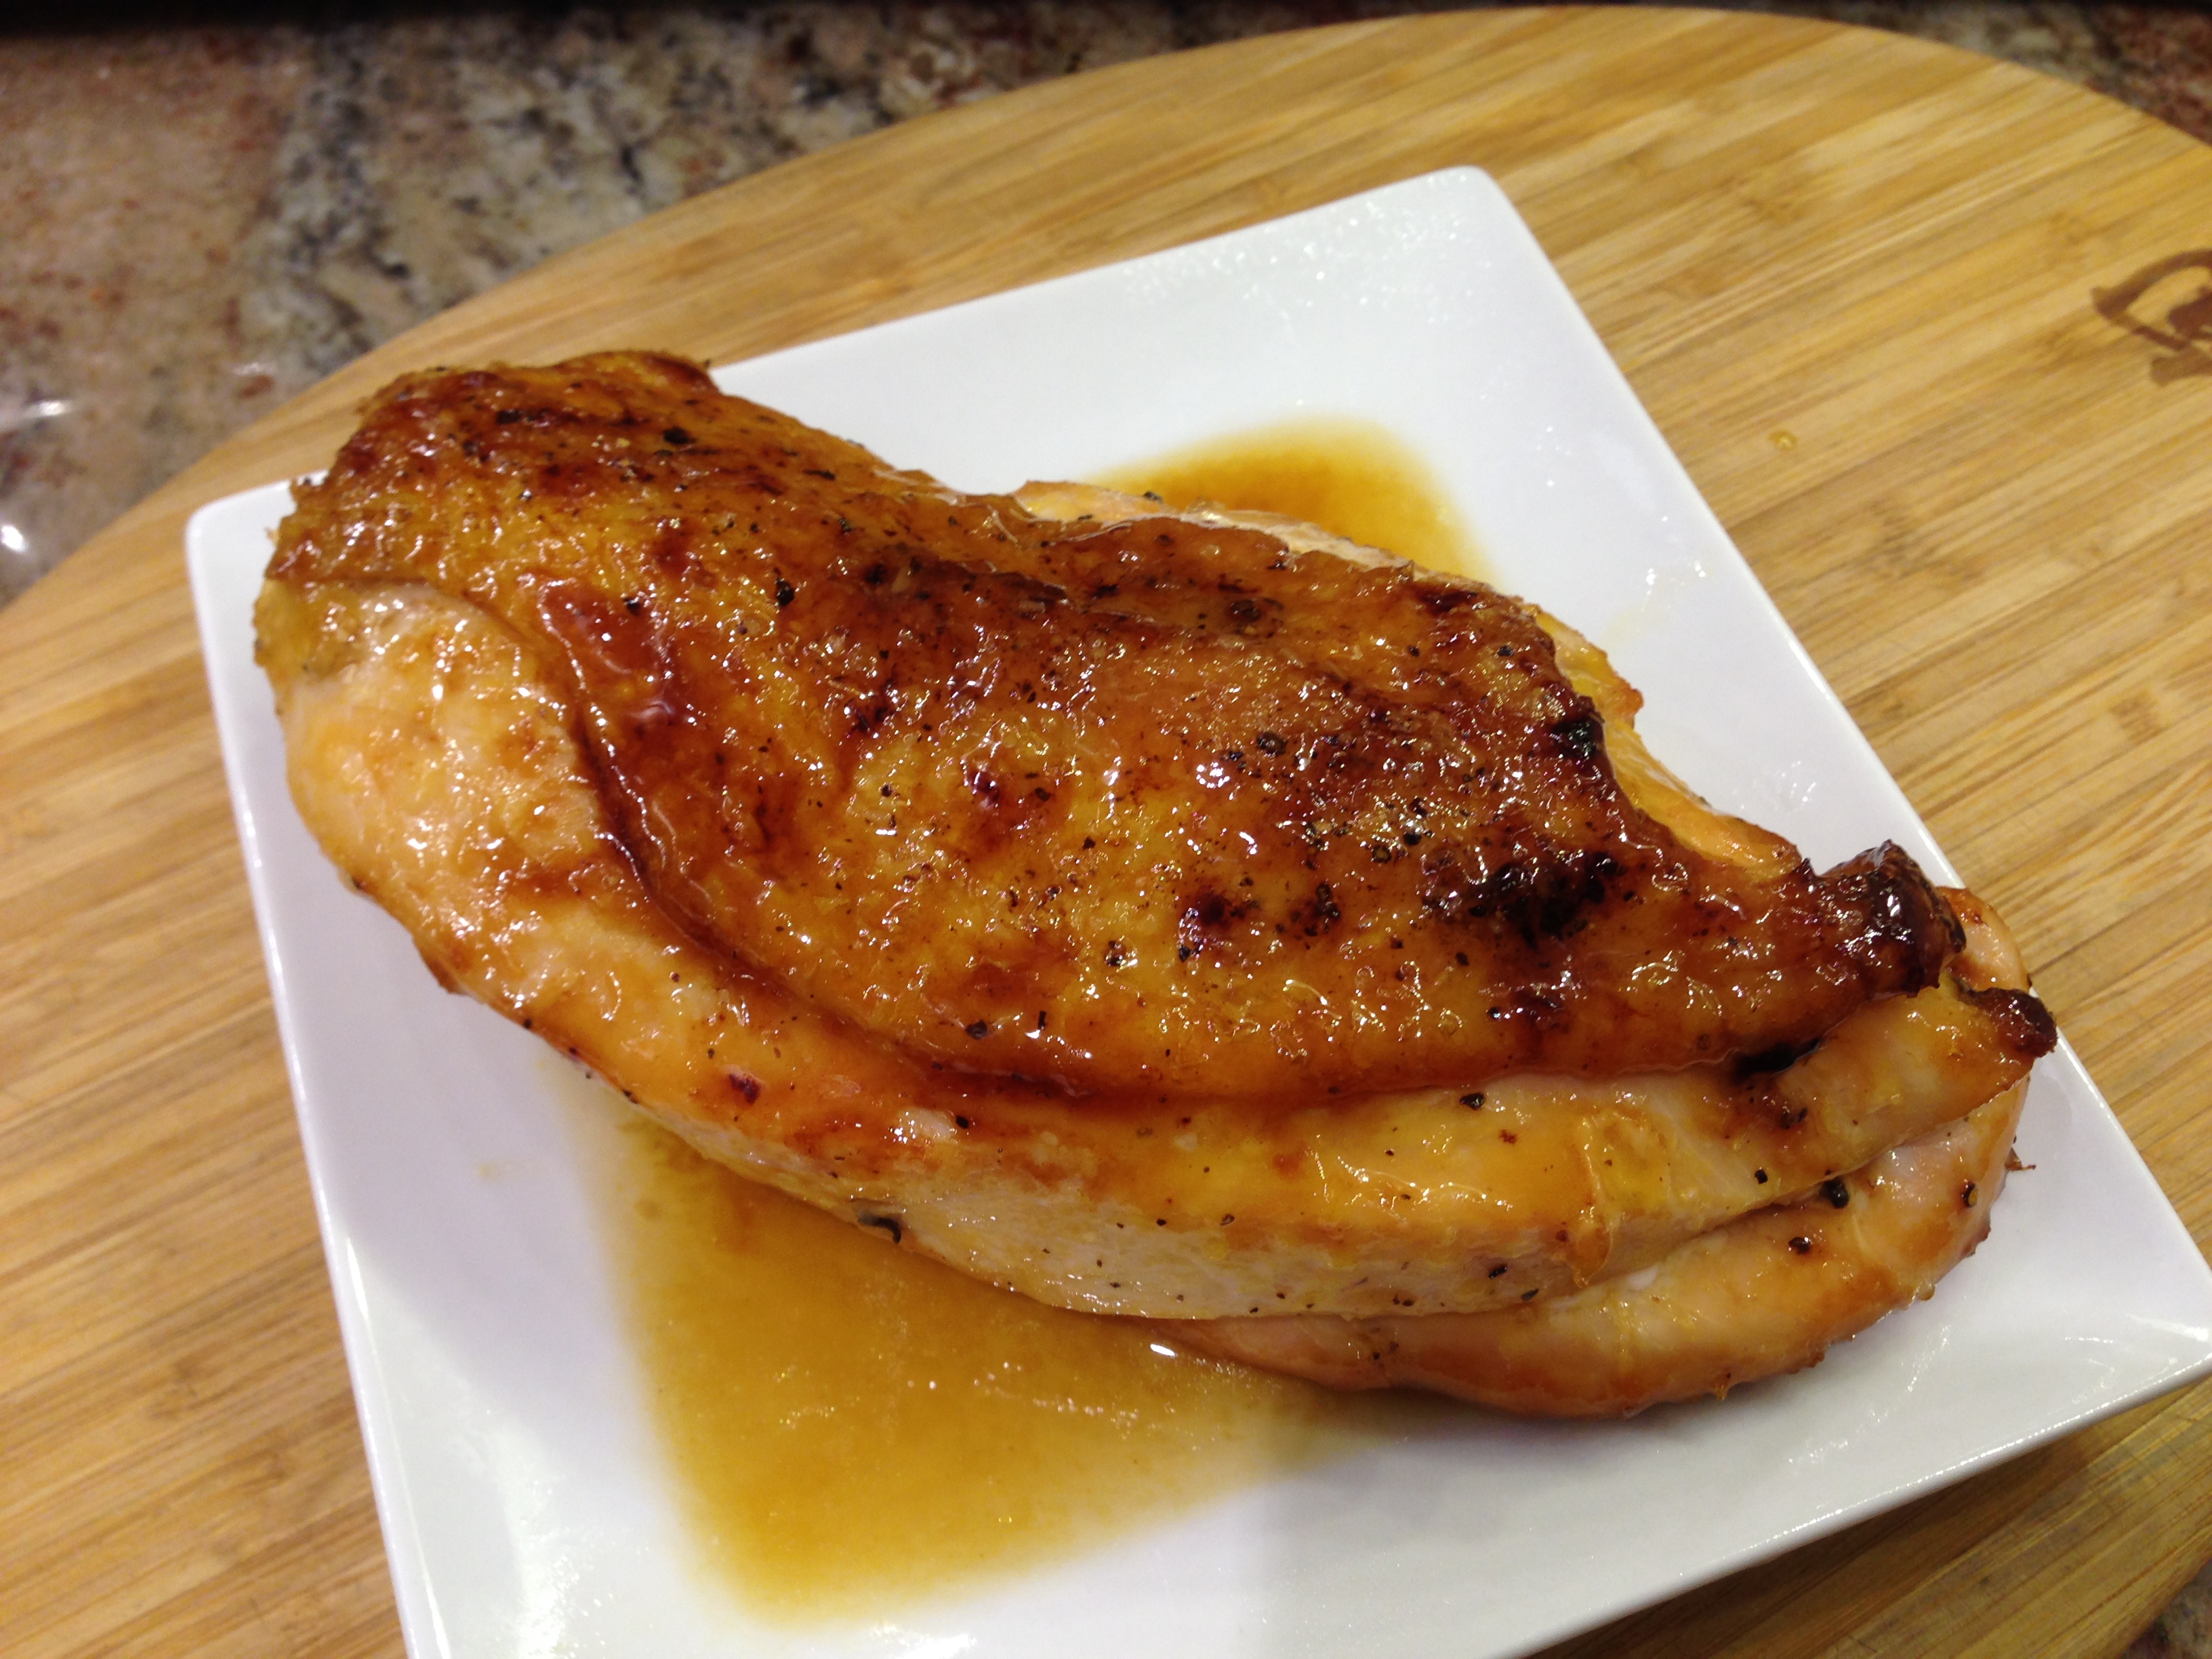
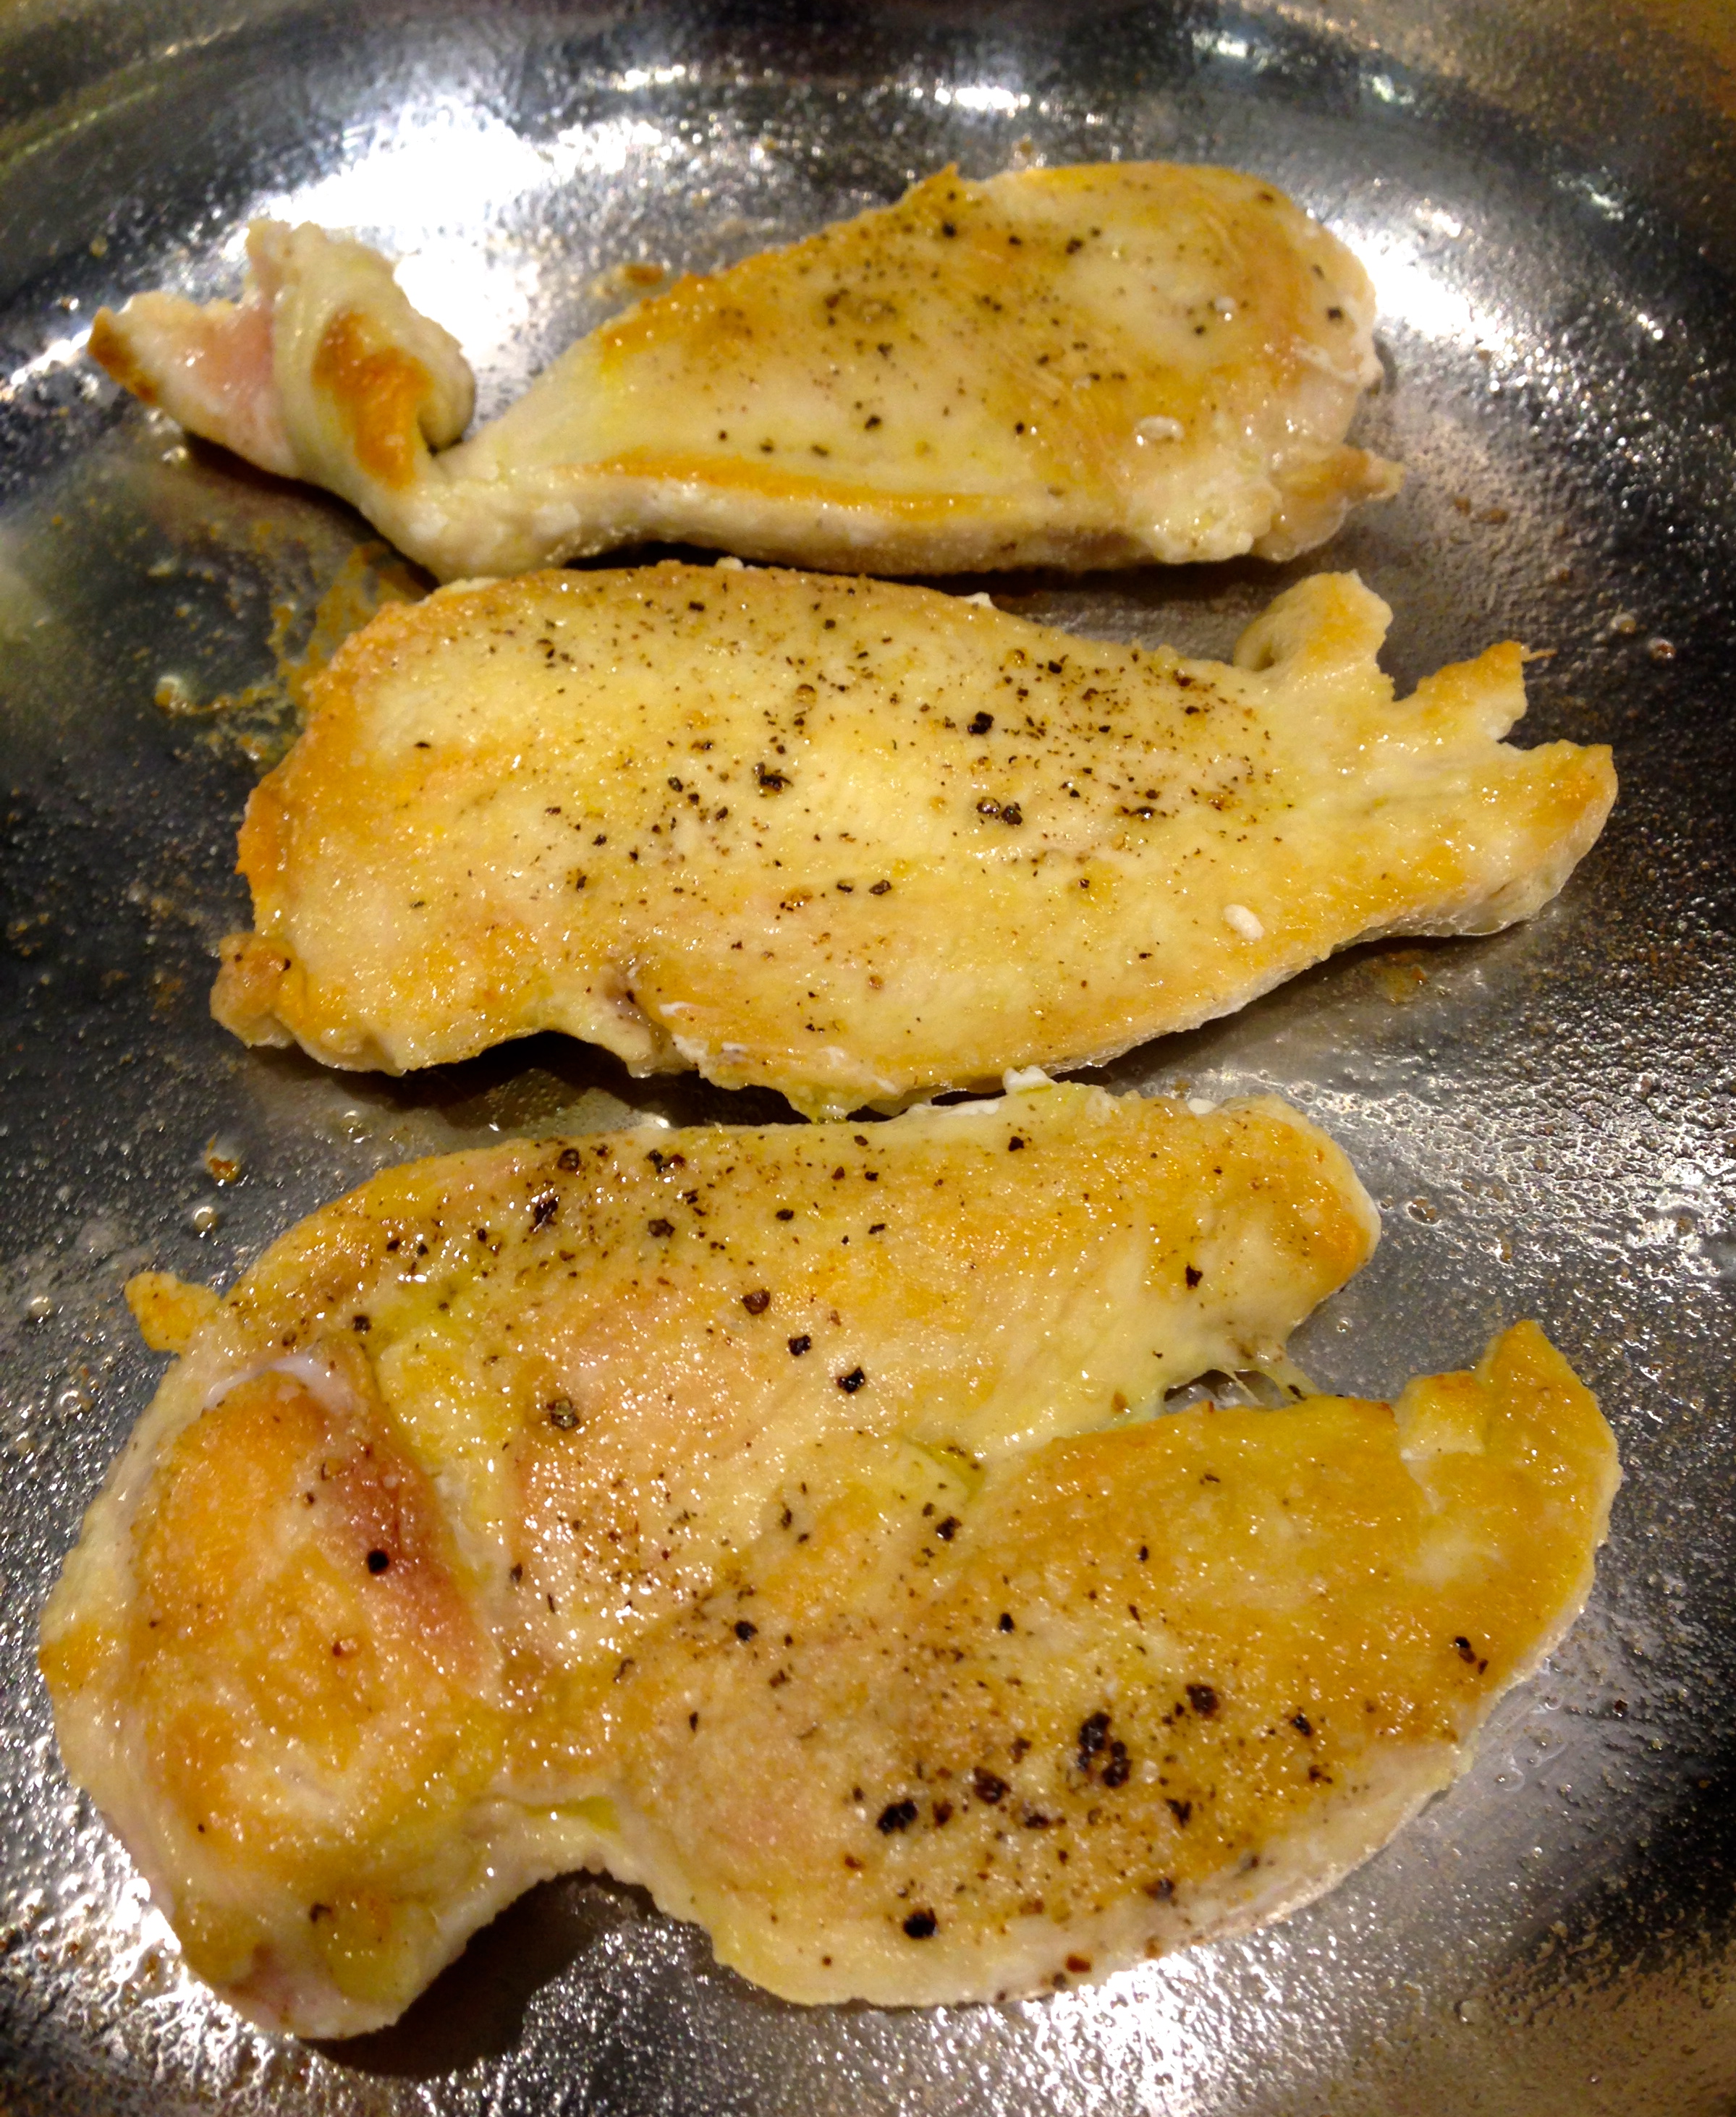
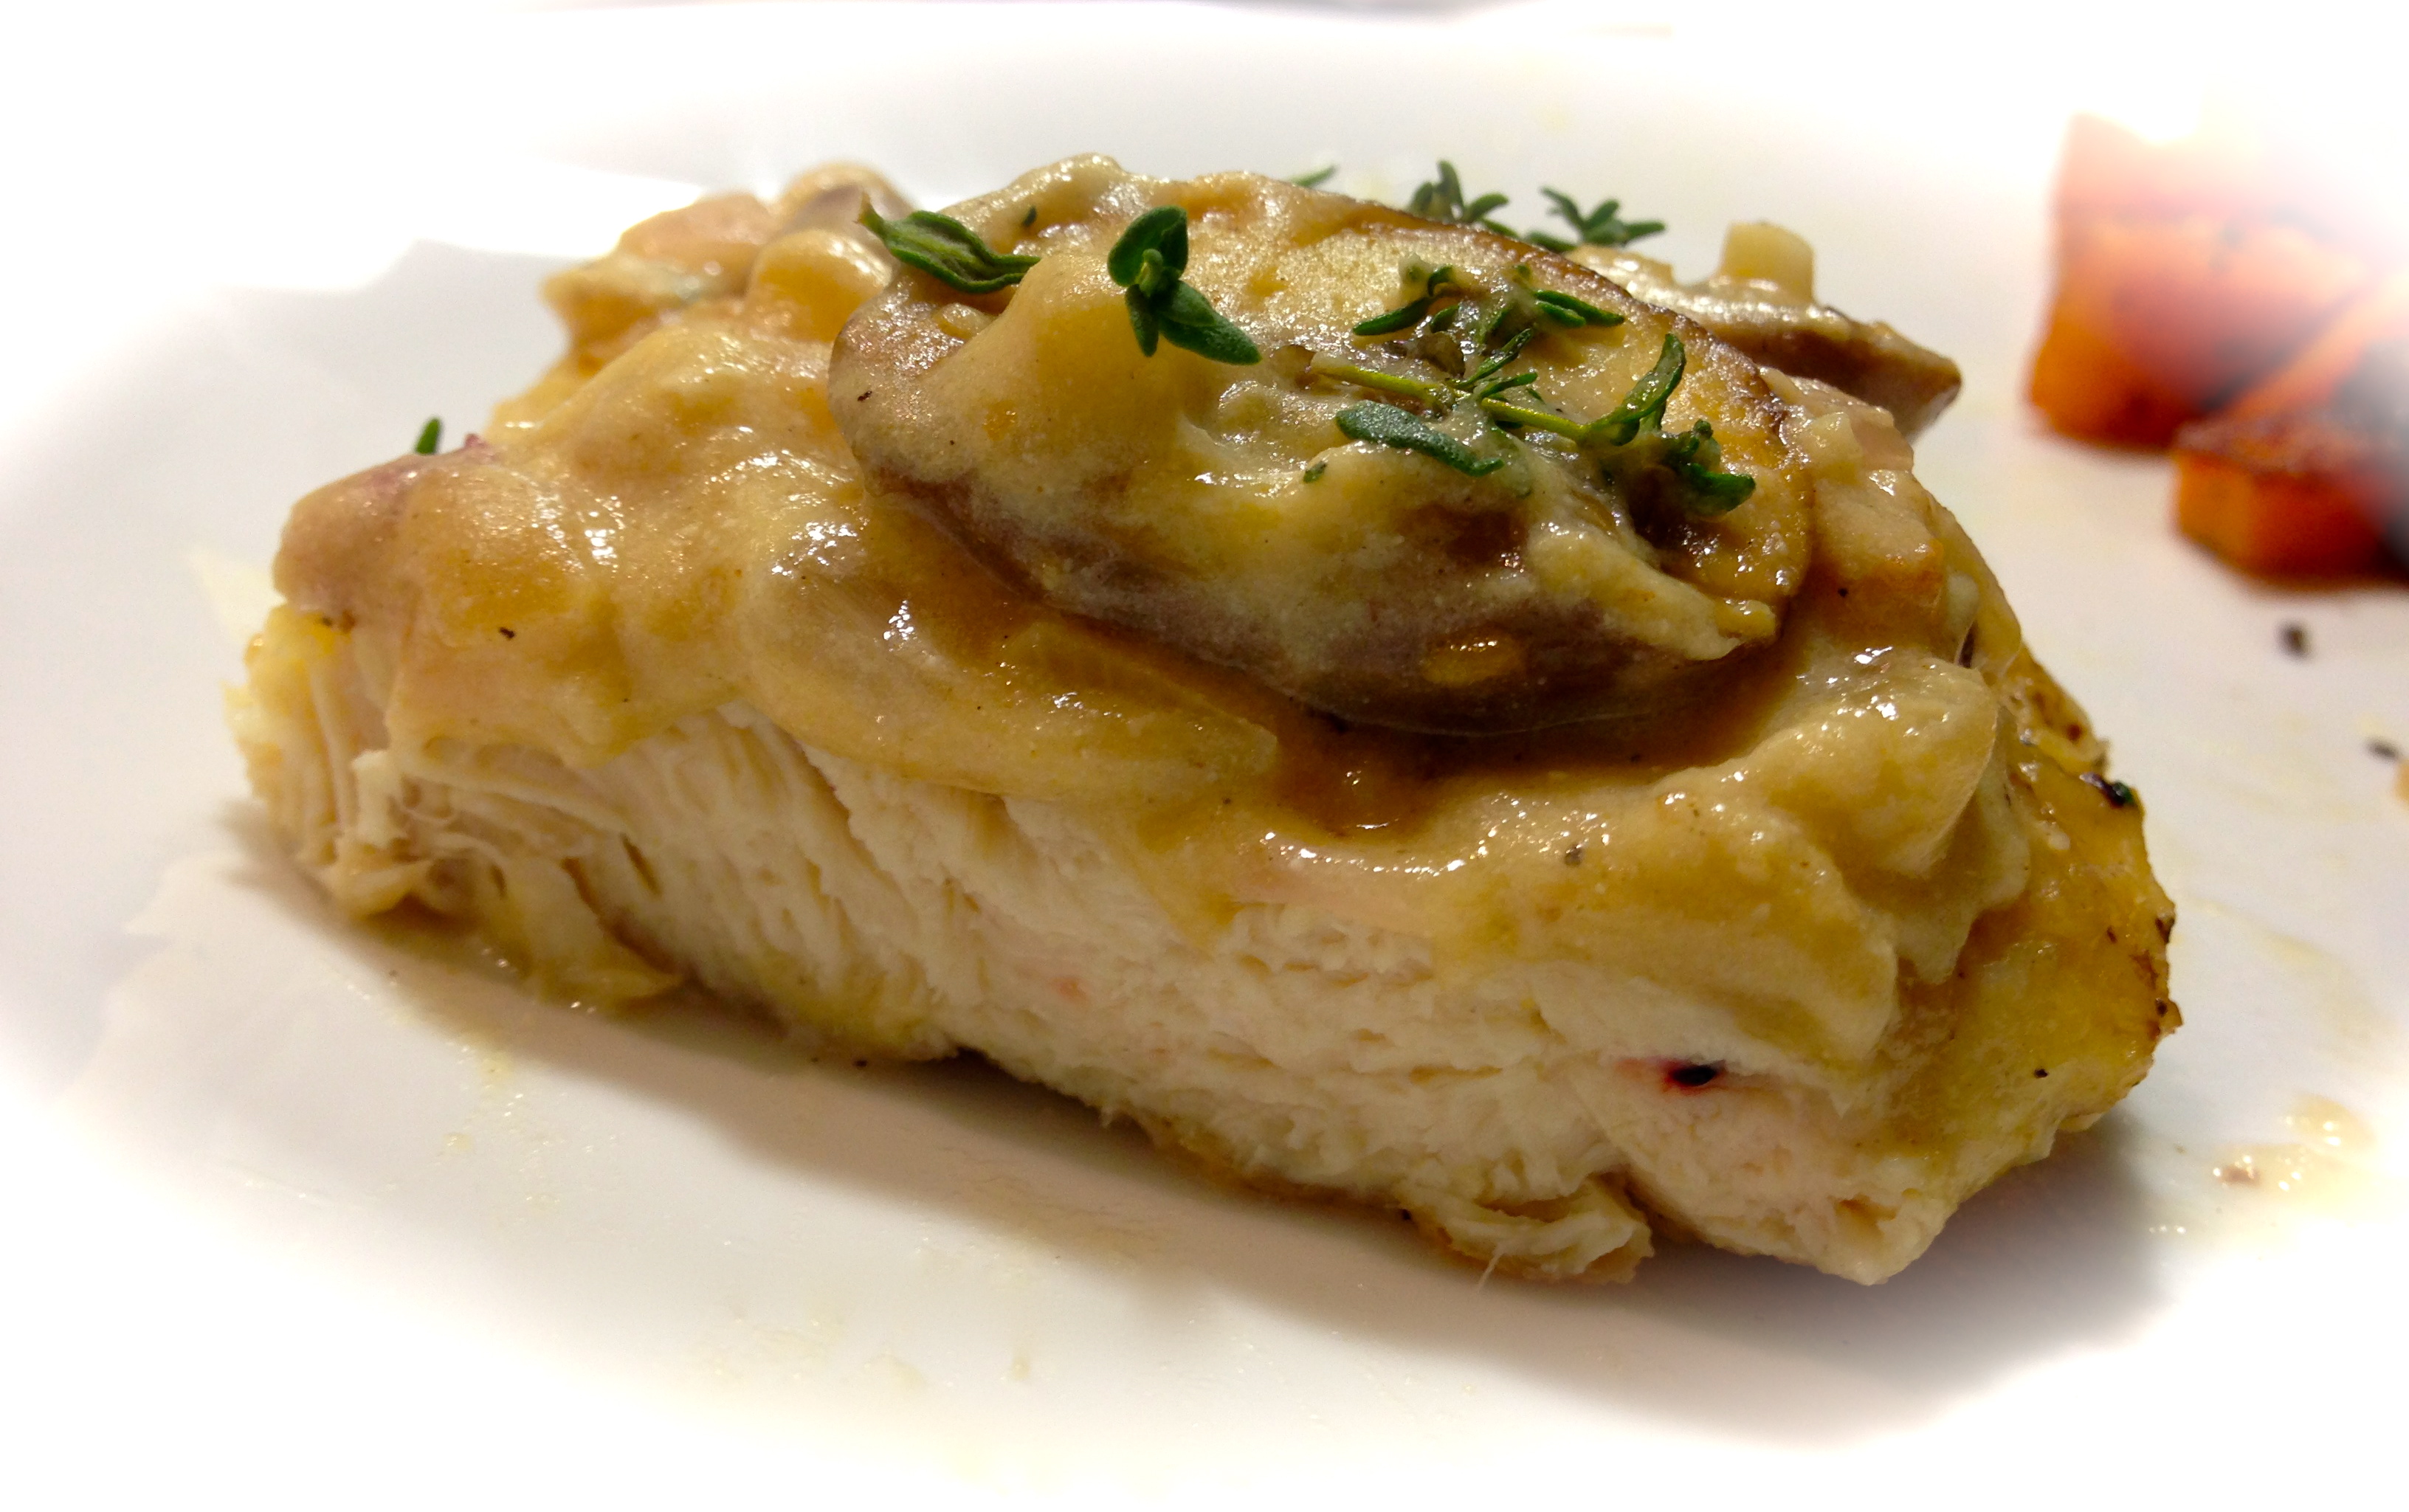
Lesson Learned 4 – Cooking with chicken cutlets can be tricky: By chicken cutlets I mean boneless skinless breasts that either have been cut or pounded to about 1/4 inch thick. I actually found them at my local grocery store so that made it even easier. Chicken cutlets take no time to cook at all and you can easily make them taste like leather if your overcook them. I cooked mine for 3 minutes on each side before taking them out of the pan and preparing the sauce. I kept them on the plate covered with foil which resulted in some minimal carry over cooking. Once the sauce was made I put them back in the pan and let them simmer in the sauce for no more than two minutes. They came out juicy and tender.
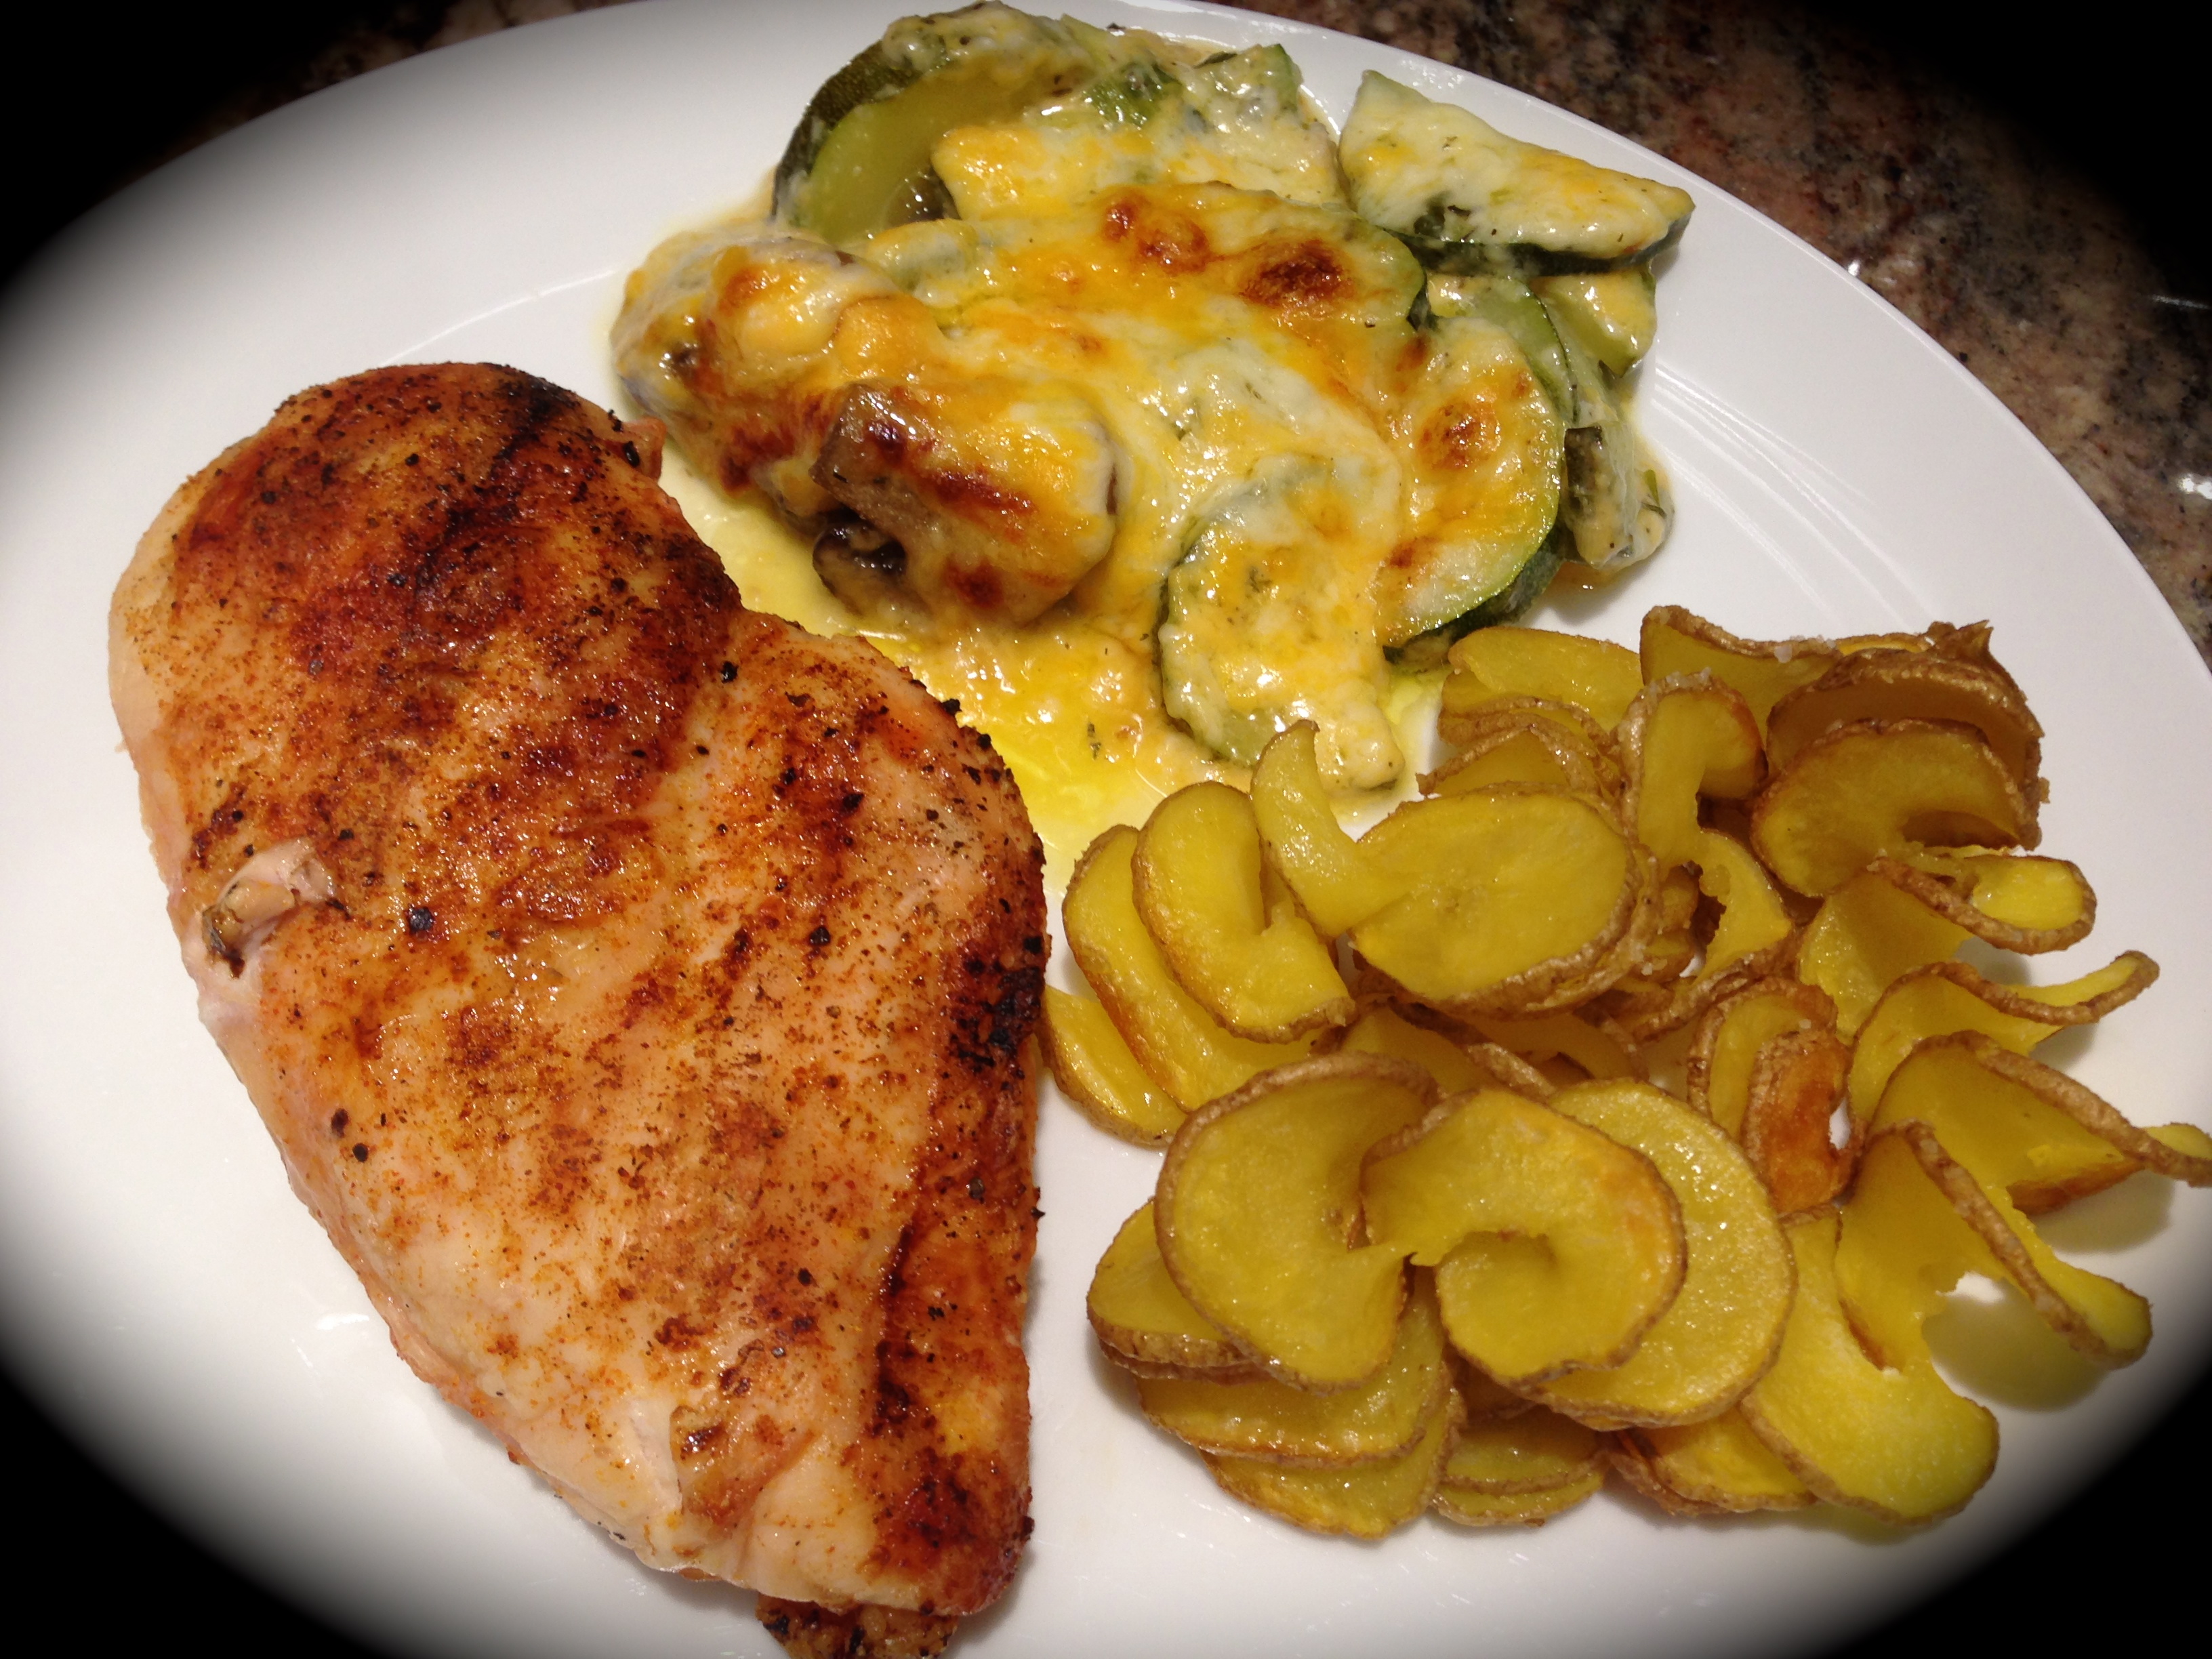
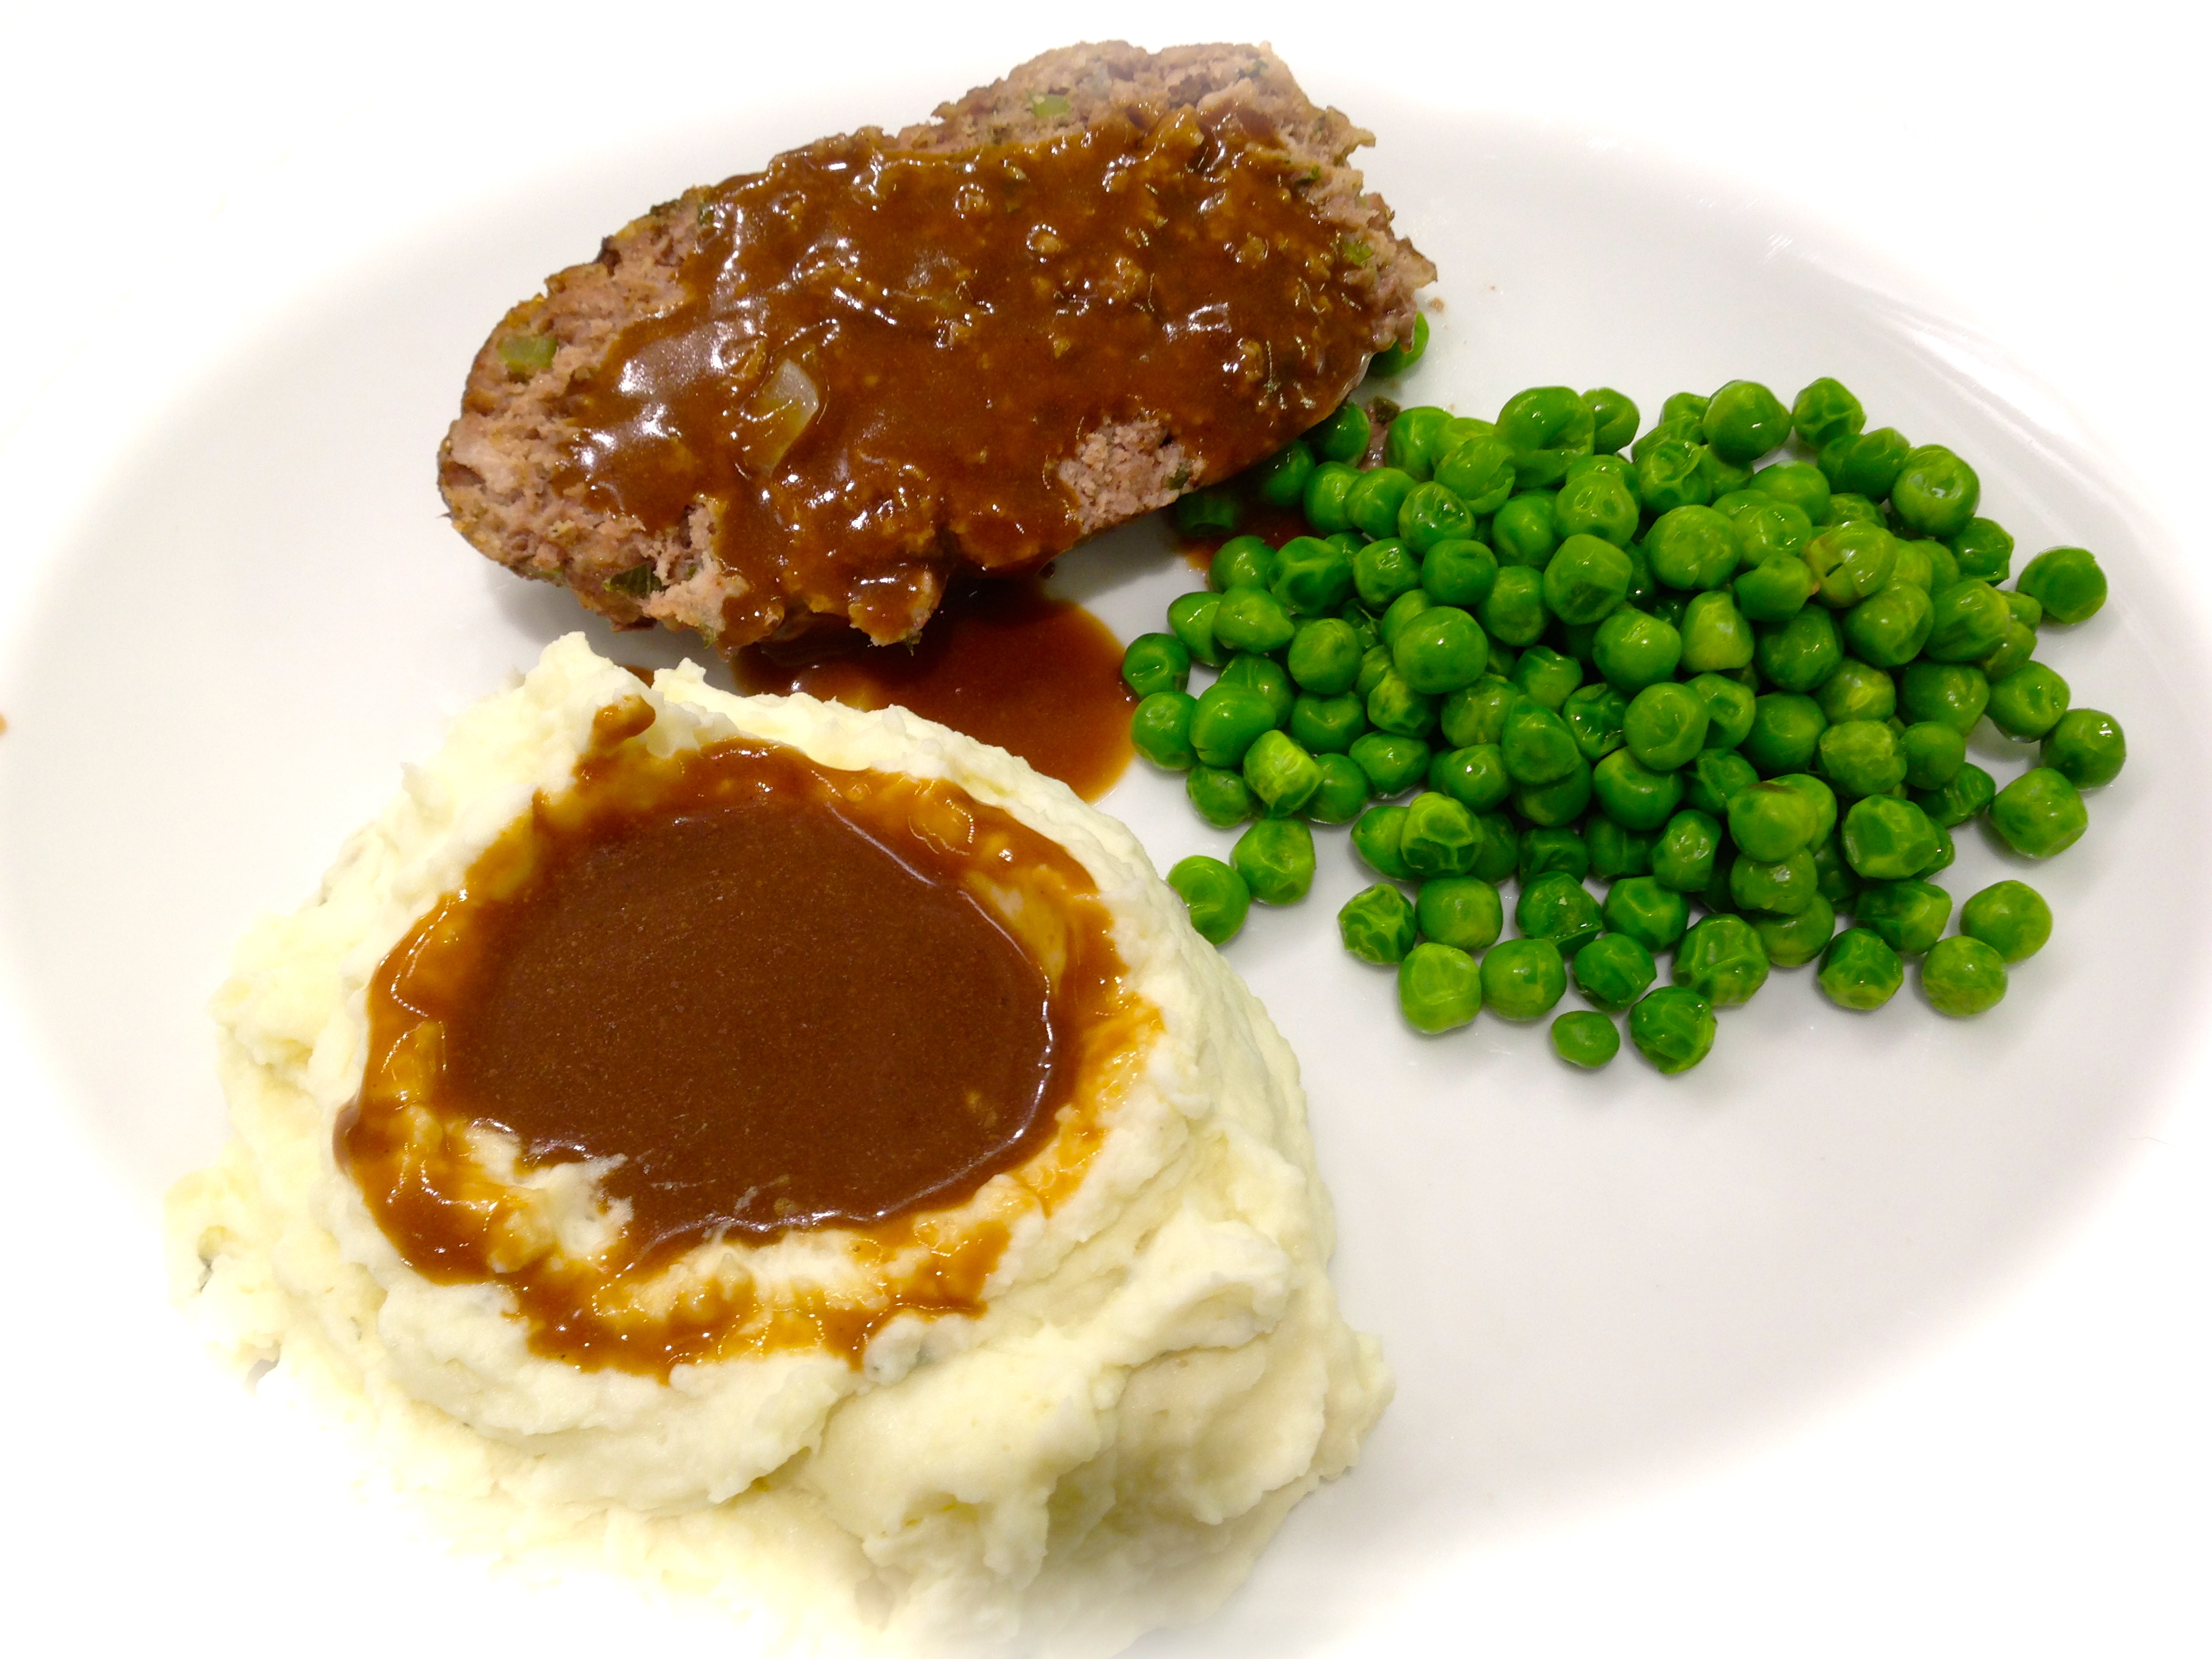
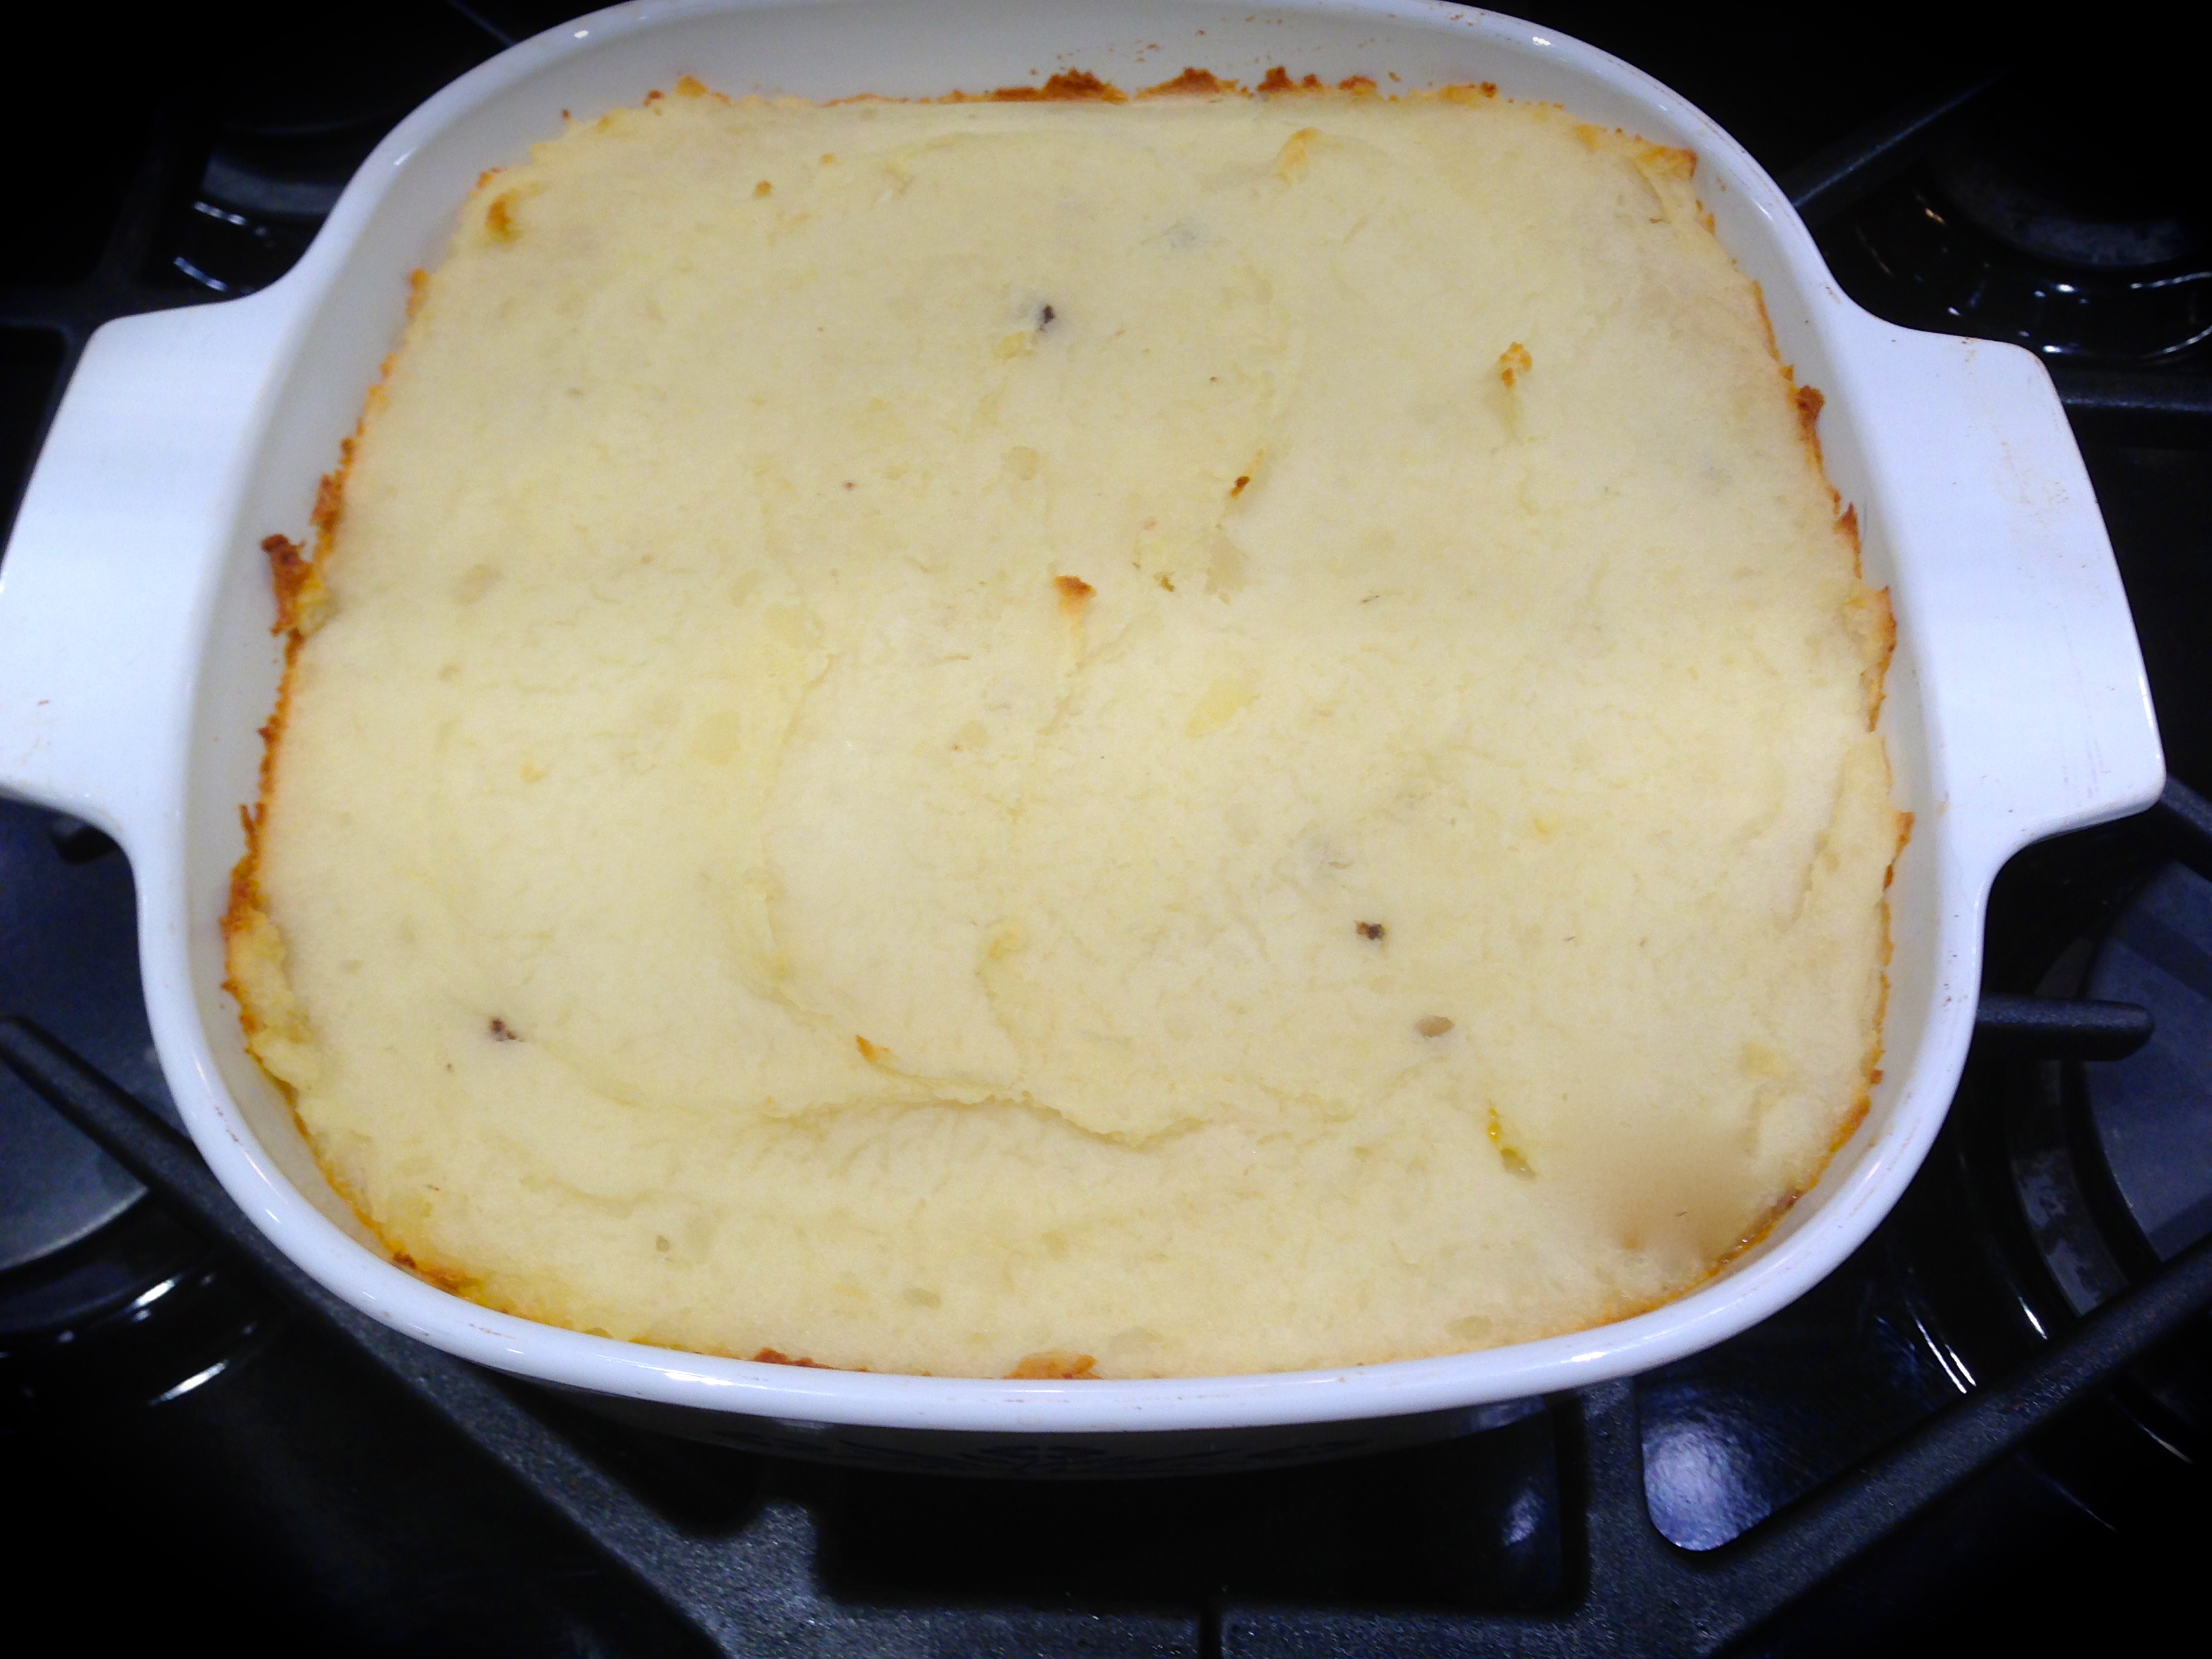
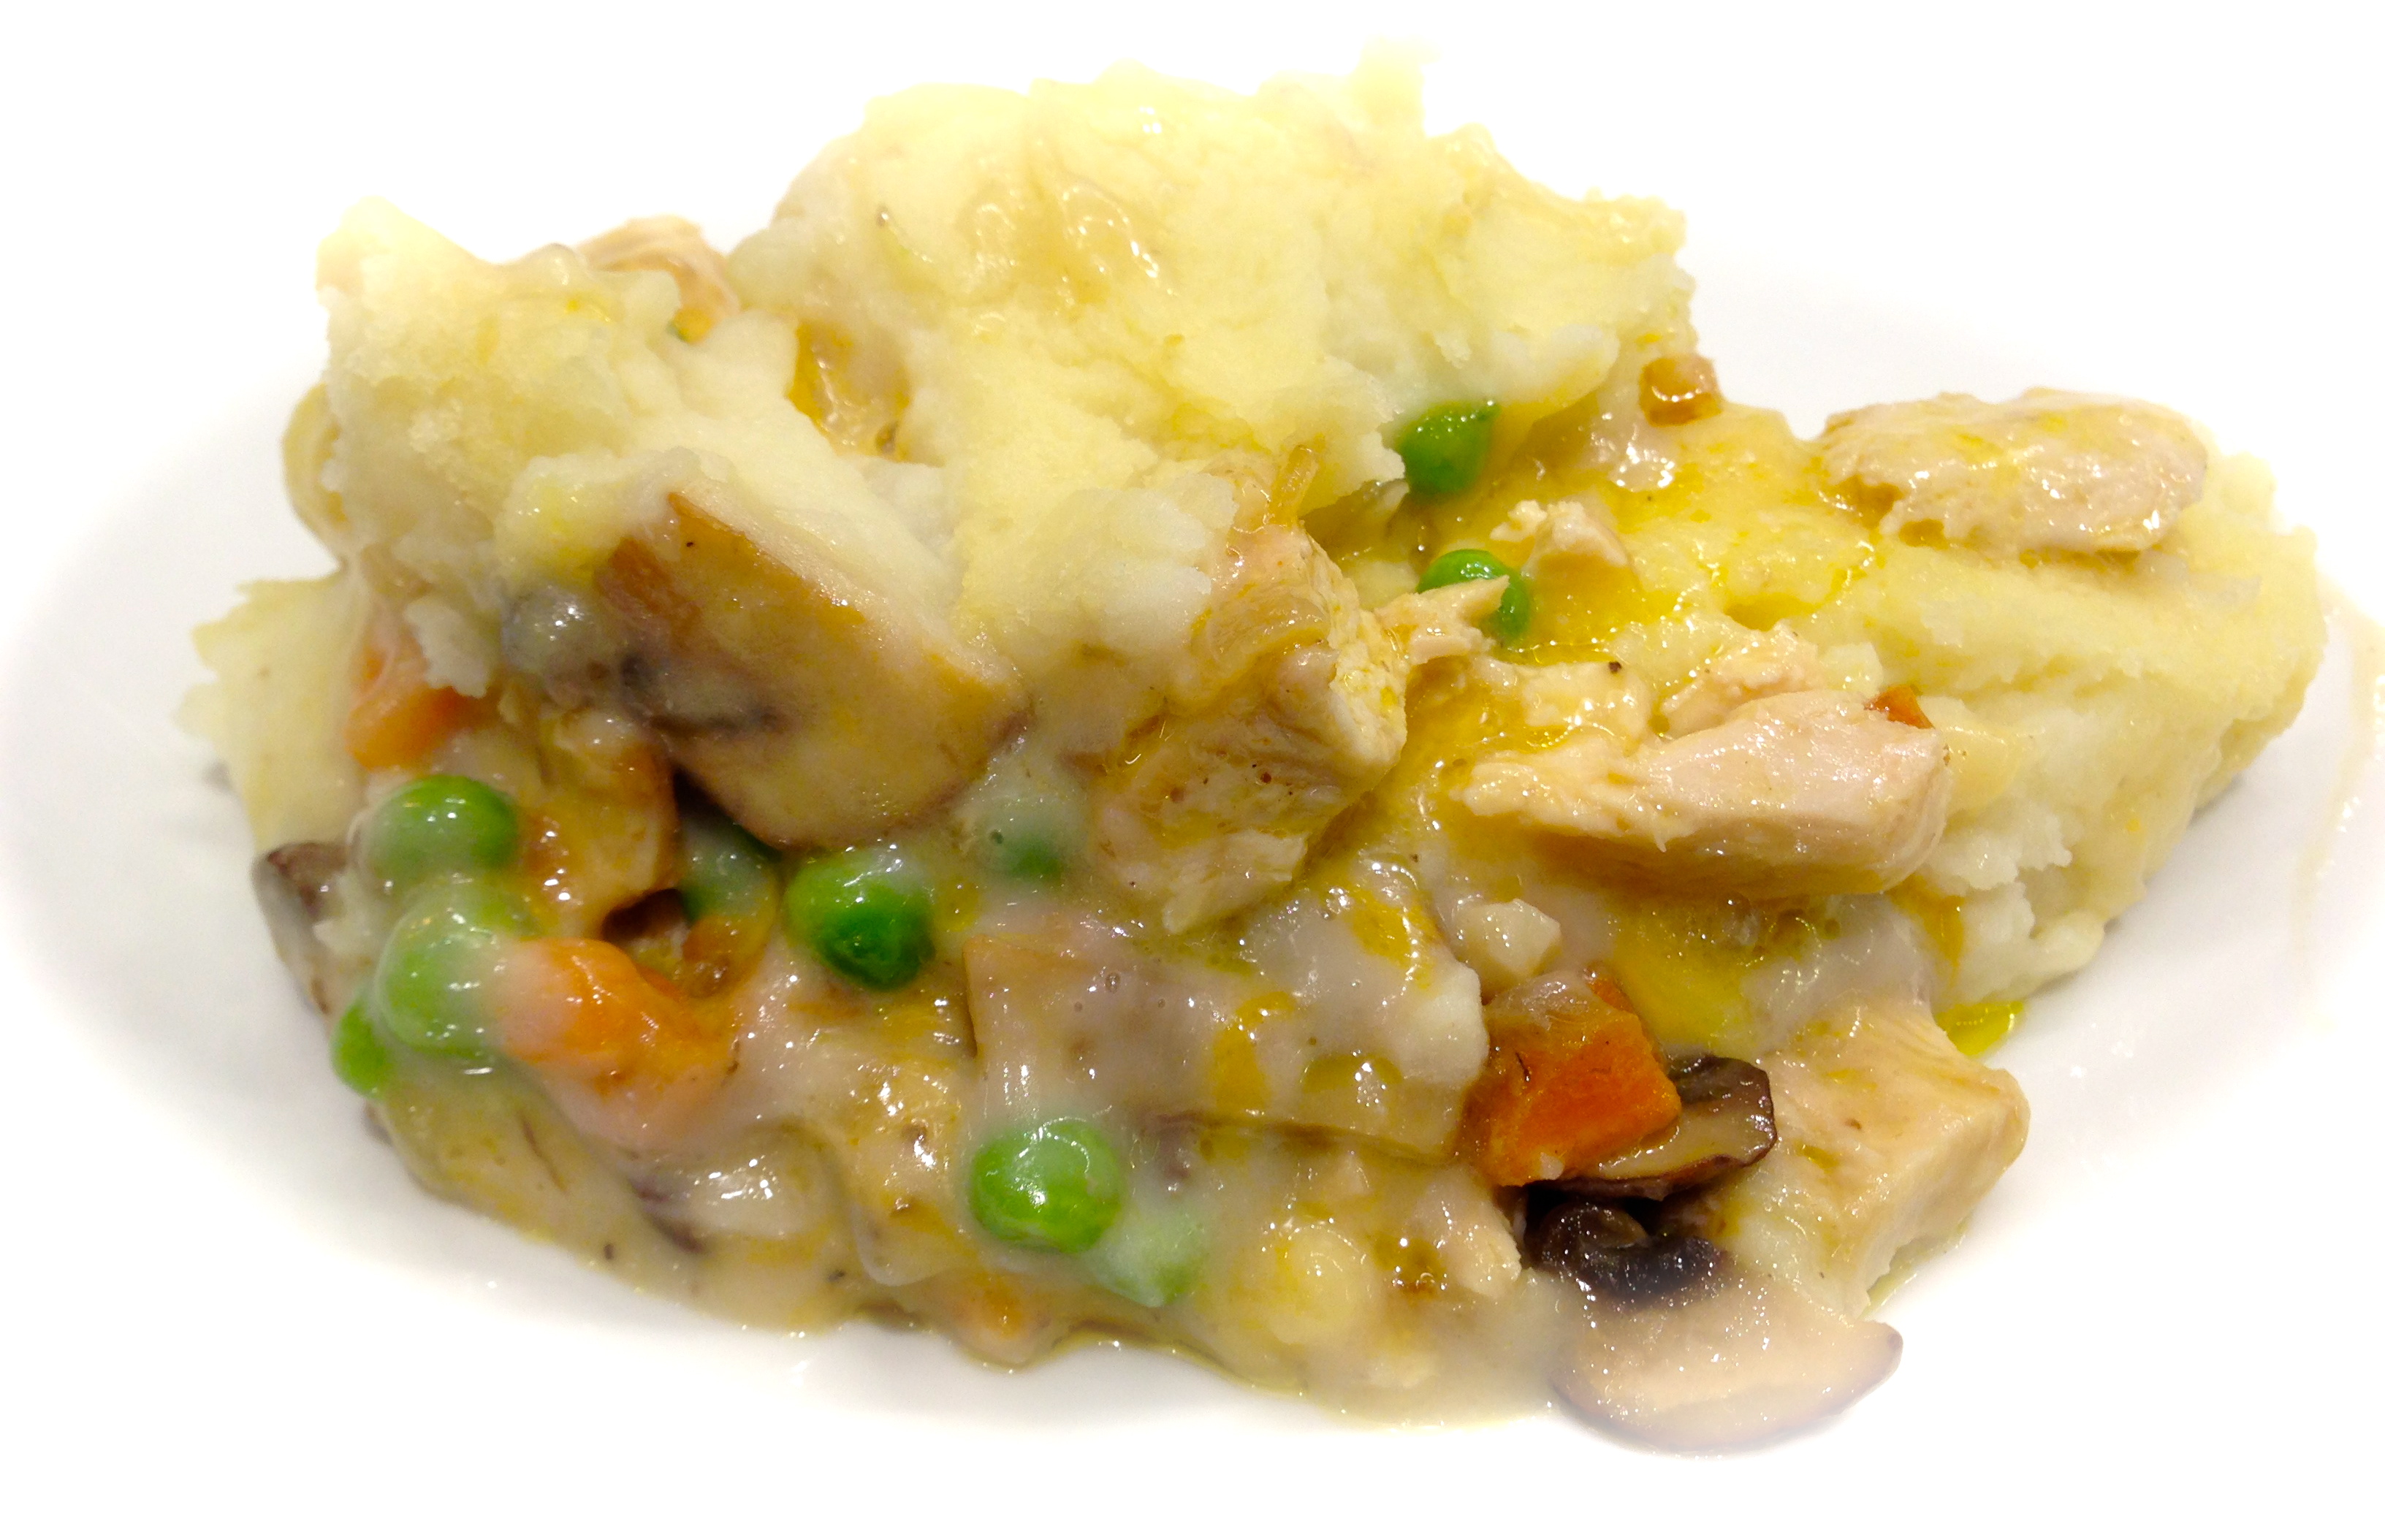
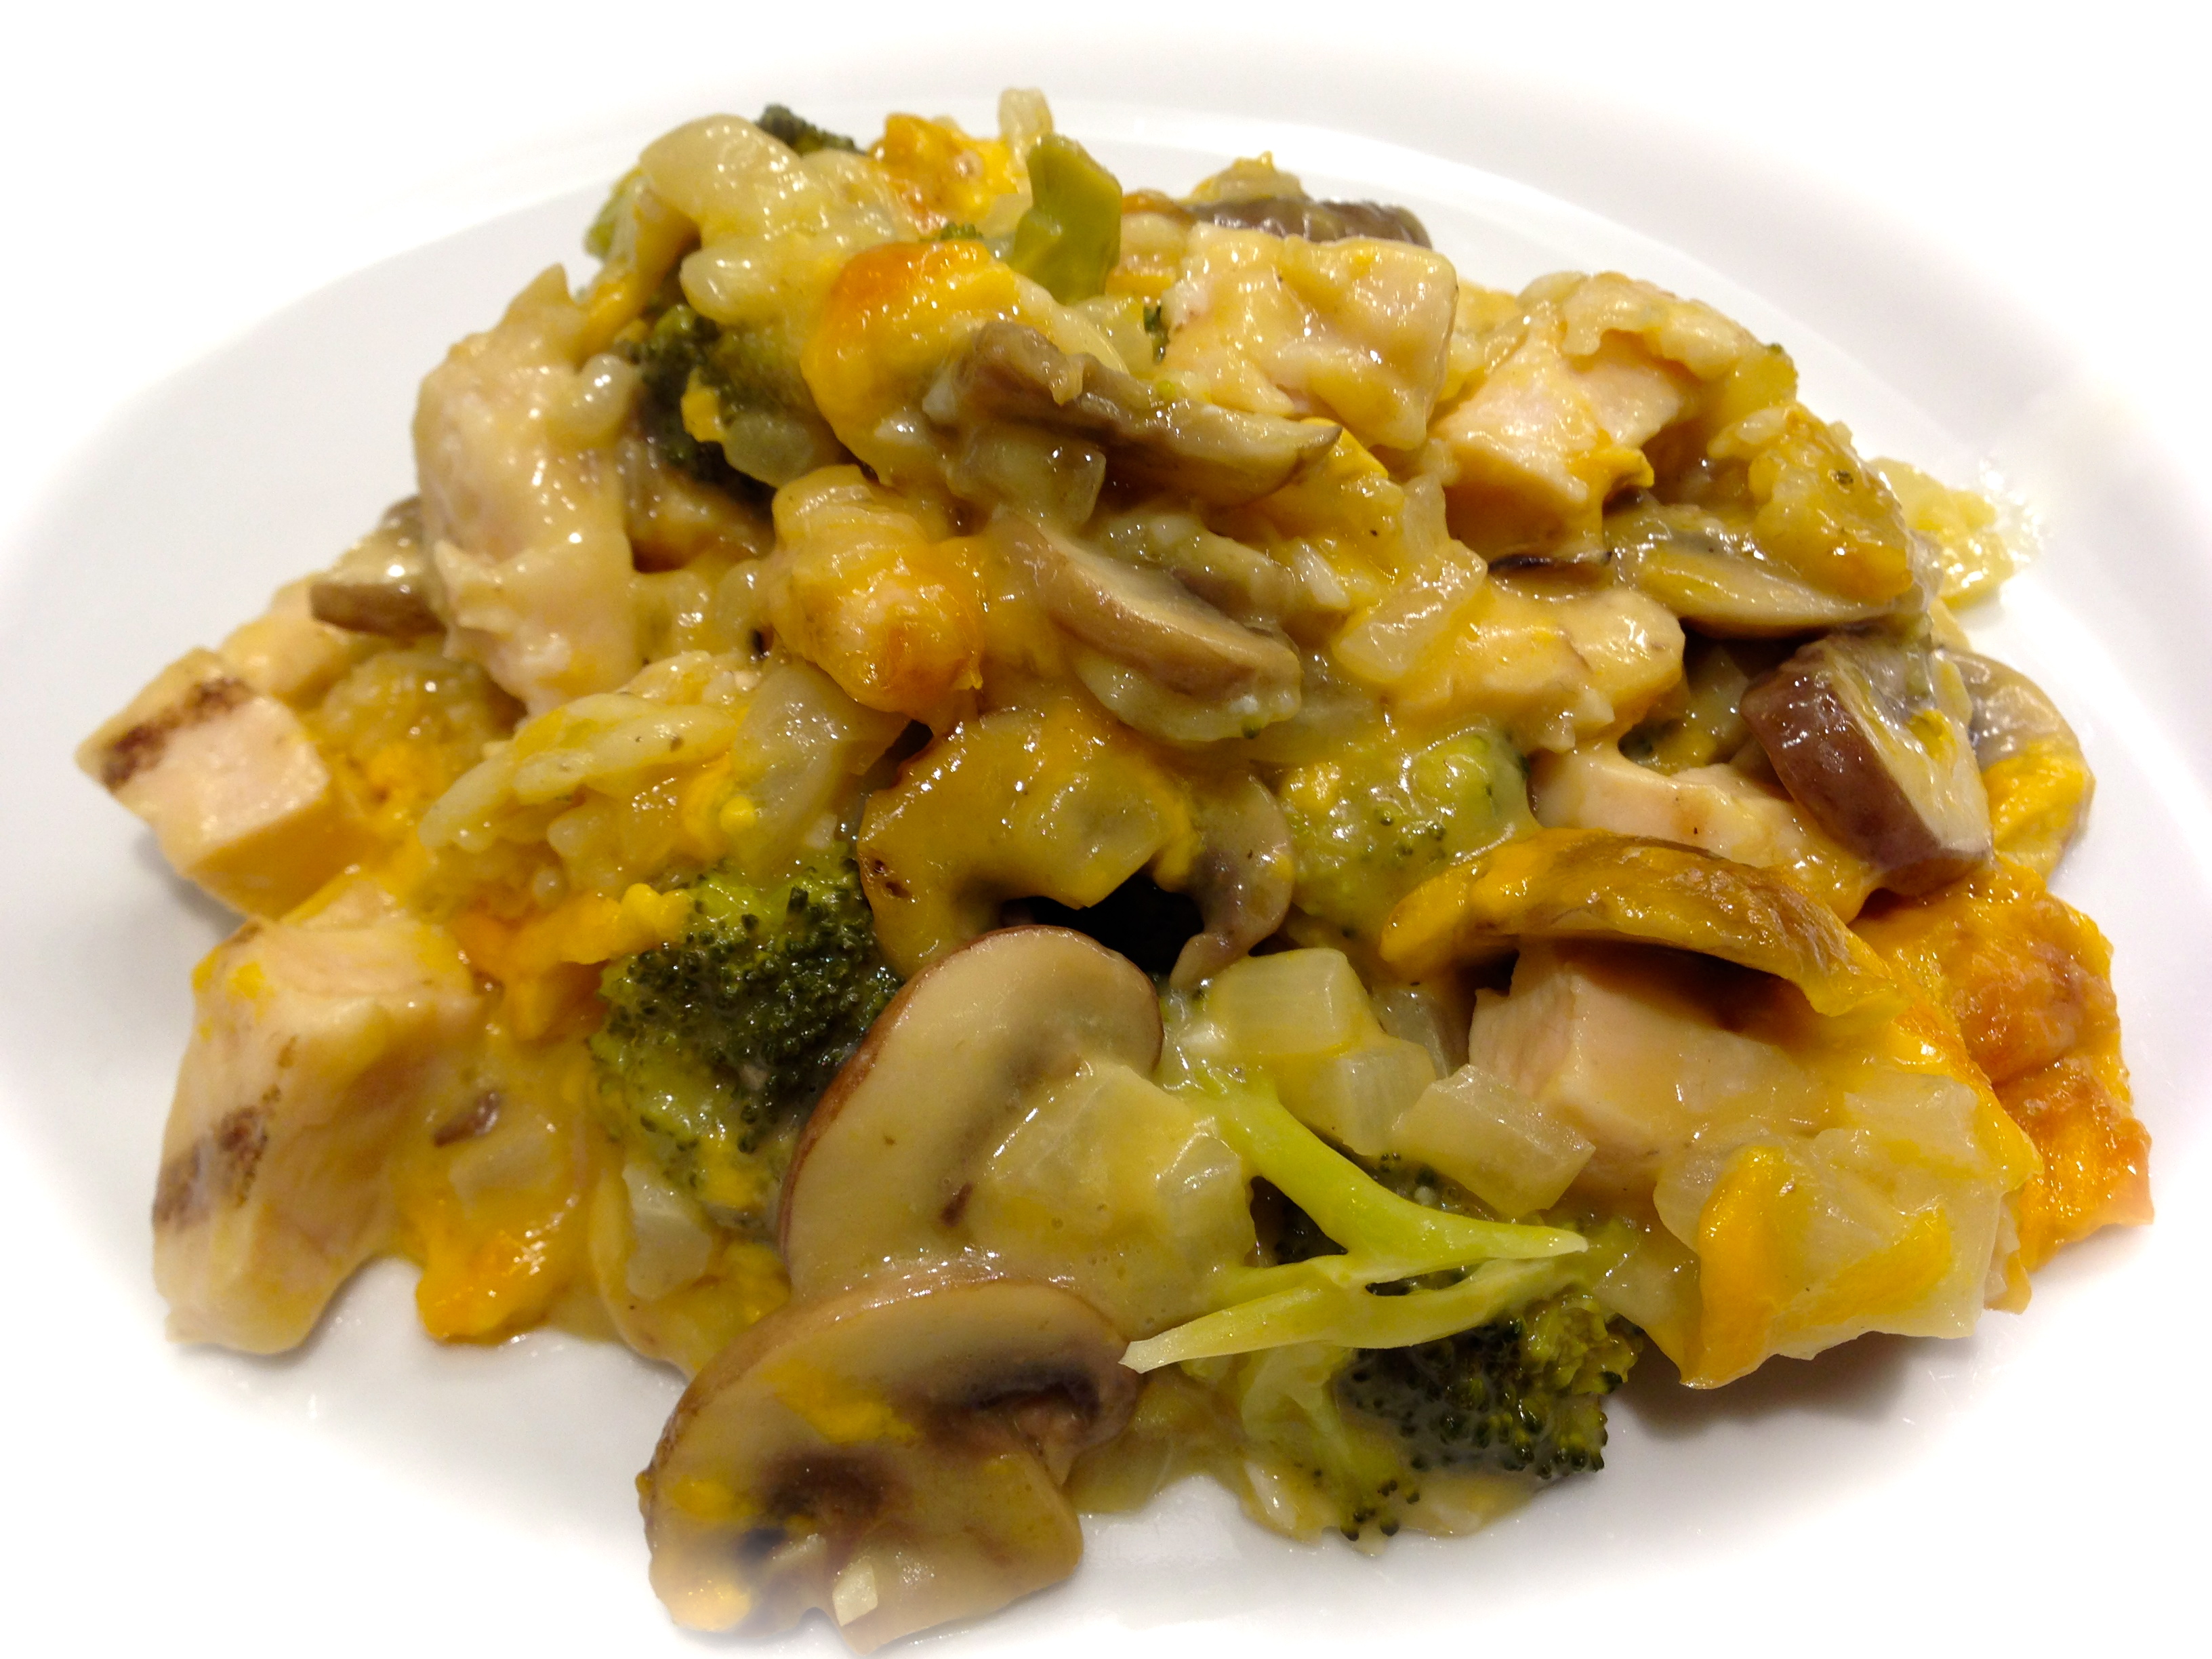
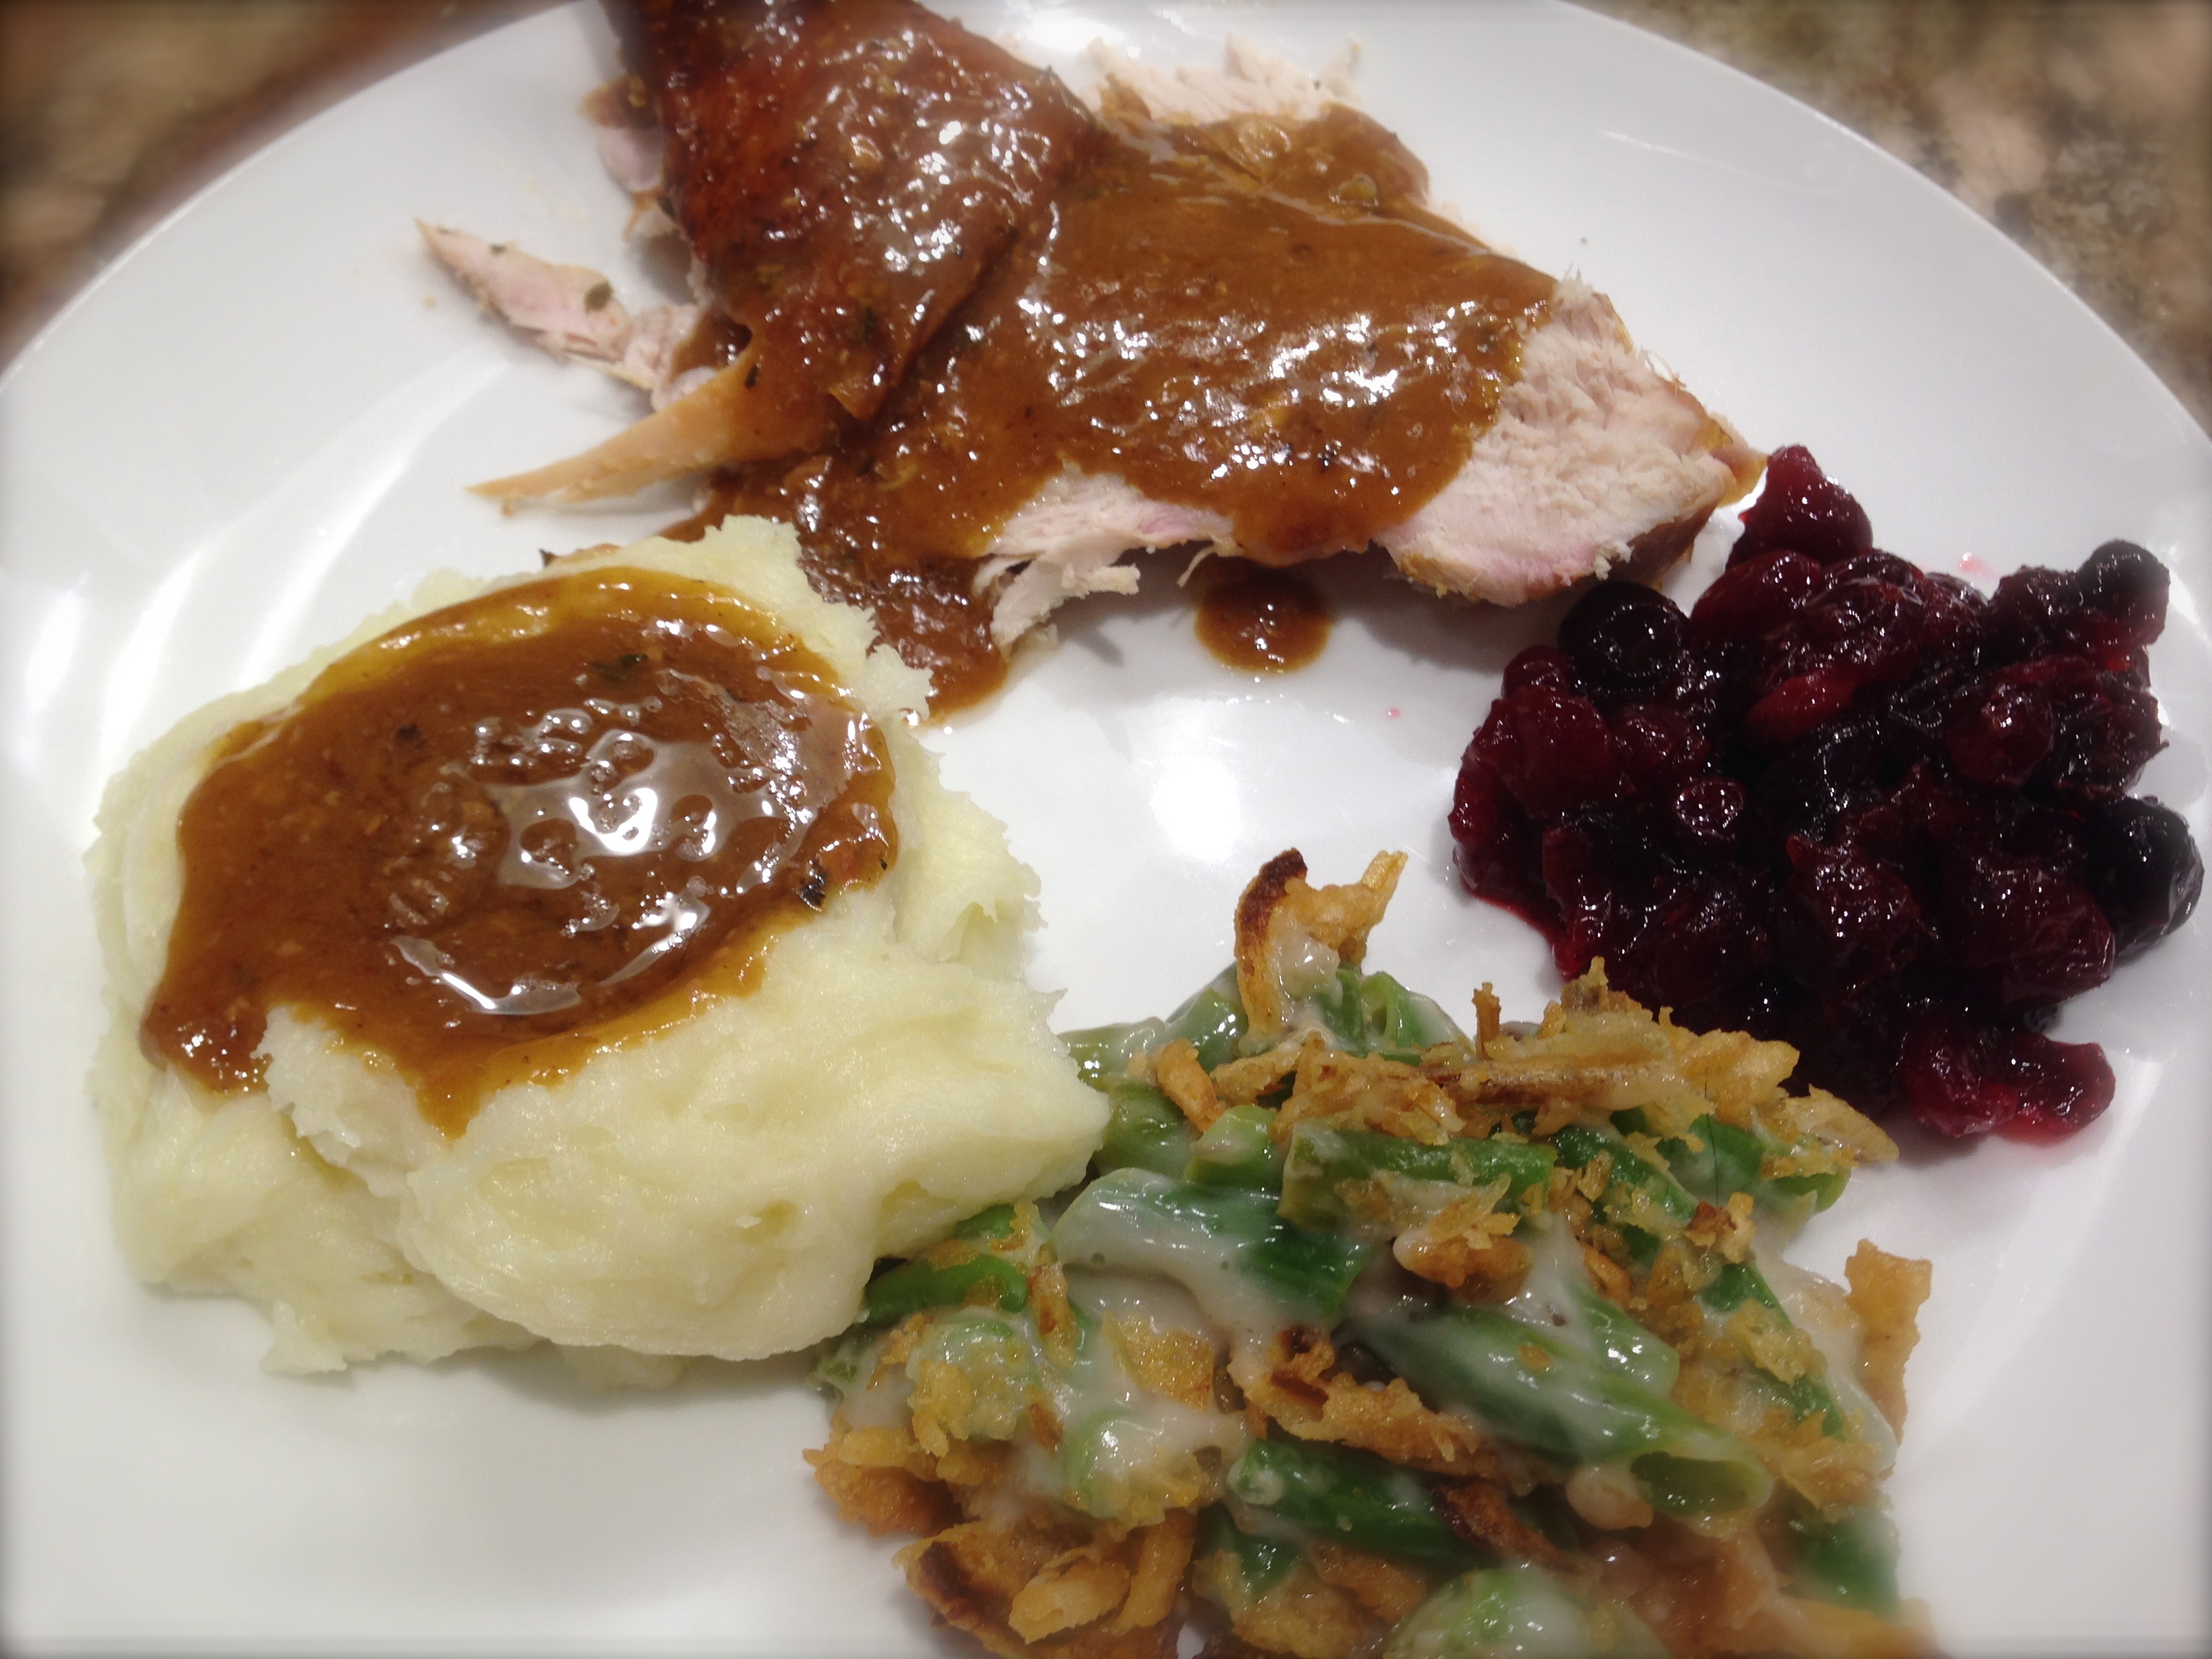
This is a great recipe for the burgeoning chef. The only area I would caution you on is to make sure not to overcook the cutlets. Because they are so thin they cook in no time flat. There is not a lot to prep for this recipe and within 20 minutes, including prep, this chicken is ready to plate. I served it with roasted butternut squash and balsamic roasted potato wedges and it was a big hit. Try this one. I know you will like it.
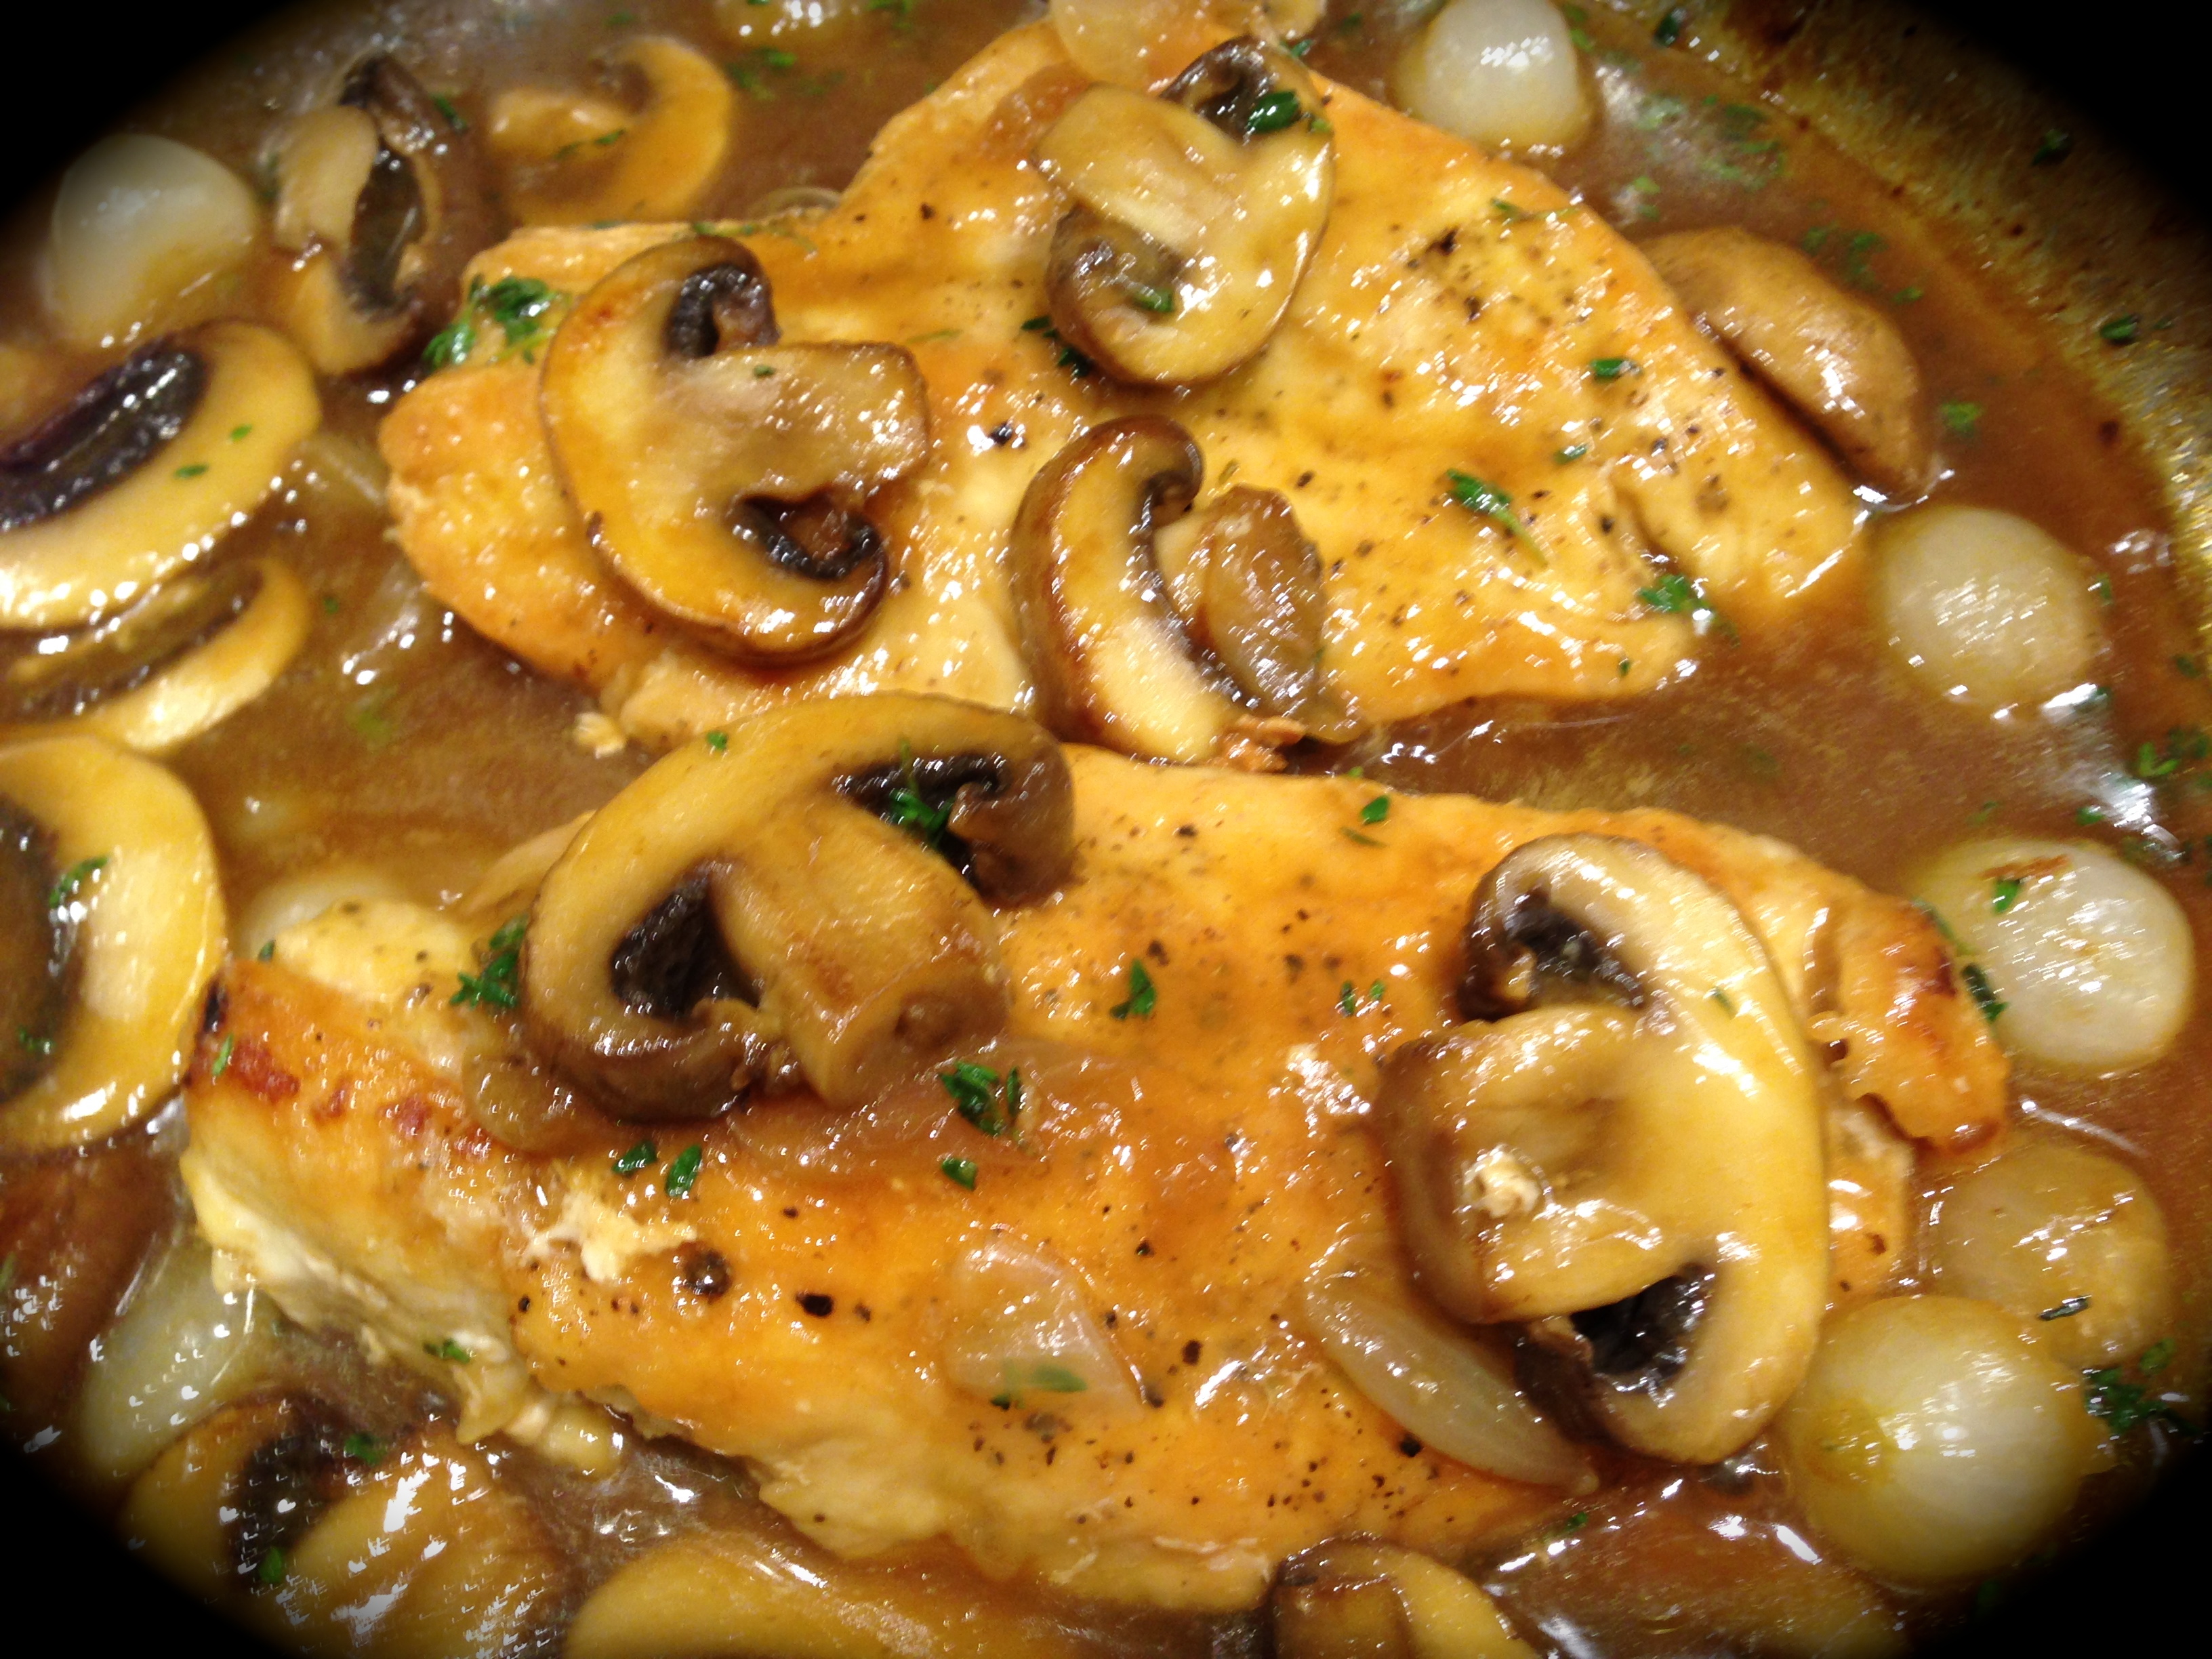
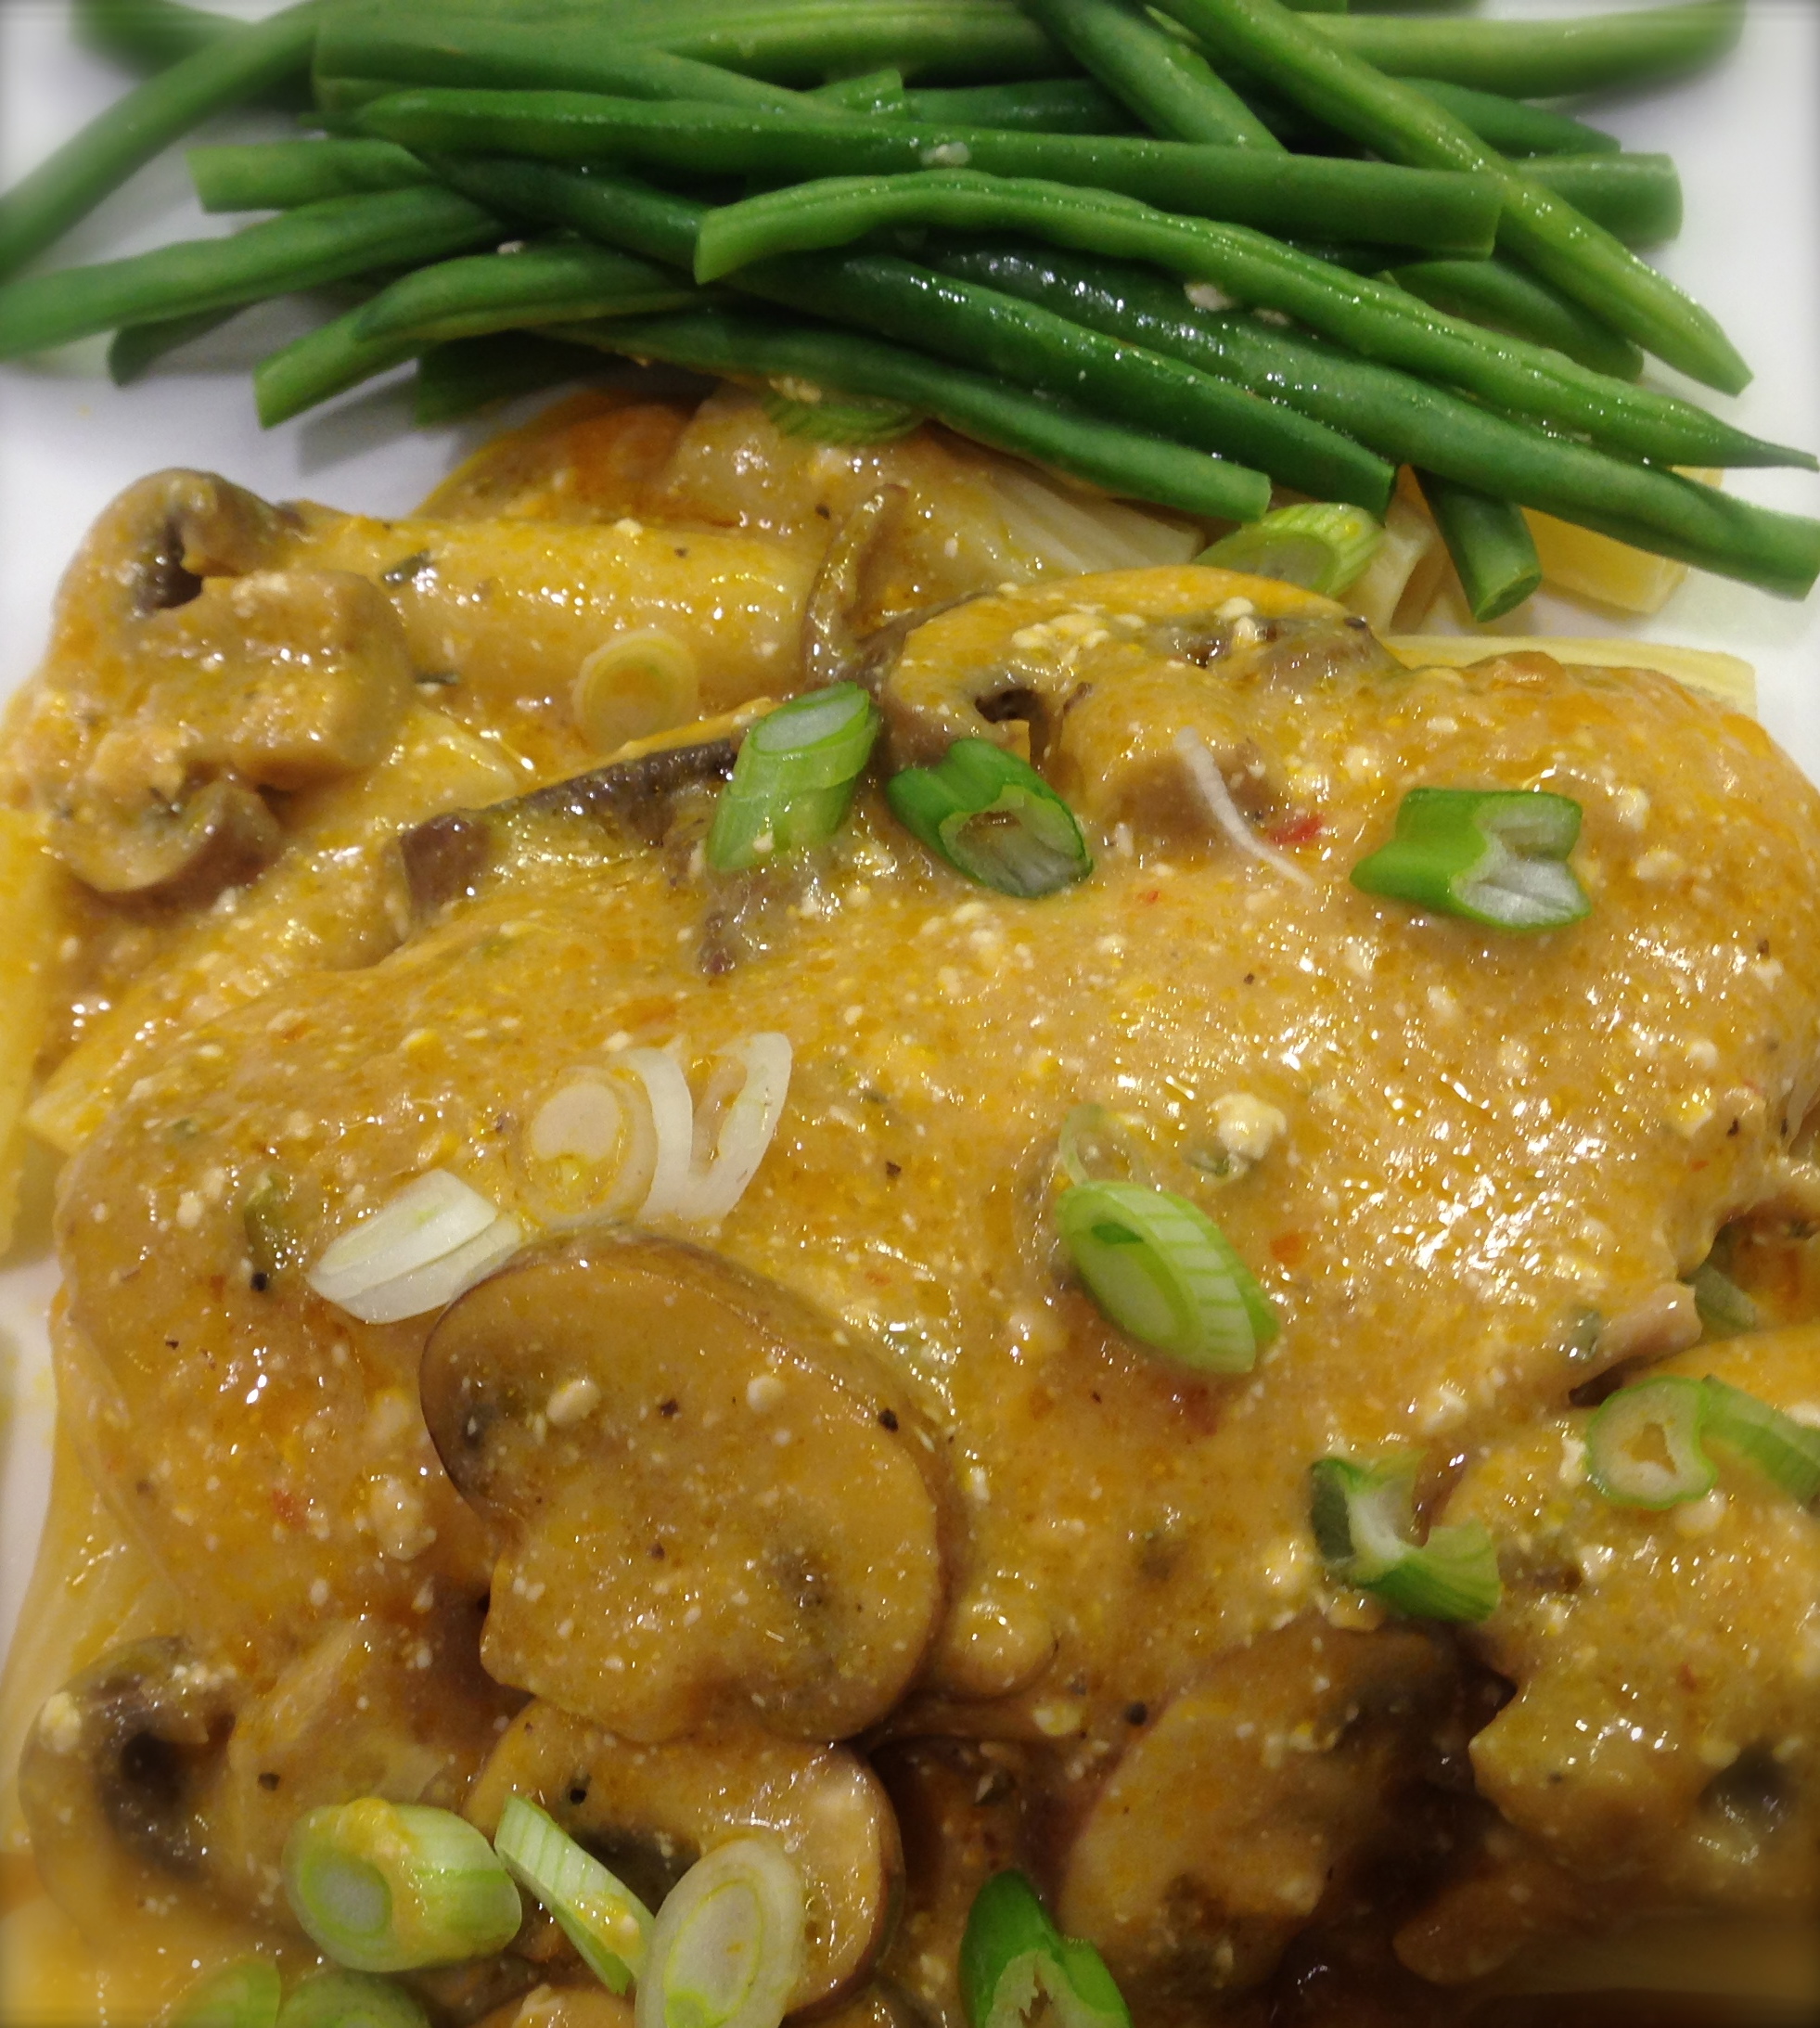
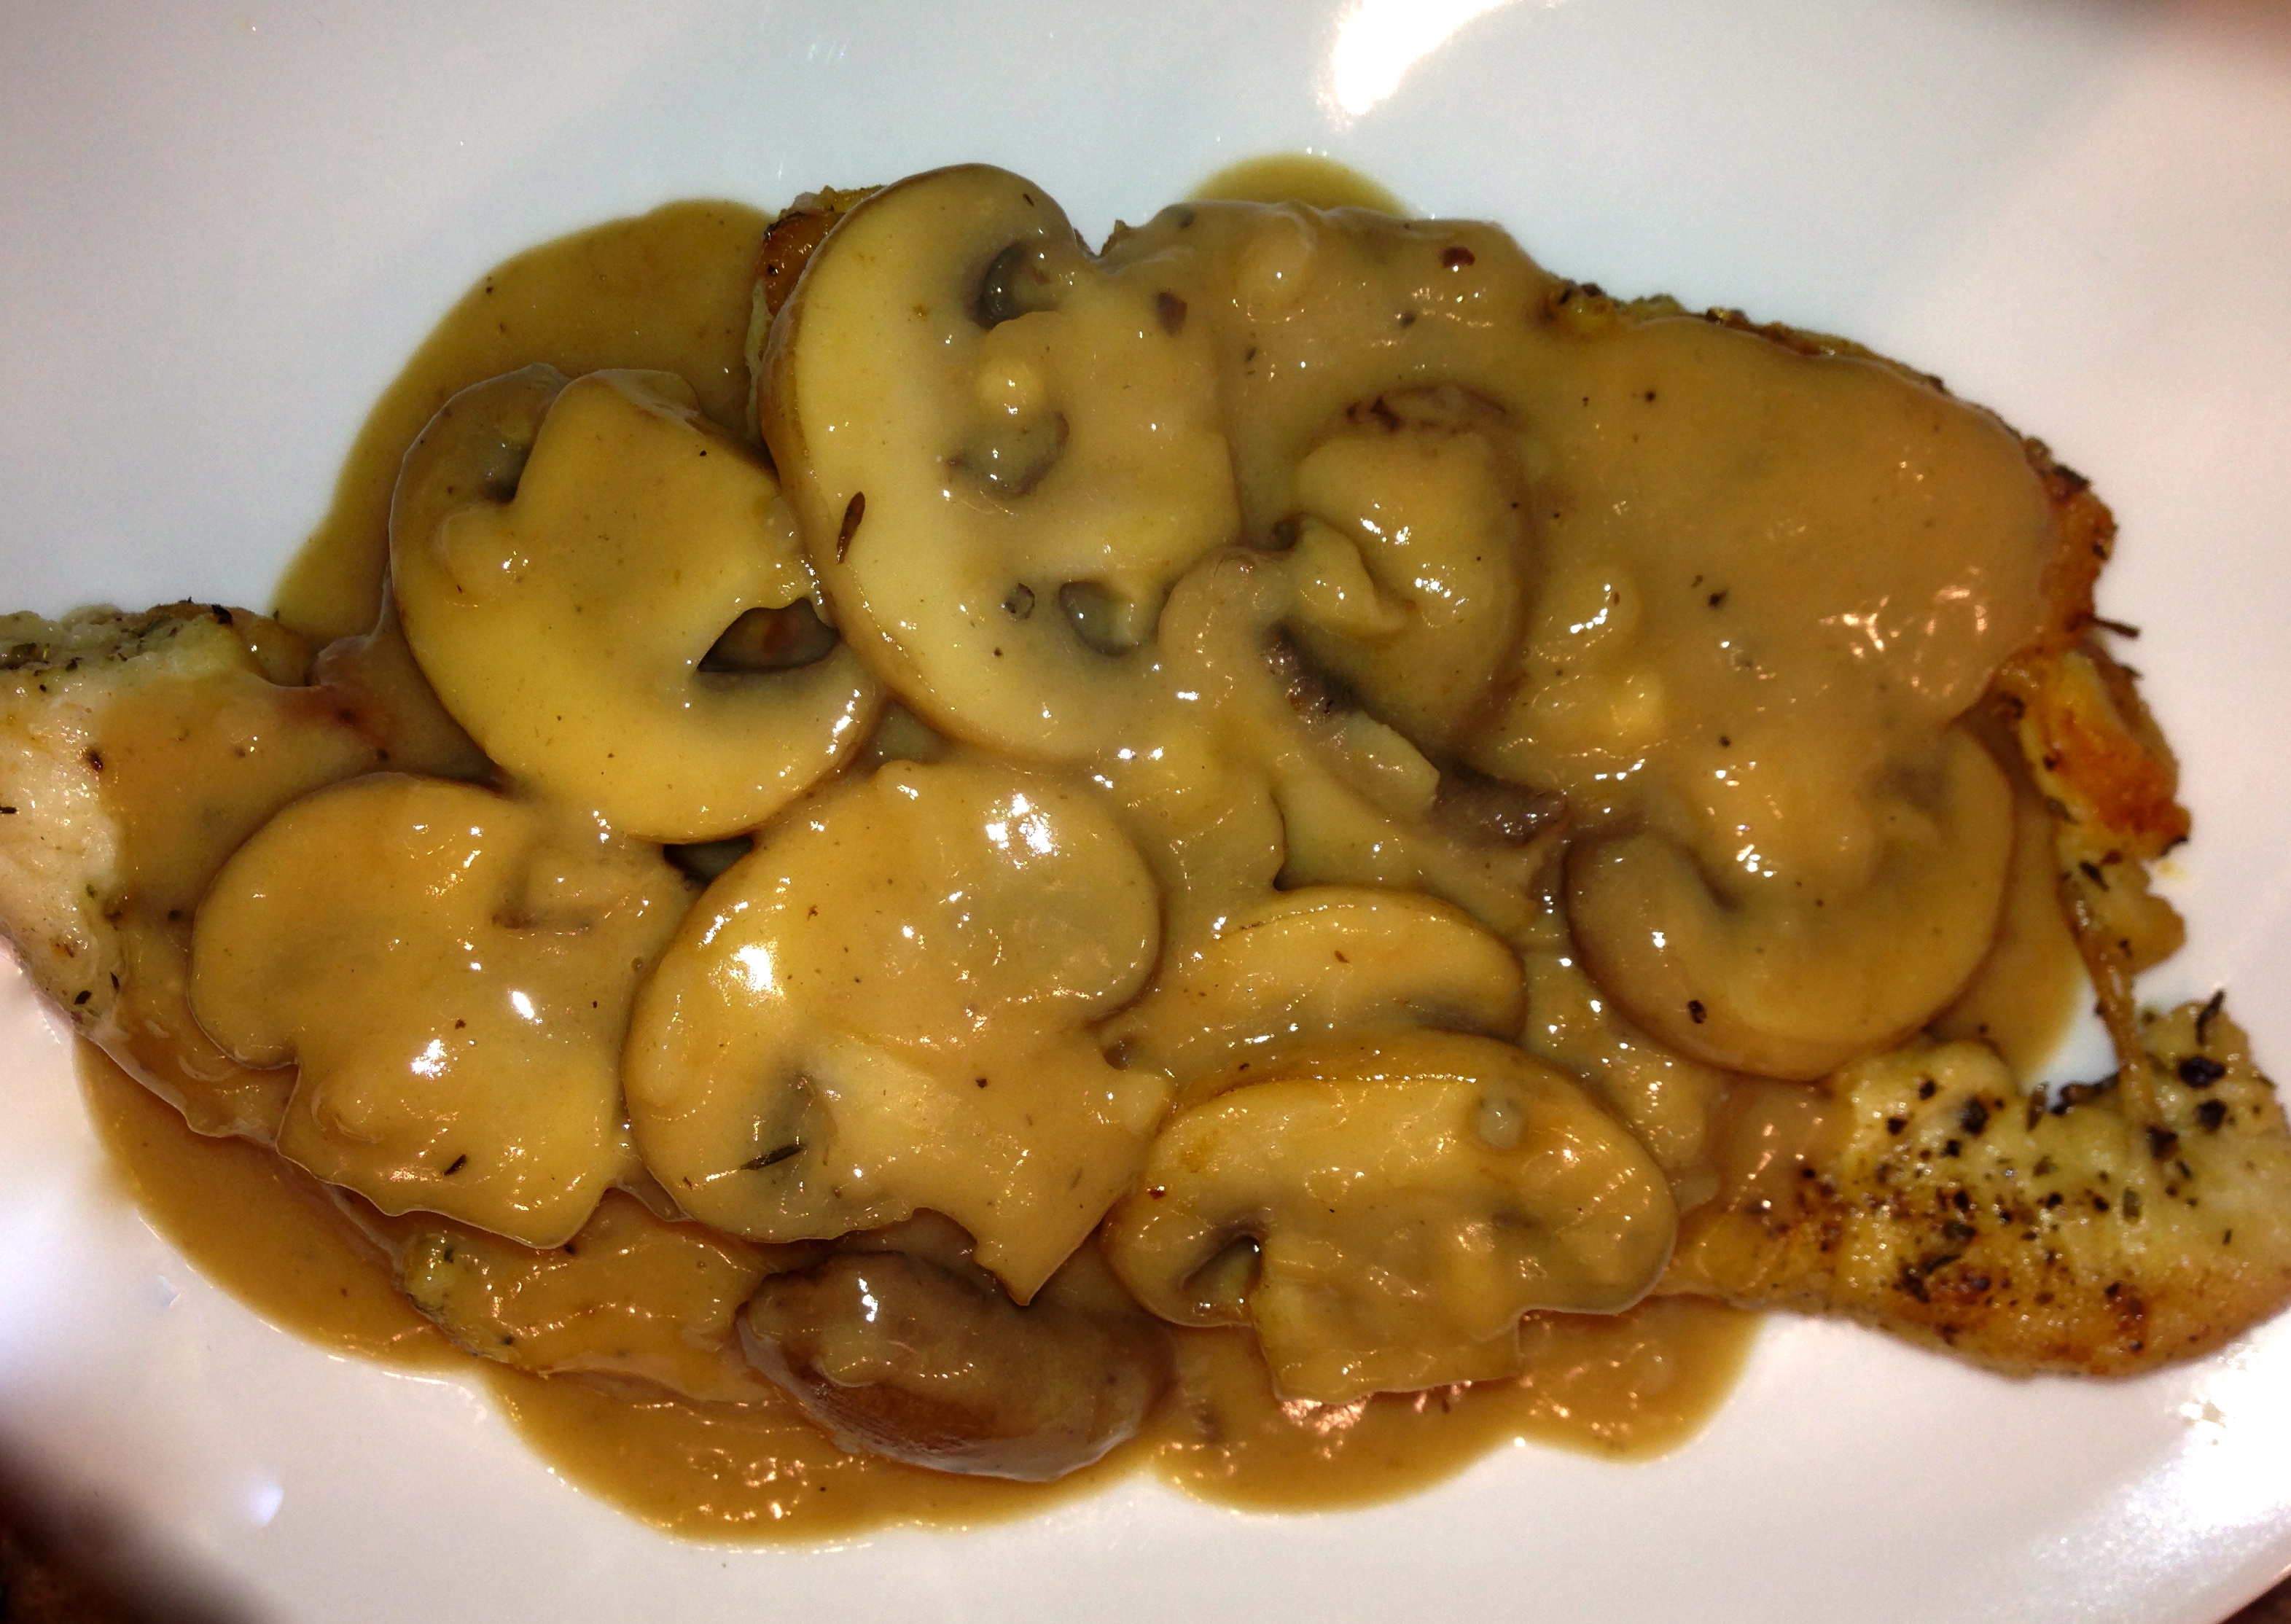
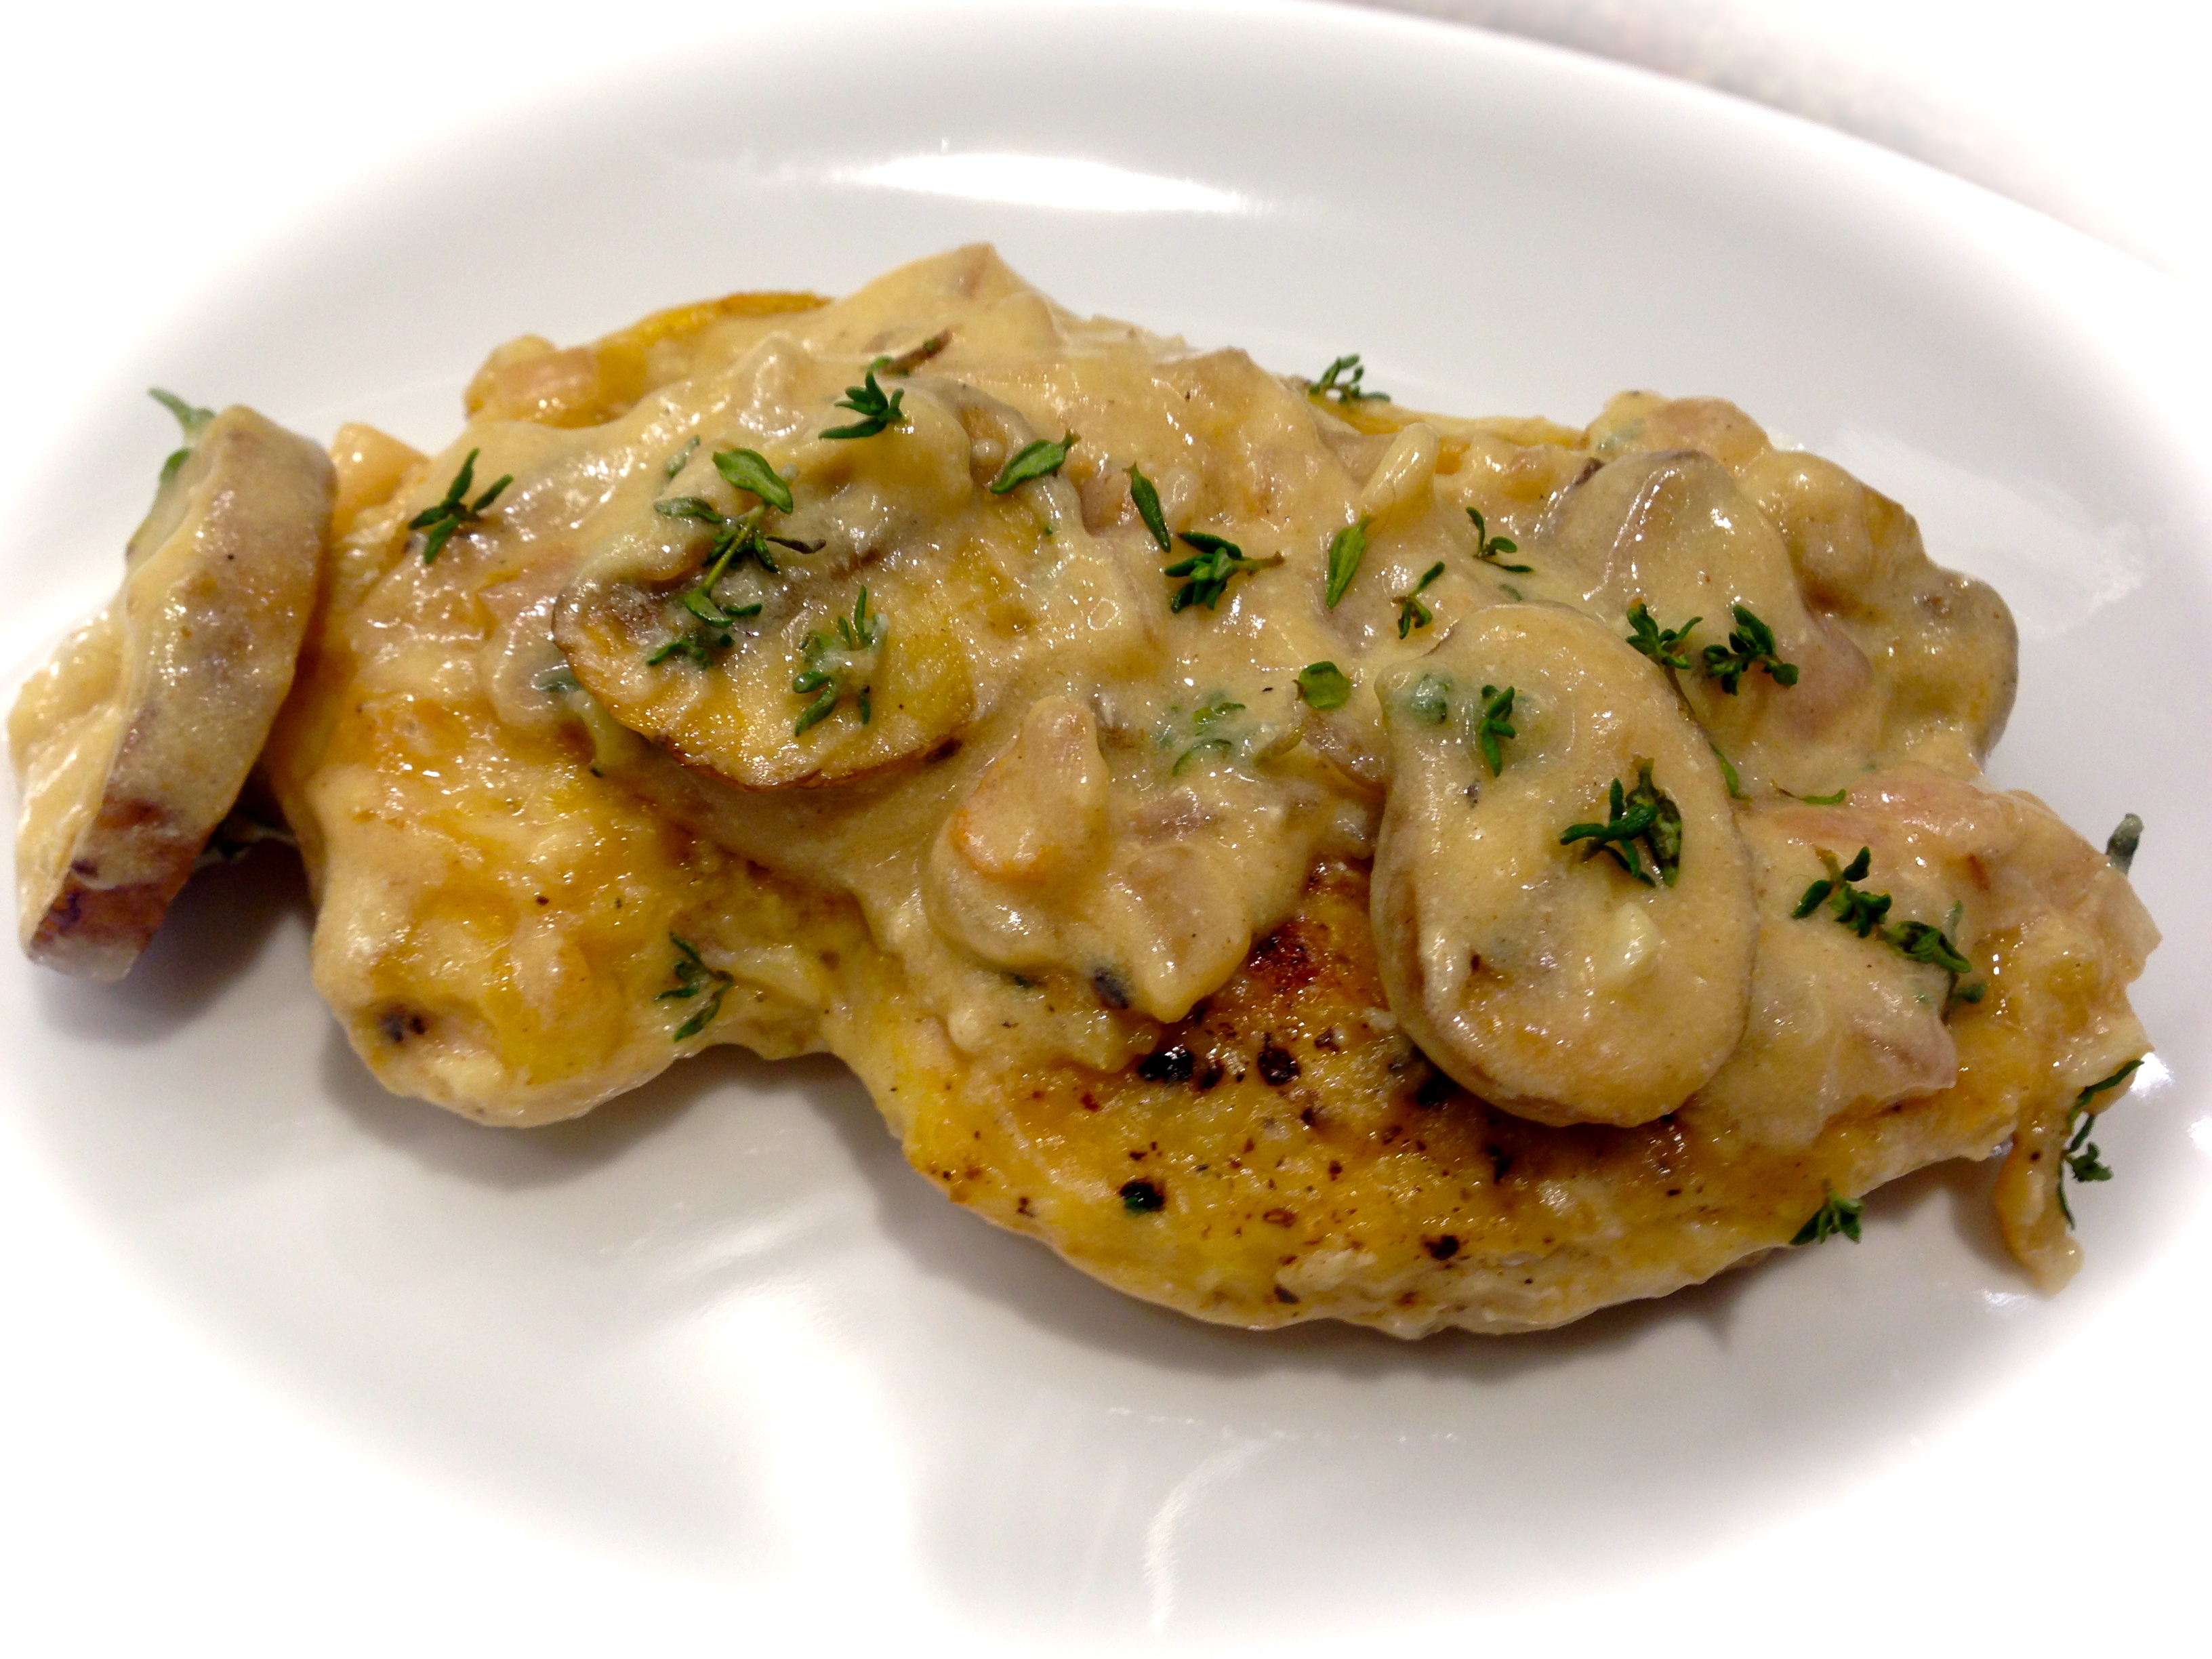
Chicken Cutlets with Thyme-Mustard Sauce…
INGREDIENTS:
2 TBS. extra virgin olive oil
1 pound chicken cutlets, 3-4 pieces
6 ounces baby bella mushrooms, optional
1/2 tsp. salt
1/4 tsp. freshly cracked black pepper
1 medium size shallot
I clove garlic, minced
1 tsp. flour (for the sauce – additional needed to dust cutlets)
1/2 cup dry white wine
1/4 cup sour cream, light preferred
1 TBS. dijon mustard
2 TBS. chopped fresh thyme leaves
DIRECTIONS:
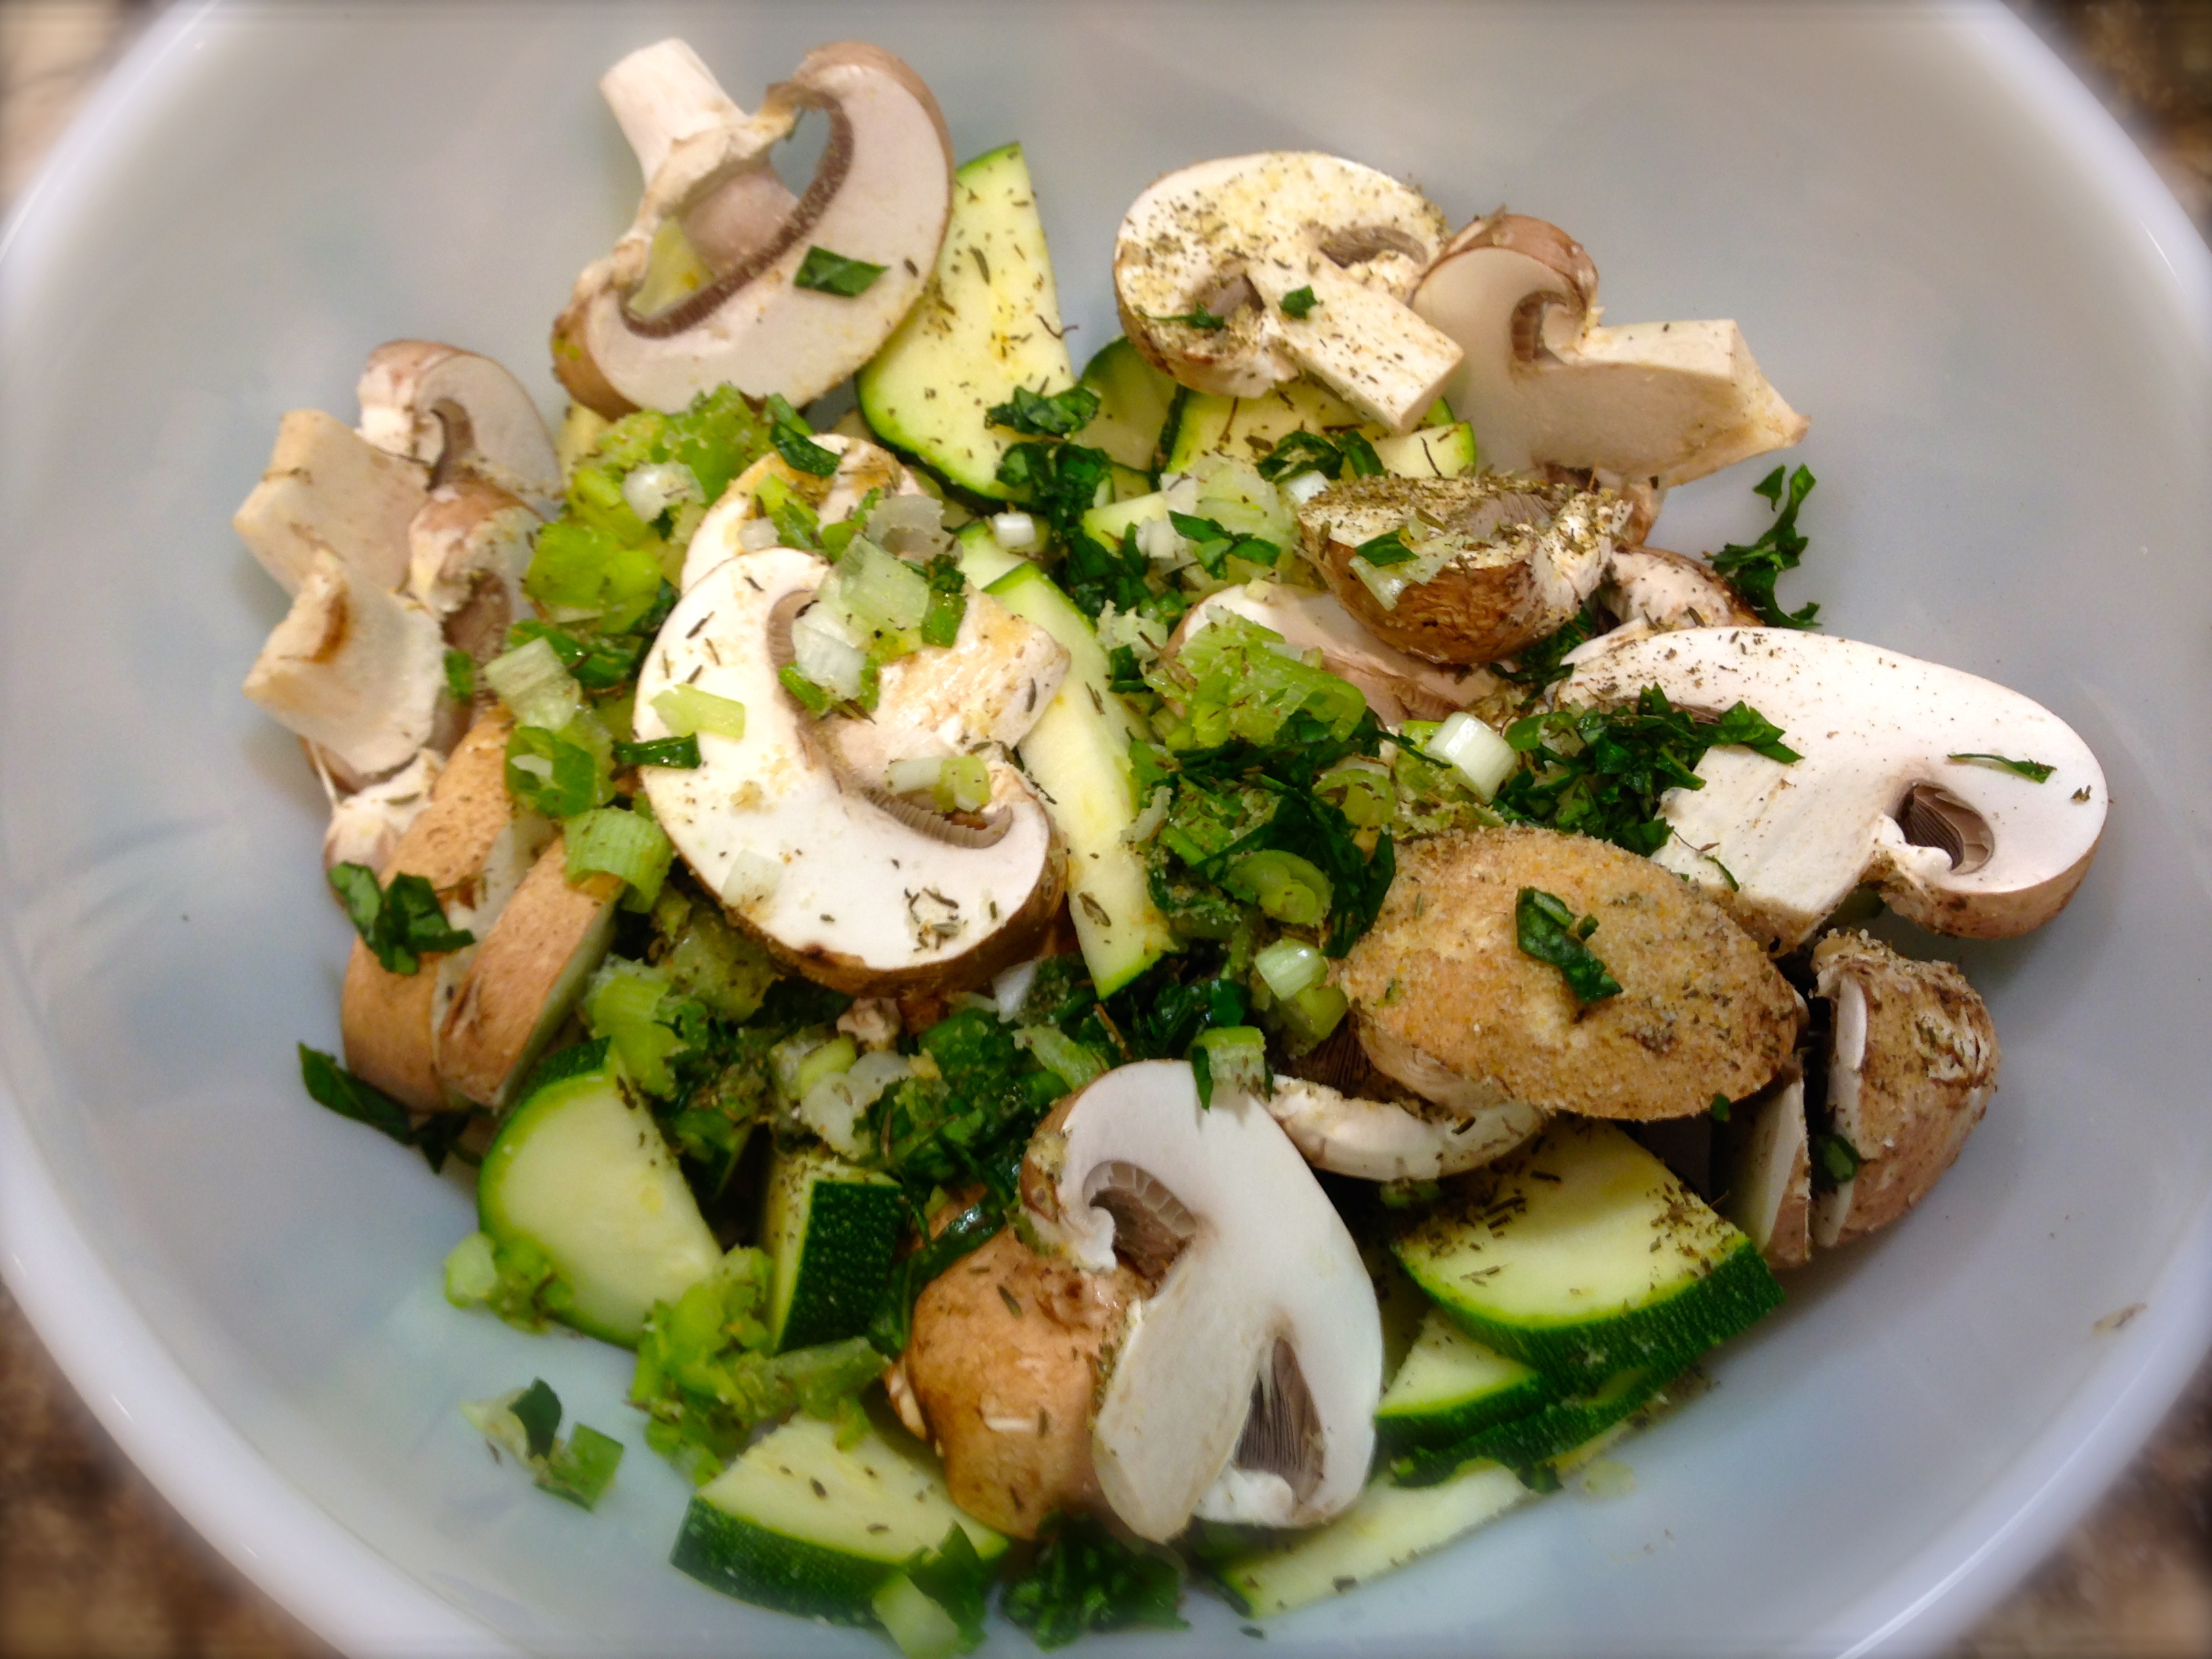
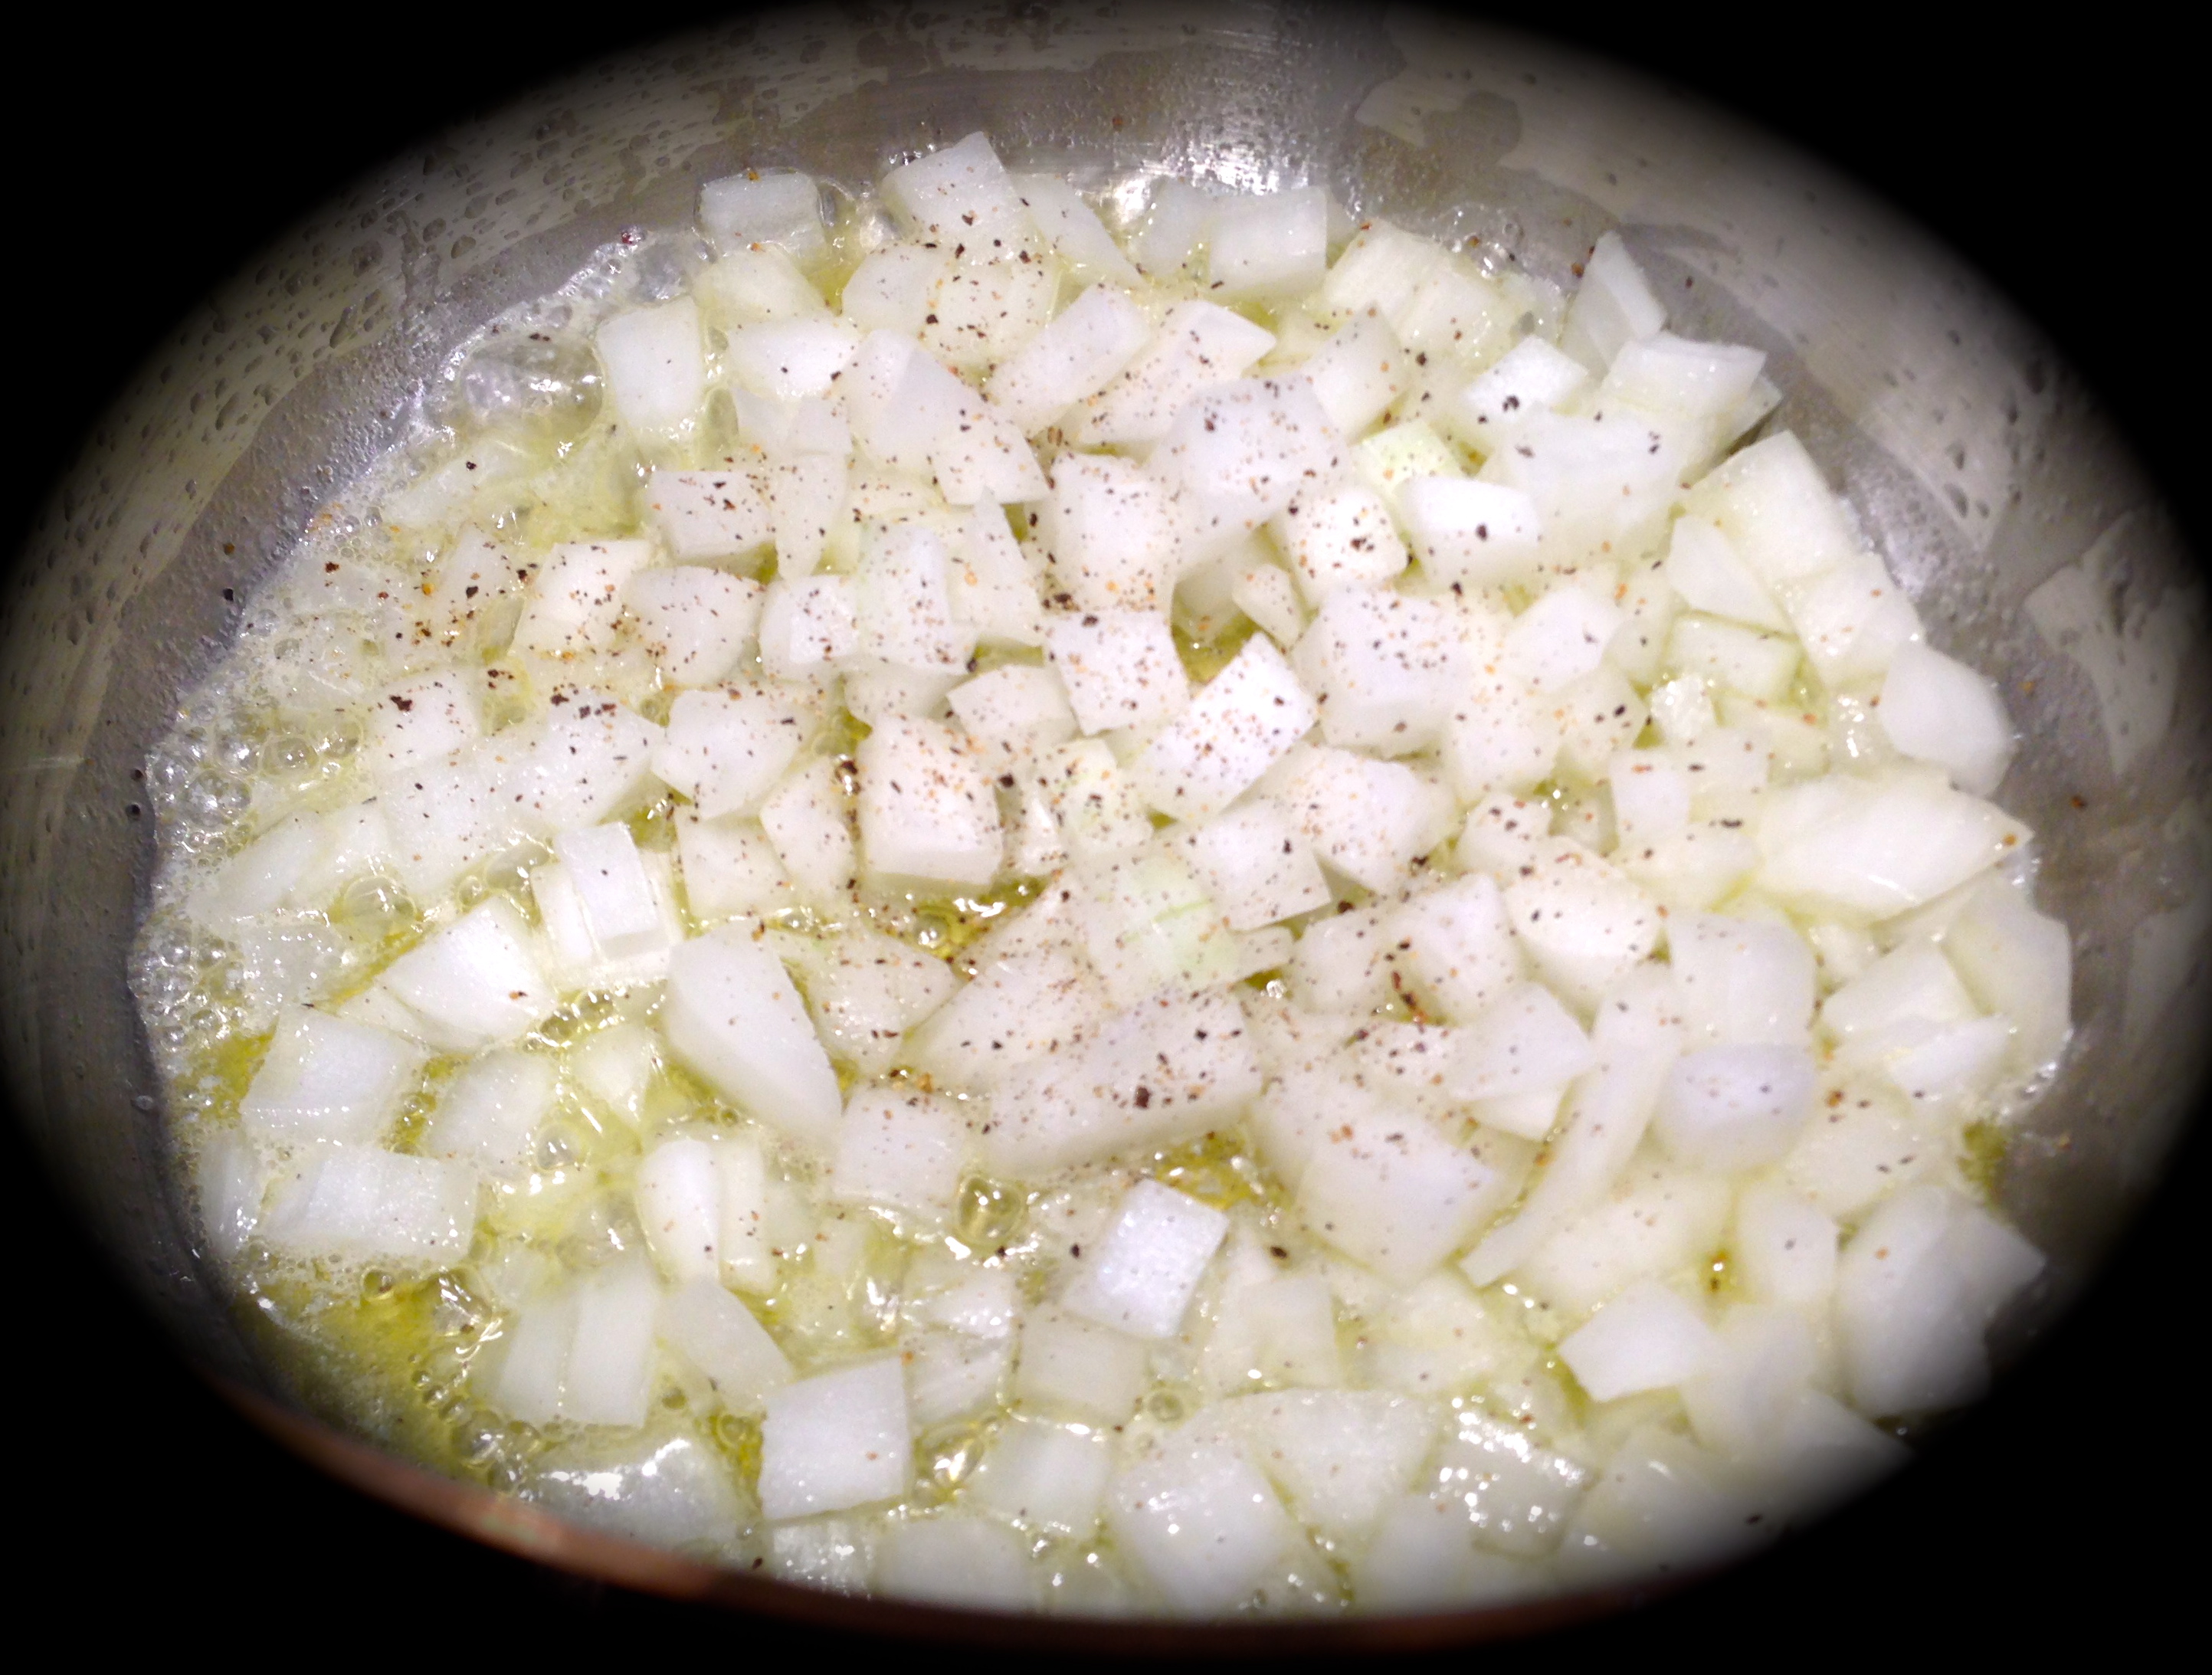
Do all prep work first. Chop the shallots, mince the garlic, chop the thyme and measure out any remaining ingredients that you do not feel comfortable eyeballing.
Heat a large skillet over medium heat. Dust cutlets lightly with some flour. Sprinkle cutlets on both sides with salt and pepper. Add oil to the pan. Place the cutlets in the oil and cook for 3 minutes on each side. Remove cutlets from pan to a plate and cover with foil.
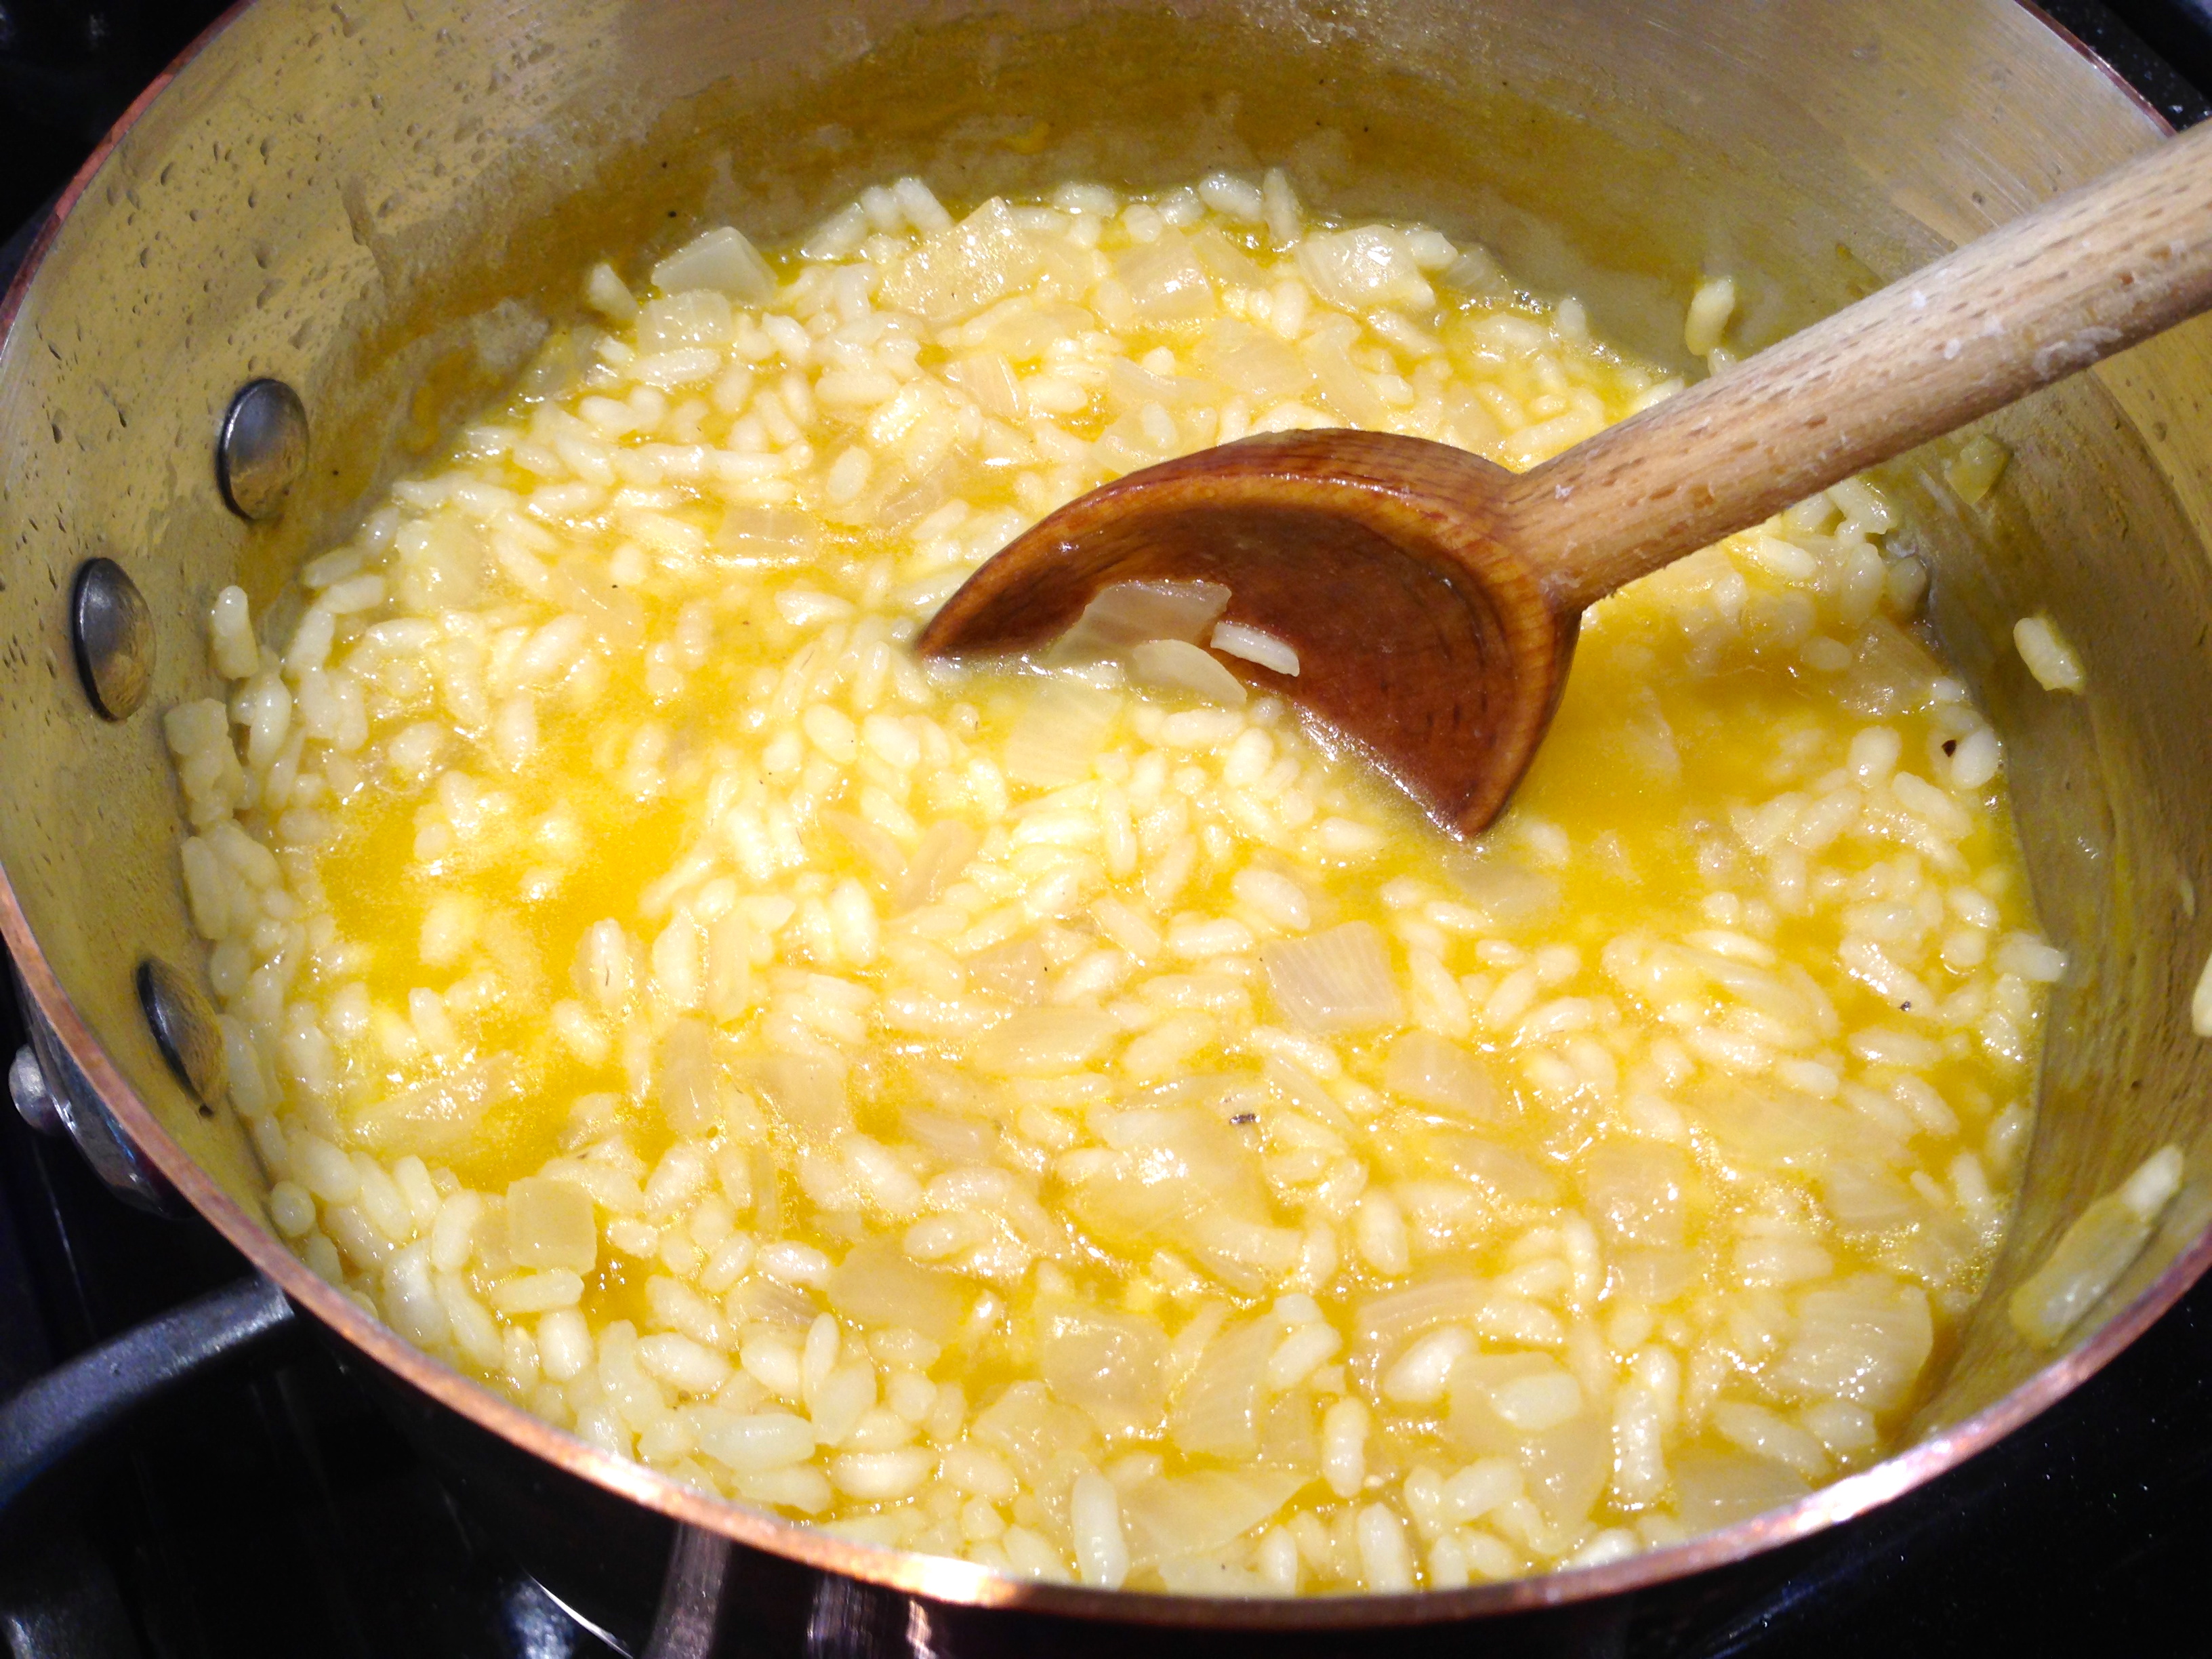
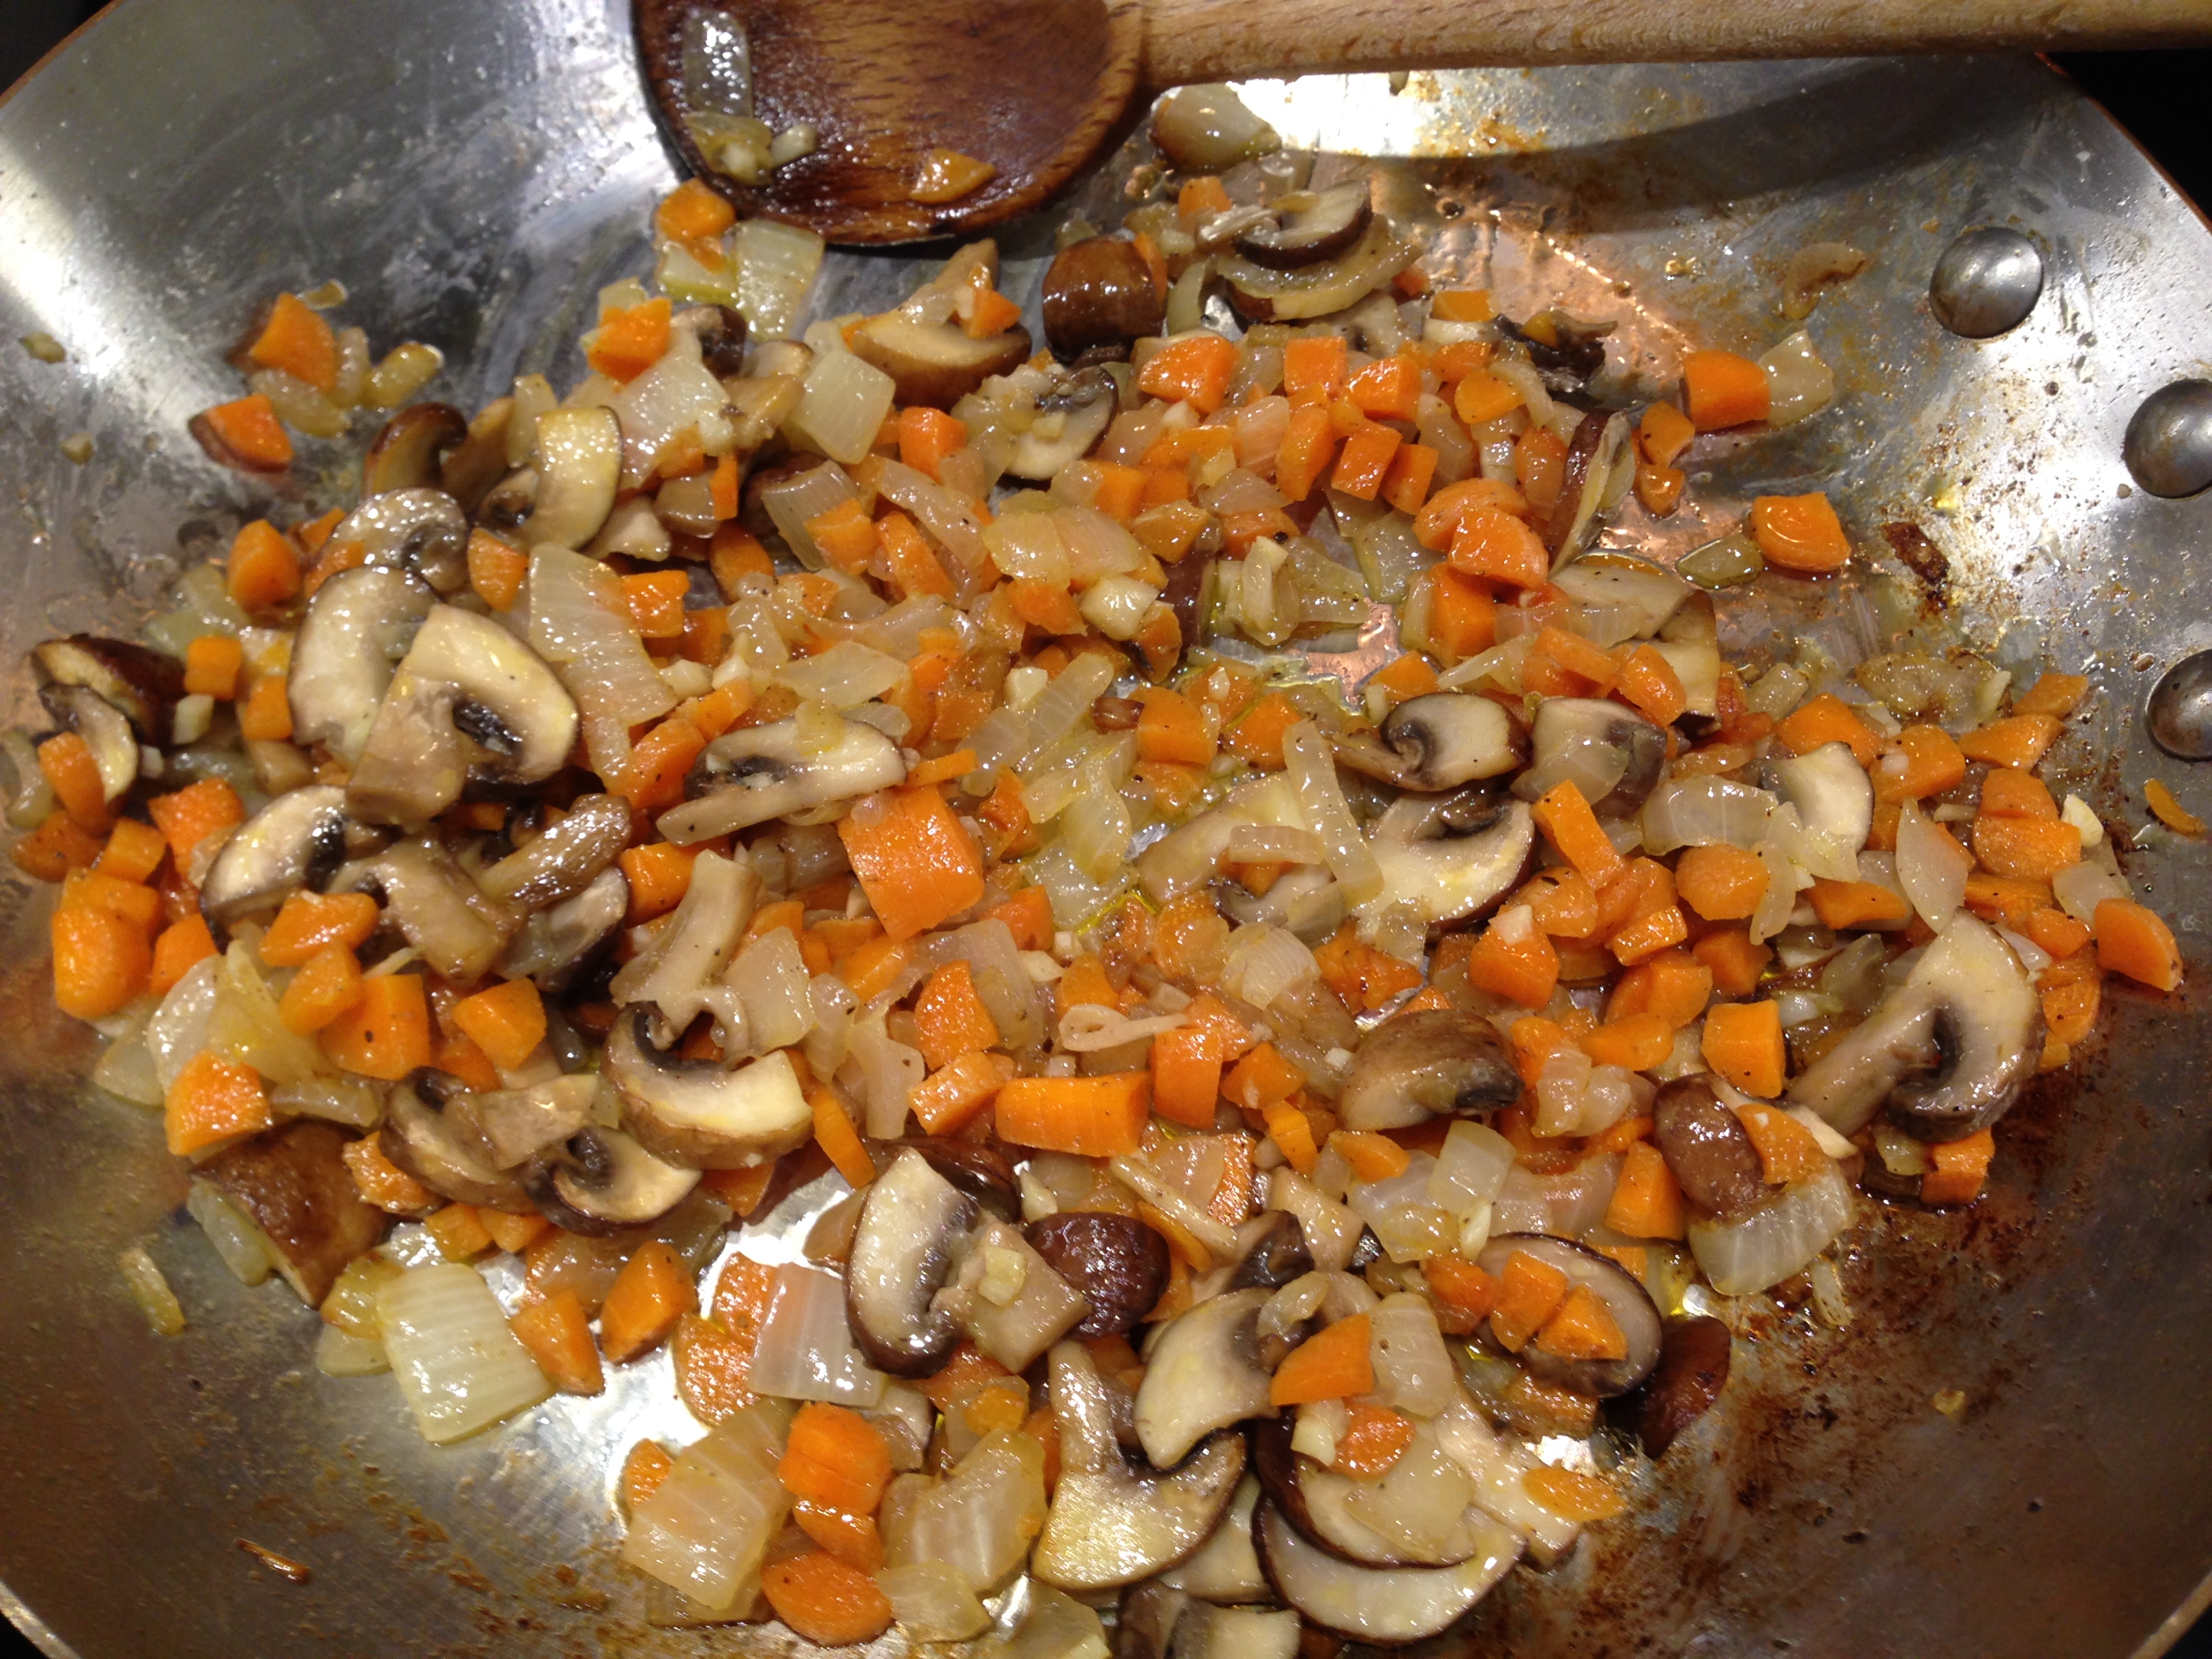
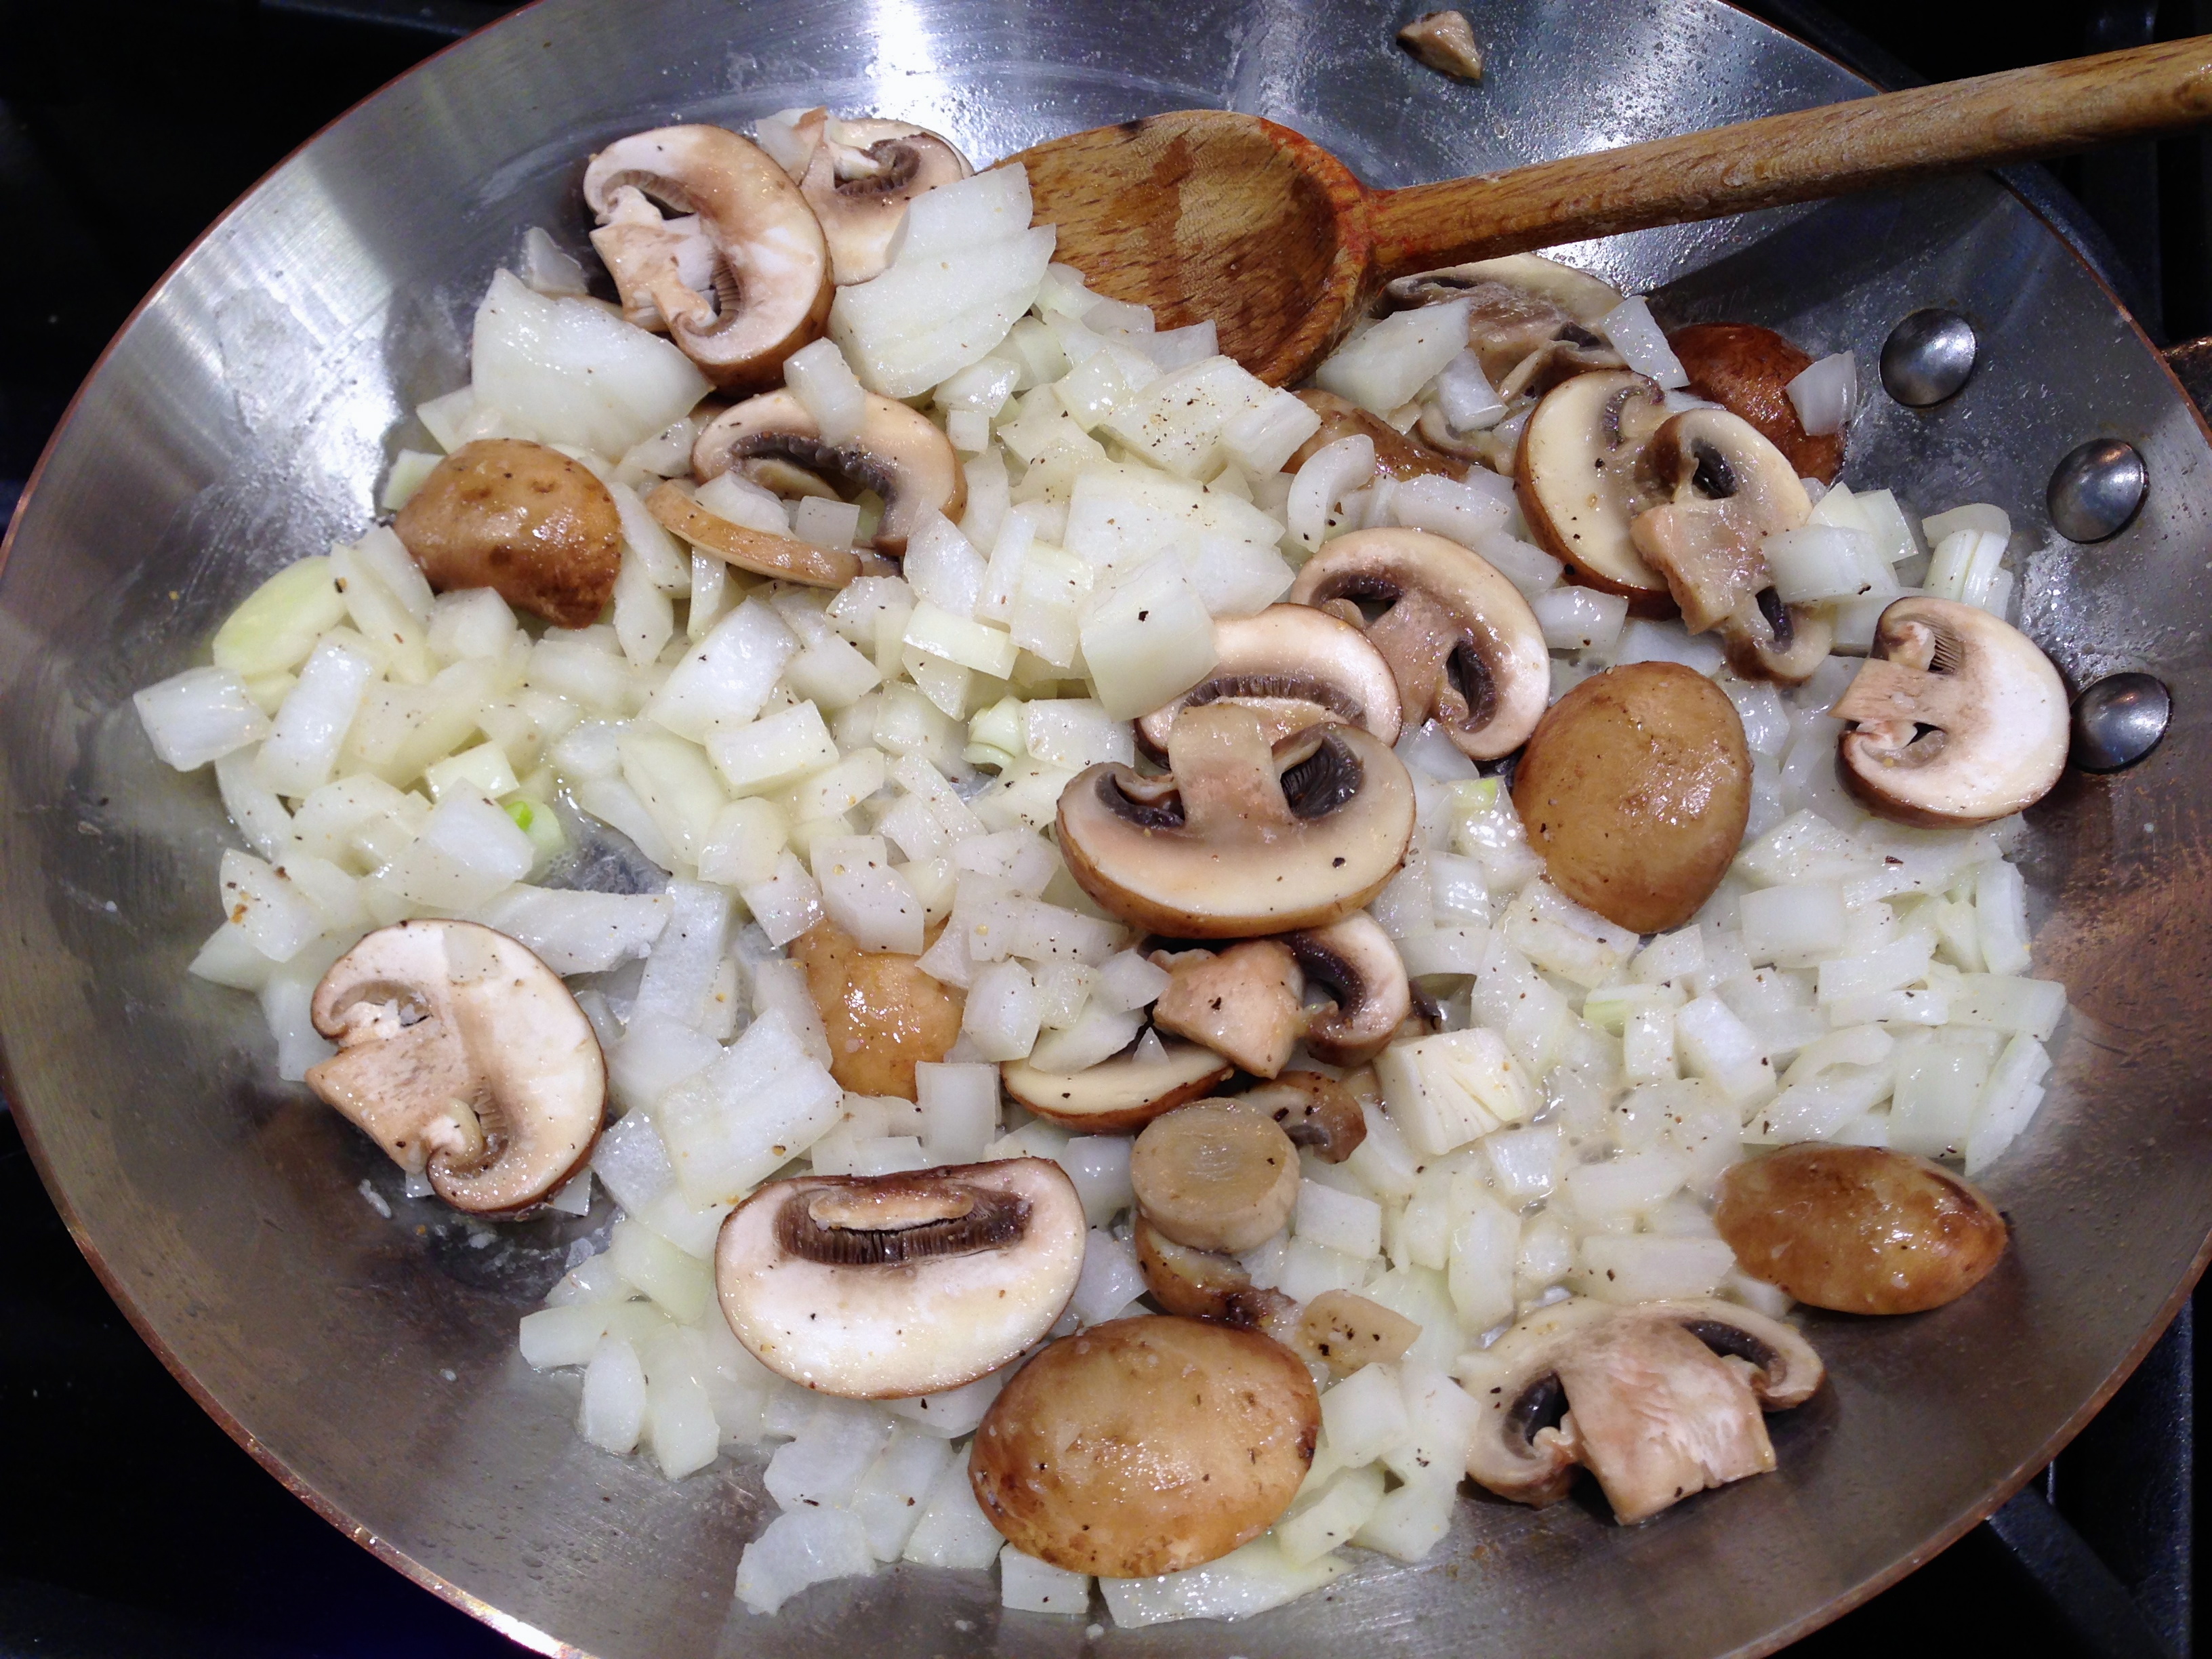
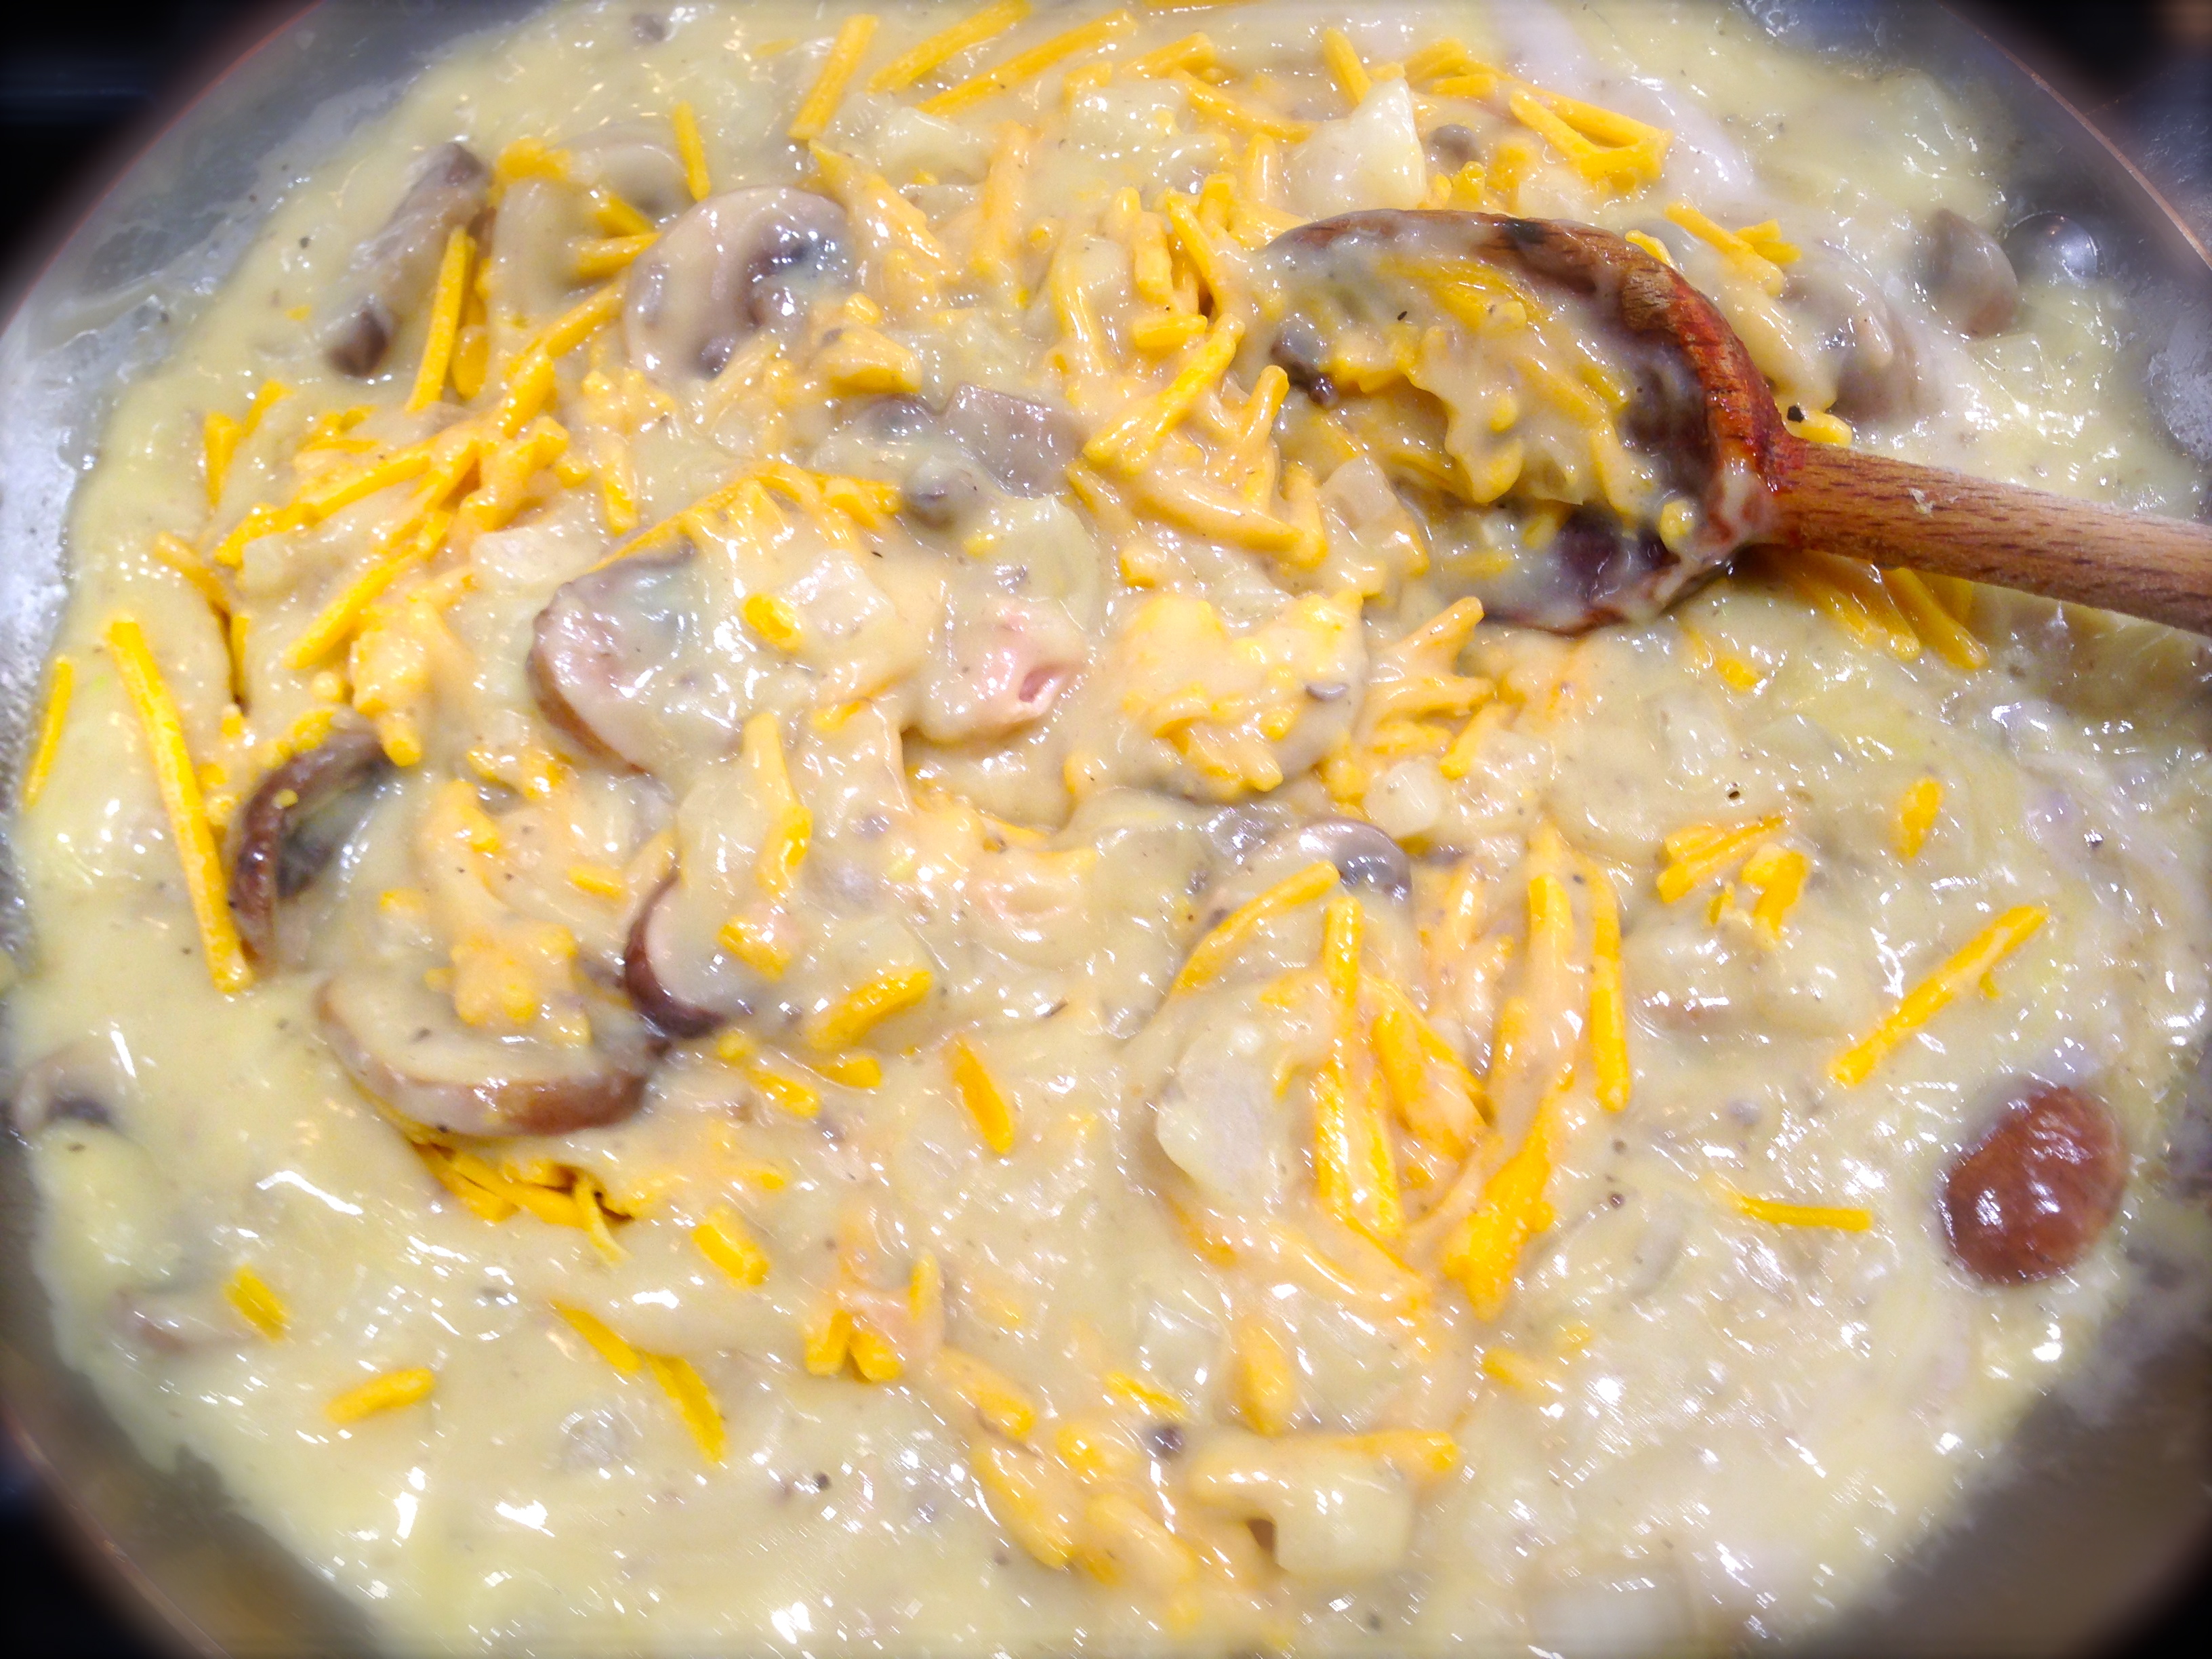
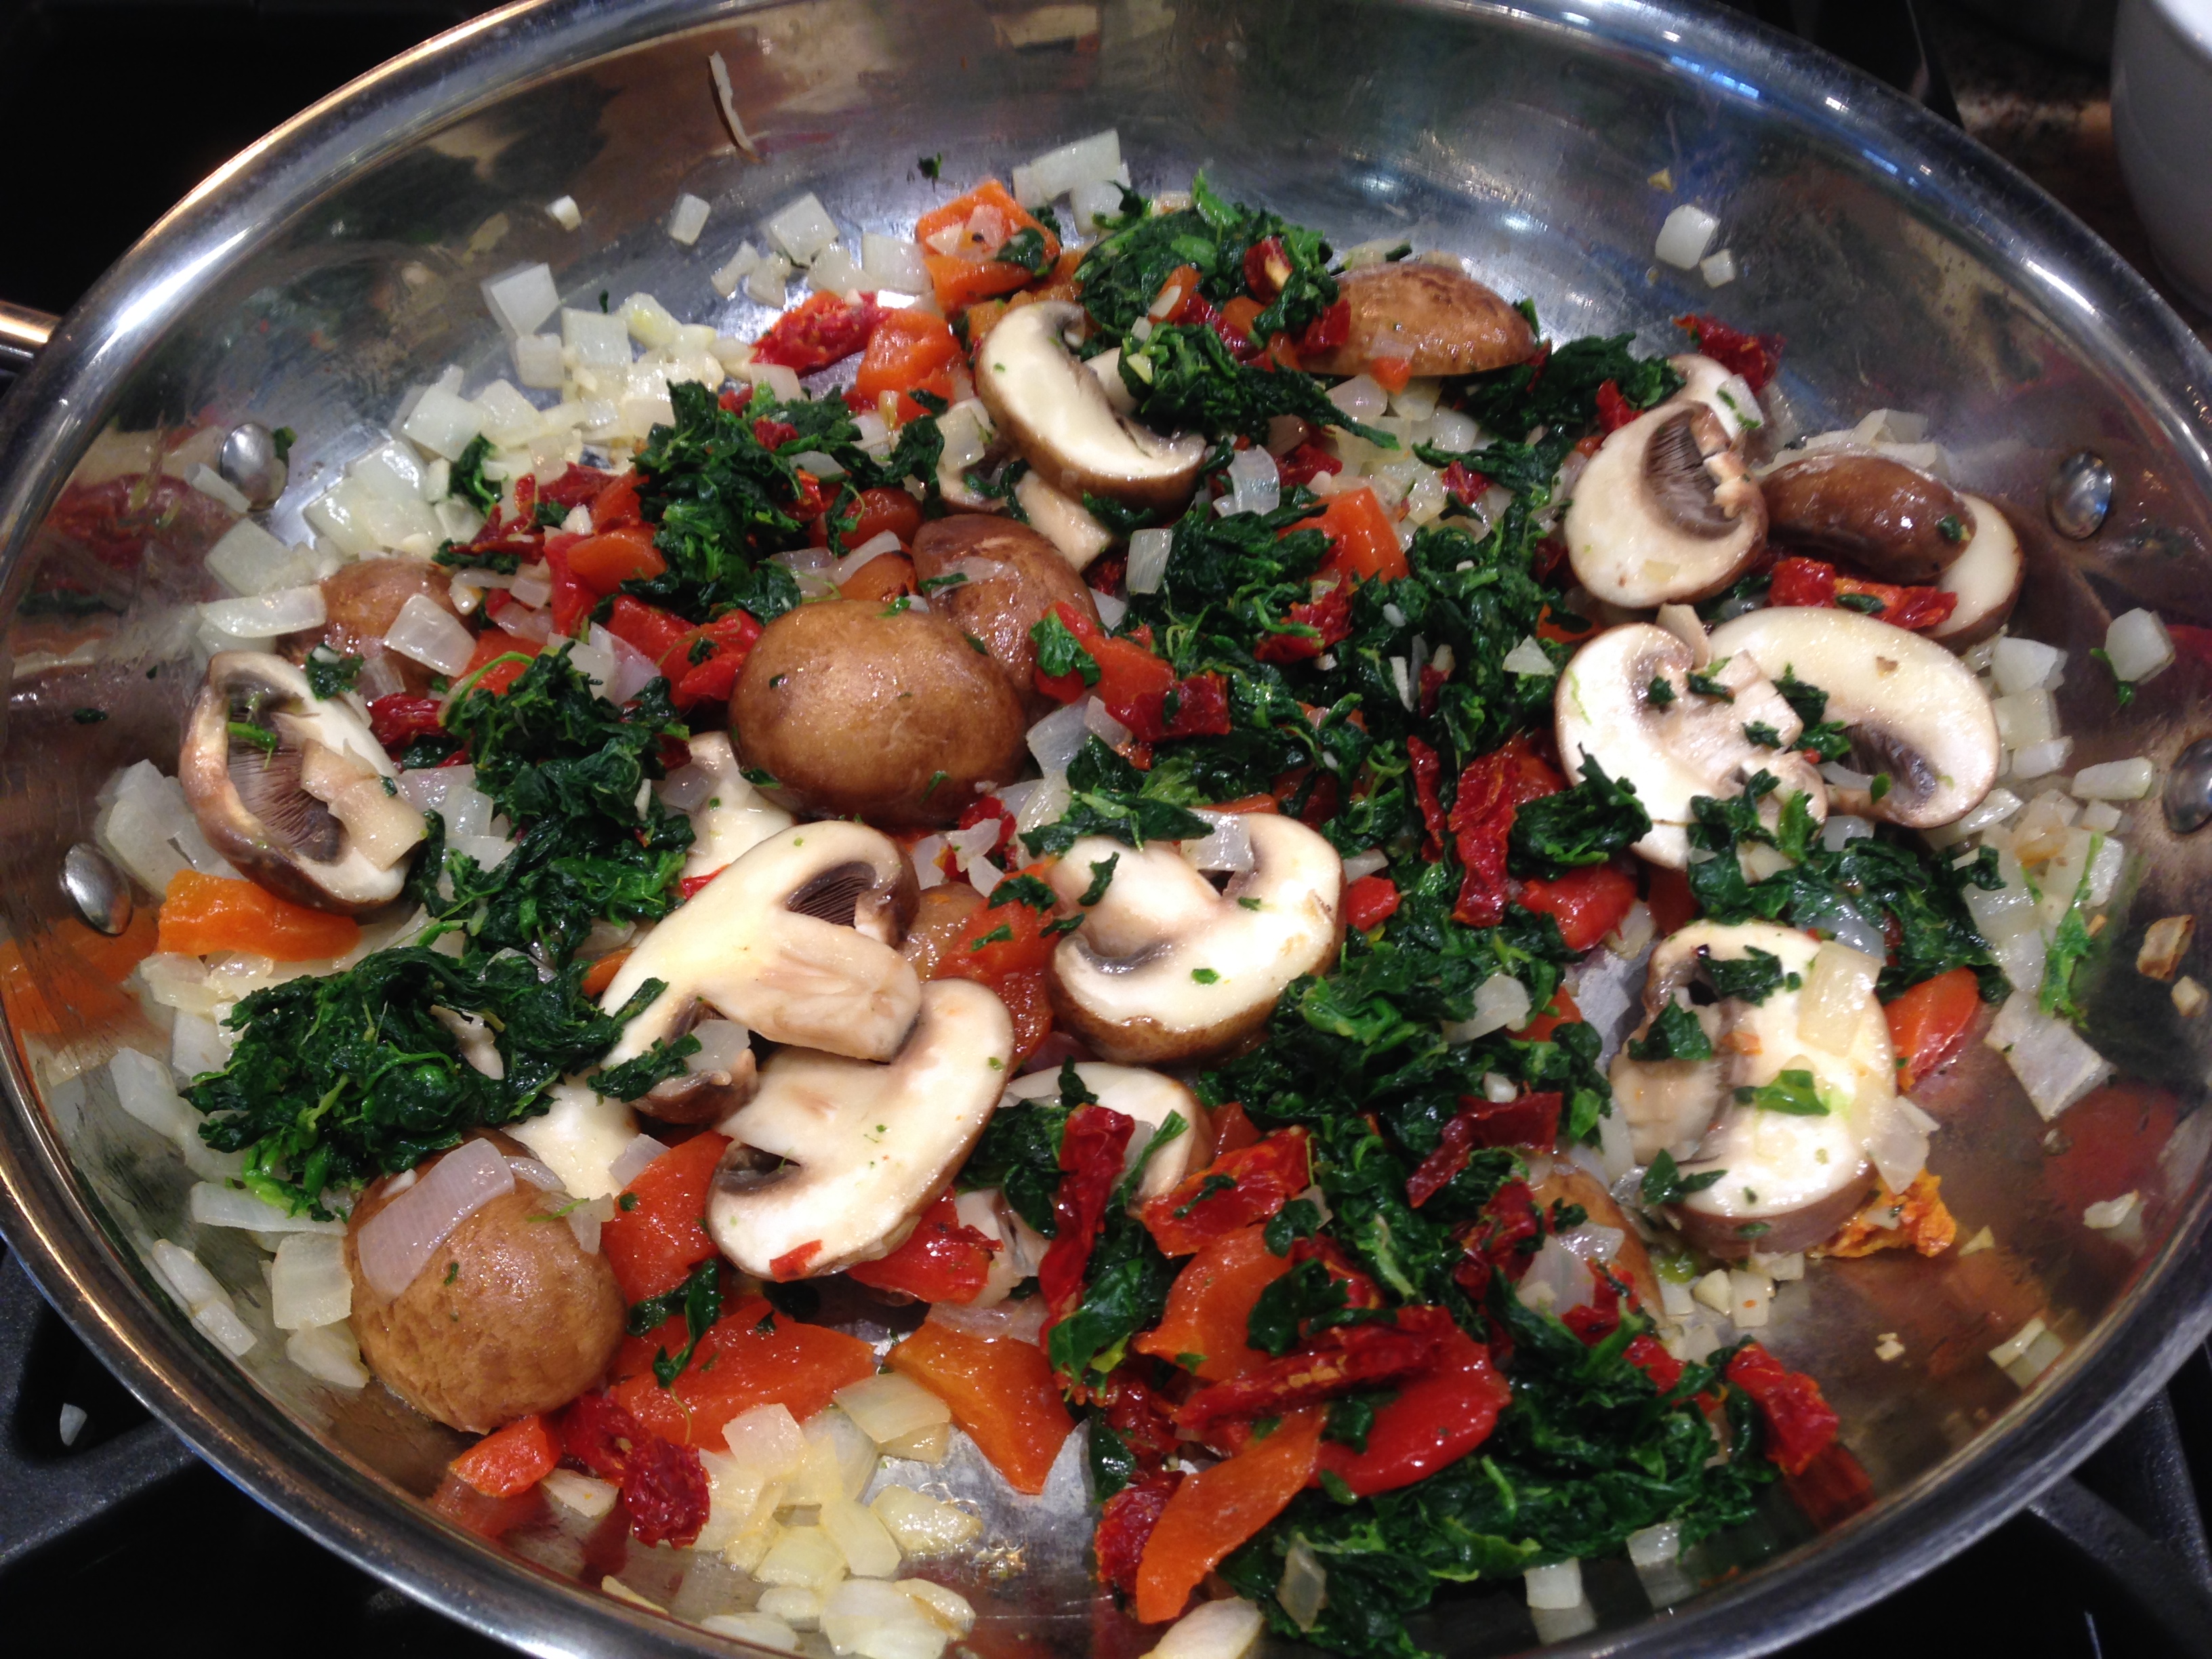
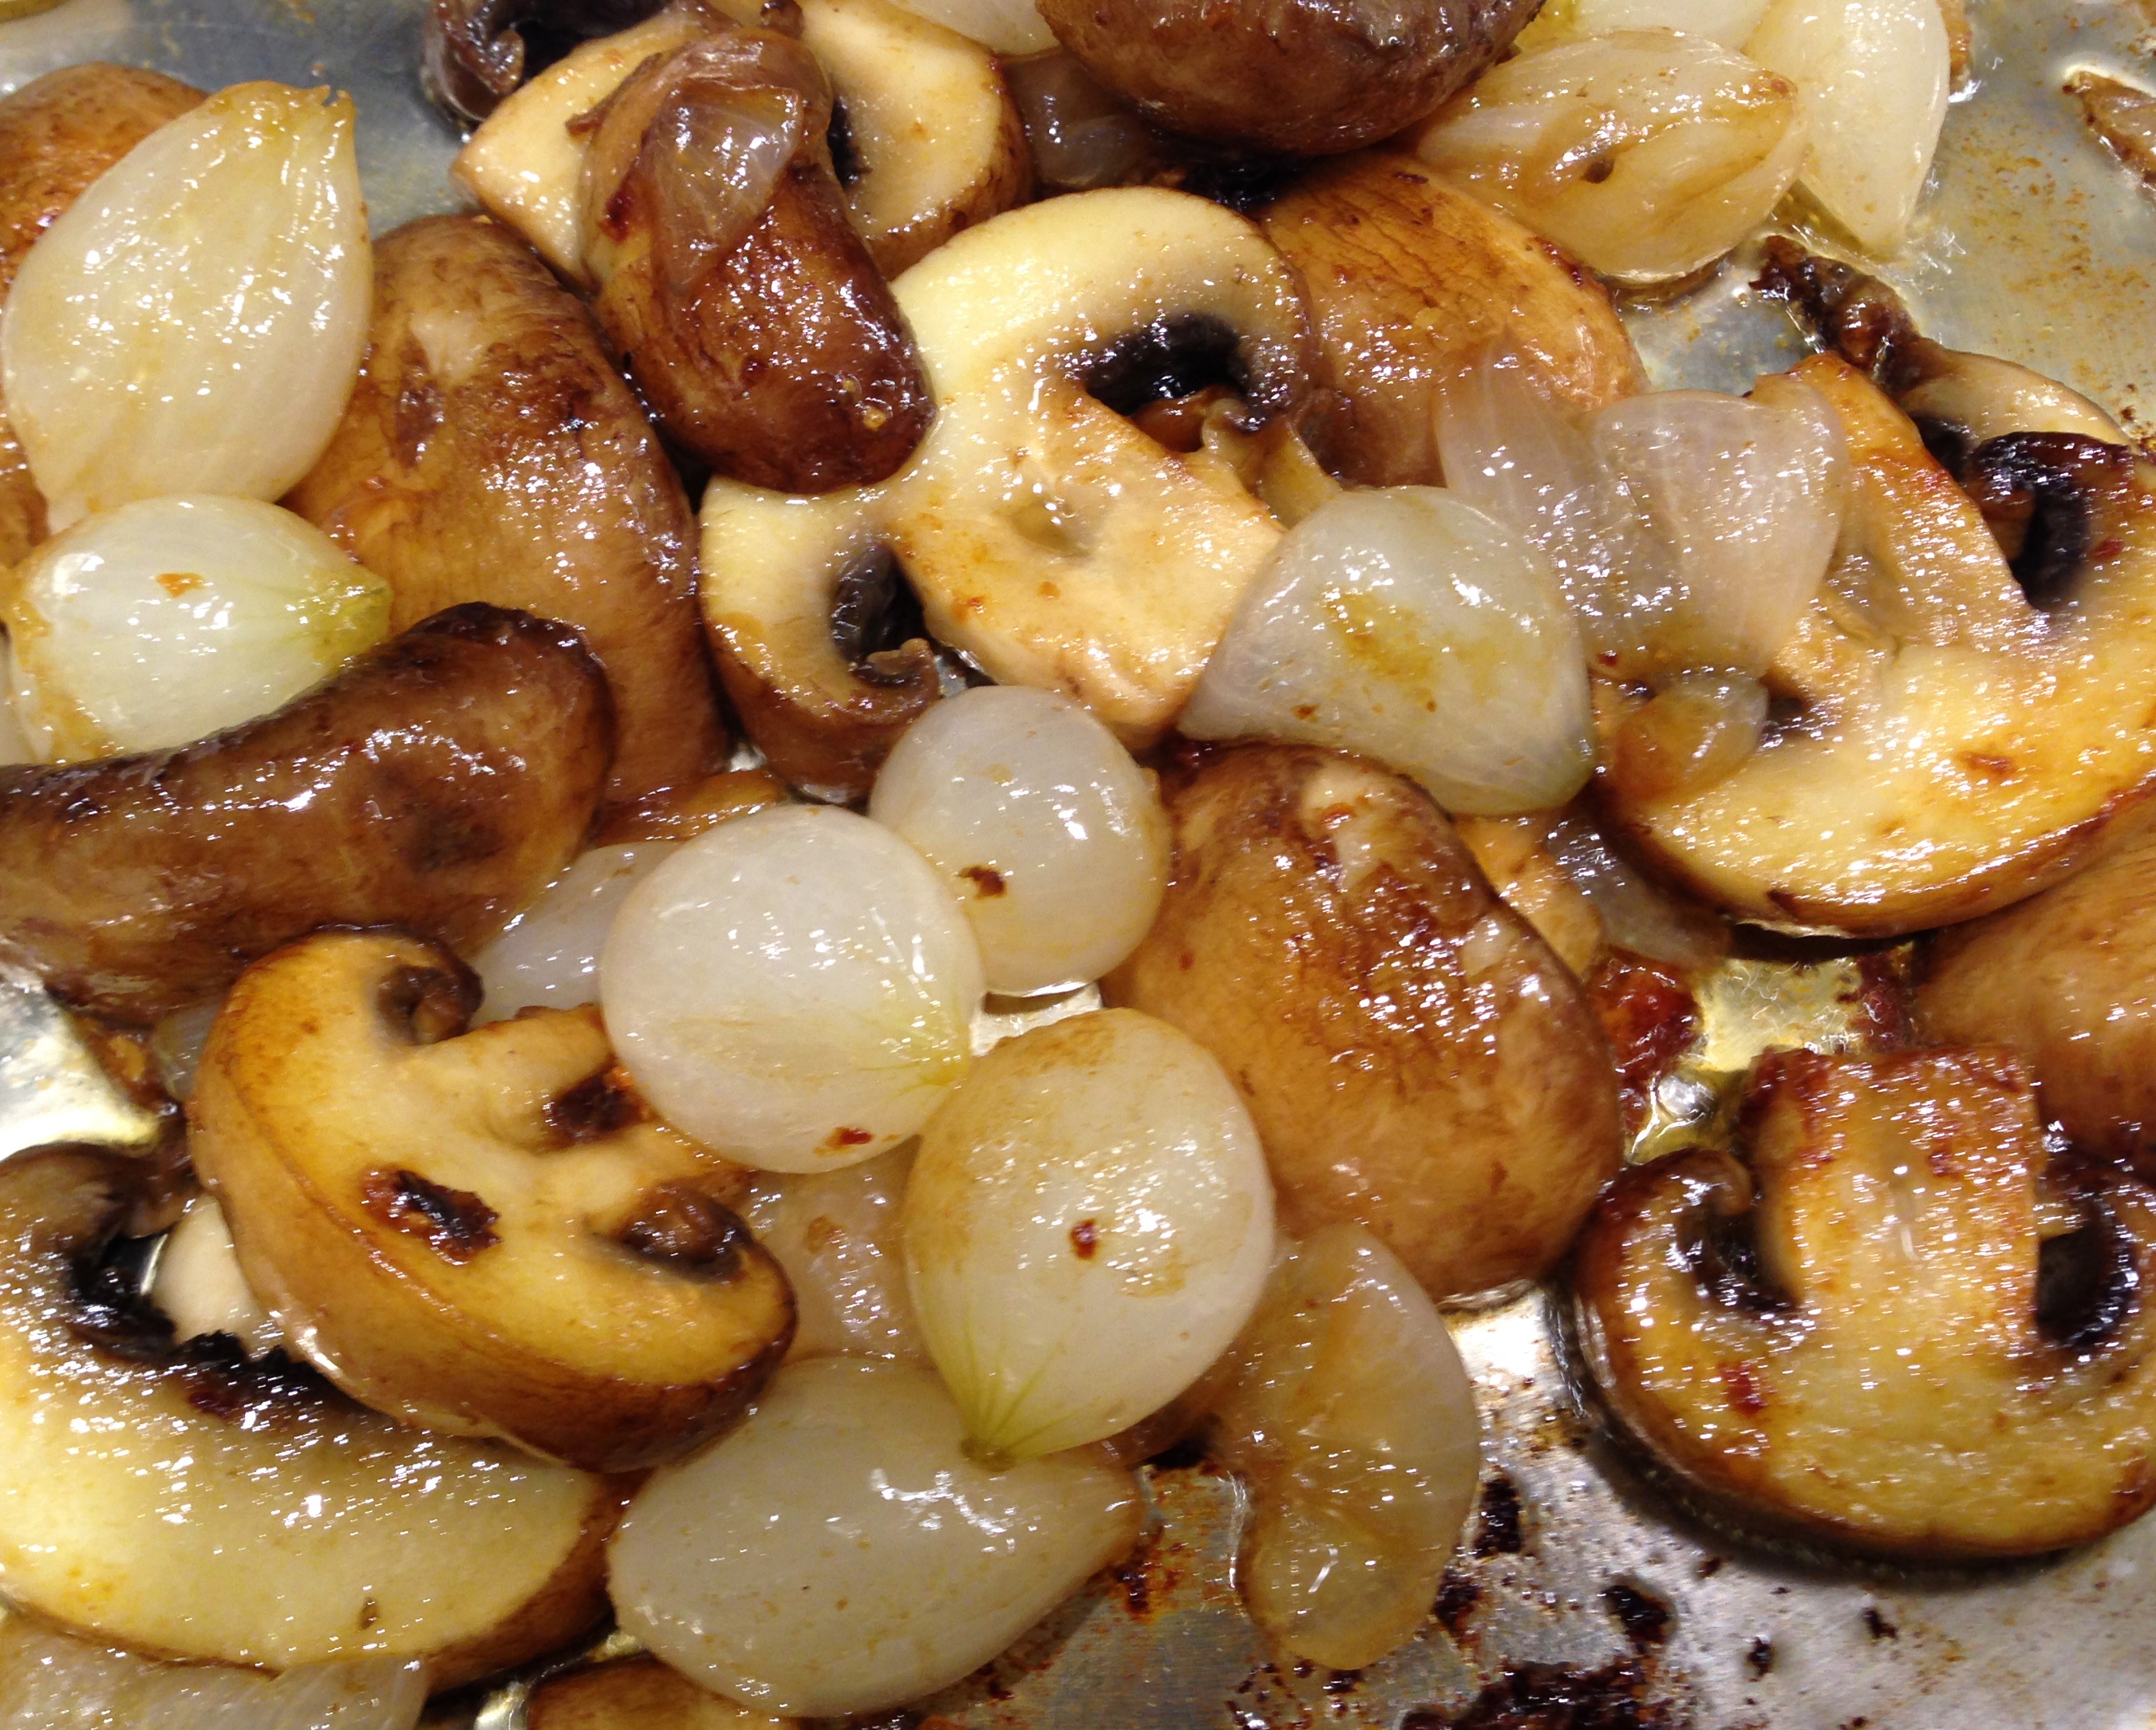
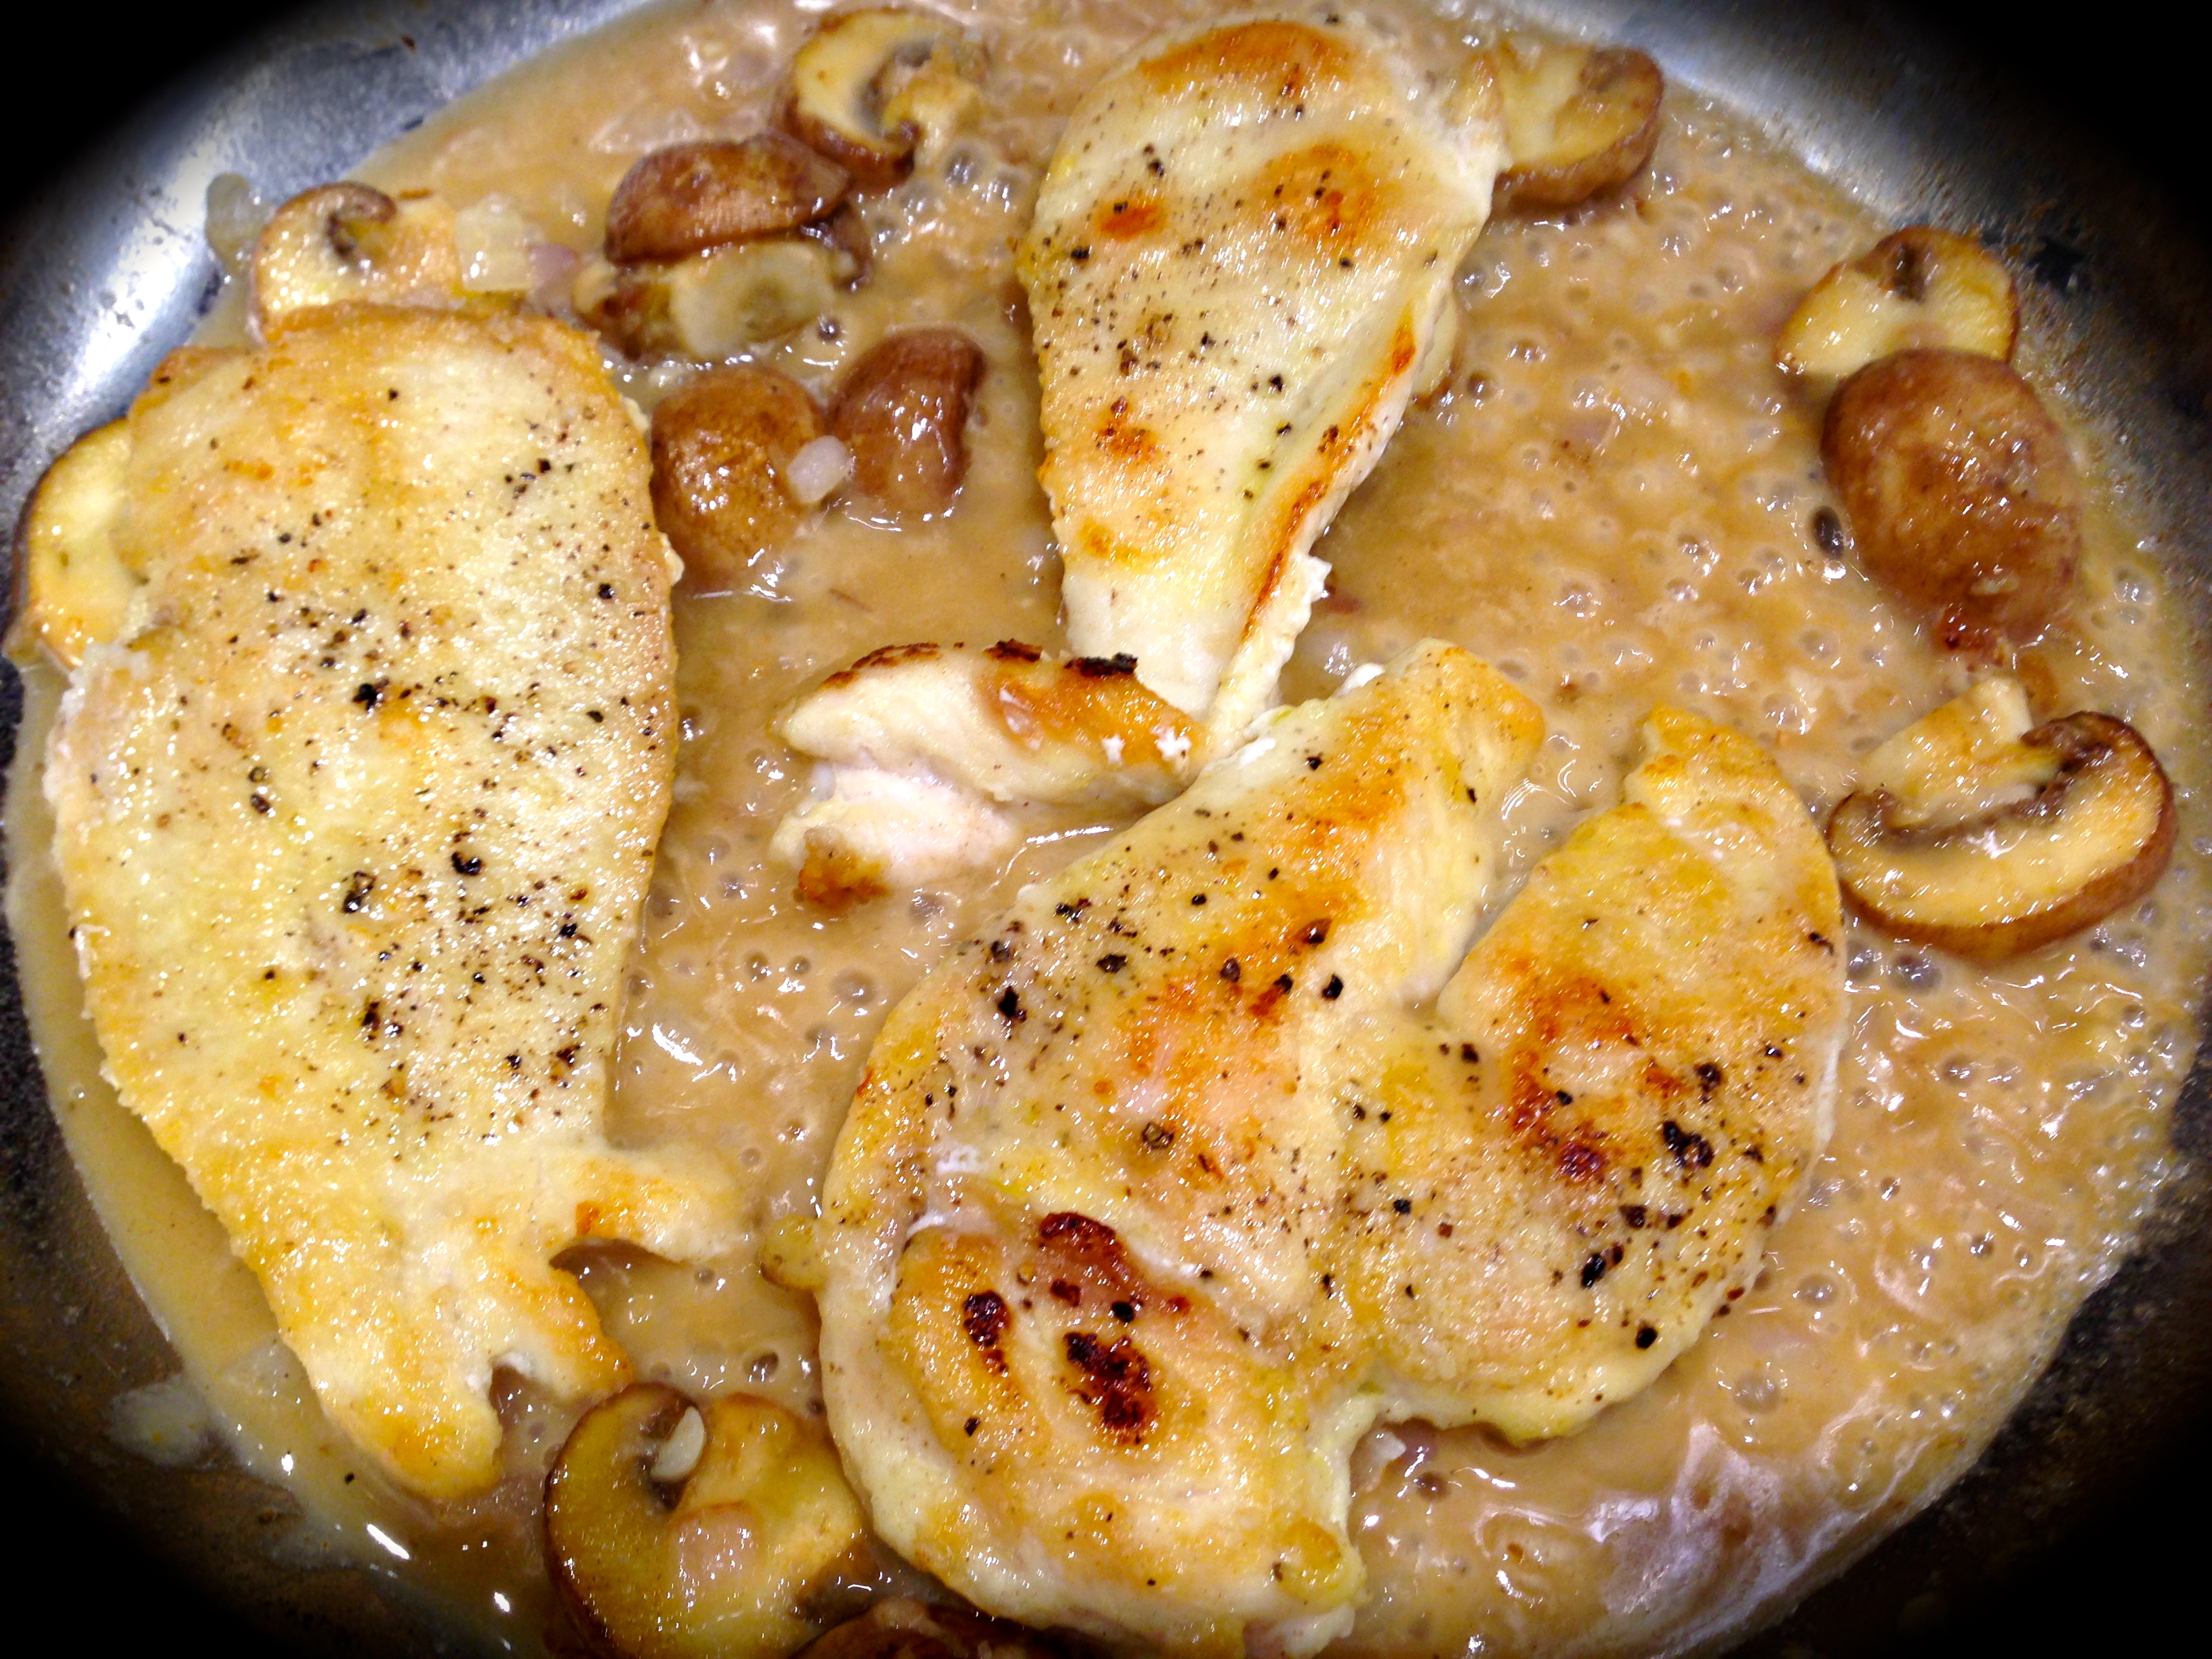
Add some additional olive oil to the pan. Saute mushroom until lightly brown. Add shallots and cook for about 1 minute. Add garlic and cook until fragrant, approximately 30 seconds to 1 minute. Sprinkle flour over shallots and mushrooms and cook for an additional minute stirring constantly. Add wine and bring liquid to a boil. Stir with a spoon to loosen all the brown bits in the pan.
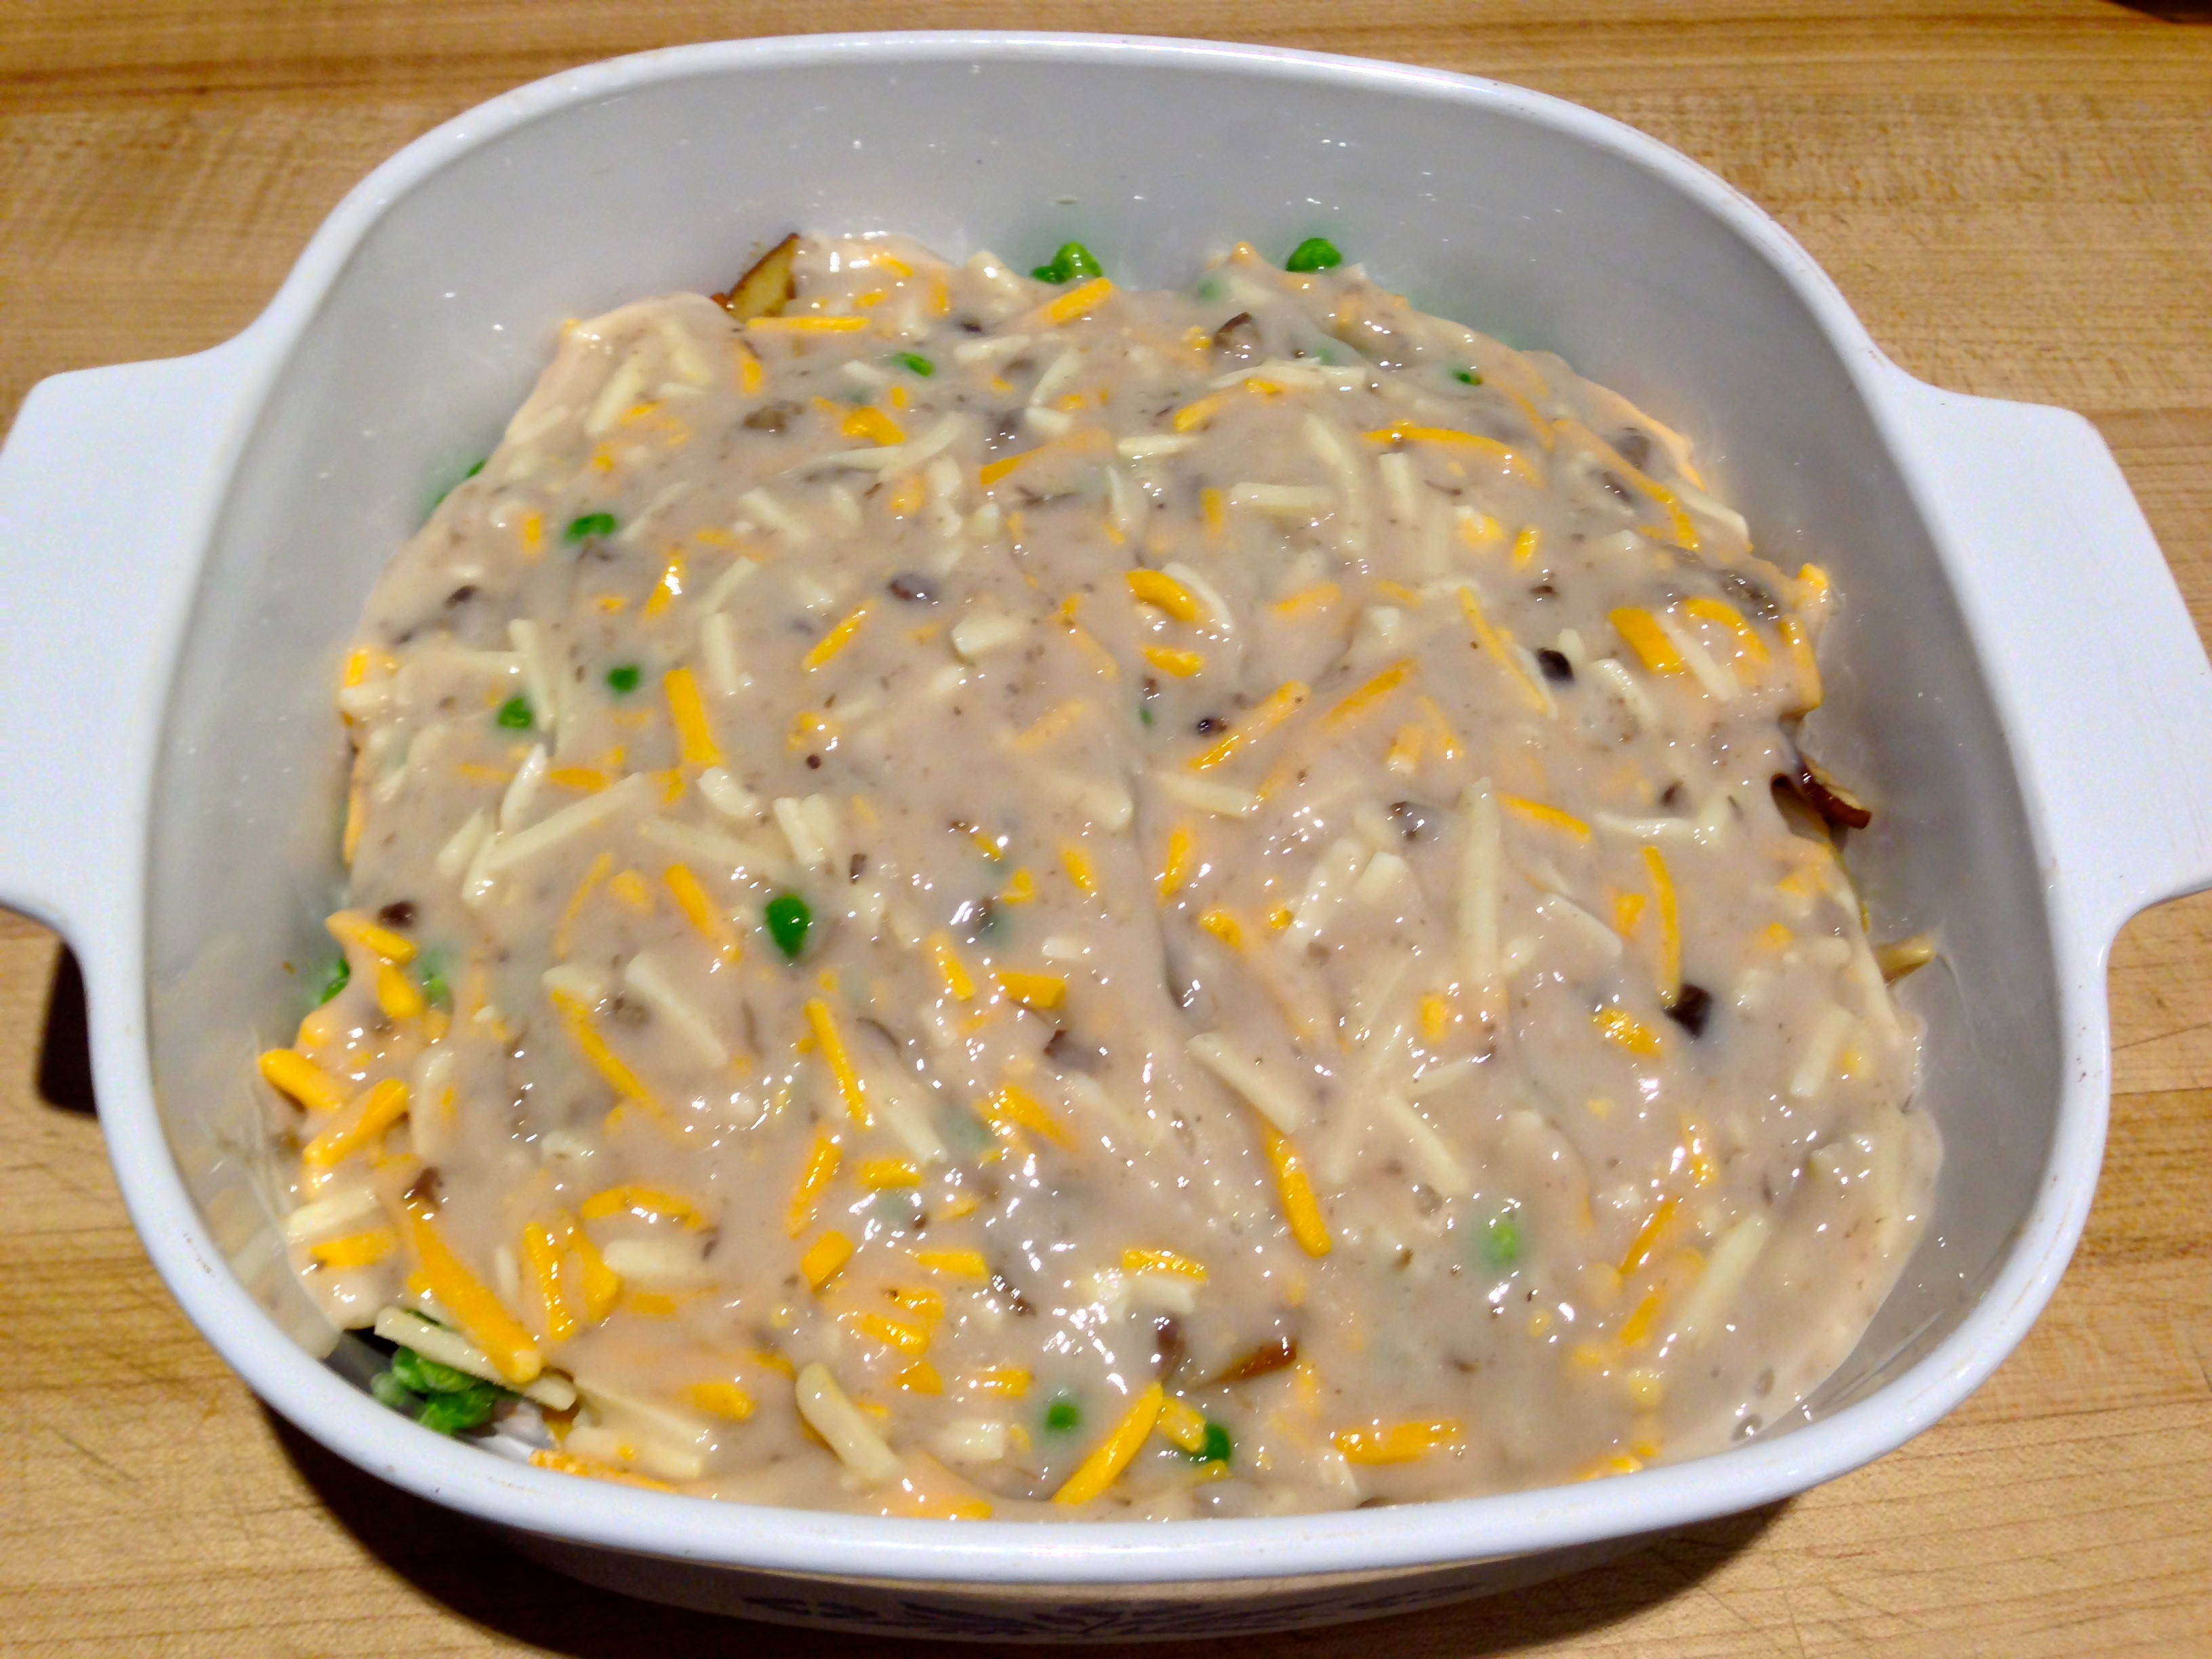
Lower heat. Add mustard, sour cream and thyme. Stir until combined. Add chicken back to the mixture and let simmer for a couple of minutes. Add some additional thyme as garnish when serving.

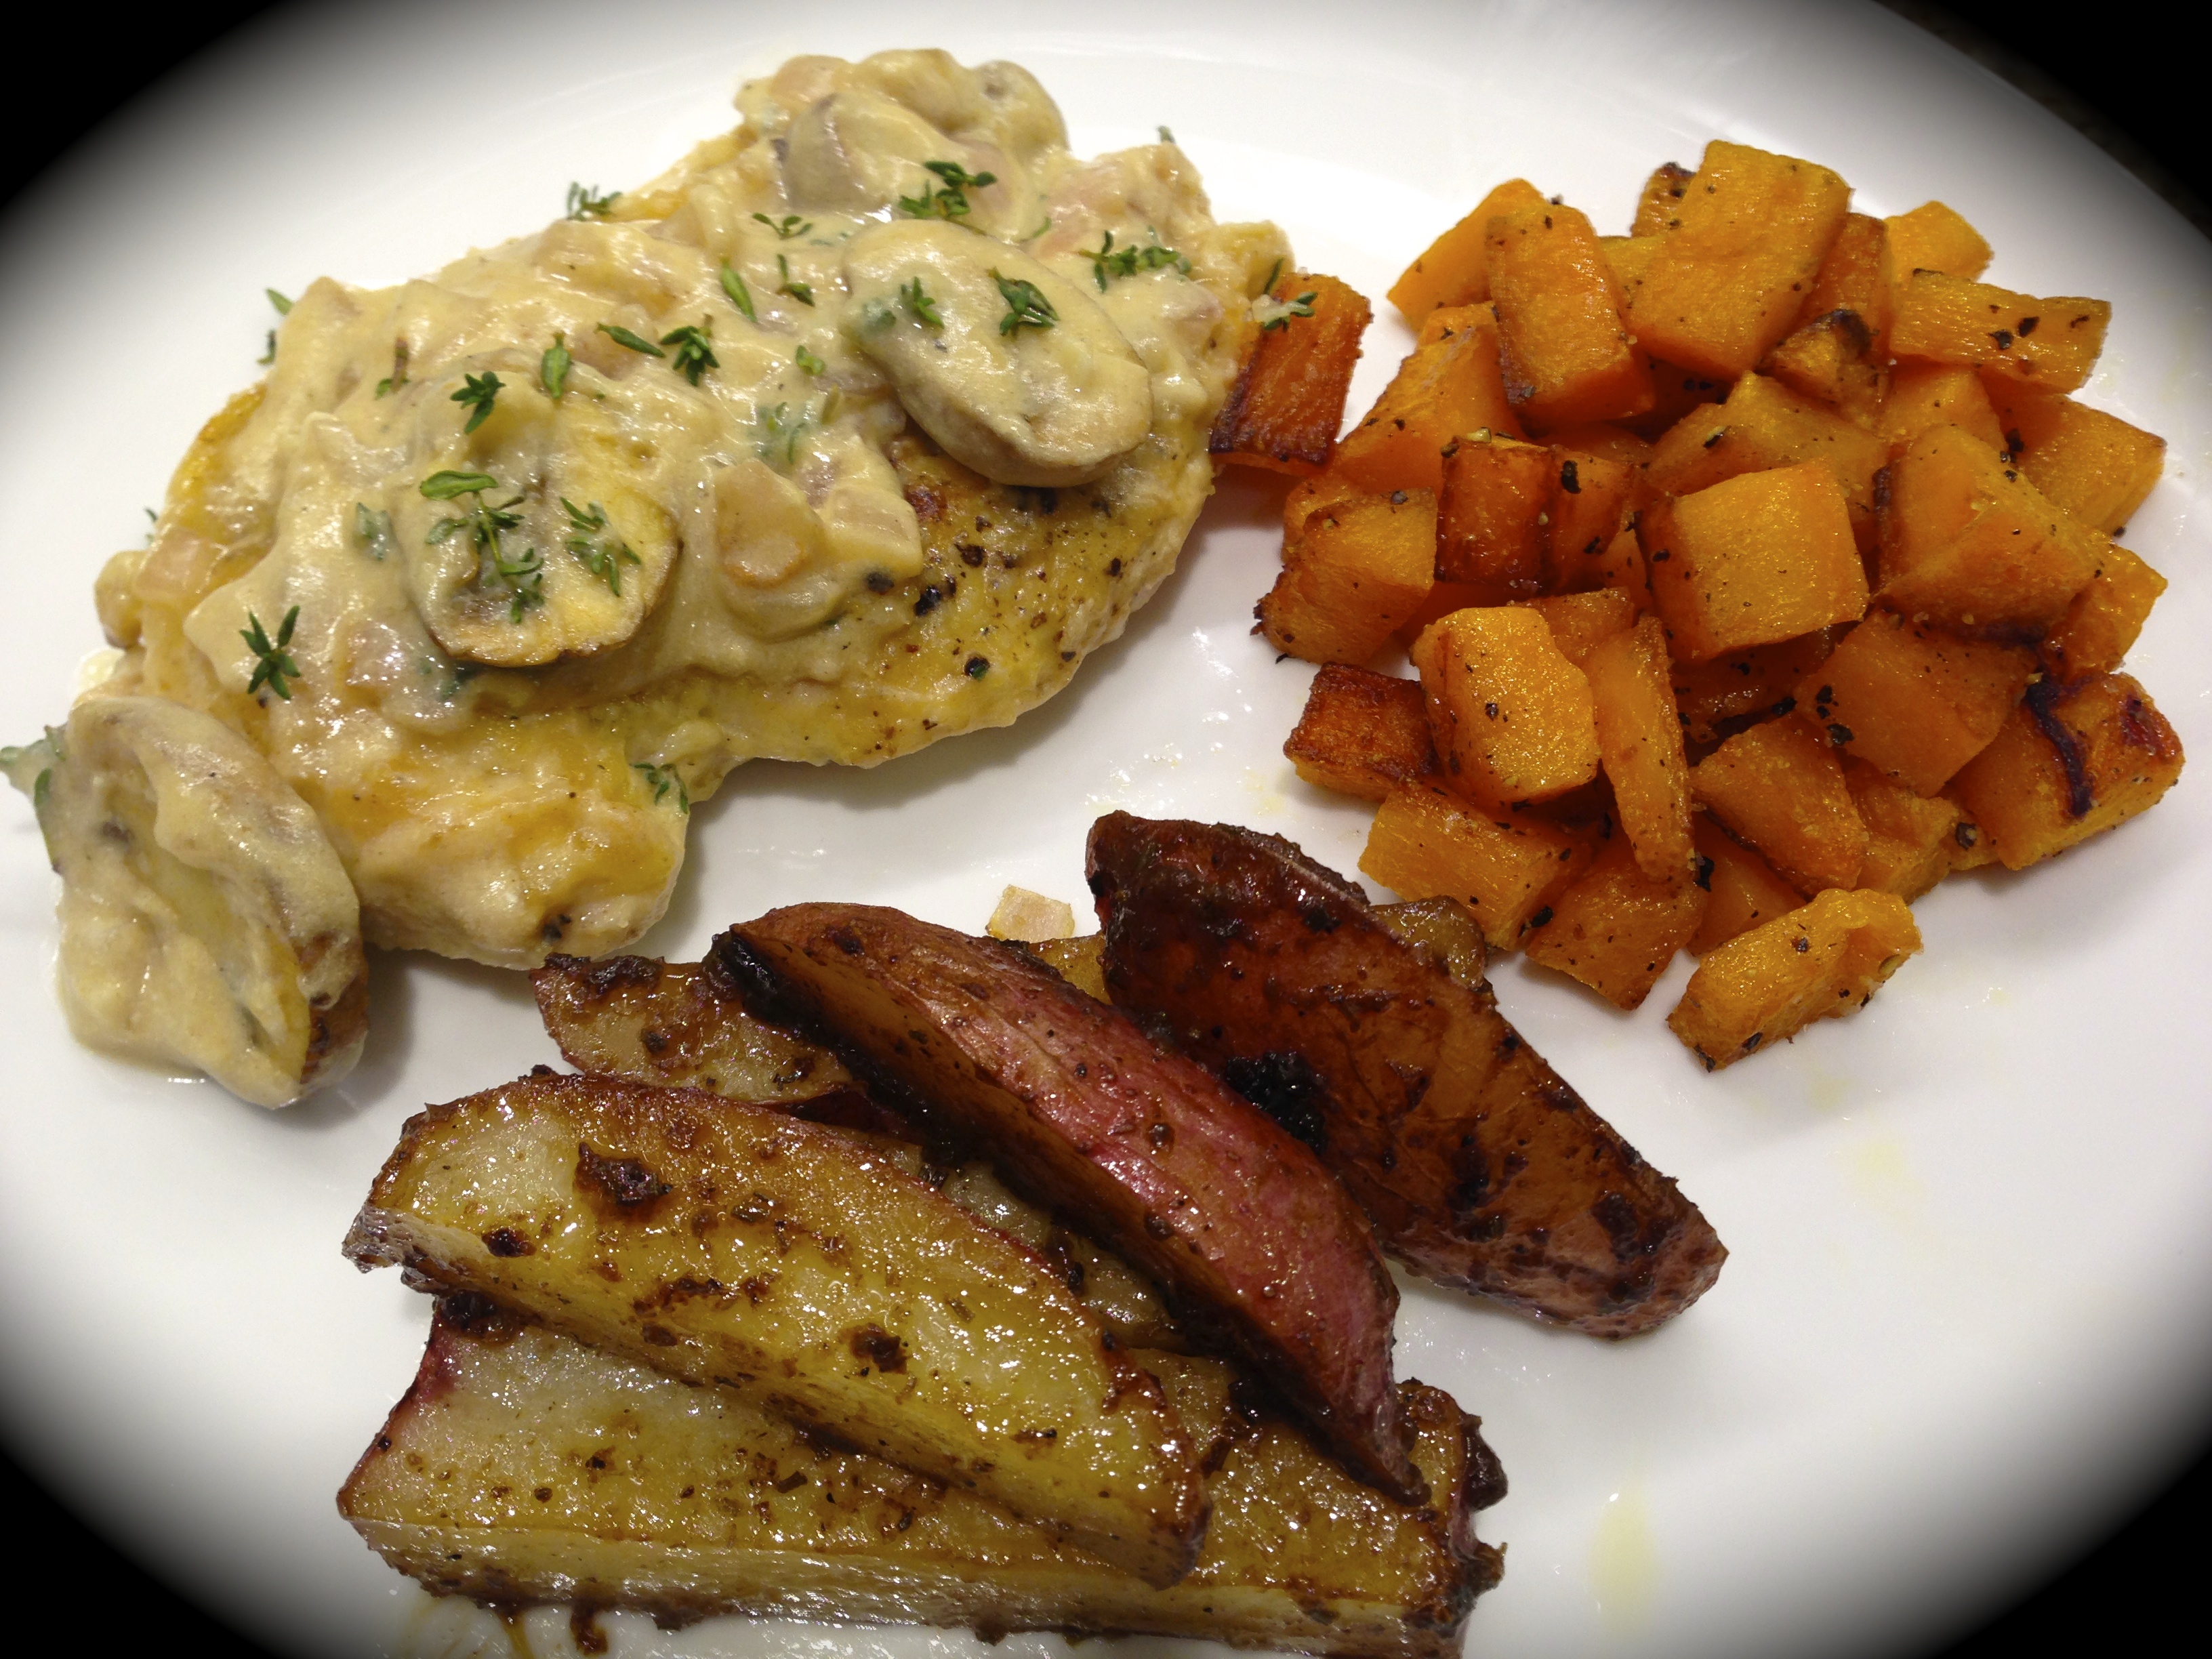
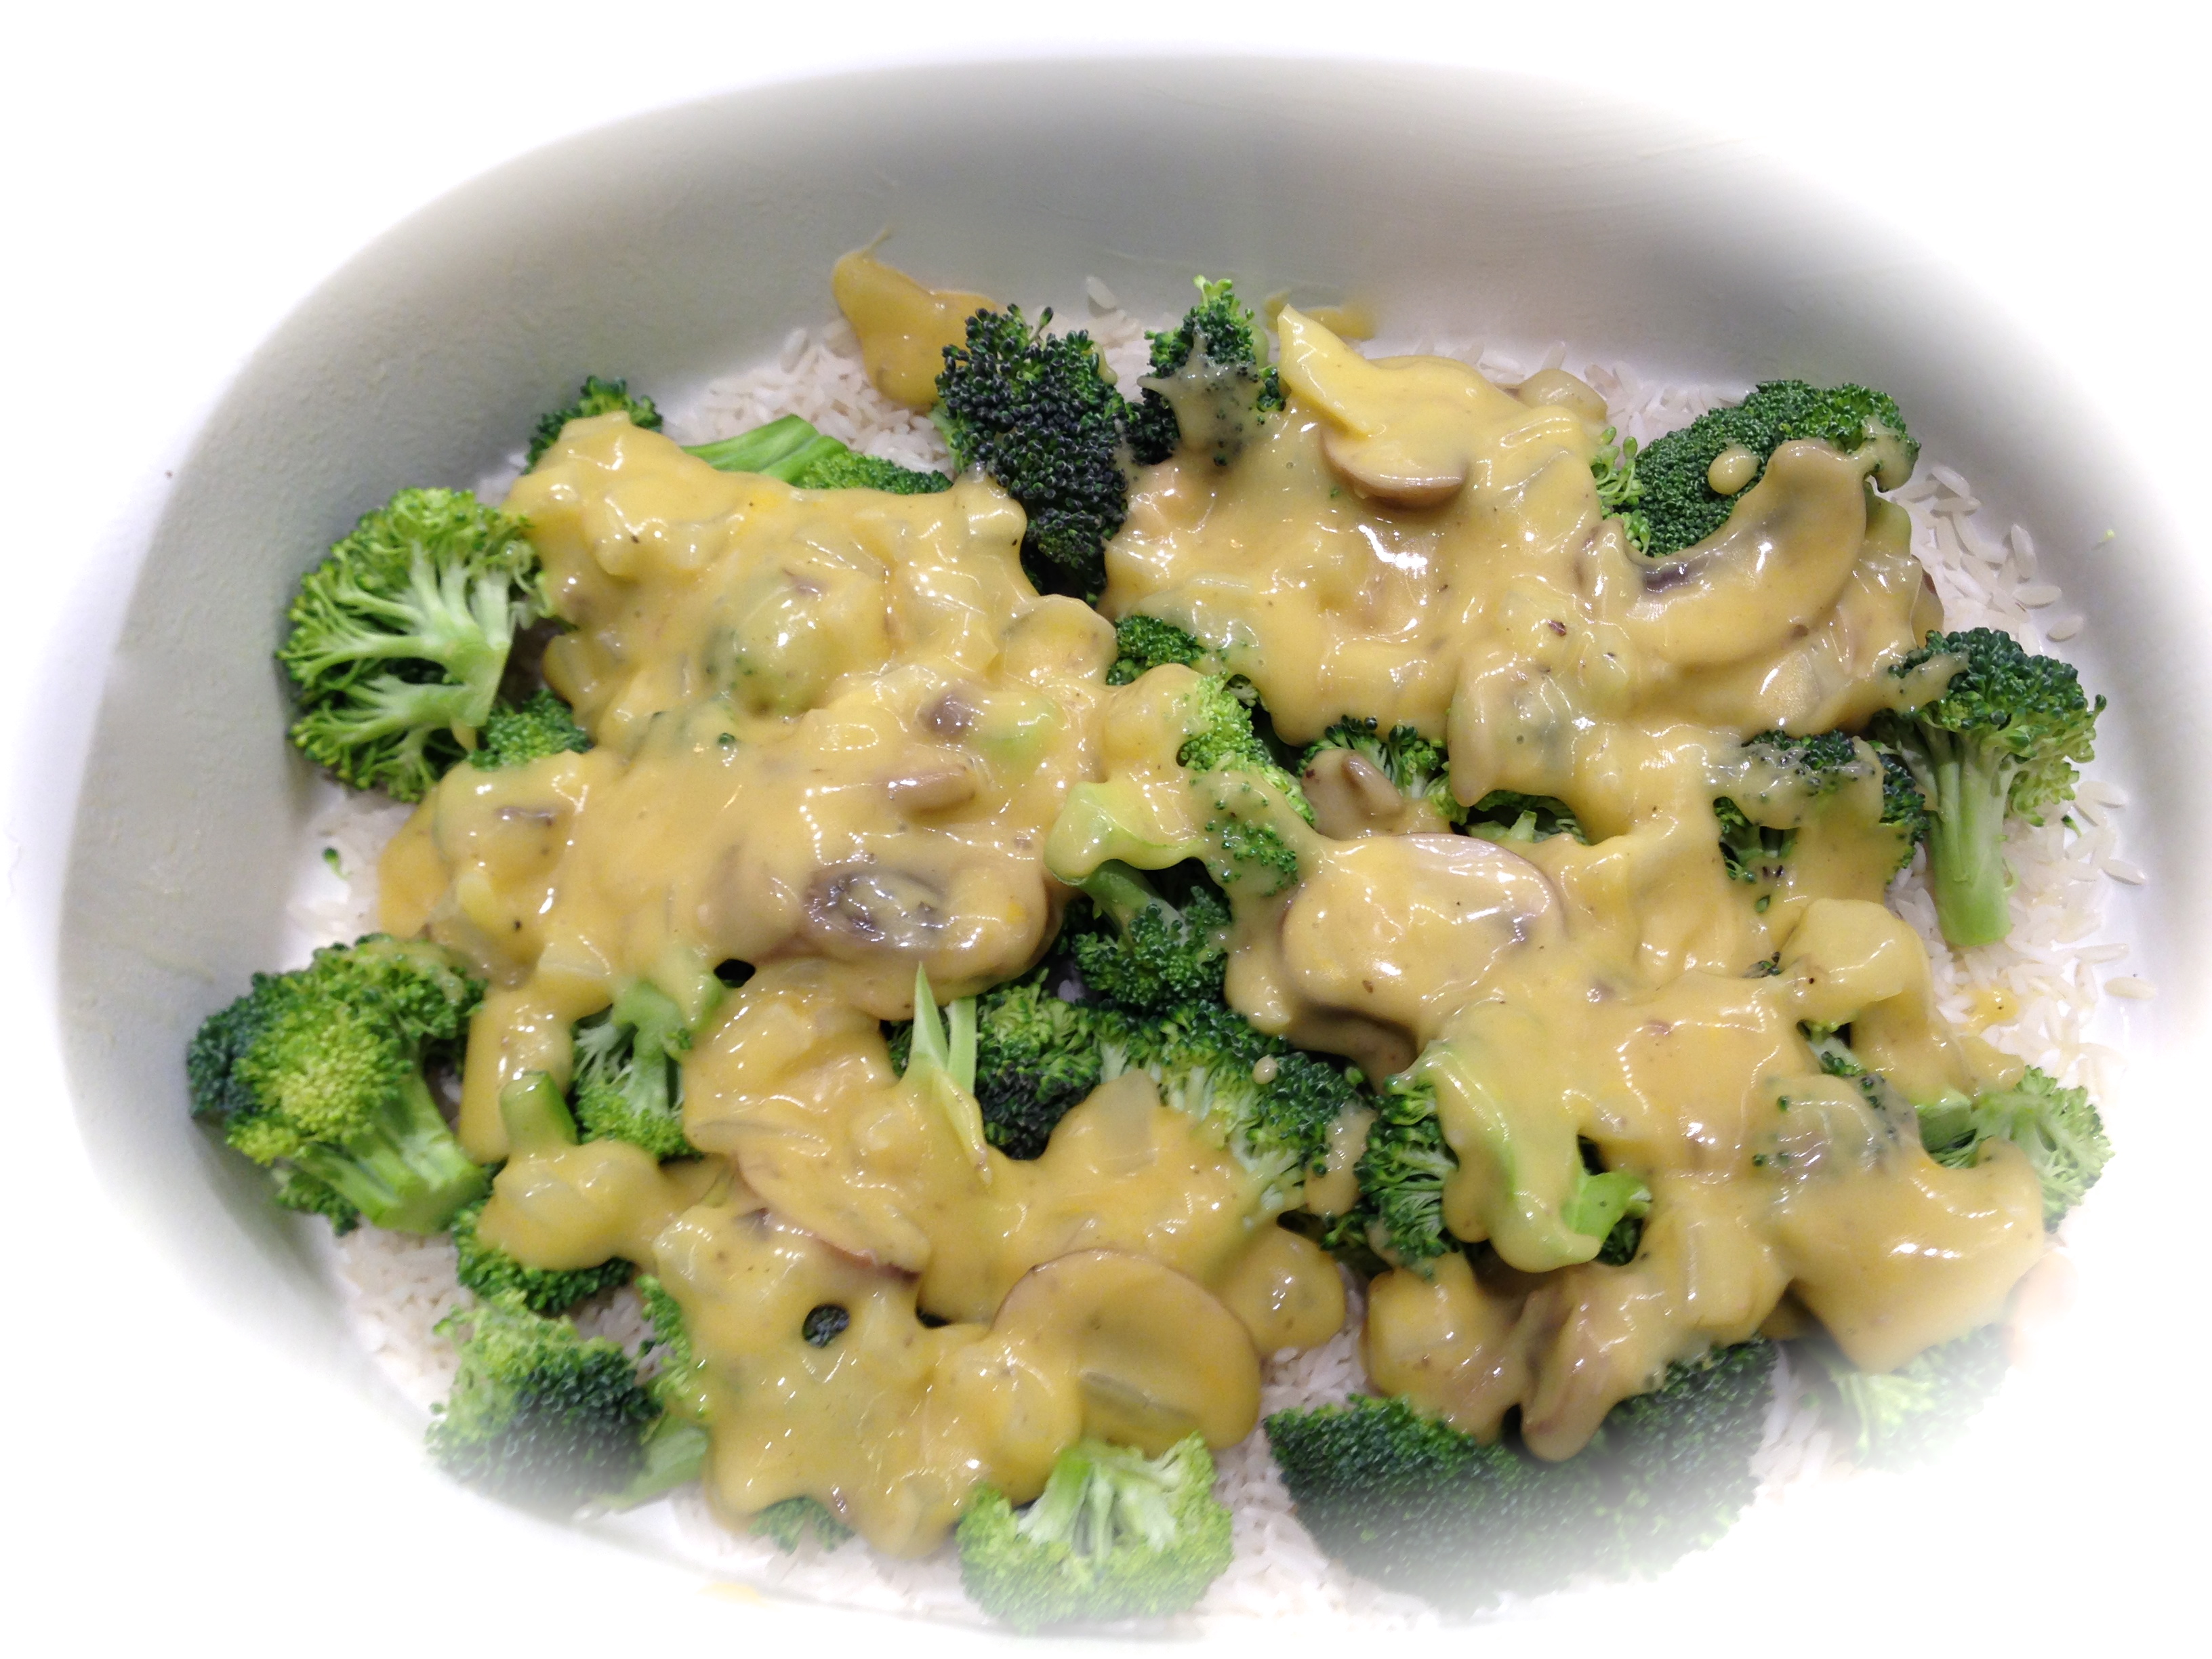
Serving Suggestion: Chicken with Roasted Butternut Squash and Balsamic Roasted Potato Wedges