
Now that January has settled in and the holidays are firmly behind us, I began looking at various soup recipes so I could break in my new immersion blender. Honestly that was not the only reason. There’s nothing like a bowl of piping hot soup to melt the January chills away.
Last year I discovered the joy and ease of making homemade soups, and I can equivocally say if you haven’t tried making homemade soup you’re missing out on something special. And over the past several years I’ve grown to love making roasted butternut squash, so I decided that butternut squash soup would be my next venture.

I poured over a wide variety of recipes and then decided, as usual, to take the best concepts of several and create a recipe of my own. As with any soup I’ve made so far, the bulk of the work is in the preparation. Once you’ve got the ingredients prepared the process couldn’t be simpler. And if you’ve been following me for a while you know I find it very cathartic to chop, mince, dice and slice so this soup was absolutely perfect for how I like to cook.
So let’s talk about making butternut squash soup…
Lesson Learned 1 – You can prepare the squash in a couple of ways: Most recipes I read either called for the squash to be roasted in the oven first or merely just chopped and added to the pot to cook with the stock. I chose the latter and the soup was delicious. The next time I make this I’ll try roasting the squash first and see if that adds any additional dimension to the flavor of the soup. My base for the soup was the “trinity” of onions, celery and carrots along with garlic and that provided great depth of flavor.
Lesson Learned 2 – Be careful when adding the seasonings: This recipe calls for adding nutmeg, cinnamon and cayenne pepper along with salt and pepper. Nutmeg especially has a very strong flavor so just add a pinch to start. I recommend the same for the cayenne pepper. After I added a pinch of each at the end and tasted the soup, I added a second pinch of all of them. Both the nutmeg and cayenne provided a nice warmth and the cinnamon a touch of sweetness. Just remember the old tried and true rule – you can always add more, but you can’t take it out once you put it in.
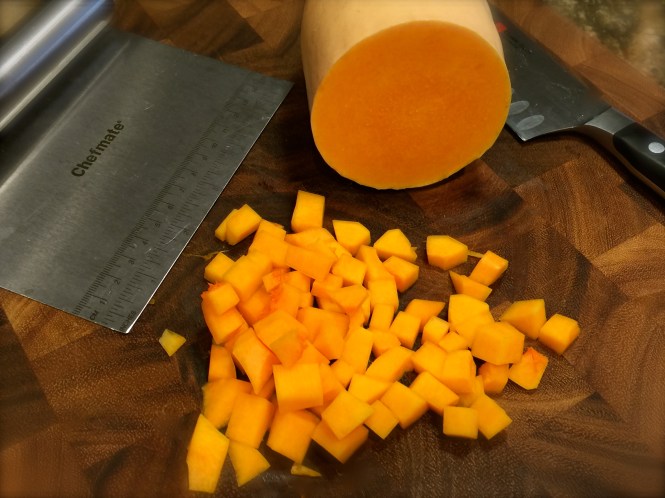
Lesson Learned 3 – Be very careful when preparing the squash: I’ll be totally upfront with you – preparing the squash can be an arduous task. I recommend cutting the squash in half at the center and then with the flat edge down using a very sharp knife to remove the outer core. Start at the top and slide your knife downwards to peel the core to the bottom. Continue rotating around the squash using this process until the entire core has been removed.
The outer core is very hard, so if you try to cut it with a dull knife you can easily hurt yourself. Be careful and watch your fingers the entire time. When initially cutting the squash in half to create the flat bottoms, if your knife gets stuck mid way through, do what I do and pick up the knife with the squash stuck to it and pound it down hard on a strong cutting board or butcher block. The force of the blow(s) will get the knife completely through and your fingers are totally out of the way.
If you’ve never peeled a butternut squash before, I recommend you take a few minutes and find a video on YouTube that shows you how. The key thing to remember is keeping your fingers away from the knife at all times. I’m not trying to scare you, I’m just trying to stress the importance of being safe during this process.
And if you don’t want to bother doing the cutting yourself, many grocery stores have prepared butternut squash that you can buy. The only thing I don’t like about the prepared squash is often I get some of the tough pith in with the squash pieces. I guarantee you the tough pith (any of the light orange colored part of the outer core) will not get tender. You only want to use the deep orange part of the squash.
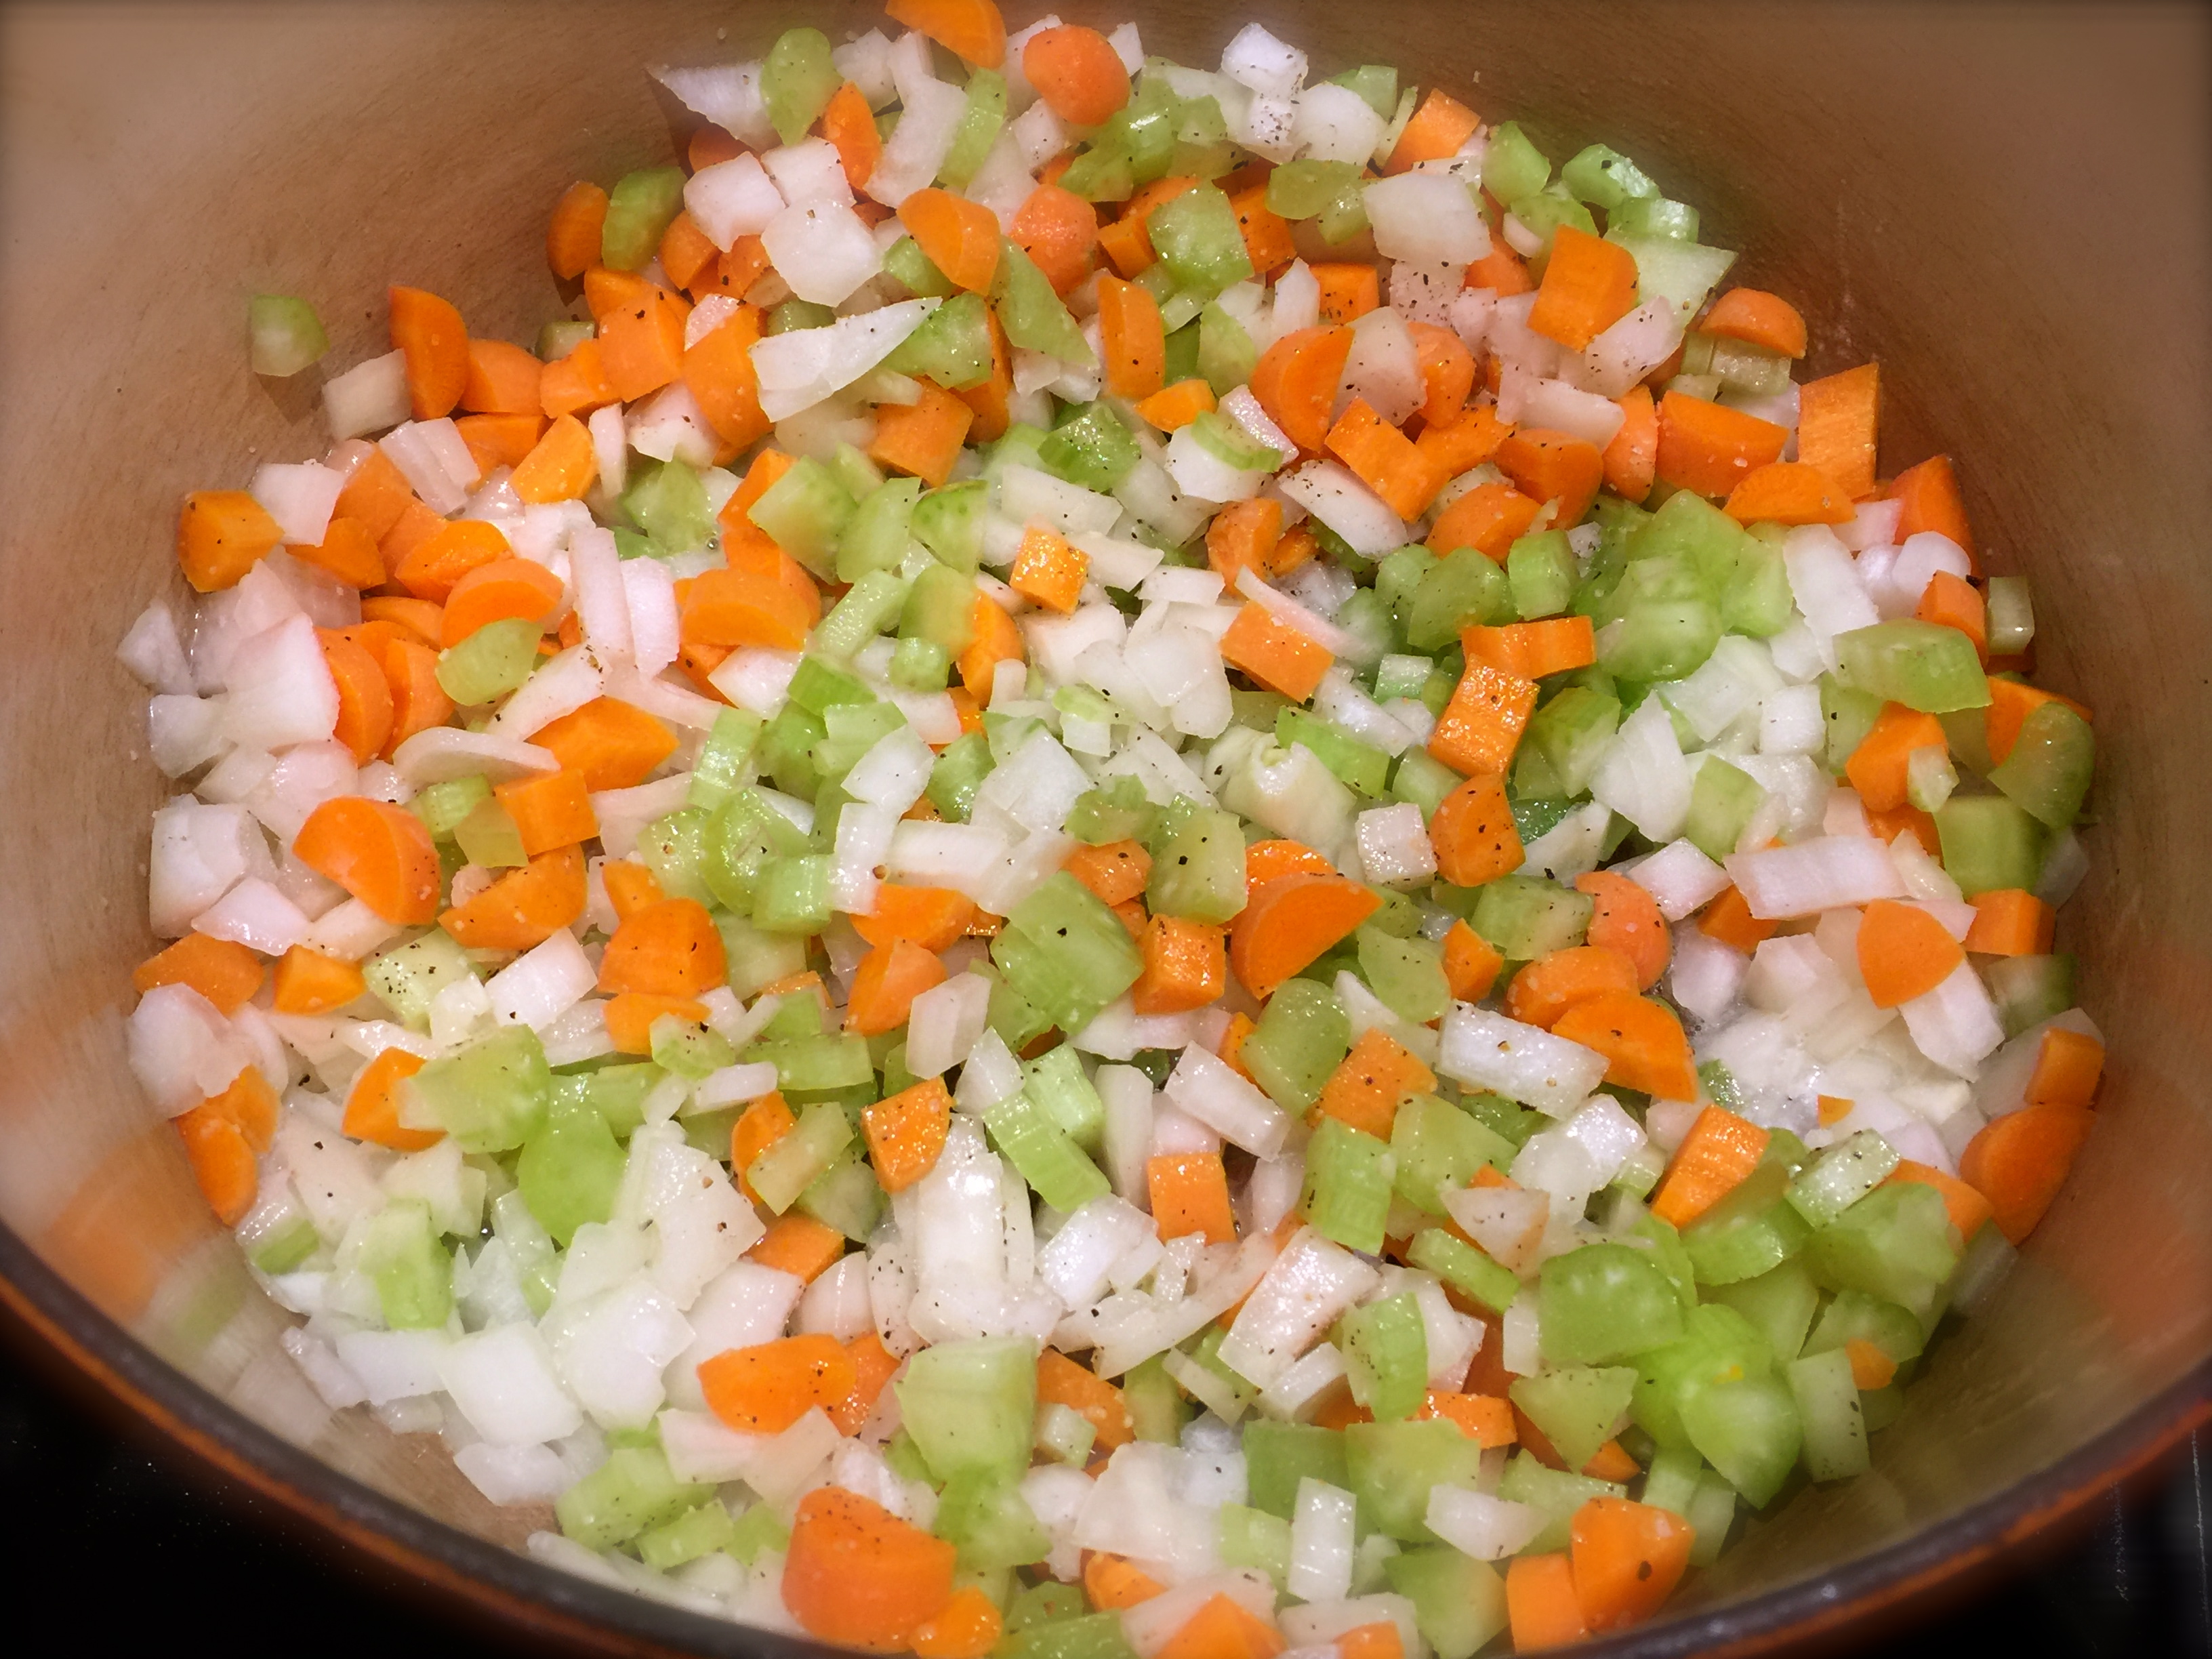
The “Trinity” – onions, celery and carrrots
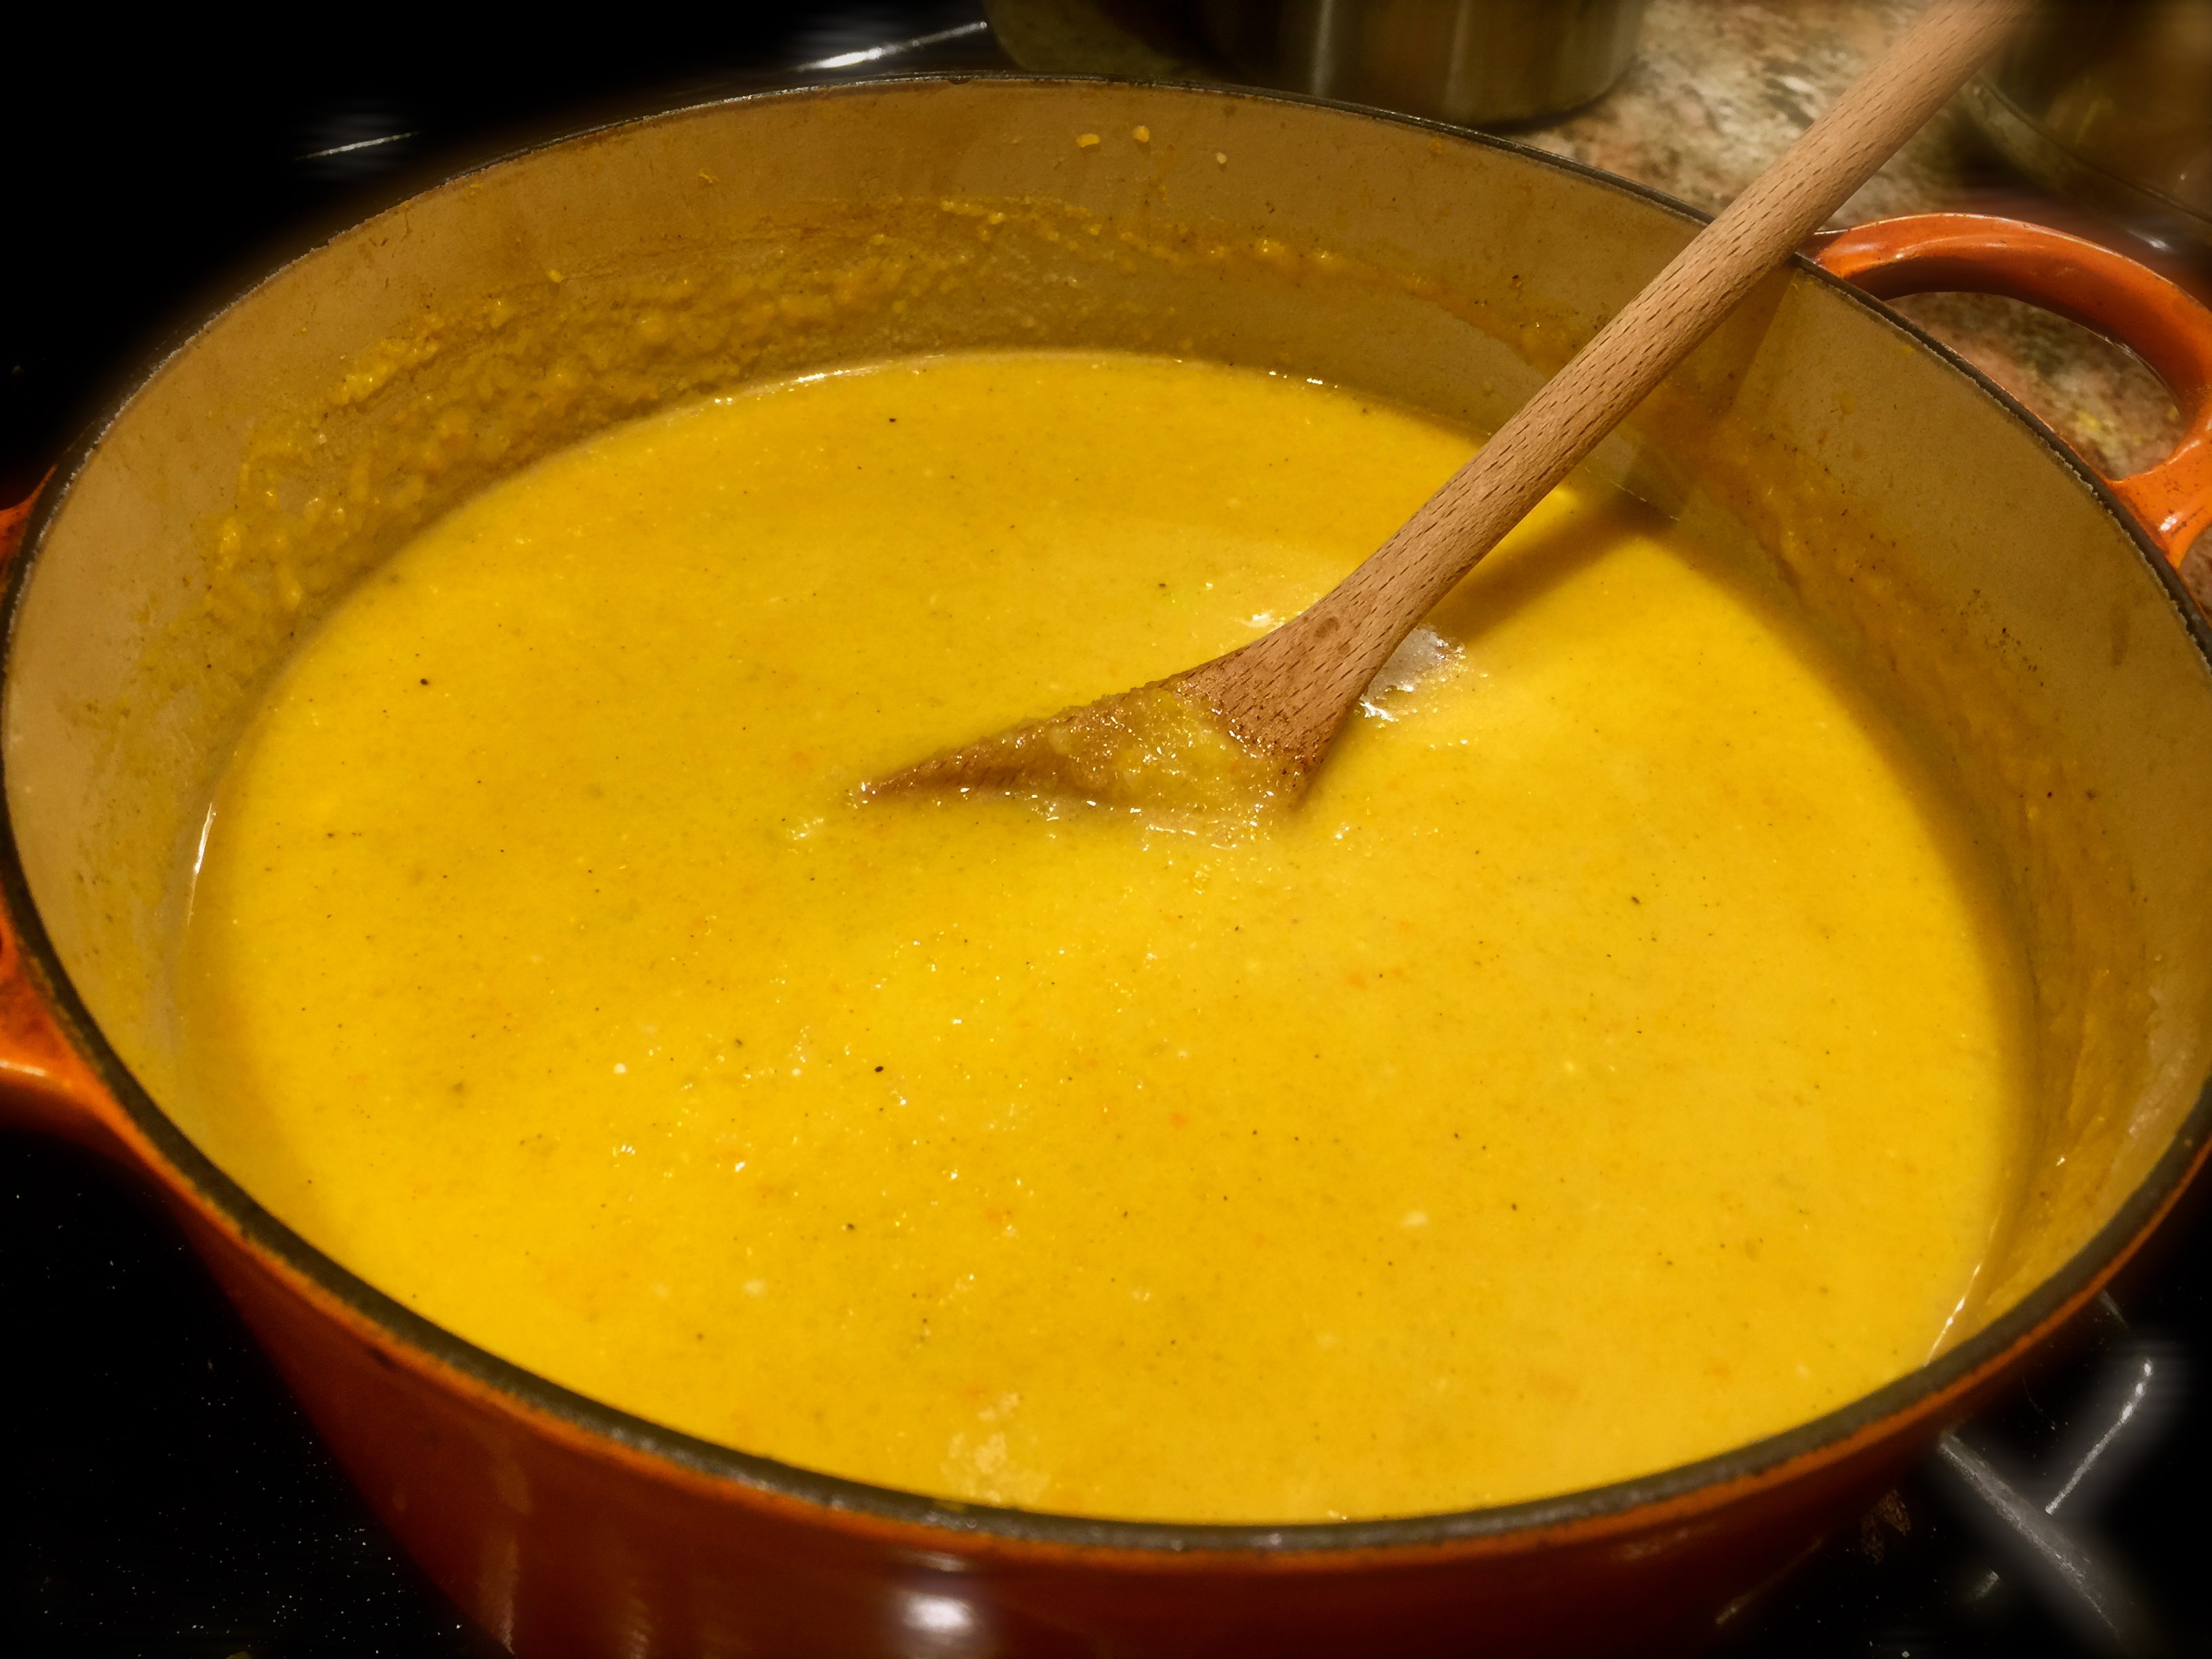
Lesson Learned 4 – Using an immersion blender: One thing to remember when using an immersion blender is not to pull it up to high to the surface when you’re blending in the pot – you’ll have soup flying all around your kitchen if you do! Keep the base of the blender down low and only move it up half way through the liquid when blending.
I personally guarantee that the work making this soup is totally worth it. This is a great soup for a cold January night and one you will make for years to come.
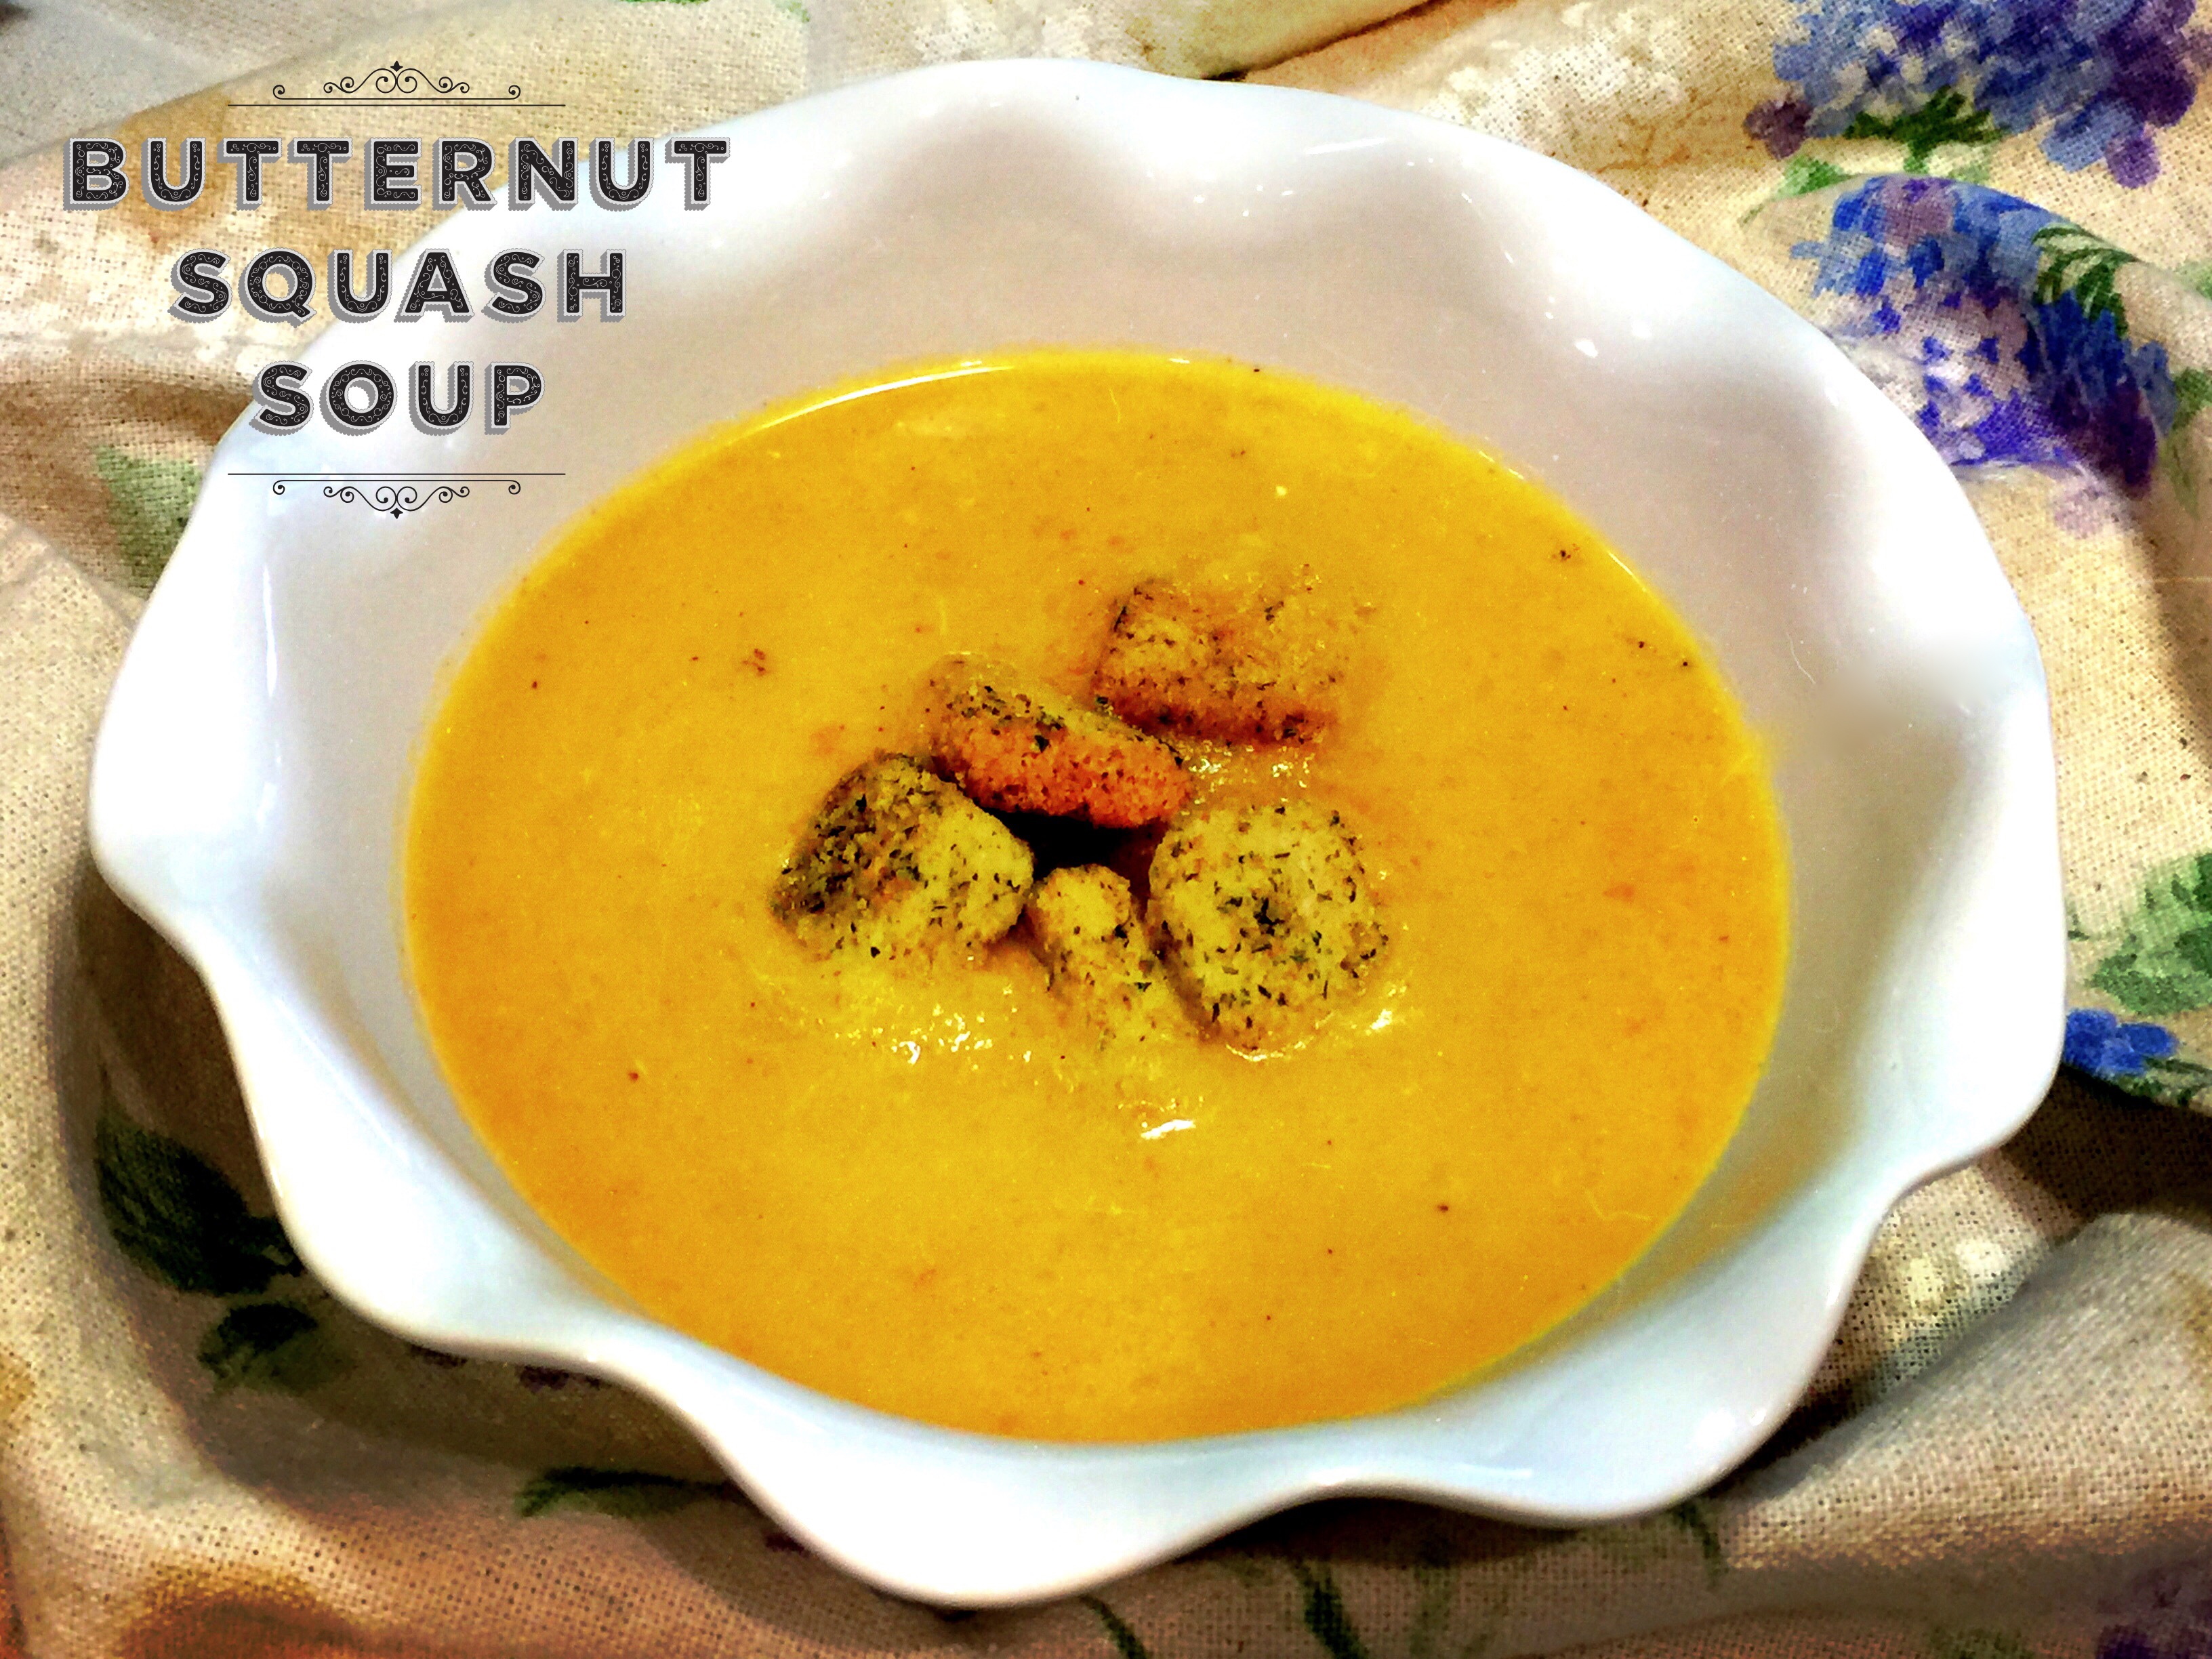
Butternut Squash Soup…
INGREDIENTS:
1 medium onion, diced
2 celery stalks, diced
3/4 cup carrots chopped small
2 cloves of garlic, minced
3 Tbs. butter
1 large or 2 small butternut squash, peeled and chopped with seeds removed
1 medium granny smith apple, peeled and diced
4 cups chicken stock (one 32 oz. box)
1 cup water
1 cup heavy cream
Pinches of cayenne, cinnamon and nutmeg (to taste – err on the side of less is more)
Salt and pepper to taste
DIRECTIONS:
In a 7 quart dutch oven melt the butter and add the onions, celery and carrots. Salt and pepper the mixture. Cook until the onions look translucent, about 5 minutes. Add the garlic and cook until the garlic is fragrant, about one minute.
Add the squash, apple, broth and water. Bring to a boil. Cover and simmer for 30 minutes or until the squash and carrots are tender.
With an immersion blender (or you can puree this in batches in a stand blender) puree the soup to your desired thickness (the more you puree the thinner the soup).
Add the cayenne, nutmeg and cinnamon. Stir and taste. Add more if desired. Salt and pepper to taste.
Once you’ve finished adding the seasoning, turn the heat off the soup and stir in one cup of heavy cream. Serve with croutons or with a dollop of sour cream.

[…] Butternut Squash Soup […]
LikeLike