It’s getting to be that time of year where our gardens are producing faster than we can use everything they produce. It’s a great problem to have. One solution to this problem is to share with some of your neighbors who don’t have gardens (I can’t tell you how many times I found zucchinis on my door step). But another solution may be to combine what you have into something very versatile, like pico de gallo.
Pico de gallo is something that can be served as an appetizer with tortilla chips, crackers, or even toasted bread. It can also be used as an enhancement to a main dish like chicken or fish. Just put it on top and it will send your protein over the moon. It can also be eaten as a salad substitute. And it is a great way to use your garden bounty.
There are many recipes for pico, and they are all very easy to make. I made mine based on various recipes and what was available in my garden. And you can do the same. So I’ll share my recipe but know that you can adjust it to what you have on hand and the level of heat that you want.
So let’s talk pico de gallo…
 Lesson Learned 1 – I recommend prepping the tomatoes first: There’s a good reason for this. Tomatoes are filled with moisture and you want to give them an opportunity to release some of that moisture before you mix them with the other ingredients. You don’t want soggy pico de gallo. I chopped my tomatoes into small bite size squares and placed them in a strainer over a bowl. That way I could drain off their excess water. With the amount of tomatoes I used, I had about a quarter of a cup of liquid drain out of them. That’s quite a bit. And every once in a while I would stir them to release more water. Don’t worry if you don’t get all of the liquid out. You’ll get most of it out and that will be good enough.
I also recommend using either roma or campari tomatoes if you’re not using tomatoes from your garden. I find them to be a little less watery and more conducive to holding up in this recipe. But in a few weeks my patio tomatoes will be ripe (they are already starting to turn red) and I will use them in this recipe. Use what you have – you can always drain the water from them no matter what kind you use.

 Lesson Learned 2 – Determine how much heat you want in your pico: Most recipes I saw suggested using one jalapeno pepper. I am growing banana peppers in my patio garden and I wanted to use those. Banana peppers have heat, but not as much as a jalapeno, so I used two of them and the pico had a nice but mild bite to it. Remember to scrape away the seeds on the inside of these peppers. That’s where you’ll find the highest concentration of heat. Here again you can choose what type of pepper you want to use depending on how much kick you want or can handle.

My banana pepper plant…
Lesson Learned 3 – For extra flavor add an avocado: Most recipes I looked at didn’t use avocados but I thought they added a nice smooth texture to the pico. If you plan on making your pico ahead of time (and I would not recommend making it more than two hours ahead in order to retain all of its freshness) do not add the avocado until you’re ready to serve it. Dice the avocado into small squares and fold it in with the other ingredients at the very end. Then add the juice of half a lime on top to prevent any oxidation. Give it a final mix and you’re ready to go.
Lesson Learned 4 – Choosing the right kind of onion: I used a white onion for my pico. It was an onion that I got at our local farmers market and it was mild and not overly pungent. Sometimes white onions can be too overpowering, especially if they make you cry when you peel them. This onion did not. So you might want to be careful in choosing the type of onion you’ll use. If a white onion is too pungent, use a sweet vadalia onion instead. Again the choice is yours.
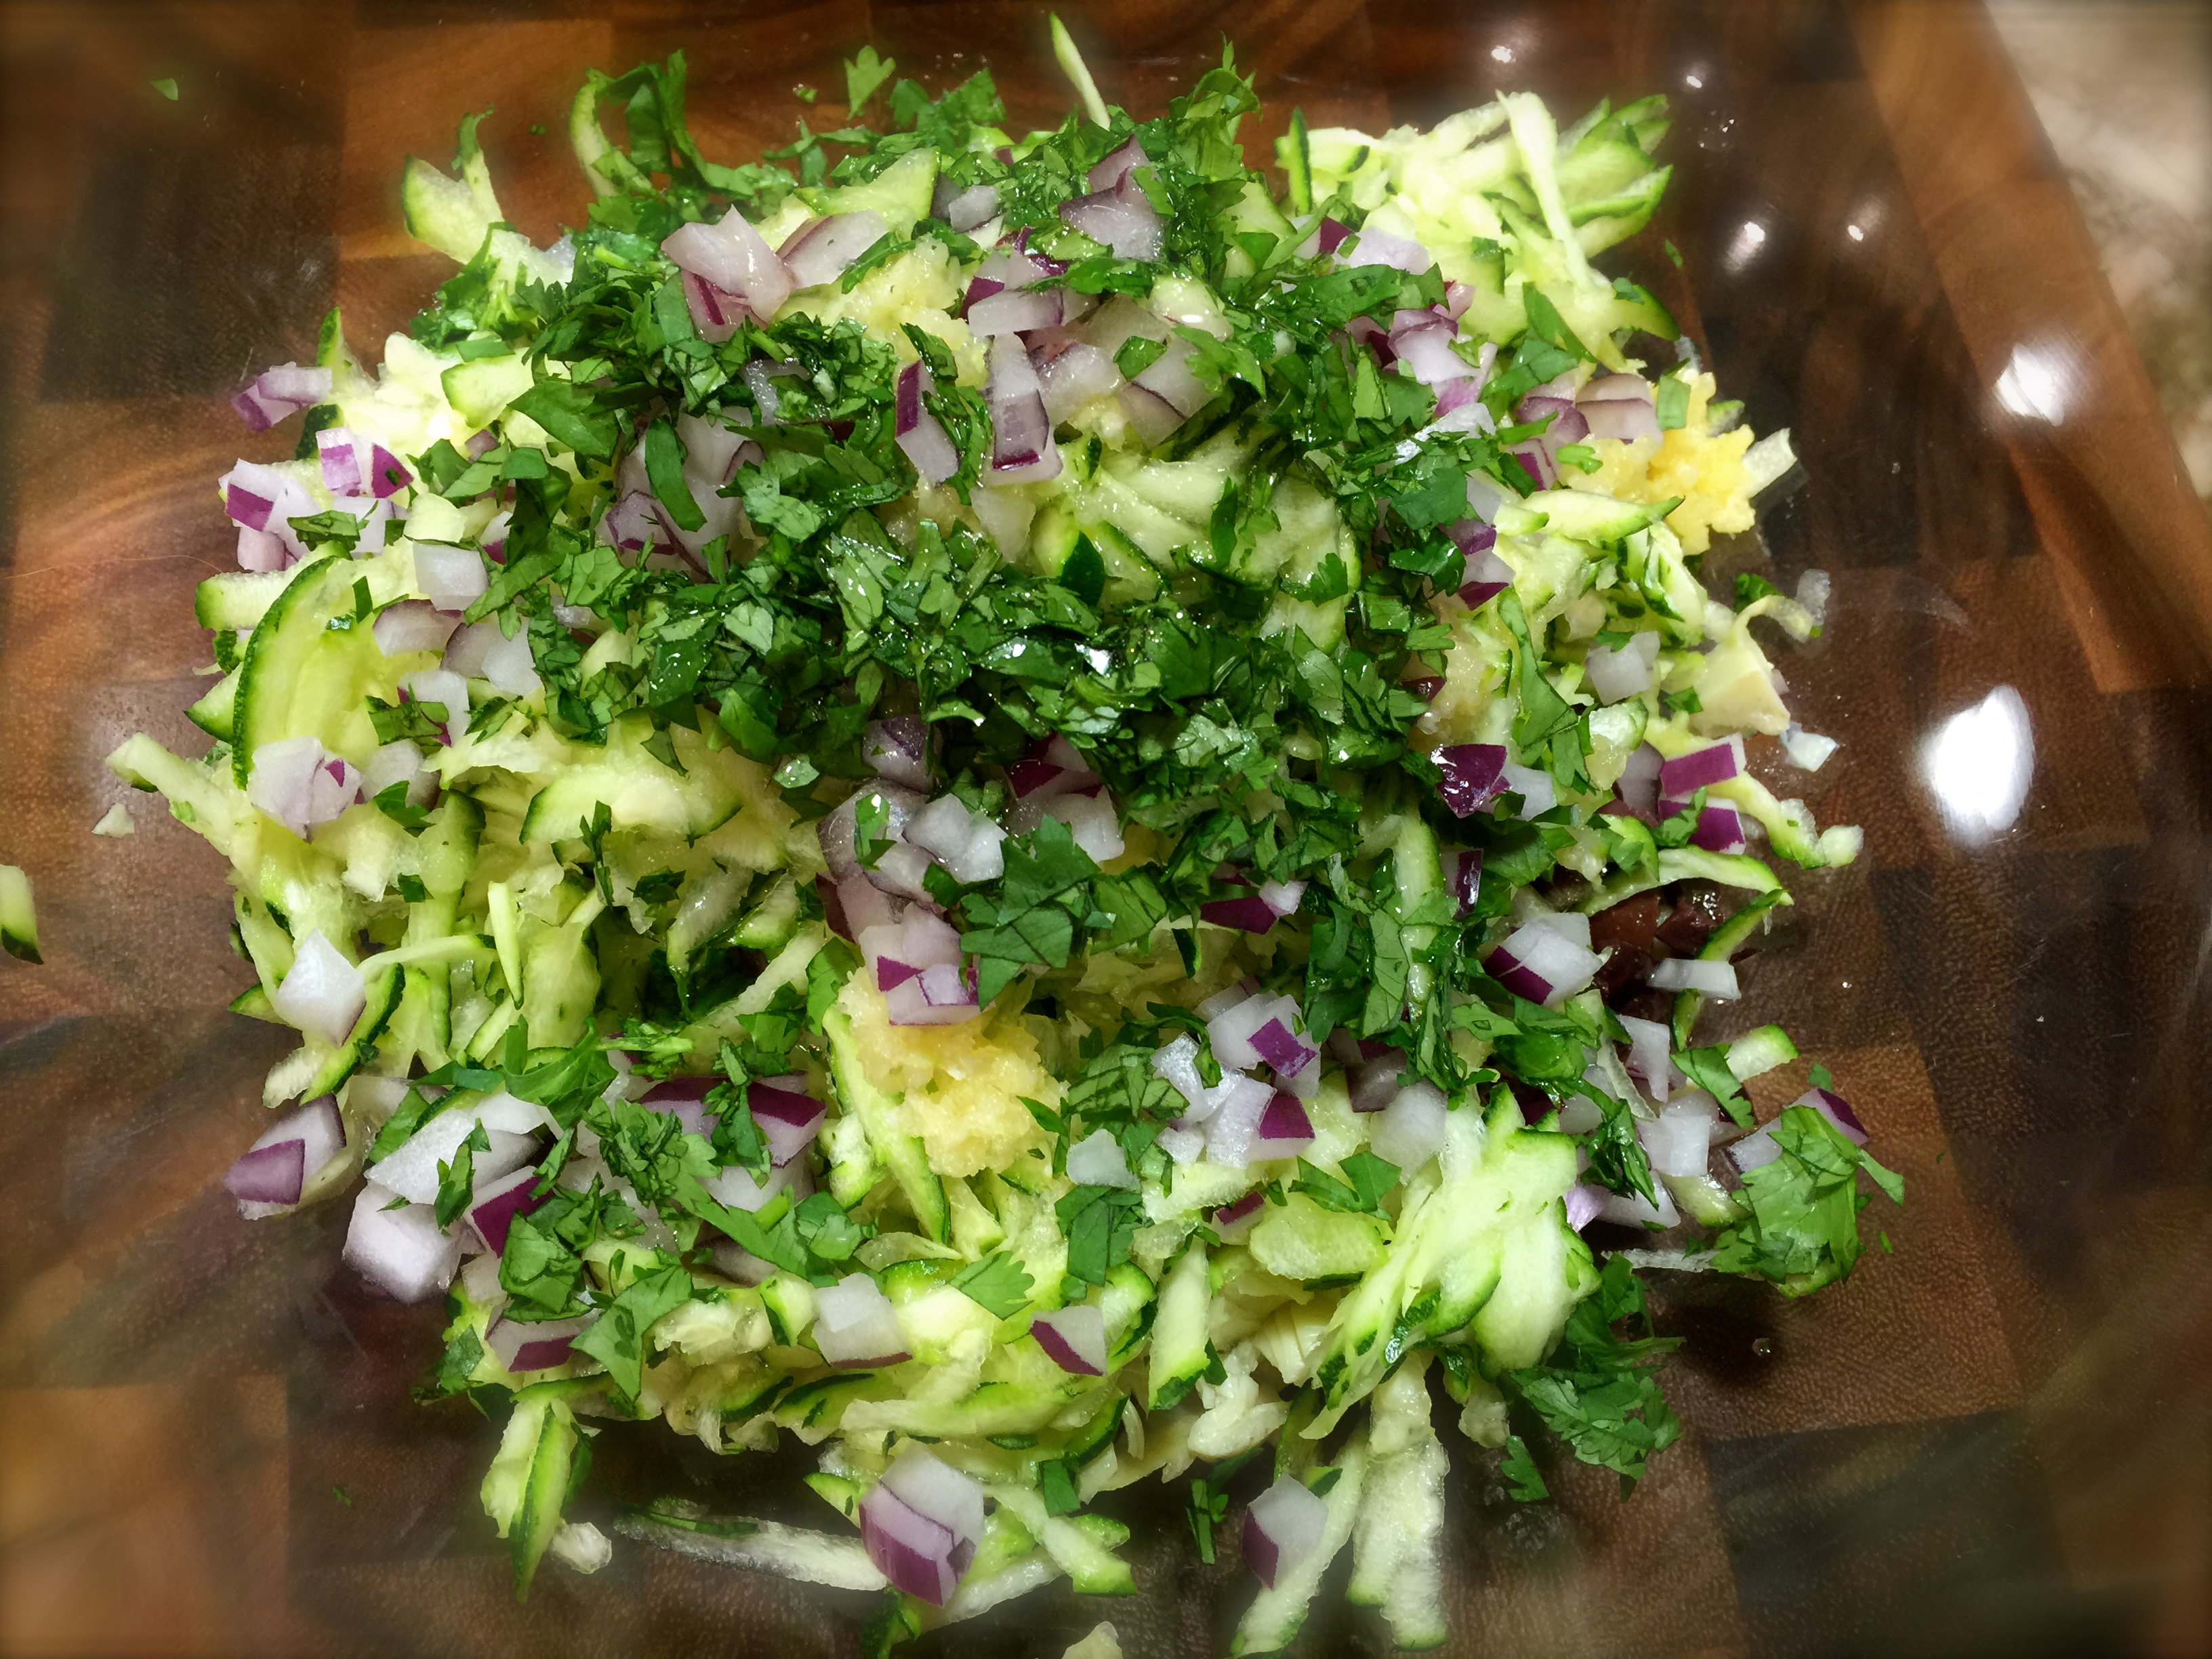
And the rest is just a matter of chopping and dicing, two of my favorite things to do. Mix everything together, add some fresh lime juice, garnish and you’re ready to go. Try this one and see what you think!
Party Time Pico de Gallo...
INGREDIENTS
2 cups tomatoes, chopped small
2 cups white onion, chopped small
1 1/2 cups fresh cilantro, chopped
2 banana peppers, seeded and diced
1 large avocado, chopped small
2 limes
Salt and pepper to taste
DIRECTIONS
Drain the tomatoes in a colander over a bowl while preparing the other ingredients. Stir together the tomatoes, onion, cilantro and banana peppers. Squeeze the juice of one lime over the ingredients and stir until well combined.
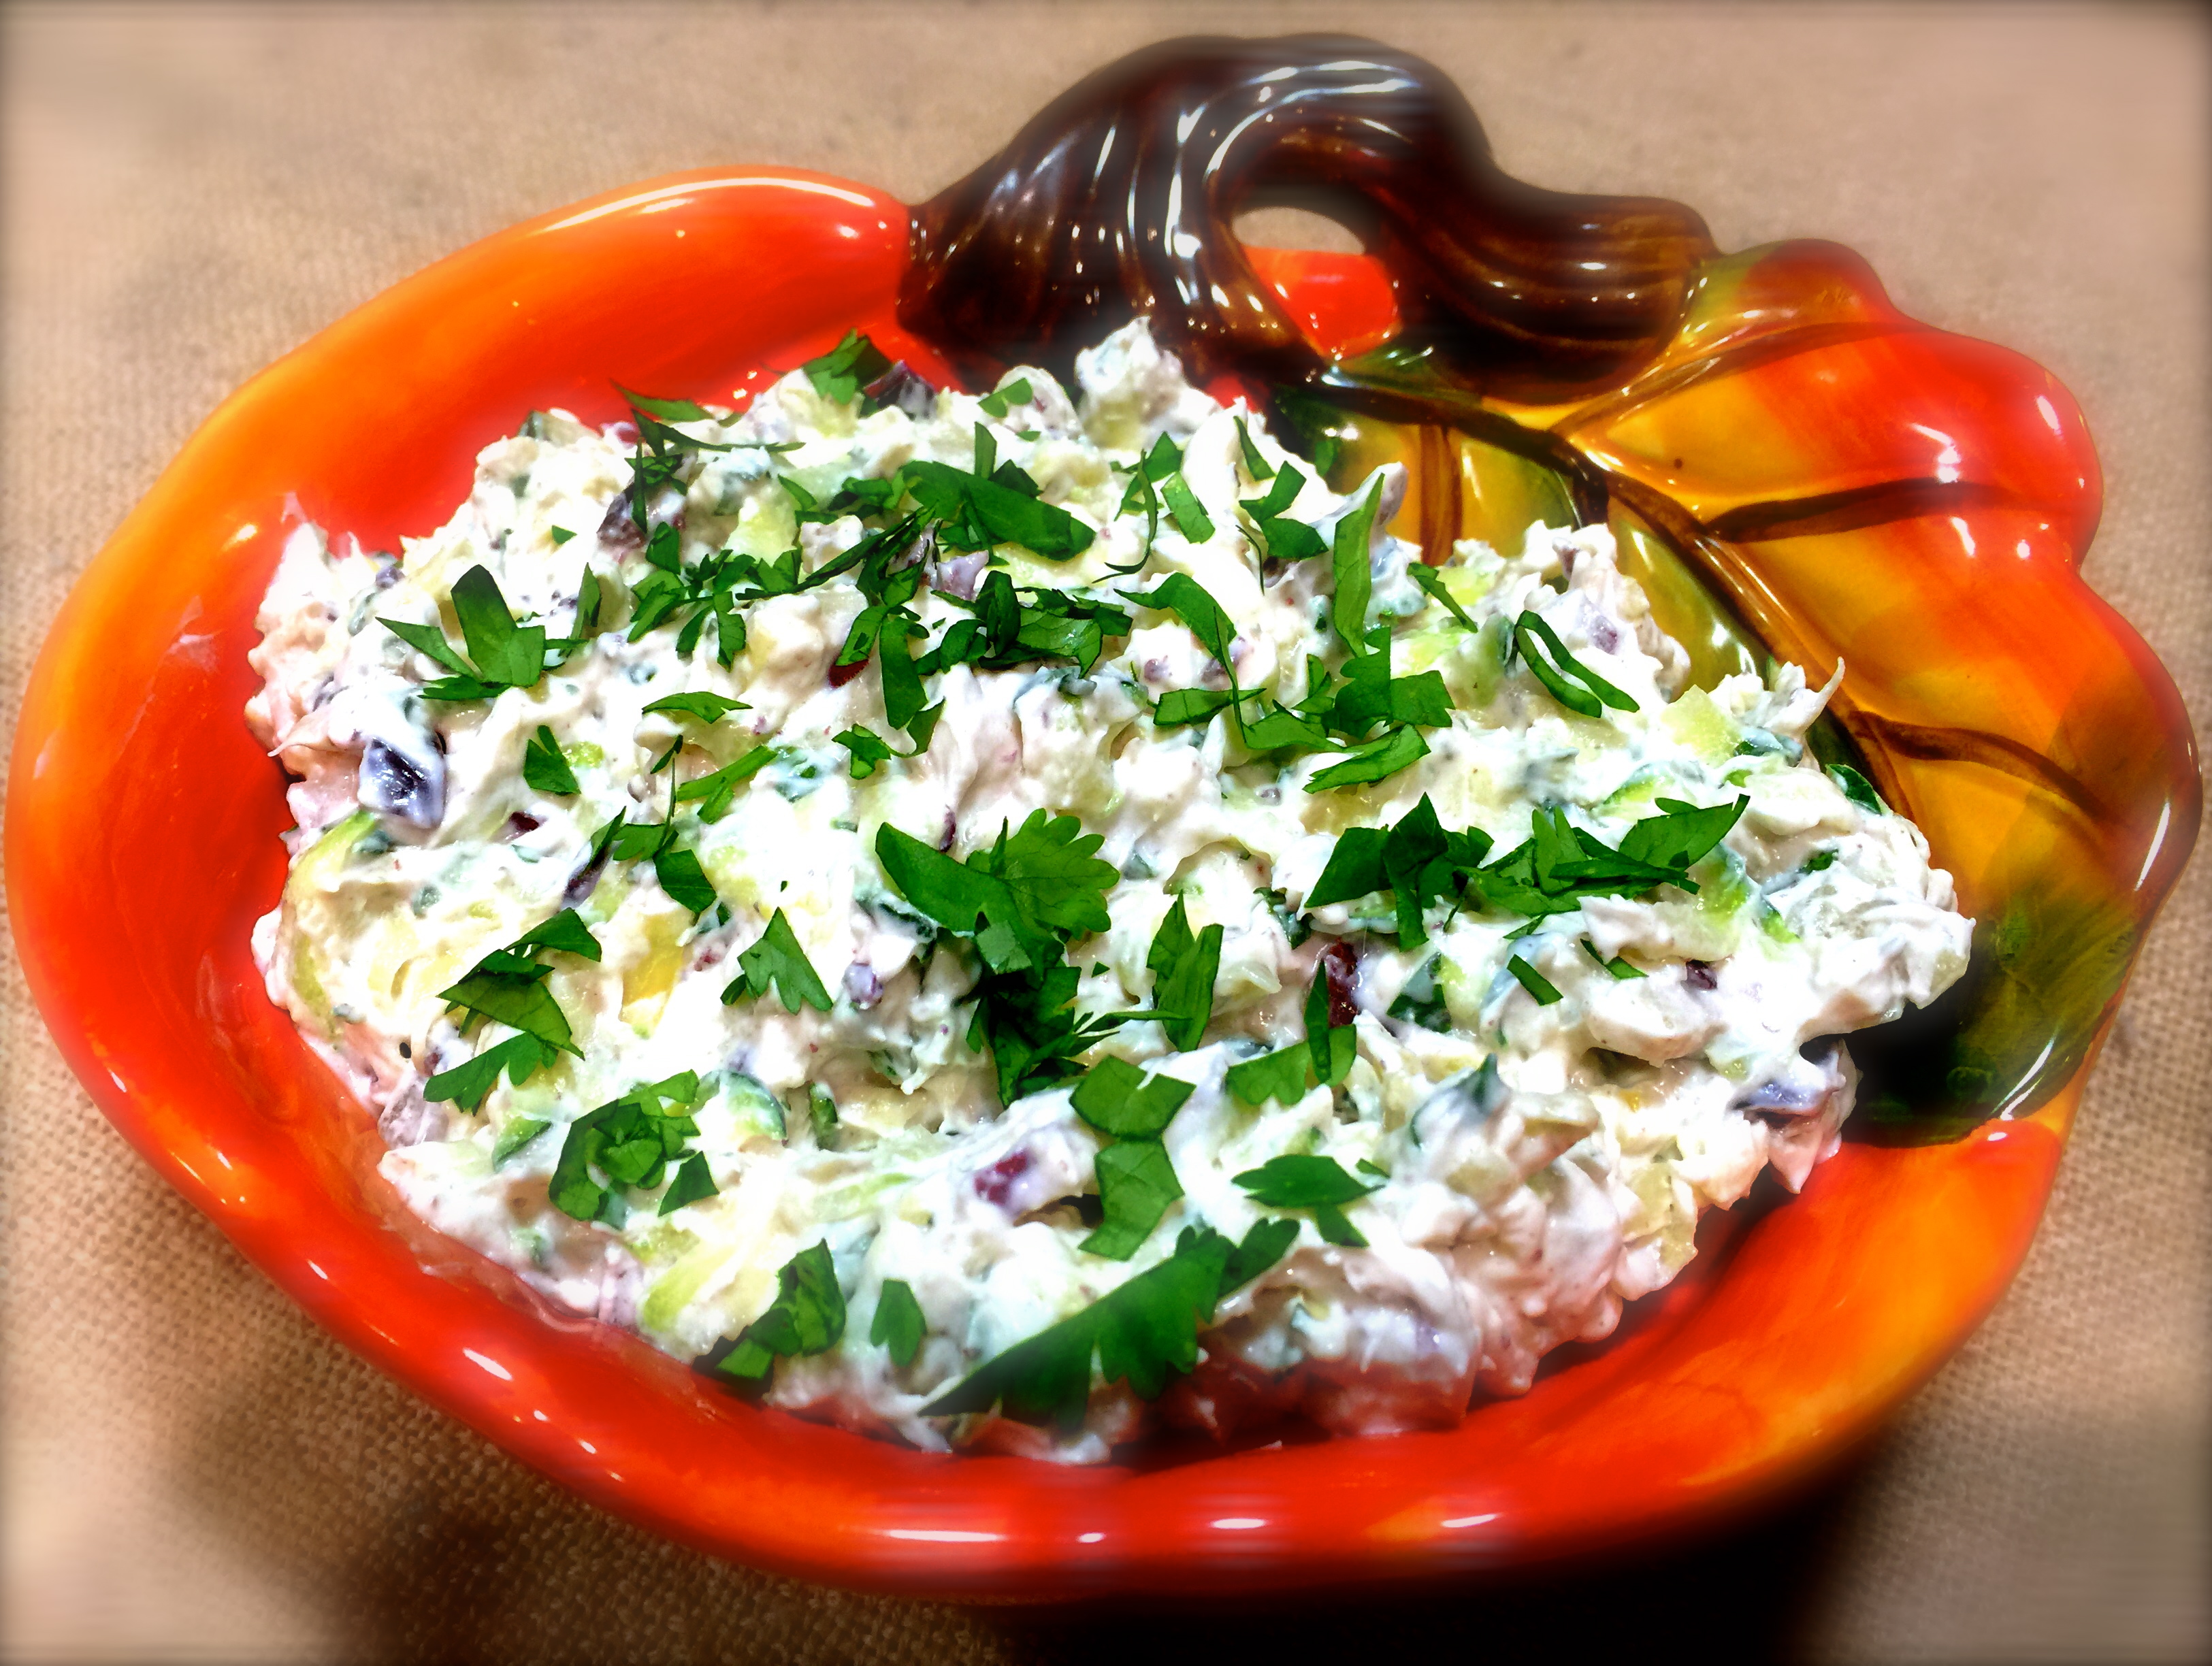
Right before serving, add the avocado. Squeeze the juice of half a lime over the top. Gently fold the avocado into the other ingredients. Put the ingredients into a serving bowl and garnish with a couple of slices of lime and some cilantro leaves. Serve immediately.


 Lesson Learned 1 – Pre-cut celery is a great time saver: My grocery store cells pre-cut celery. The stalks are approximately three inches in size and packed in water. That’s the perfect size for this recipe. The only thing I needed to do to prepare the celery was take a small slice off each end to freshen the ends up. I was able to pat them dry and stuff them right away. But you can also buy celery and wash and slice it on your own. But I loved the convenience of having all that work done for me ahead of time.
 Make sure you drain both the crushed and chunked pineapple so that the cream cheese mixture doesn’t become too runny.


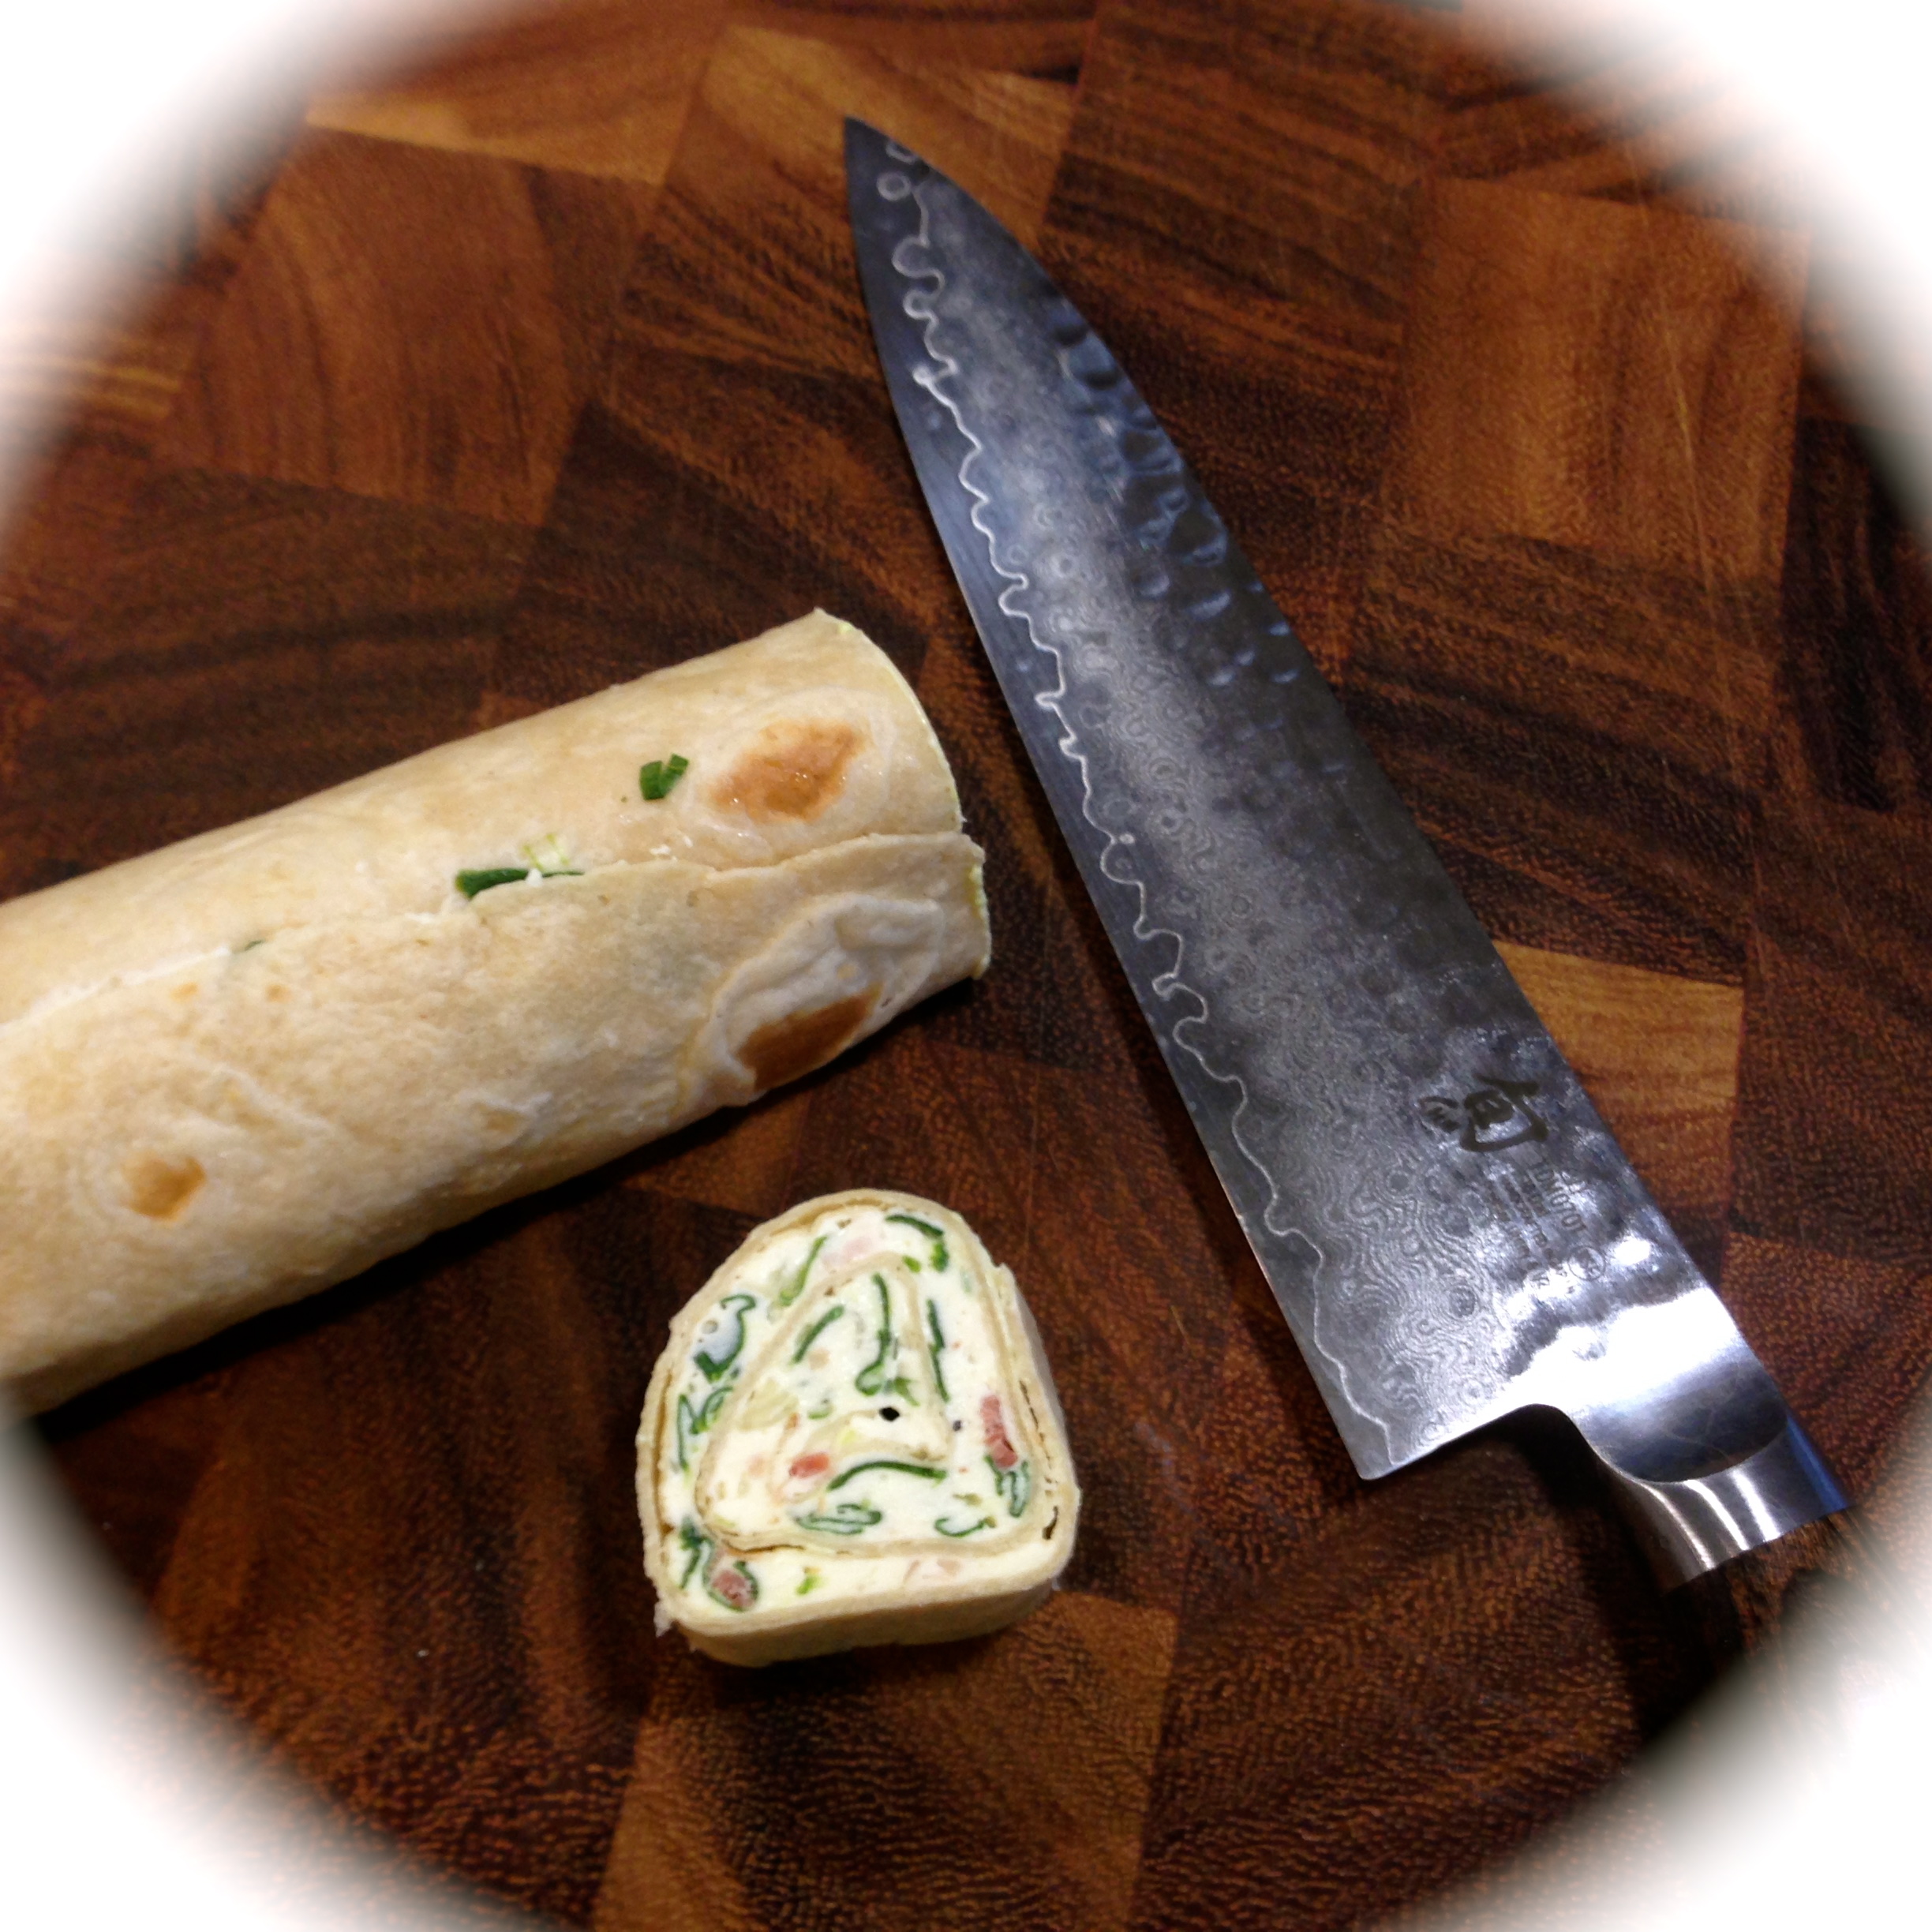
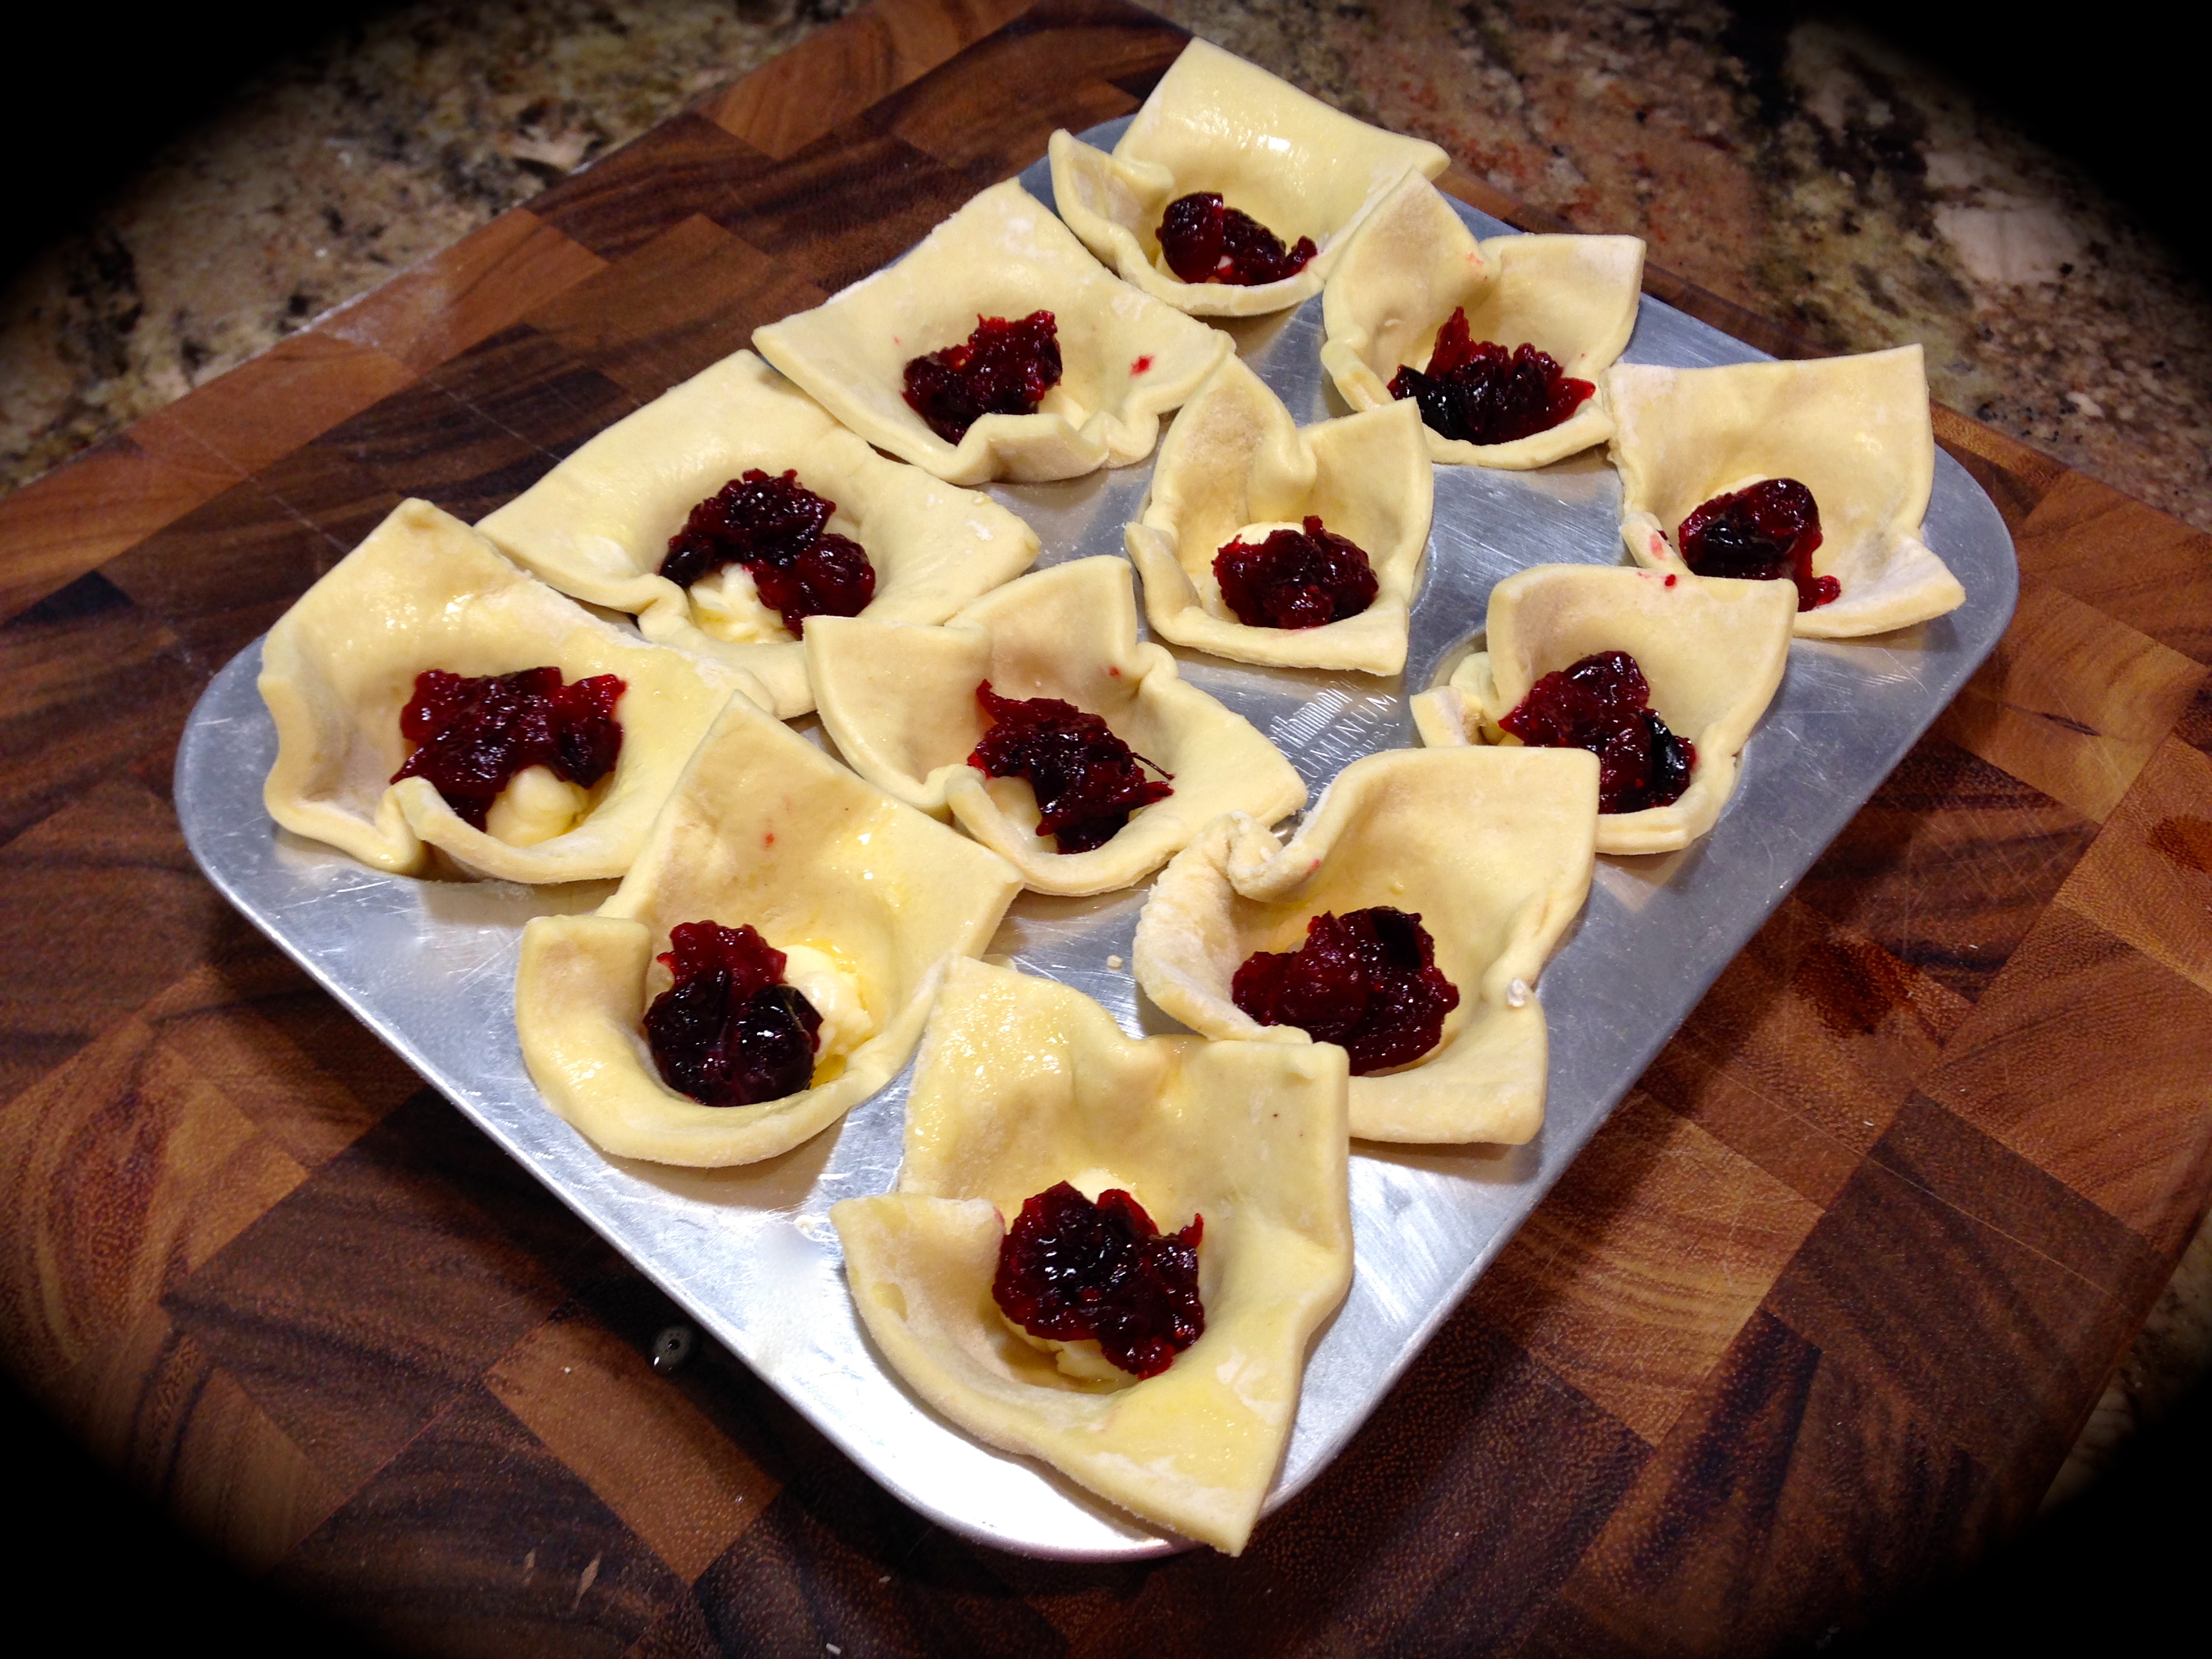
 Lesson Learned 3 – Working with brie: I love brie but it can be a pain in the butt to deal with, especially if you’re not fond of the outer skin and want to remove it. Brie is not easy to slice because it is so soft. Make sure you have a really sharp knife and watch out for your fingers.


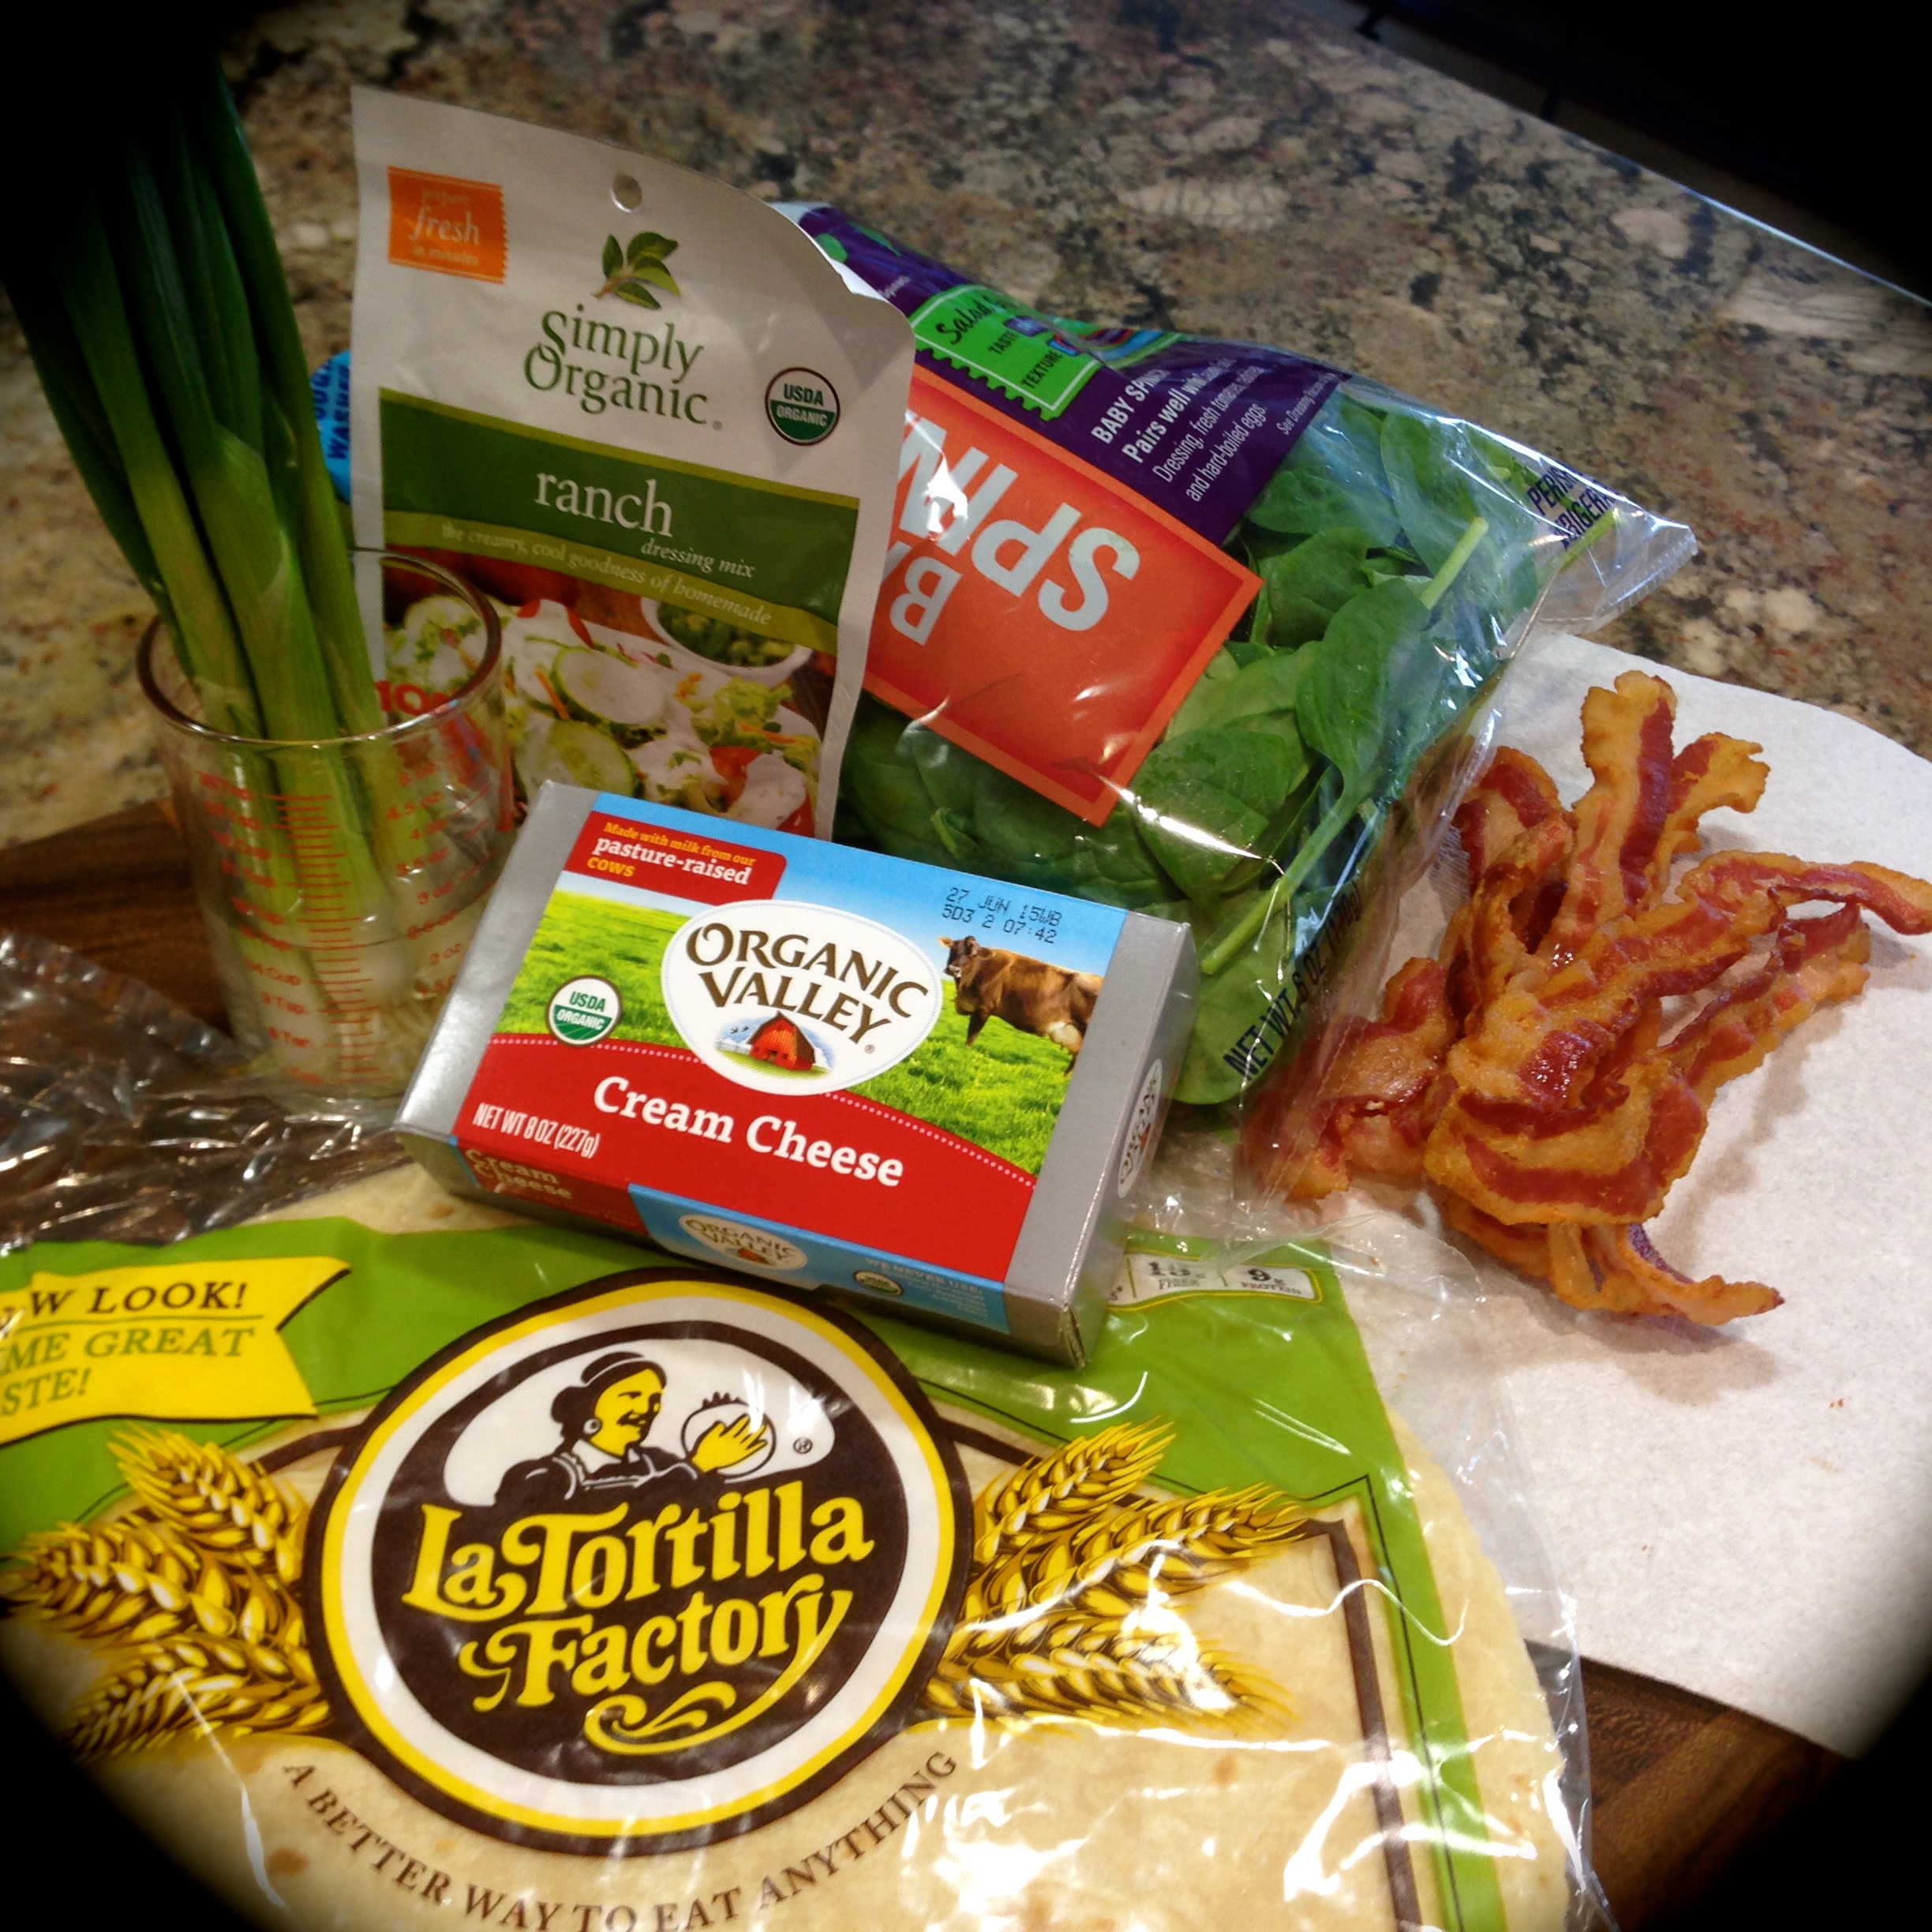
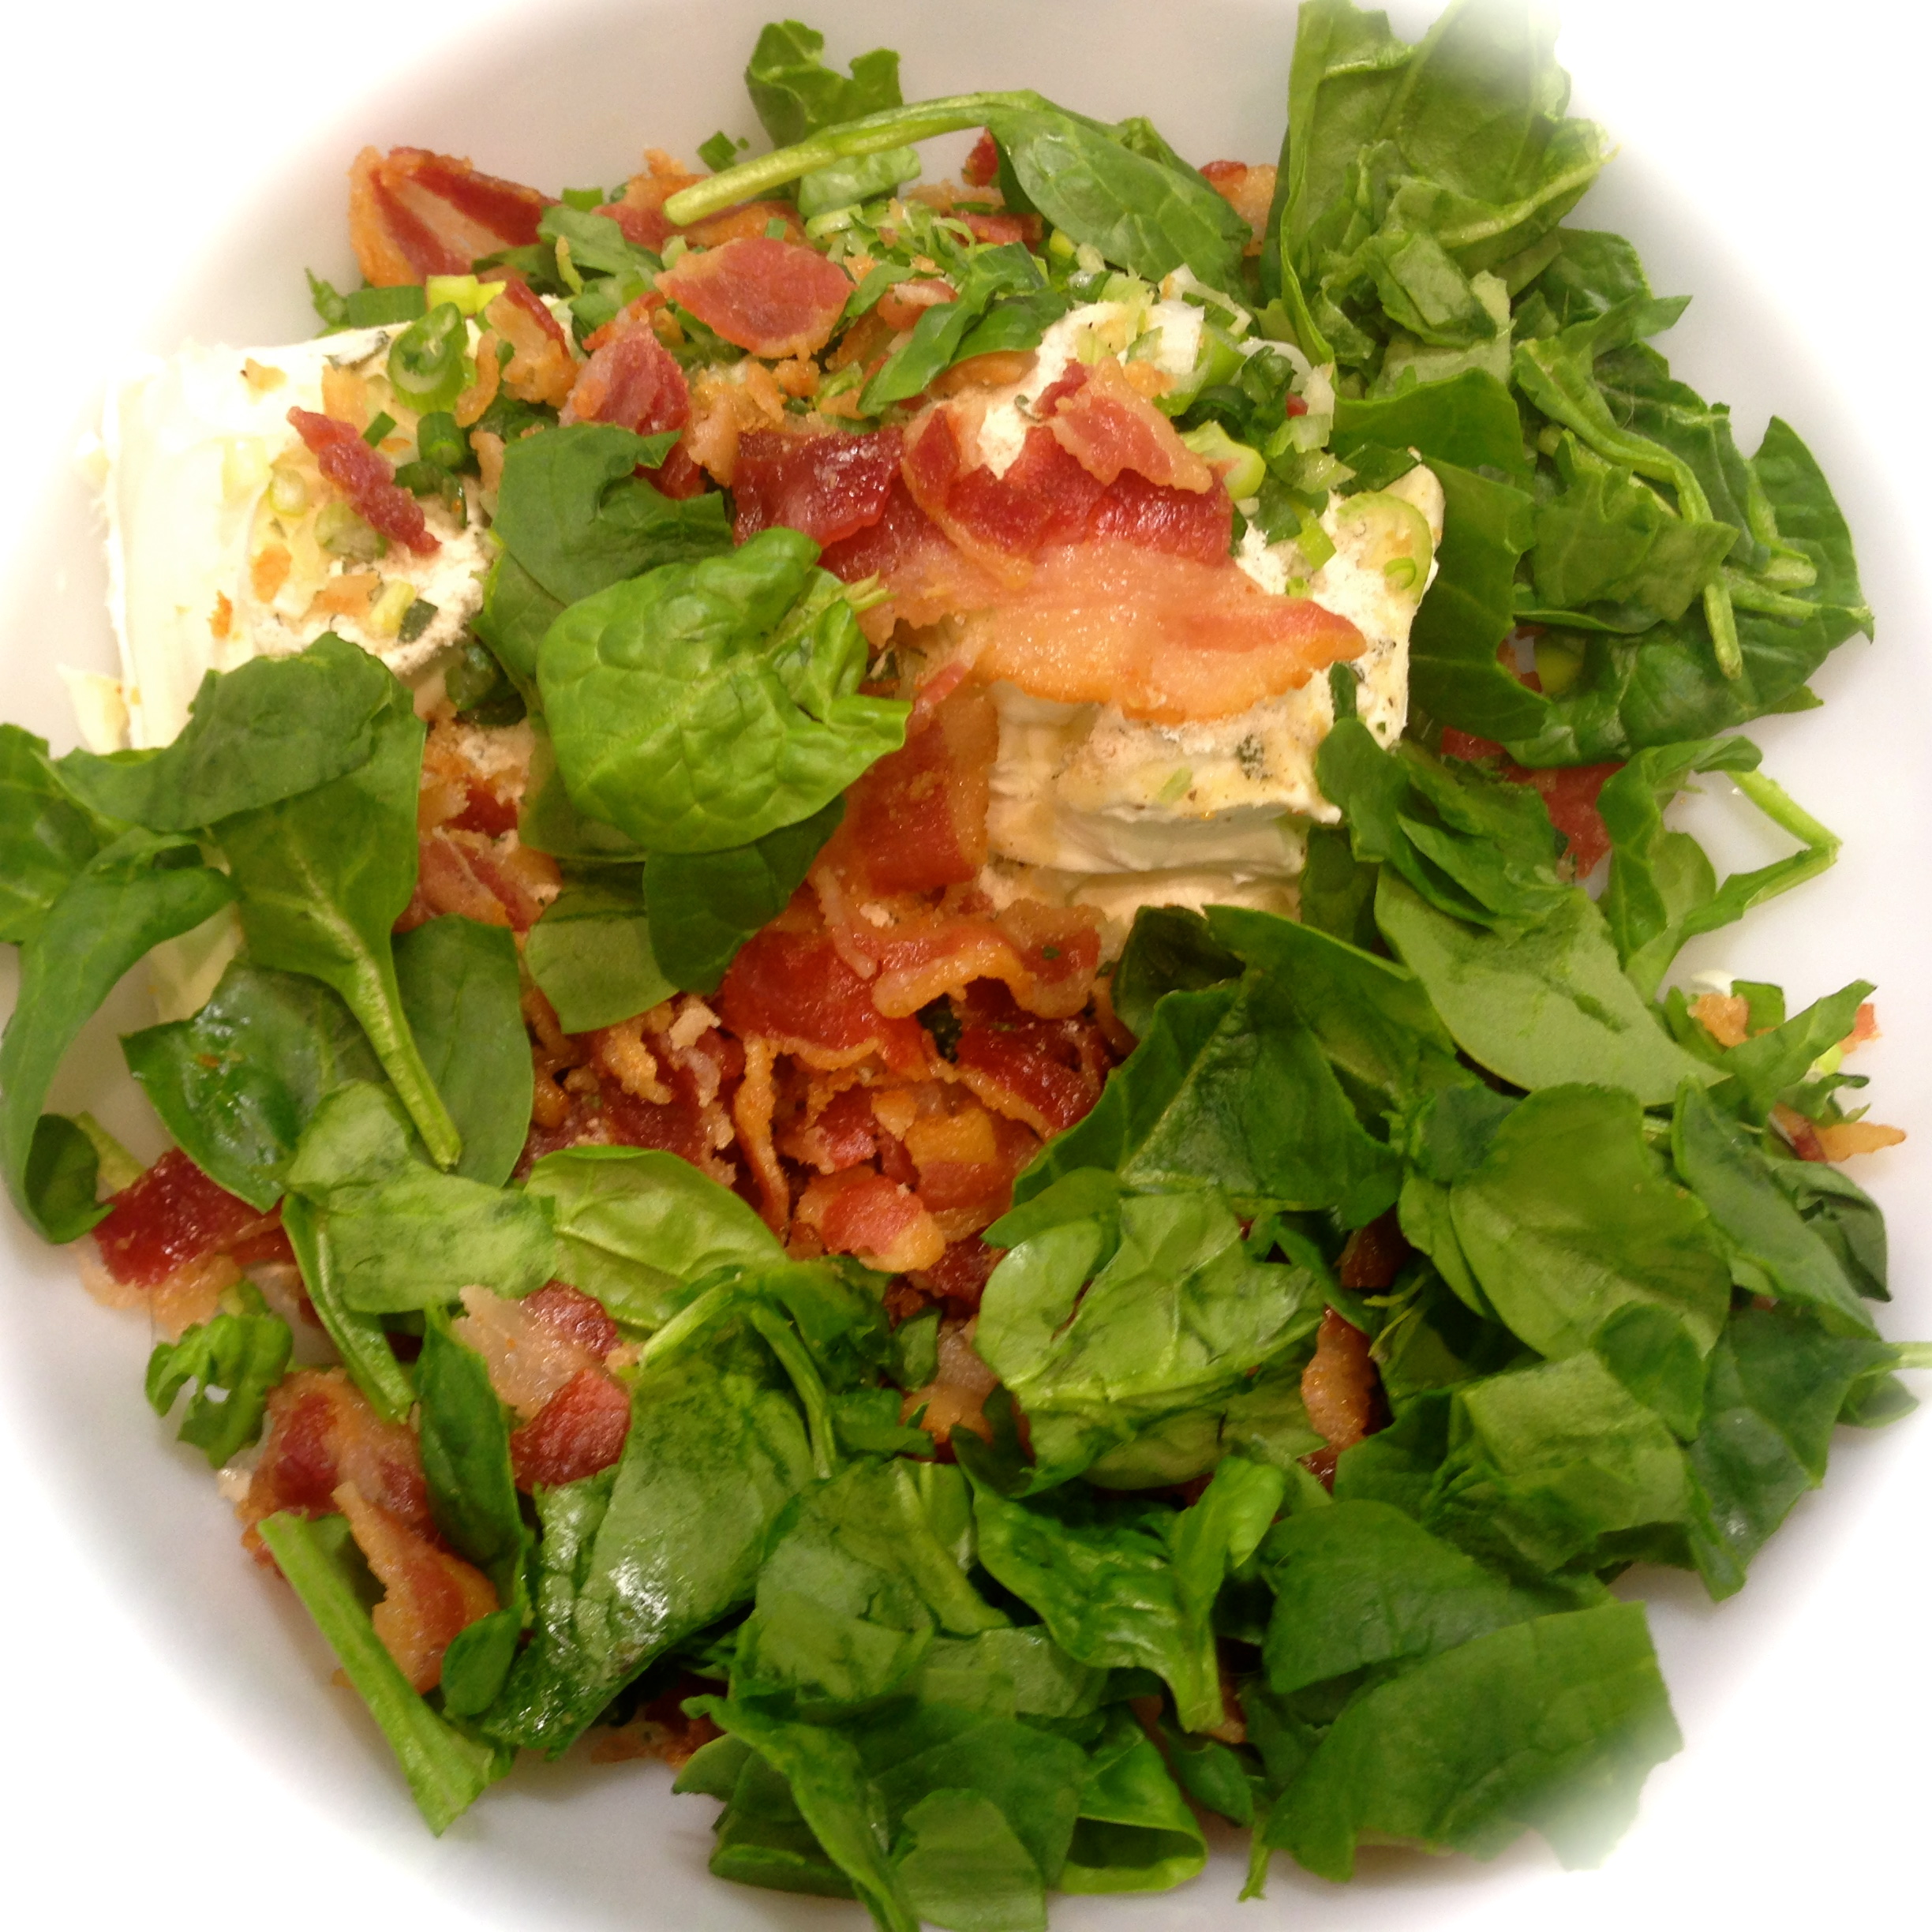
 Lesson Learned 1: I found a great shortcut for adding bacon to recipes. The last time I was at the grocery store I noticed a package of Boar’s Head fully cooked bacon. It comes in a box and is not refrigerated. Inside there are two vacuumed sealed packages of cooked bacon with approximately 6 pieces per pack. One pack was perfect for this recipe. I avoided all of the grease and clean up associated with cooking bacon. Since then I’ve used it on salads and in other recipes. I love the taste and convenience of it. You may want to try some. It really makes putting together this cheese ball a snap.
 Lesson Learned 2 – Grate your own cheese versus using the packaged kind. Although I just touted the convenience of using precooked bacon, I don’t recommend using the grated cheese you get in a bag in any recipe. It may take a few seconds more to grate your own cheese but for flavor and health reasons I strongly recommend it.
 1- 8 ounce package of cream cheese, room temperature


 I’ve had a lot of practice making appetizers this Summer as my condo association hosts a happy hour every Thursday and although you’re not obligated to bring anything I like to use it as my recipe tester event. So last Thursday I made this dip and it was a hit.
 Lesson Learned 3: Serve this with veggie straws. I’m not sure how I got the idea to use veggie straws but they were the perfect compliment to the dip. I think people just get tired of the usual potato or nacho chips and this was a welcome change. They also lend themselves well to scooping some dip on the straw which makes this appetizer great finger food.


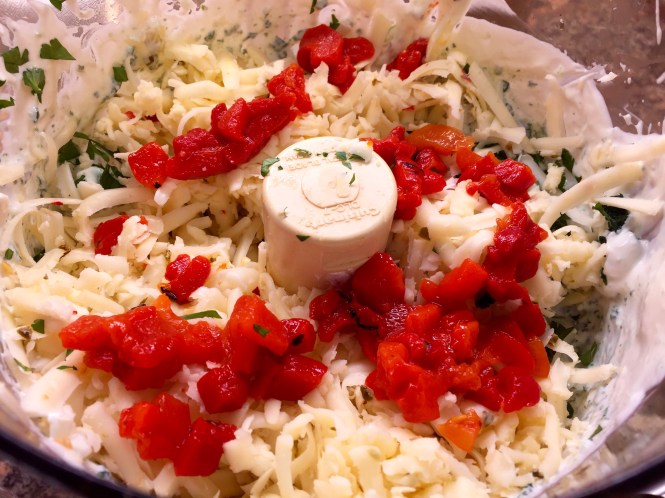
 Lesson Learned 2 – I used pre-made roasted tomatoes: In the specialty cheese section I found some roasted tomatoes marinated in garlic olive oil. Bingo! The package had about 7 ounces of roasted tomatoes that I diced up and put on top of the pepperoni. It was fabulous. If you can’t find them pre-made you can roast tomatoes yourself and then let them marinate in some olive oil. You’ll still get the same result. But this was a whole lot less work and gave the bites a great flavor!
 Lesson Learned 3 – I used a specialty feta cheese: You can certainly use plain feta cheese but I found a roasted pepper and basil feta cheese and I decided to use that. What I liked about this choice was that it added the flavor of basil to the appetizer without having to use basil leaves. You could certainly use basil leaves as well. If you do I would put the basil leaf on top of the pepperoni and then put the tomatoes on top of that. That way the leaf is secured. The great thing about this appetizer is that you can be creative and it will still be fabulous!


 Lesson Learned 1 – This is a great way to use some of the homemade pesto you’ve made from growing basil: pesto is what adds zip to this recipe and homemade pesto is the best. If you don’t have your favorite
 Lesson Learned 2 – If you want to serve these standing up versus lying down you will need to cut a flat surface on the bottom of each mozzarella ball: I learned this lesson the hard way. I started assembling the skewers and found that they would not stand straight. The round bottom of the ball prevented them from doing so. I tried pushing the bottom flat but that didn’t seem to work so I started cutting the bottoms off the balls and then figured out that I liked the presentation of the skewers better with the skewers lying on their sides. So I opted to serve them lying on one side versus standing up. There is no right way to serve these, but I found that serving them on their side created quite an impressive looking appetizer as you can see from the picture below…
 1 small container of cherry tomatoes


 Lesson Learned 1 – Use LOTS of shrimp: I used a 12 oz. bag of frozen cooked and deveined shrimp. I thawed the shrimp in the refrigerator overnight and then chopped it up into small bite sized pieces. I kept a couple of shrimp to garnish the top of the dip (of course you don’t have to do that) and all the rest went into the dip. My point being this is a shrimp dip – the more shrimp the better.
 Lesson Learned 3 – If you can, make this recipe the day before: Like almost any dish, the more the ingredients are acquainted directly relates to upping the wow factor of the flavor. So it is with this dish. It is such an easy dish to make that it shouldn’t be too difficult to make it the day before and let it sit overnight in the refrigerator. But if you’re in a rush and need something quick, you can serve this the same day and it will still be very good.
 1 – 8 oz. package of cream cheese, room temperature


 So when we had the first meeting of our book group in my condo community I thought what a great time to experiment with another type of cheese ball. This time with a little salted caramel flare. And once again it was a huge hit!
 2 – 8 oz. packages of cream cheese, softened


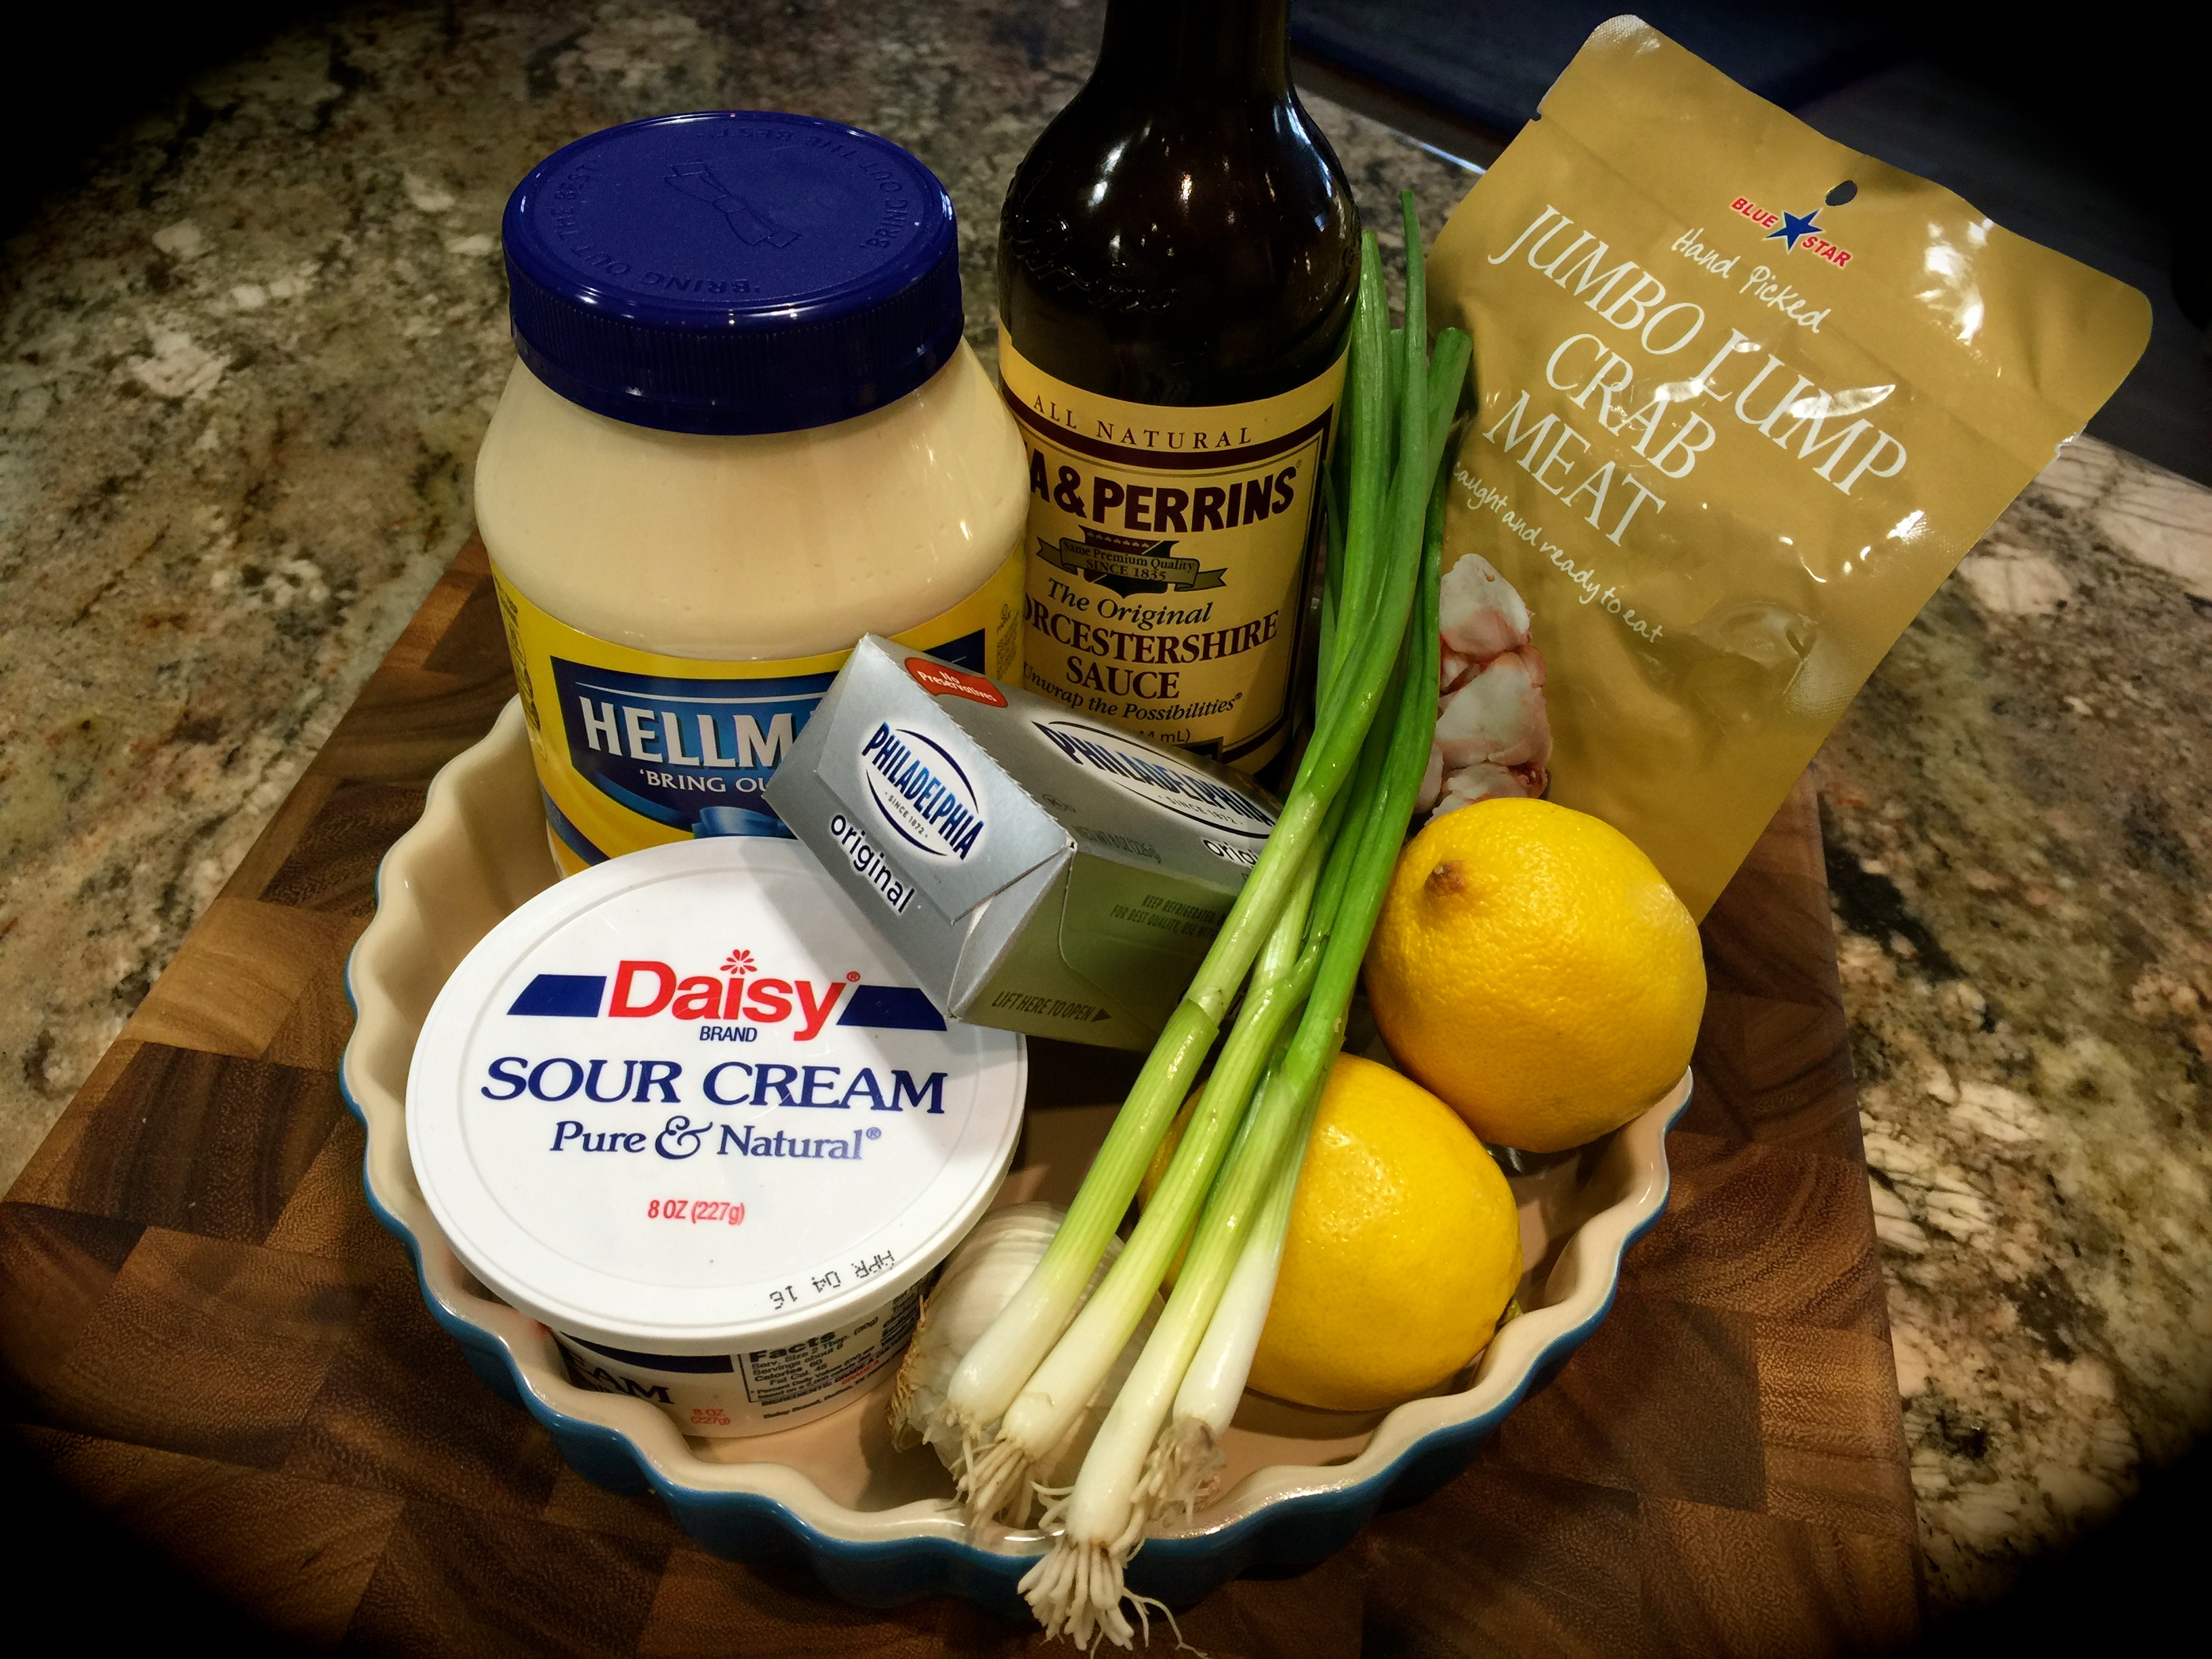
 The ingredients for this recipe are not all that complicated, cream cheese, scallions, cheddar cheese, parmesan cheese, worcestershire sauce, mayo, spices and some almonds. Easy enough.


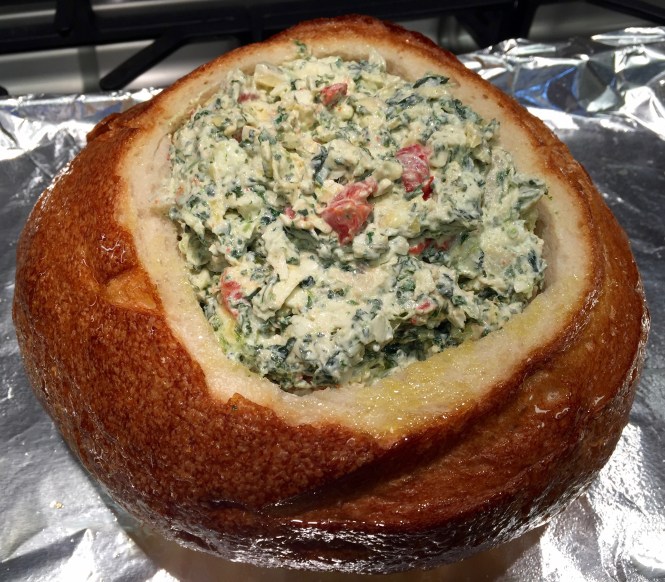
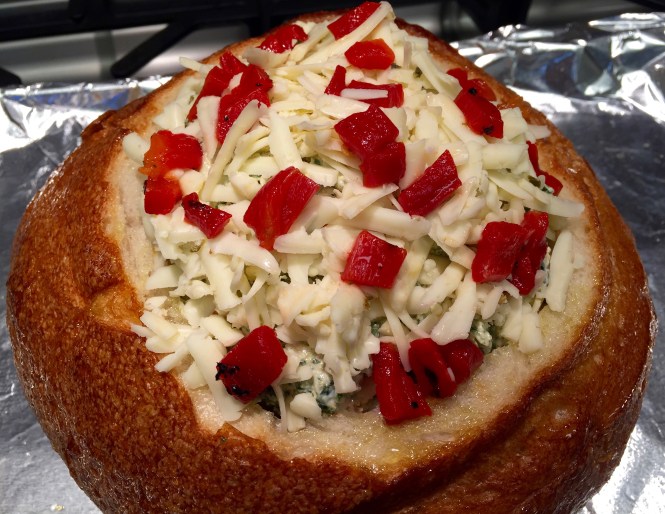
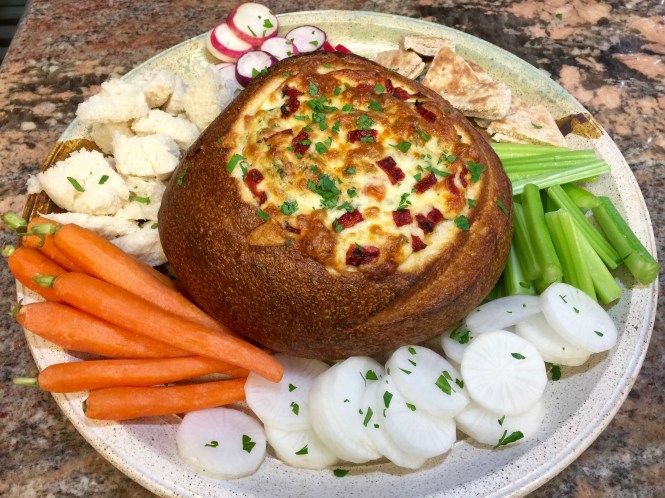
 1 large round sourdough bread