Are you ready for a little Summer melt in your mouth goodness? Well here’s something that fits the bill. During the dogs days of summer you want something light, cool, refreshing… and these tasty morsels are like have a glass of lemonade in a cookie.
 The ingredients in the recipe are a little unusual. For instance, you don’t use any eggs just butter and lemon juice – you use powdered sugar in place of granulated sugar – and you mix the flour with cornstarch. Sounds a little strange but the result is what, as a child, I called sand cookies. And although sand cookies doesn’t sound very appetizing, it was my term for cookies that literally melt in your mouth. The combination of ingredients in this recipe creates a melt in your mouth consistency that is amplified when you ice them with the lemon frosting. All I can say is yummo!
So let’s talk iced lemon cookies…
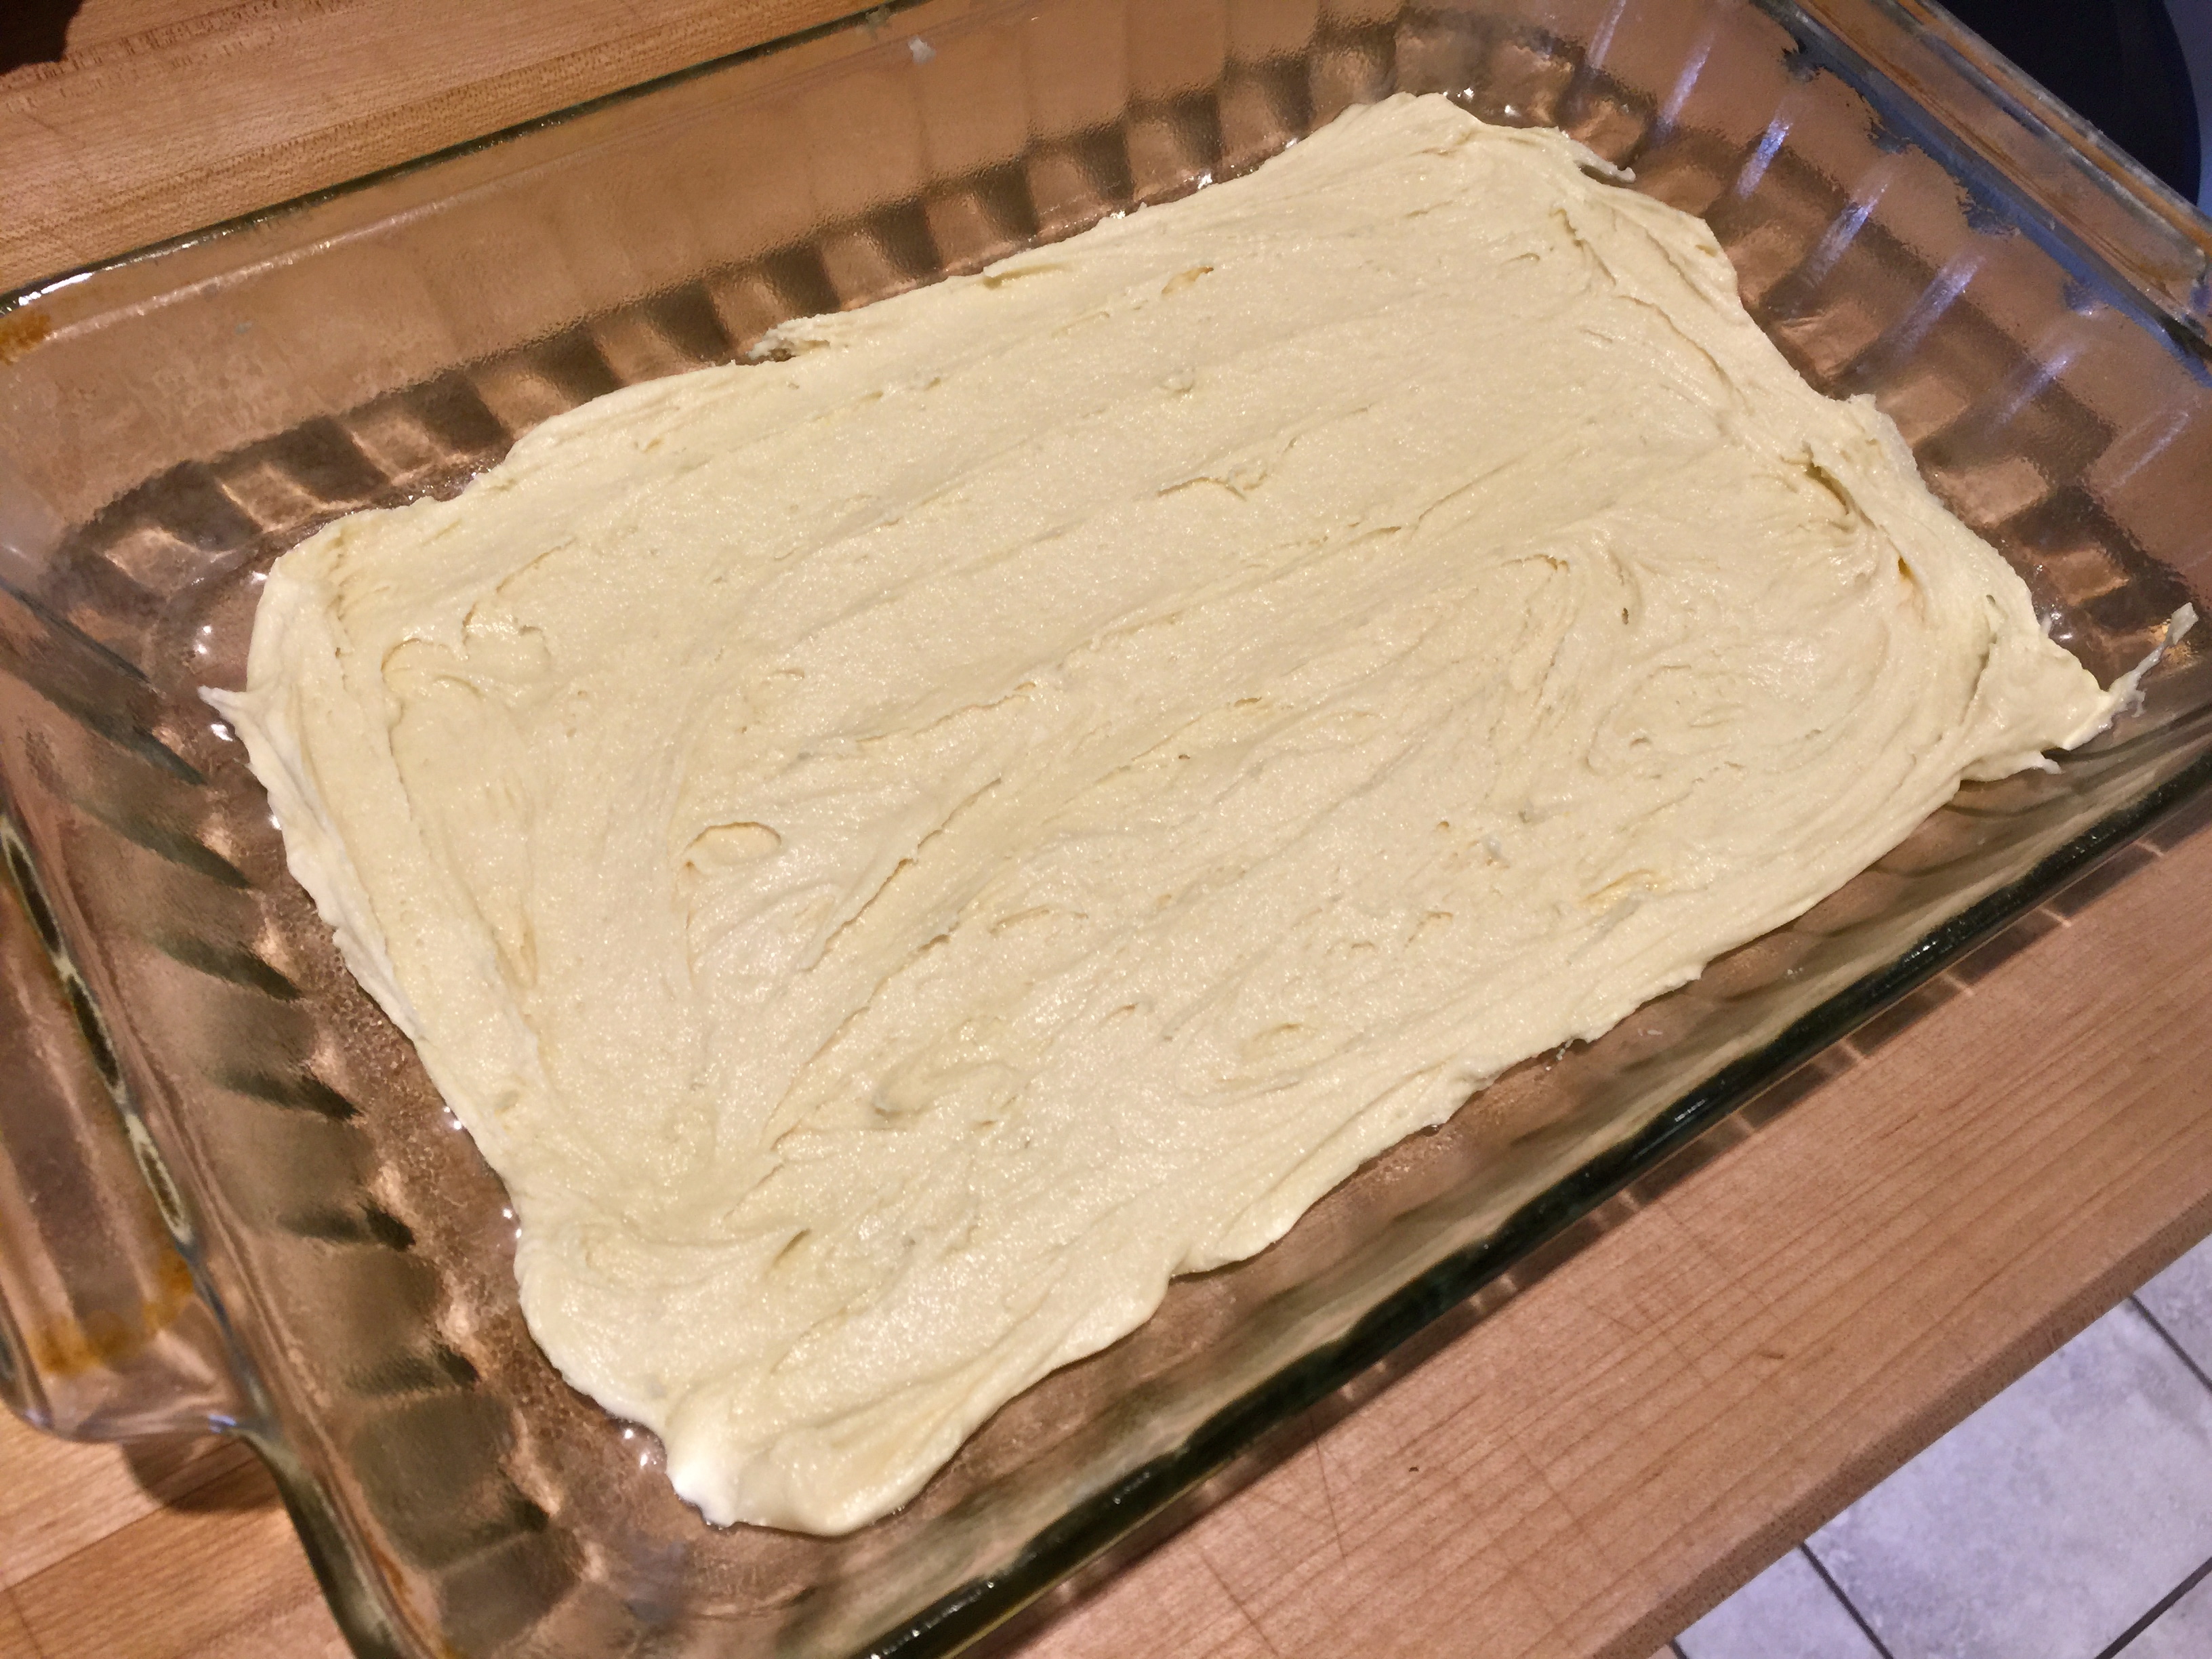
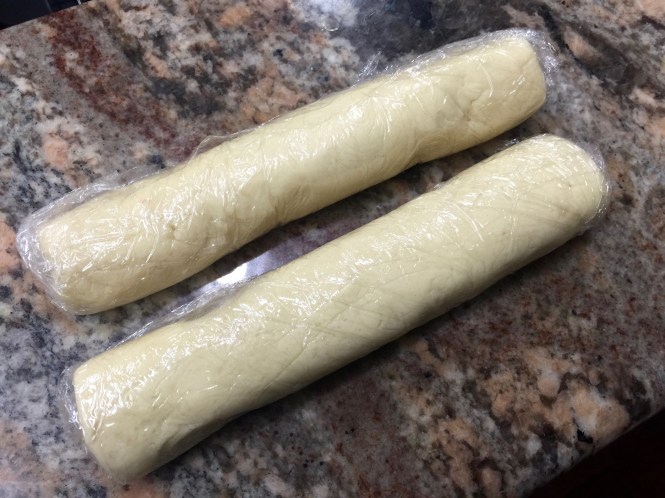
 Lesson Learned 1 – Make sure you chill the dough: The consistency of the dough is not like most cookies – it will be softer and stickier. It’s important for the dough to chill in order to form the cookies and bake them off. Divide the dough in half and make two eight inch logs. Cover the logs in plastic wrap and refrigerate for up to two hours. My dough was nice and firm after an hour and a half, so check your dough at that point to see if it is ready to go.
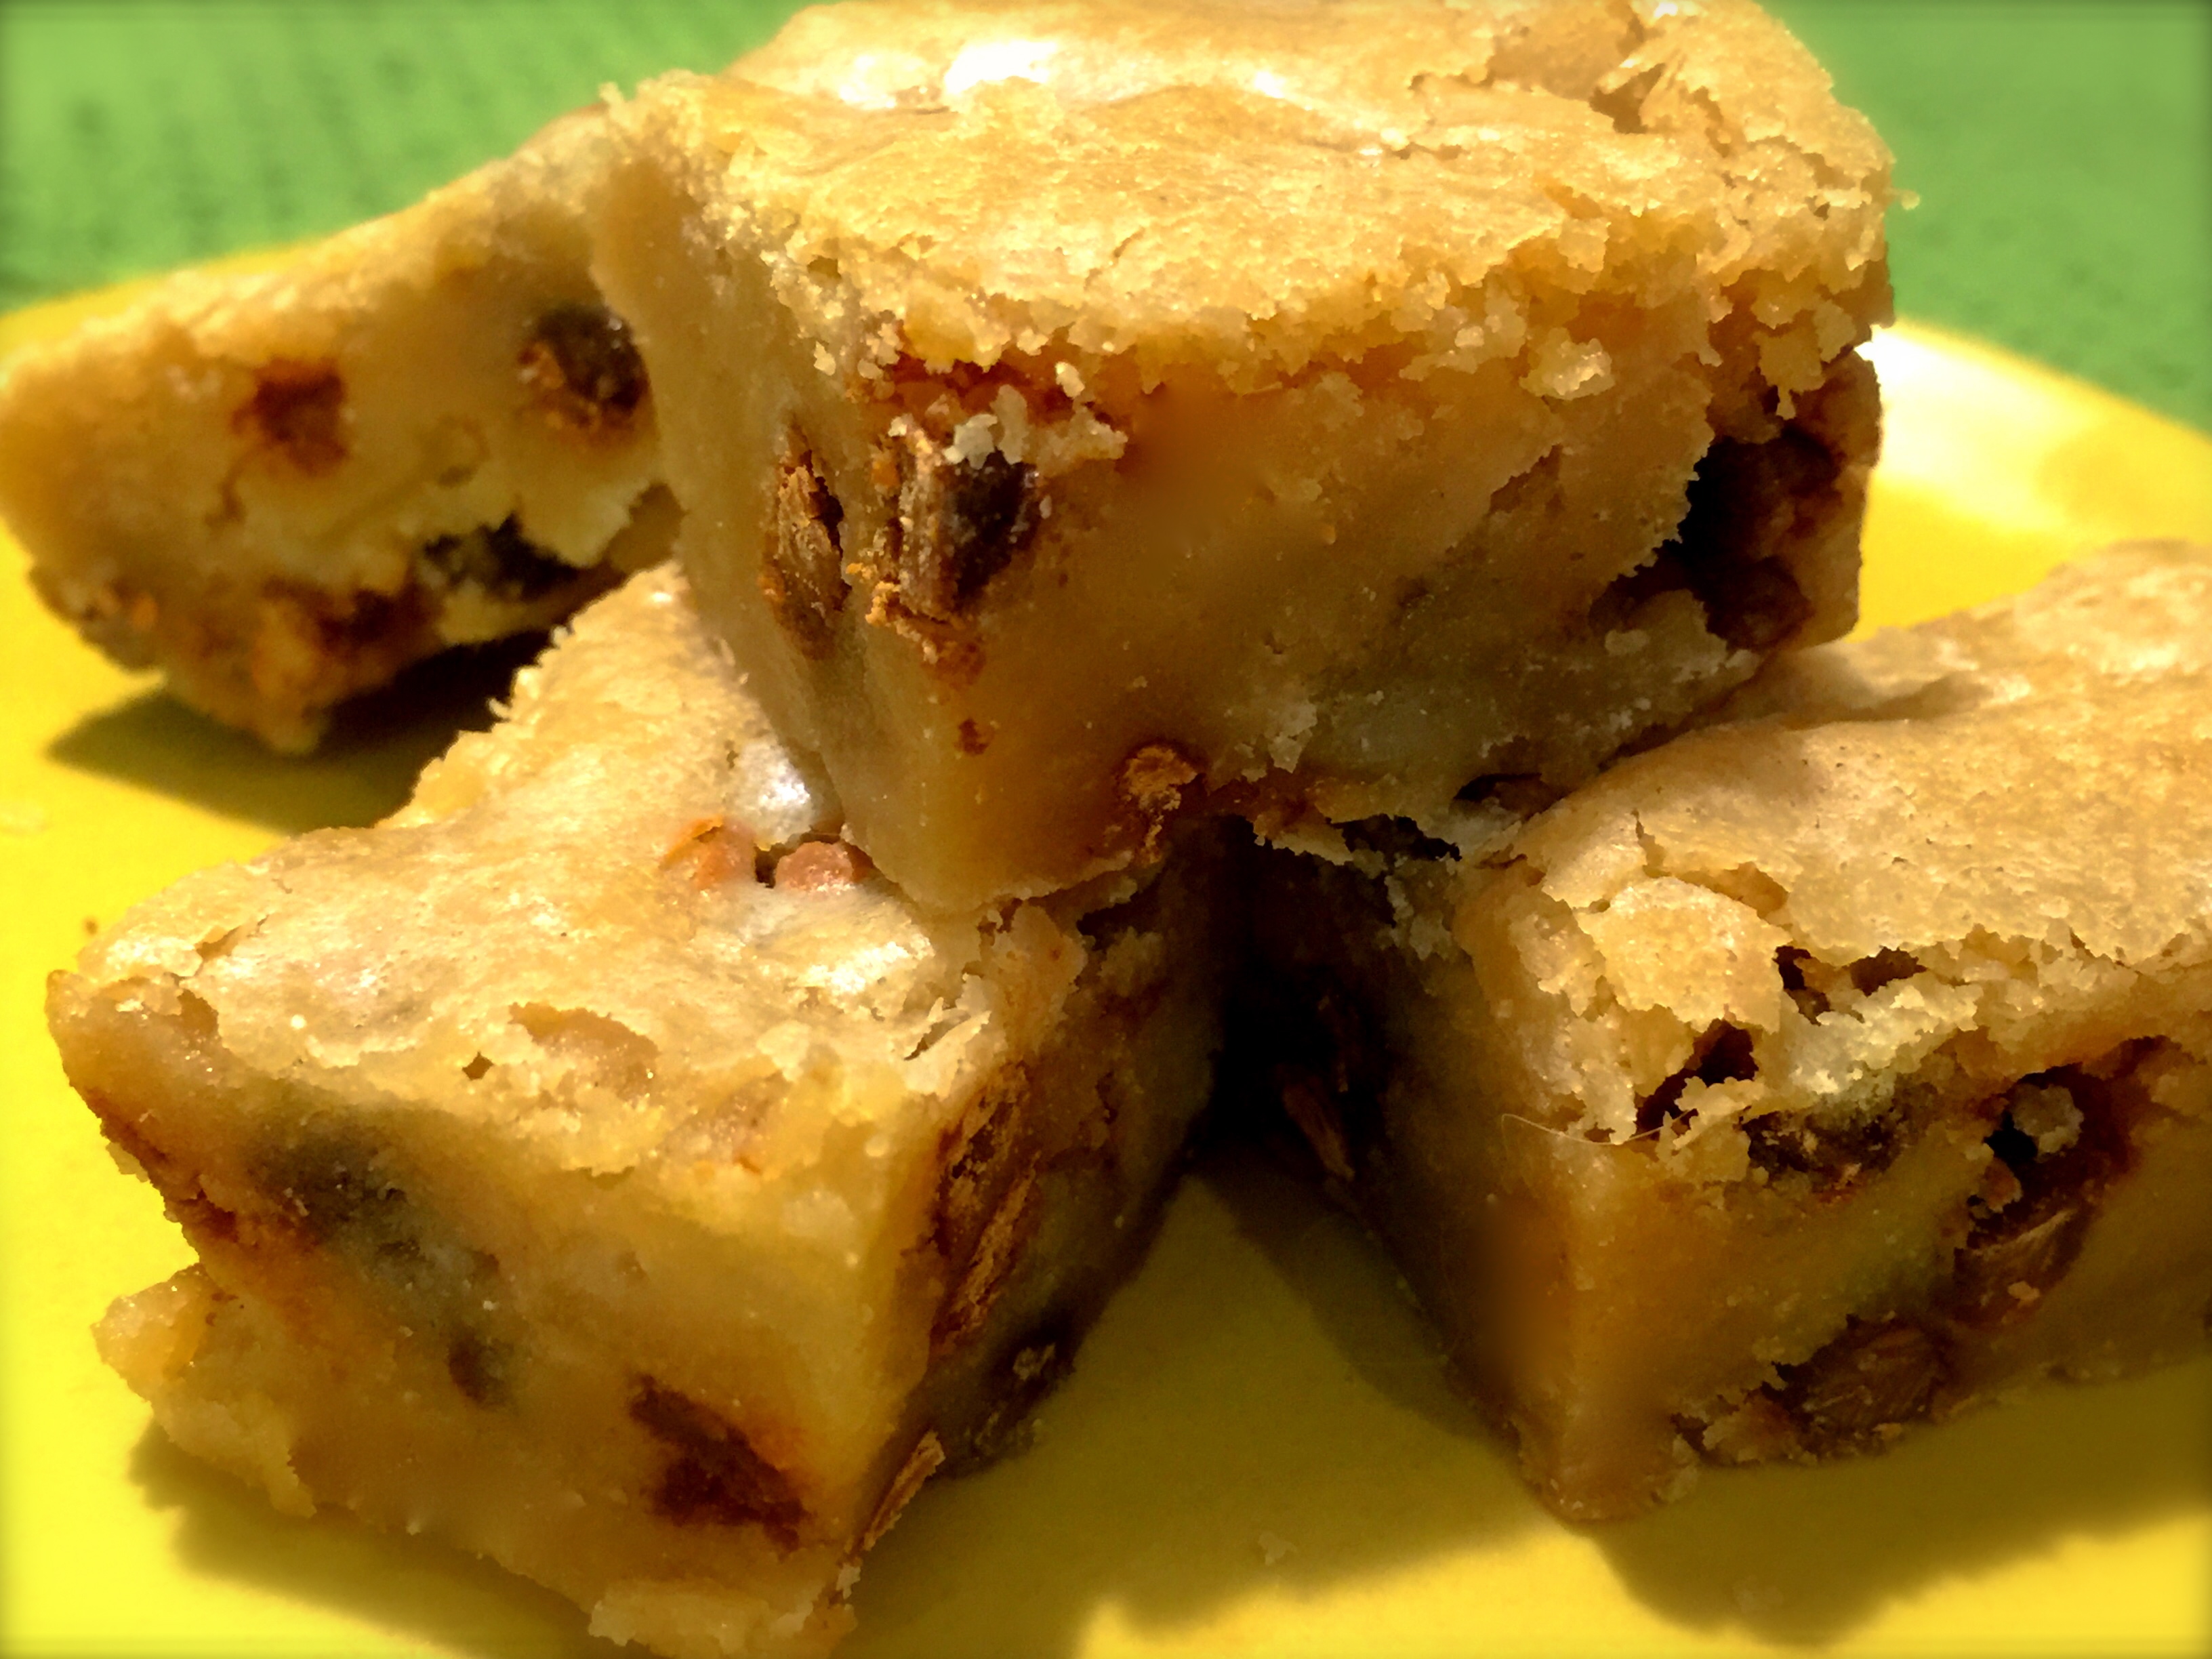
These cookies do not have a lot of binding ingredients (there is some butter but no eggs) and so they are more delicate than others. Basically that is what gives them their melt in your mouth consistency. So when they are still warm they can easily break apart. Be very careful when removing them from the baking sheet to the cooling rack. Also be careful when icing them. You can have a love-hate relationship with these cookies. You love the consistency as they flake apart in your mouth but they can also do that in your hand if they are not handled with care. Just take your time with them. These cookies are worth all the care you can give!

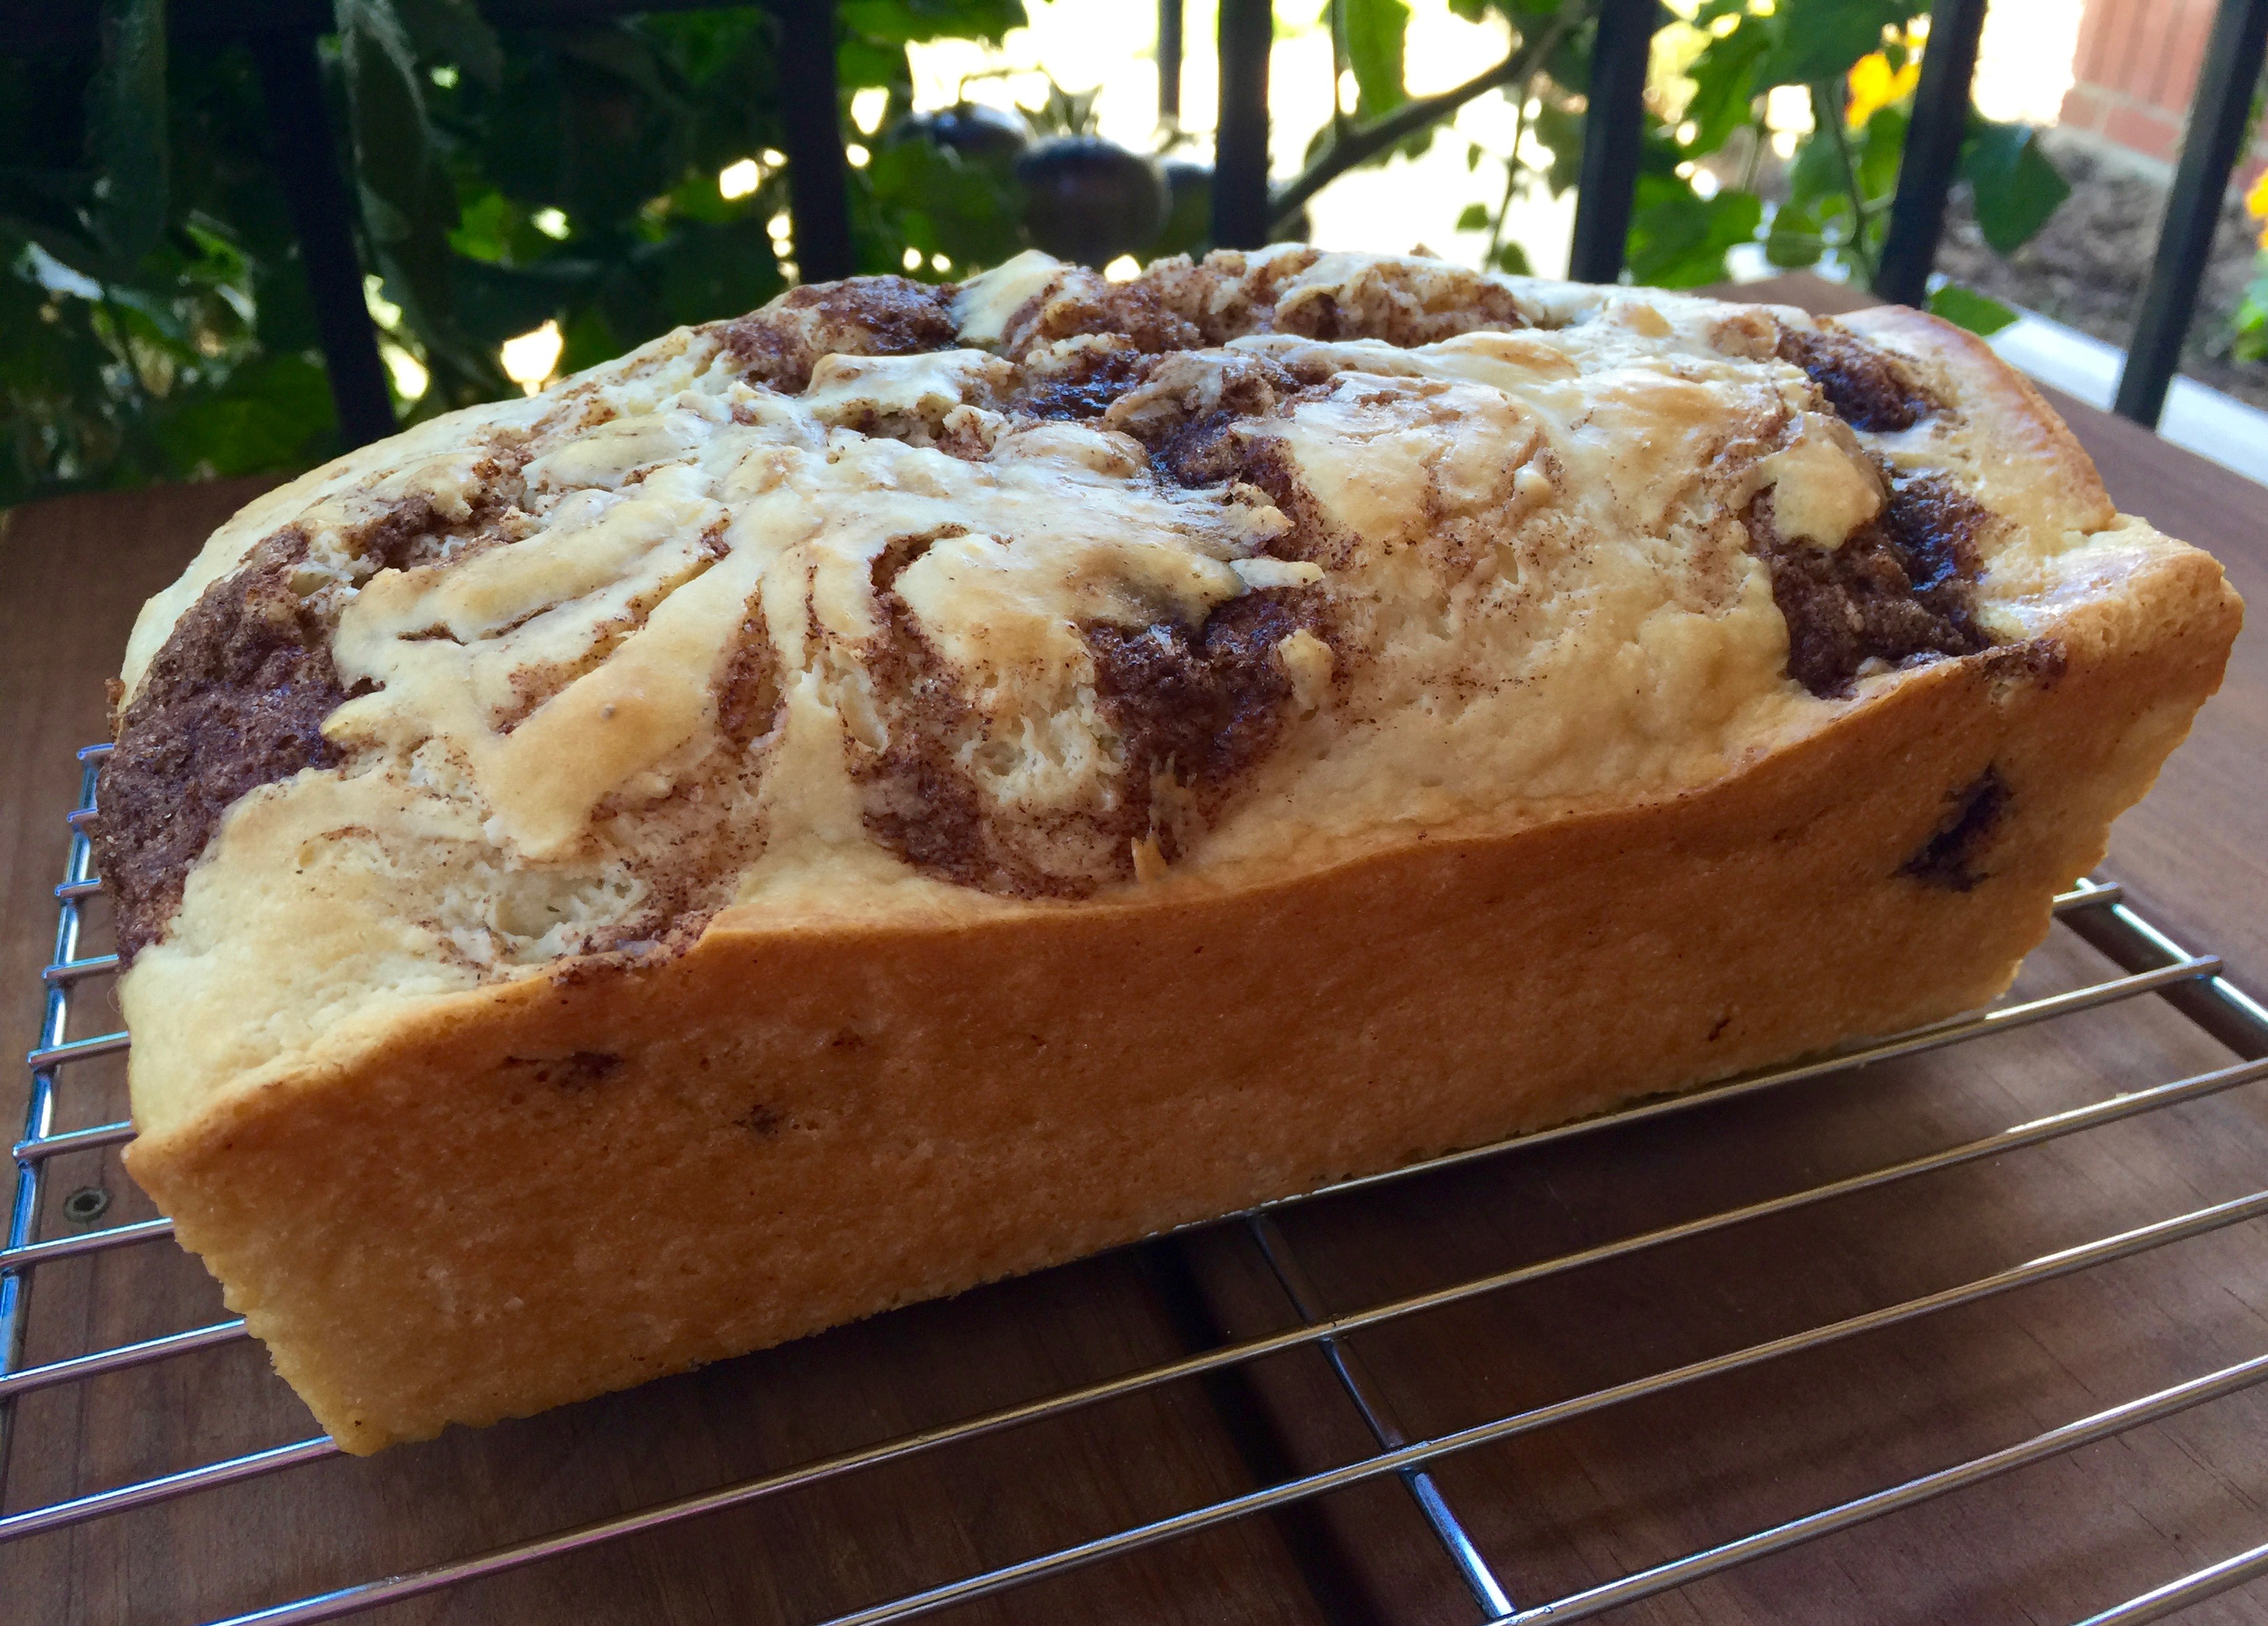
Lesson Learned 3 – Chill the cookies once you’re done: I found the best way to enjoy these cookies is when they have a slight chill. The flavor is so light and with the chill it creates a cooling Summertime treat sensation. You’ll find that you can’t eat only one of these flavorful bite size morsels. I guarantee they will be a hit!
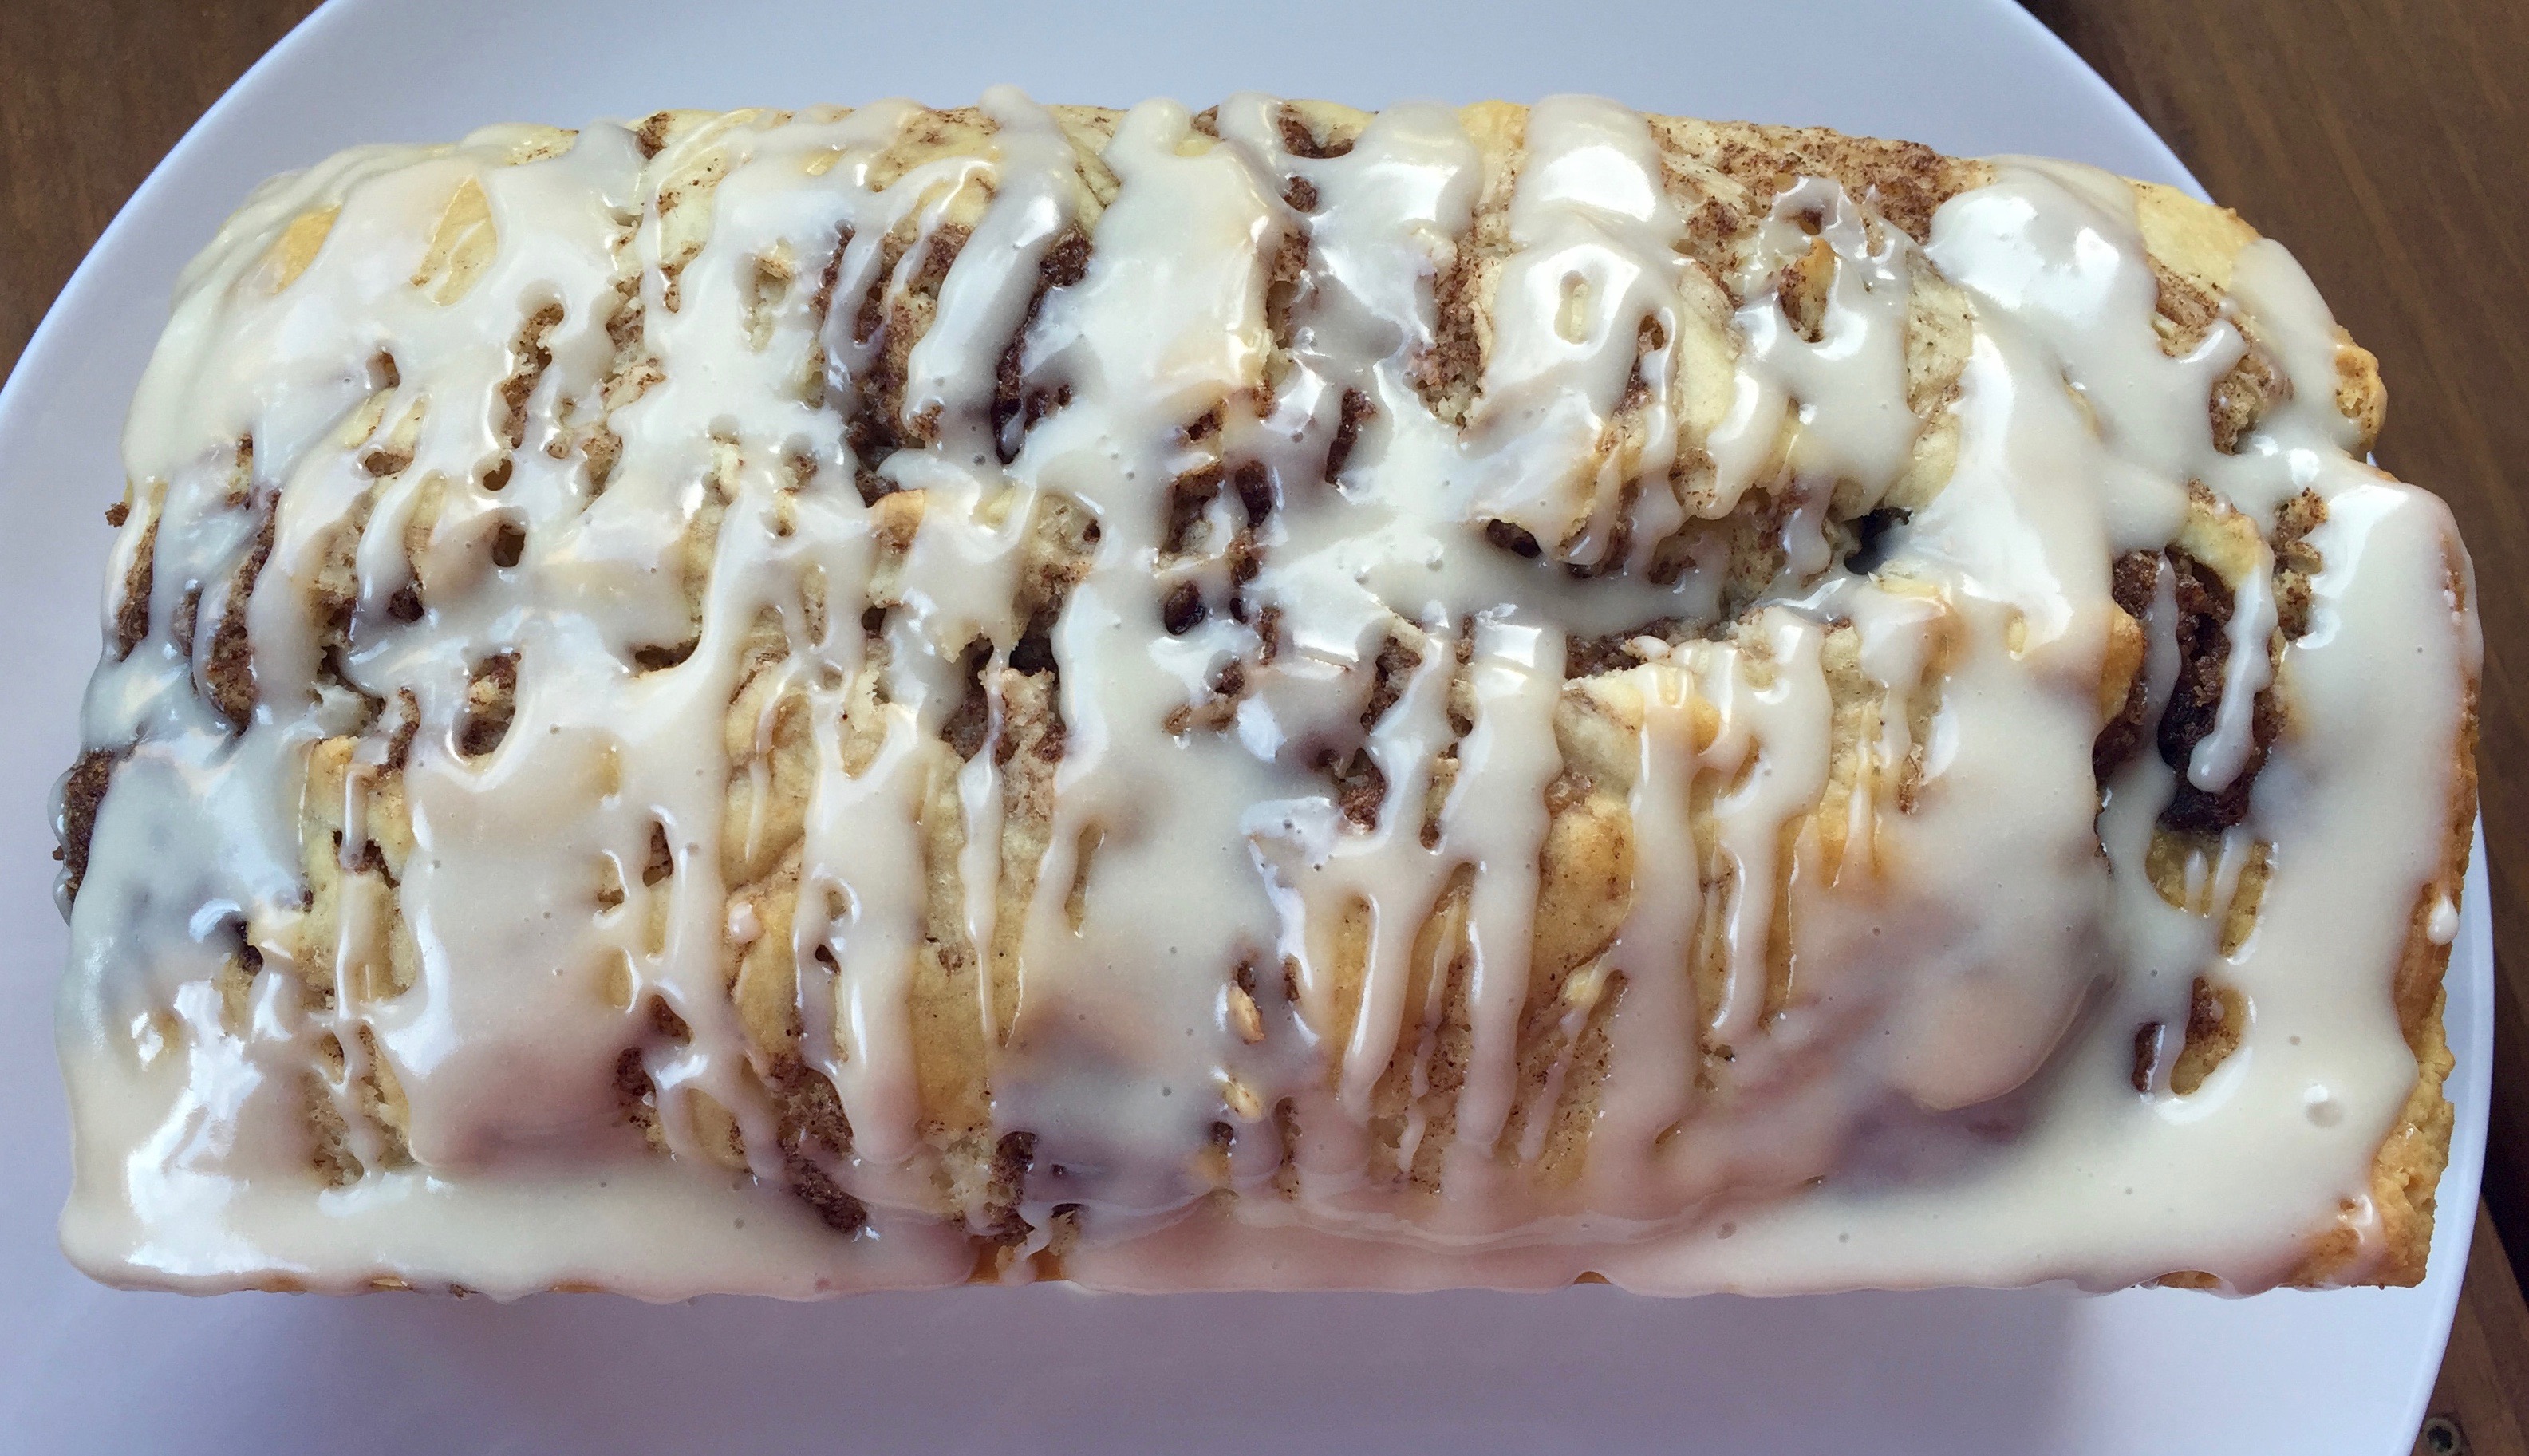
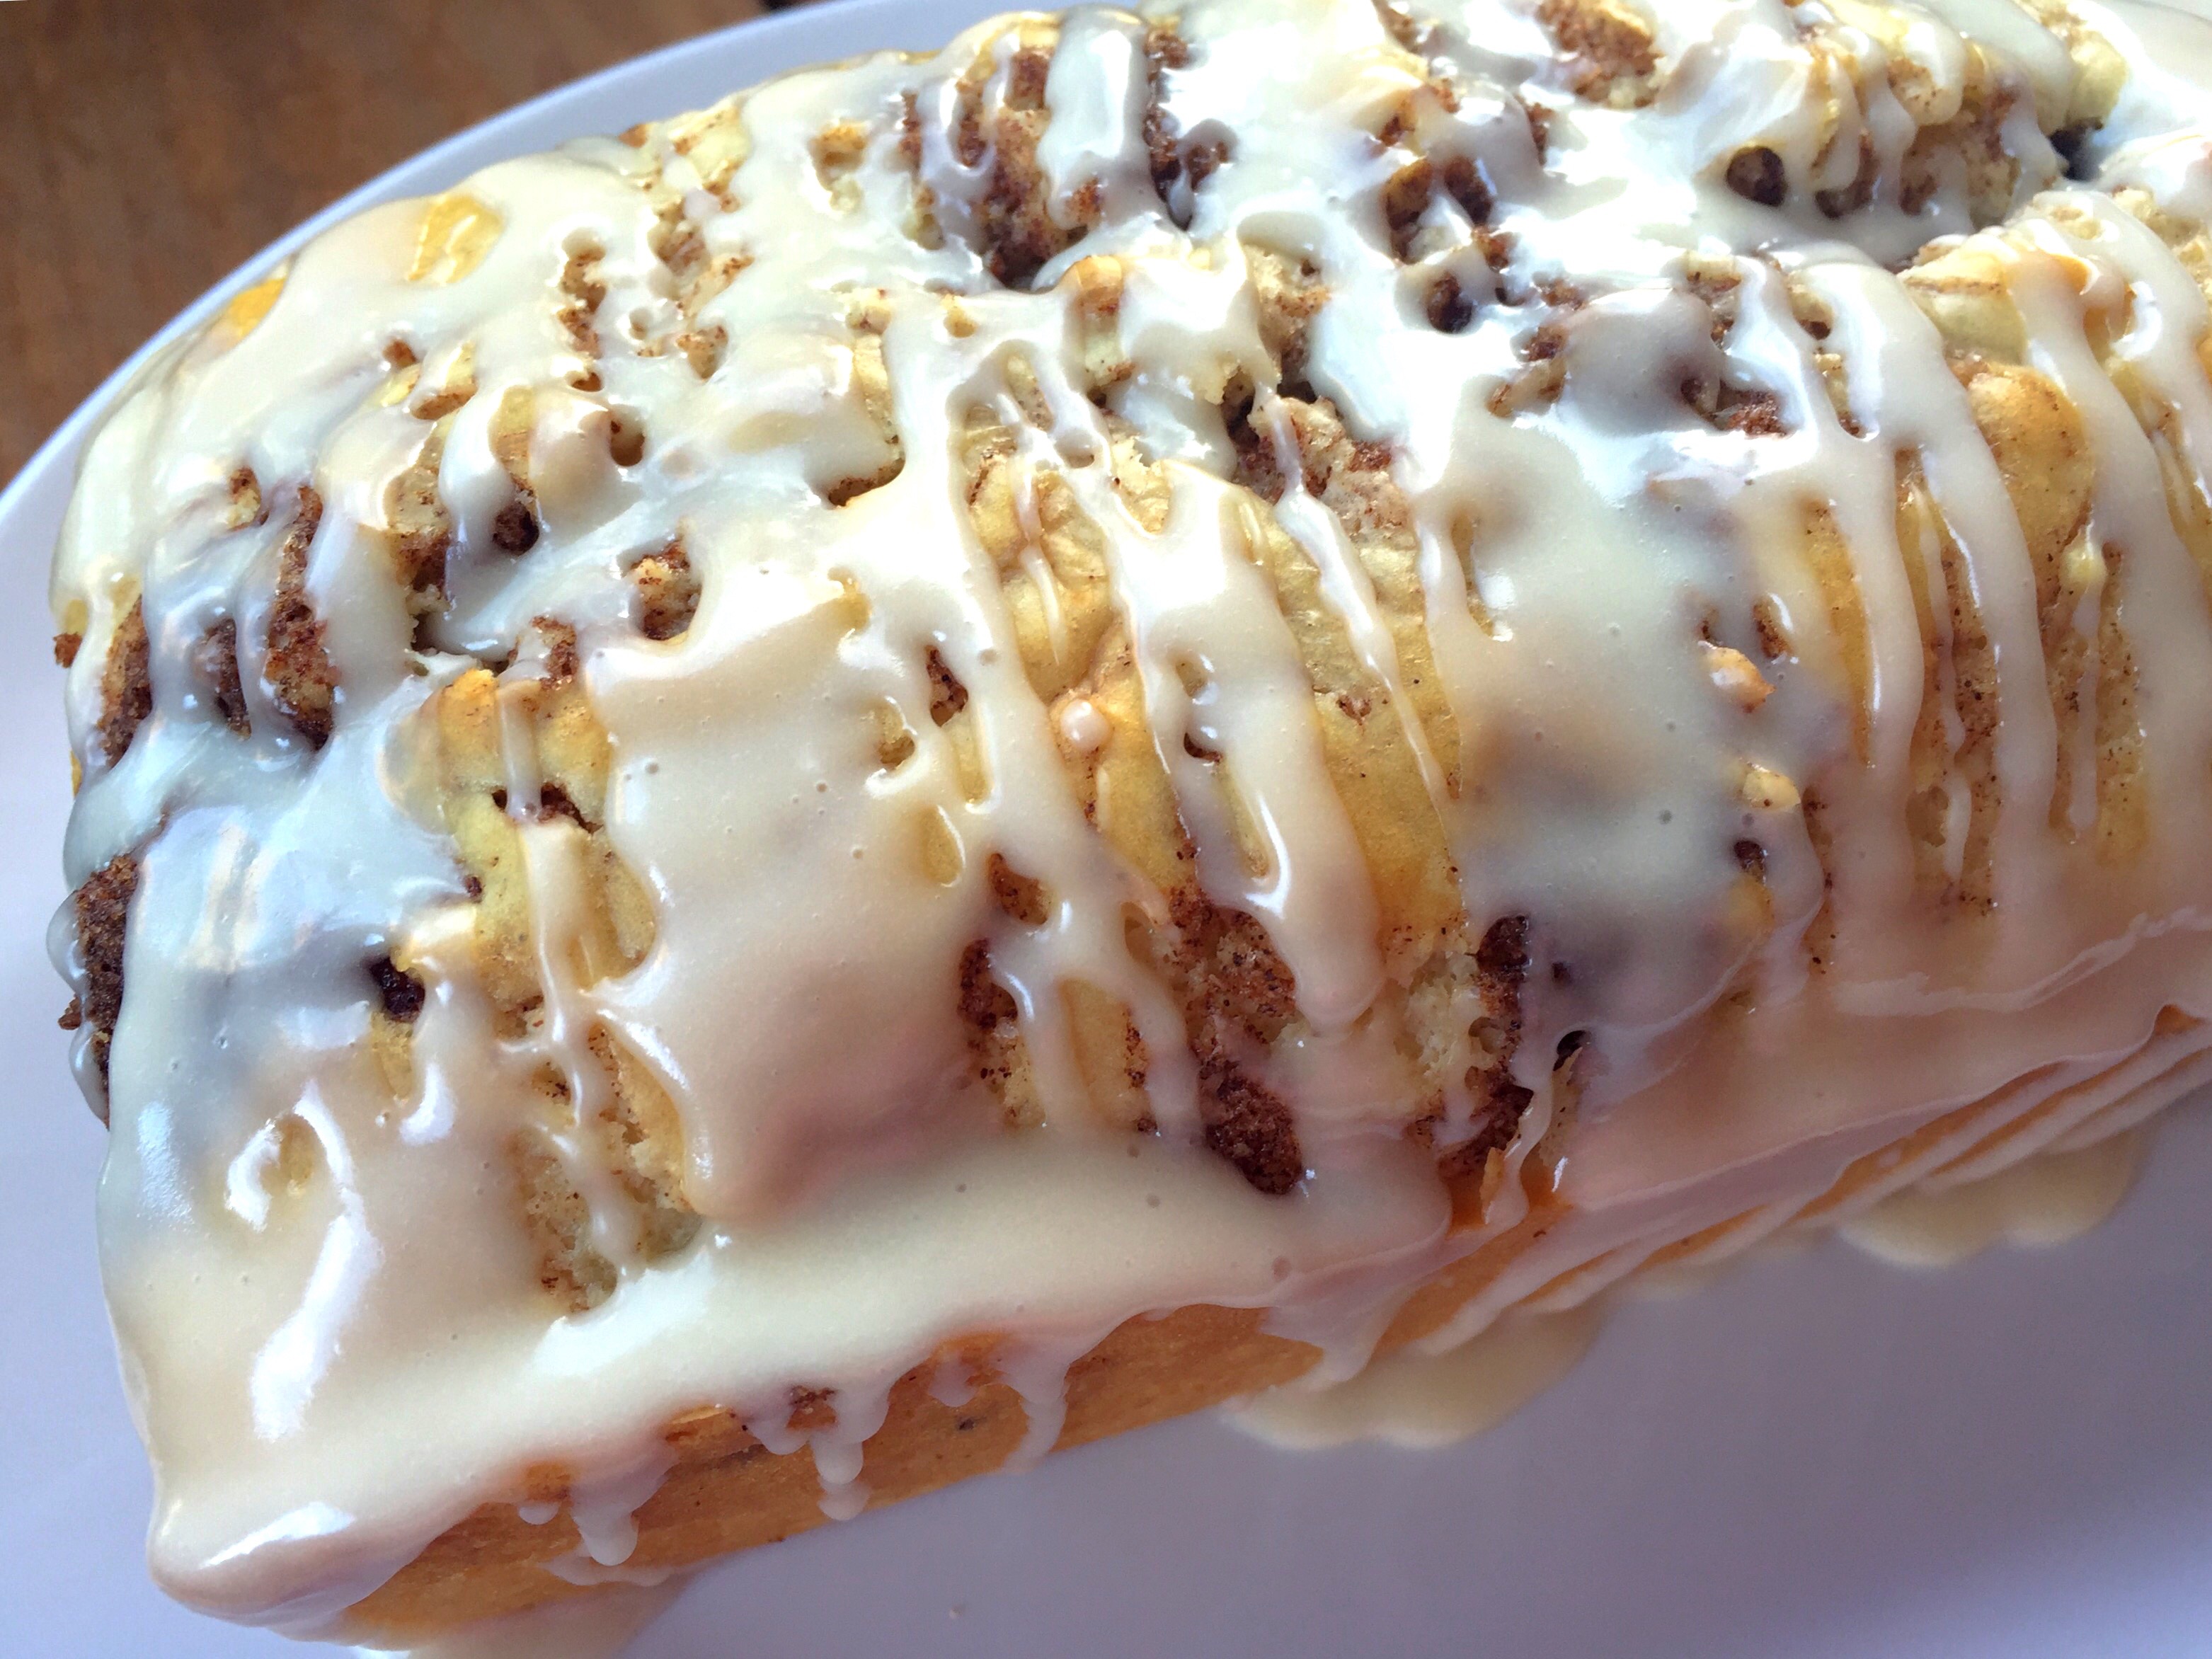
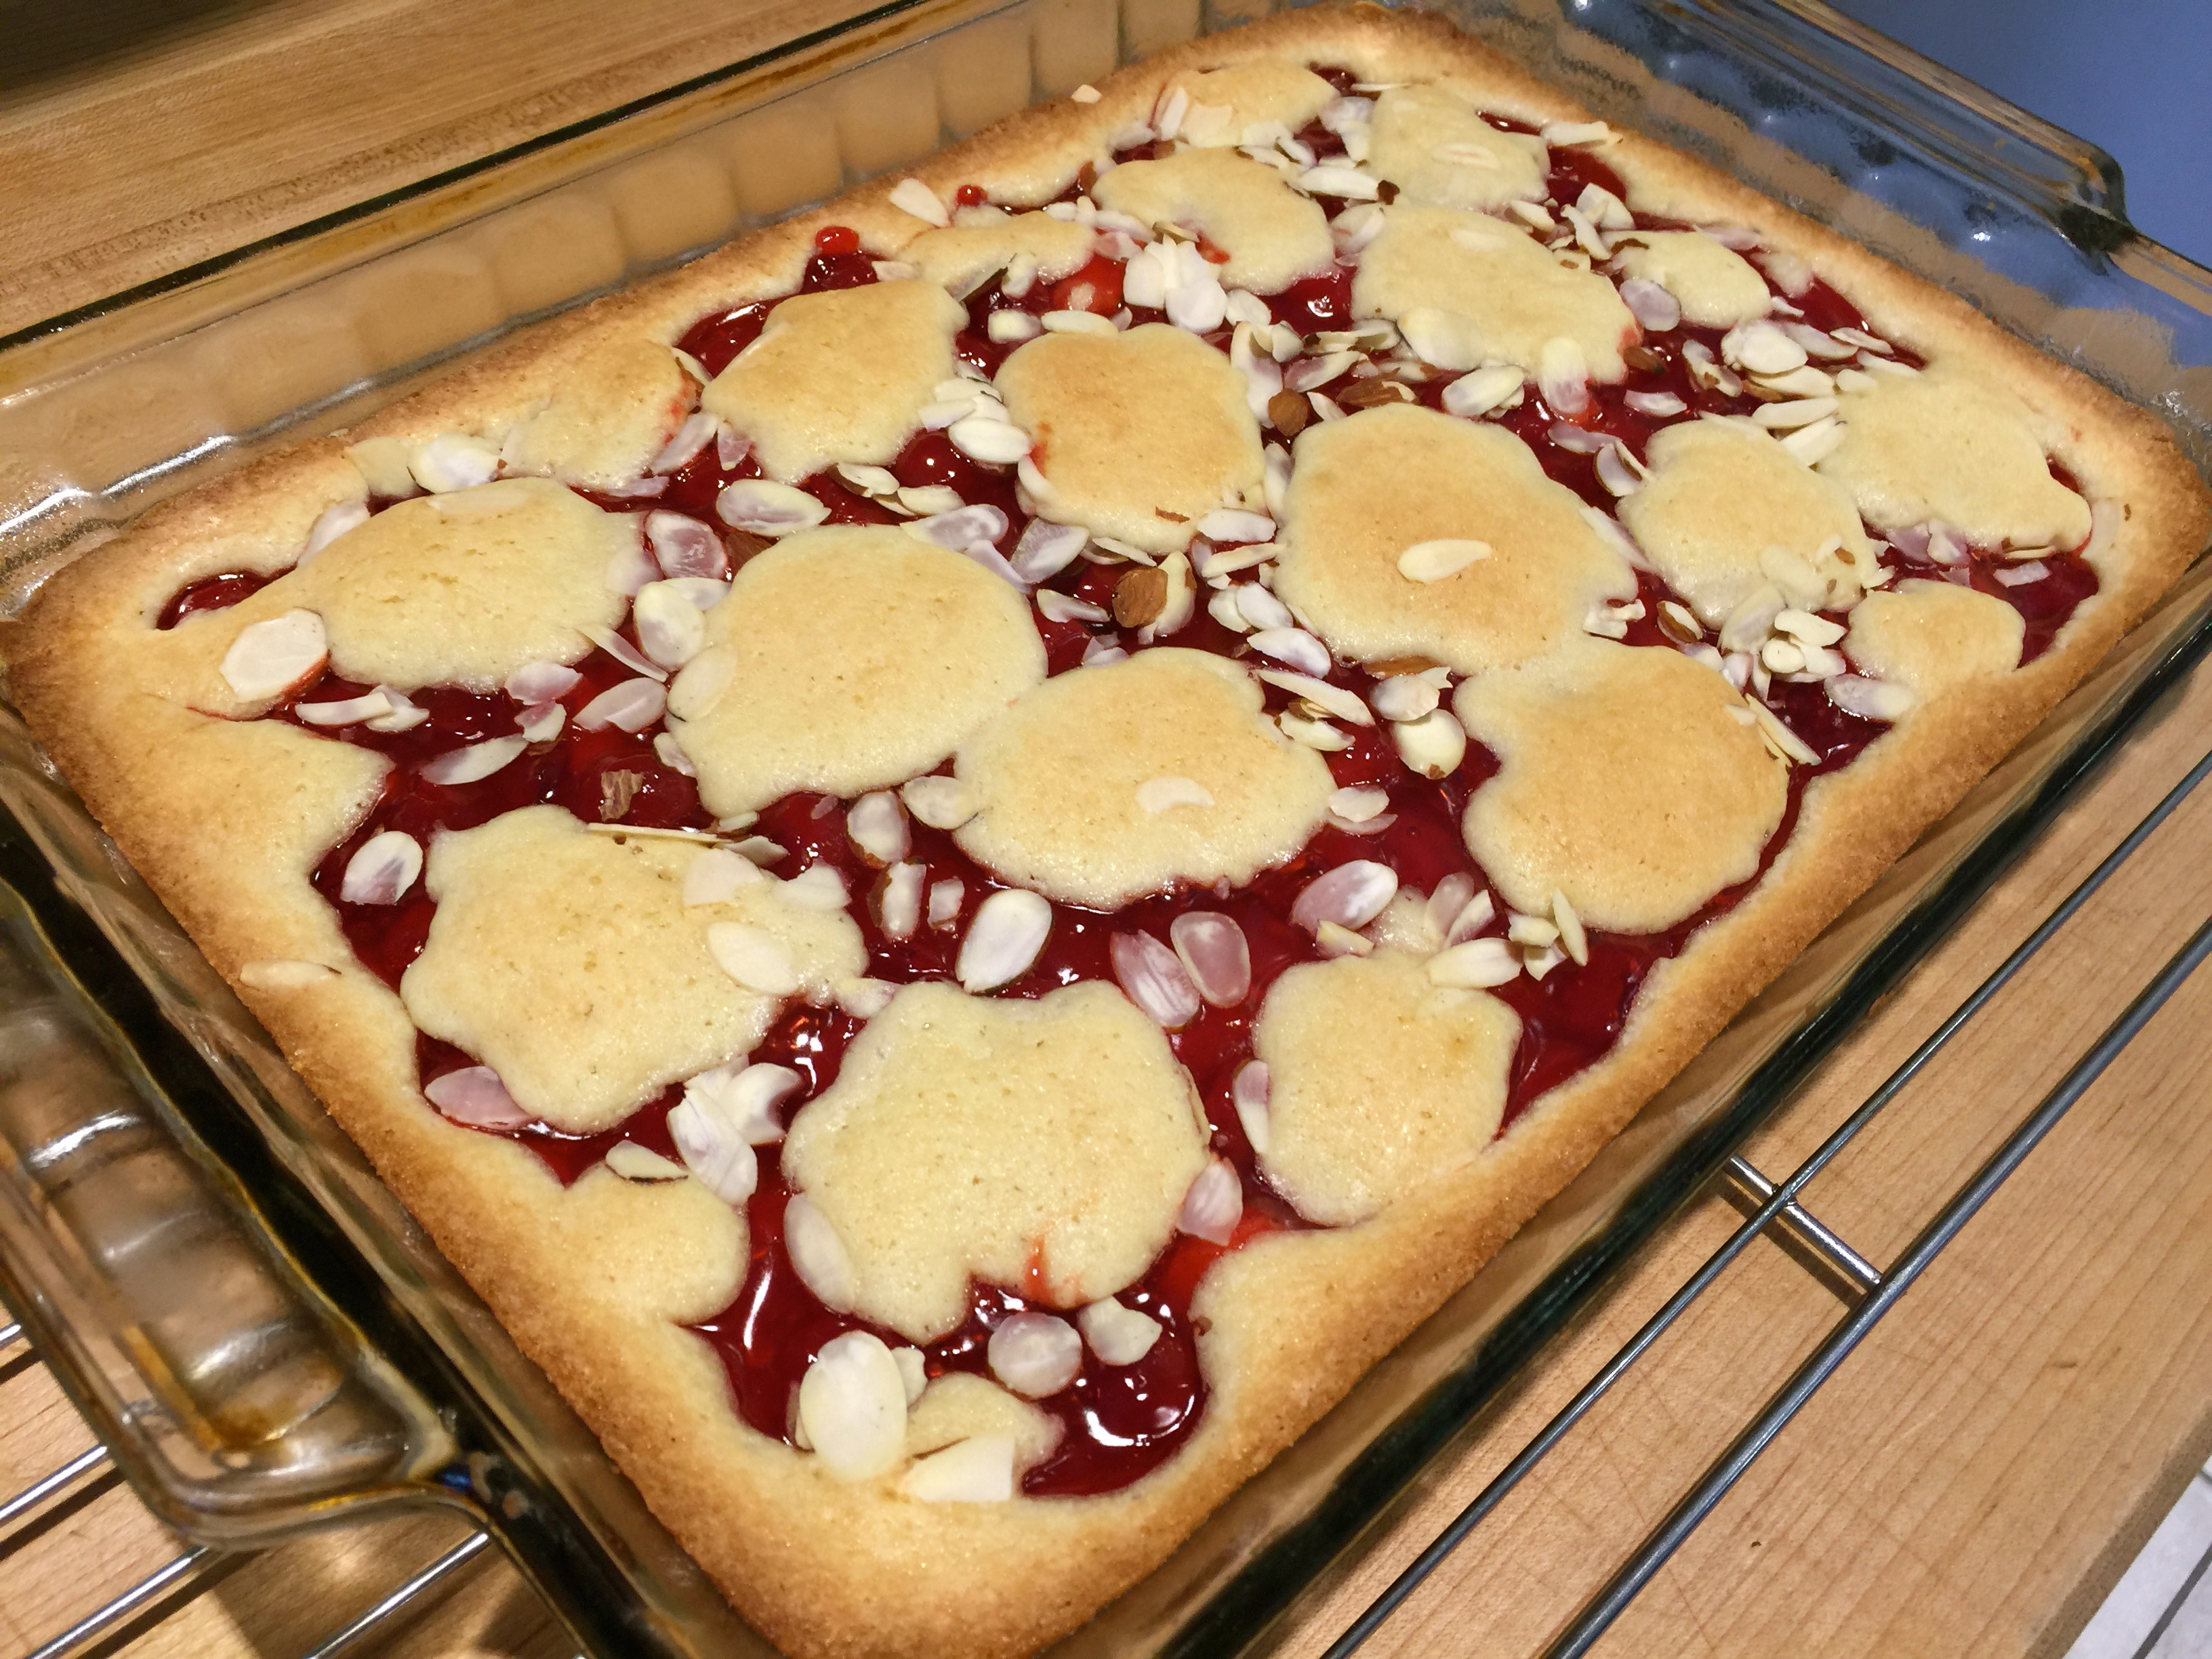
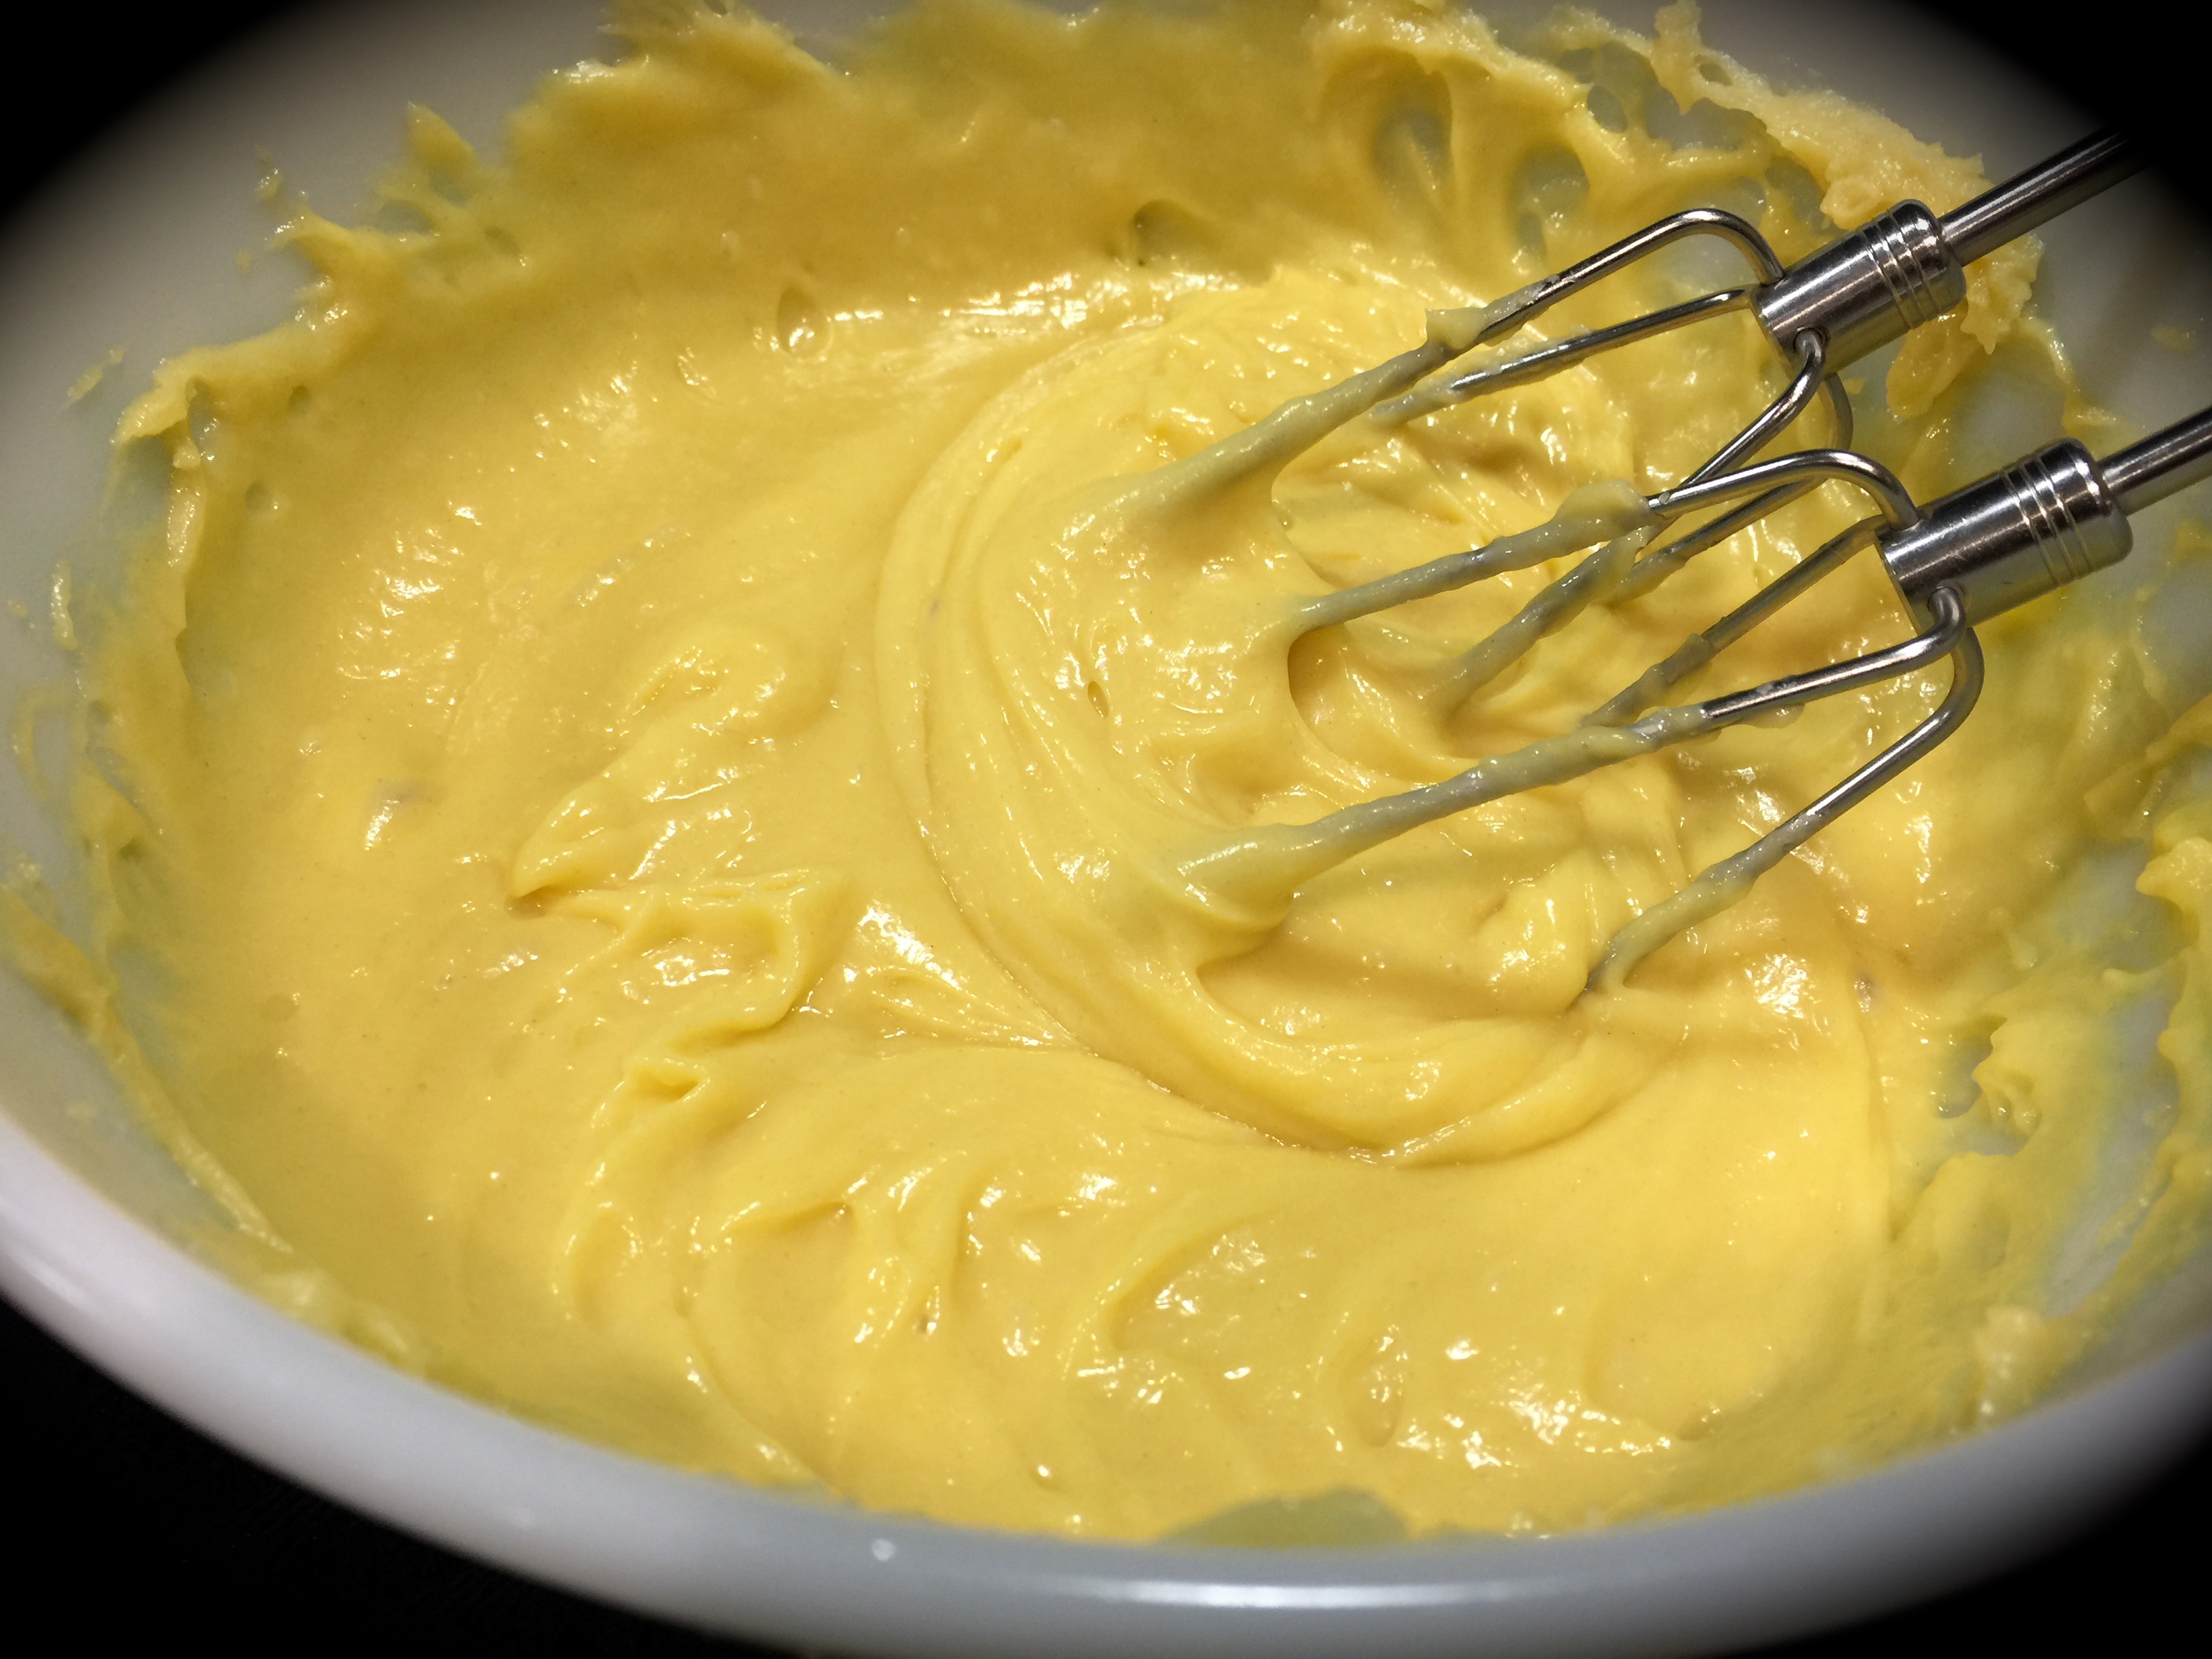
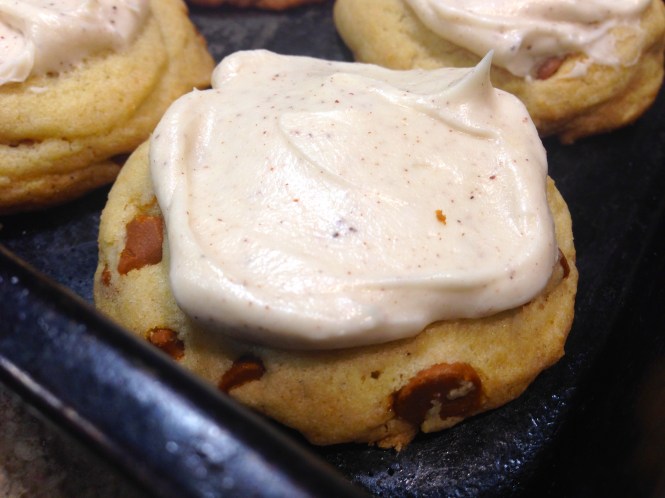
Lesson Learned 4 – I used yellow food coloring in the frosting: I used yellow food coloring in the frosting but it’s not necessary. I found it gave the cookies that special look and we all know we eat with our eyes first. I used 3 drops and it created this beautiful lemony color!
Frosted Lemon Cookies...
INGREDIENTS:
3/4 cup unsalted butter, room temperature
1/3 cup powdered sugar
1 tsp. fresh lemon juice
1 1/4 cup flour
1/2 cup cornstarch
FROSTING:
1/4 cup unsalted butter, room temperature
3/4 cup powdered sugar
1 tsp. lemon zest
1 tsp. fresh lemon juice
3 drop yellow food coloring, optional
DIRECTIONS:
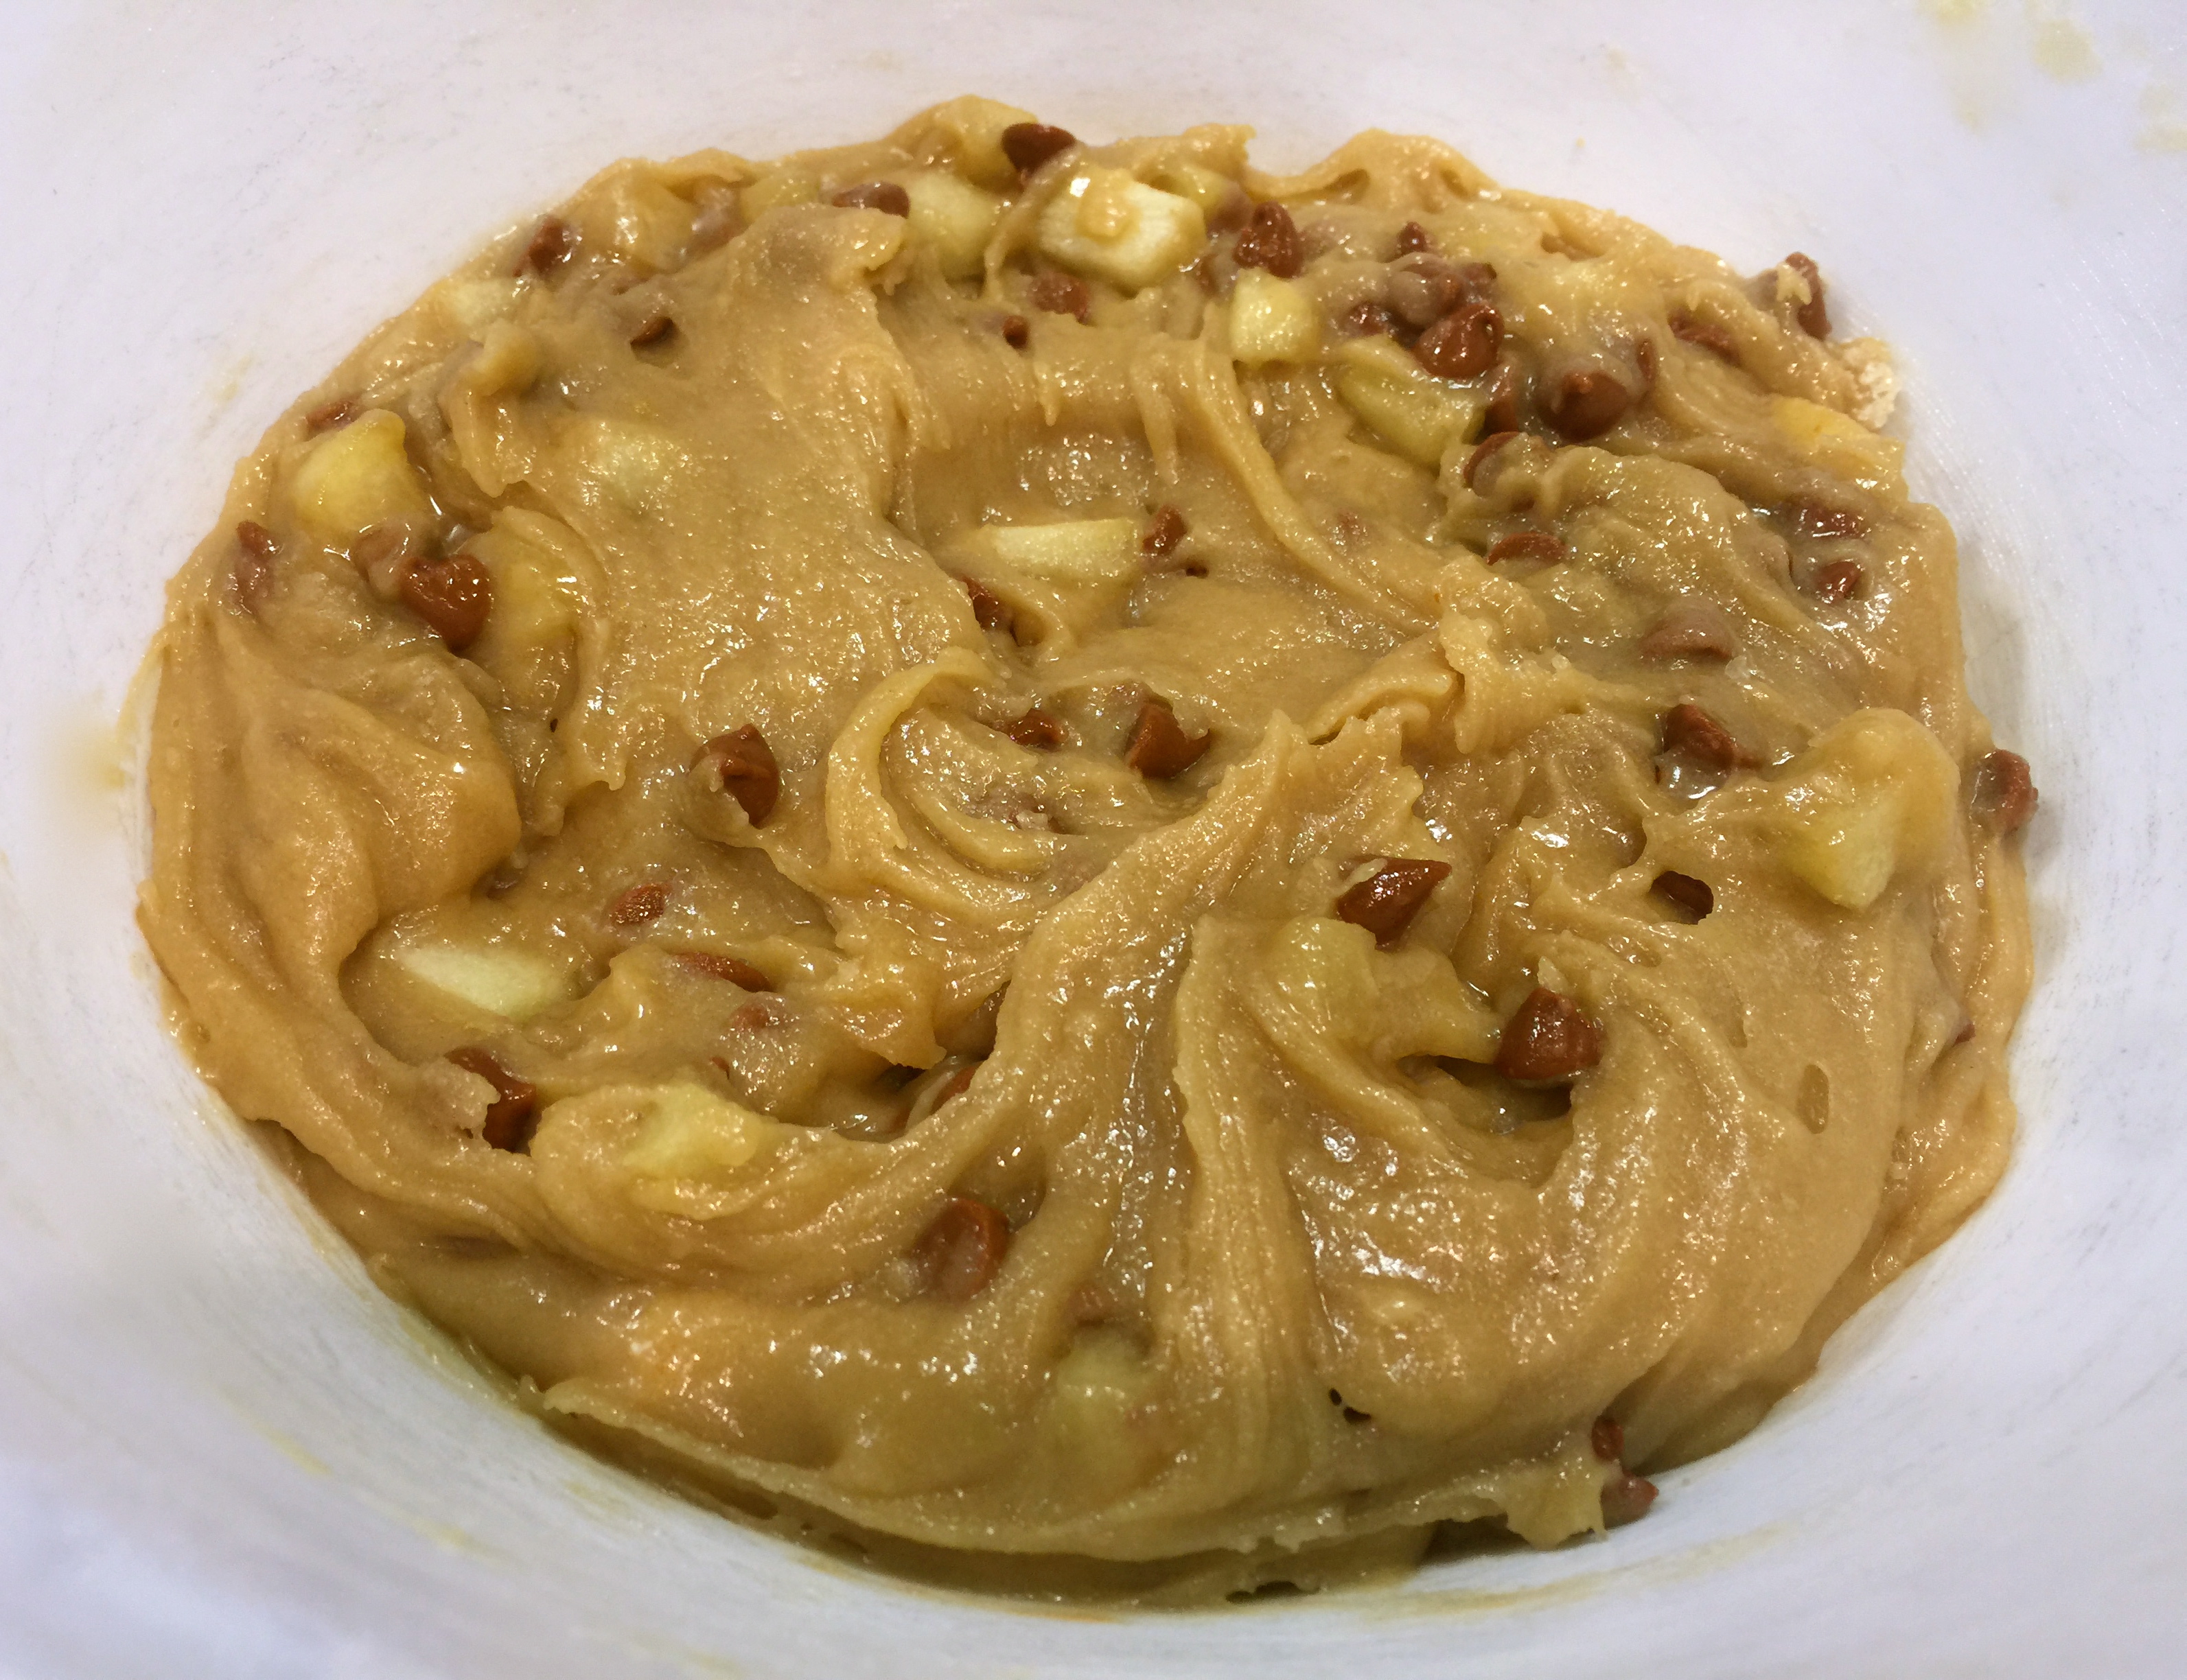
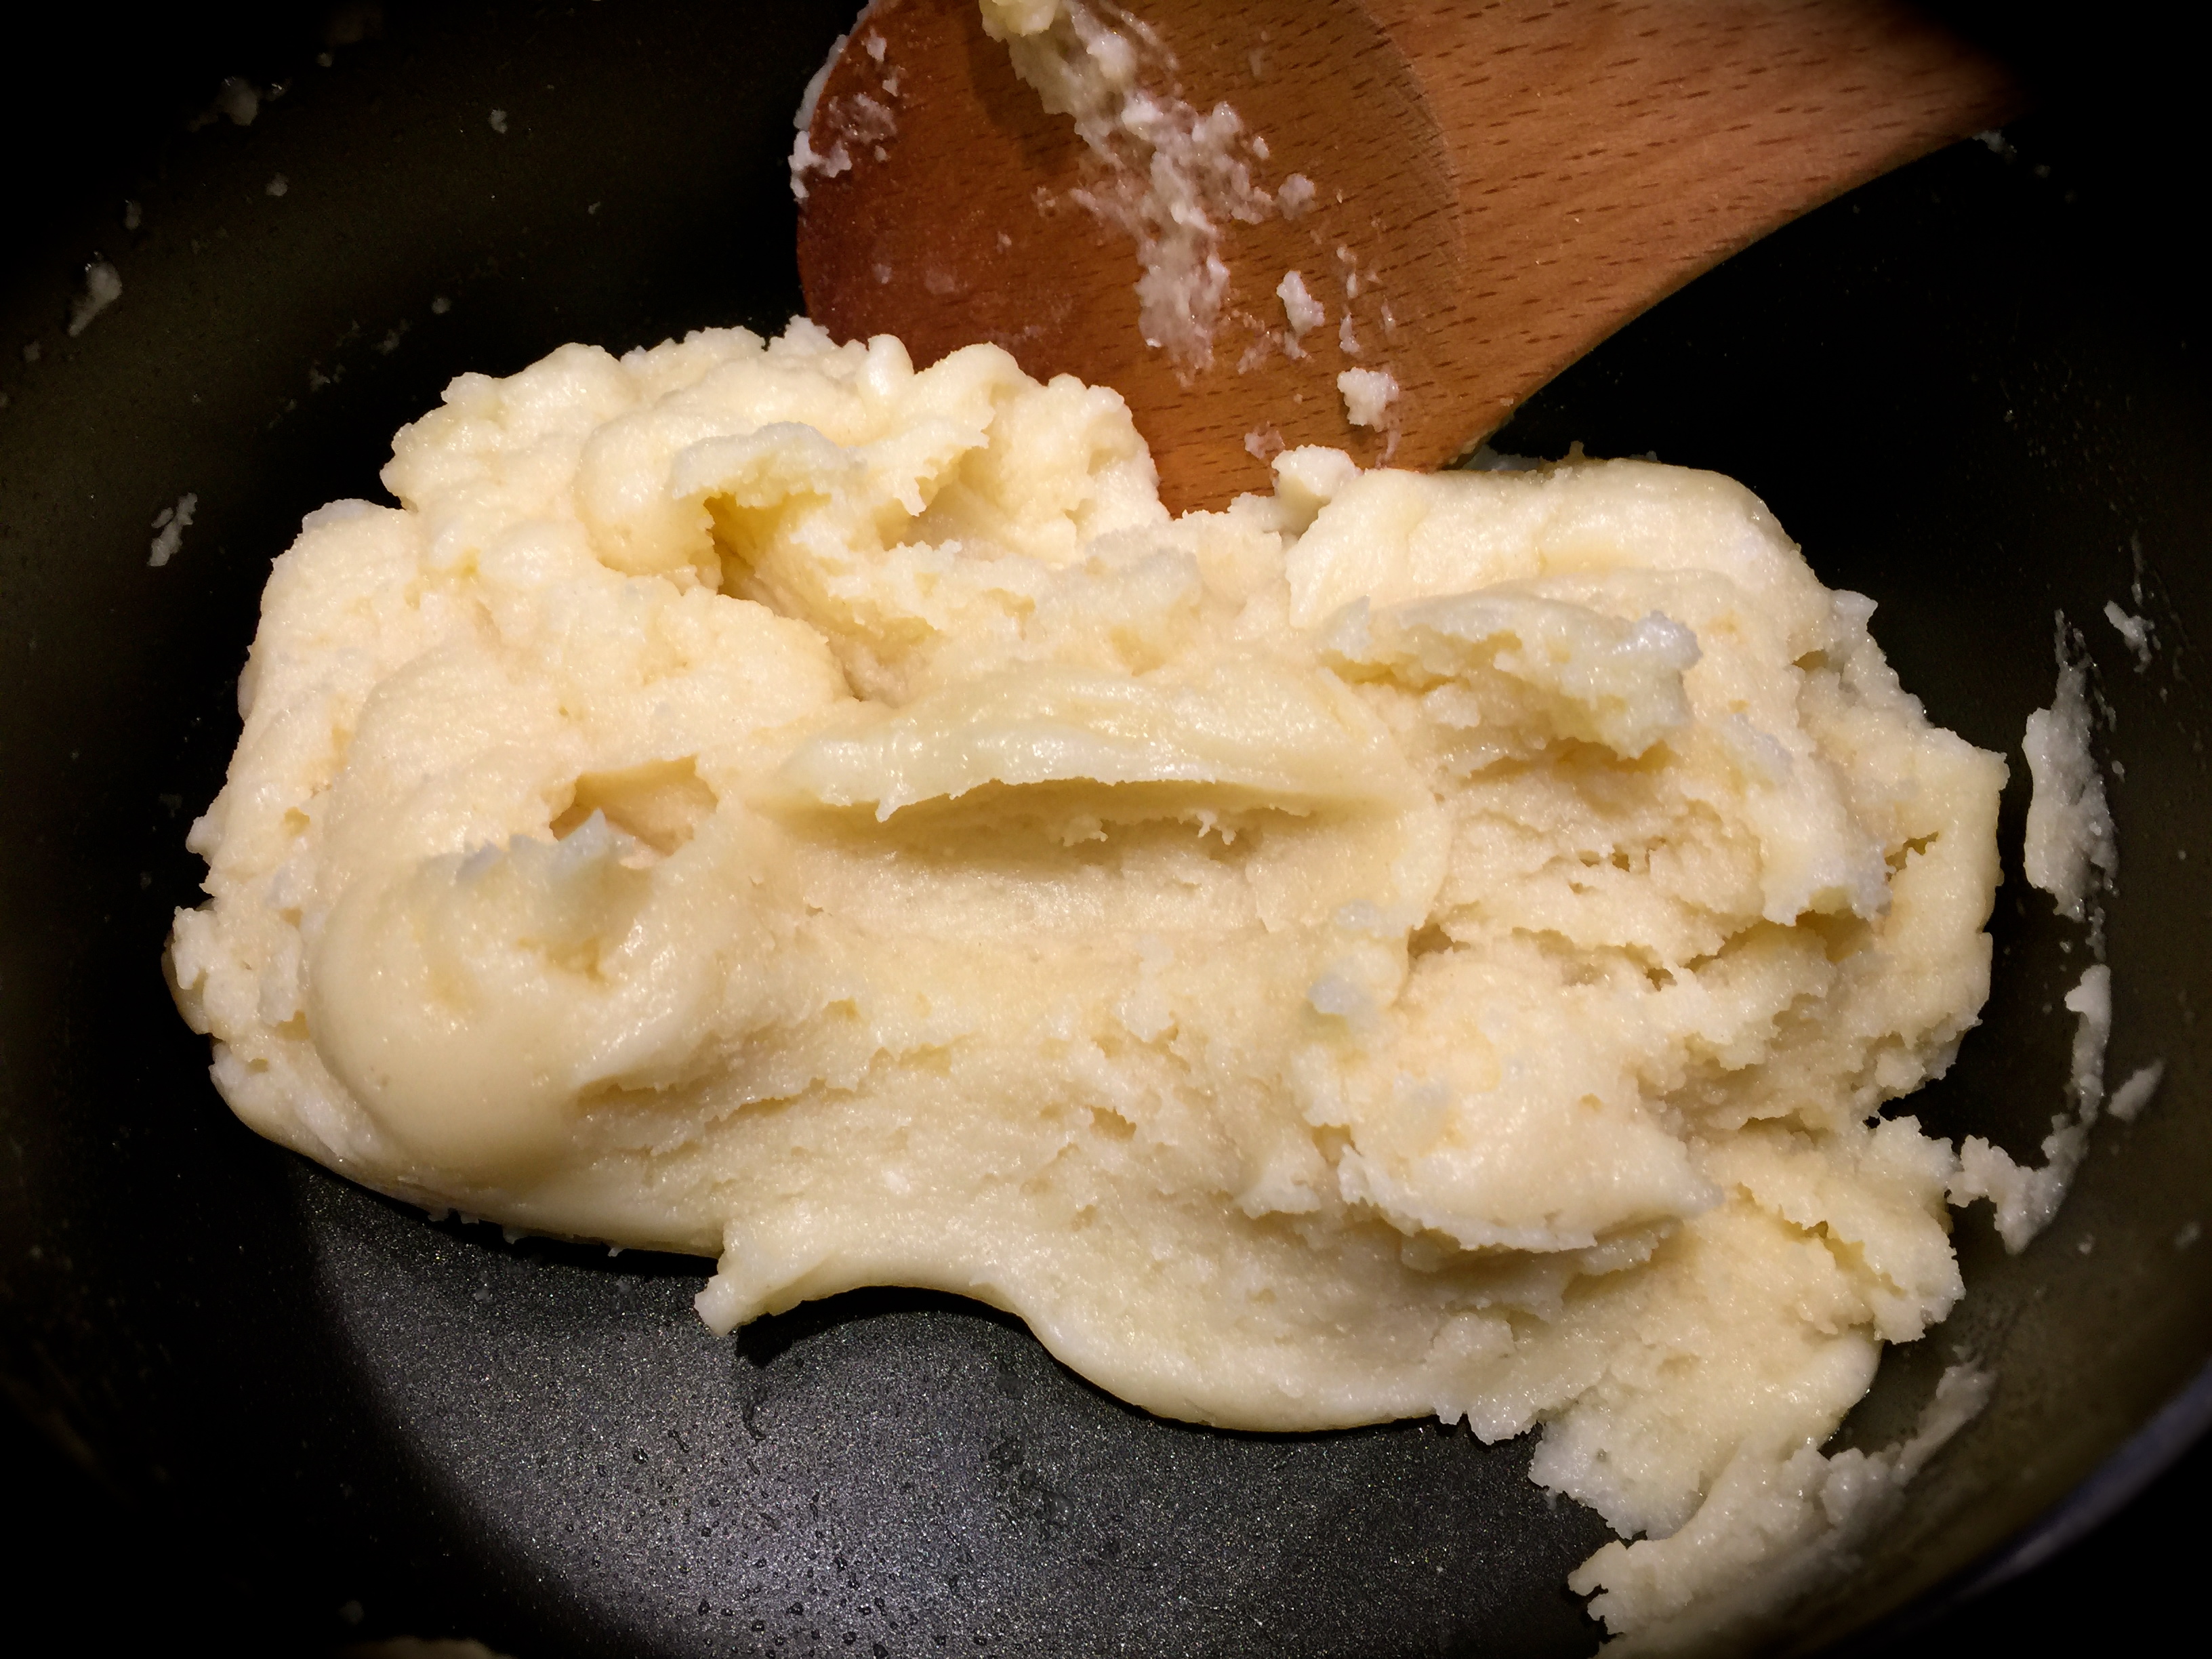
In a medium bowl beat together the butter and sugar until combined. Beat in the lemon juice. In another bowl whisk together the flour and corn starch. Gradually beat the flour mixture into the butter/sugar mixture until combined.
Divide the dough in half and shape into two 8 inch logs. Cover the dough with plastic wrap and refrigerate until firm – approximately 1 1/2 – 2 hours.
Preheat the oven to 350 degrees.
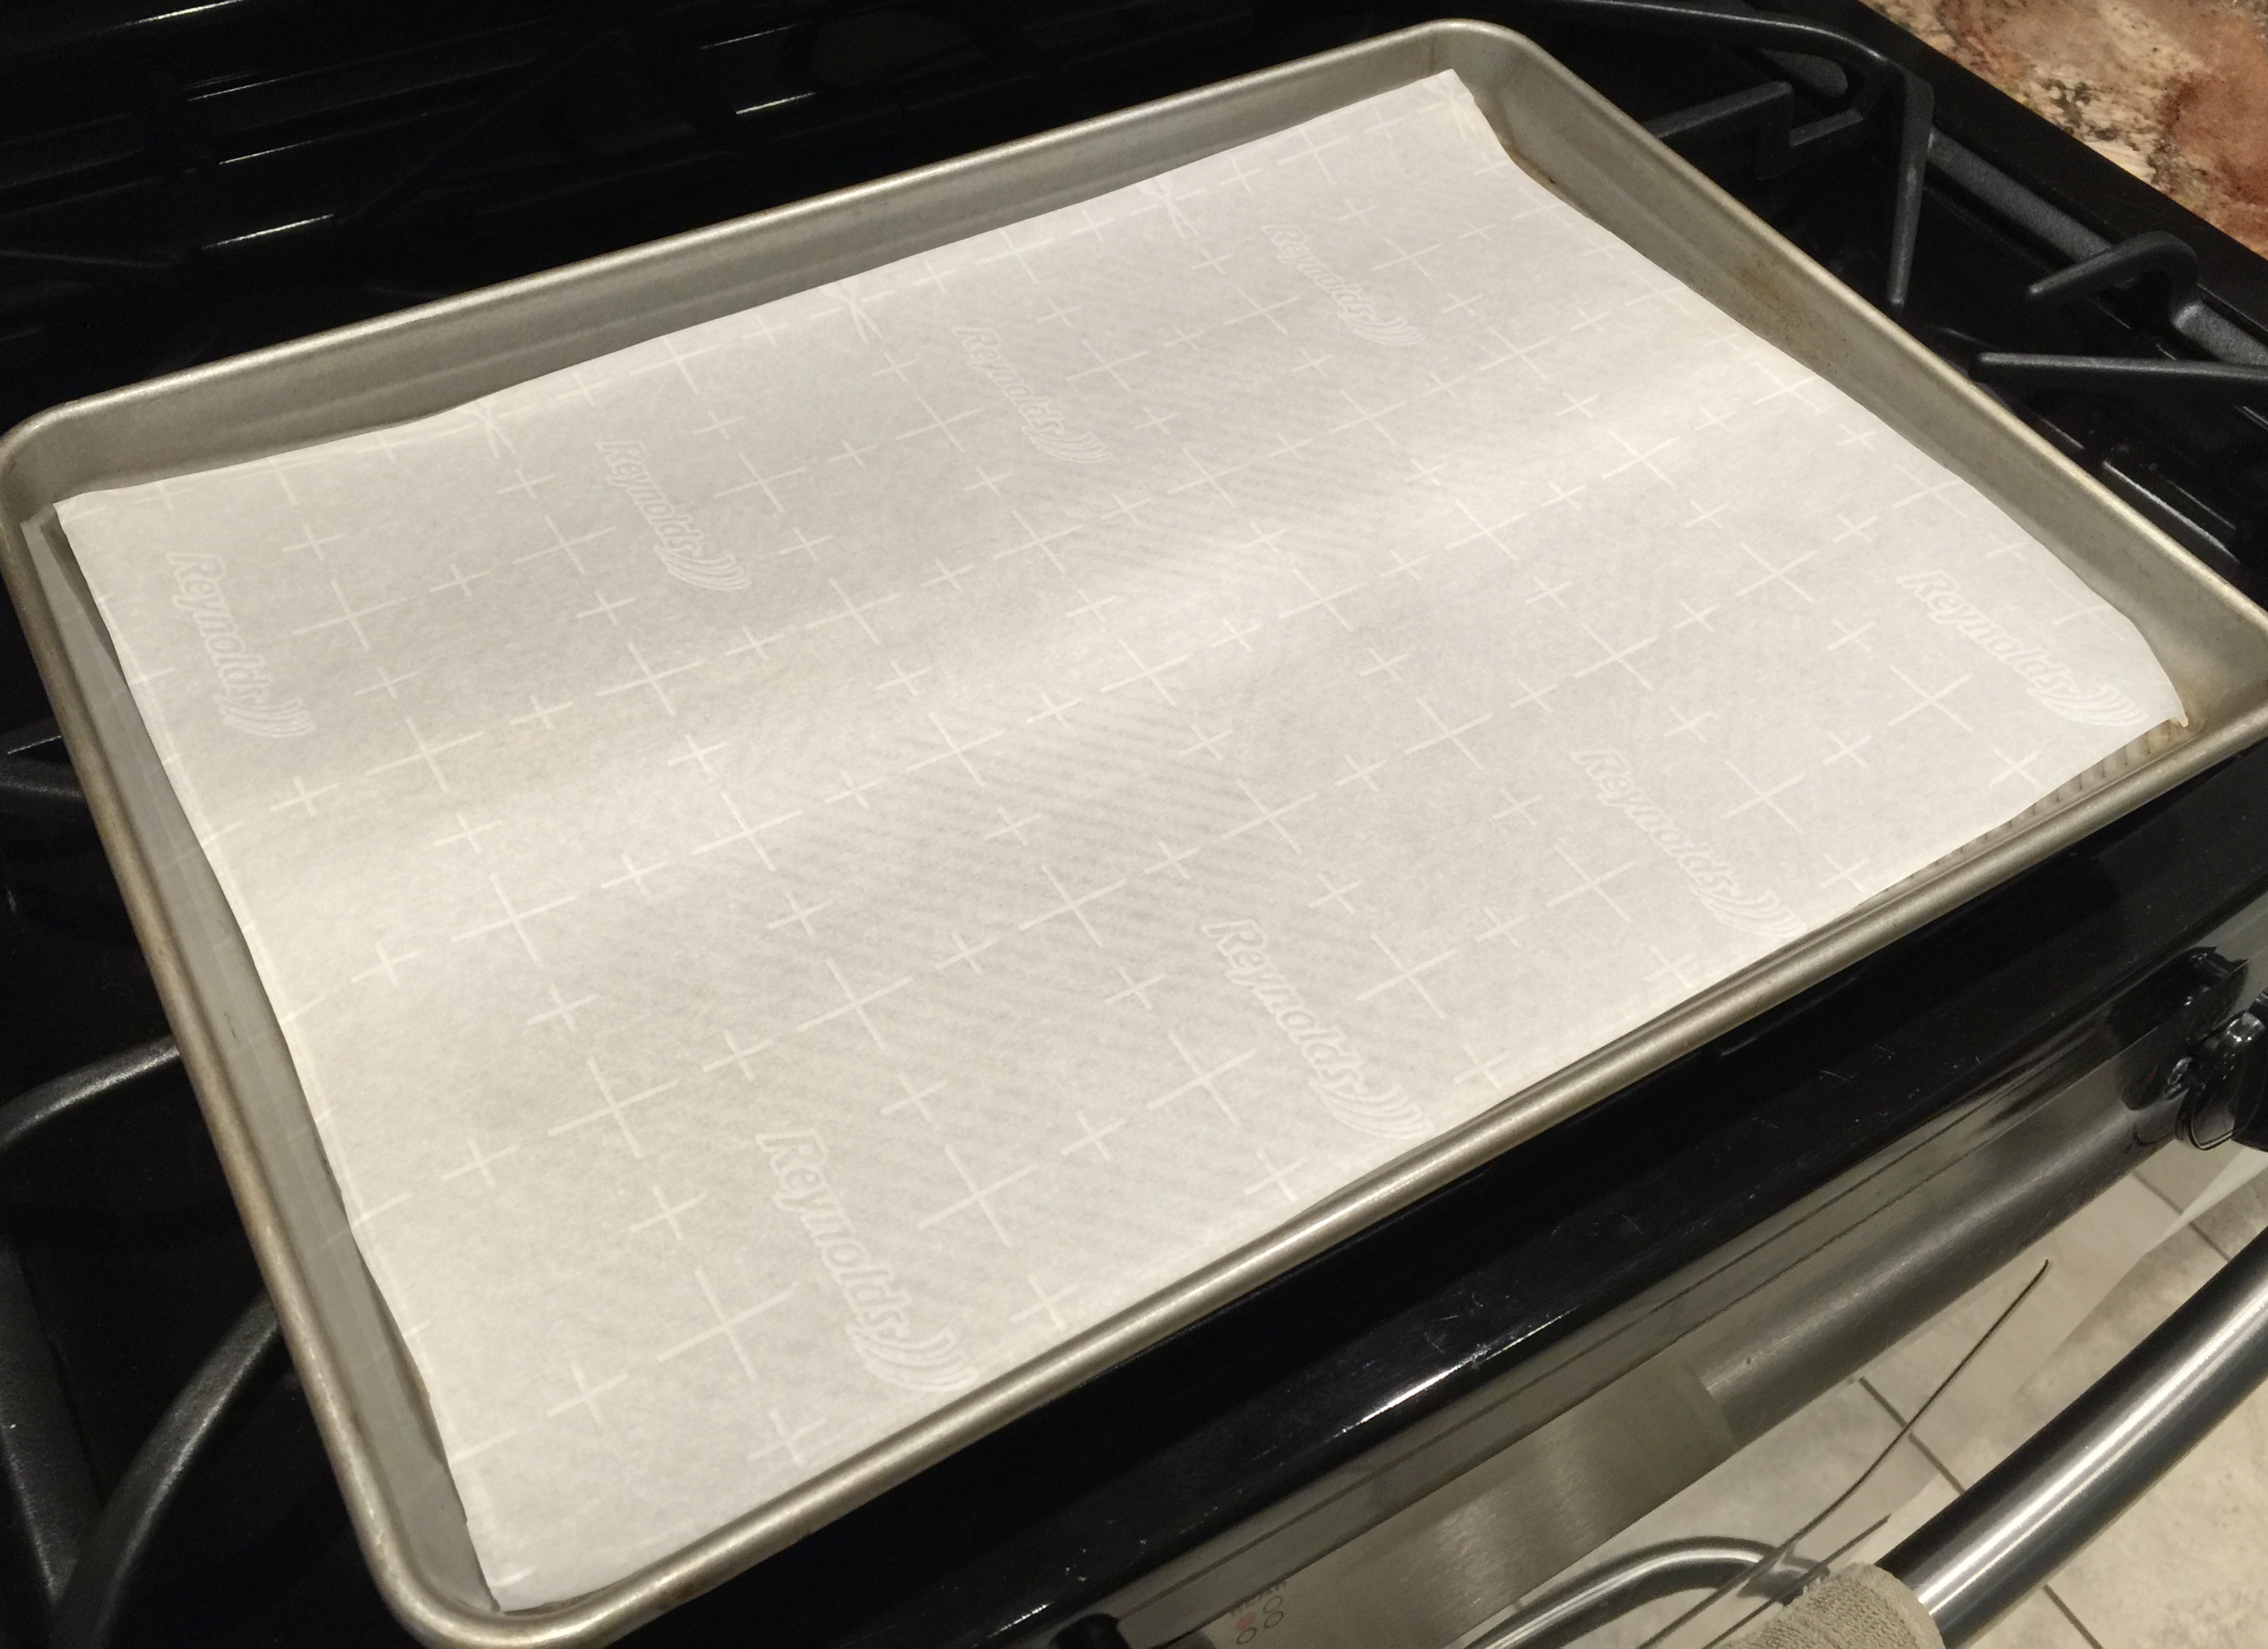
Unwrap the dough and cut it into 1/4 inch slices. Place slices 1 inch apart on an ungreased cookie sheet. Bake for approximately 10-12 minutes.
Gently remove the cookies from the pan onto a cooling rack. Cool completely.
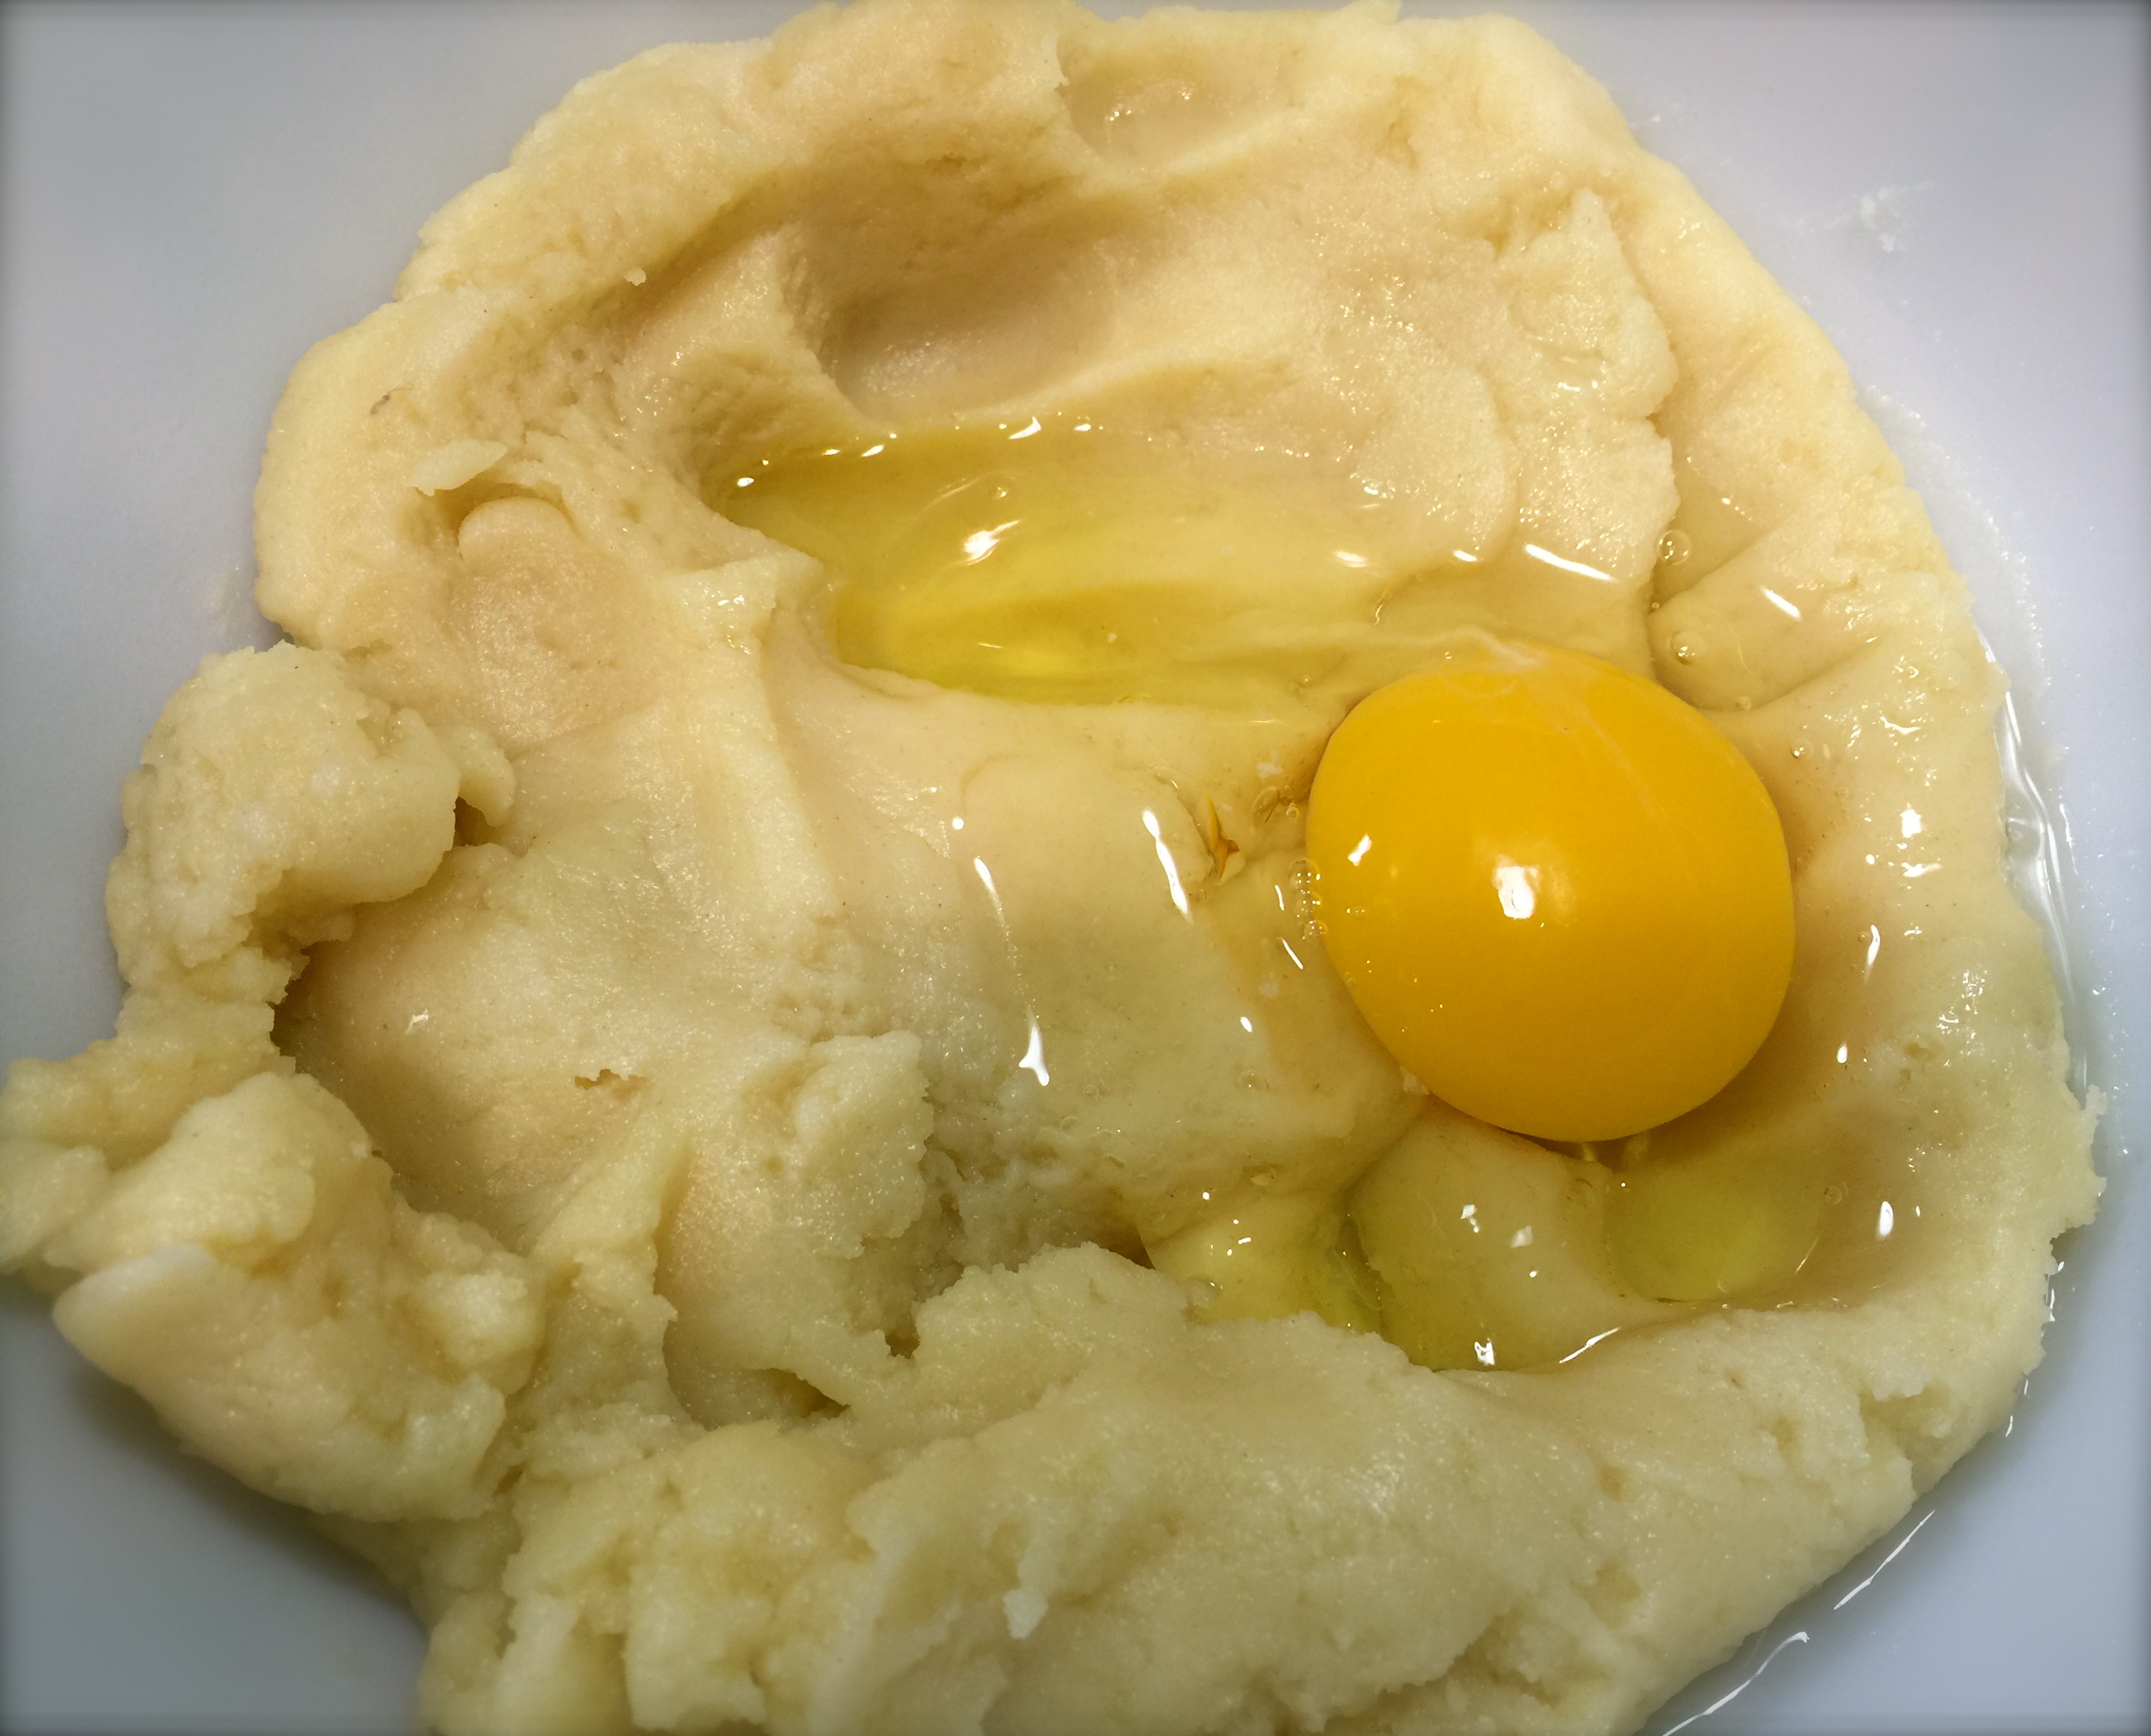
For the frosting, beat together all of the ingredients. Spread over the cookies. Chill and serve.

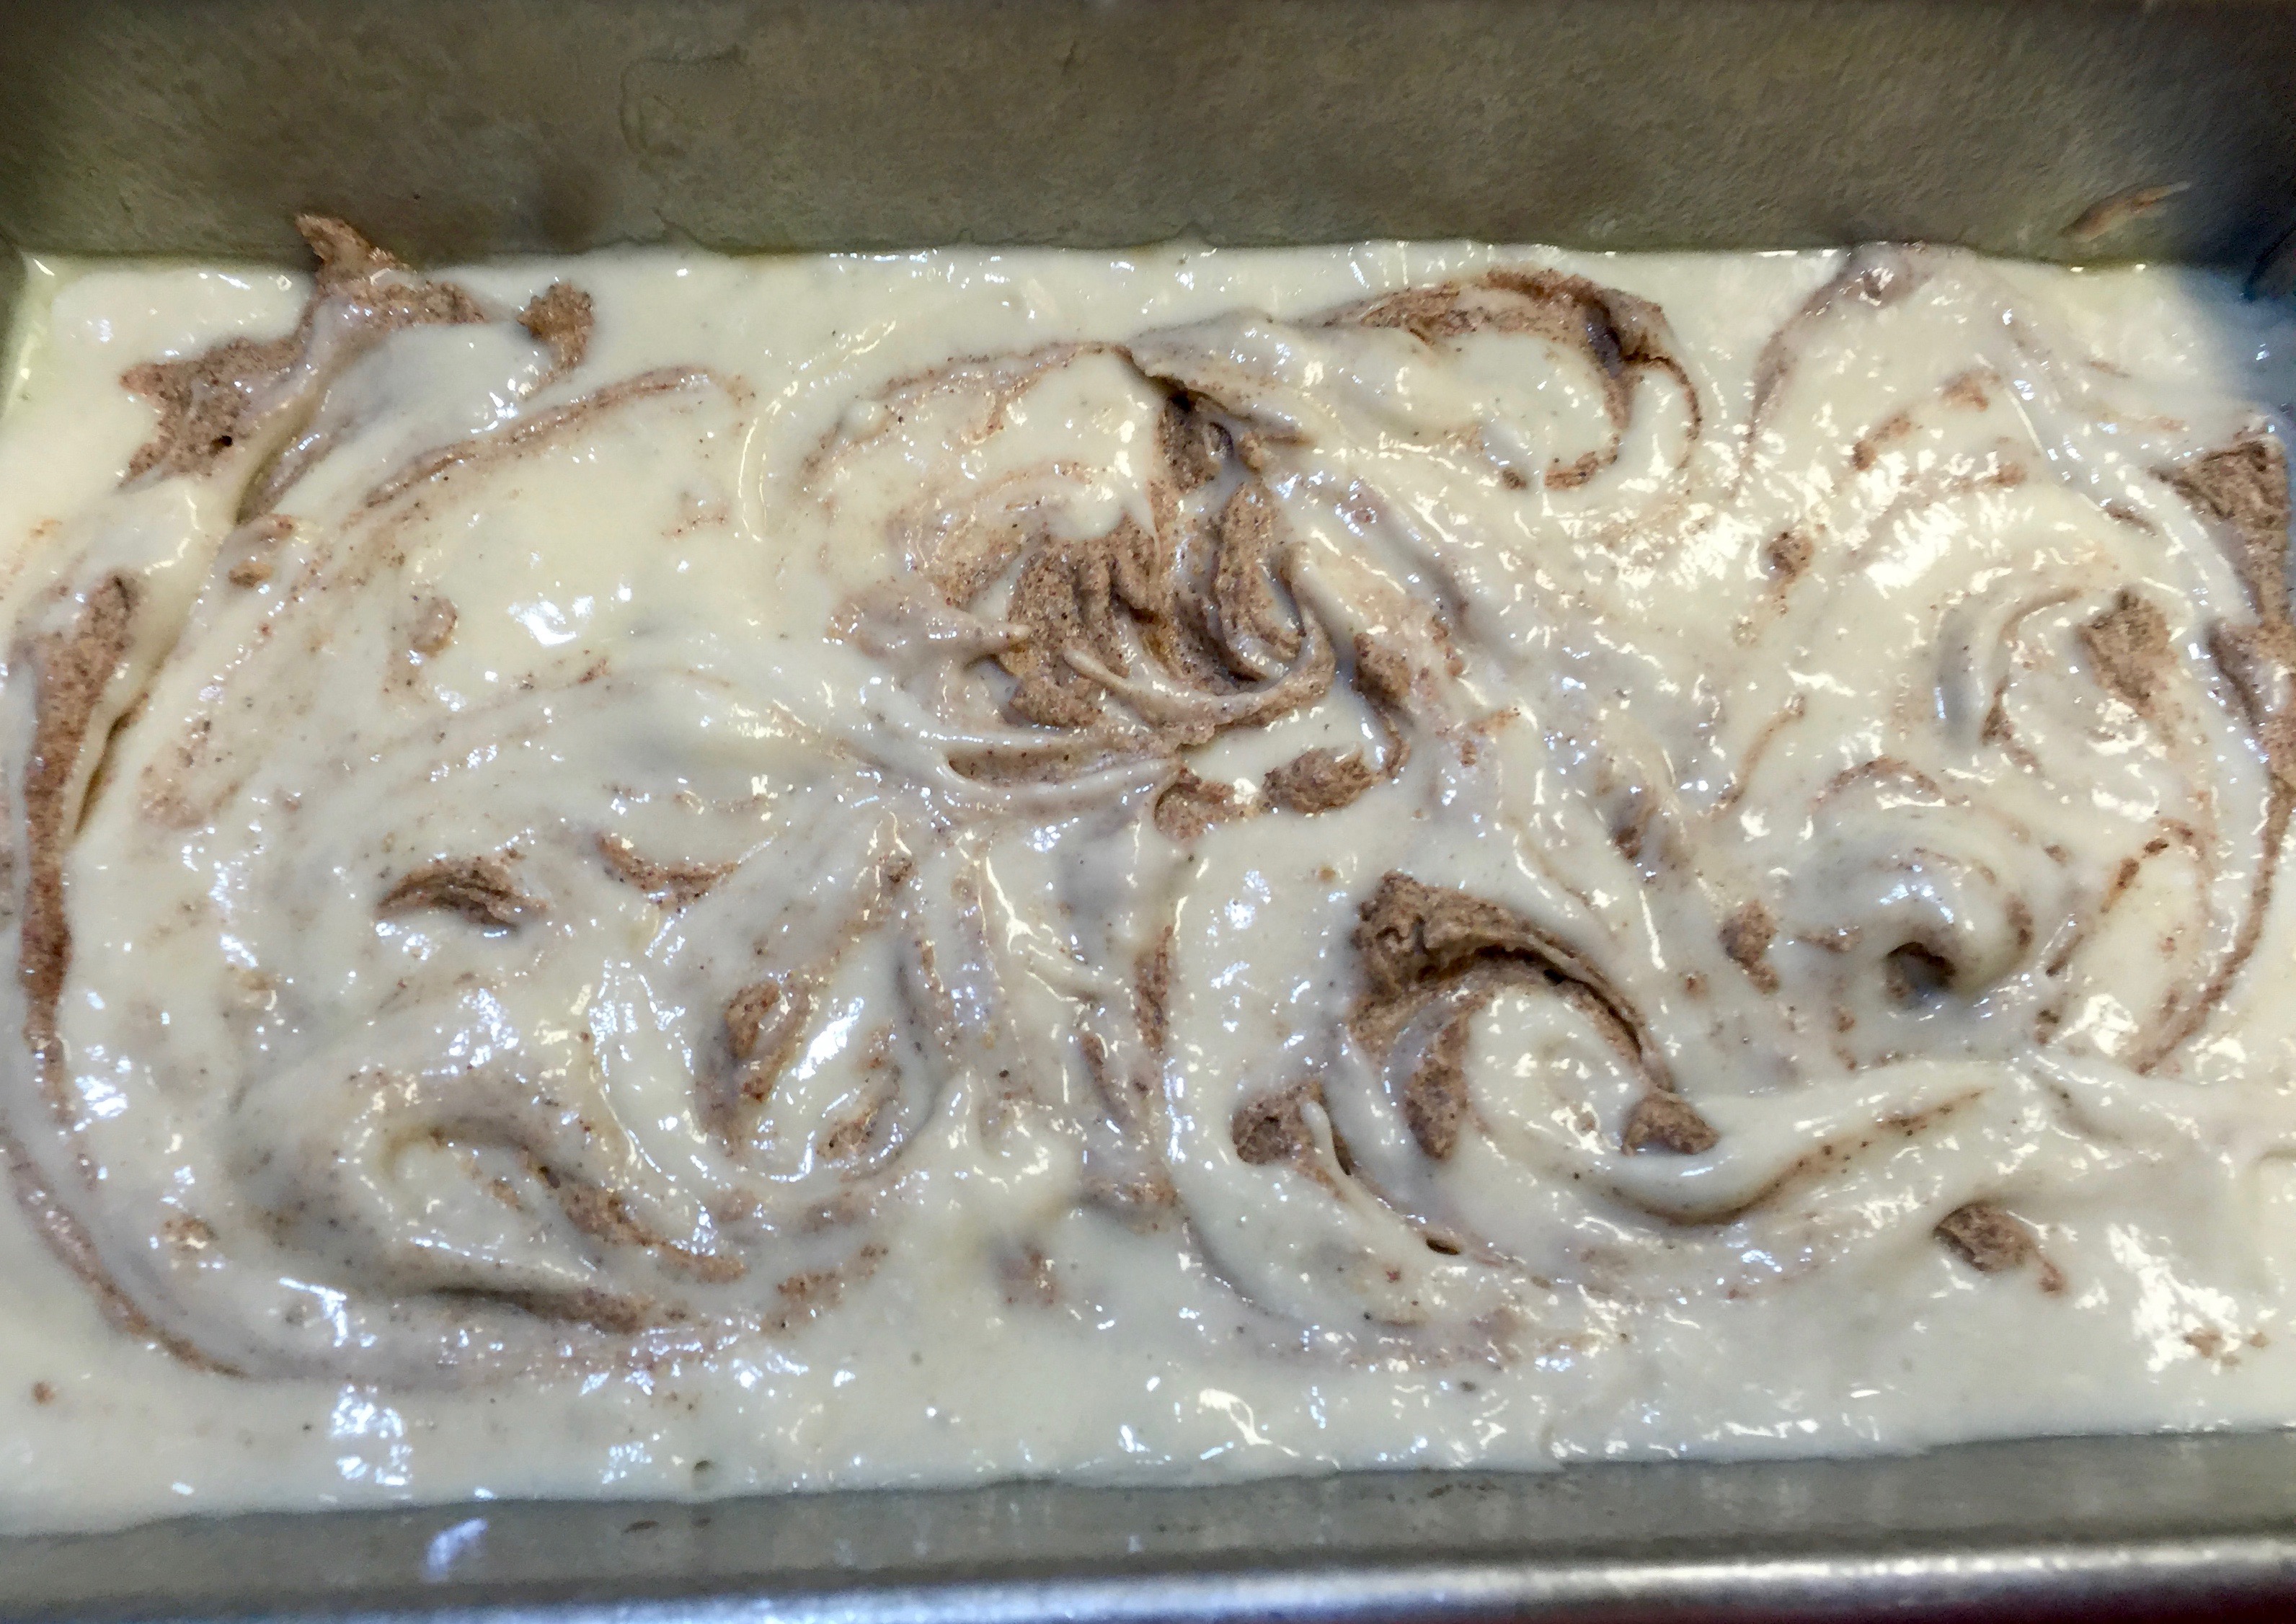
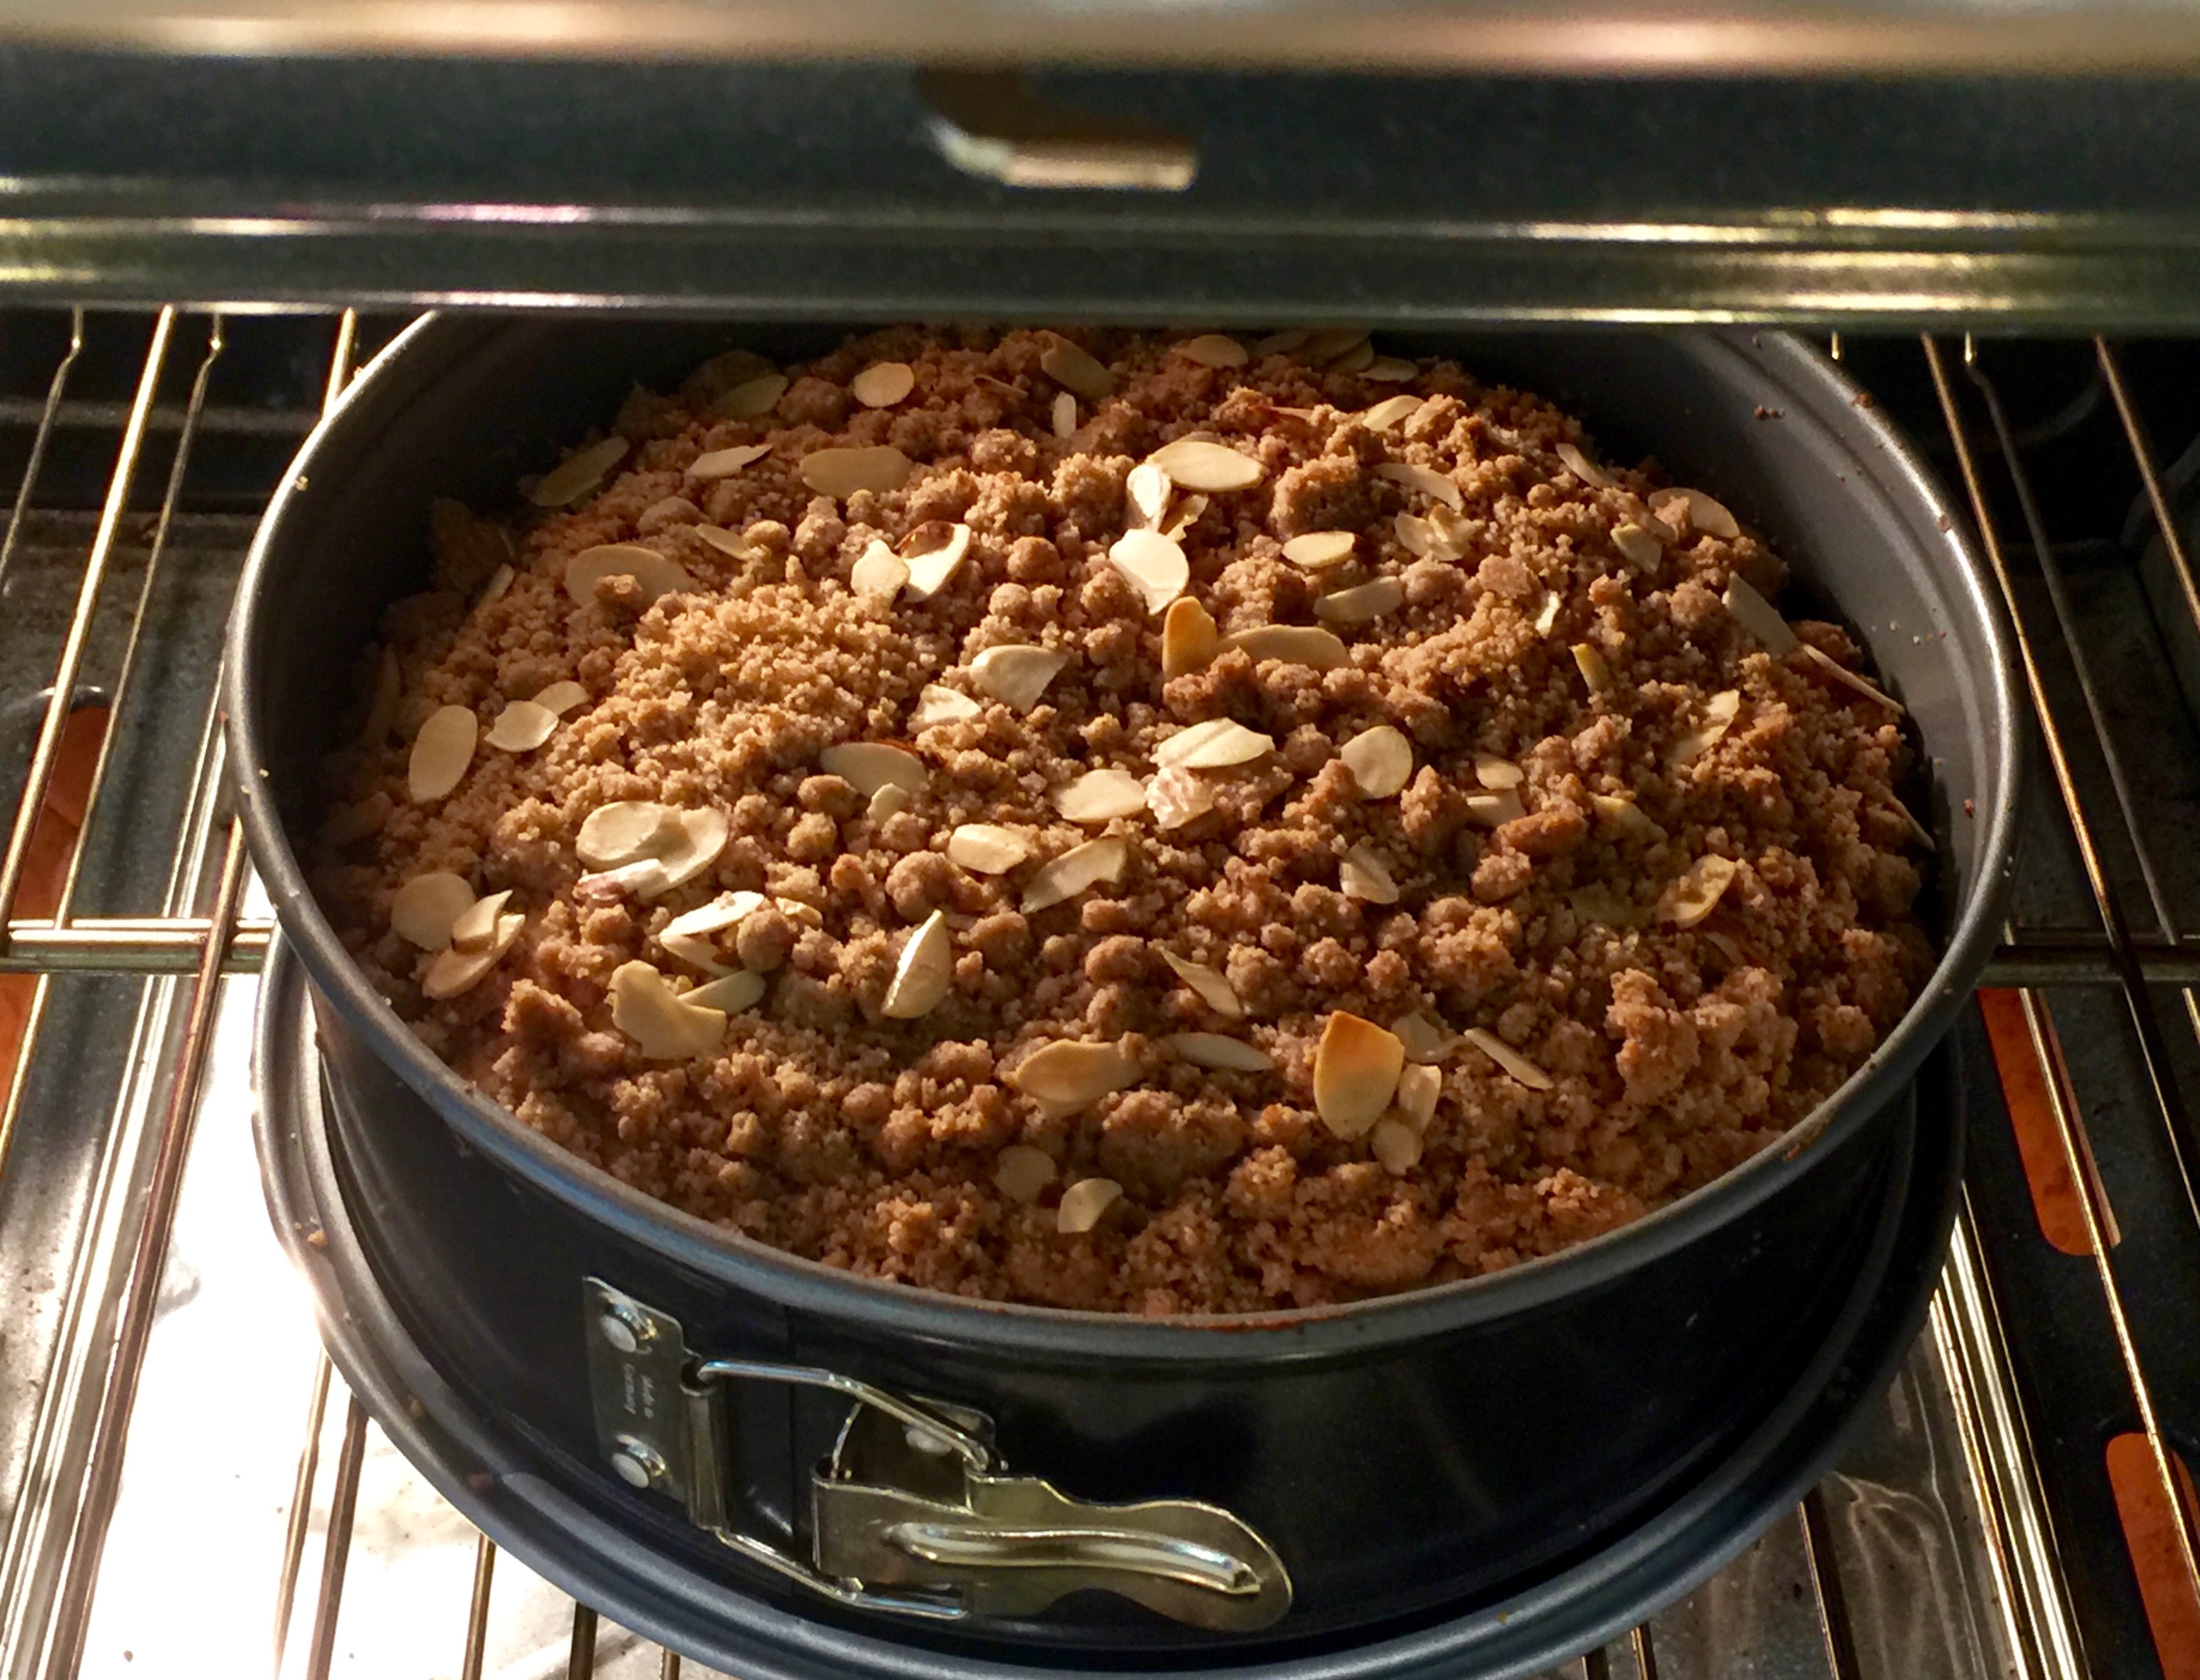
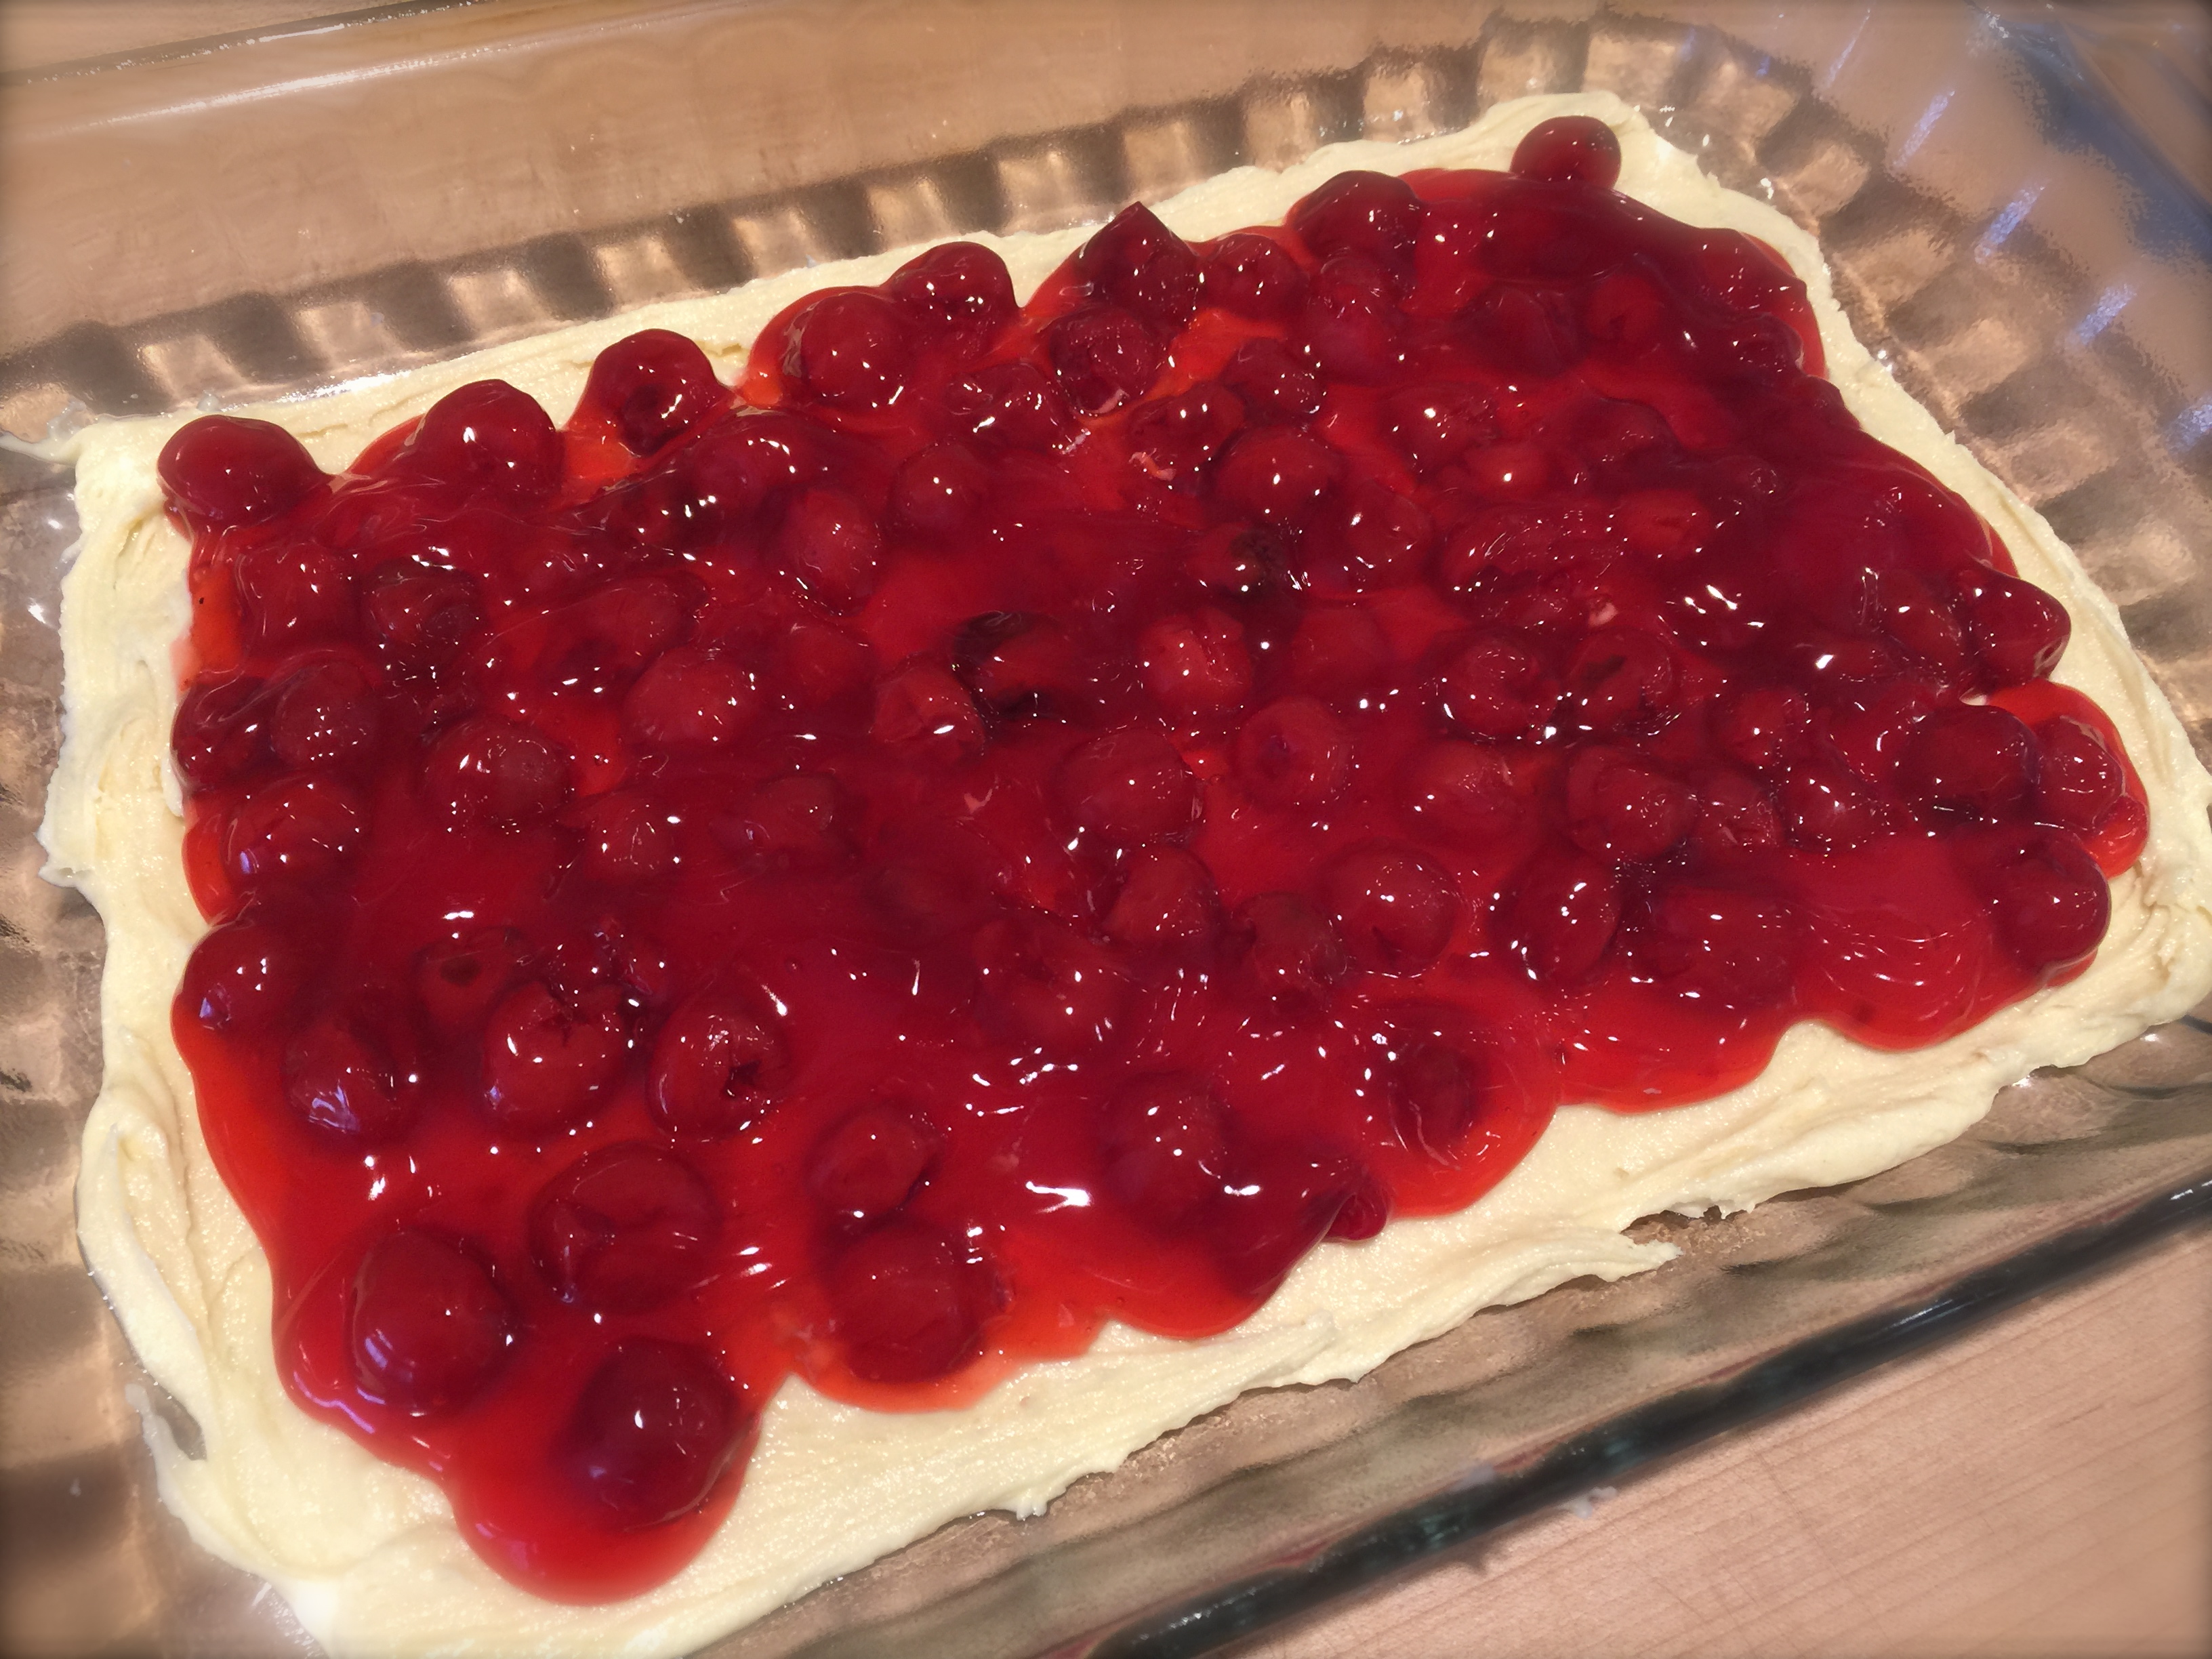
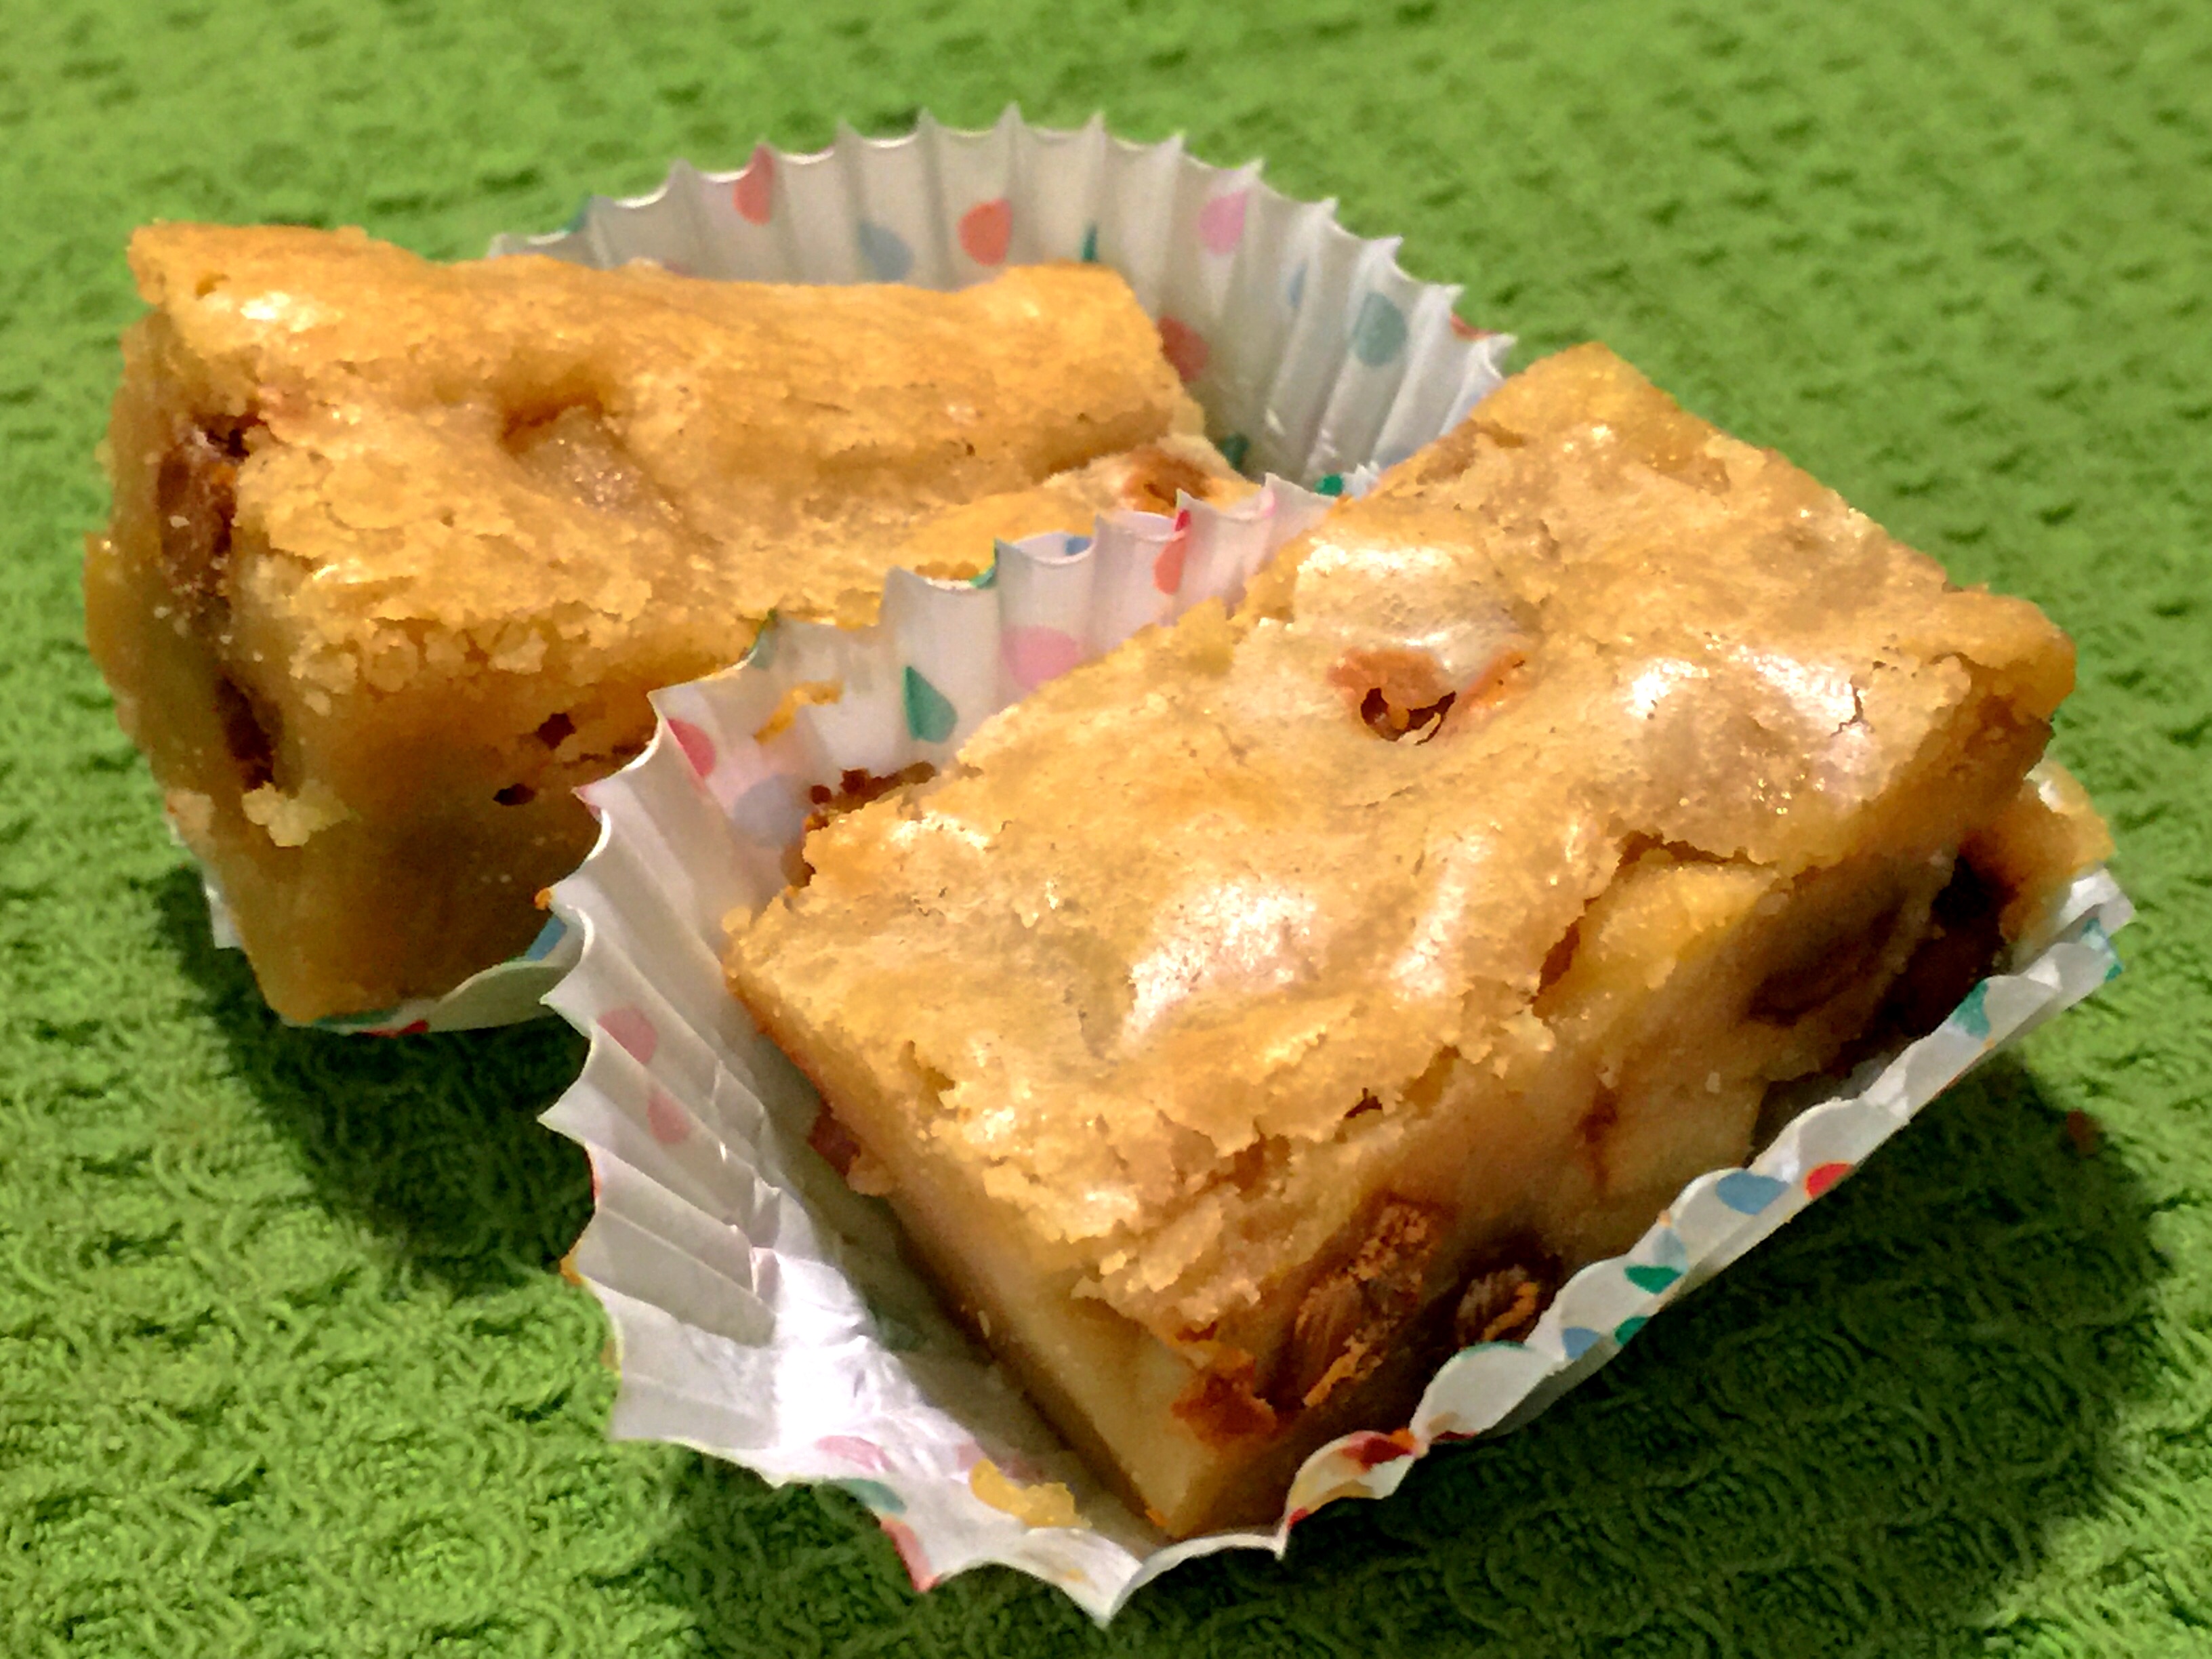
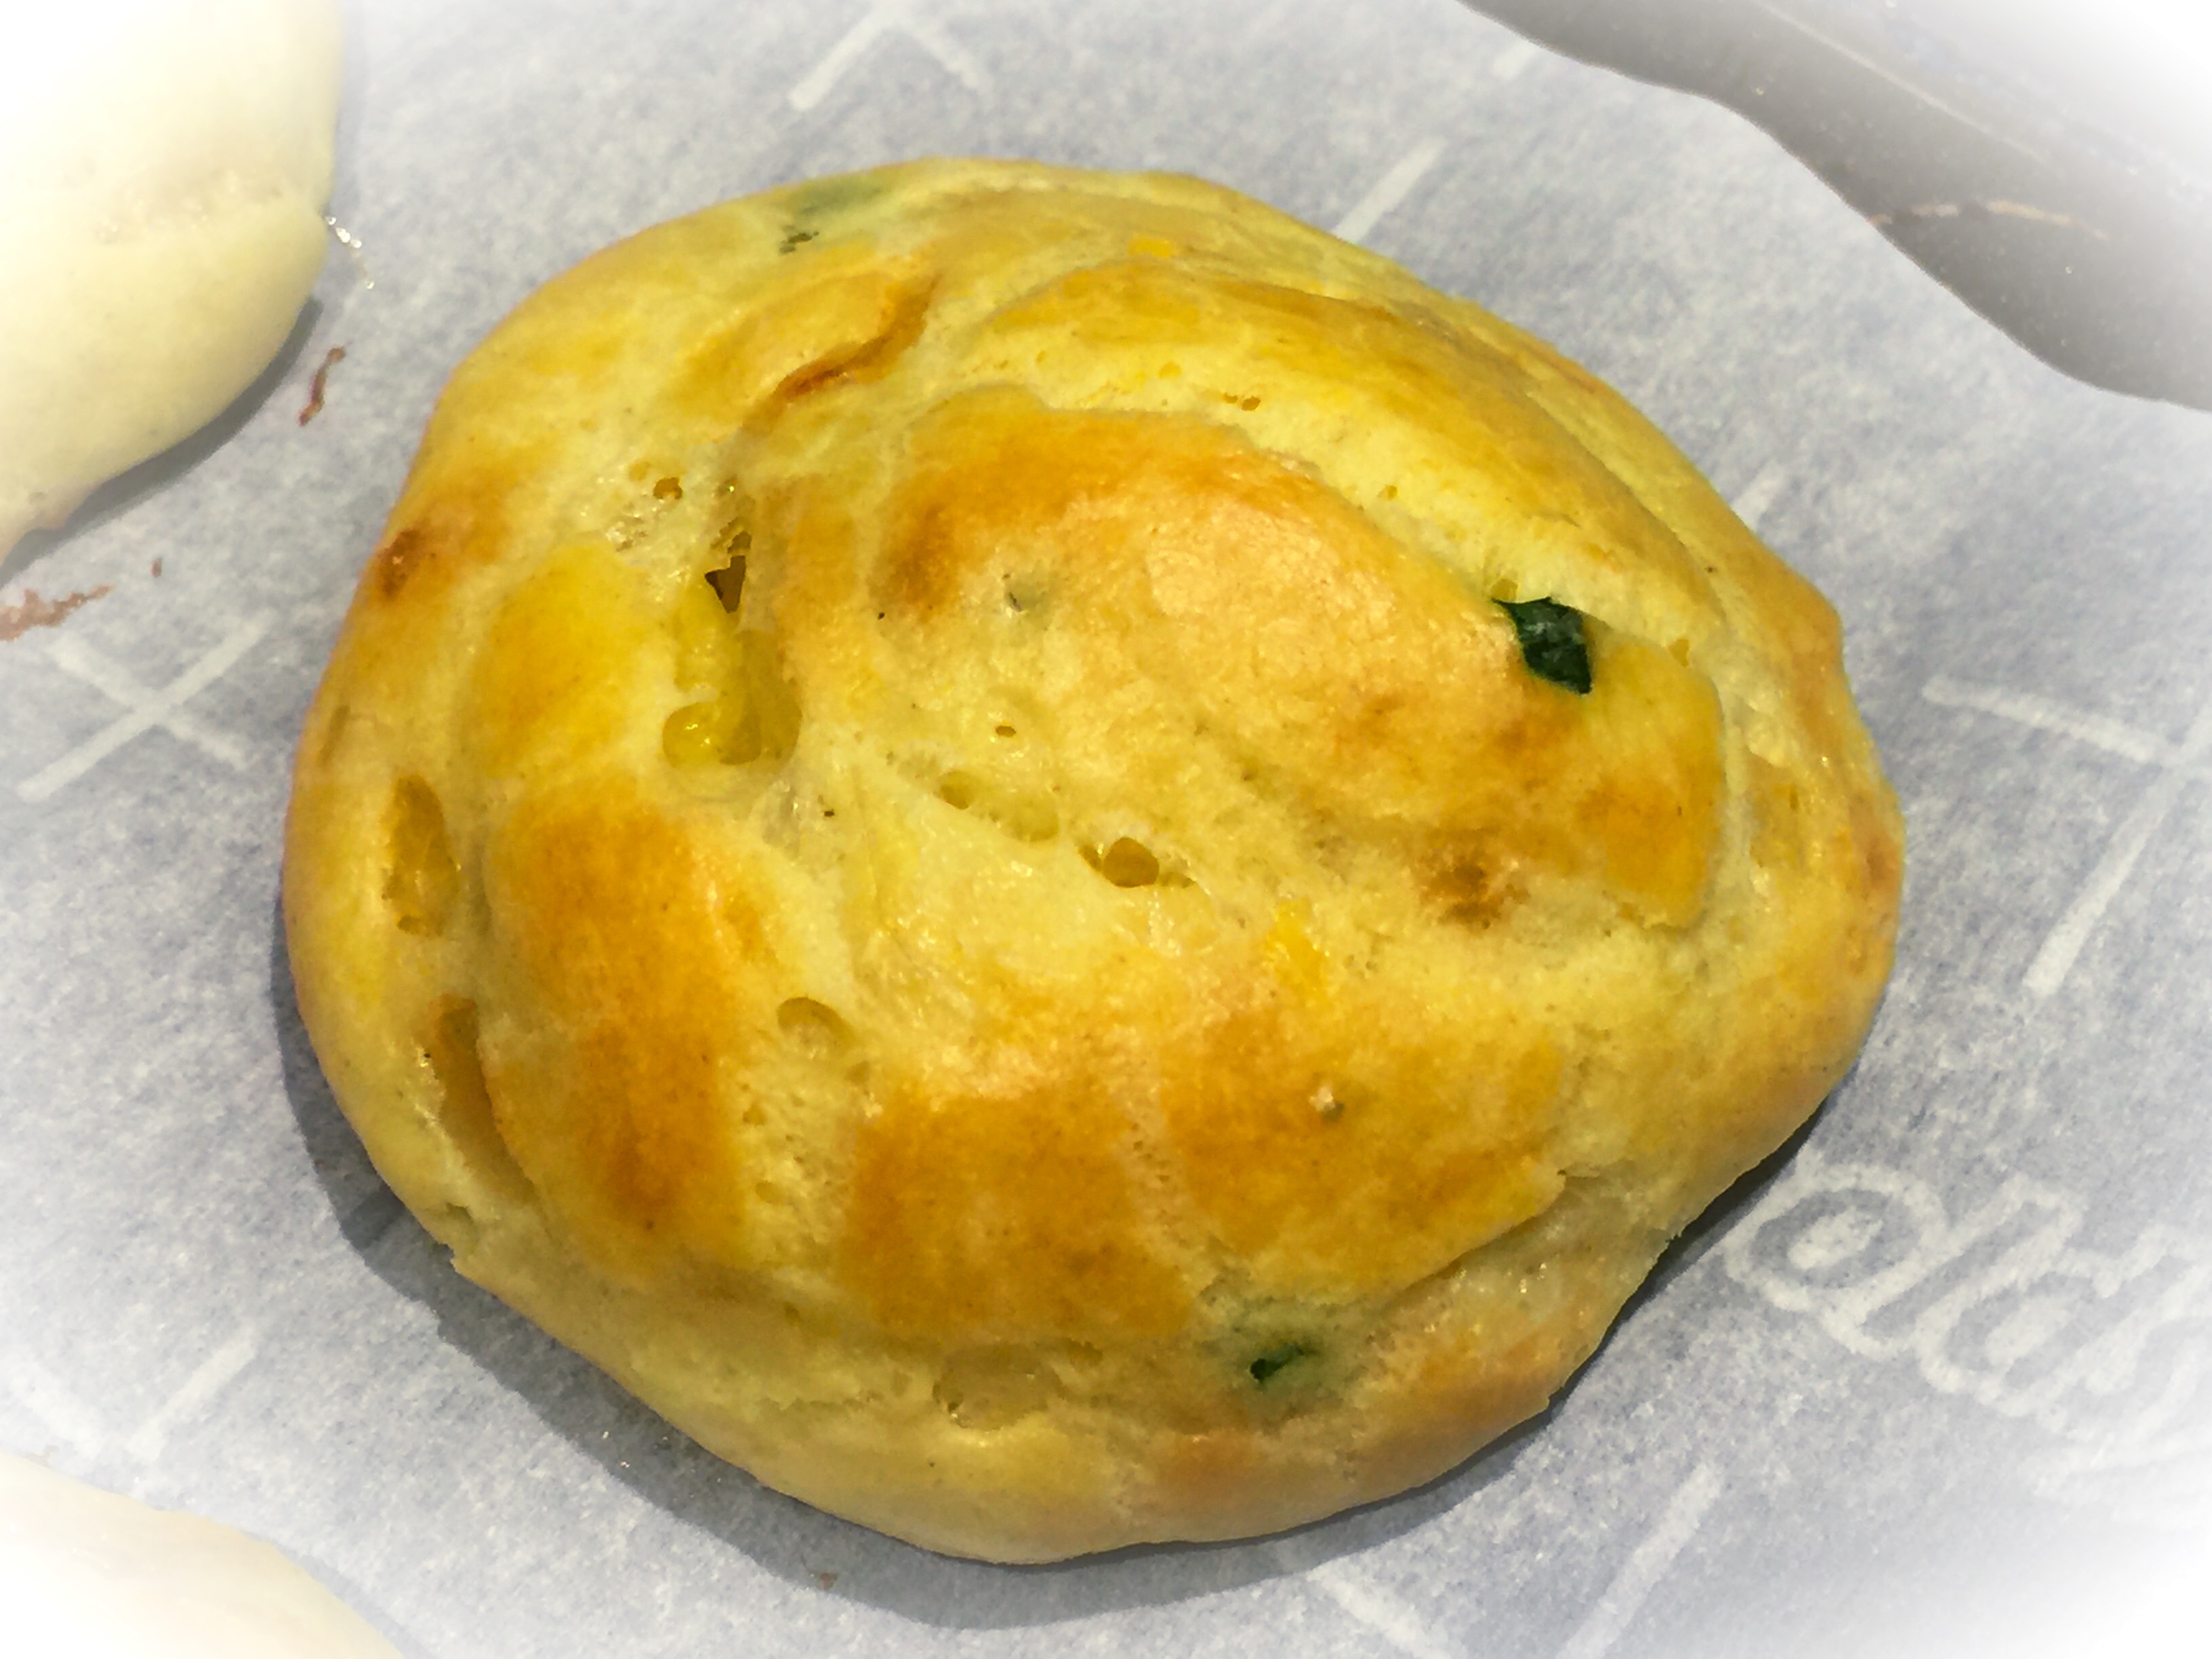
Ready to go into the oven

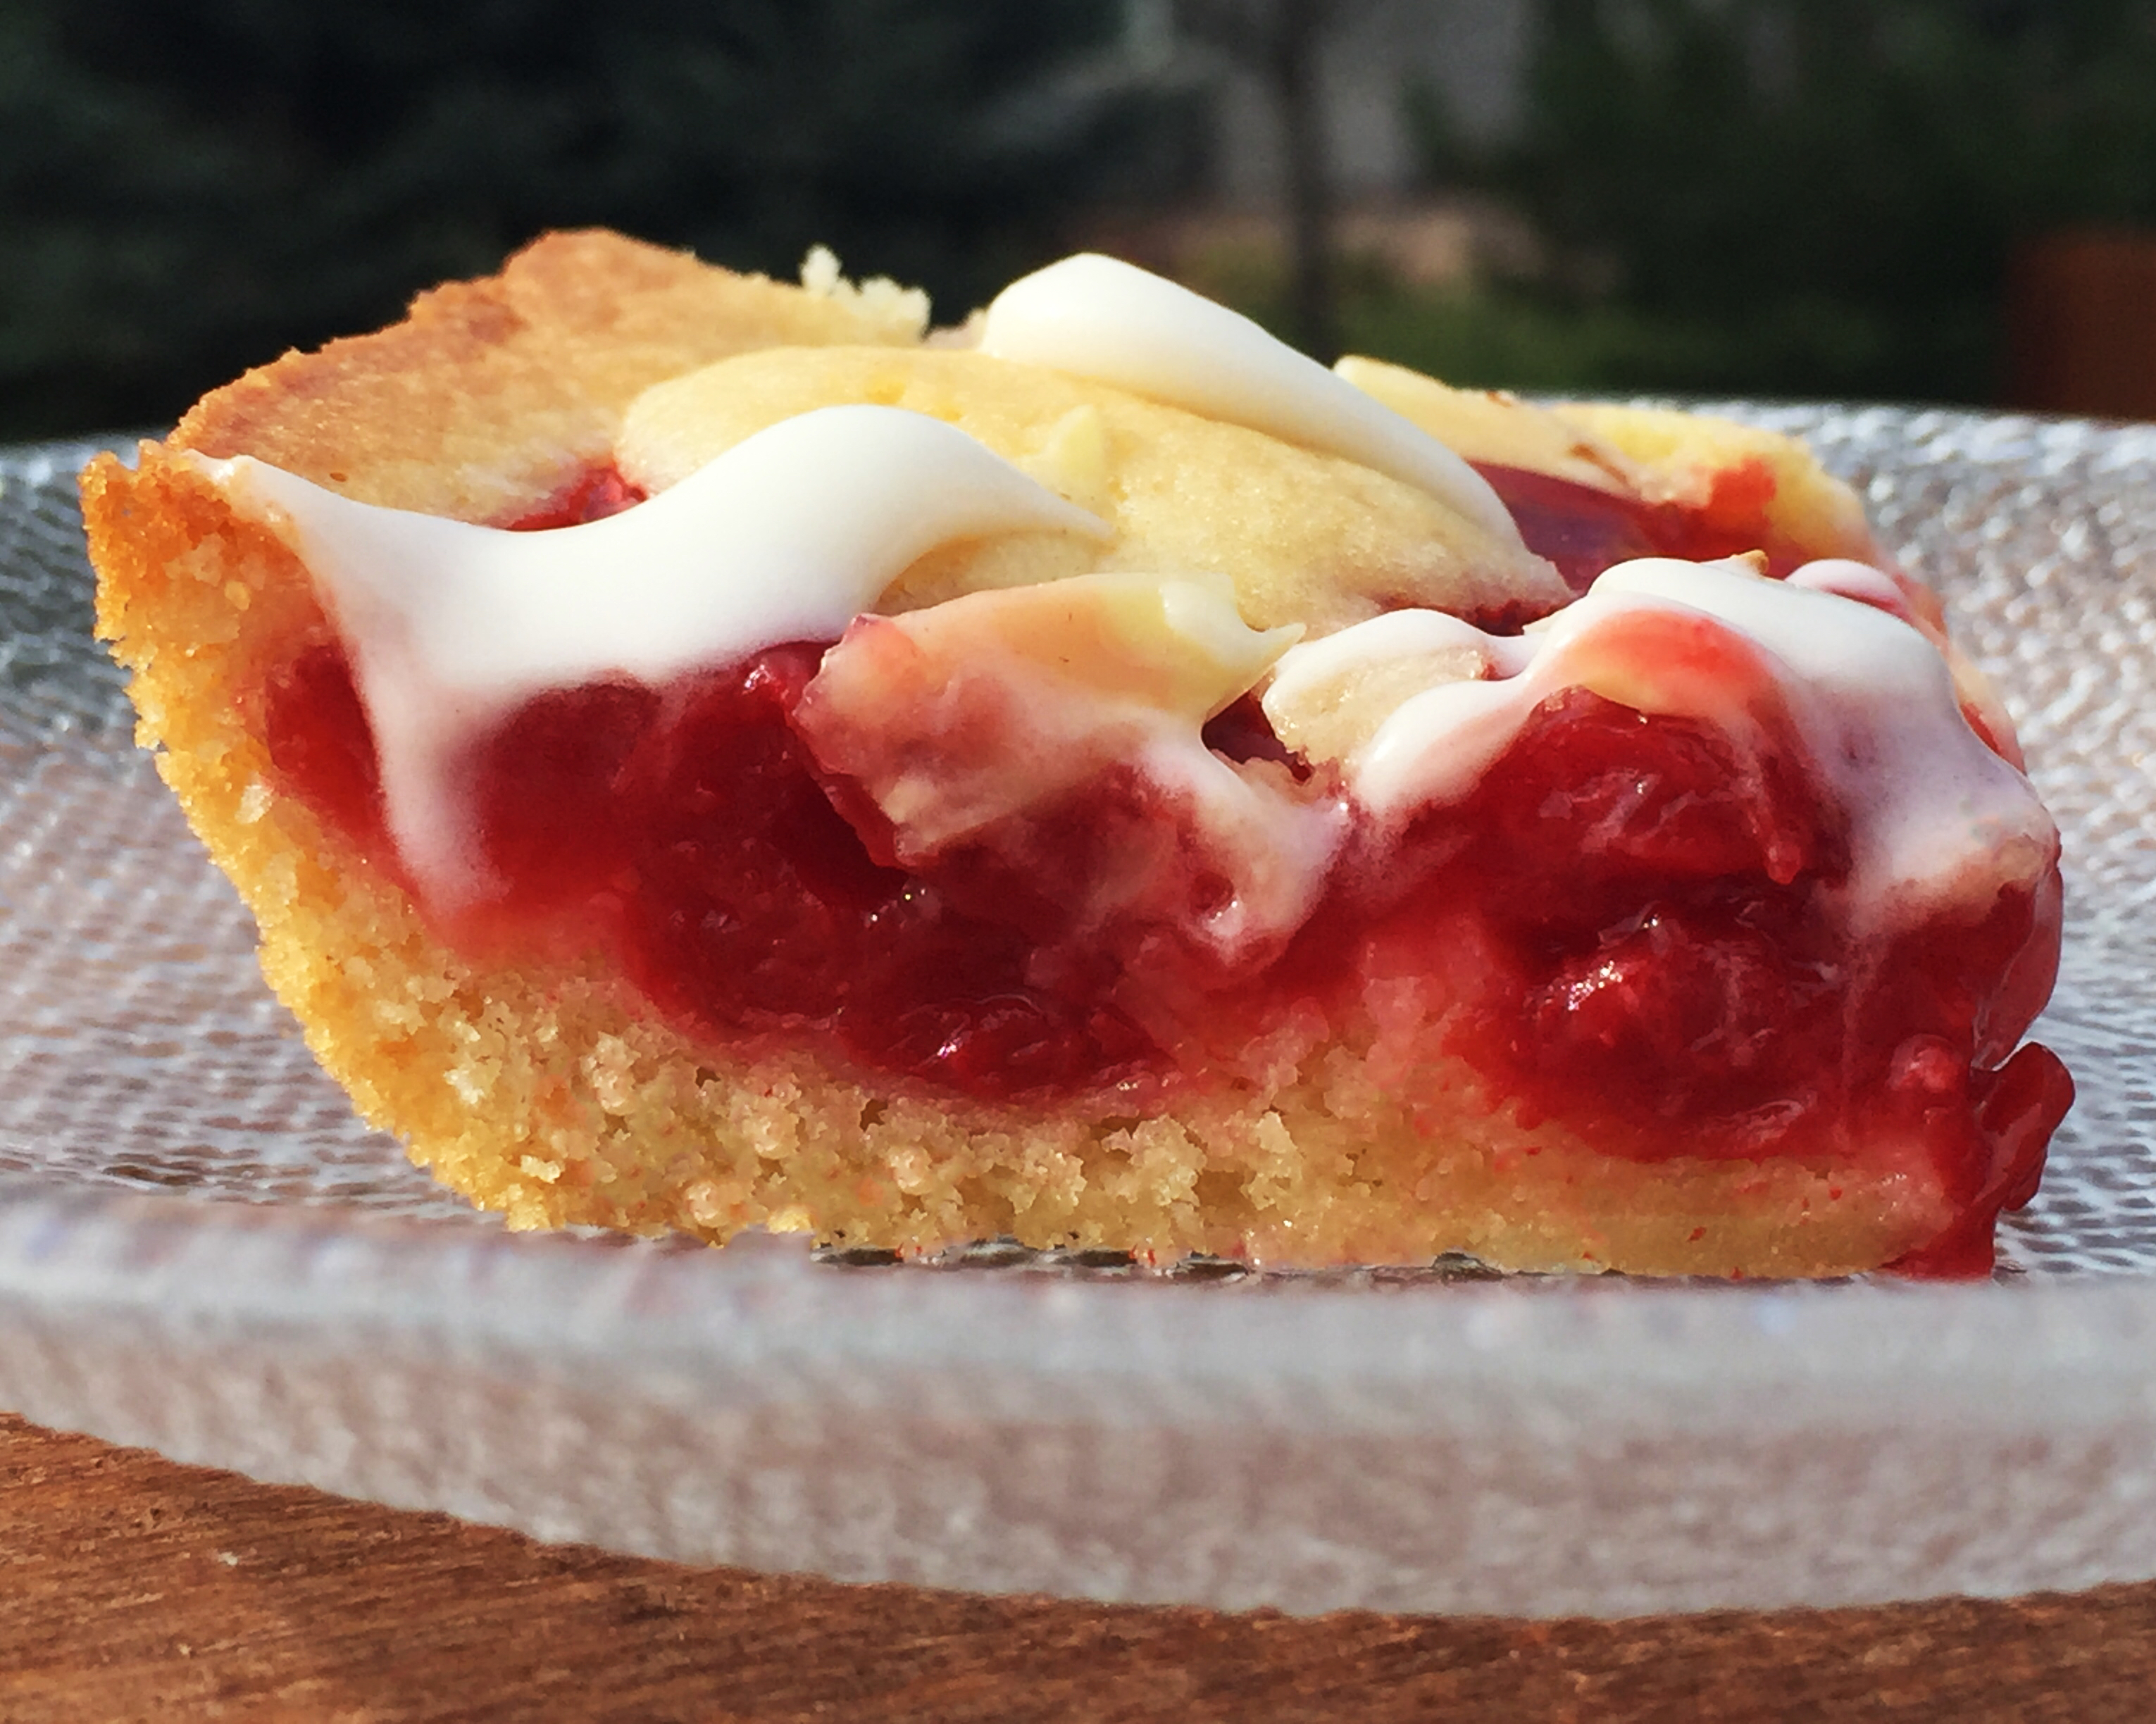
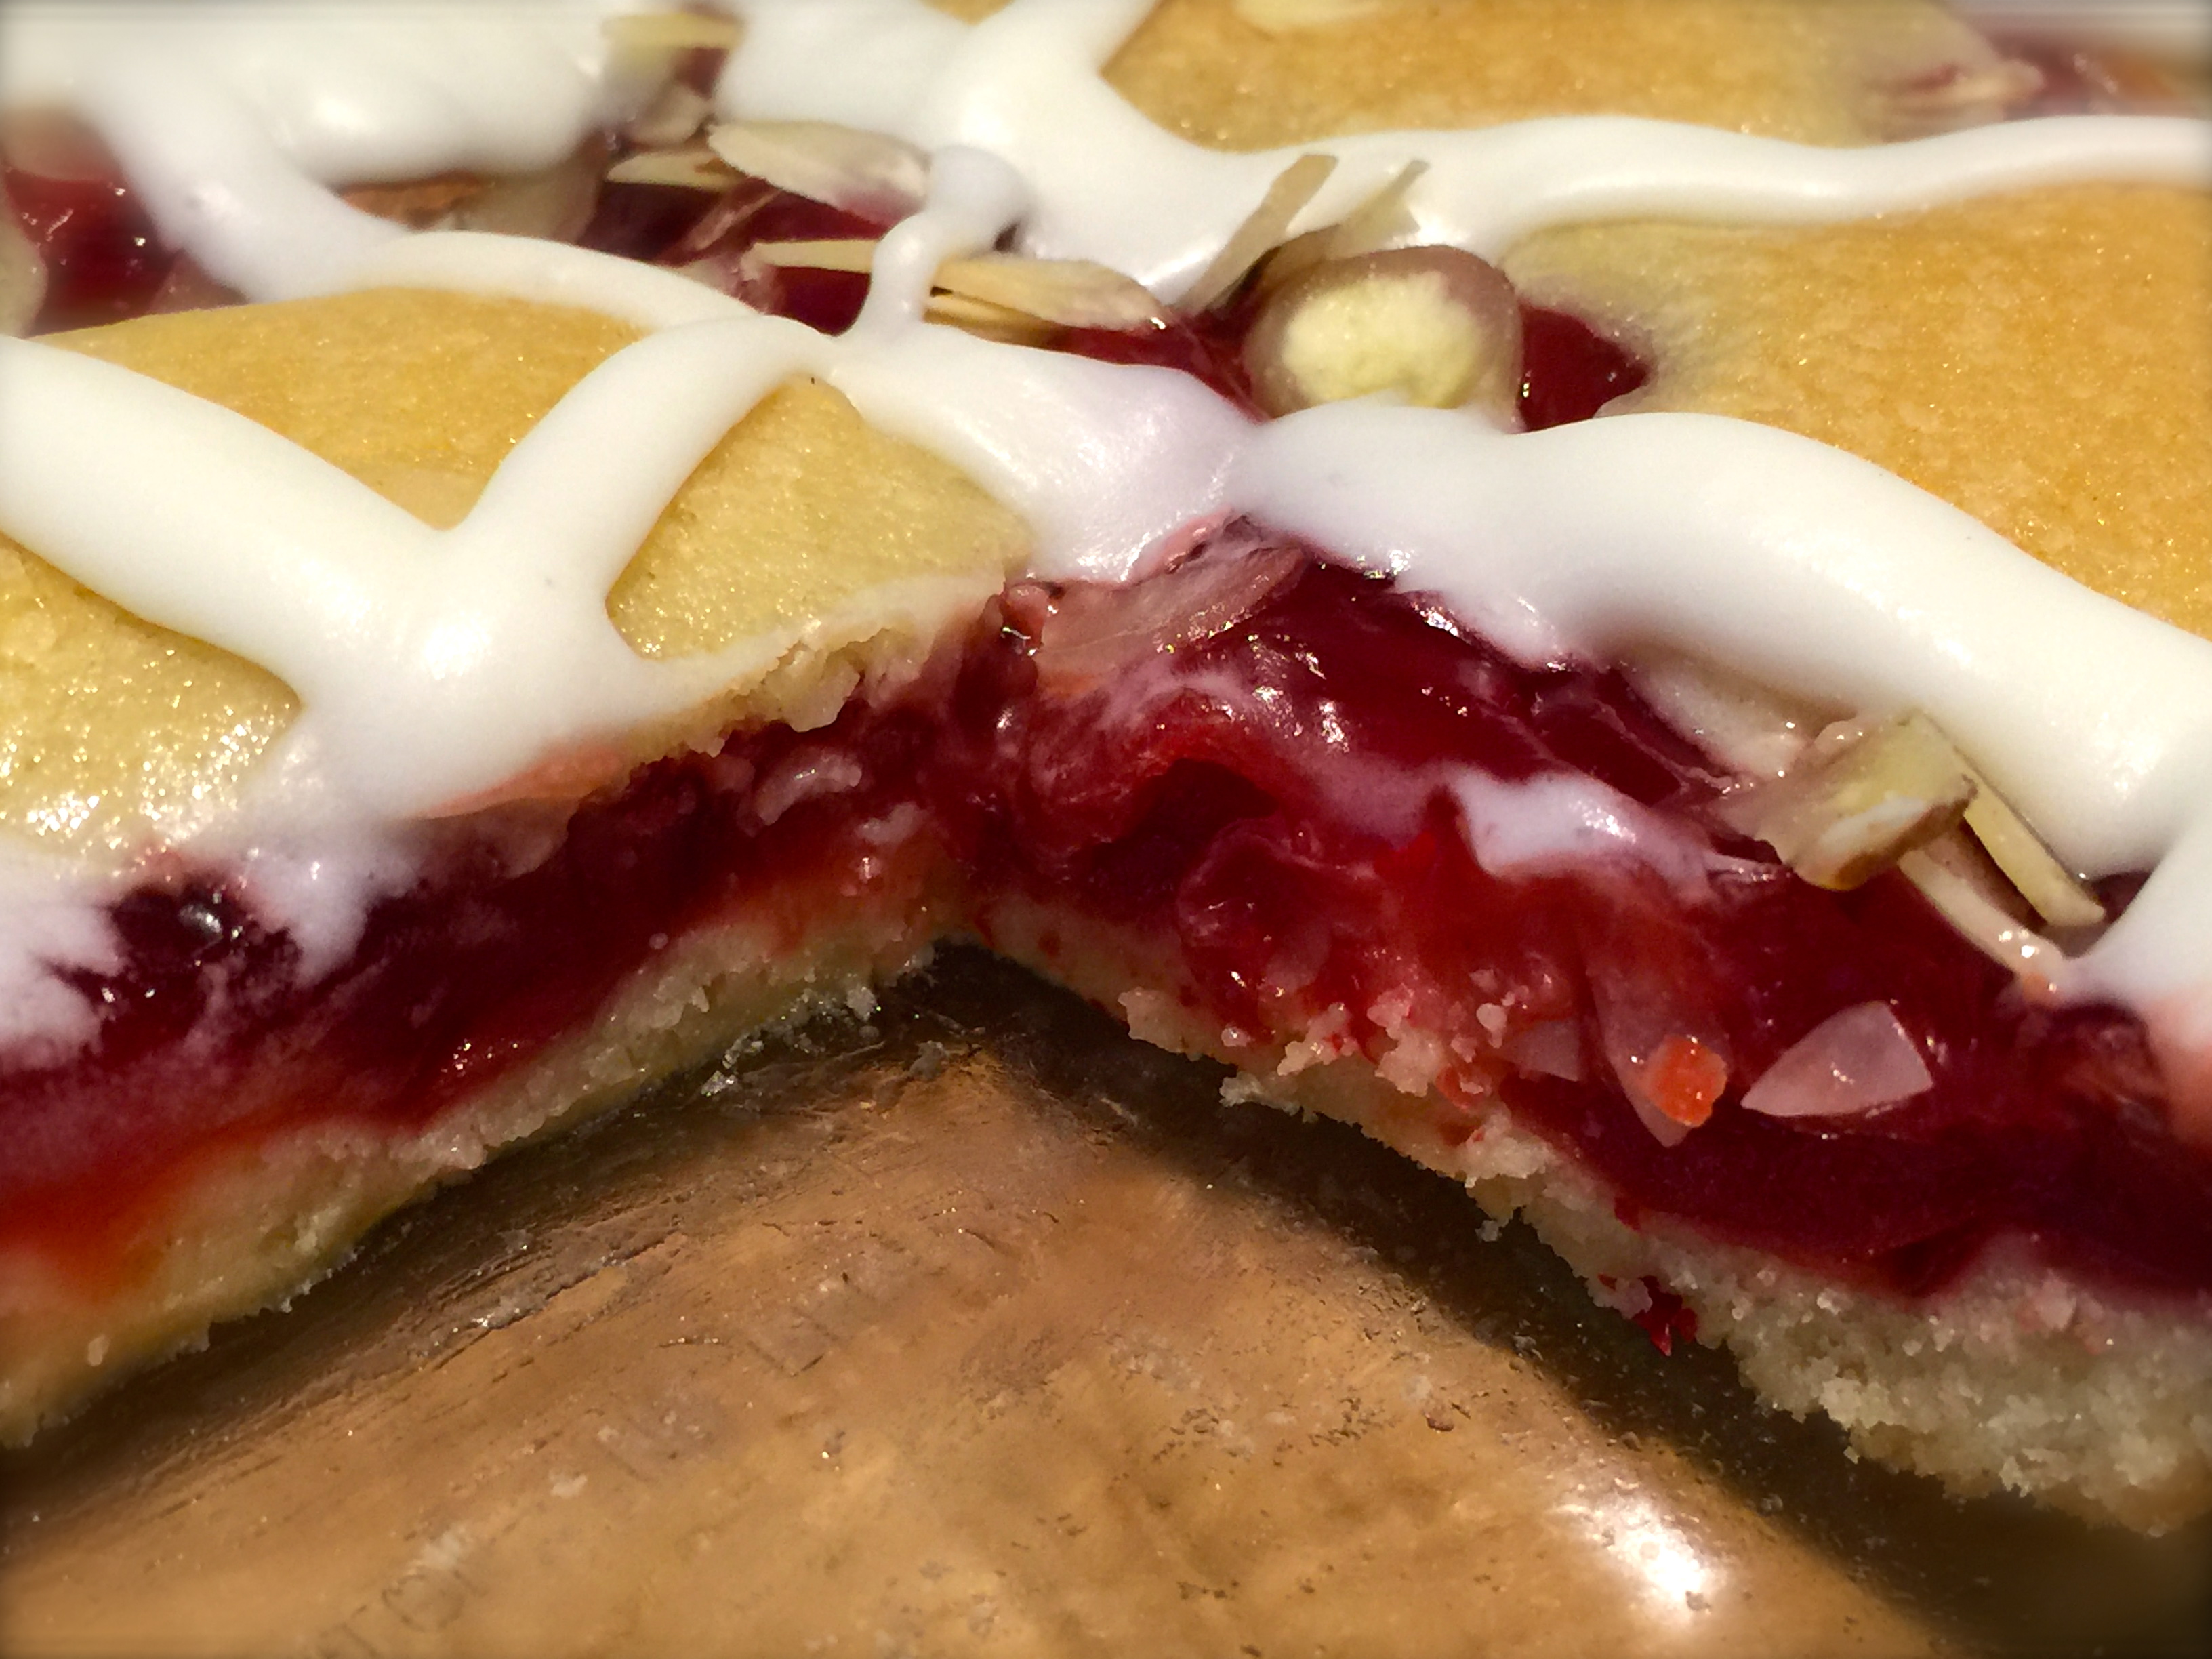
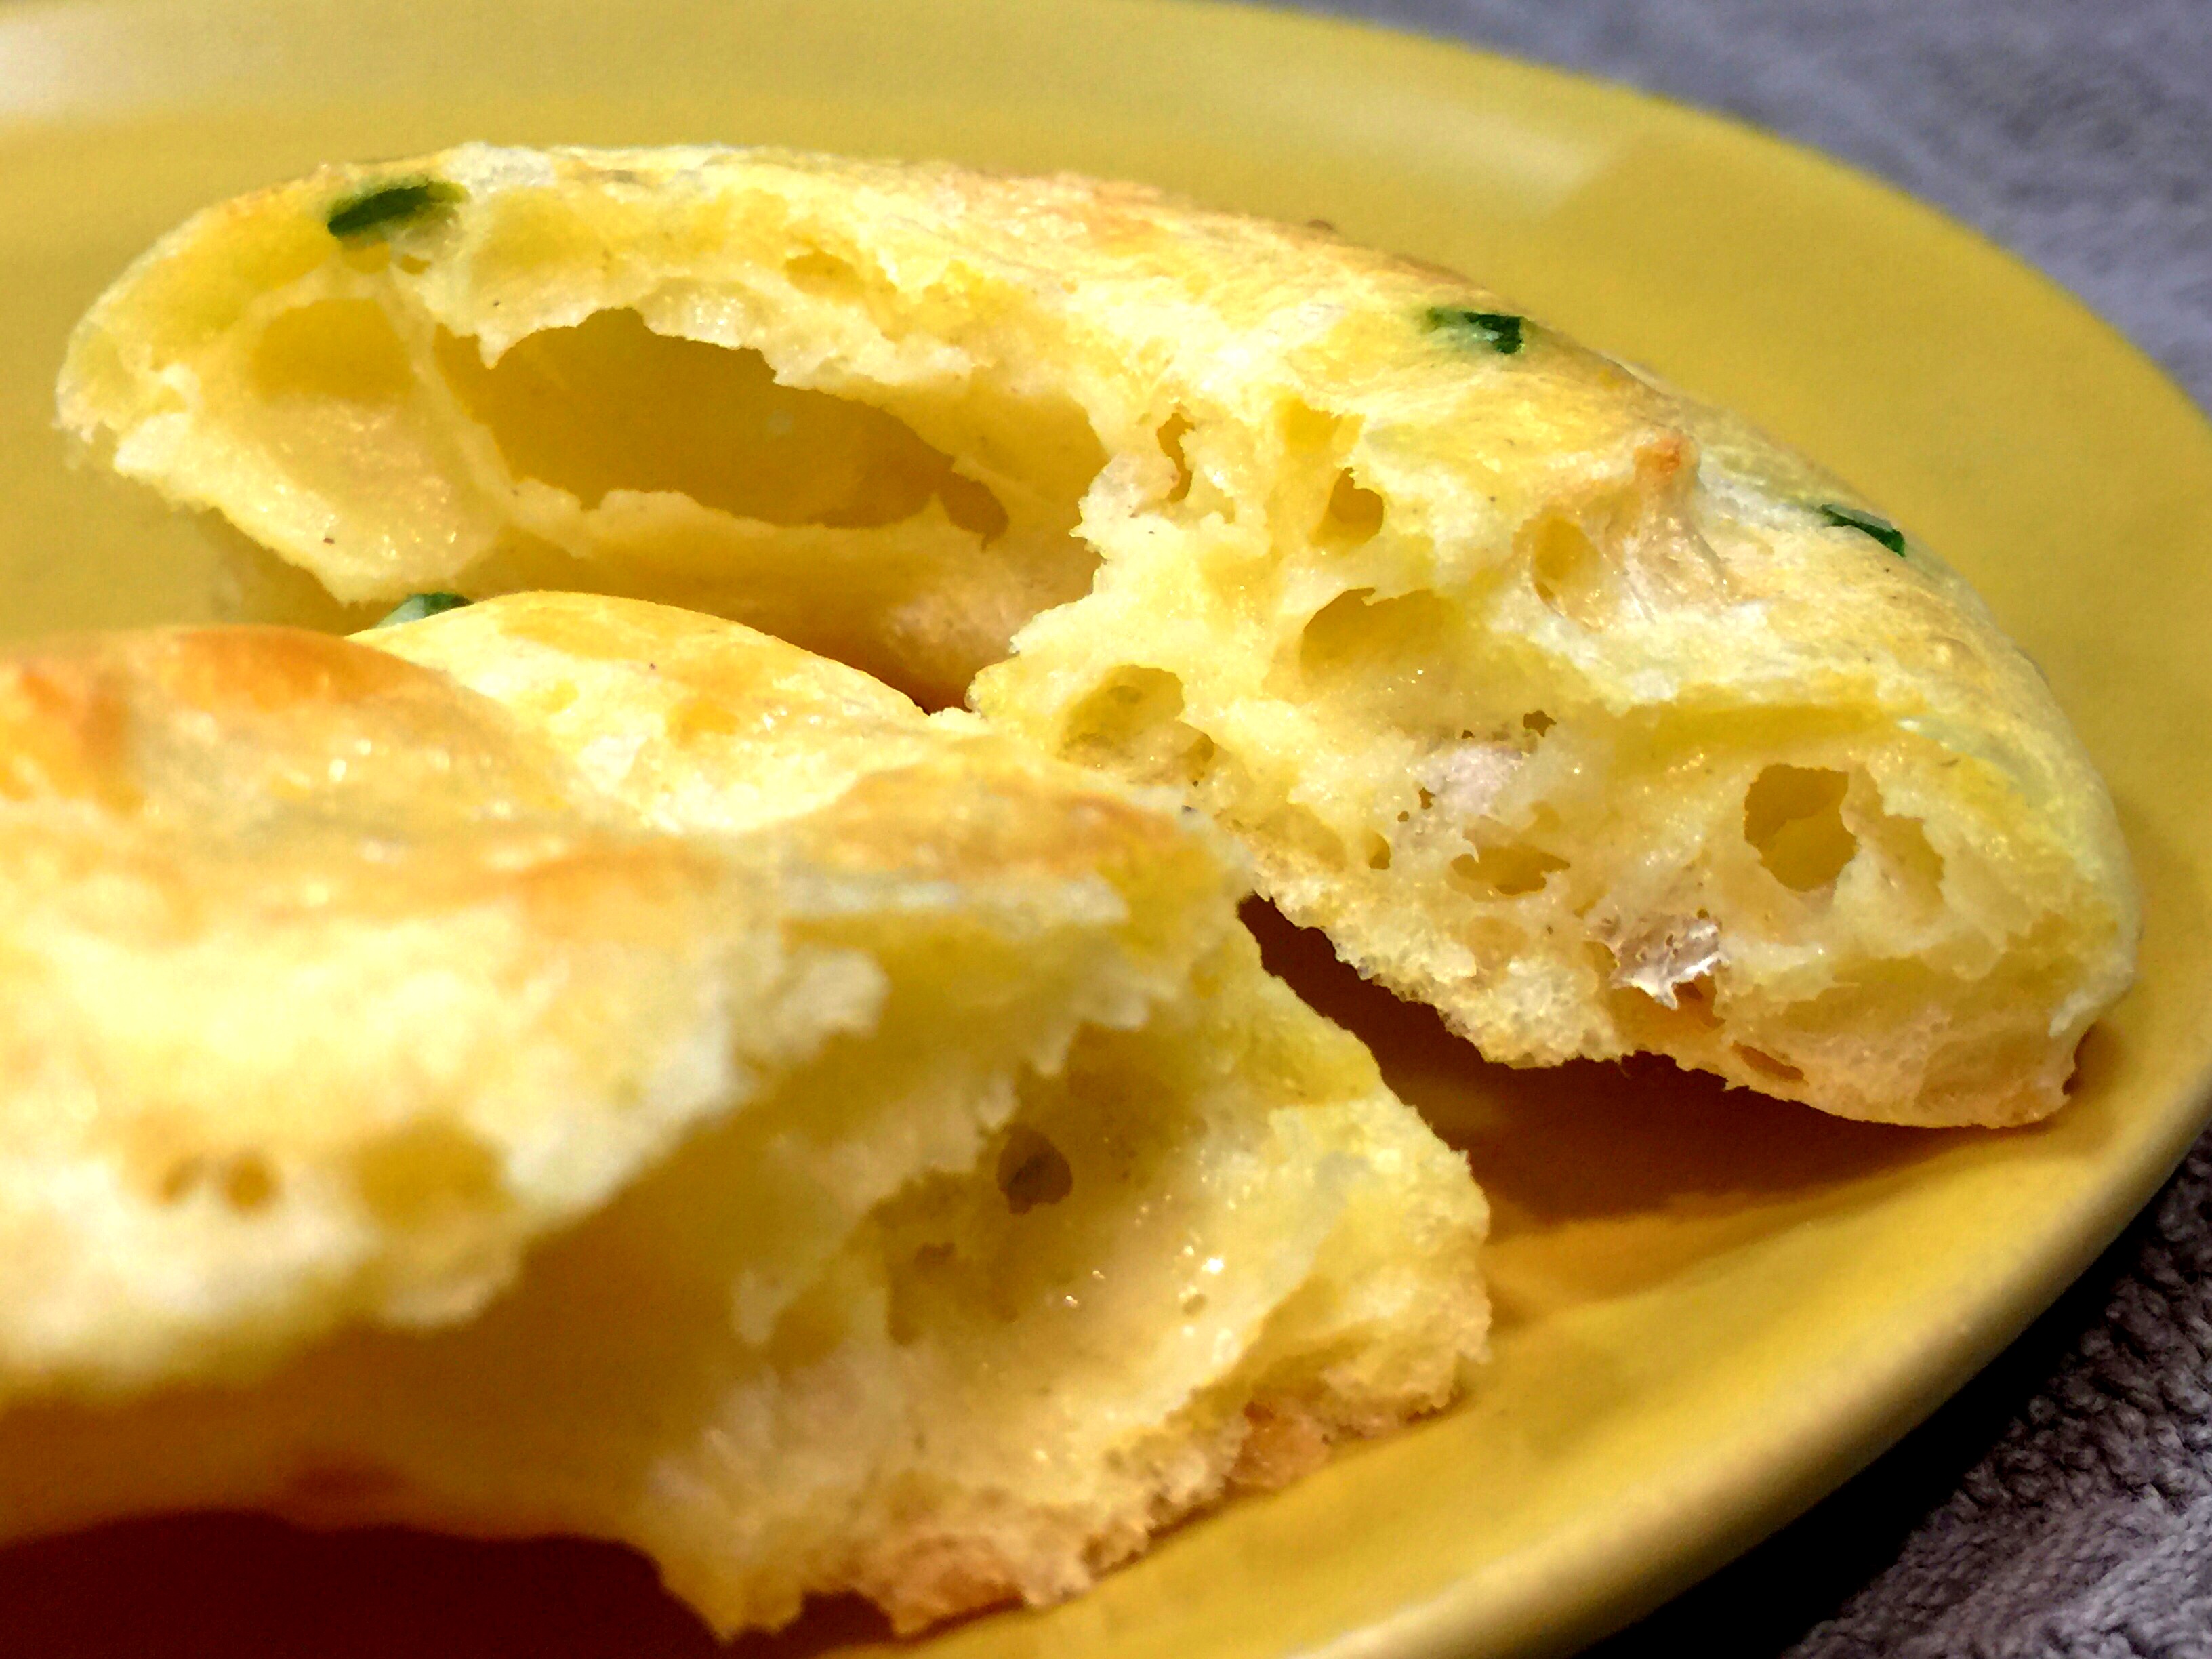
Icing the cookies


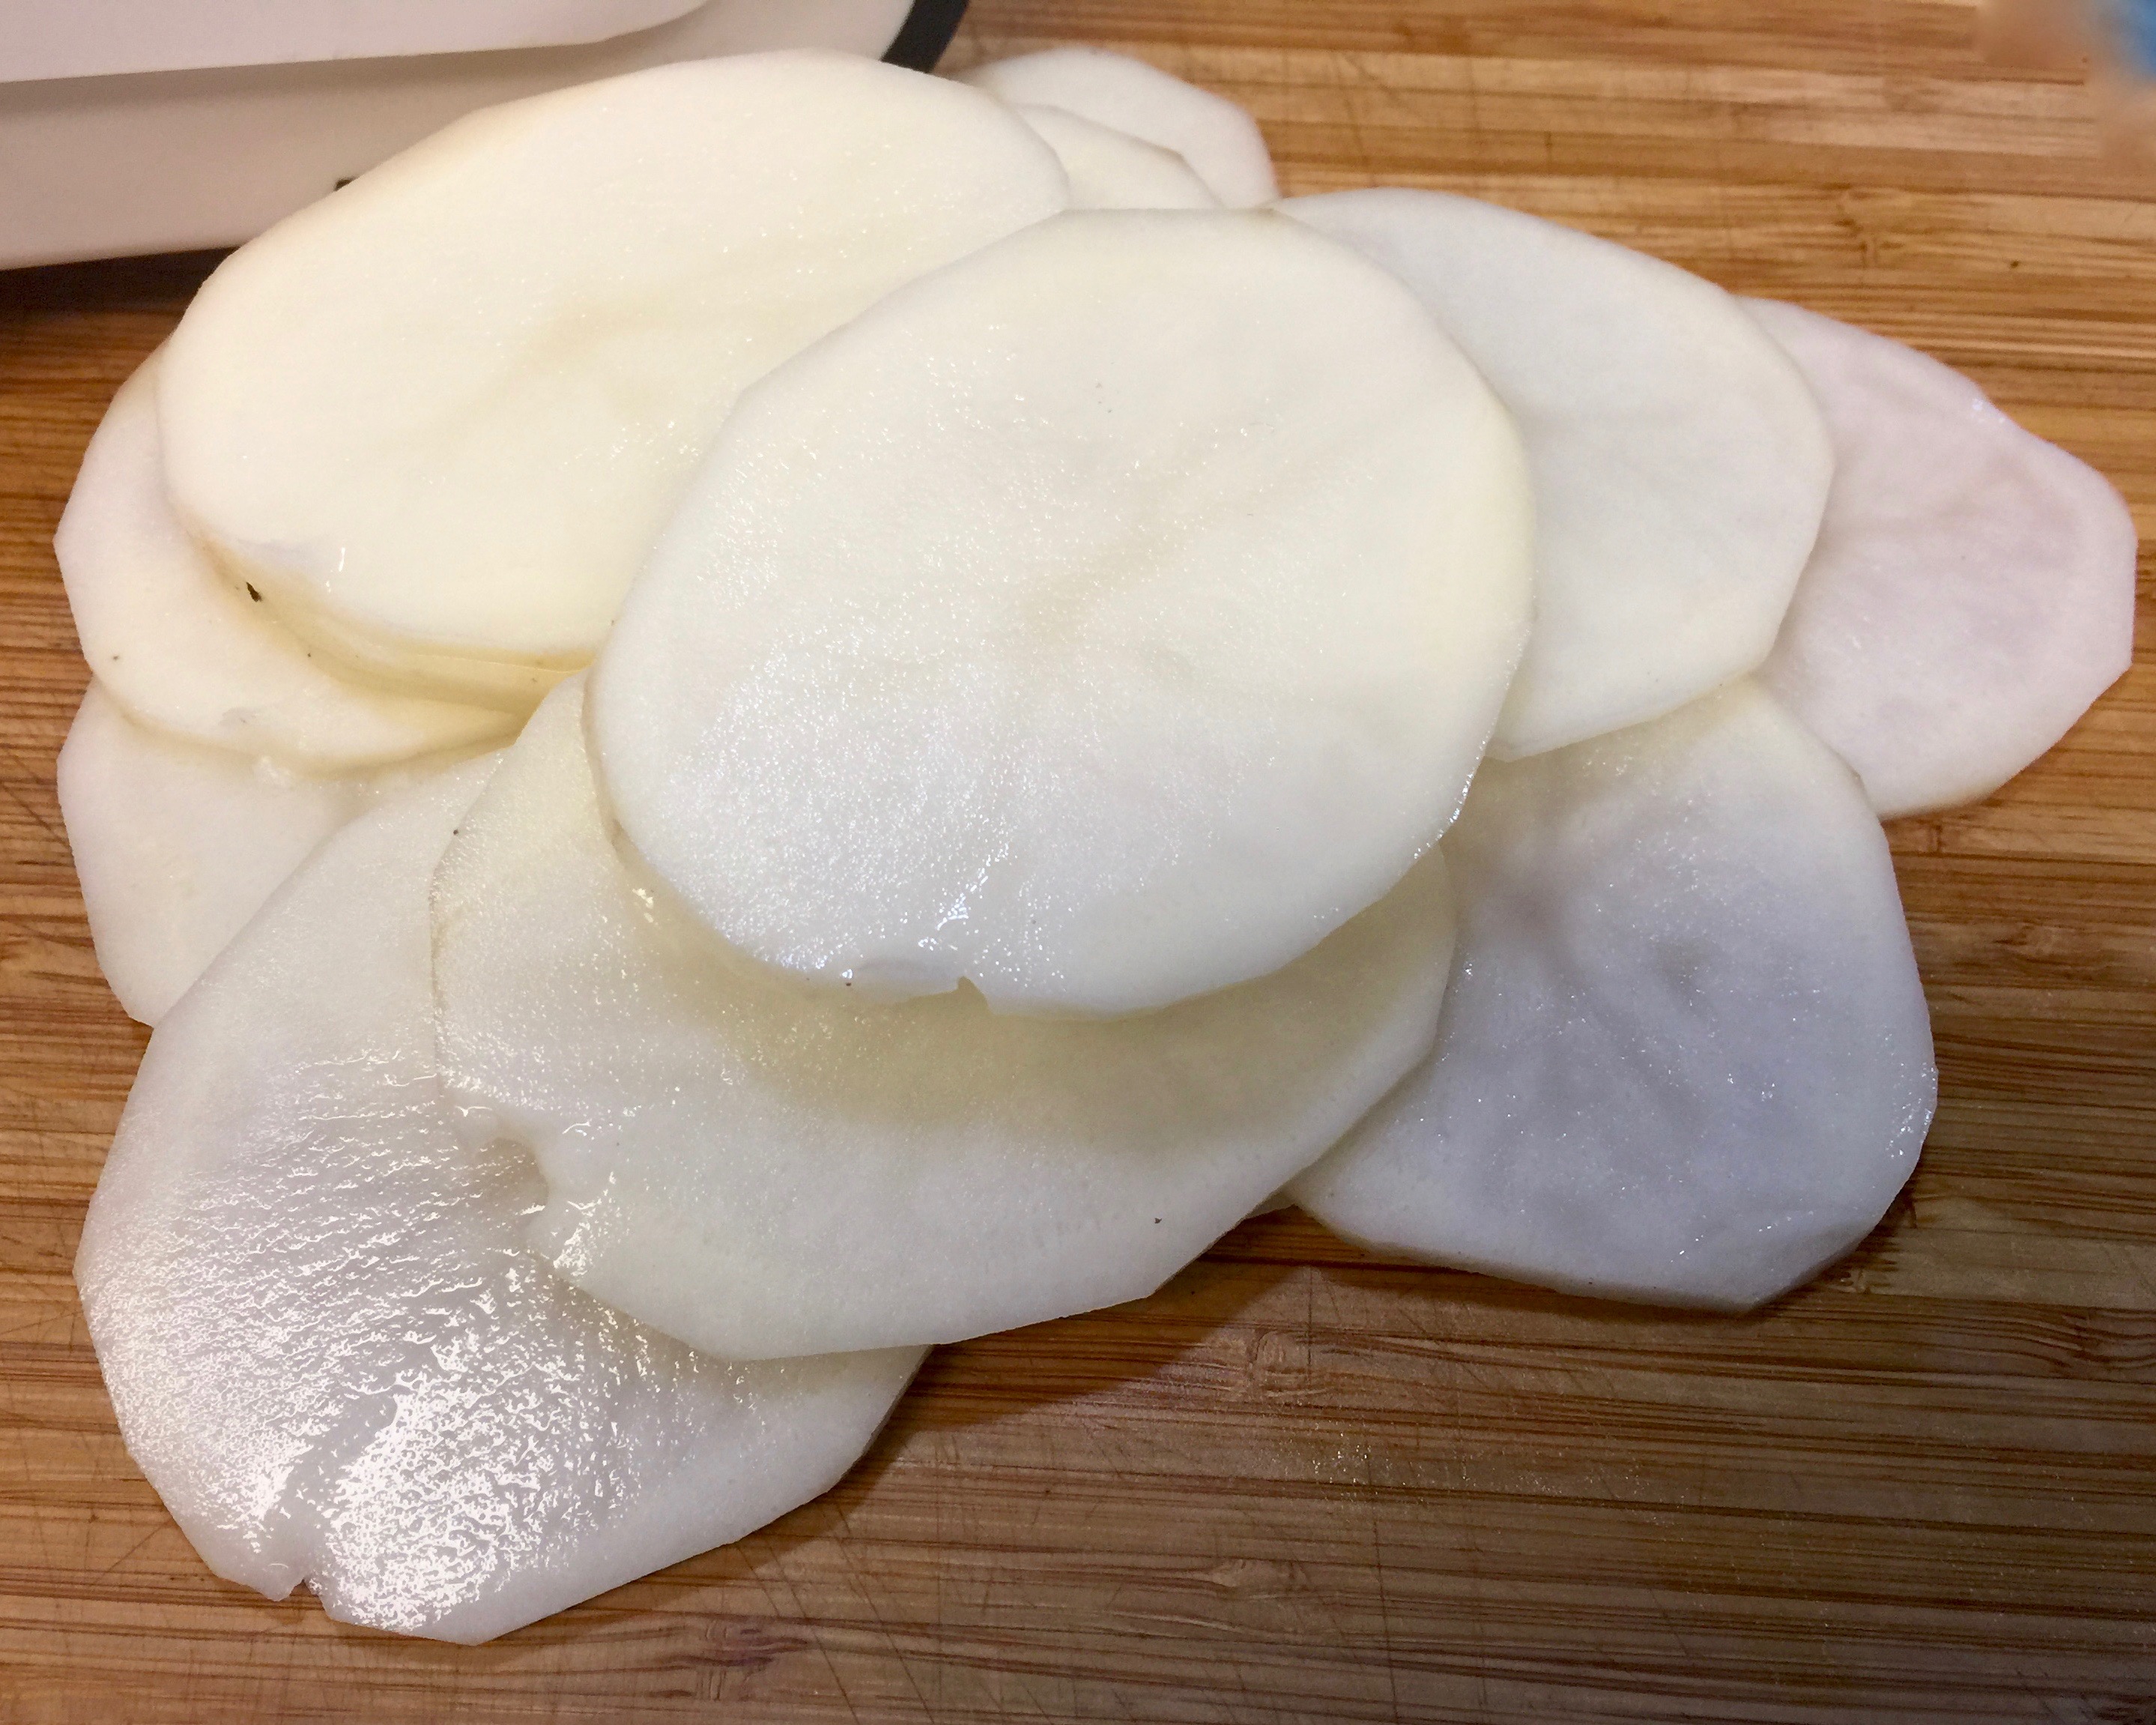
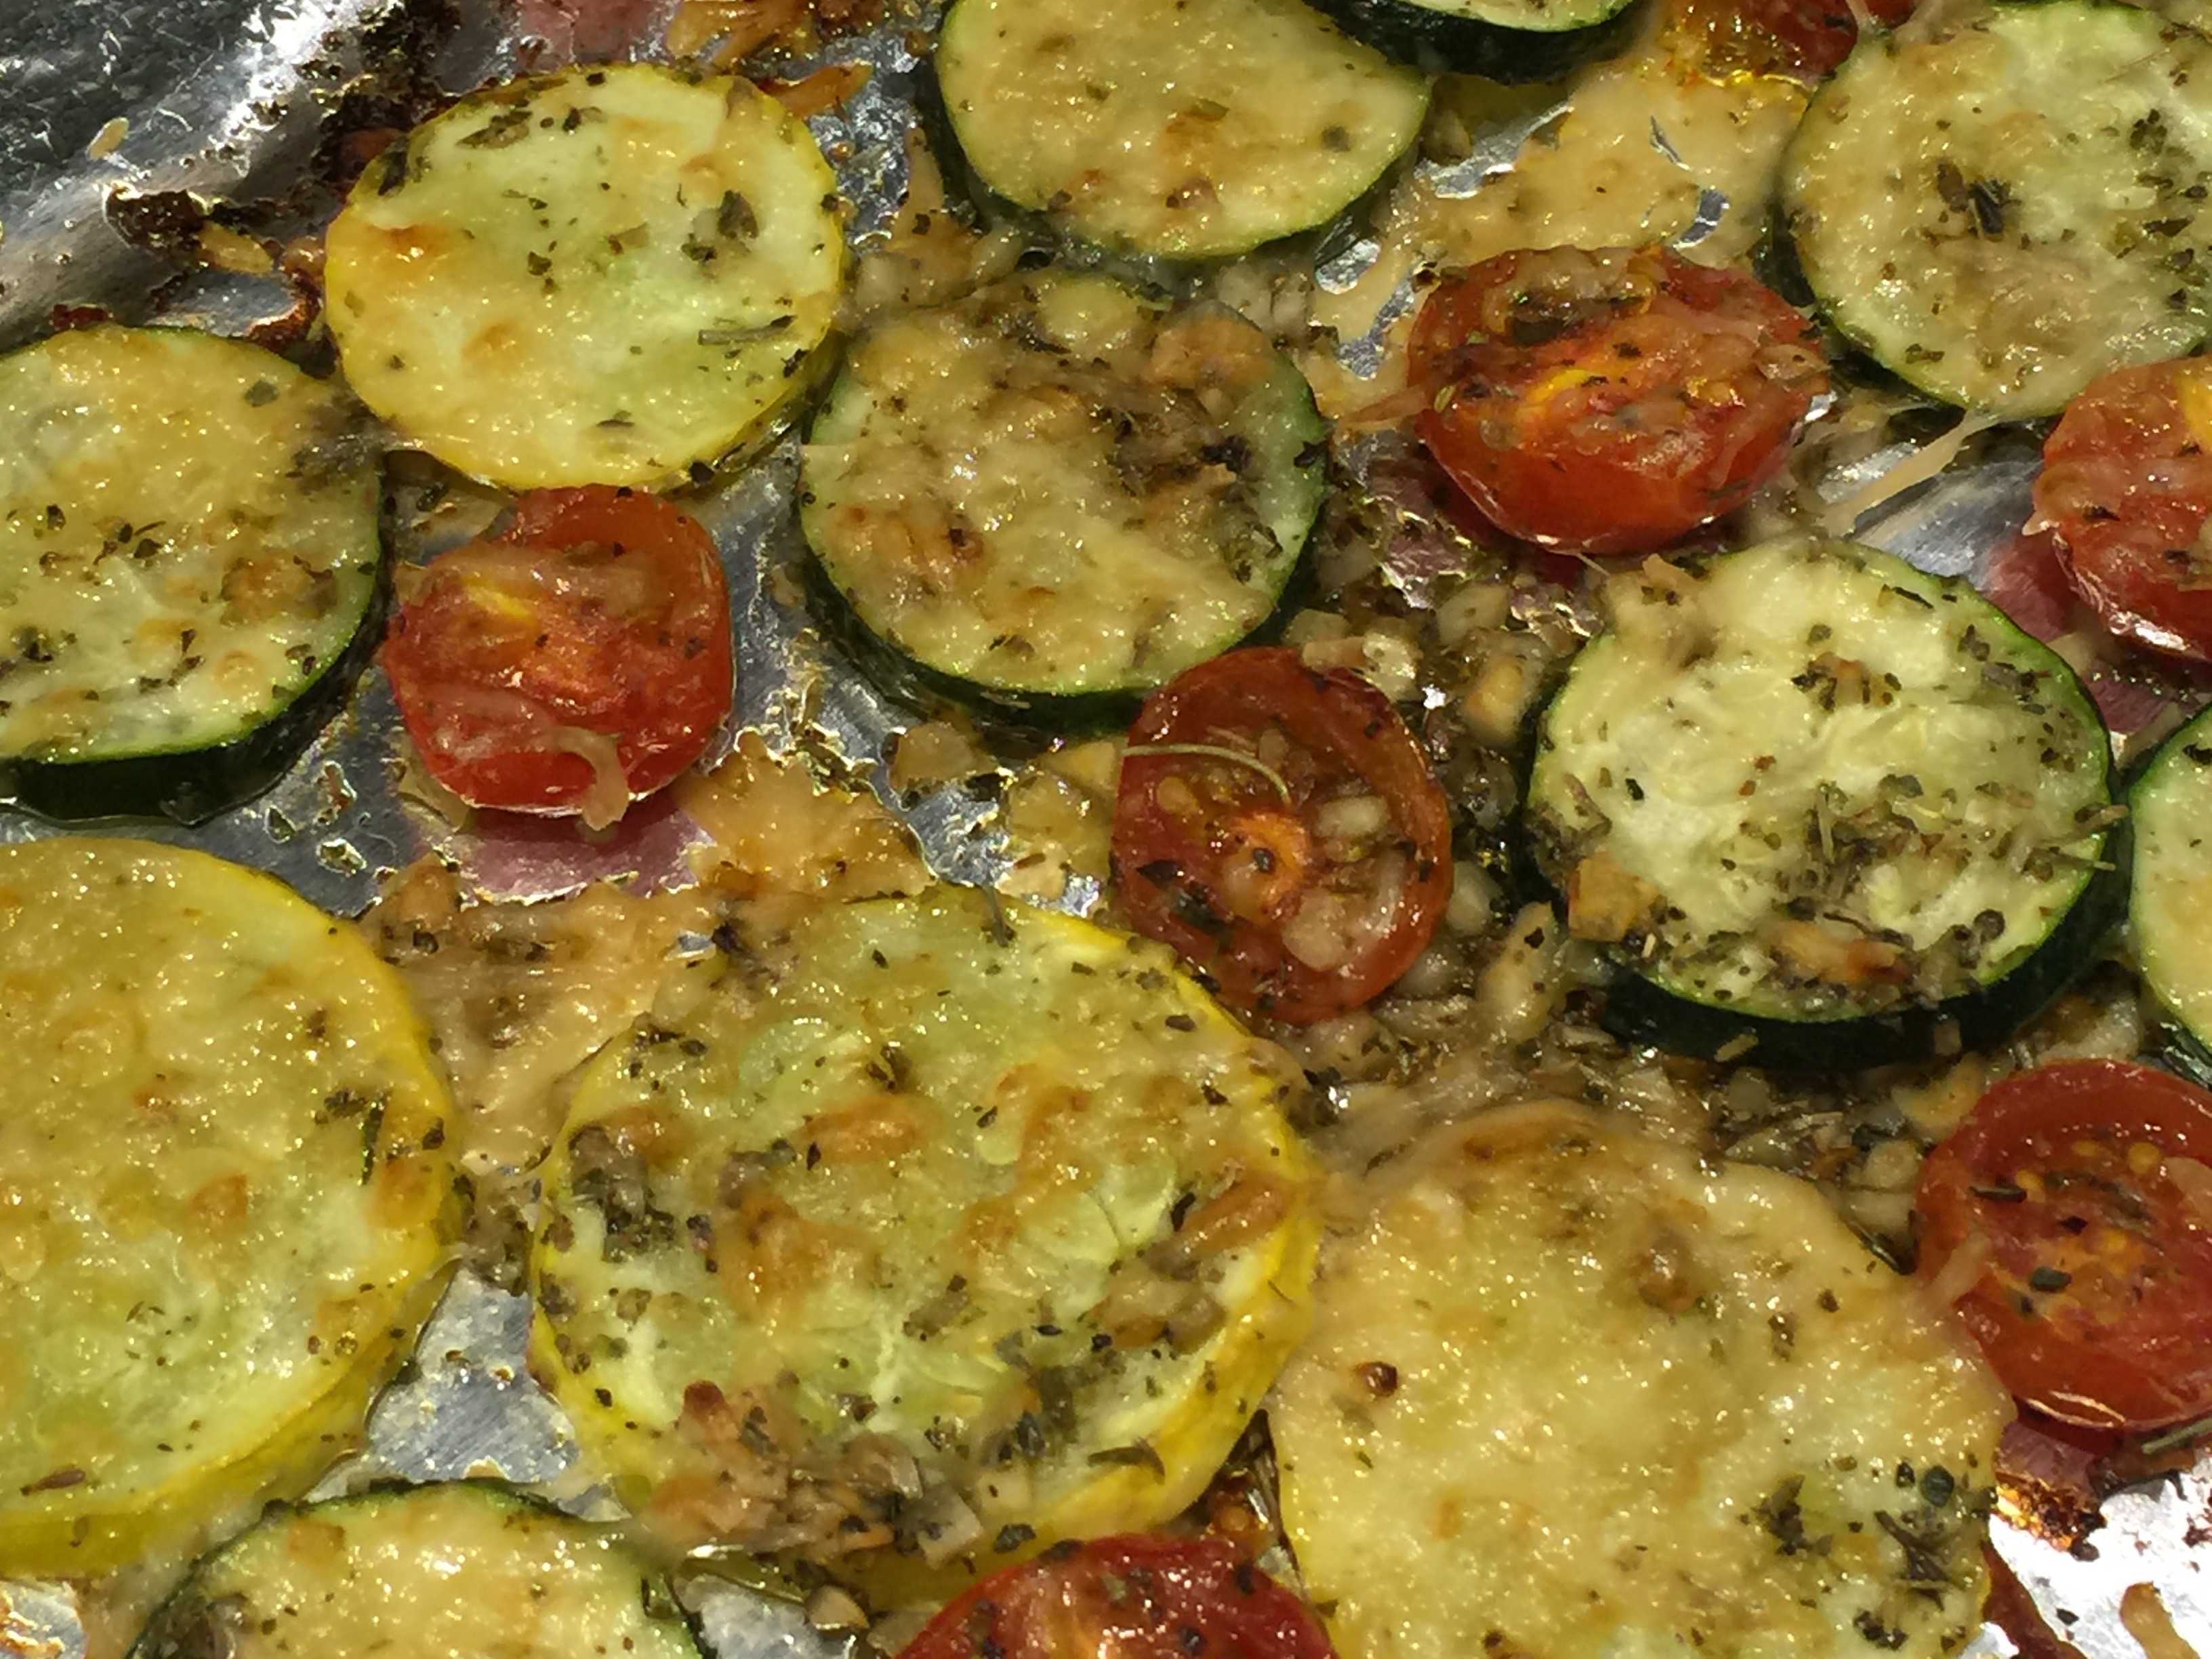
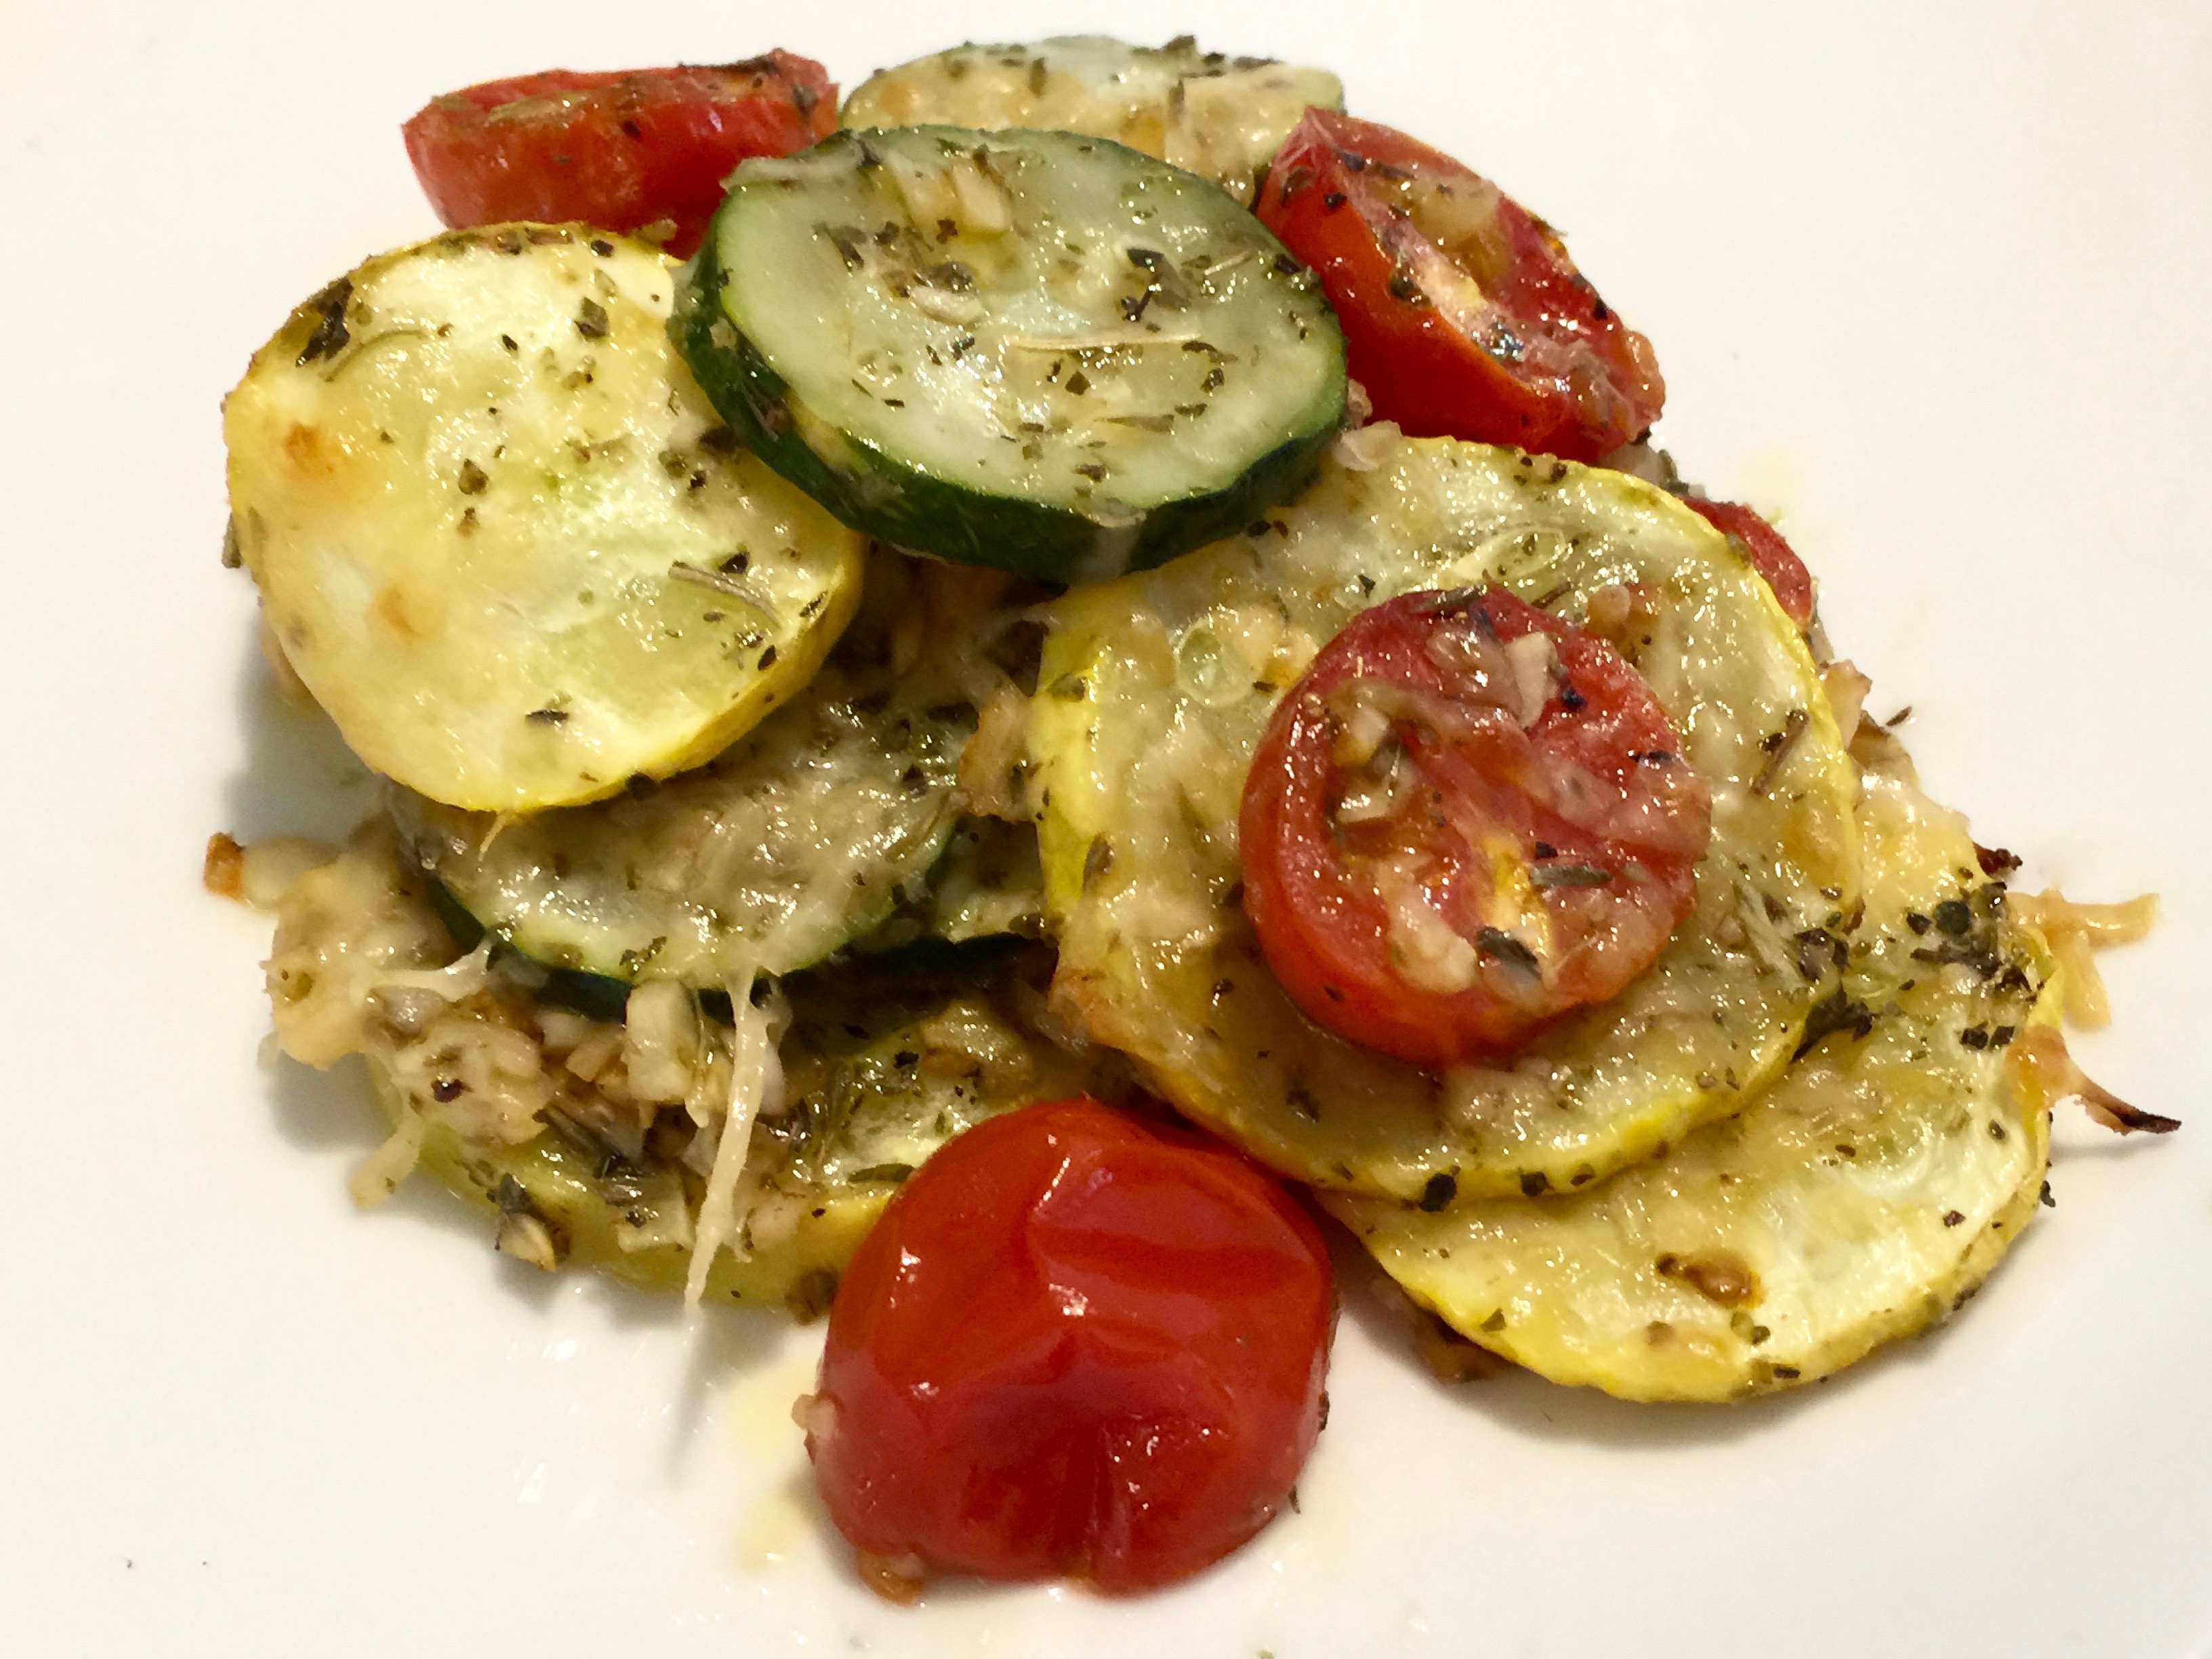
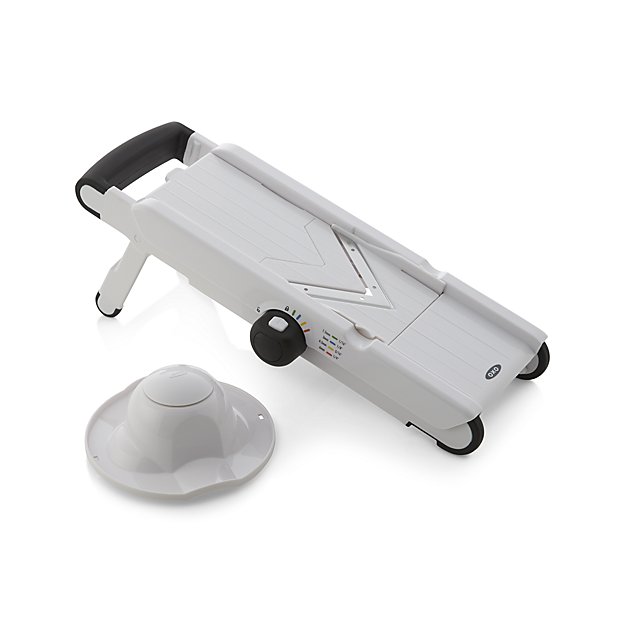
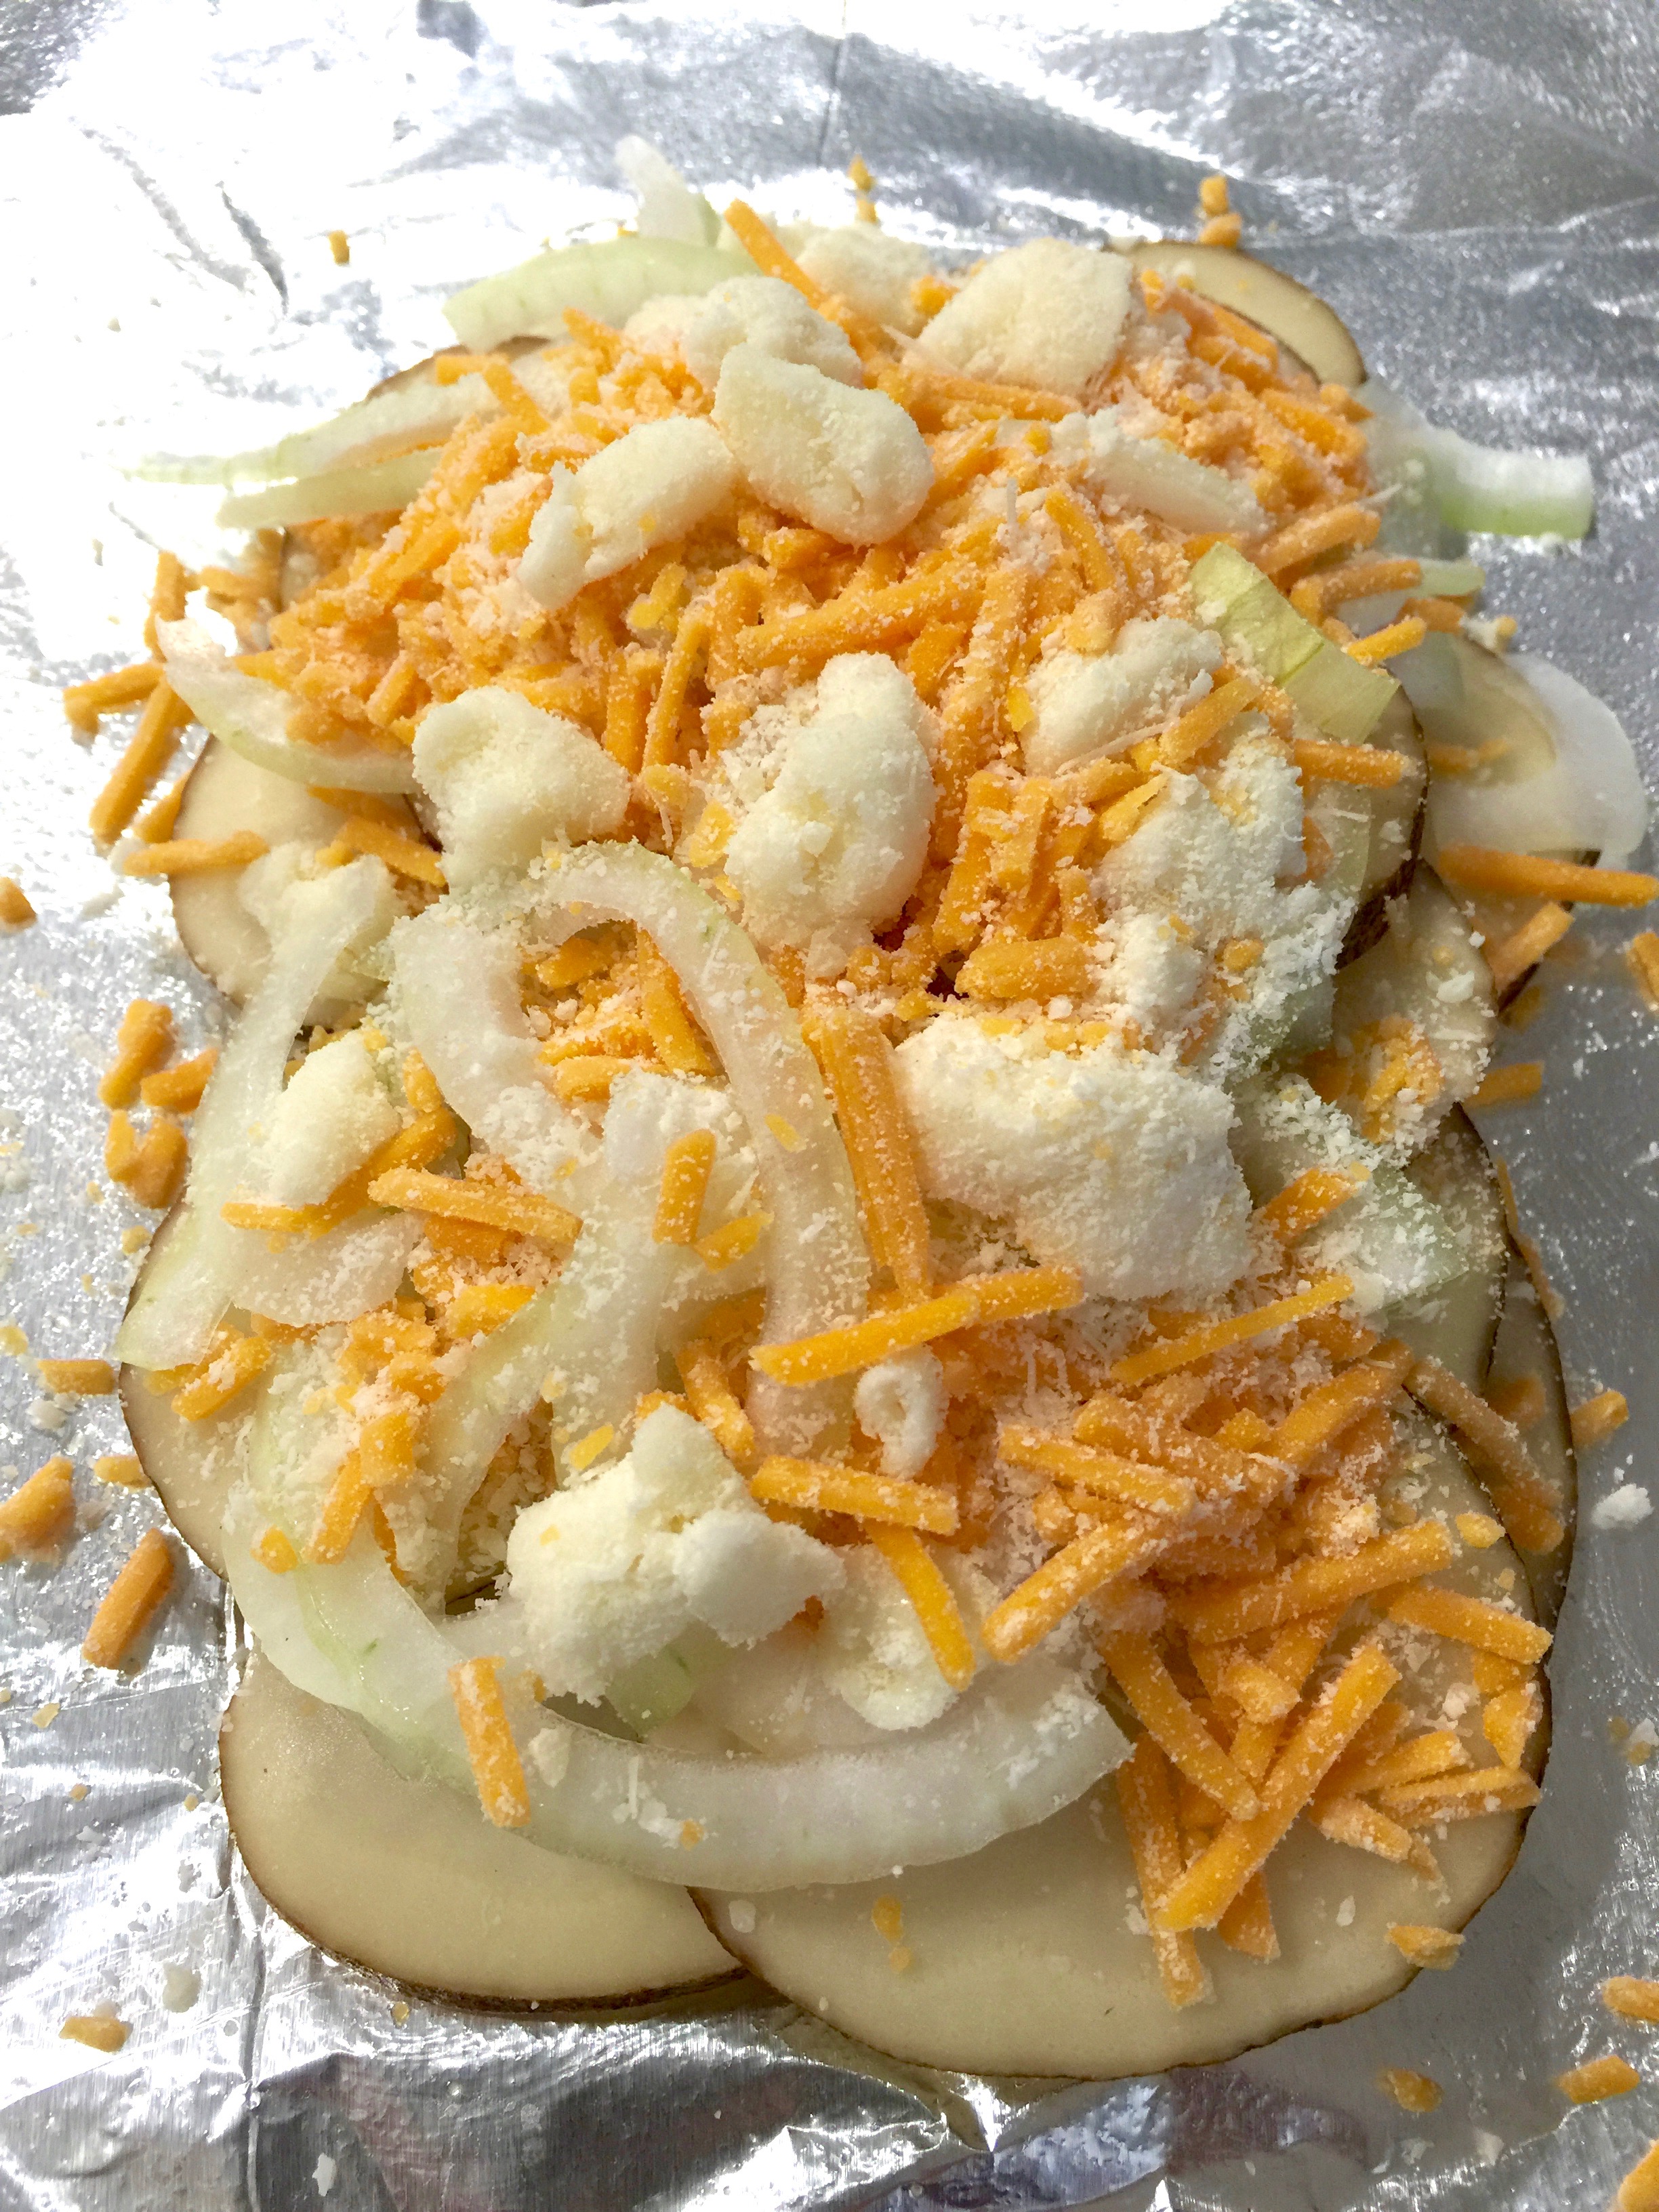
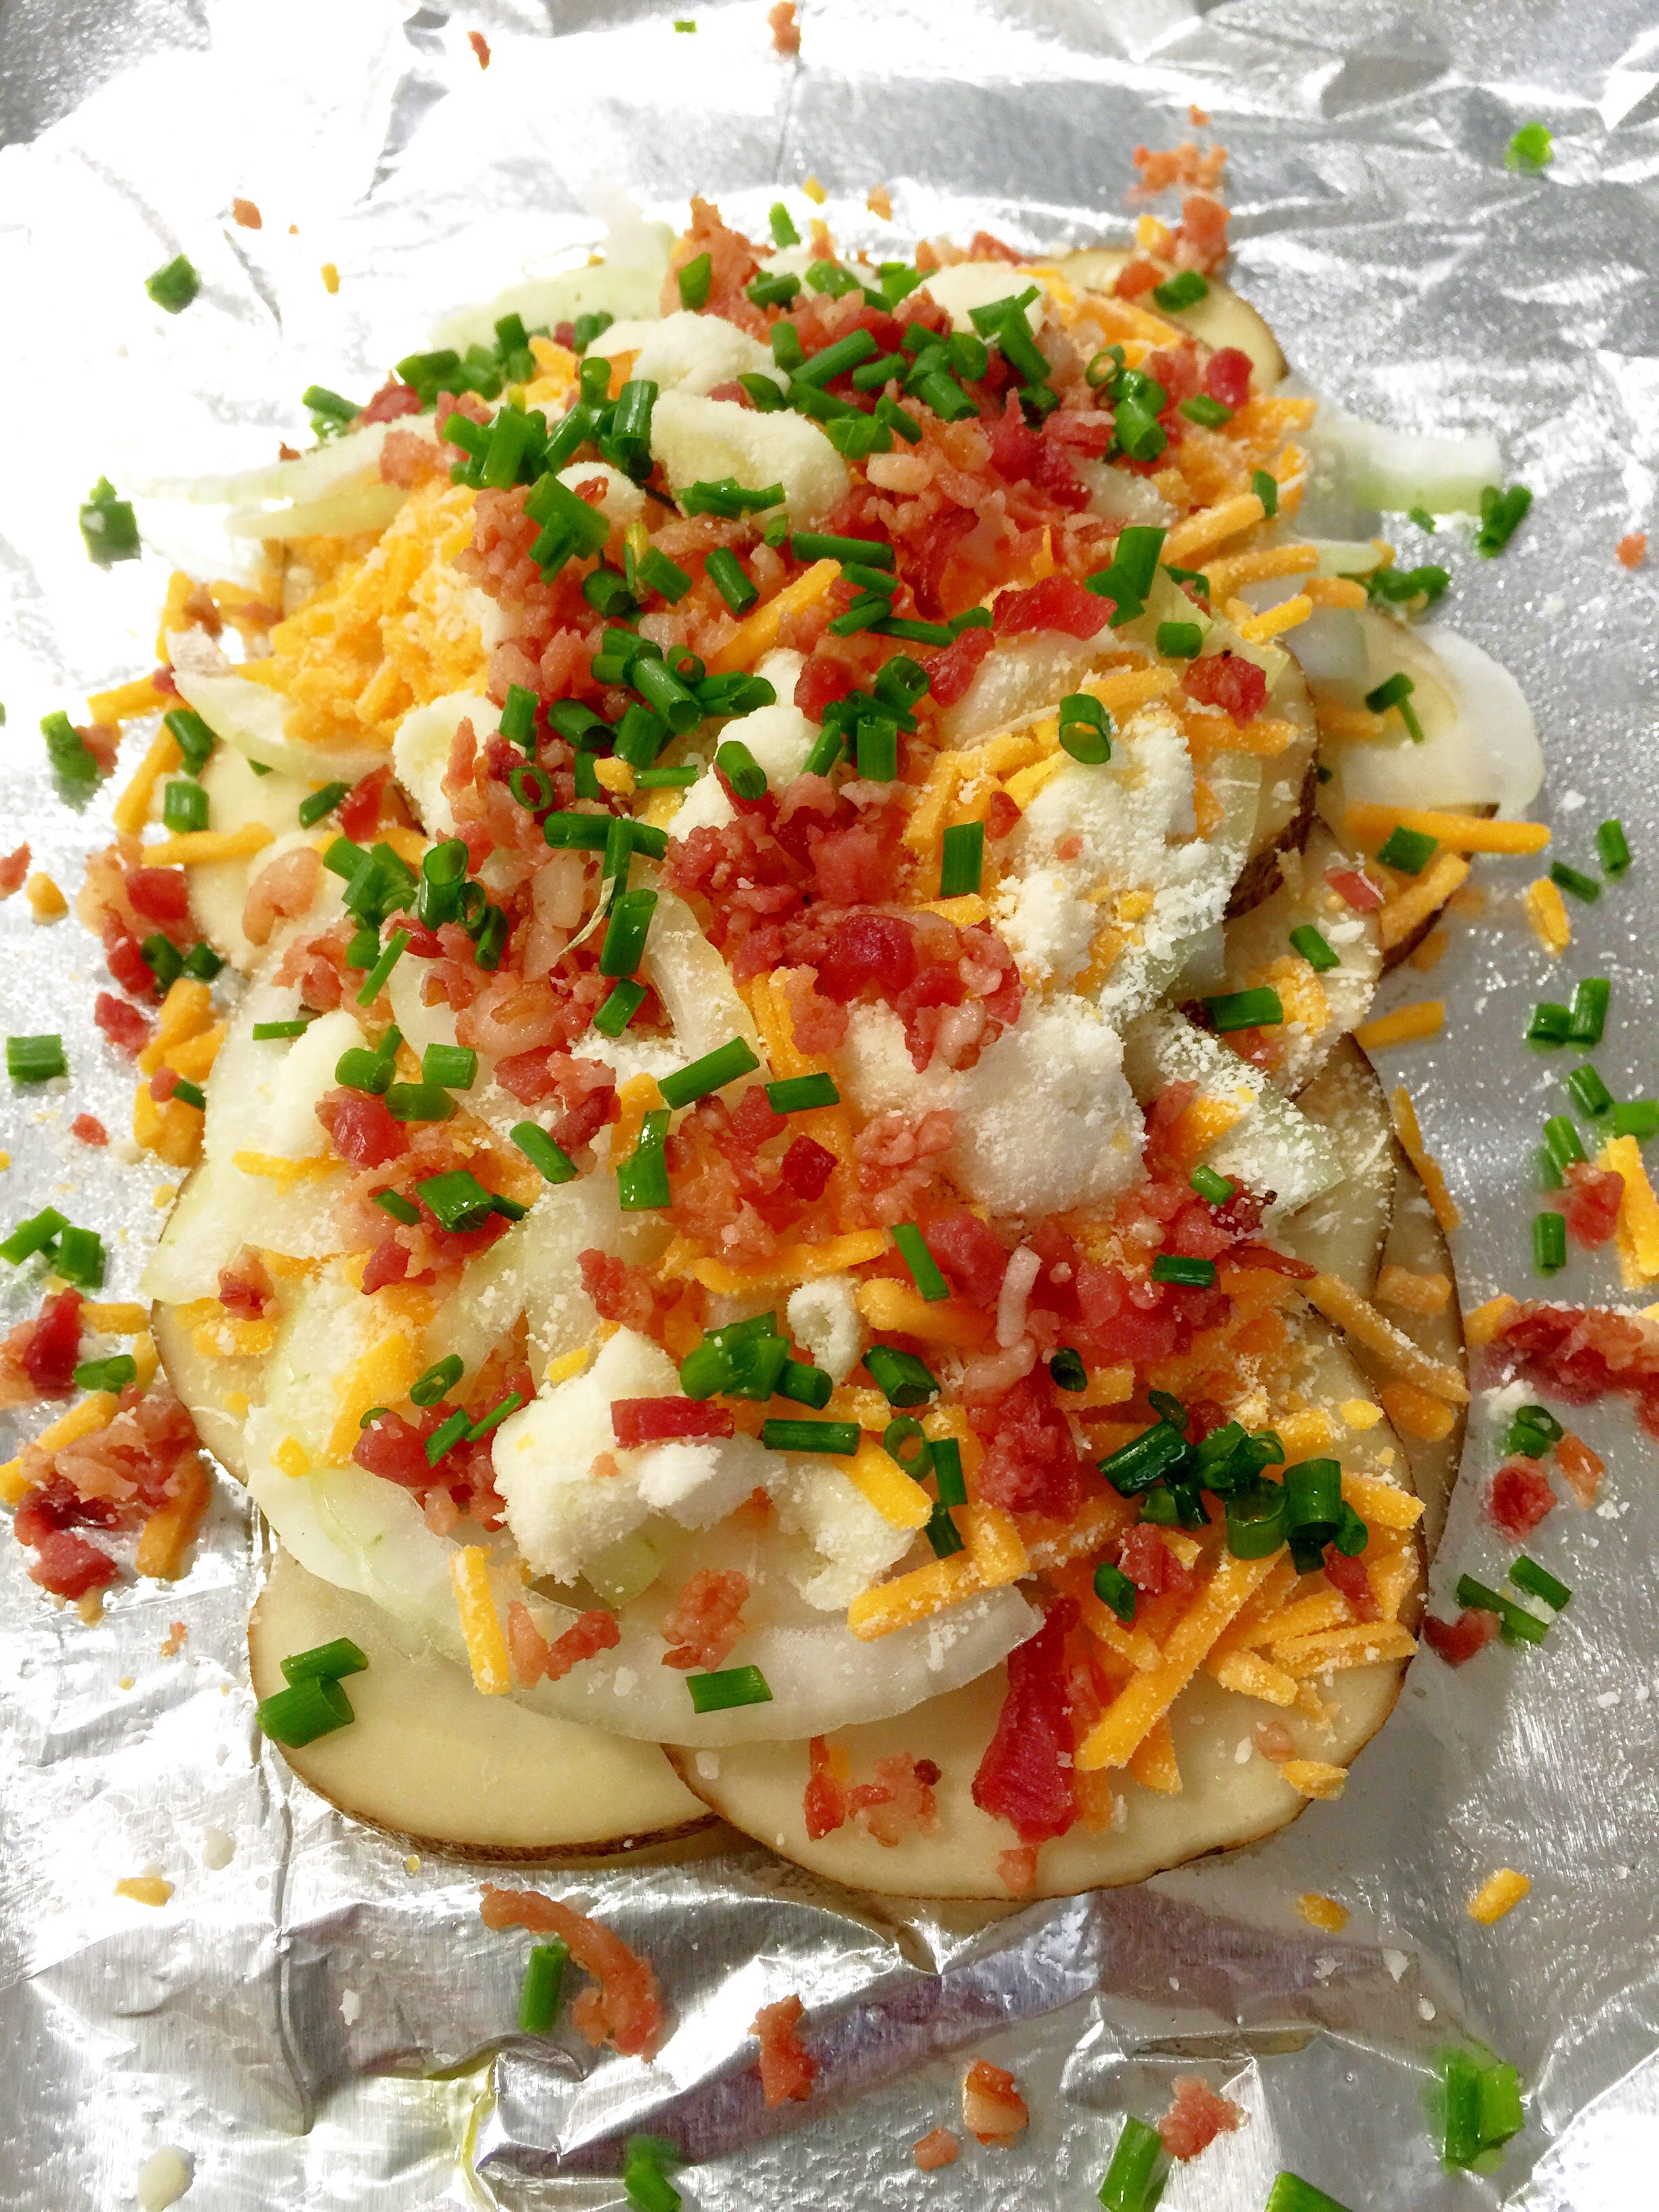
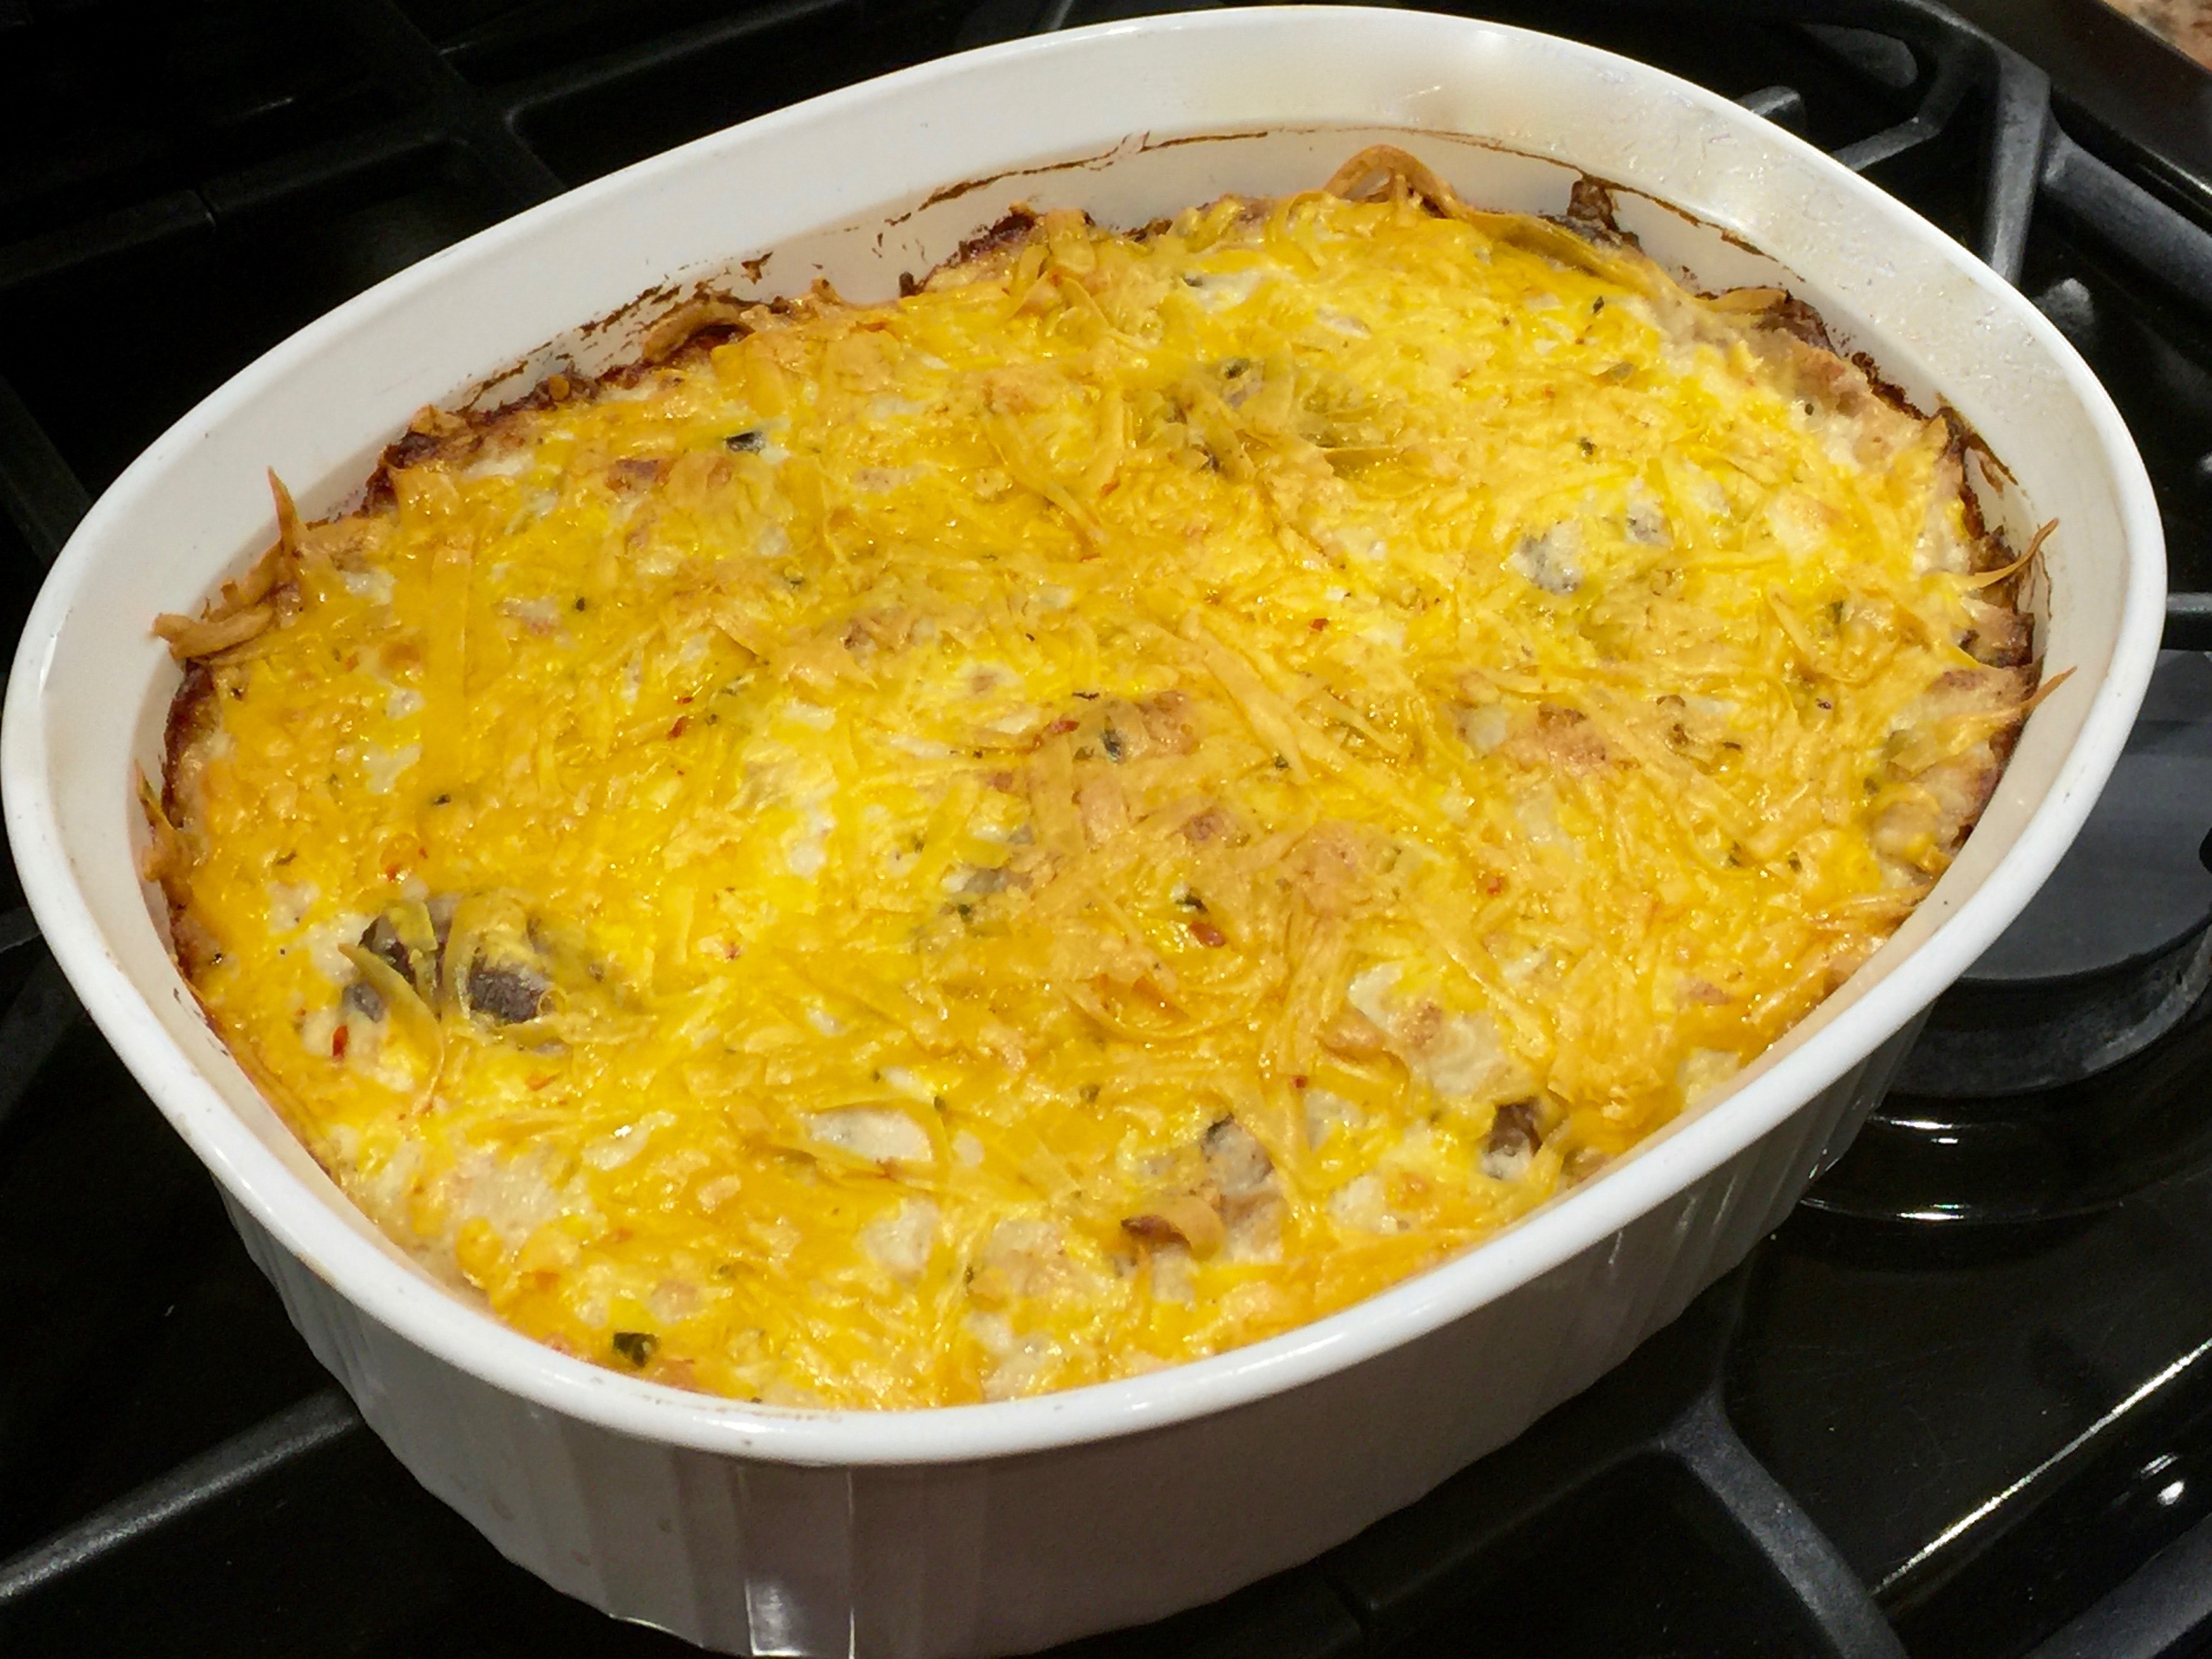
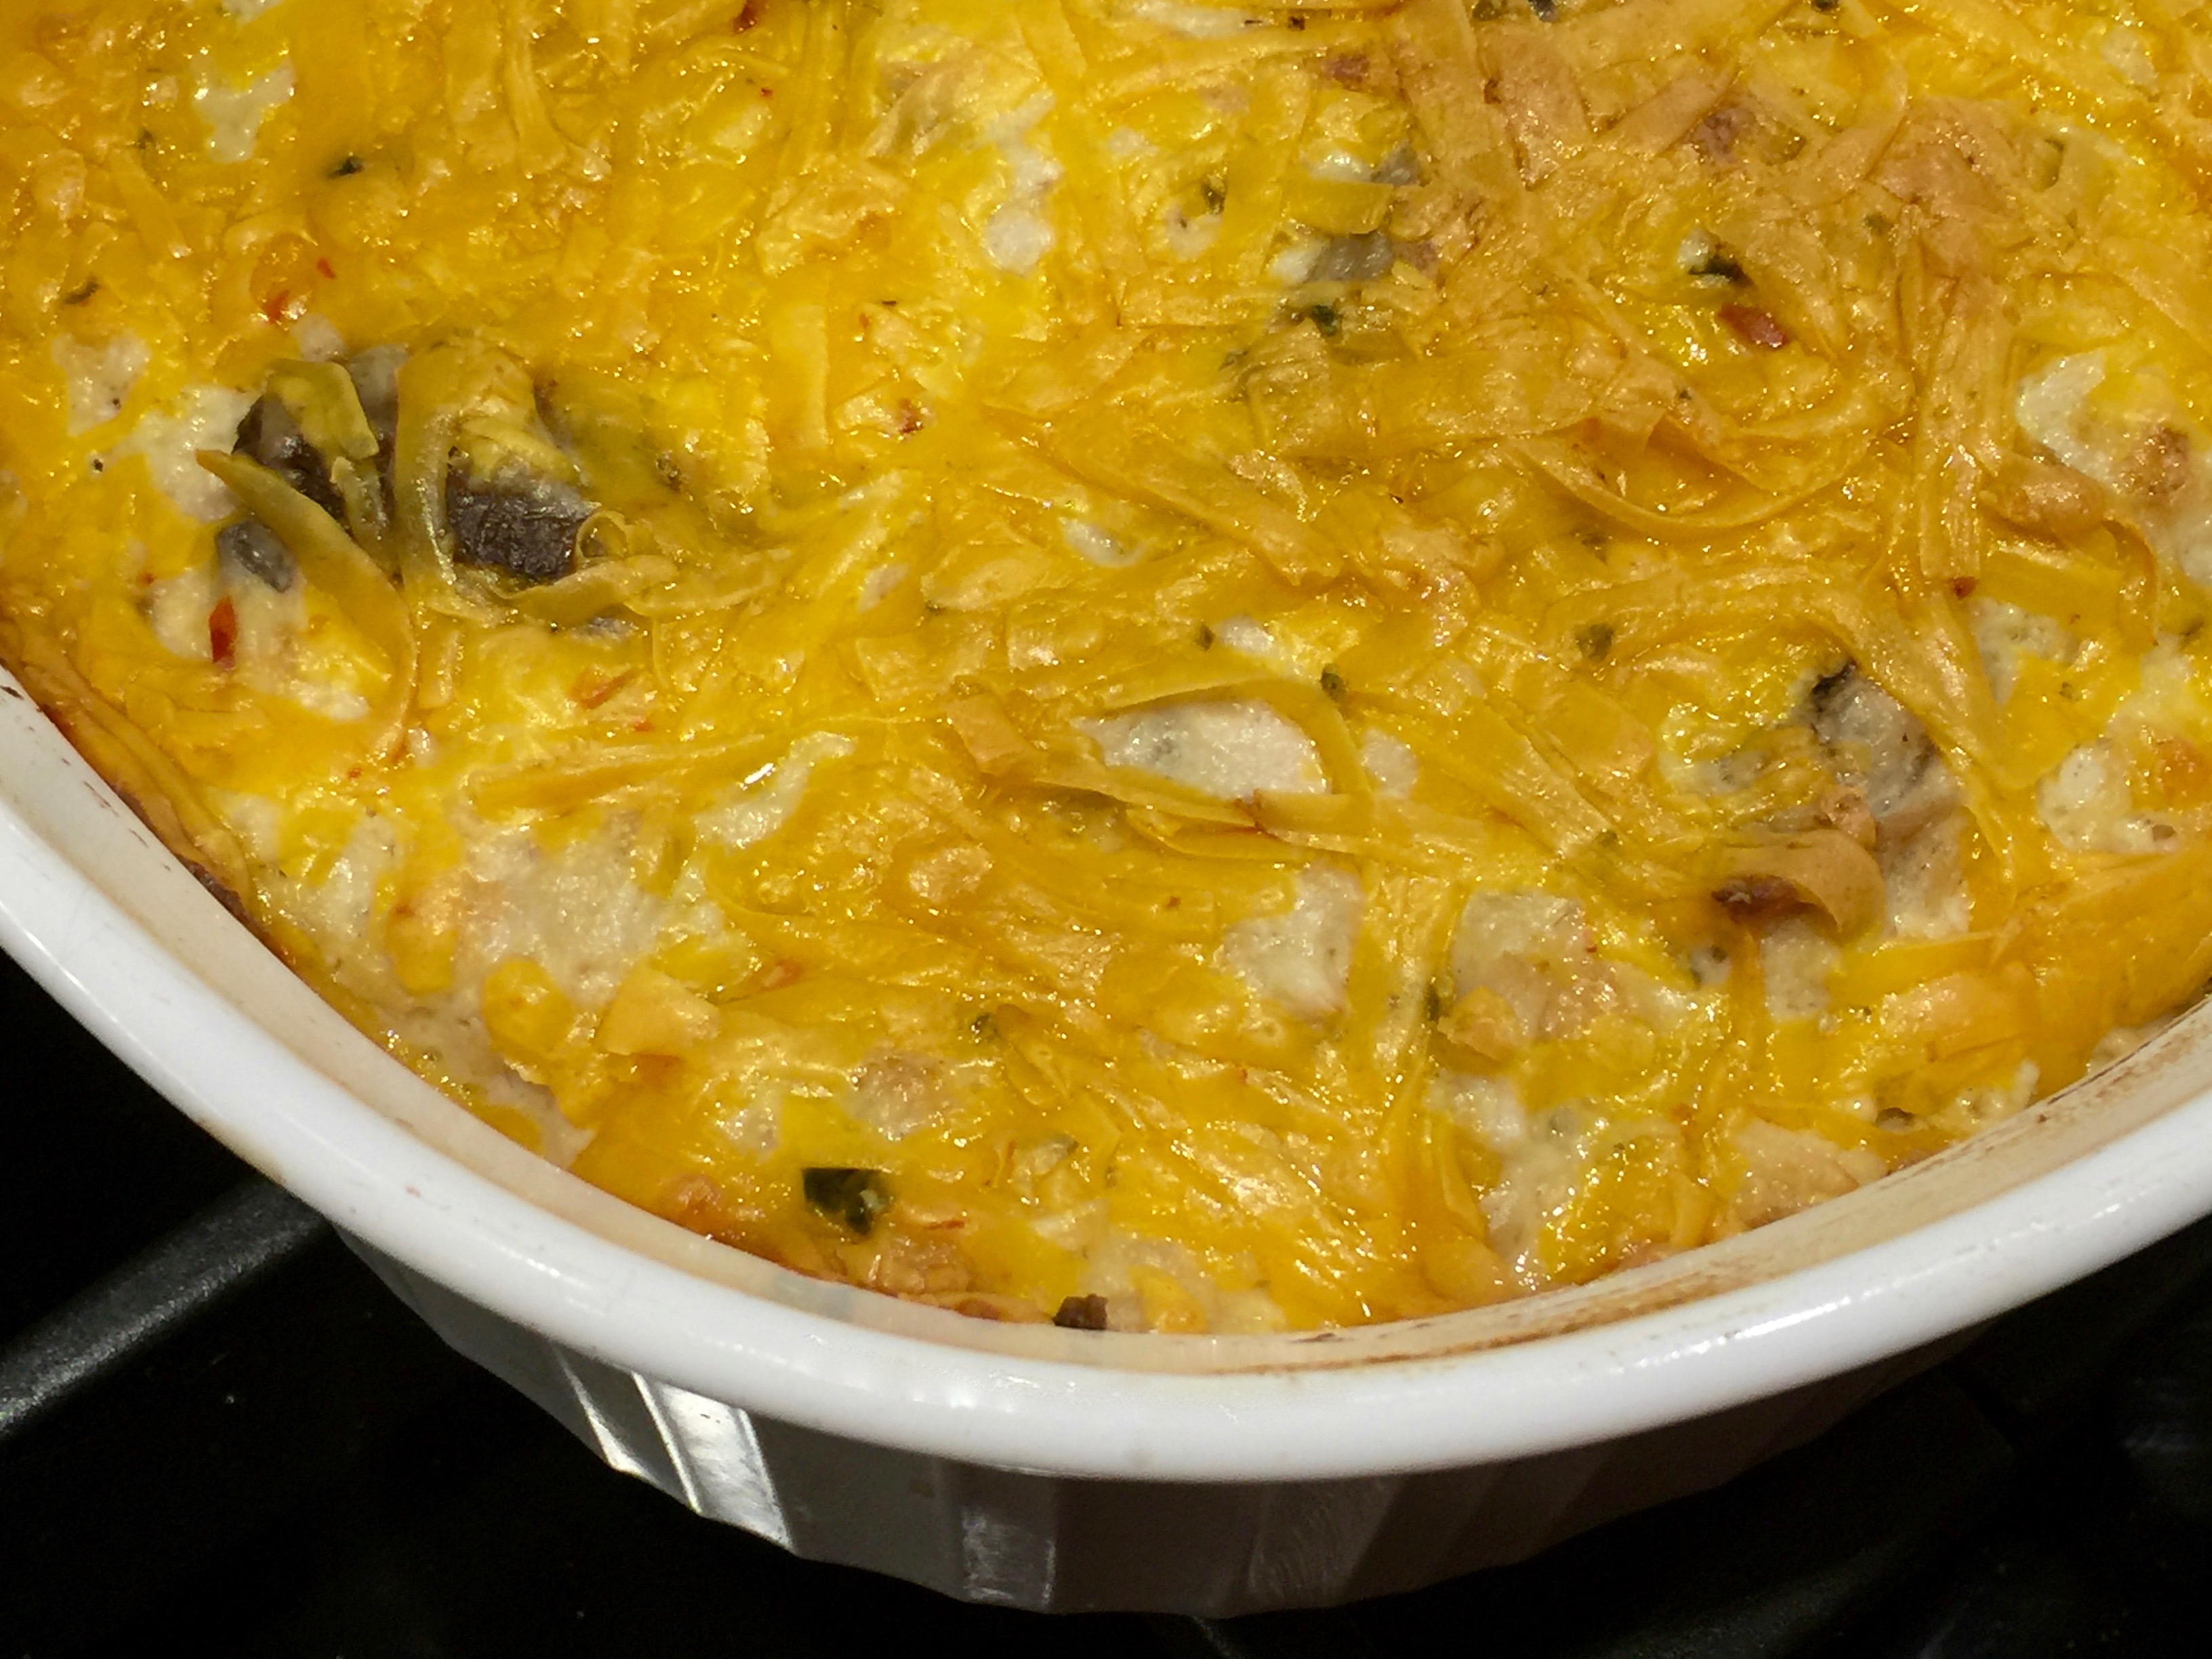
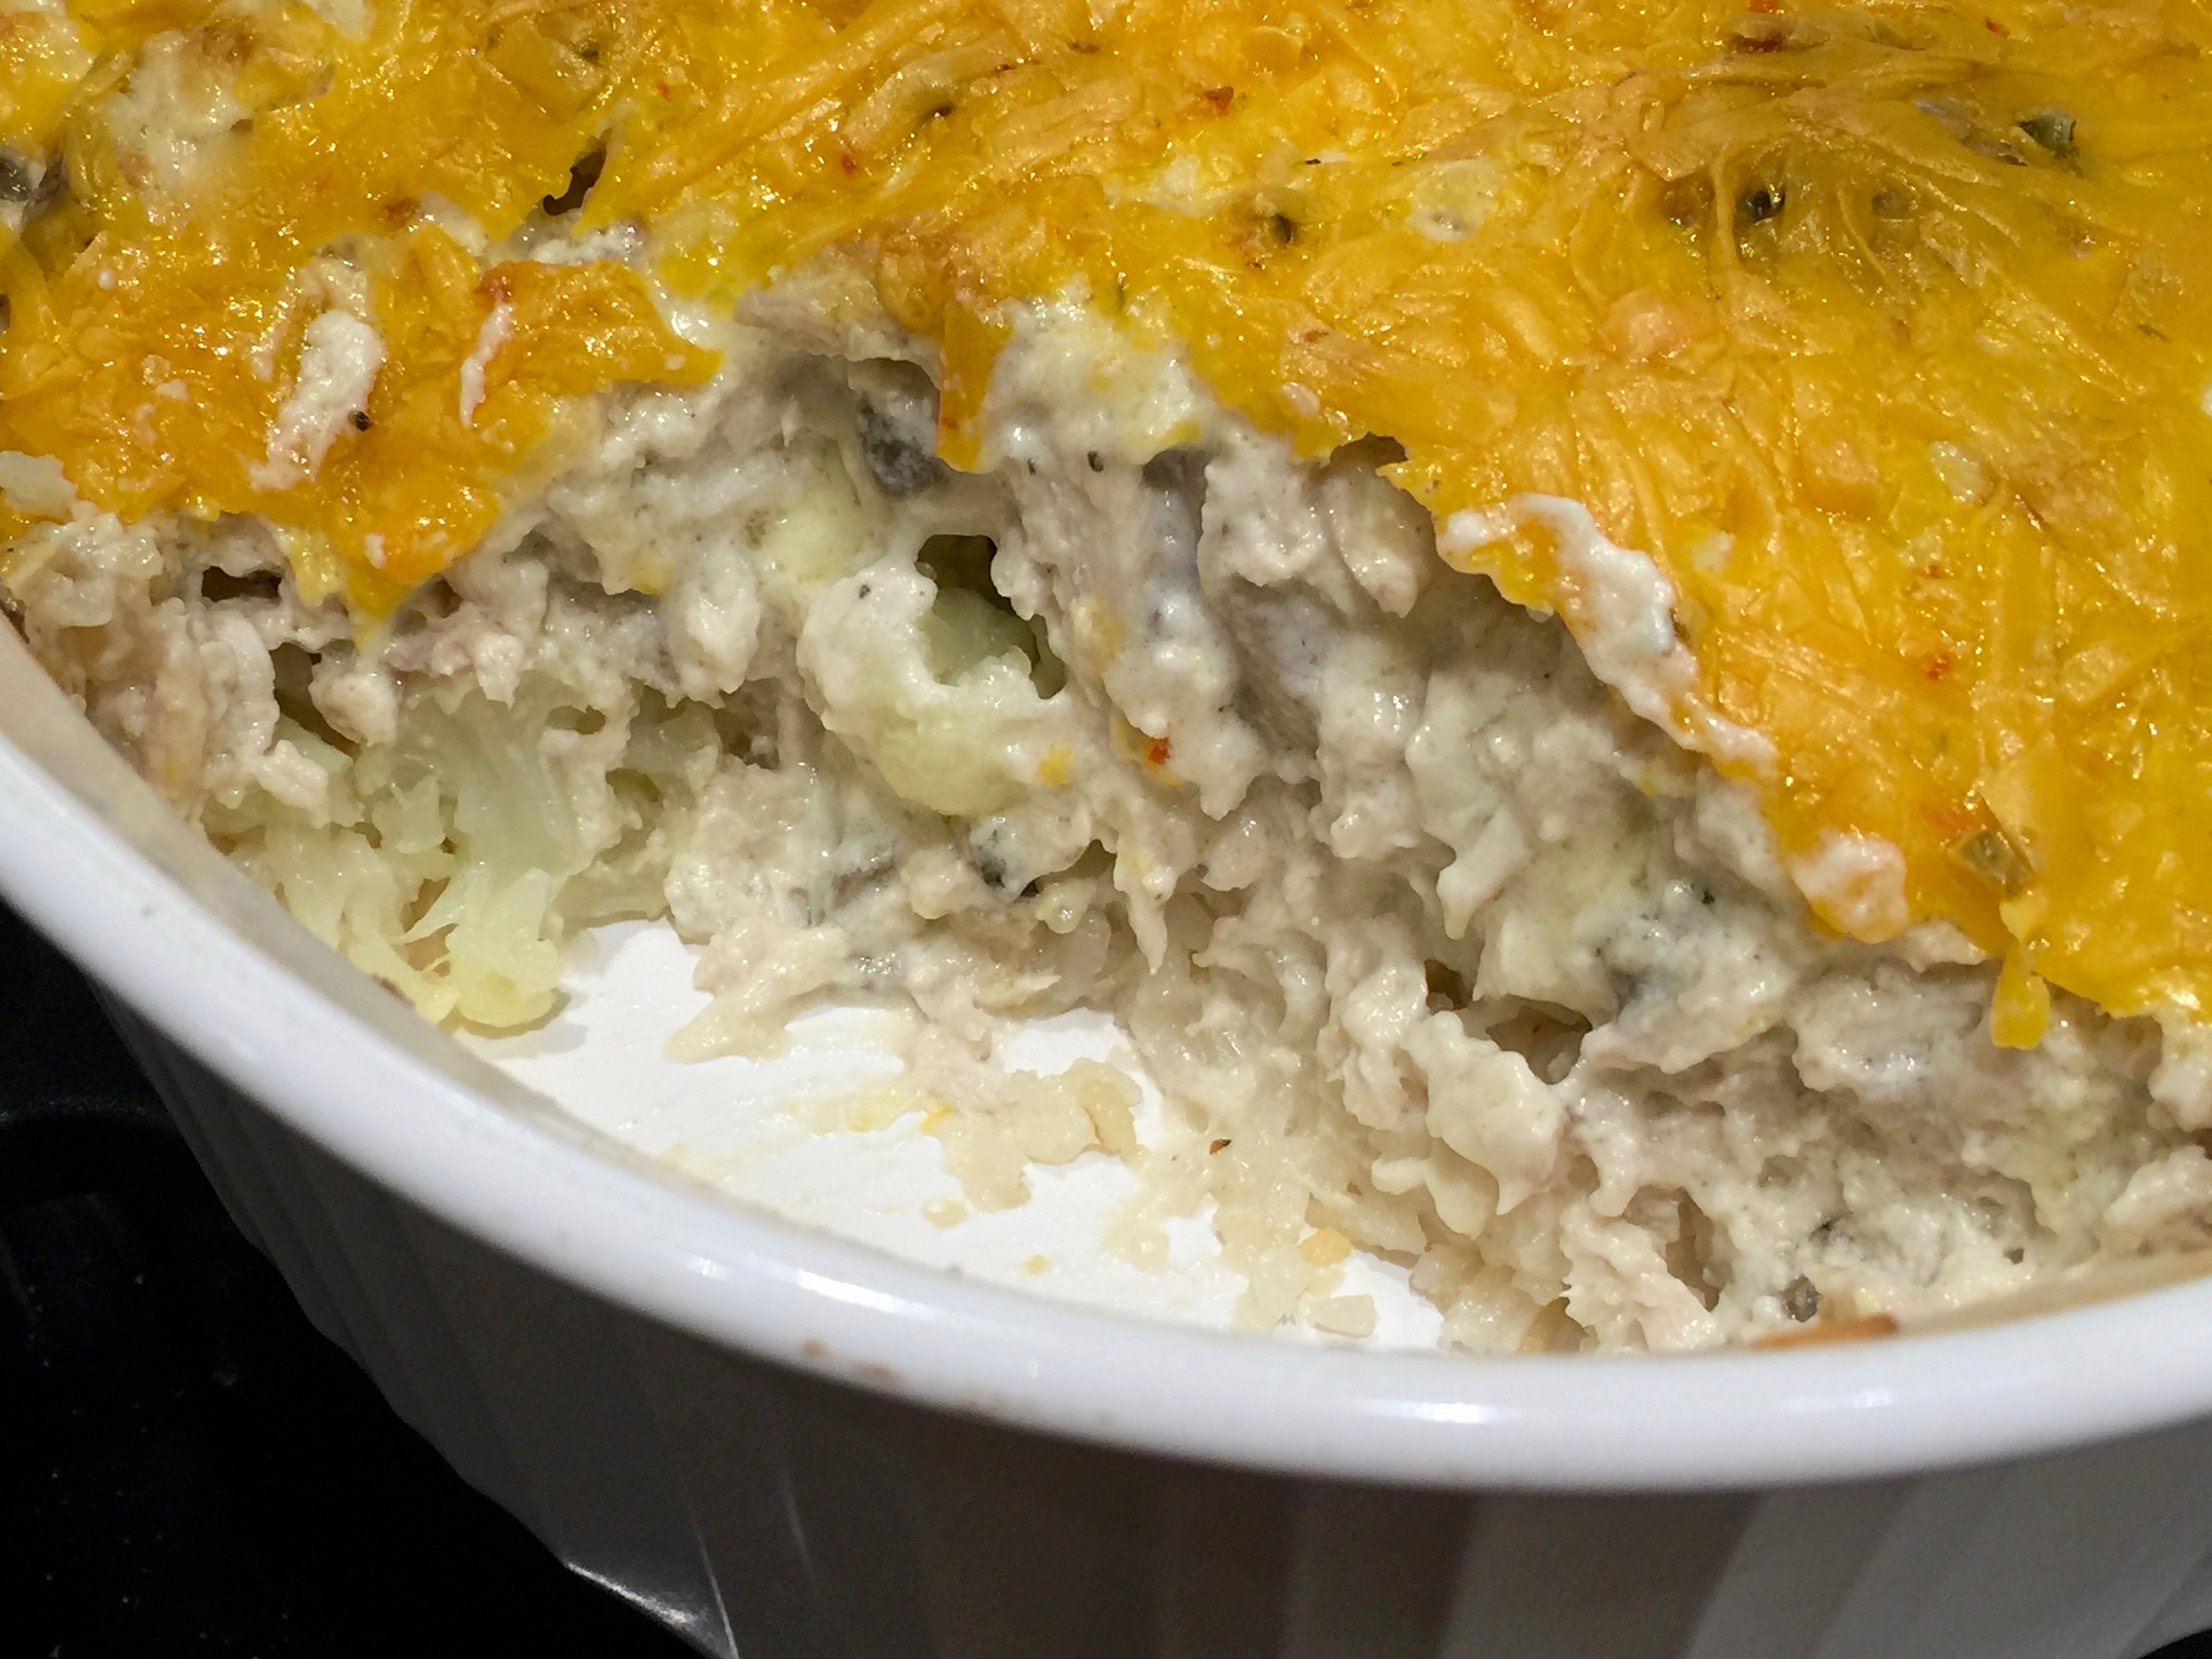
 Lesson Learned 1: If at all possible use a mandolin slicer to cut your potatoes: Perhaps the trickiest part of this whole recipe is cutting the potatoes correctly. Cut them too thin and they will turn into mush in your casserole. Cut them too thick and they will never cook through. The best way to ensure you’ve cut the potatoes to the correct thickness is to use a mandolin slicer (as seen in the picture). A mandolin slicer can be a cook’s best friend if used appropriately. It can also be one of the easiest ways to chop off one of your fingers if used incorrectly. If you’re careful and use the safety features of your slicer you can slice just about anything quickly and consistently.


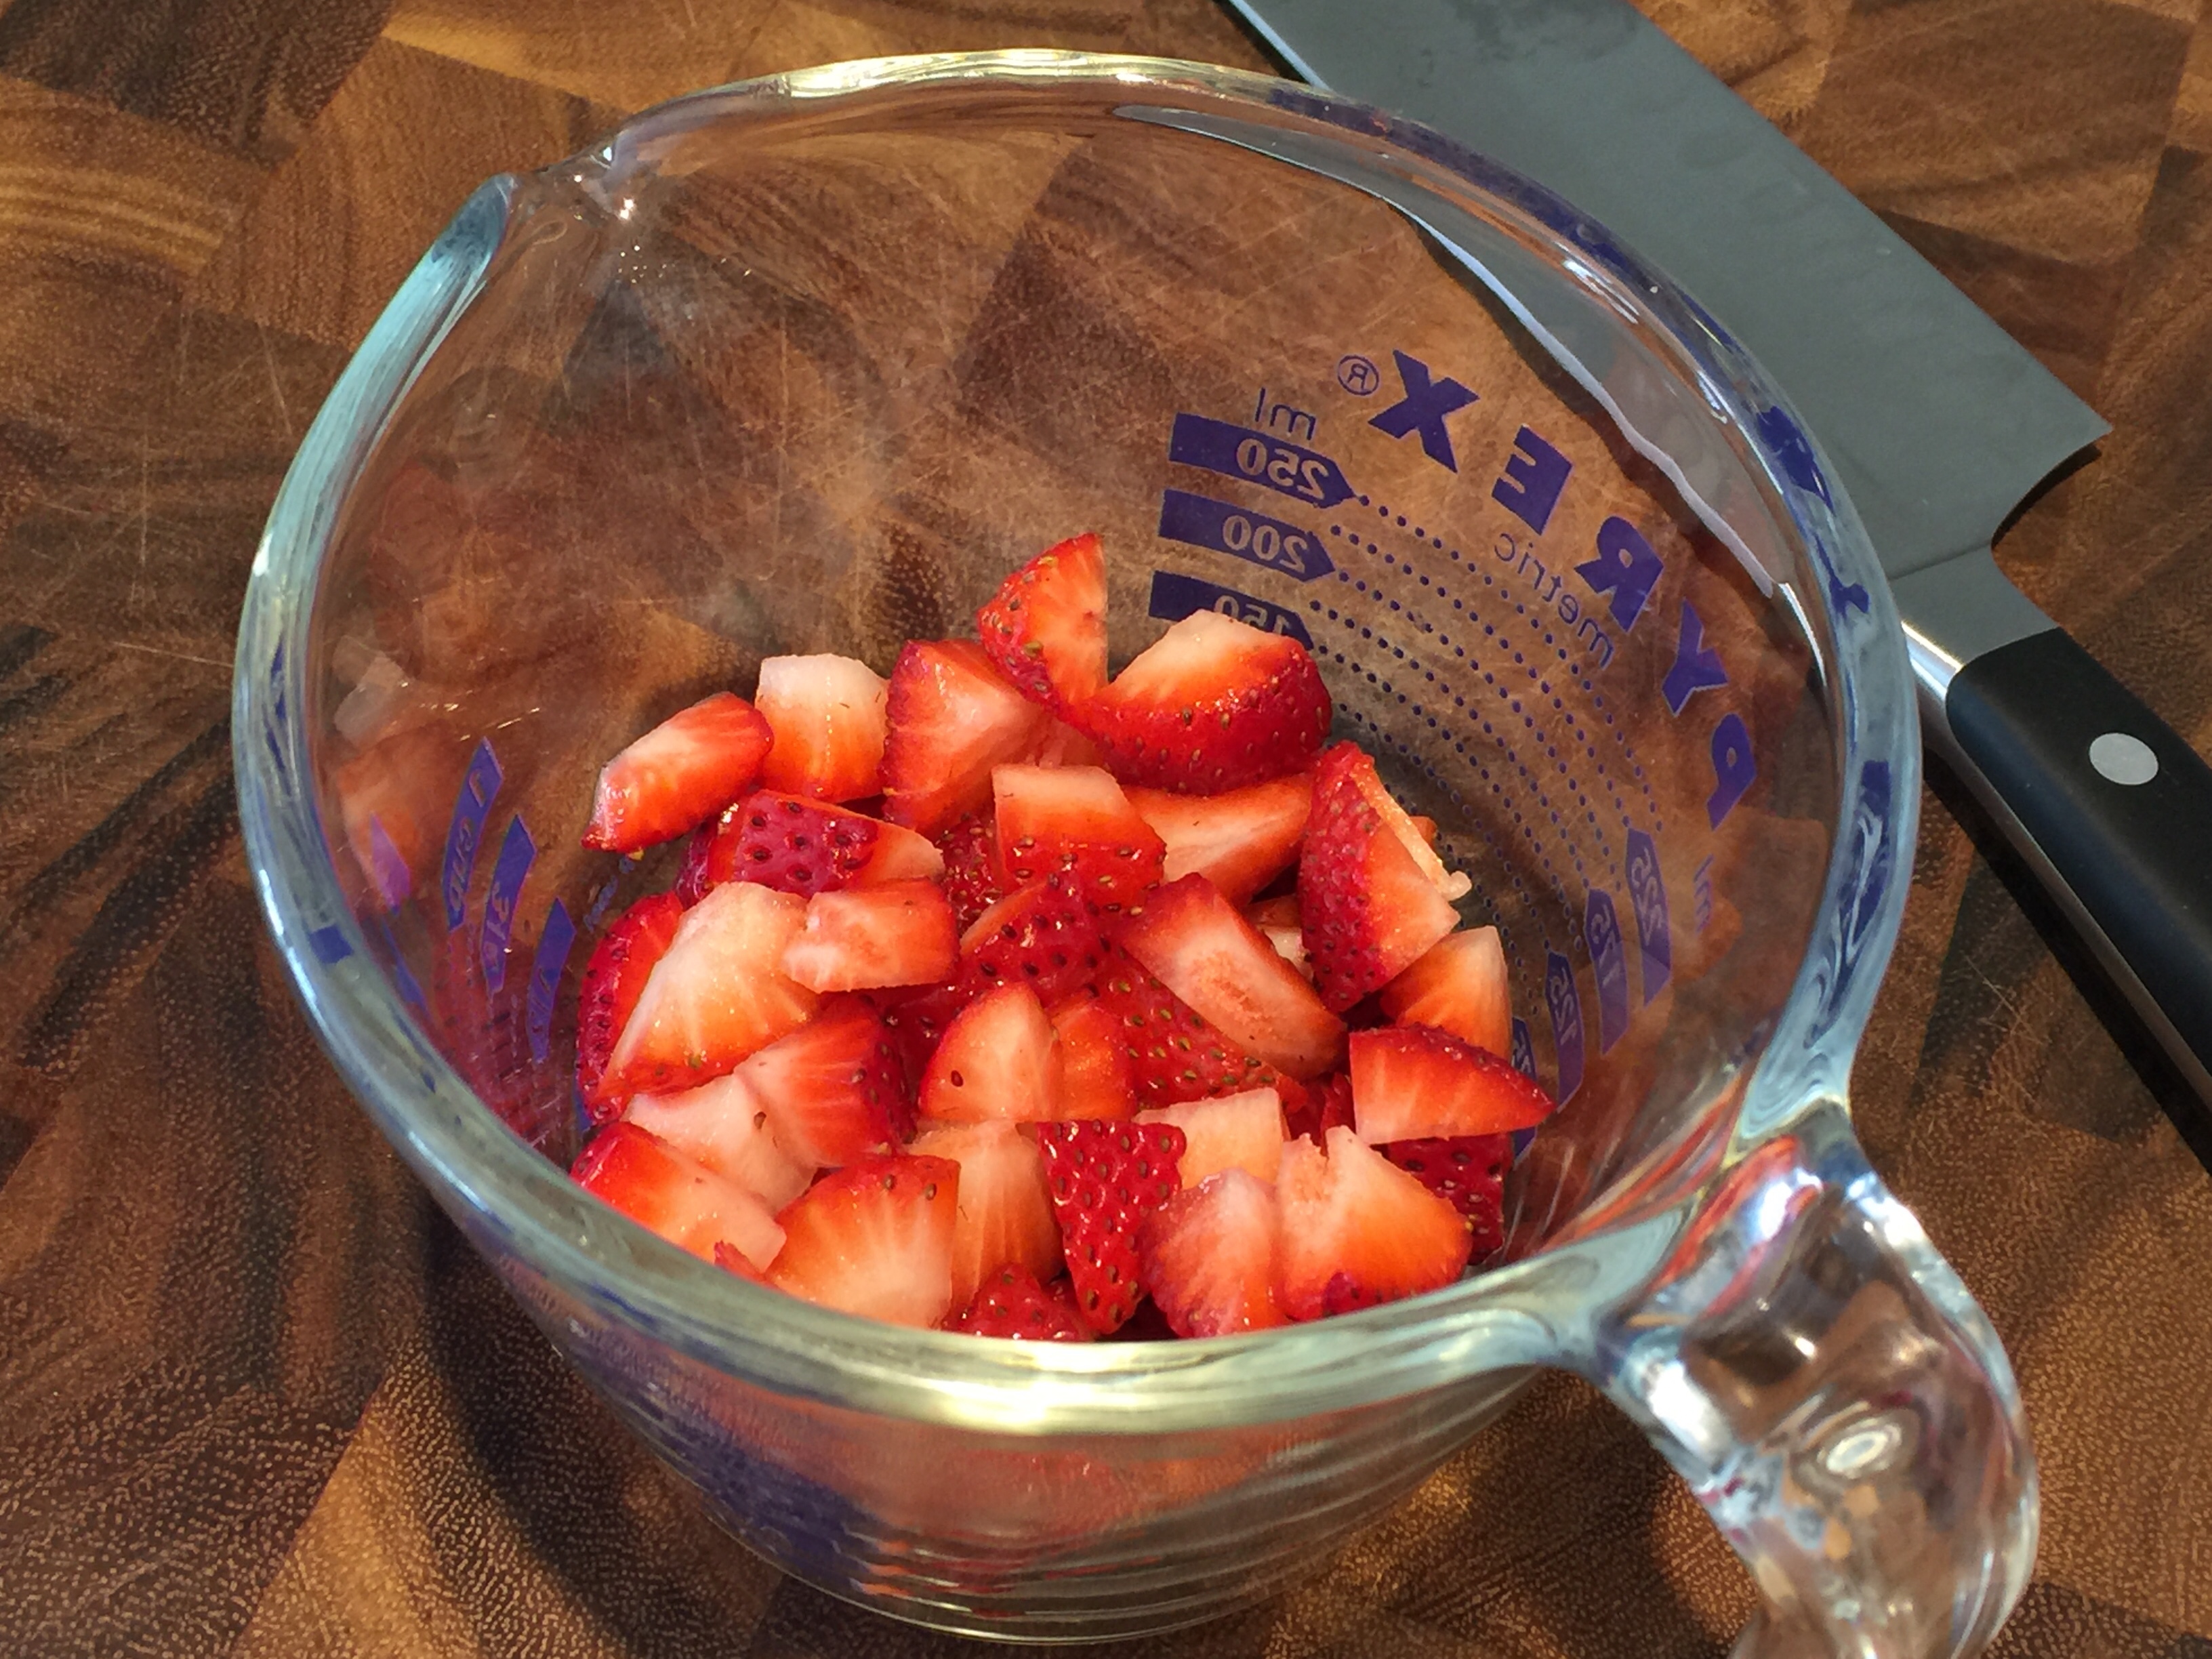
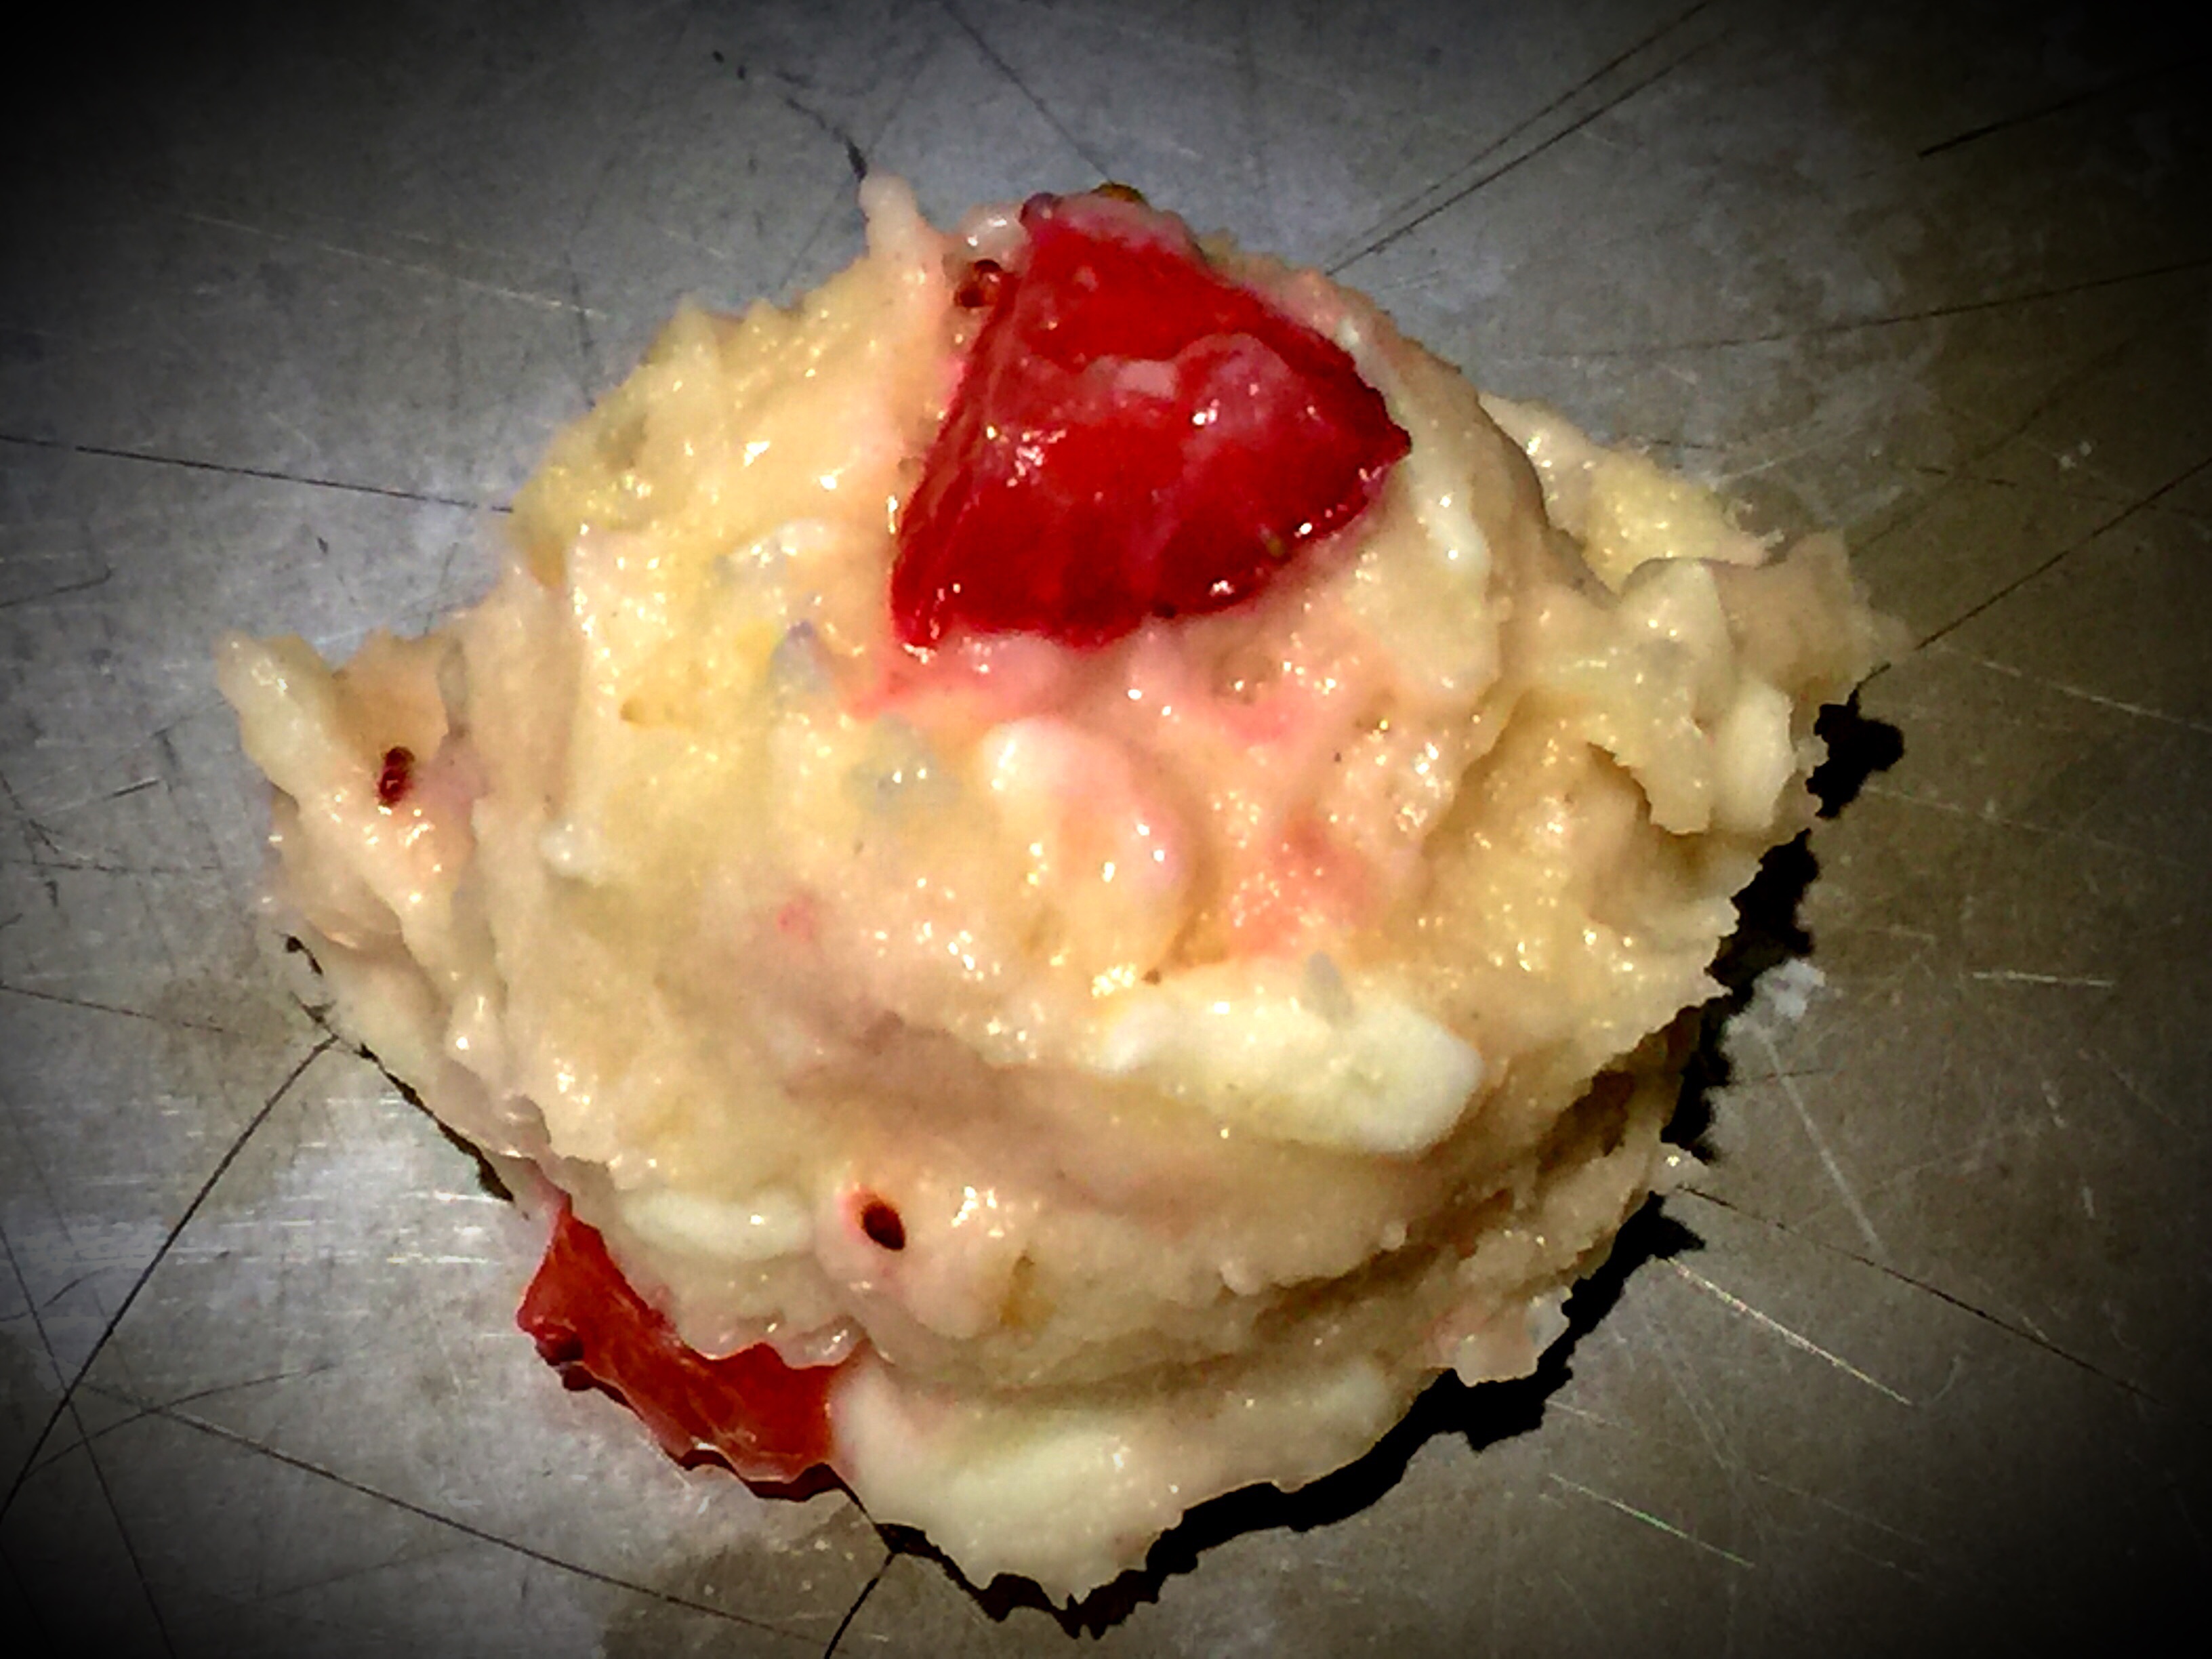
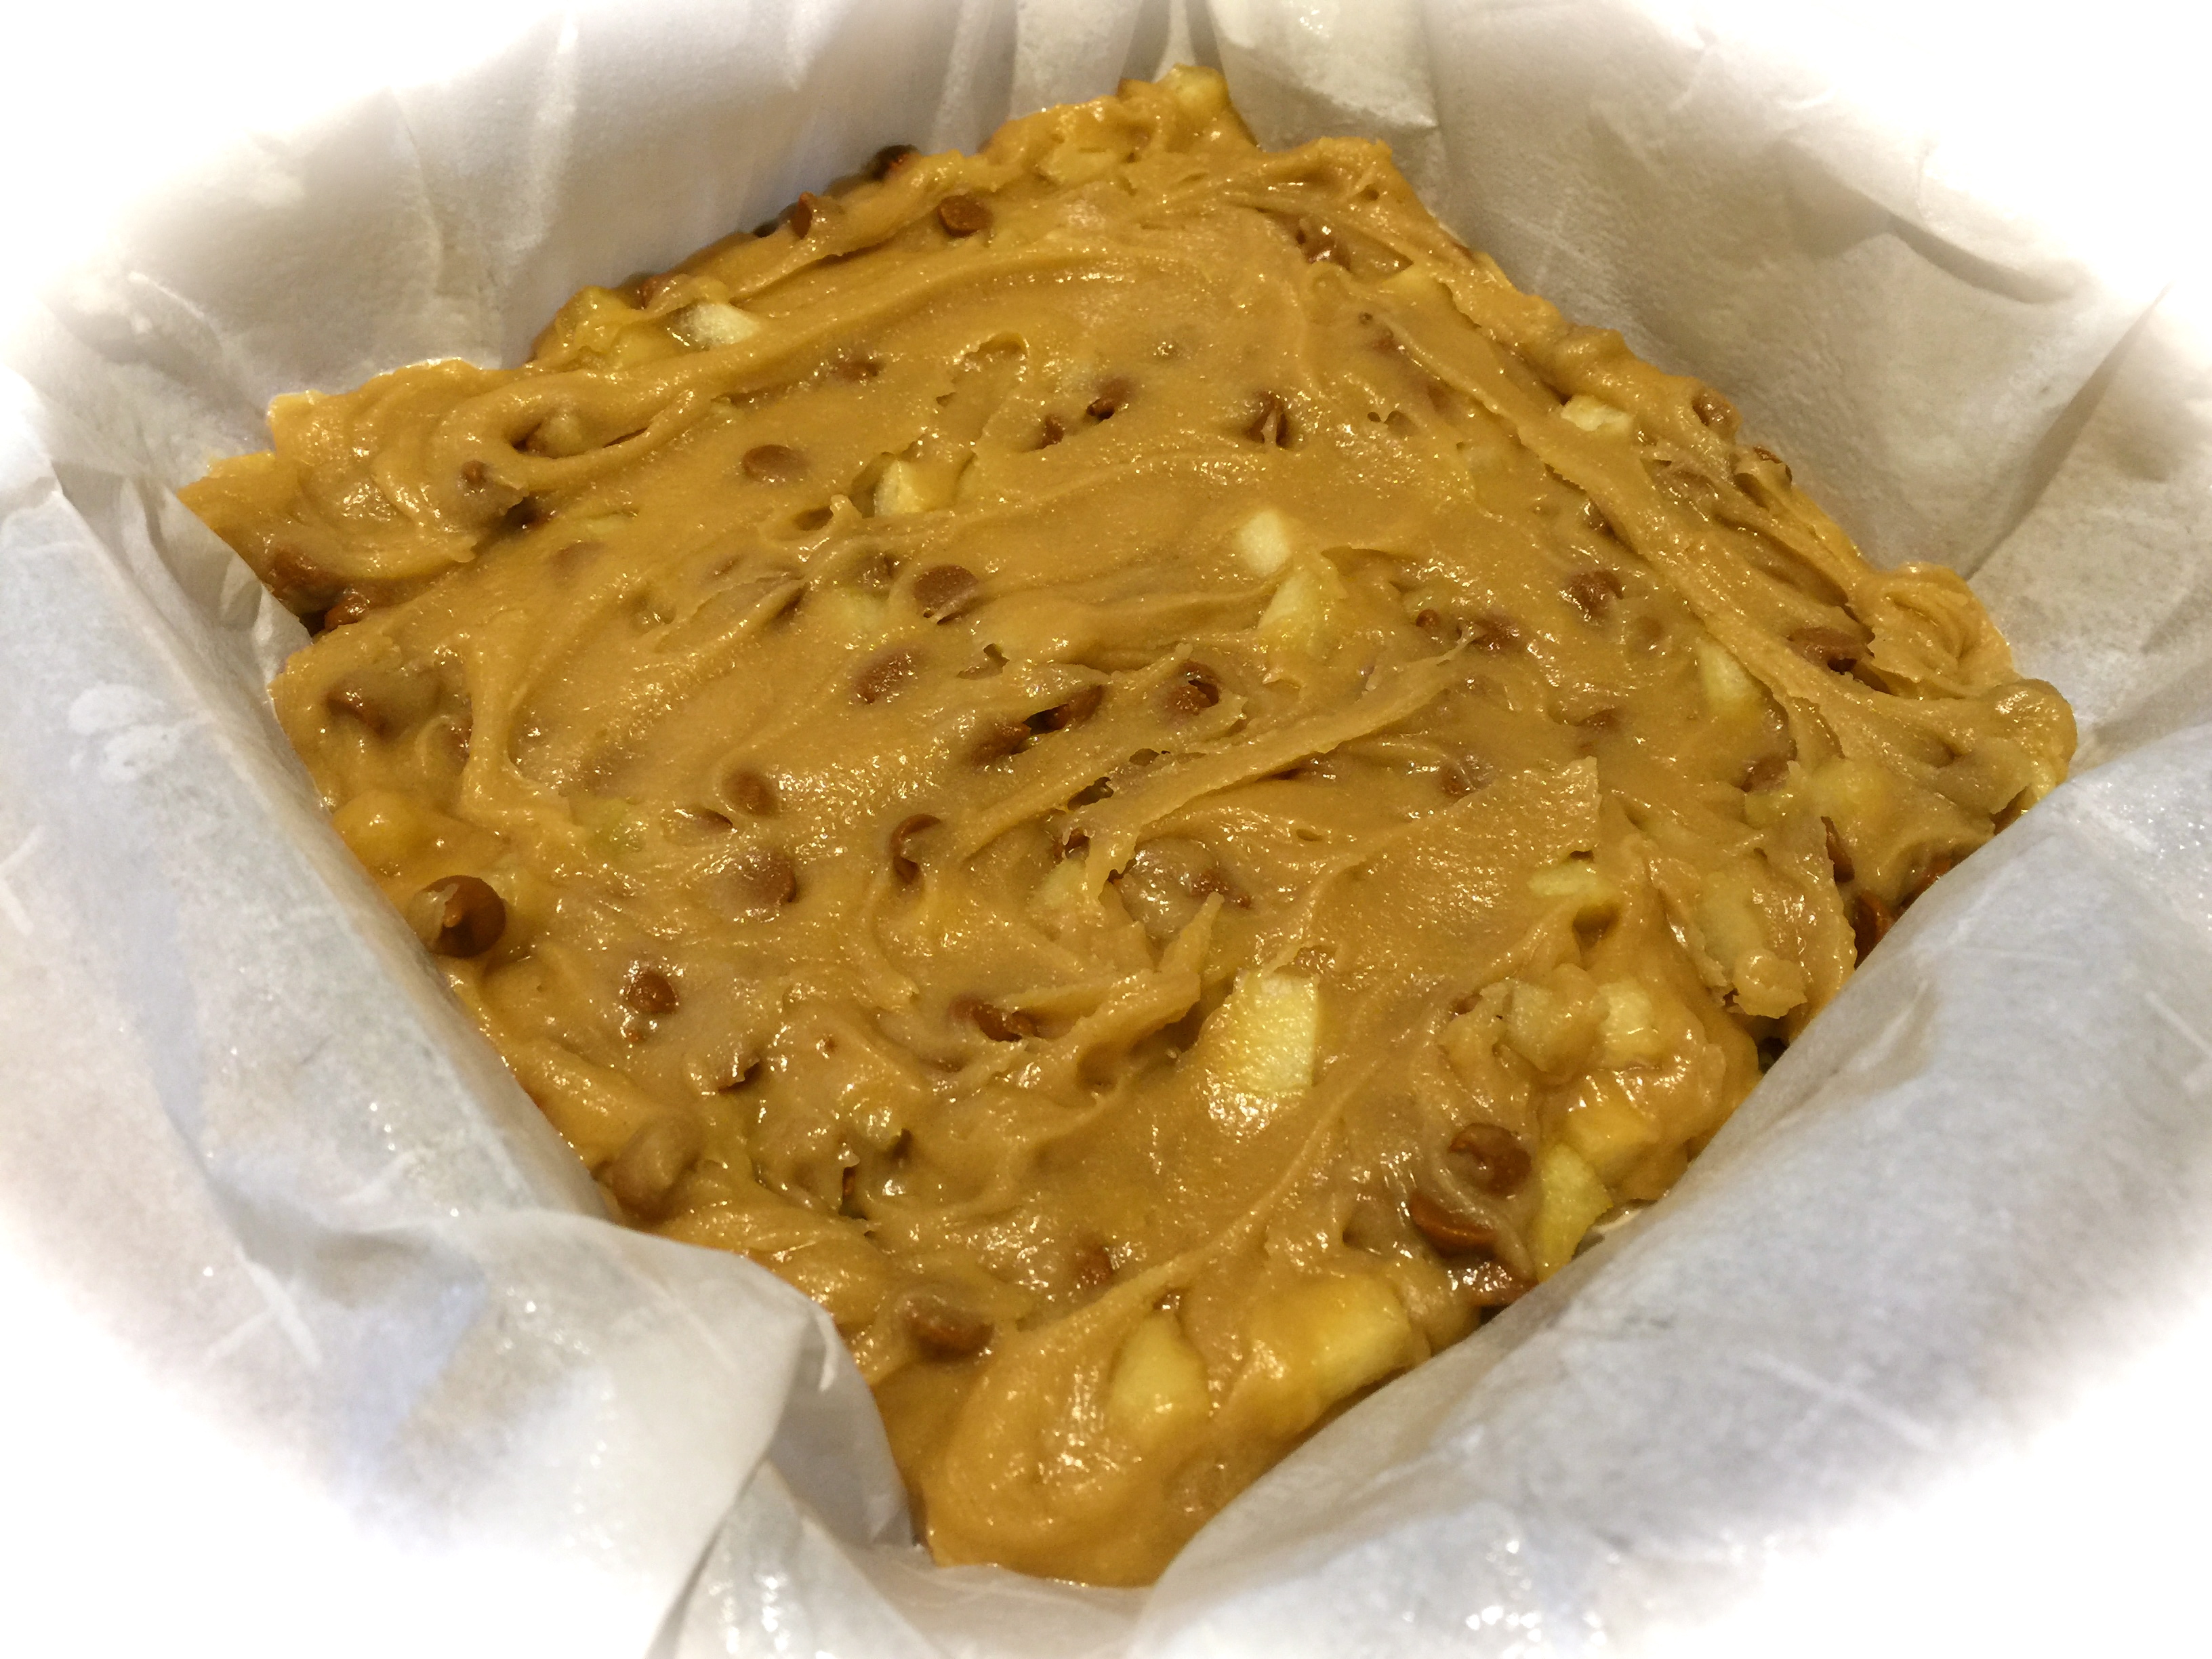
 Lesson Learned 2 – The batter will be thicker than you think: I was surprised at how thick the batter was in this recipe. But the combination of a thick batter and strawberries creates the perfect balance for a moist and flavorful muffin. All the magic happens in the oven, so don’t worry about how thick the batter is.


 2 cups flour


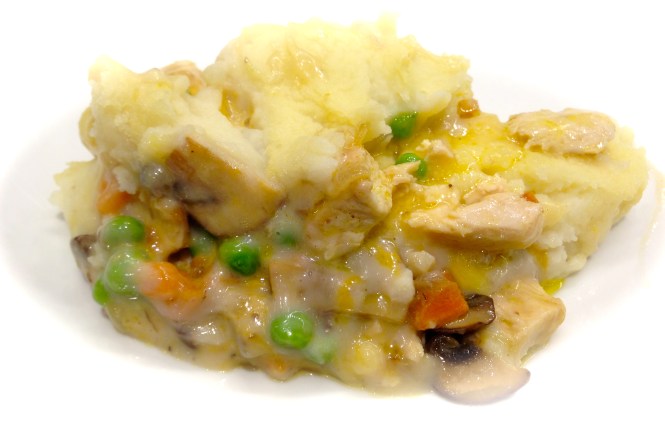
 Lesson Learned 1 – Buy chicken breasts with skin and ribs and debone the chicken yourself: You want to do this for a couple of reasons. First it is much less expensive to buy chicken this way. Second by leaving the skin on it keeps the breast nice and moist during the slow roasting process. Invest in a good boning knife and regularly maintain it with a hand sharpening tool like the one pictured to the left. It is surprisingly inexpensive and will keep your knife nice and sharp for a long time and boning the chicken breasts will be a breeze. These days it’s pretty hard to find boneless breasts with the skin still on so this may be the only way to do it.
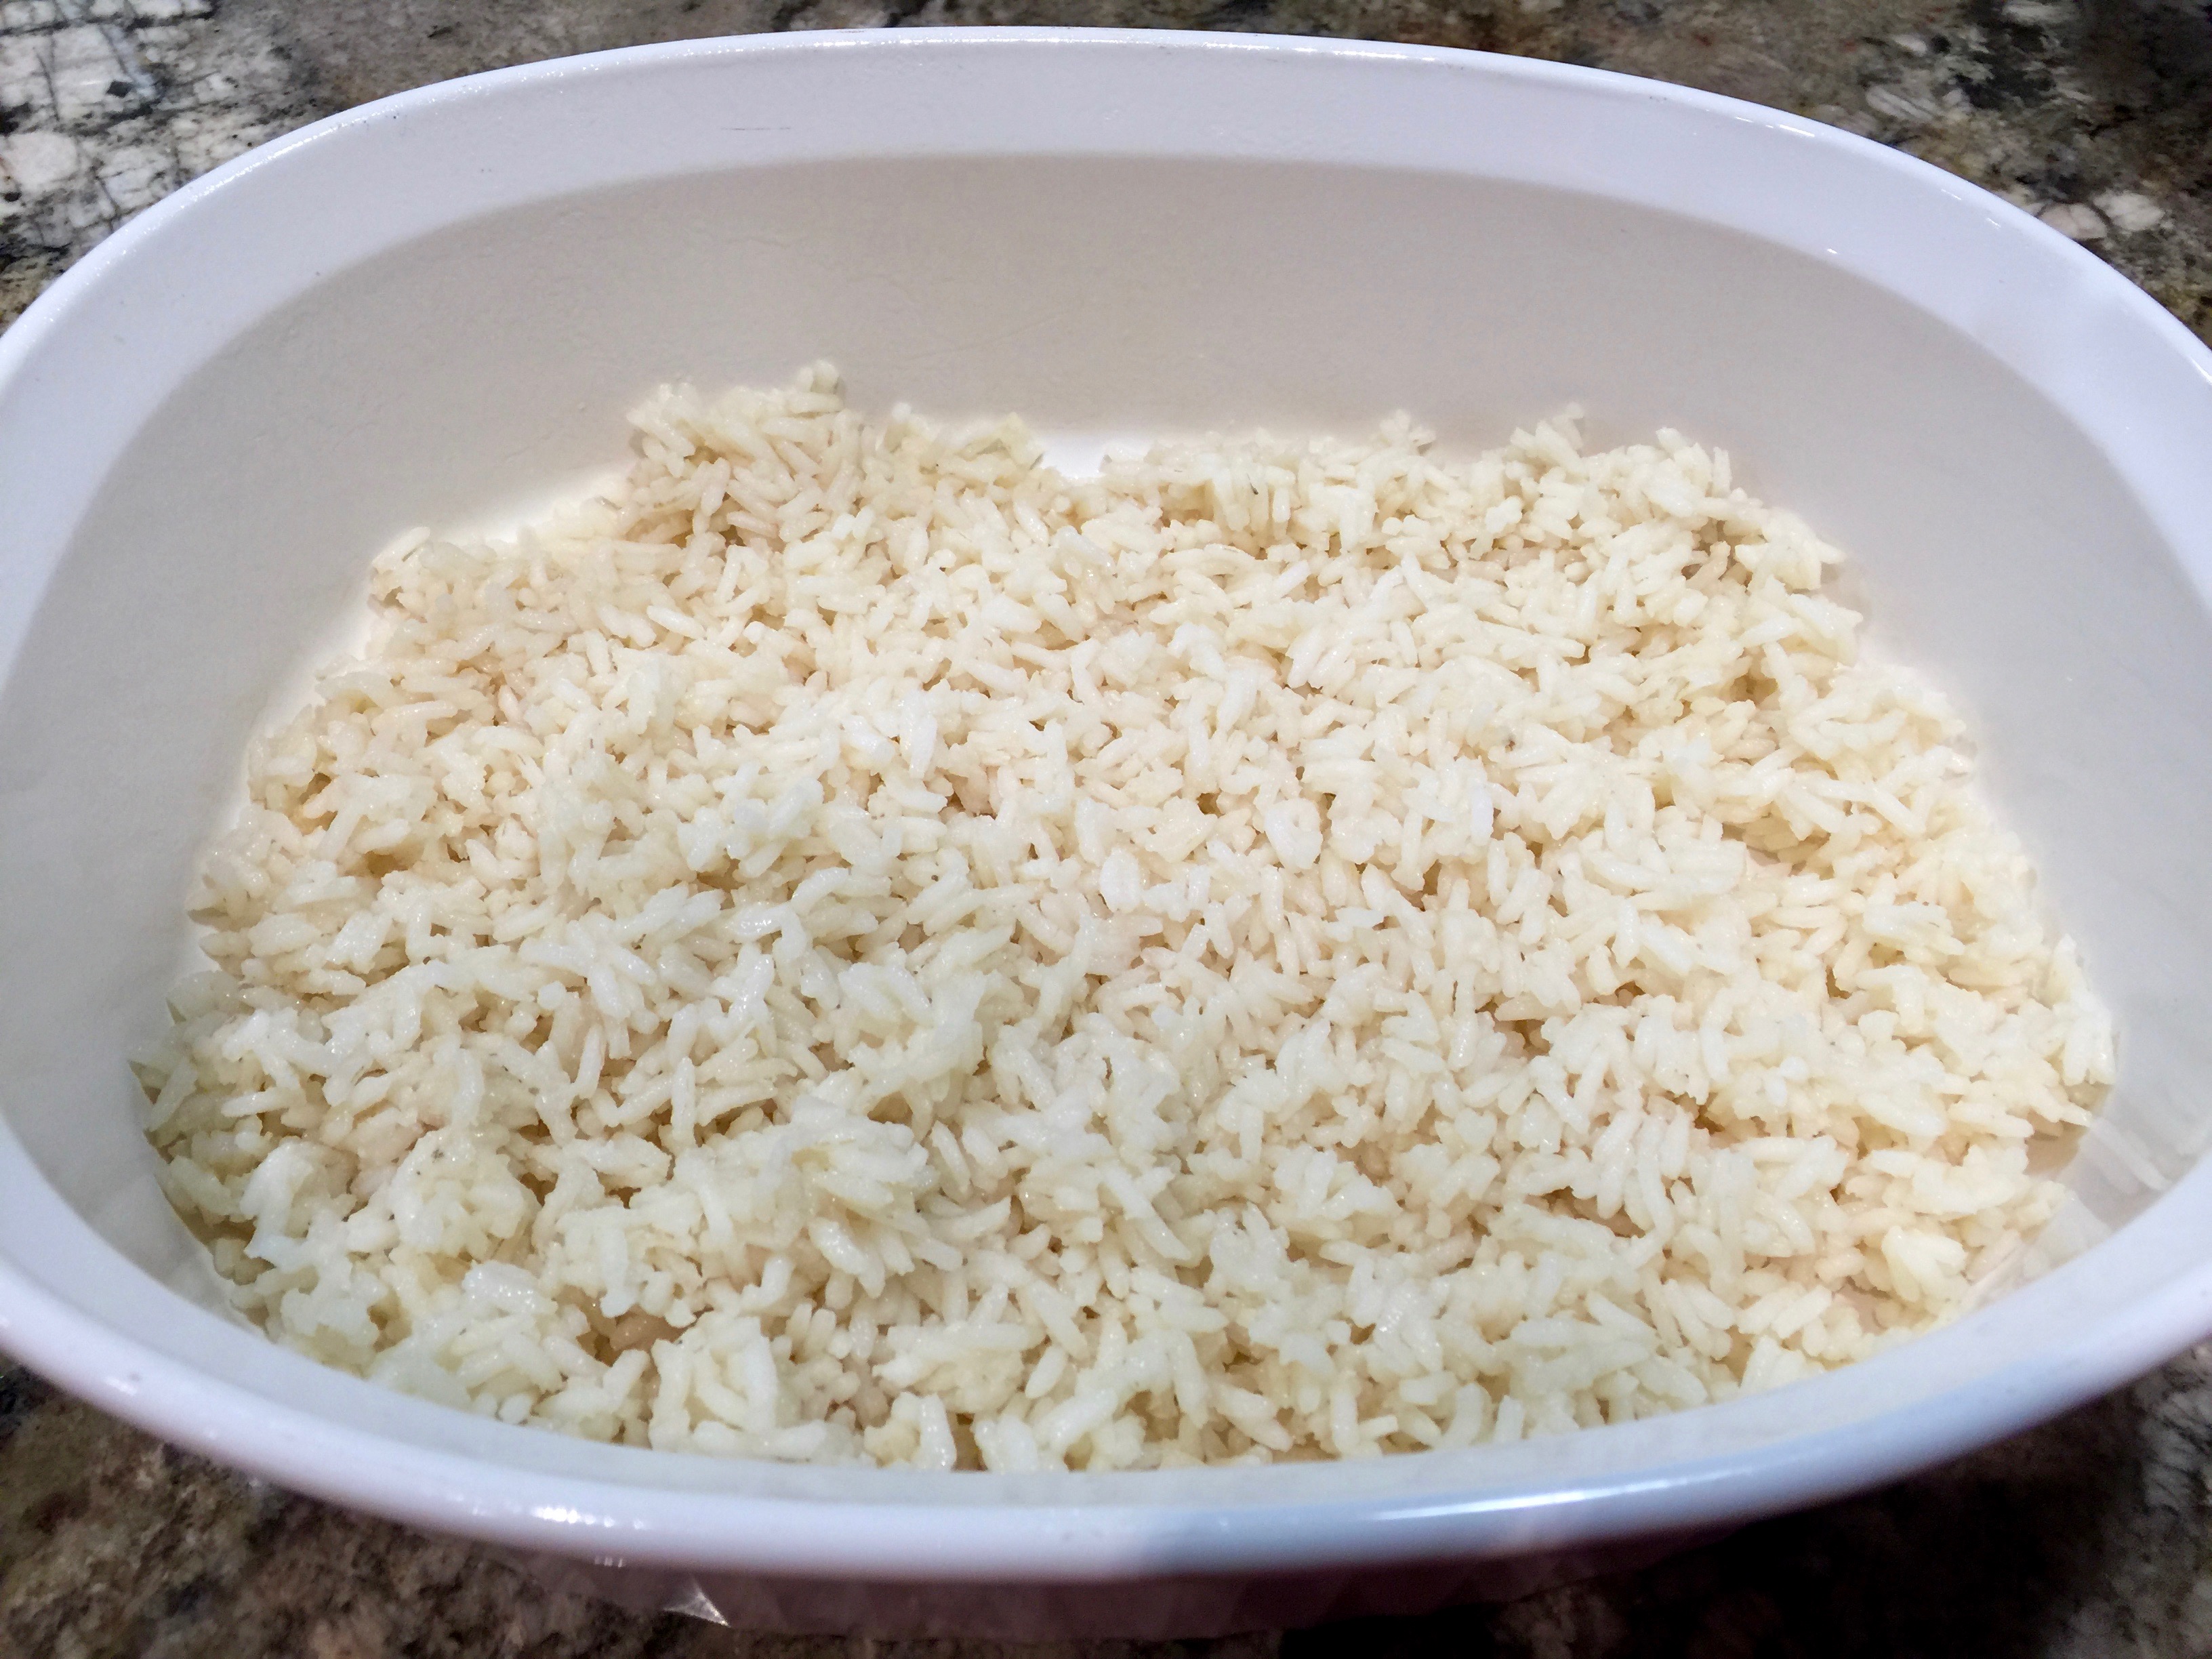
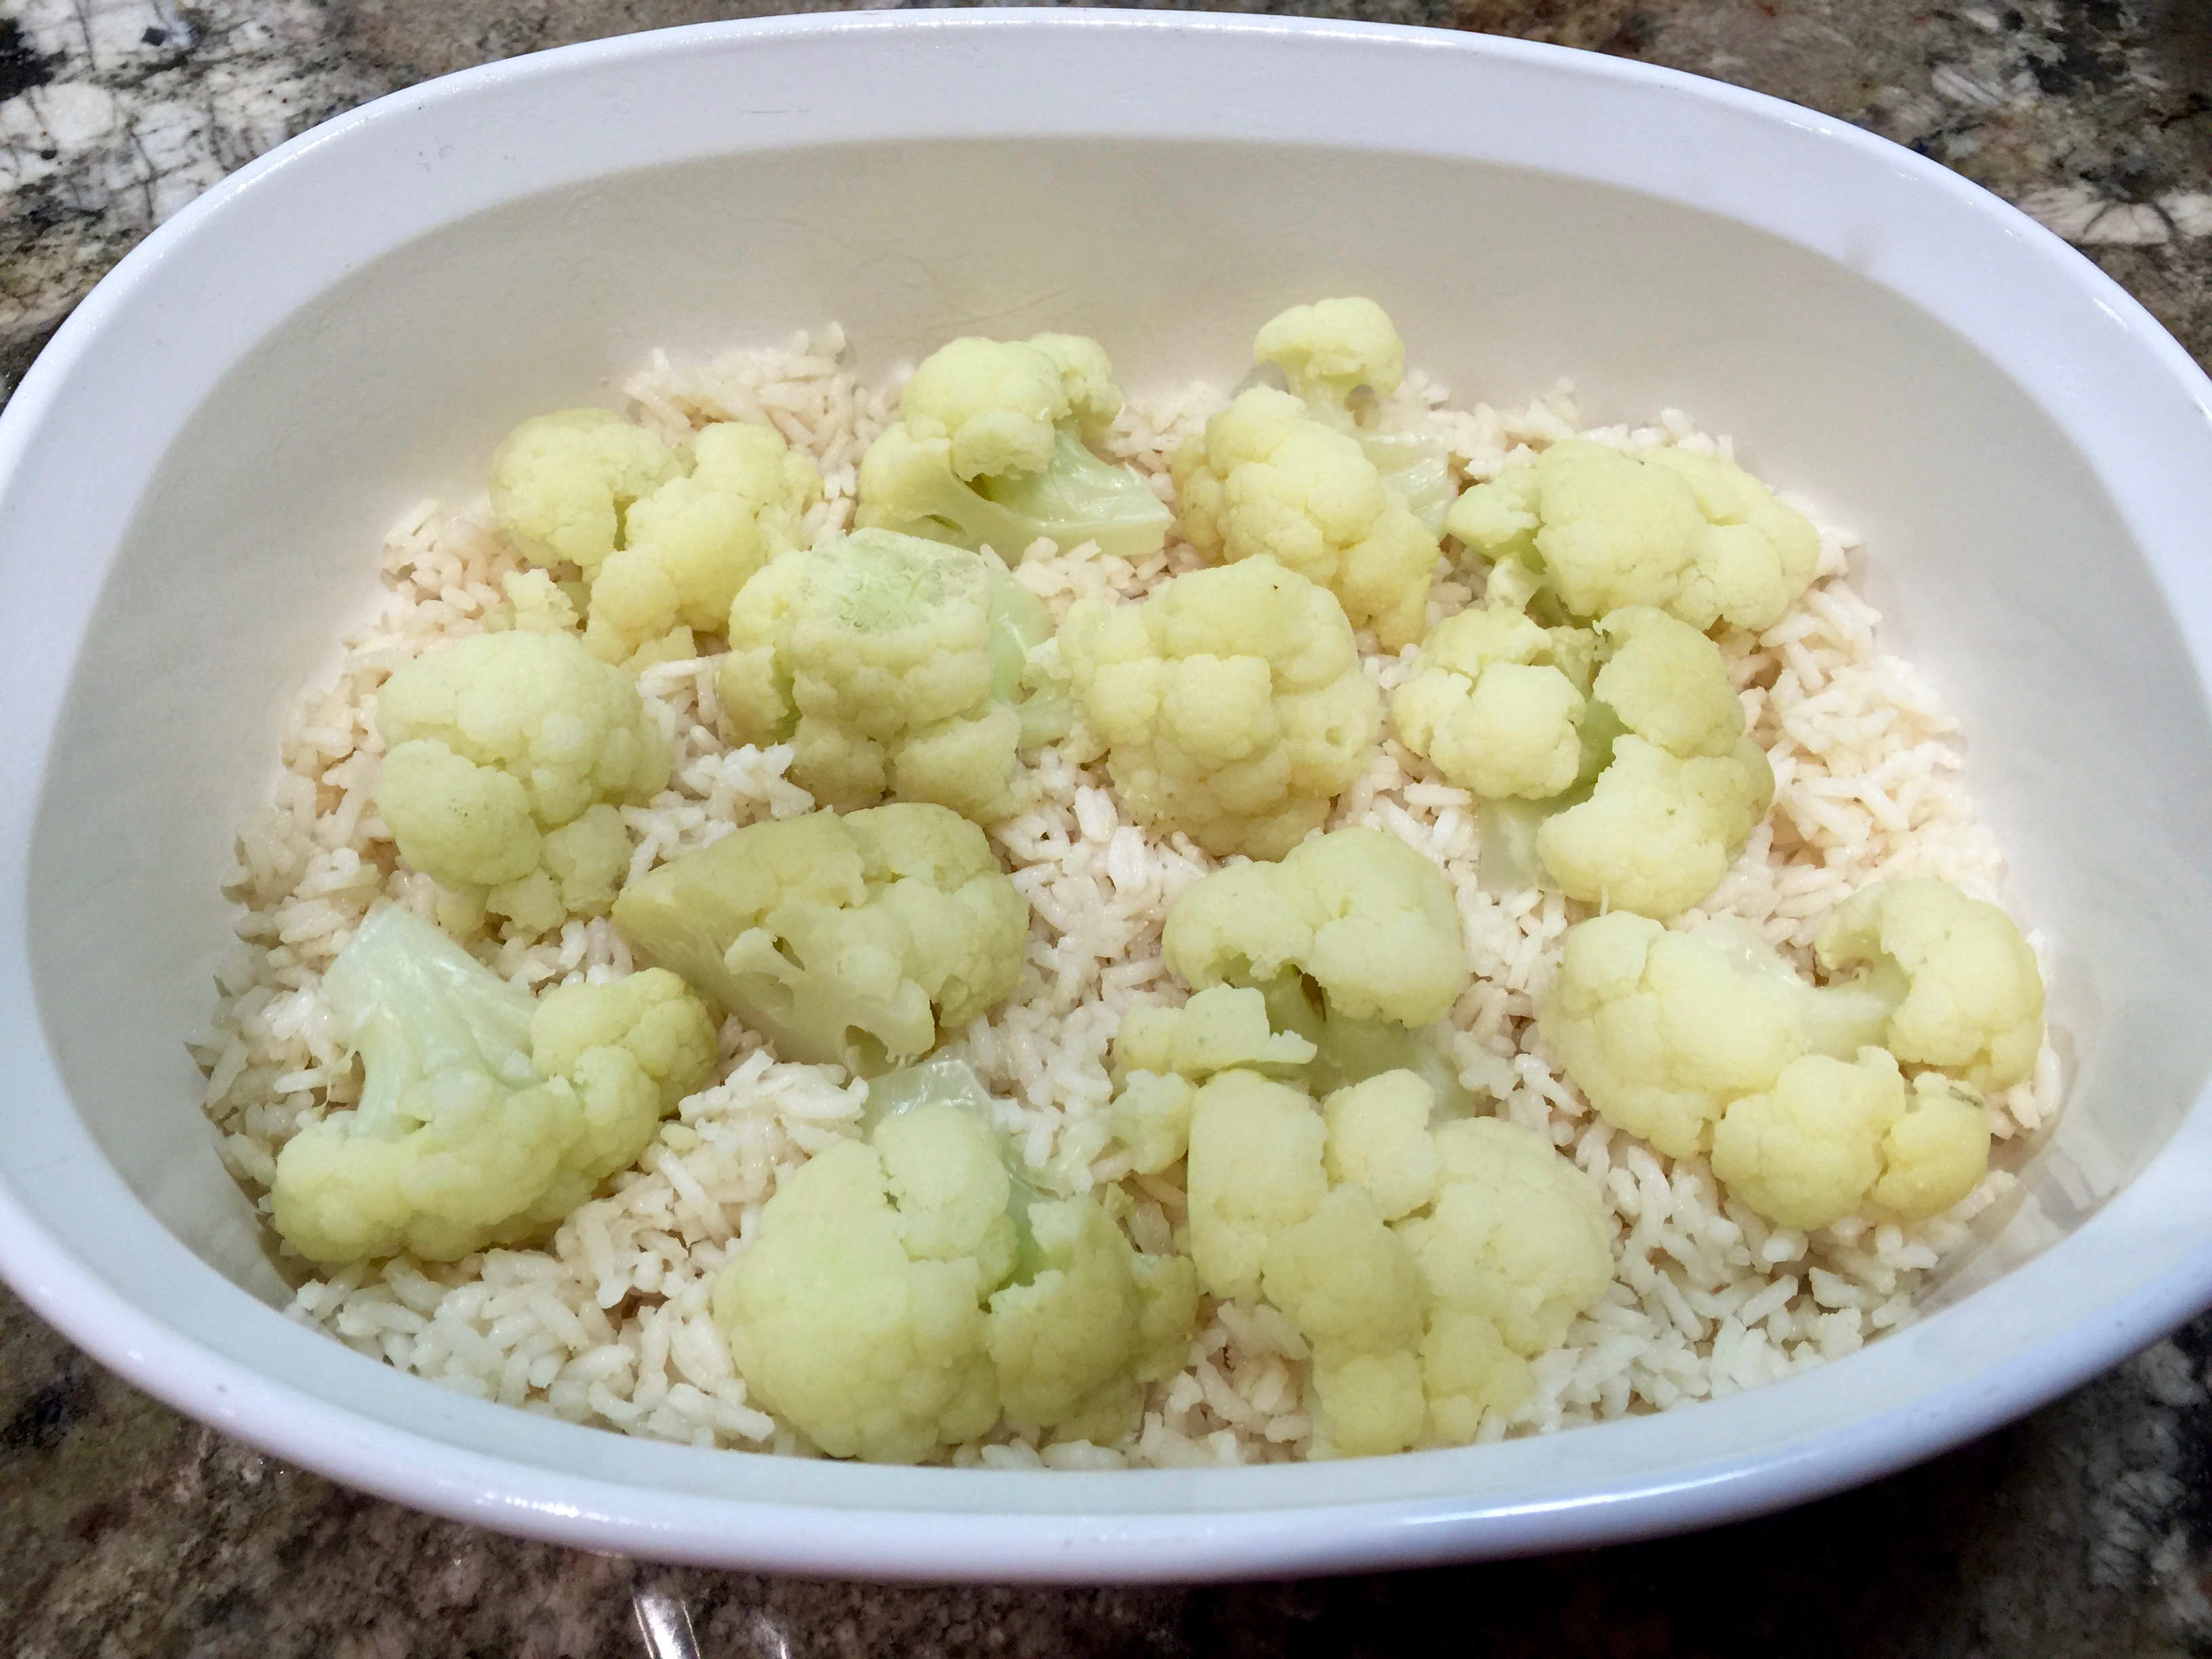
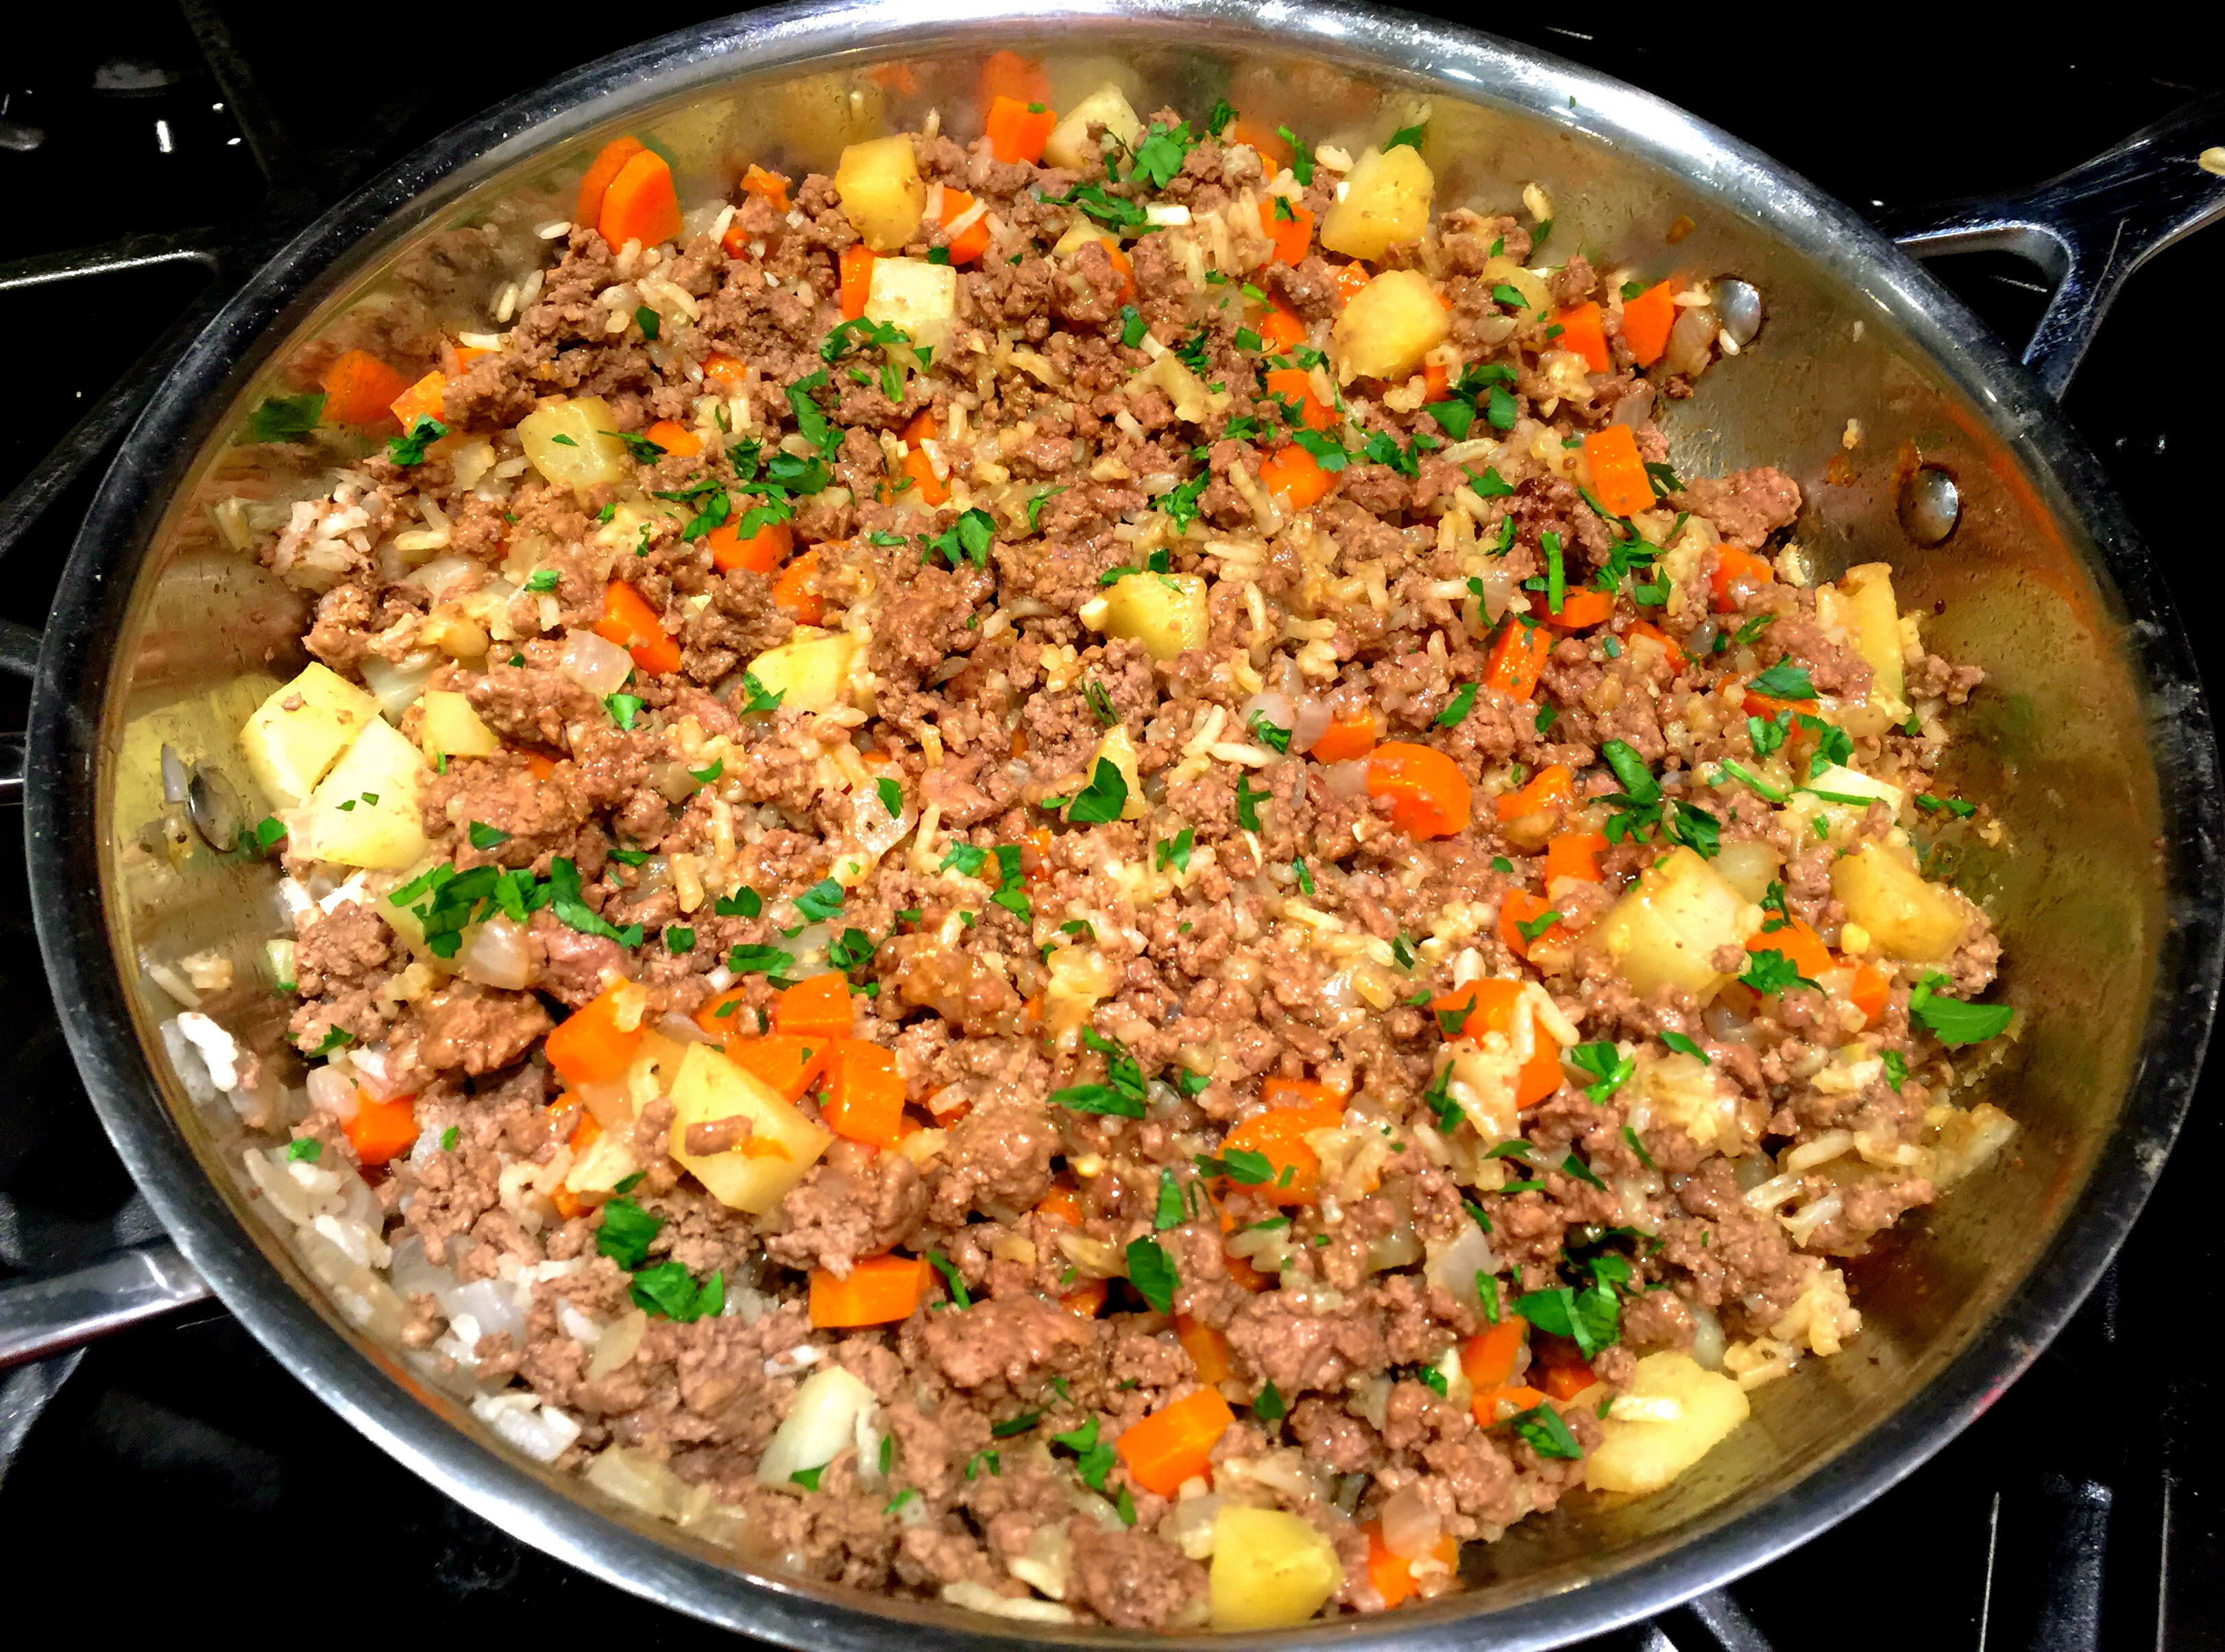
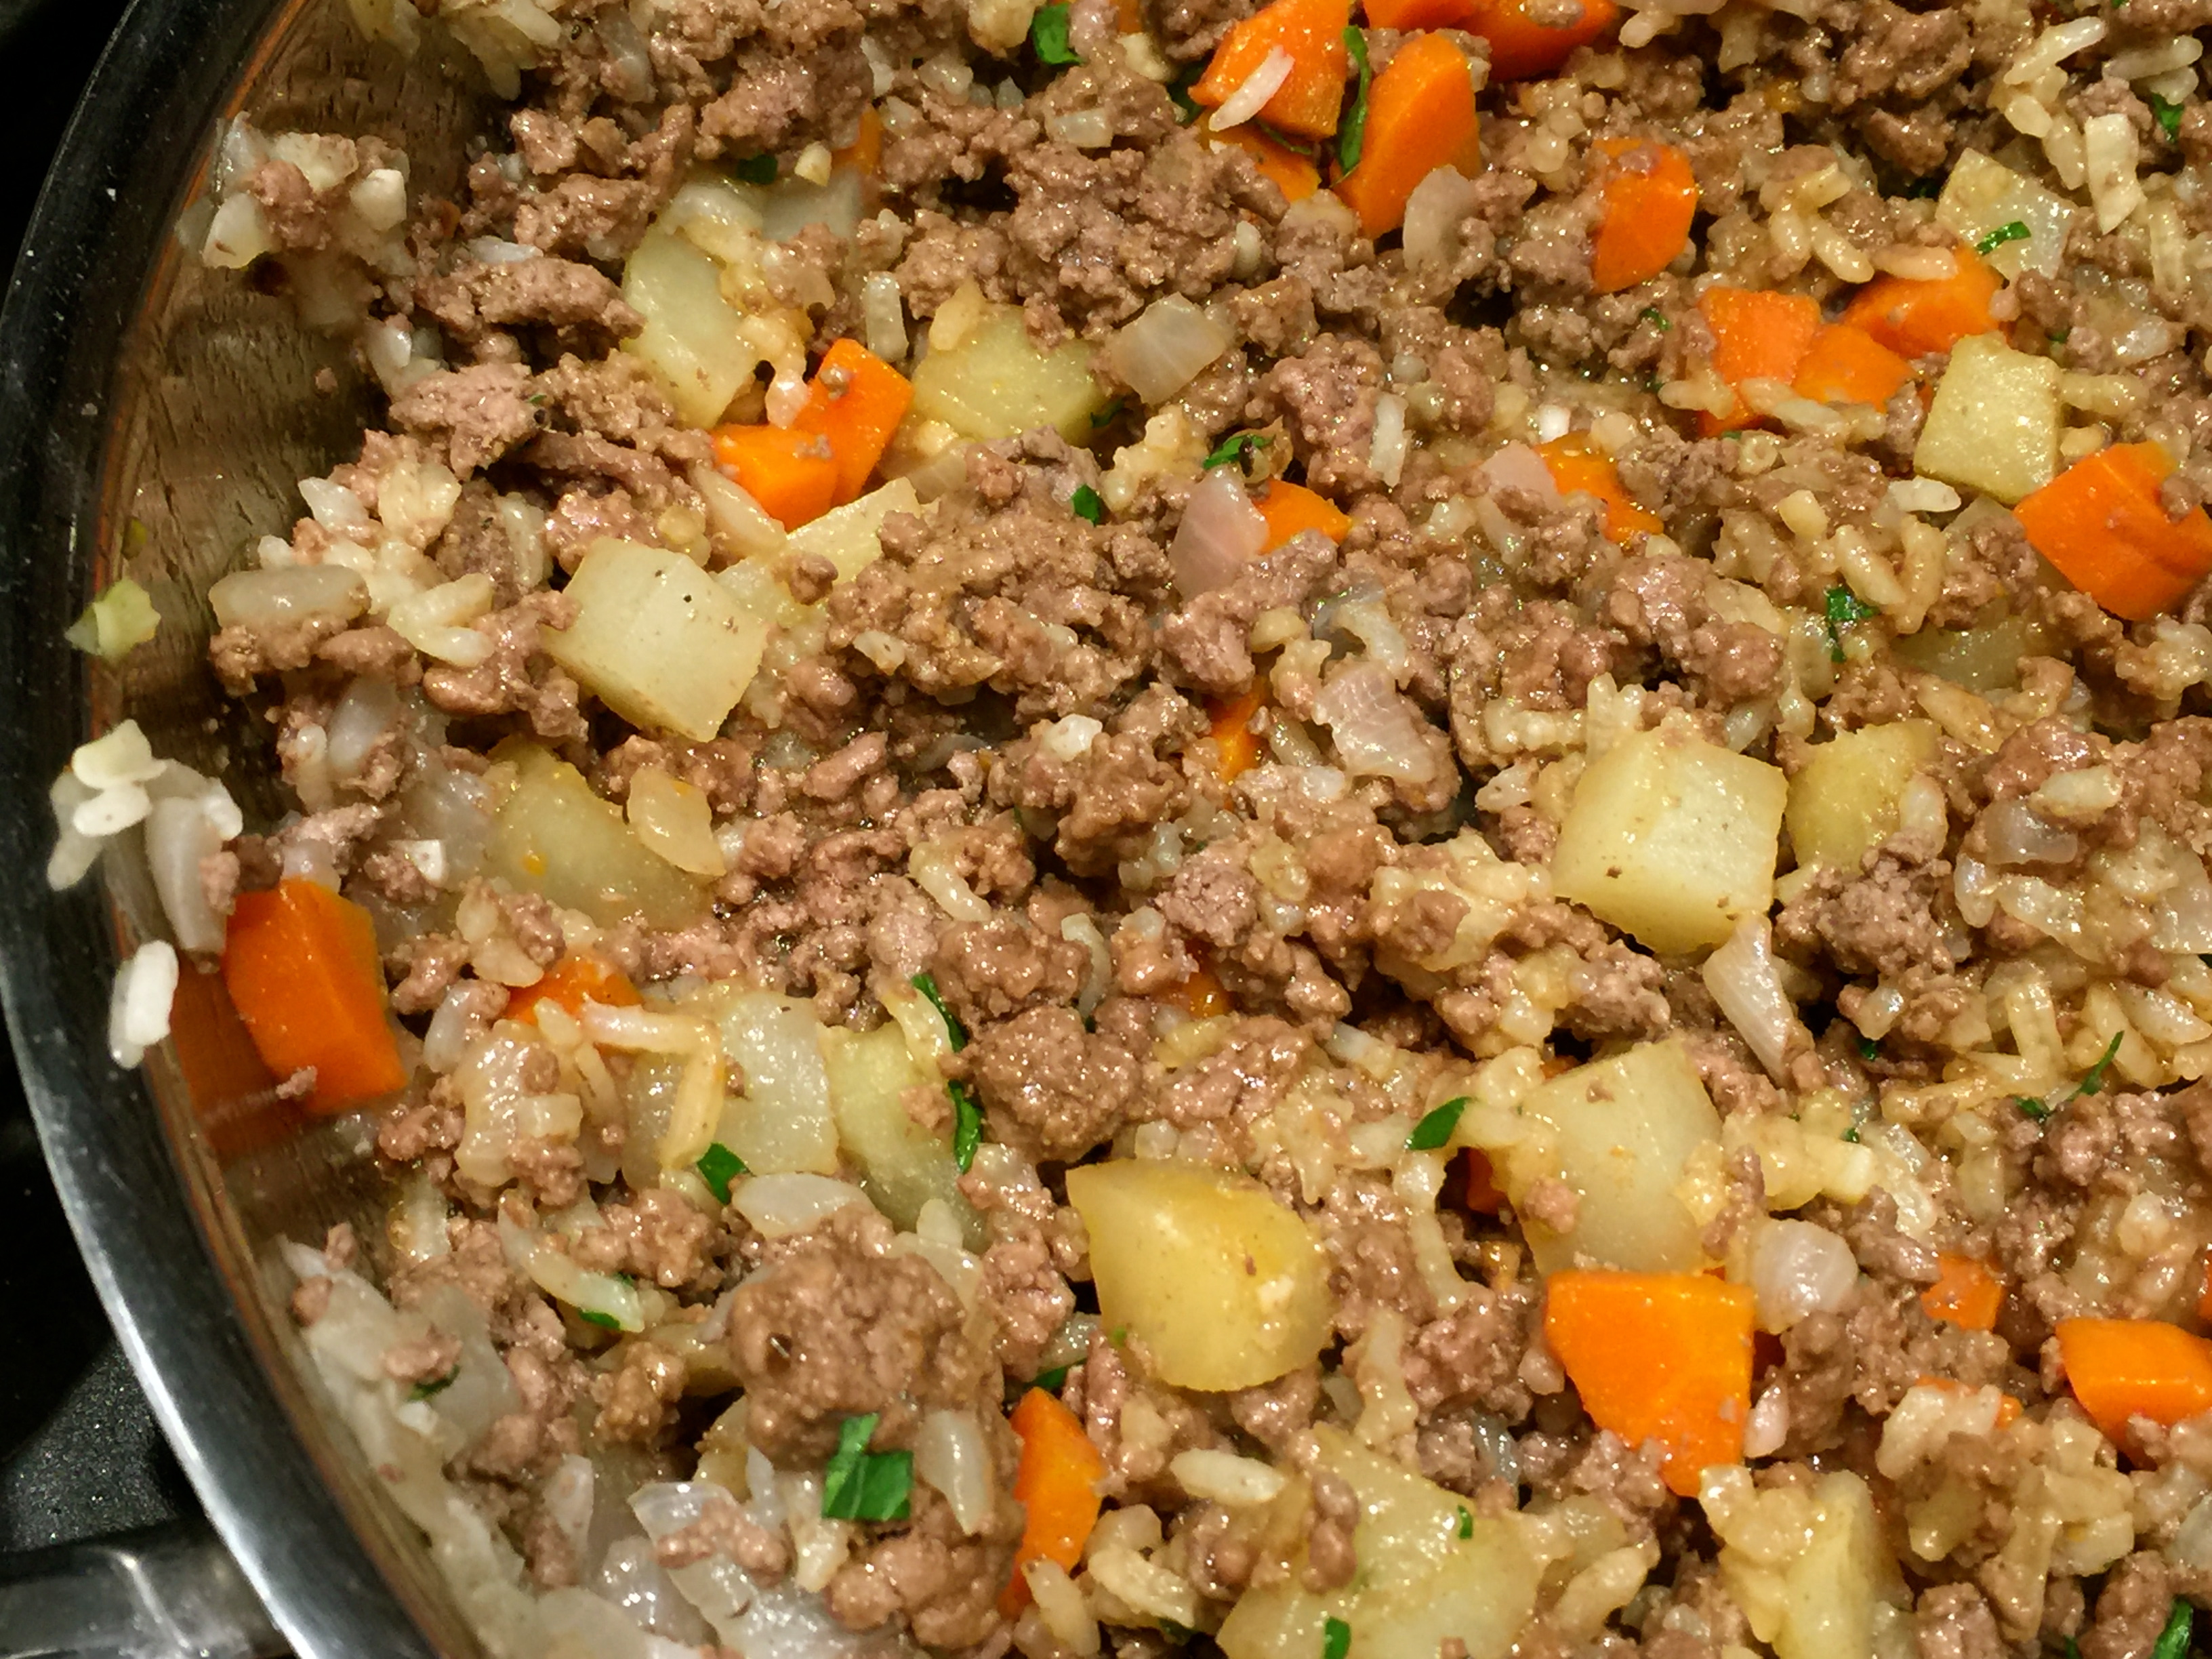
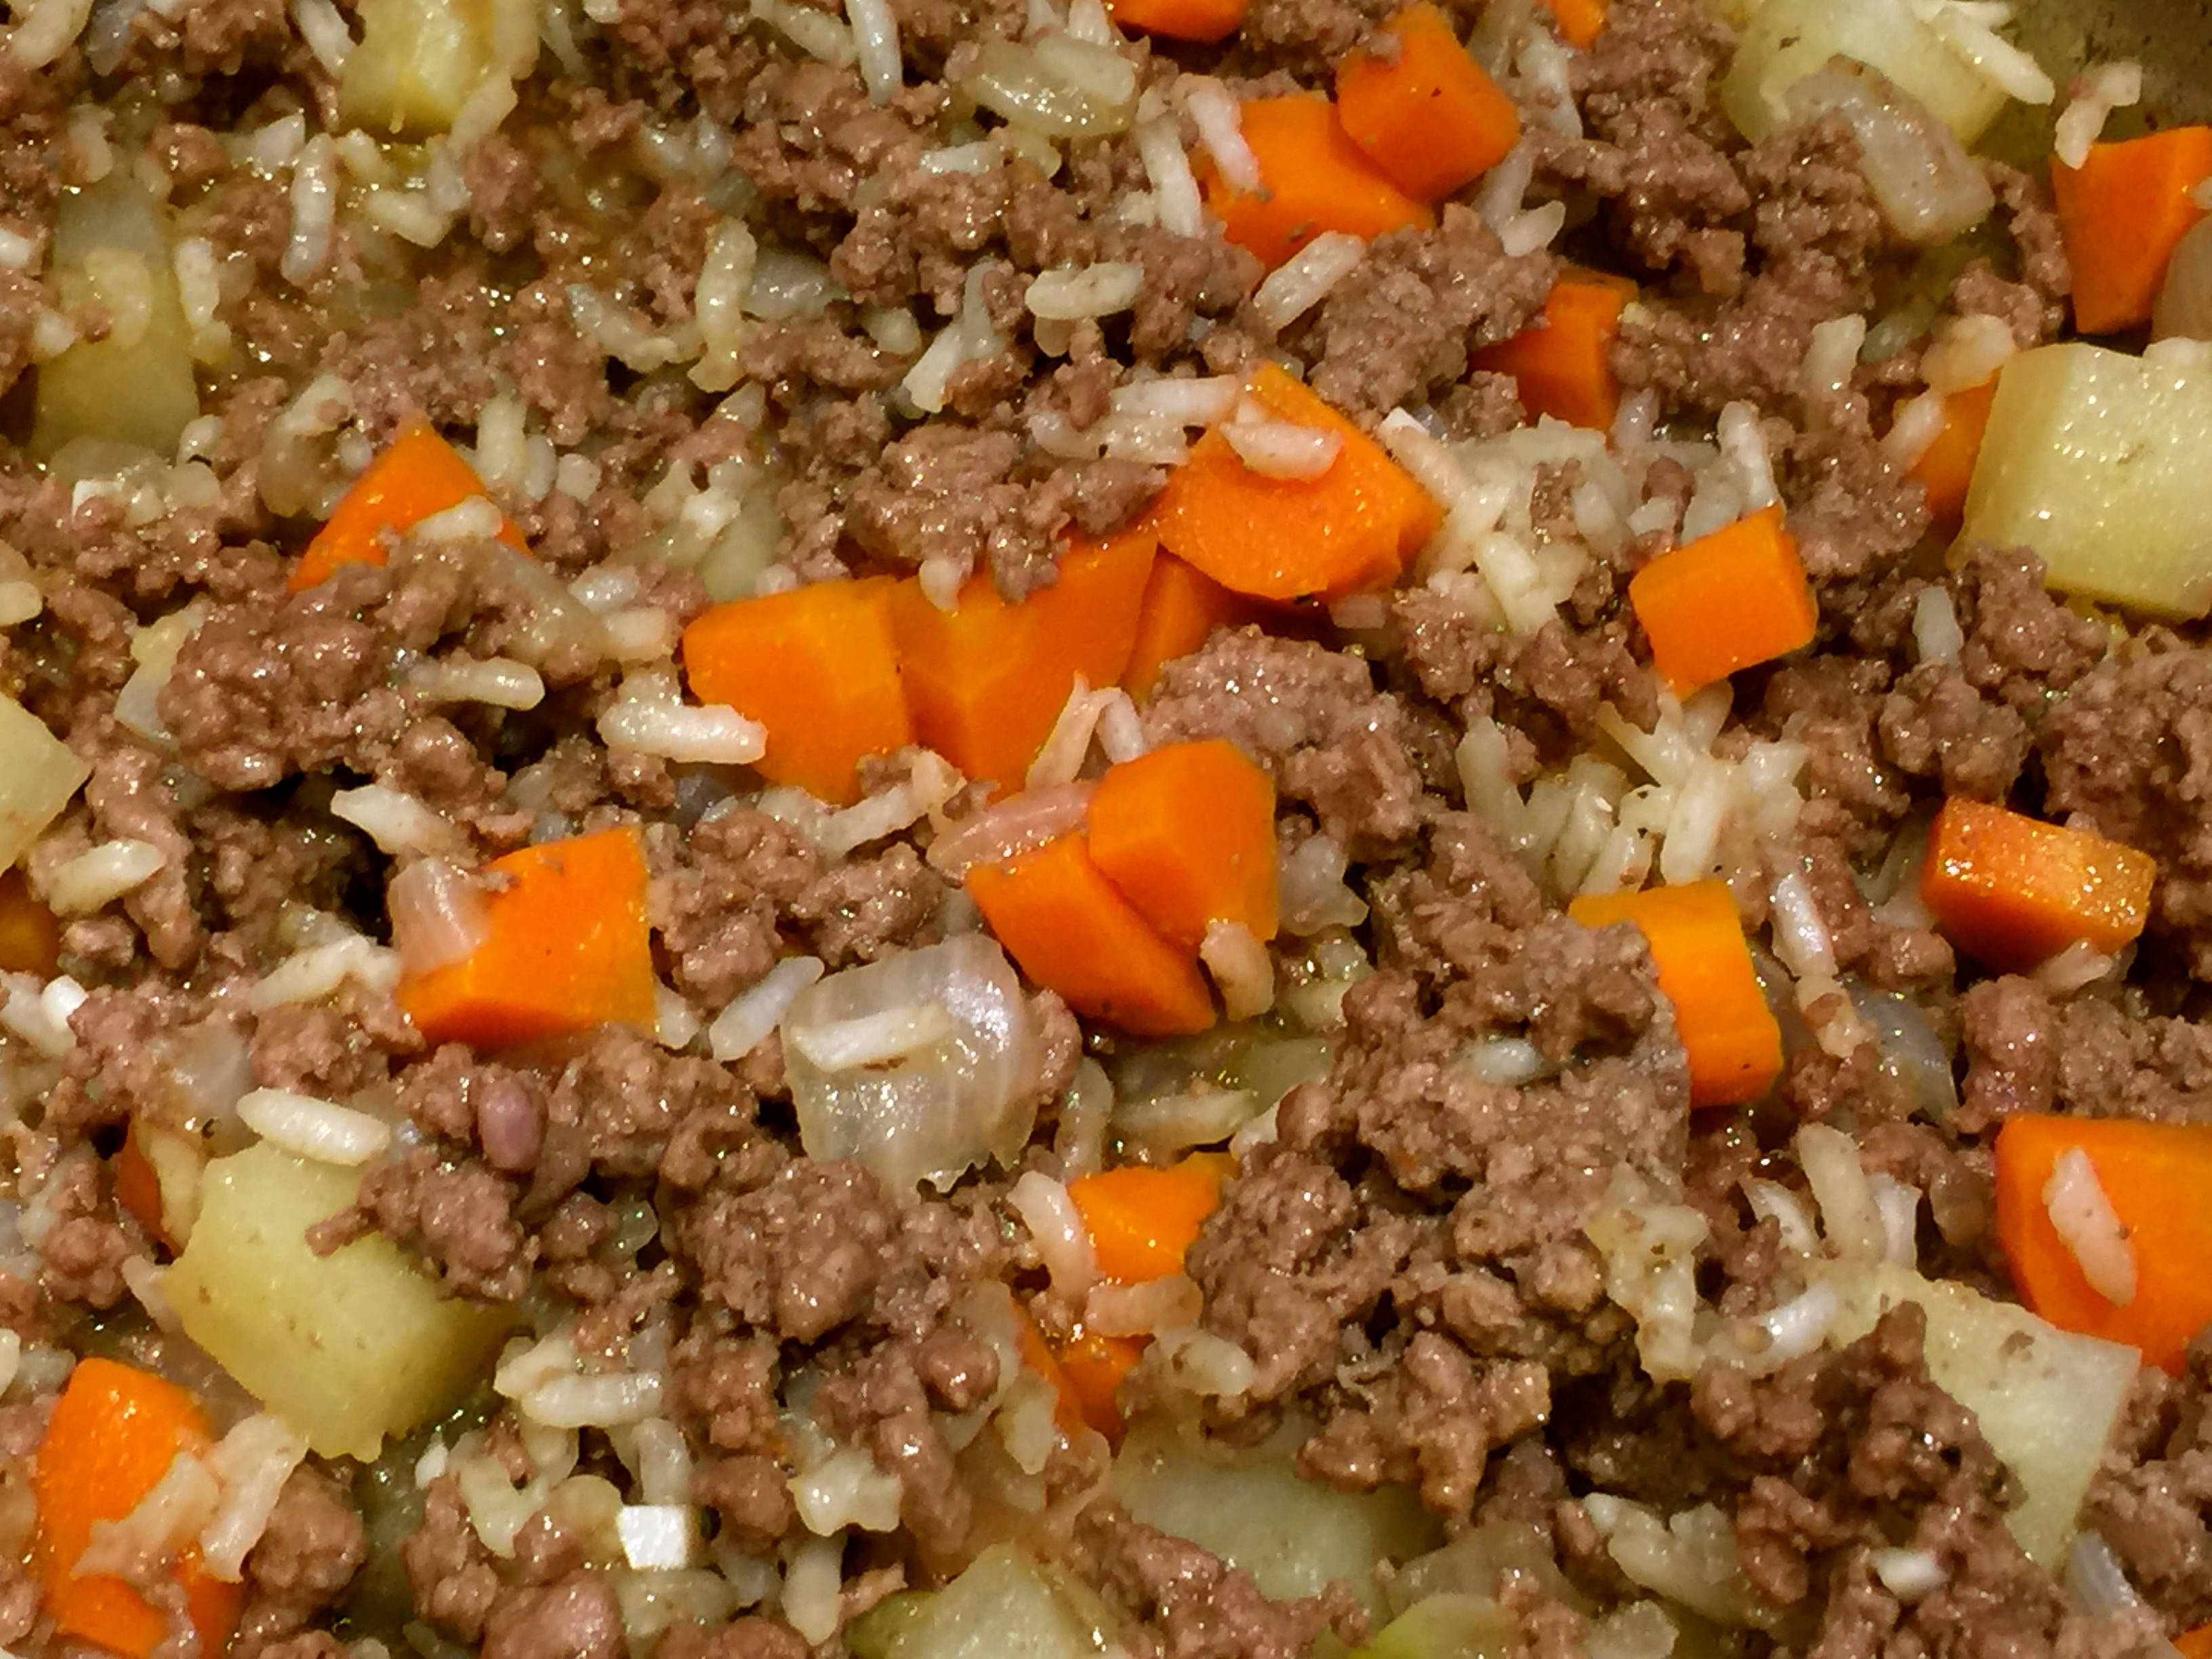
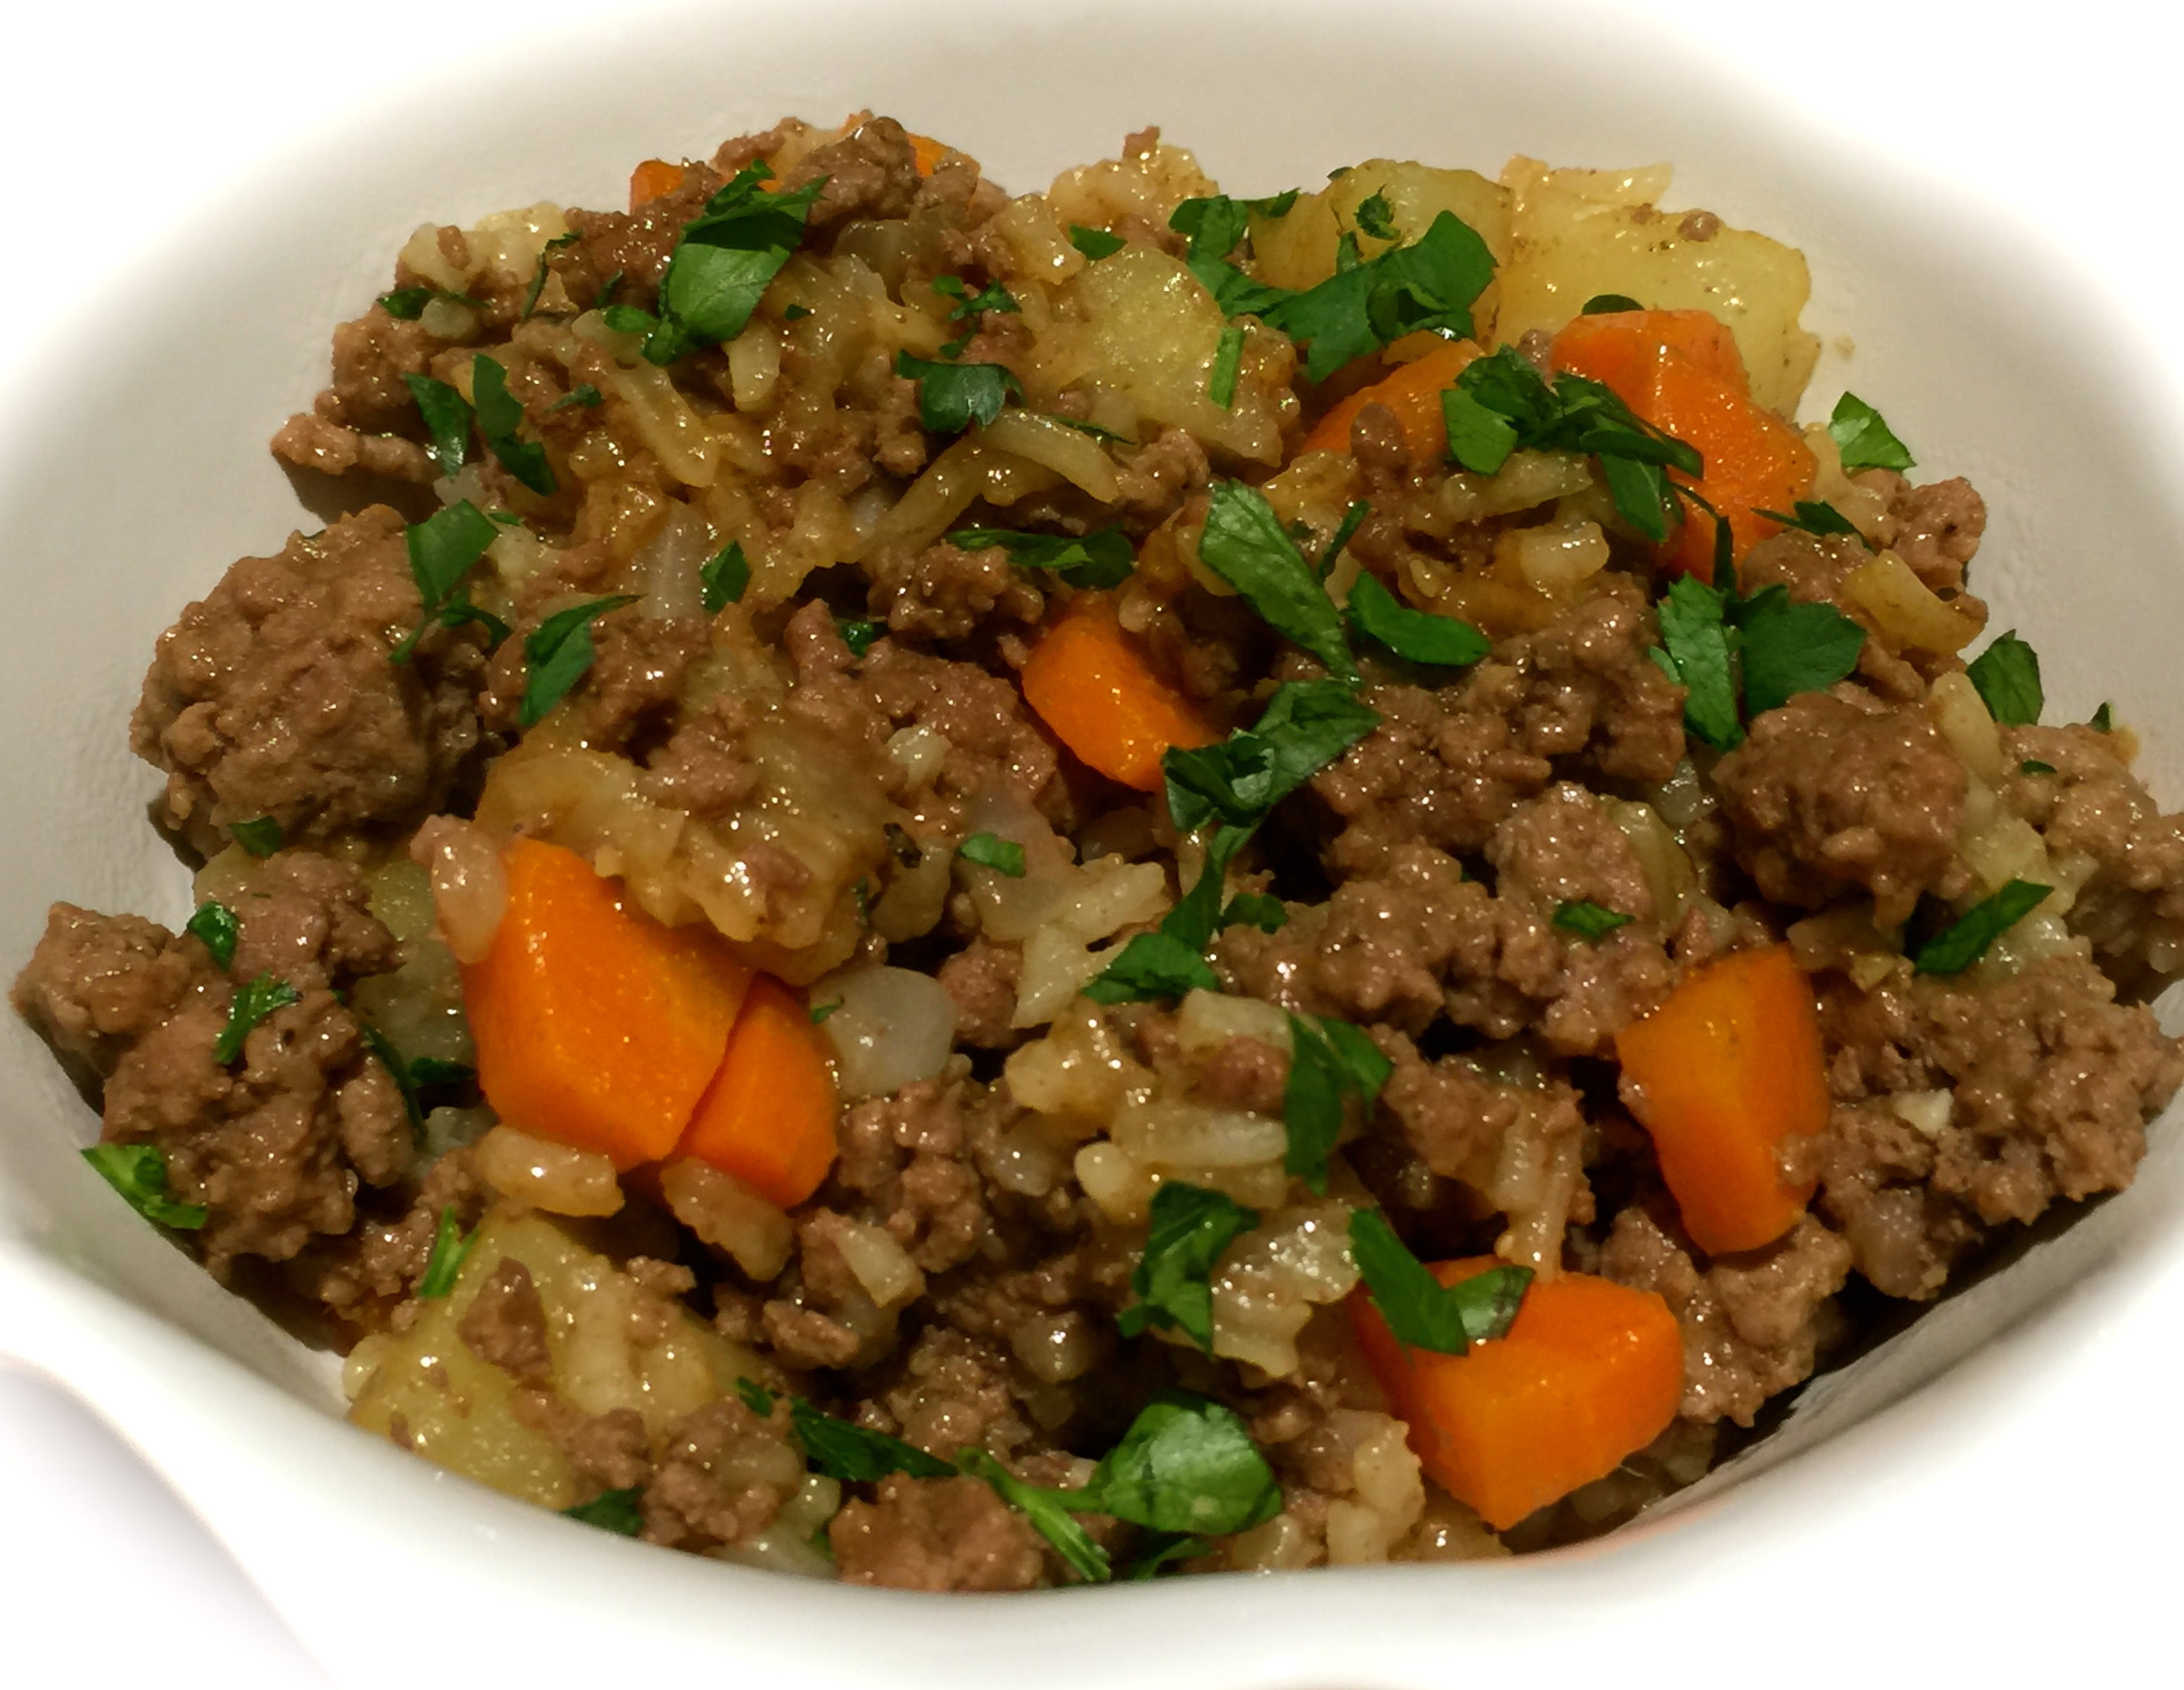
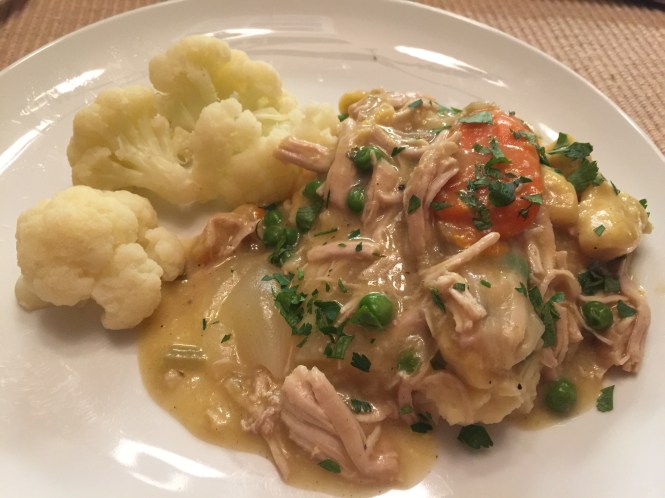
 Lesson Learned 2 – Use a rice mixture for an extra flavor boost: Go ahead, be adventurous and use a rice mixture instead of just plain white rice. You can use wild rice, basmati rice or the mixture that I use which is a combination of white, brown, wild and red rice and pictured to the right. You’ll be amazed at how it punches up the flavor volume and makes the dish even more interesting.


 INGREDIENTS:


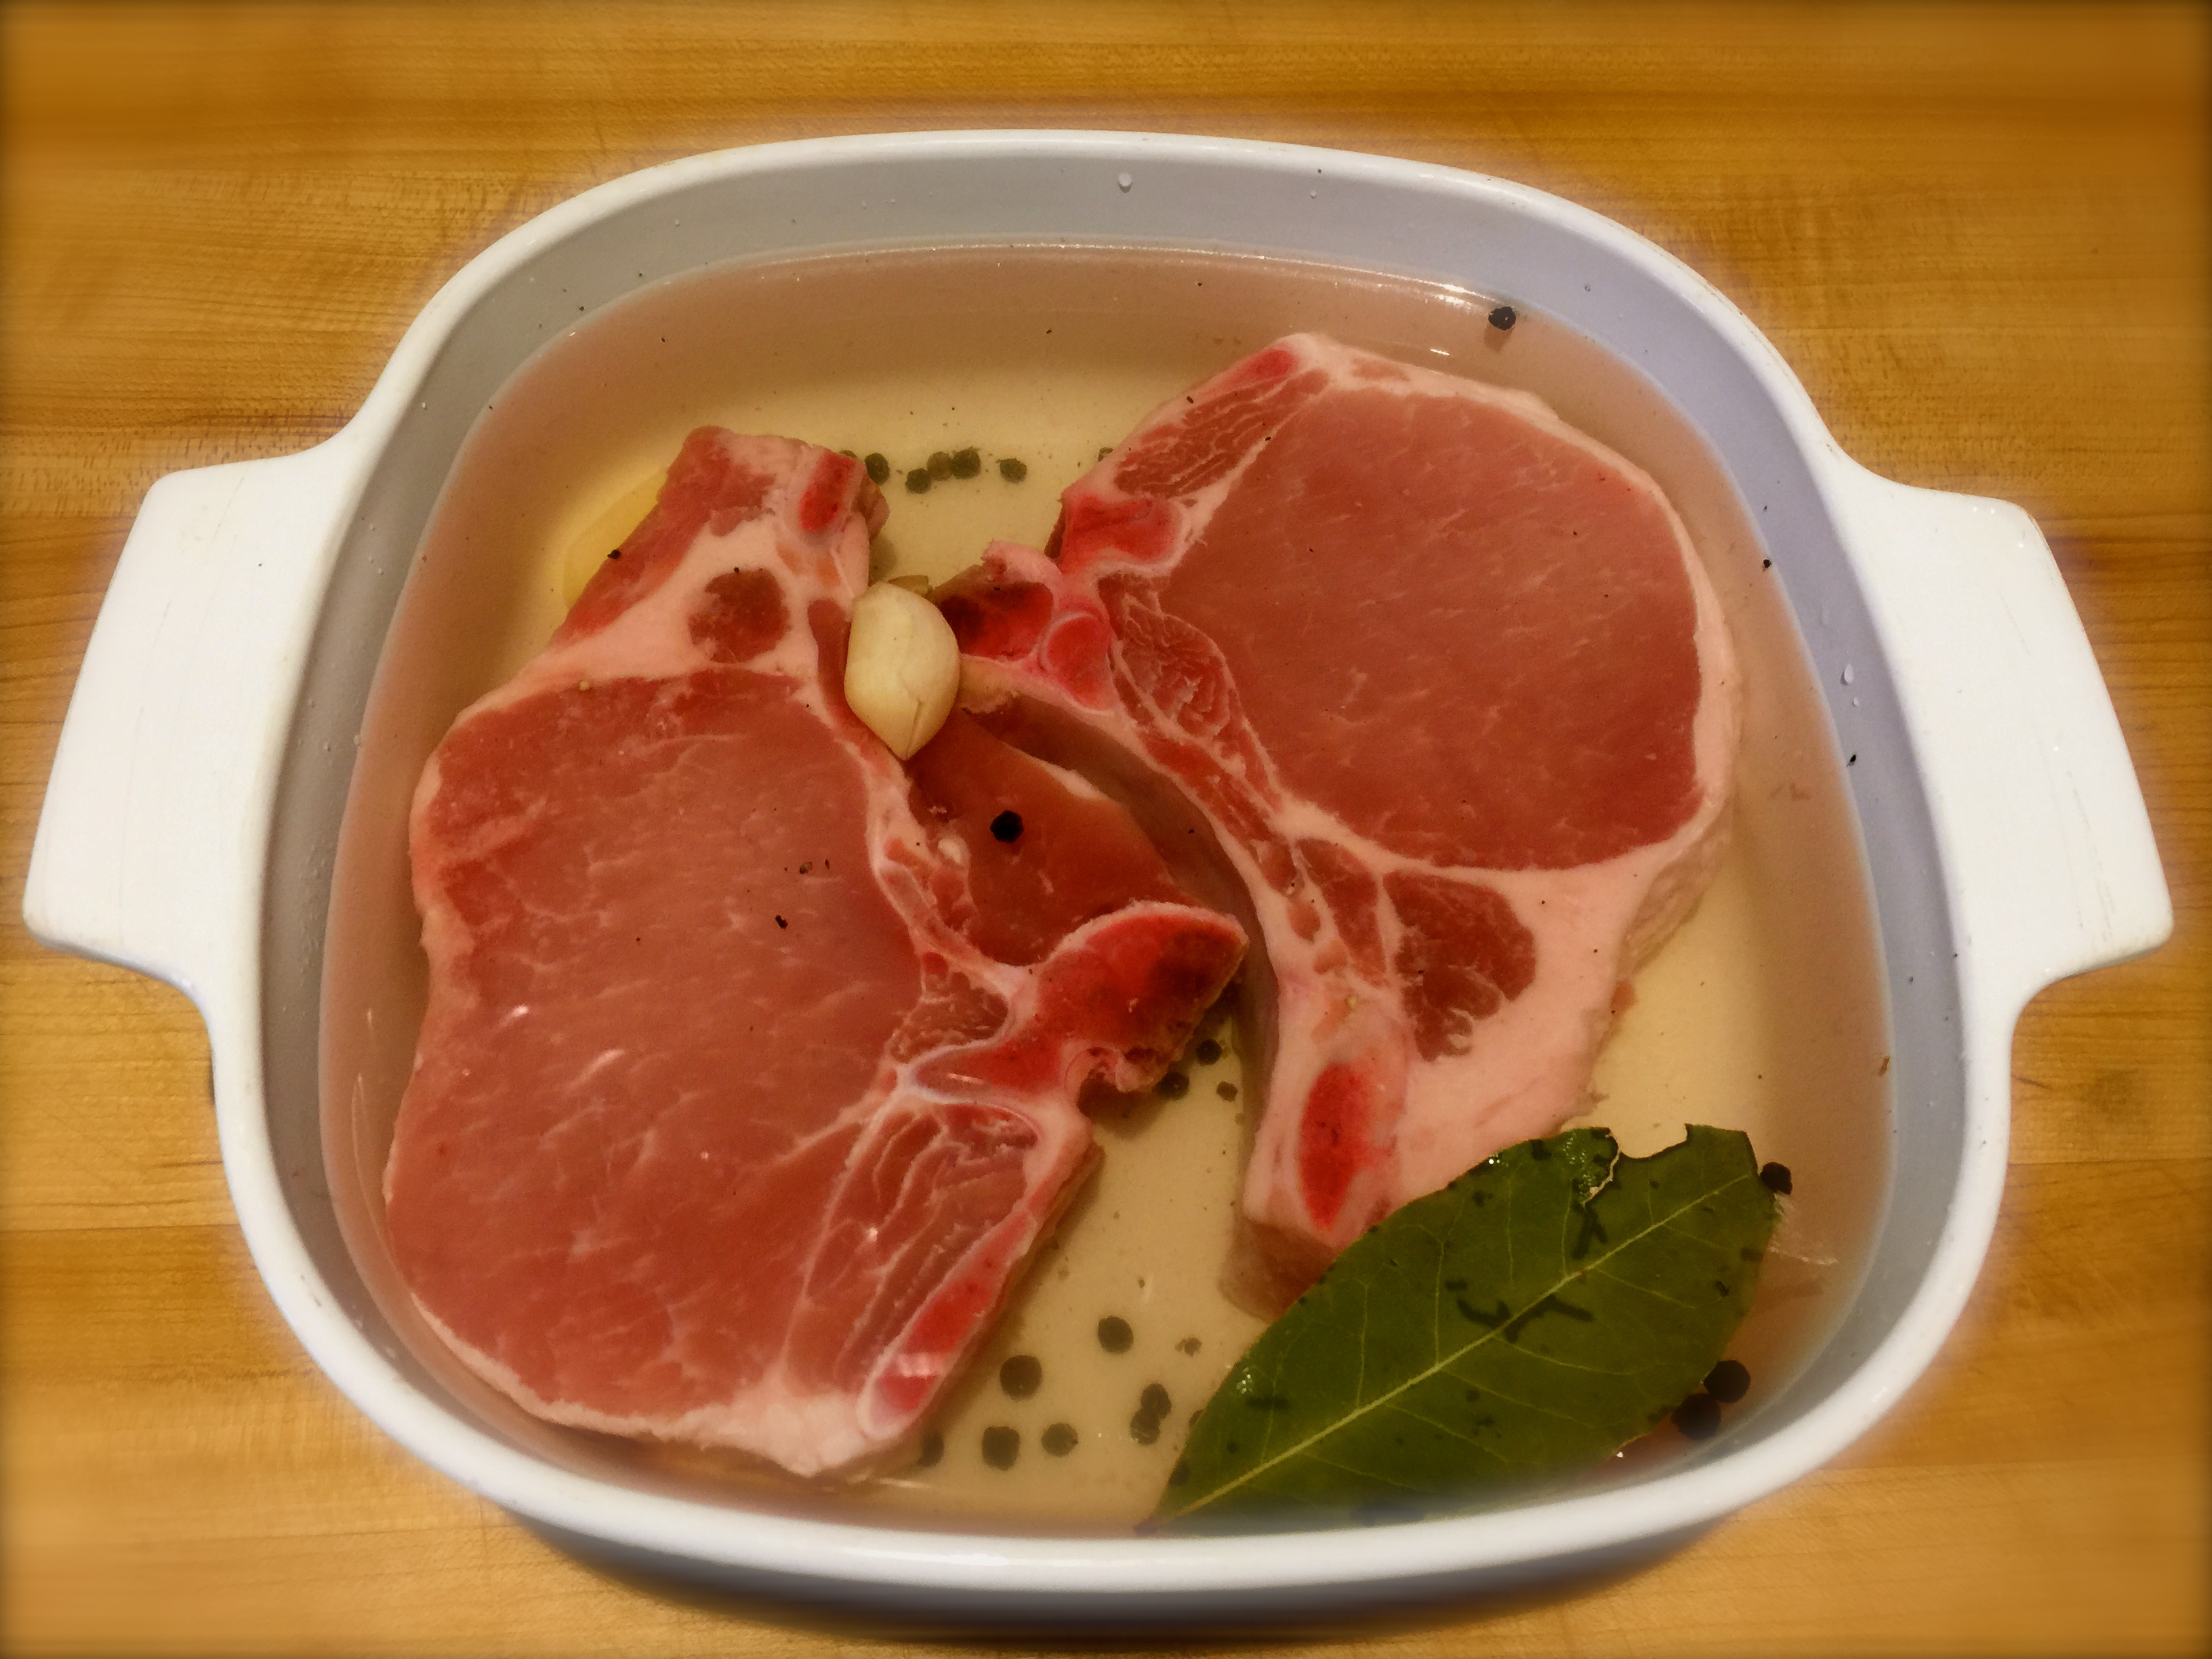
 Lesson Learned 1 – Try to use chicken breasts with the skin on: I normally buy chicken breasts with the skin on and rib portions attached. First they are cheaper when purchased that way and second it’s easy to remove the rib portion and you’re left with a skin-on breast. Chicken can dry out very easily in a slow cooker and often can get overcooked. With the skin on it gives the breast meat more moisture during the cooking process and that is what you’re looking for. But sometimes you just can’t find them that way and that’s ok as well. Both times I made this recipe I had skinless breasts in the freezer and so I used them. But in my experience with other recipes, skin on breasts are preferred when cooking them in a slow cooker.
 Lesson Learned 3 – Don’t overcook the chicken: I know, easier said then done, but most people overcook chicken breasts no matter what cooking method they are using. Chicken breasts can be moist as well as cooked through but there is a fine line between when that occurs and dried out chicken.
 Lesson Learned 4 – You can cook a veggie with the chicken if you want to: The first time I made this recipe I only cooked the chicken in the bbq sauce mixture. The second time I added carrots. When it came time to shred the meat I just pulled out the carrots, put them on a baking sheet lined with foil and sprayed with cooking spray and kept them in a warm oven until dinner was served. Make sure you use cooking spray on the foil as the remnants of the bb sauce on the carrots will stick to the foil and you don’t want the carrots sticking. Also make sure you don’t use overly thick carrots – they won’t cook through in six hours.
 3 large chicken breasts, skin on preferred


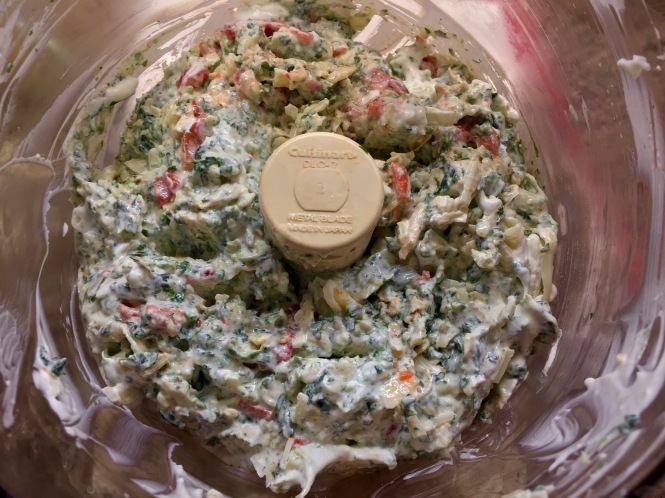
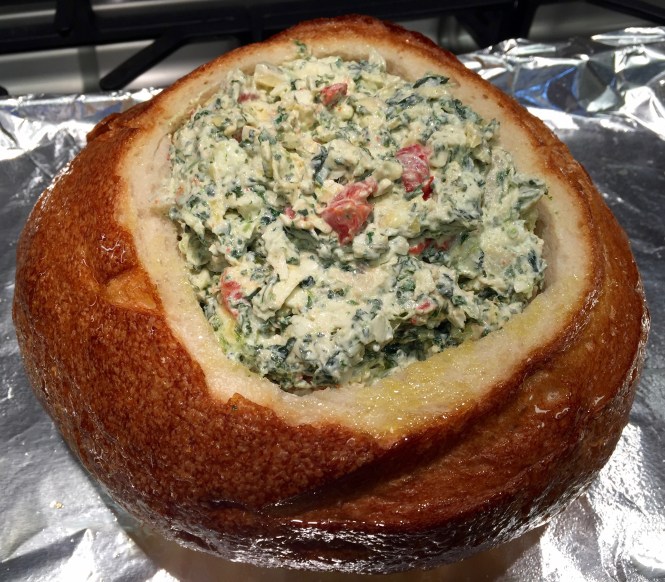
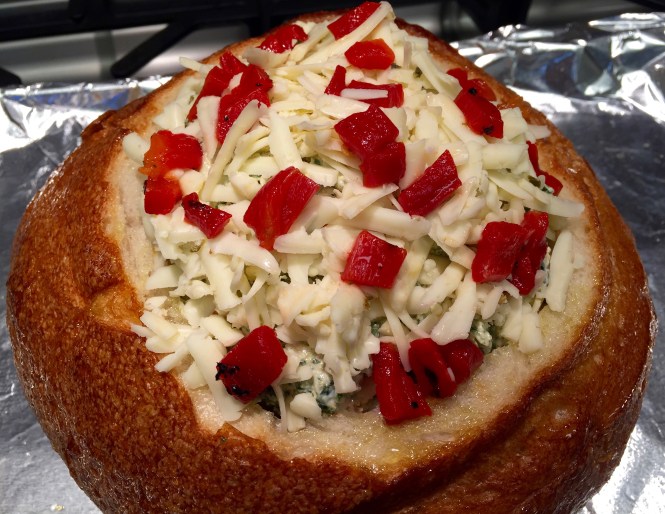
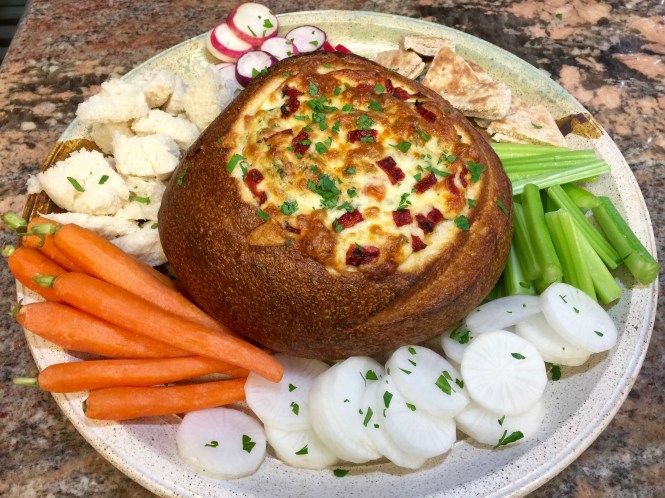
 1 large round sourdough bread
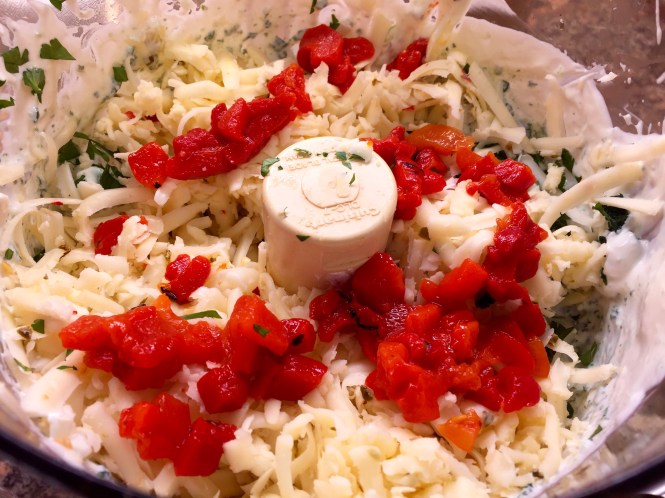


 Lesson Learned 2 – Use a little cream of rice or wheat: My grandmother used “farina” in her recipe. Farina used to be very popular when I was growing up but not so much now. As a substitute you can use either cream of rice or wheat. They are both a very creamy type of hot cereal and the little bit you use gives extra creaminess to the kugelis.
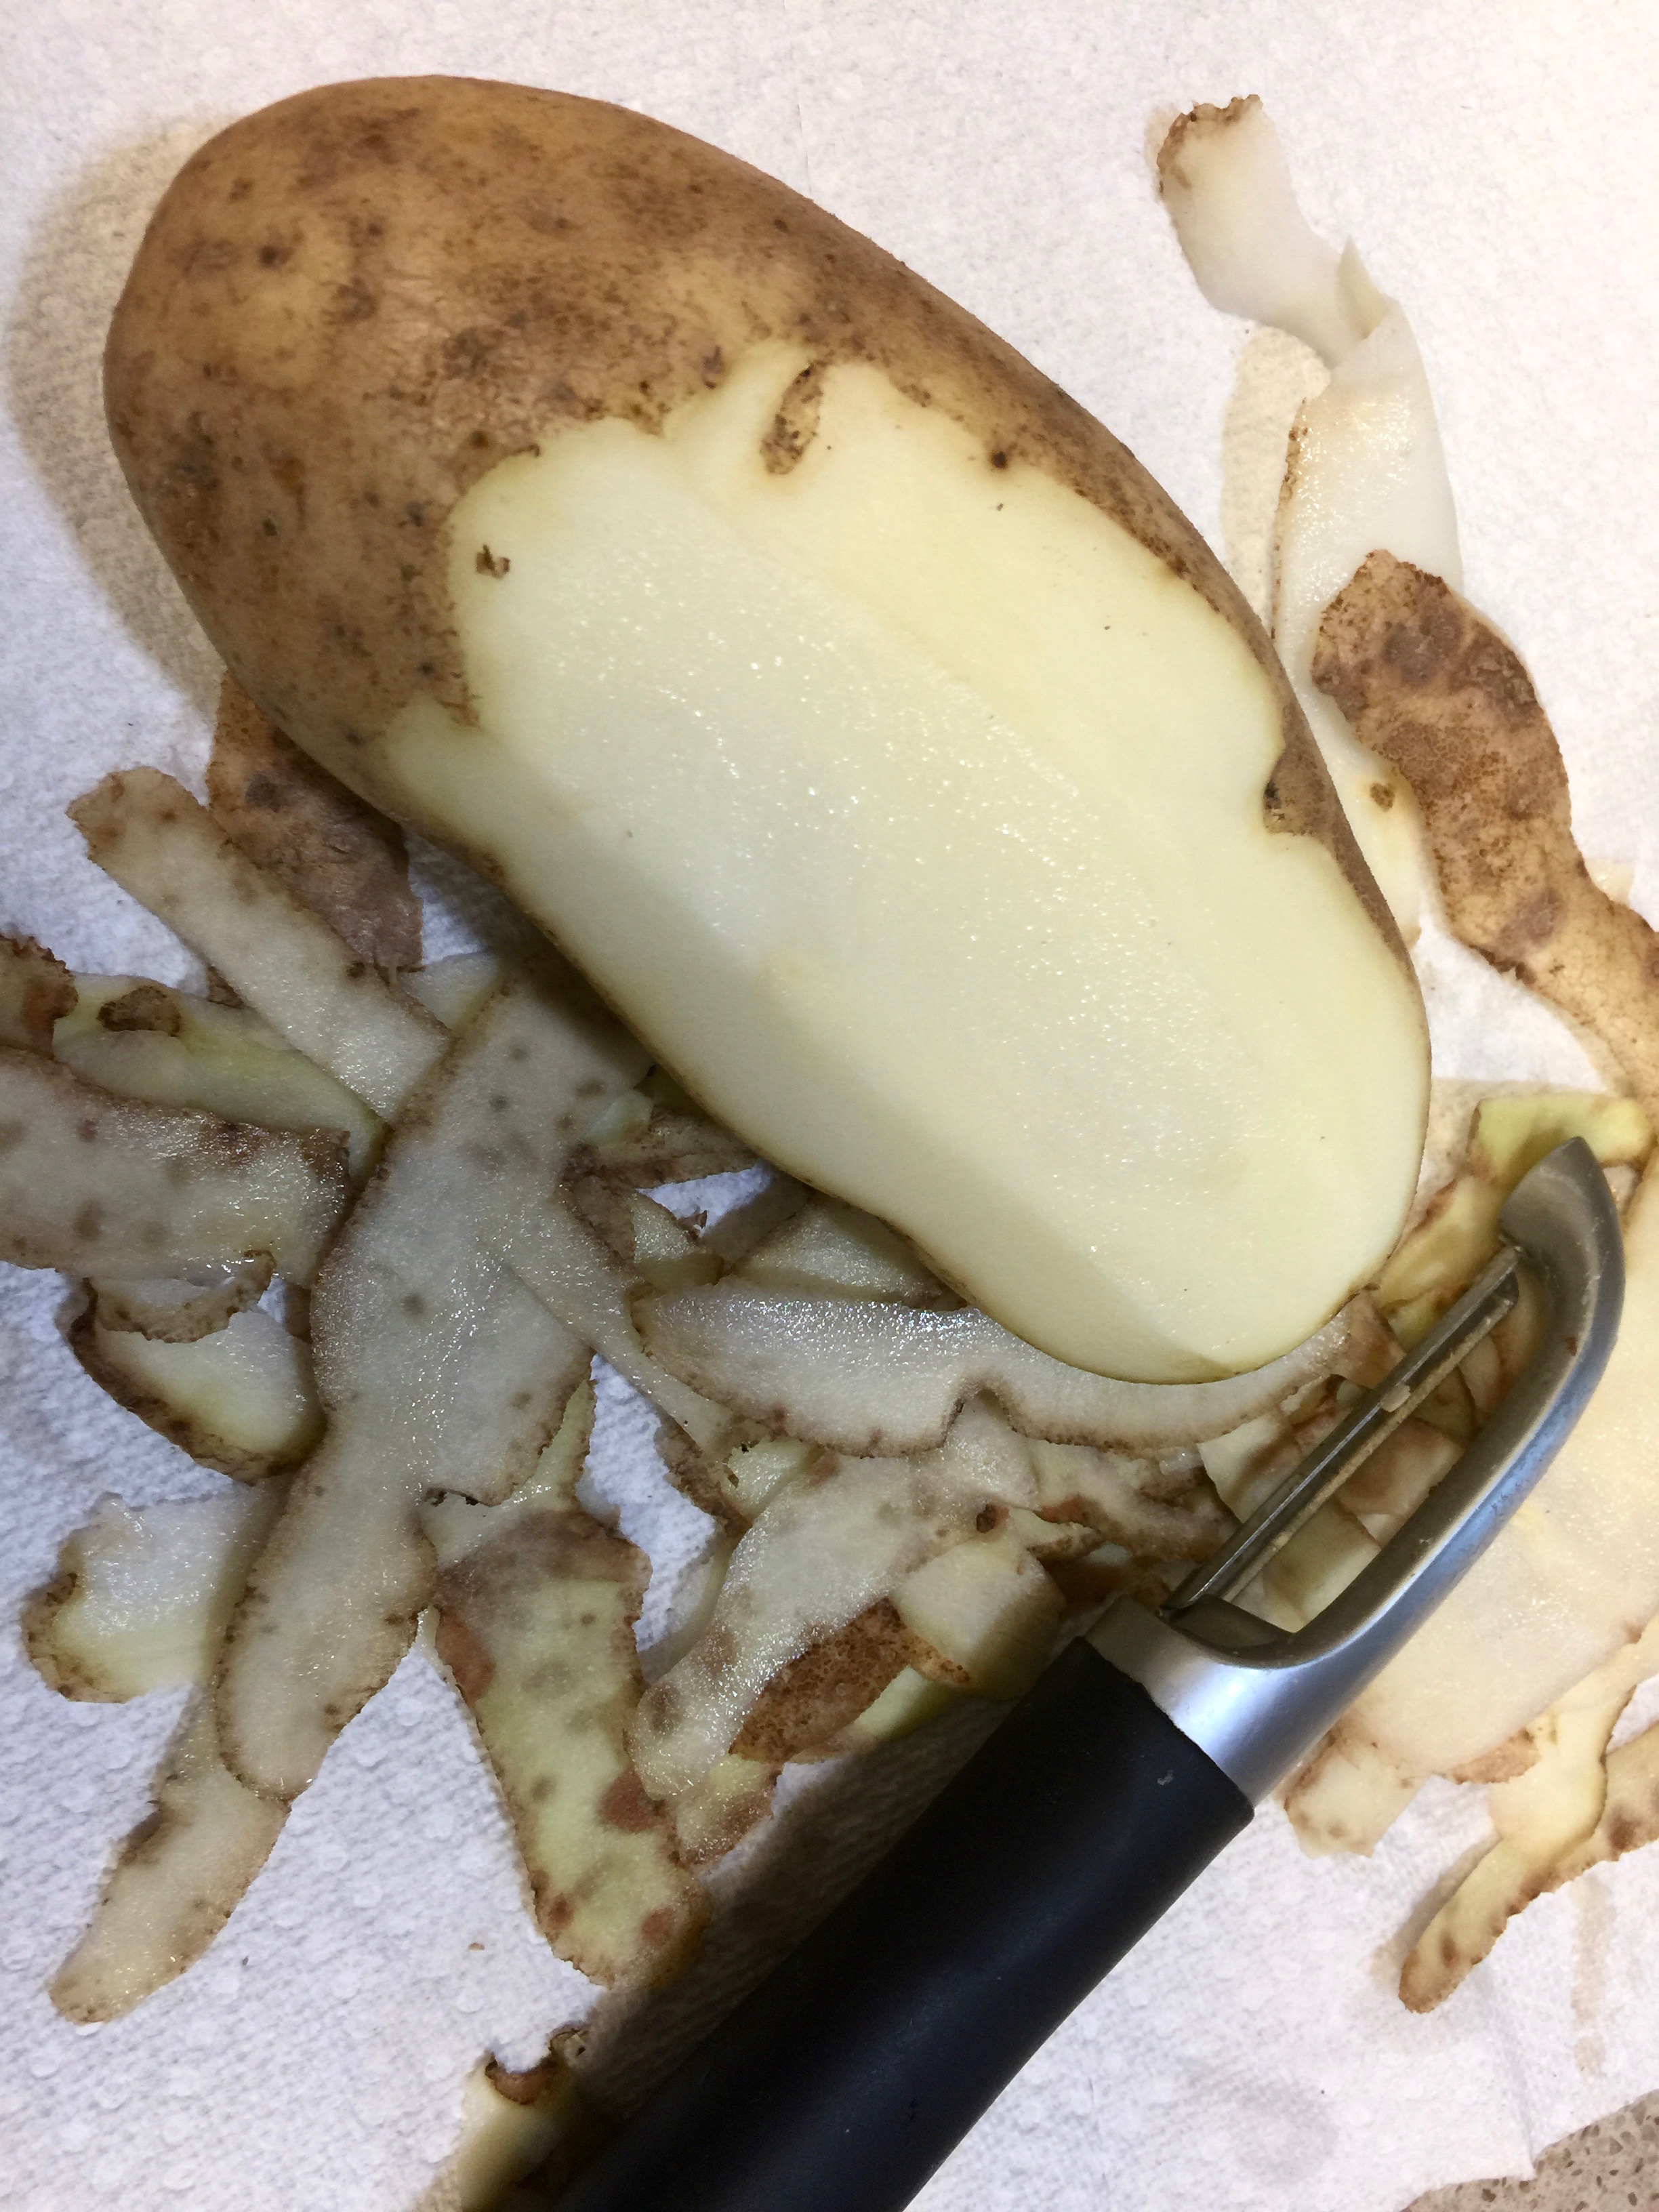
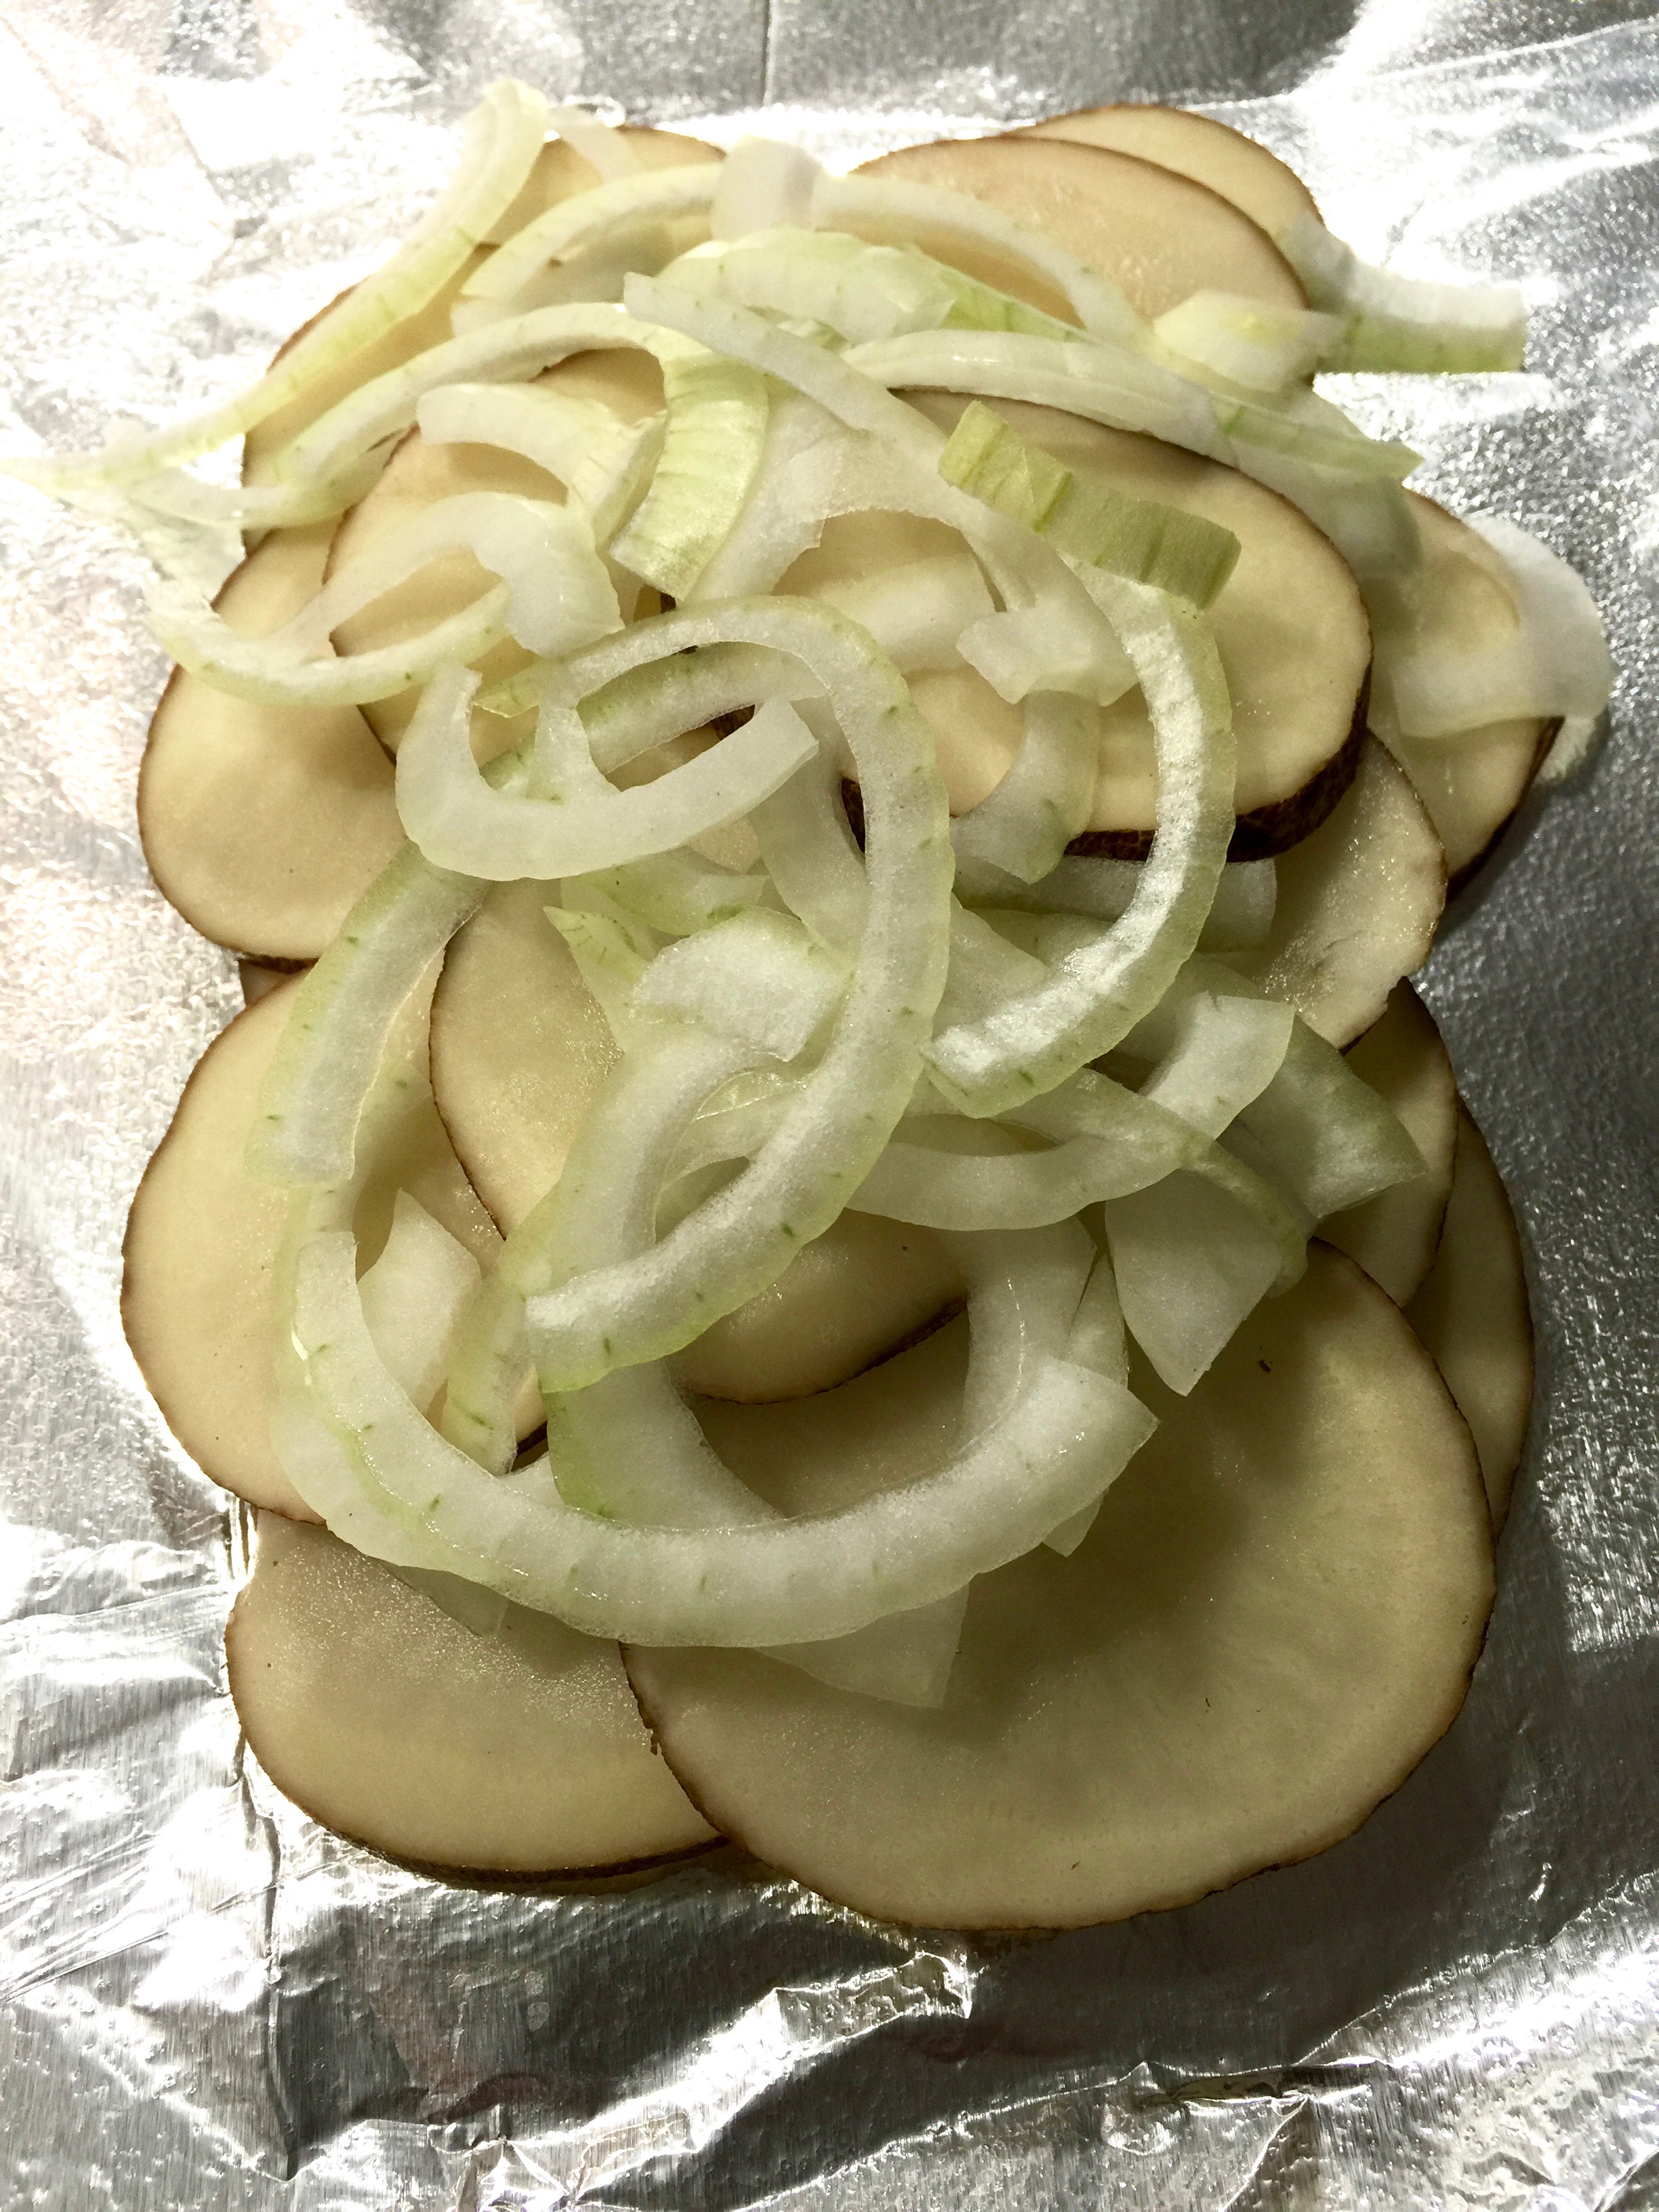
 The last thing you want to have happen is for the potatoes to oxidize and turn brown while waiting to be grated. Once you peel them put them in a bowl of cold water until you are ready to grate them. That way they will not turn brown on you.


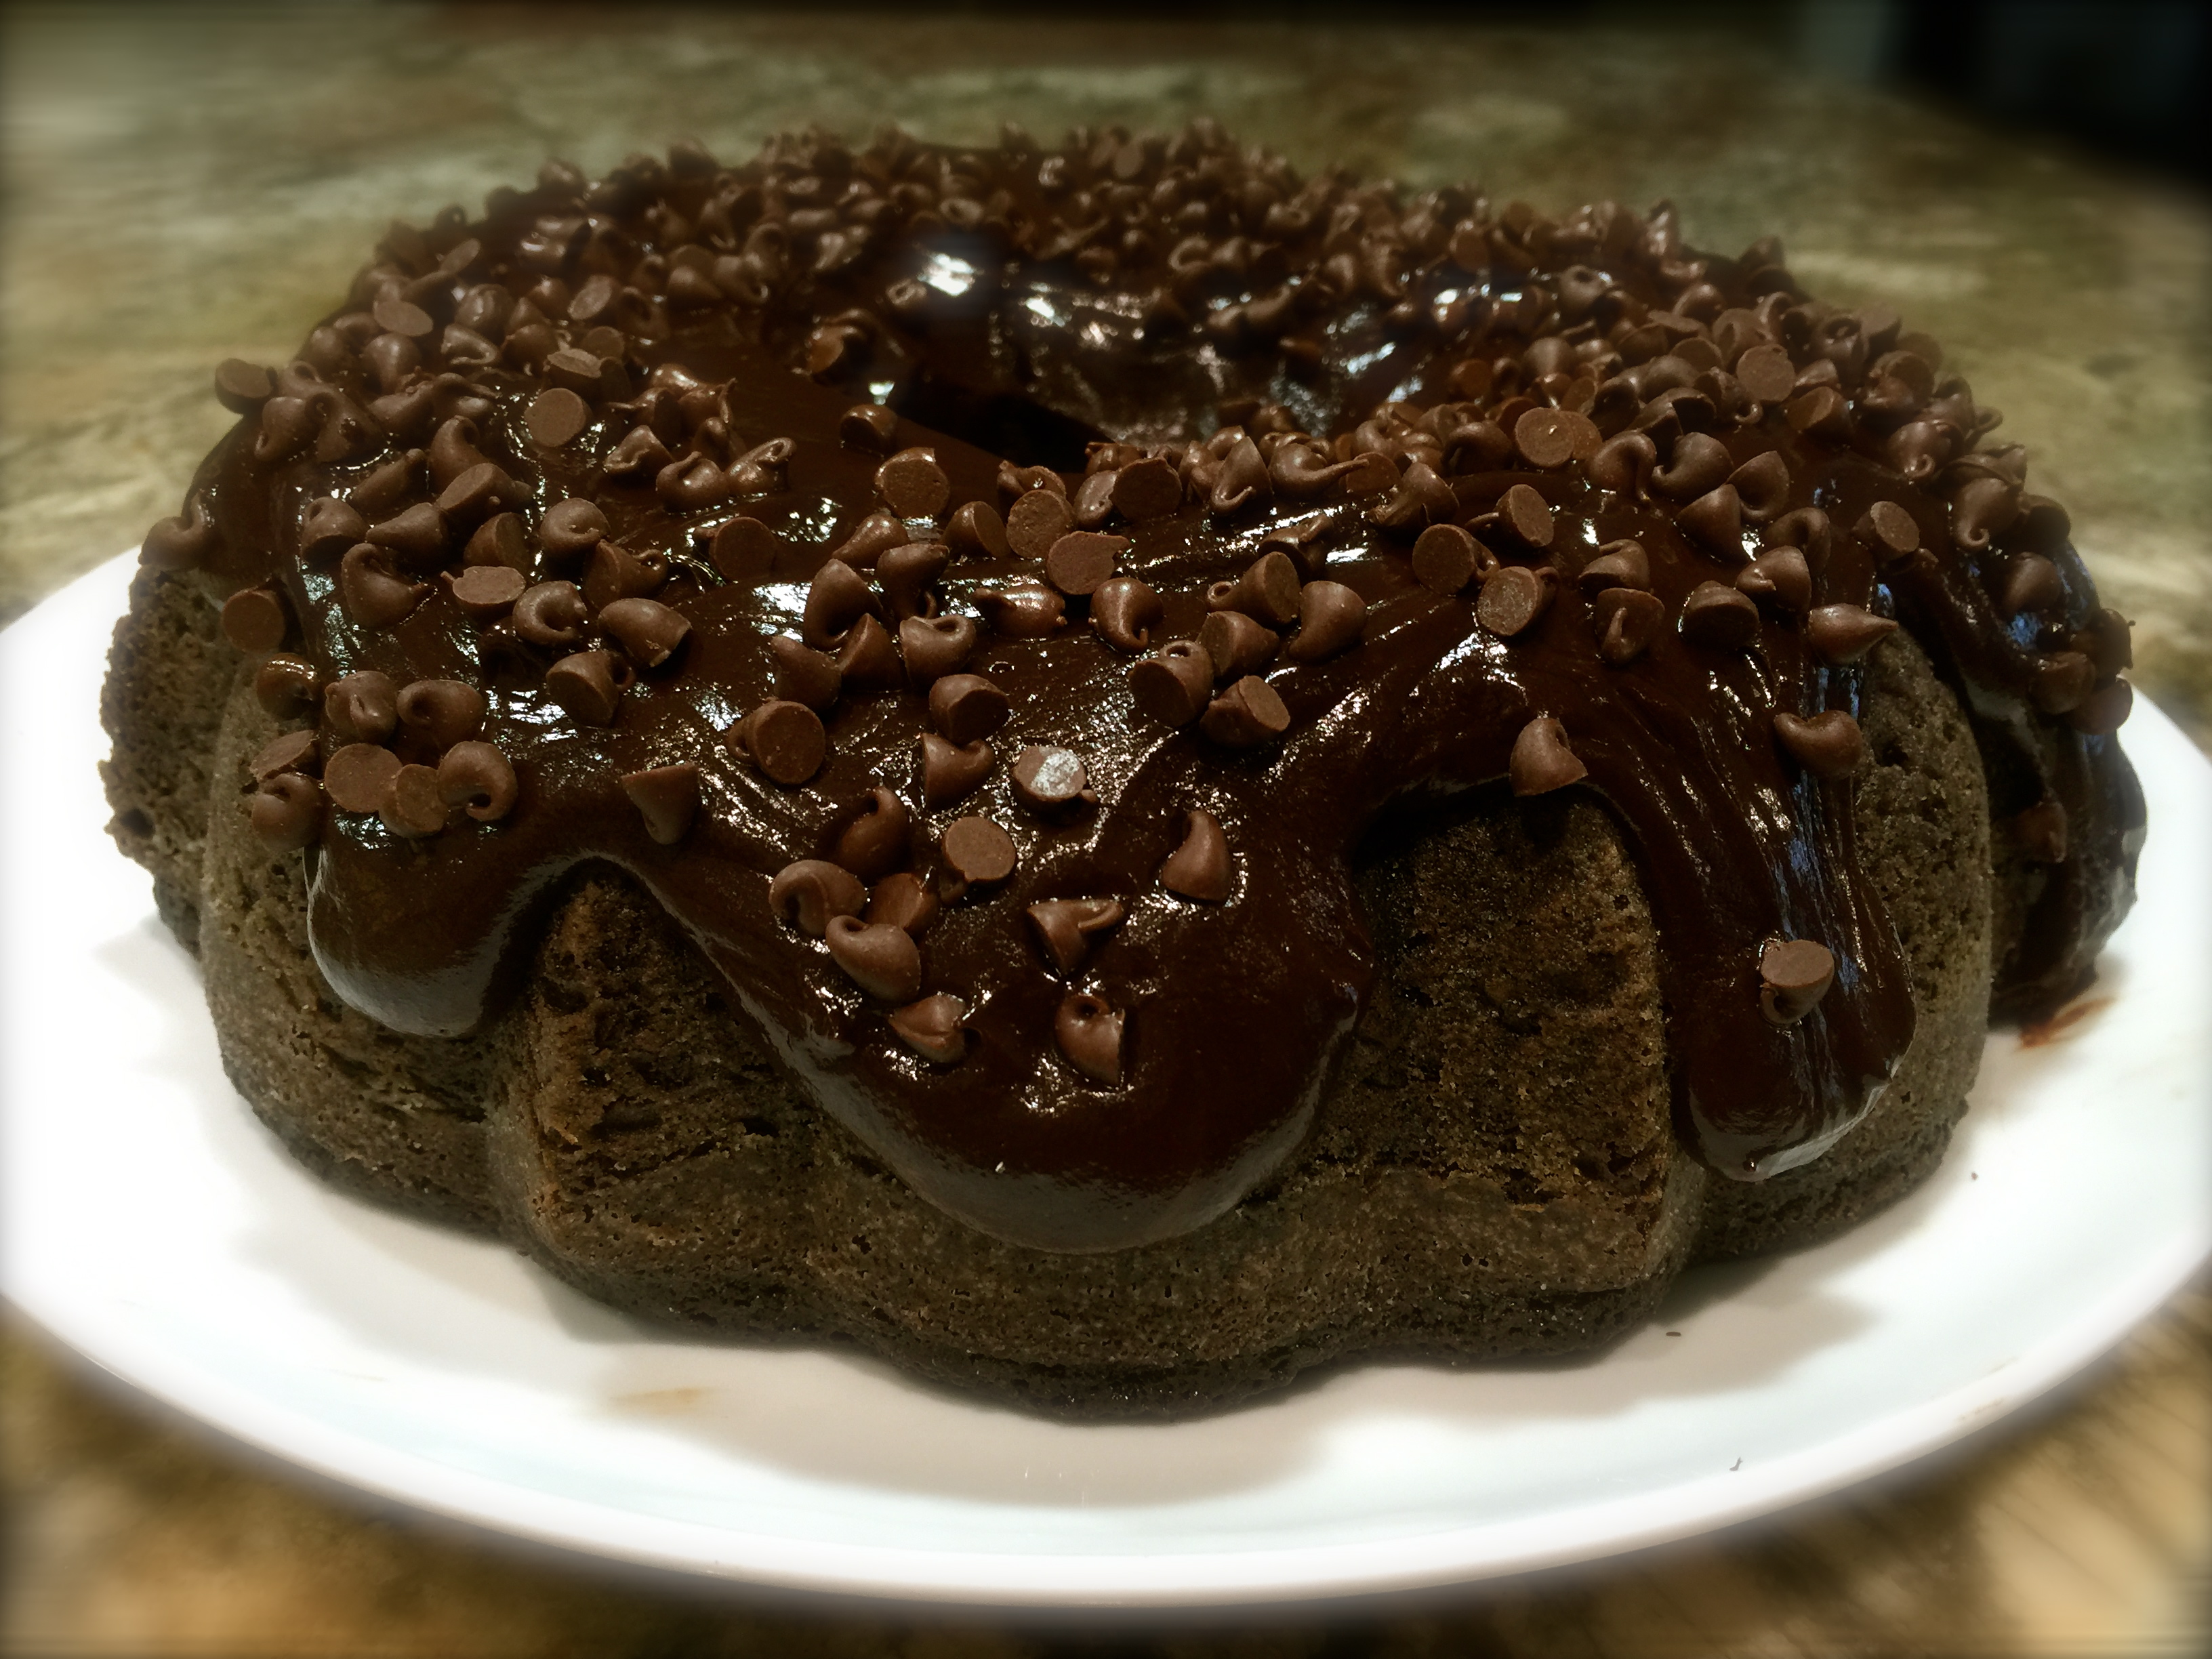
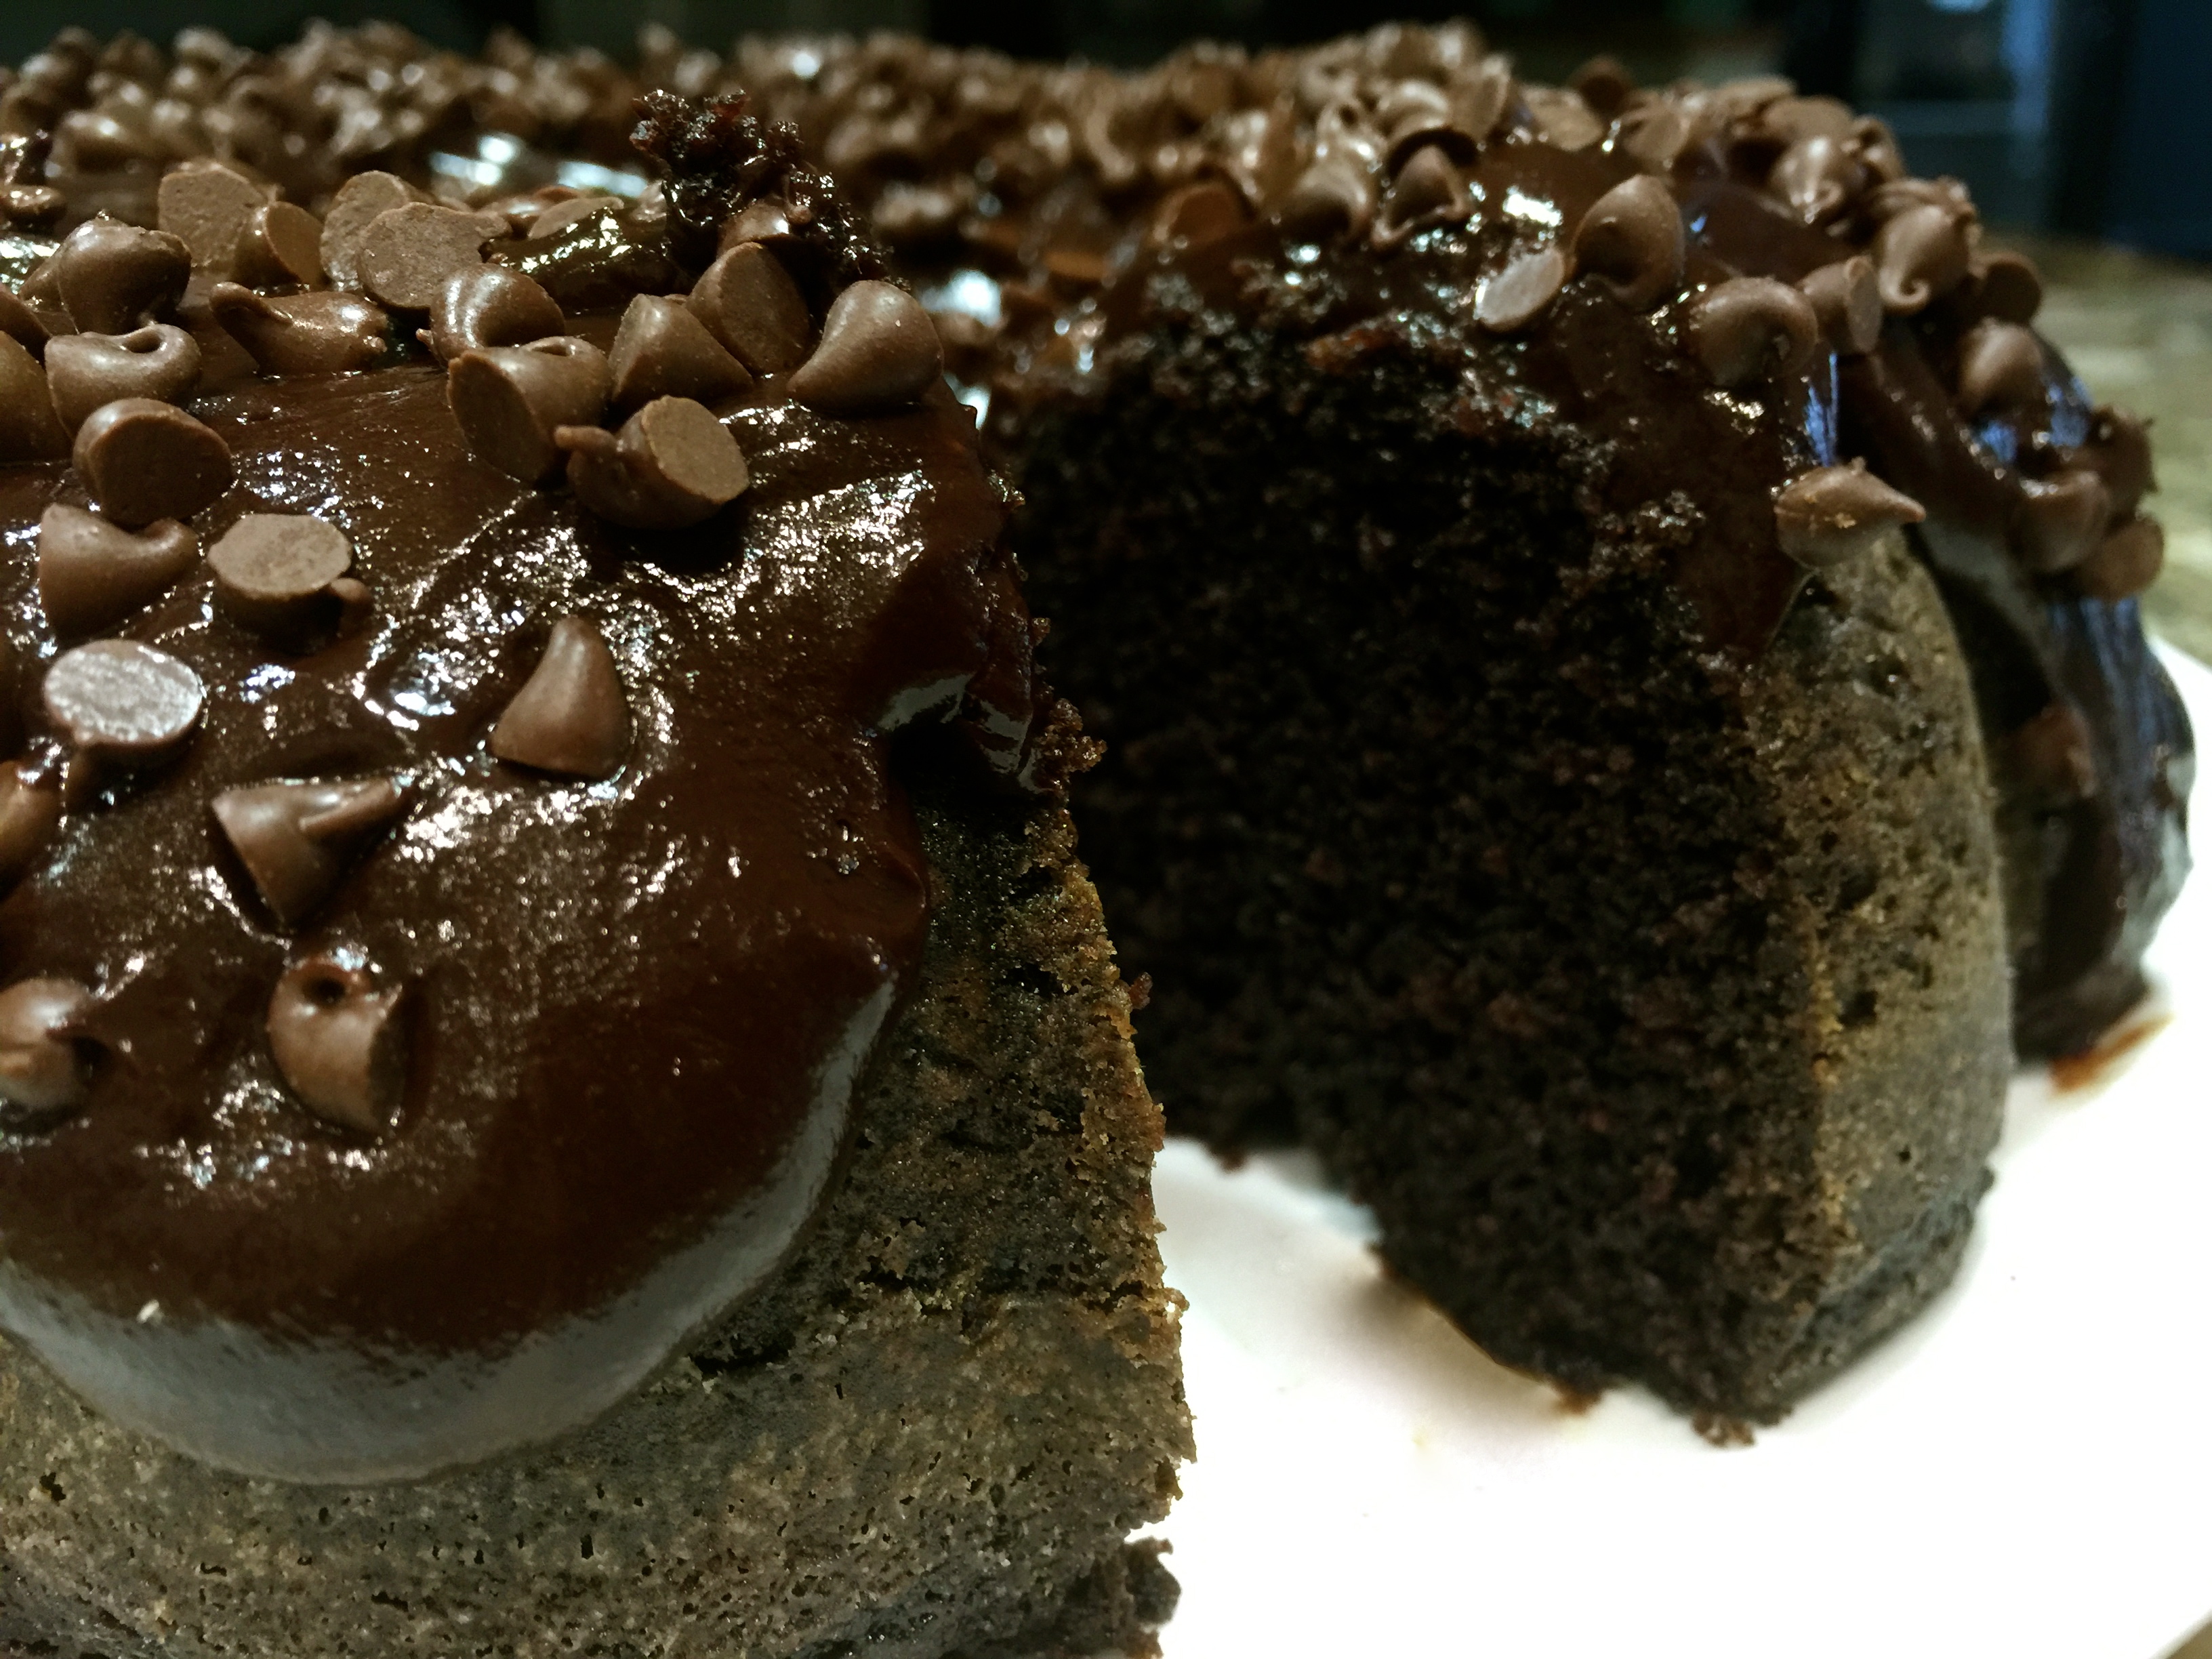
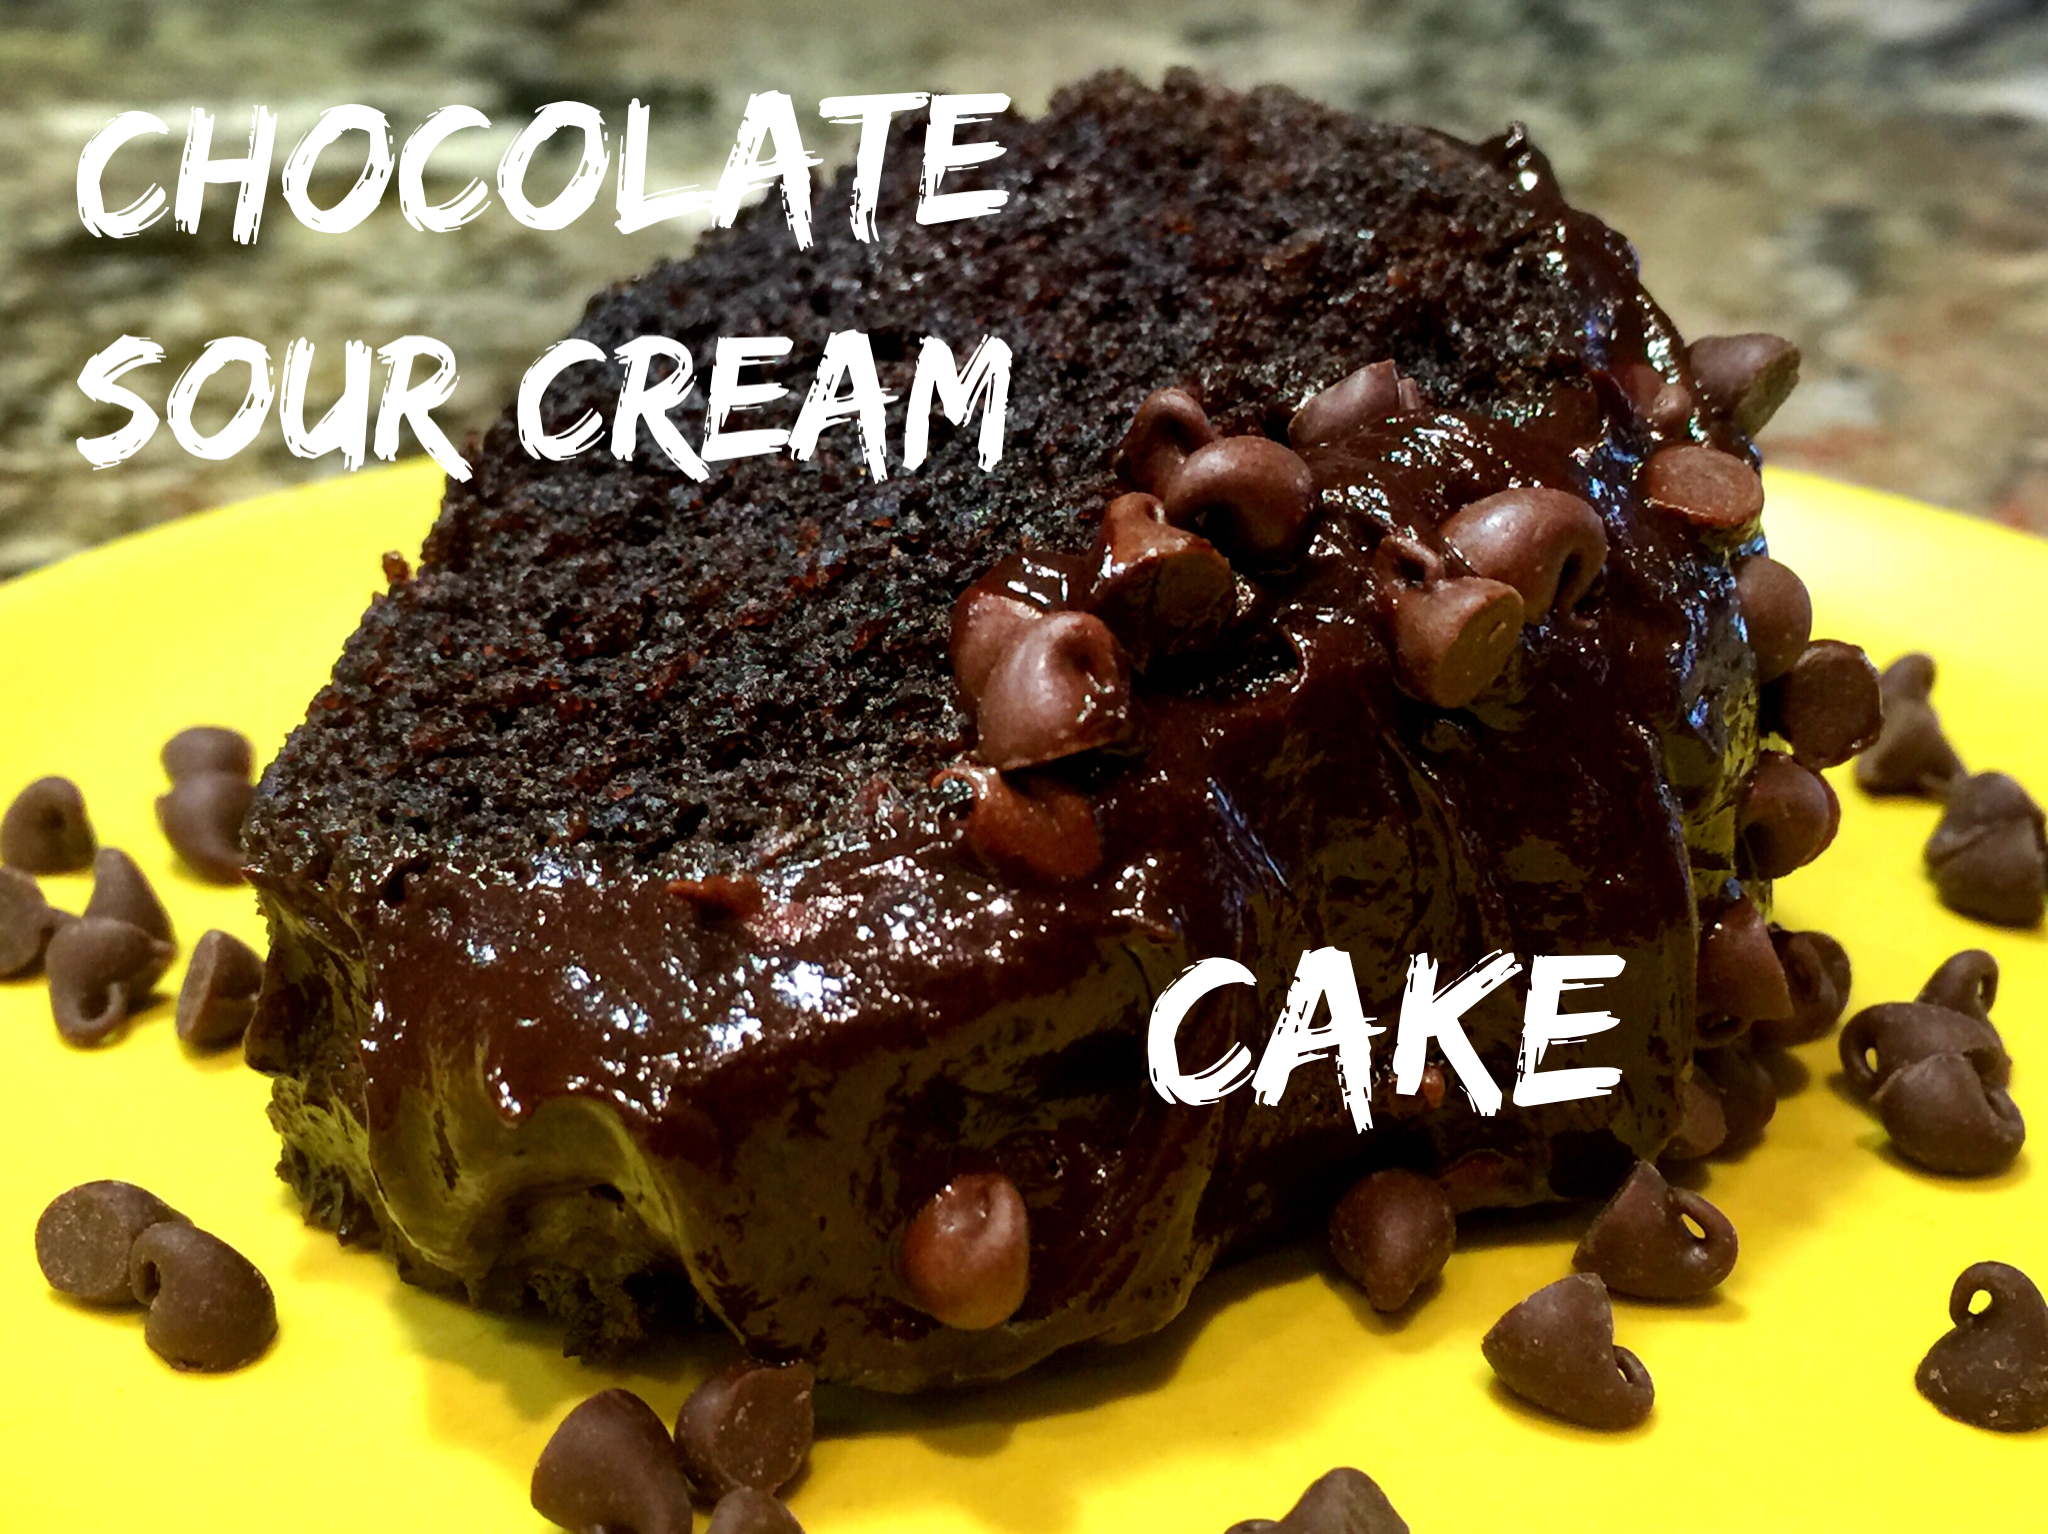
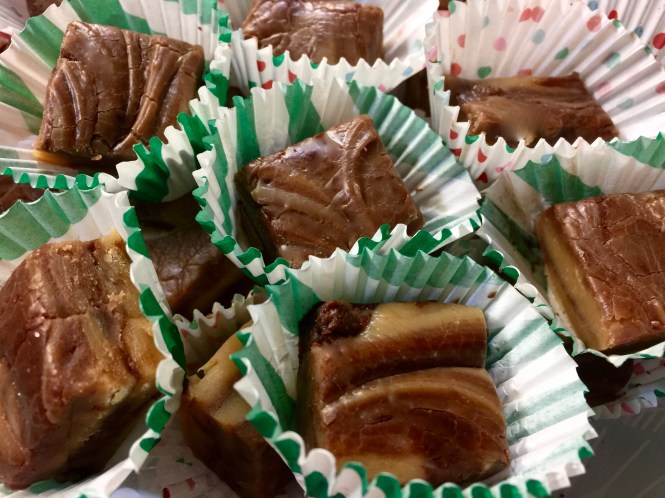
 1/2 cup semi sweet chocolate chips


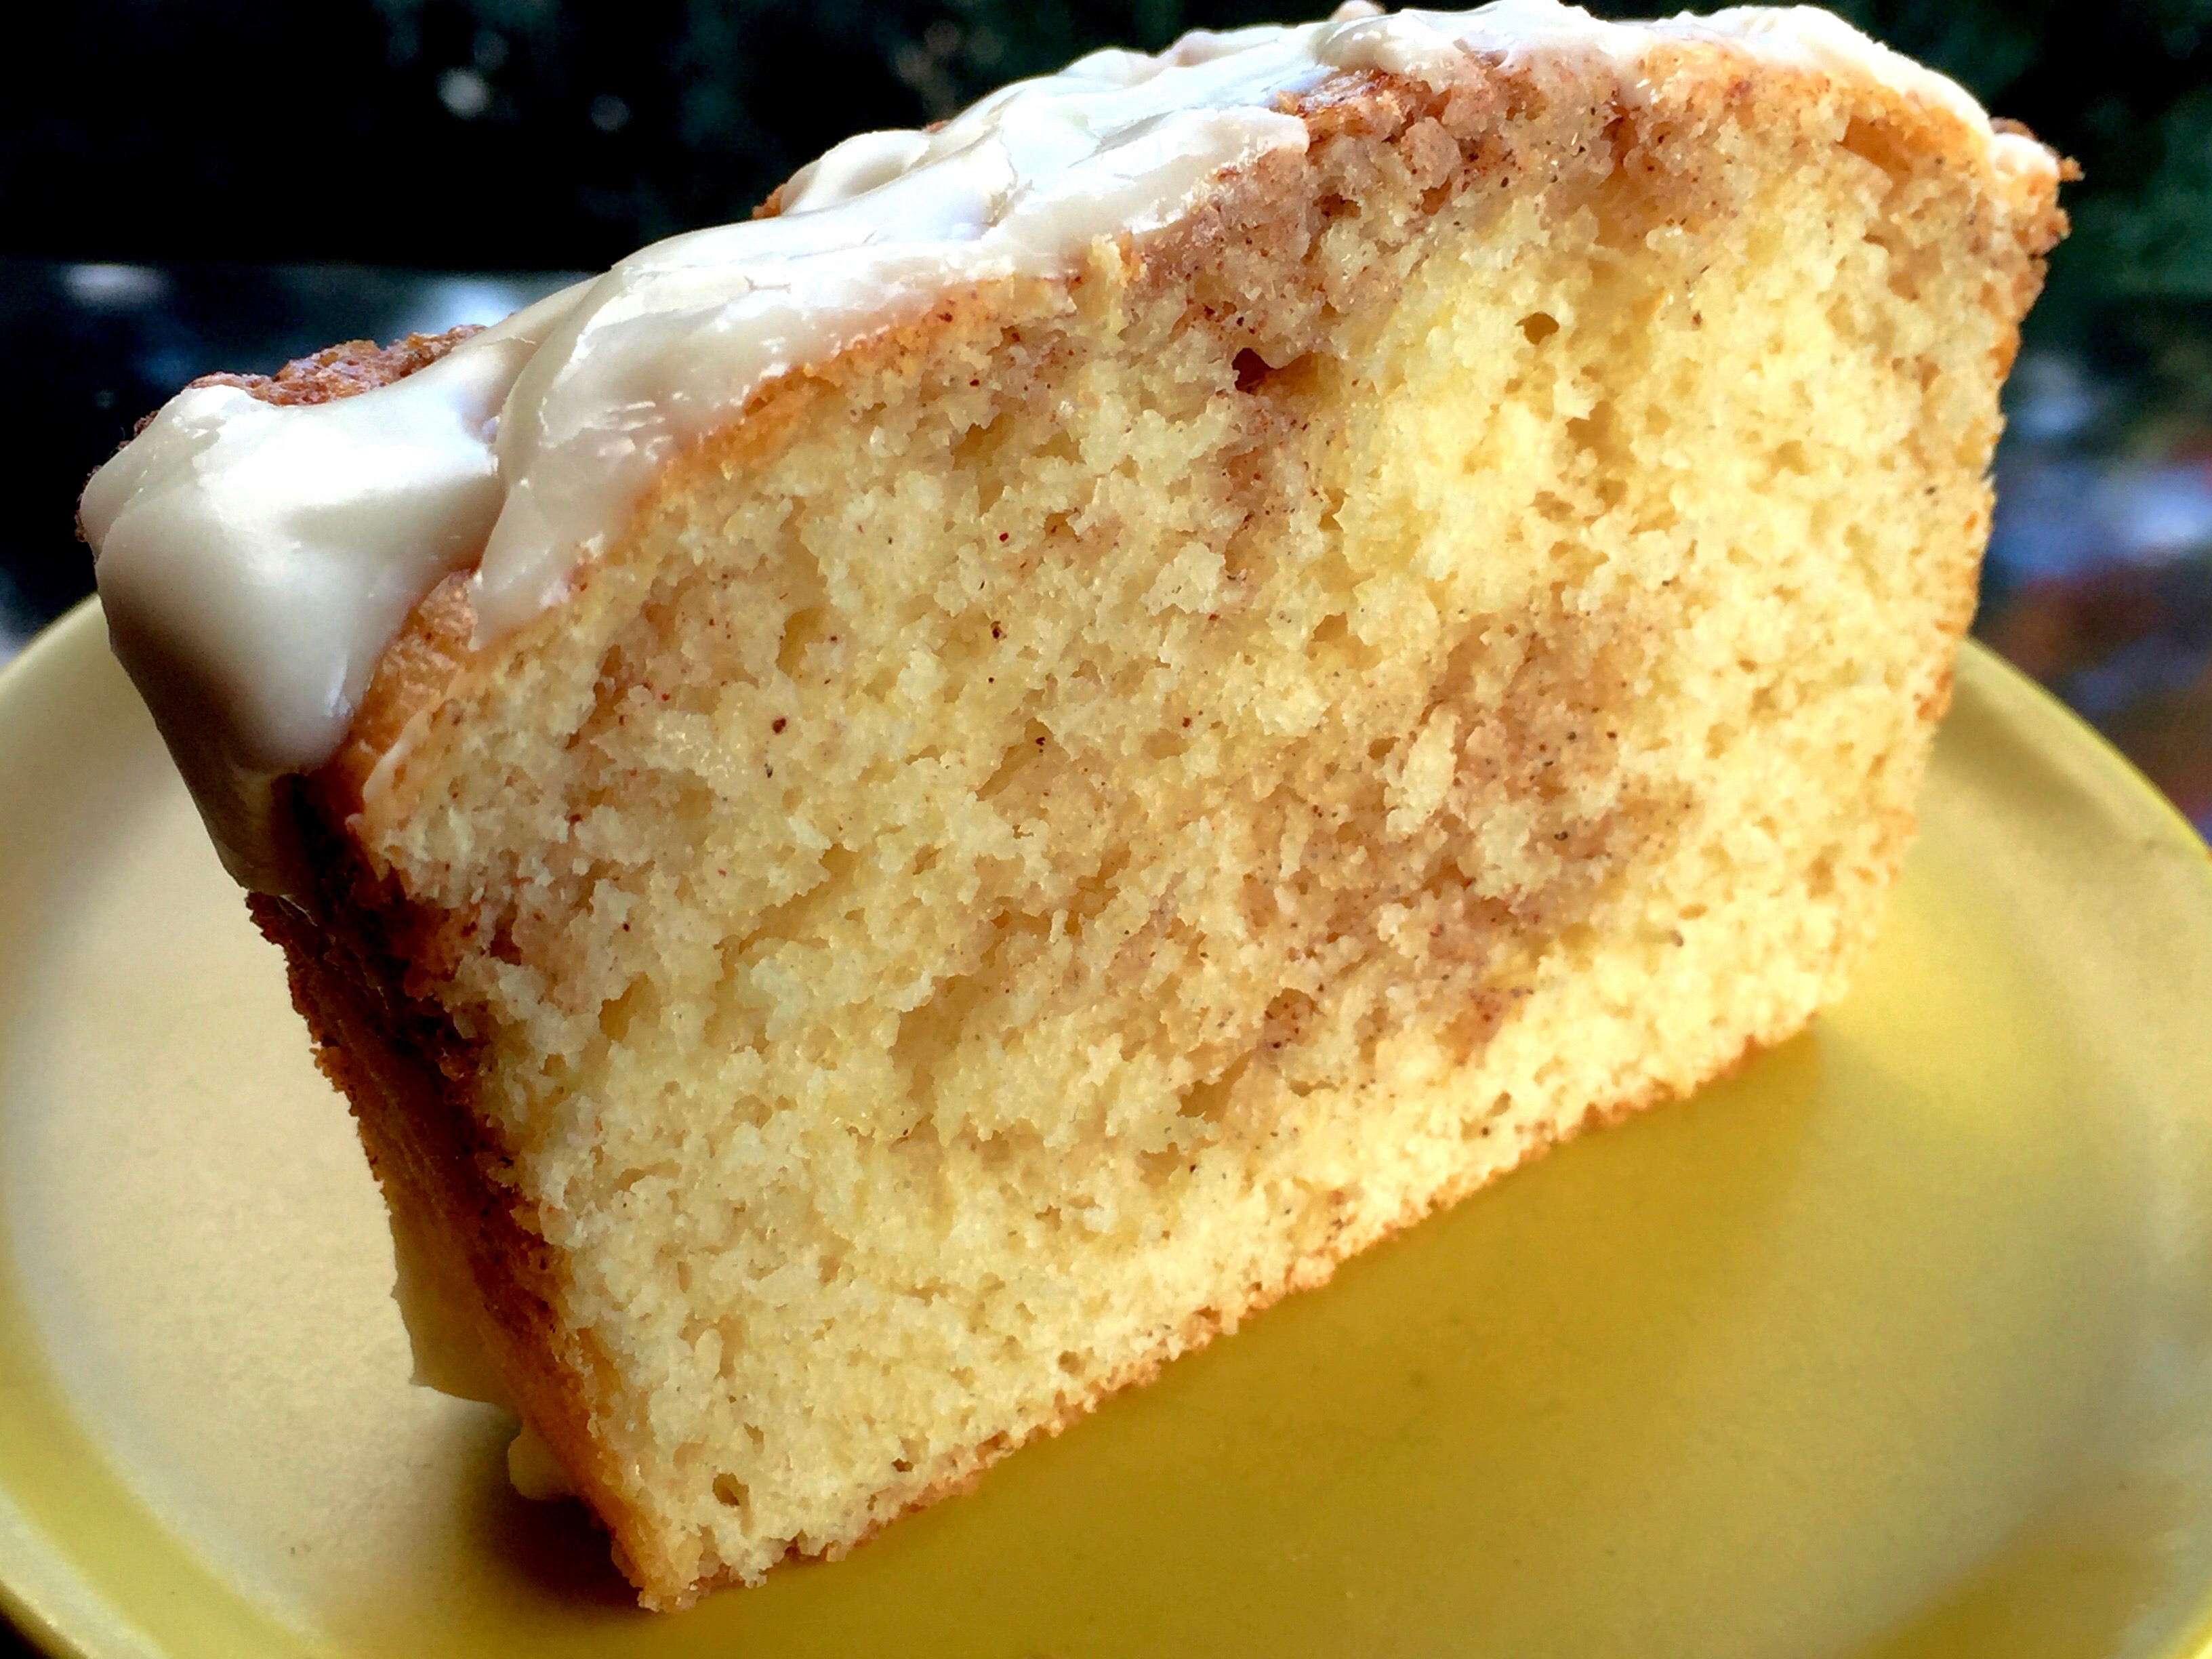
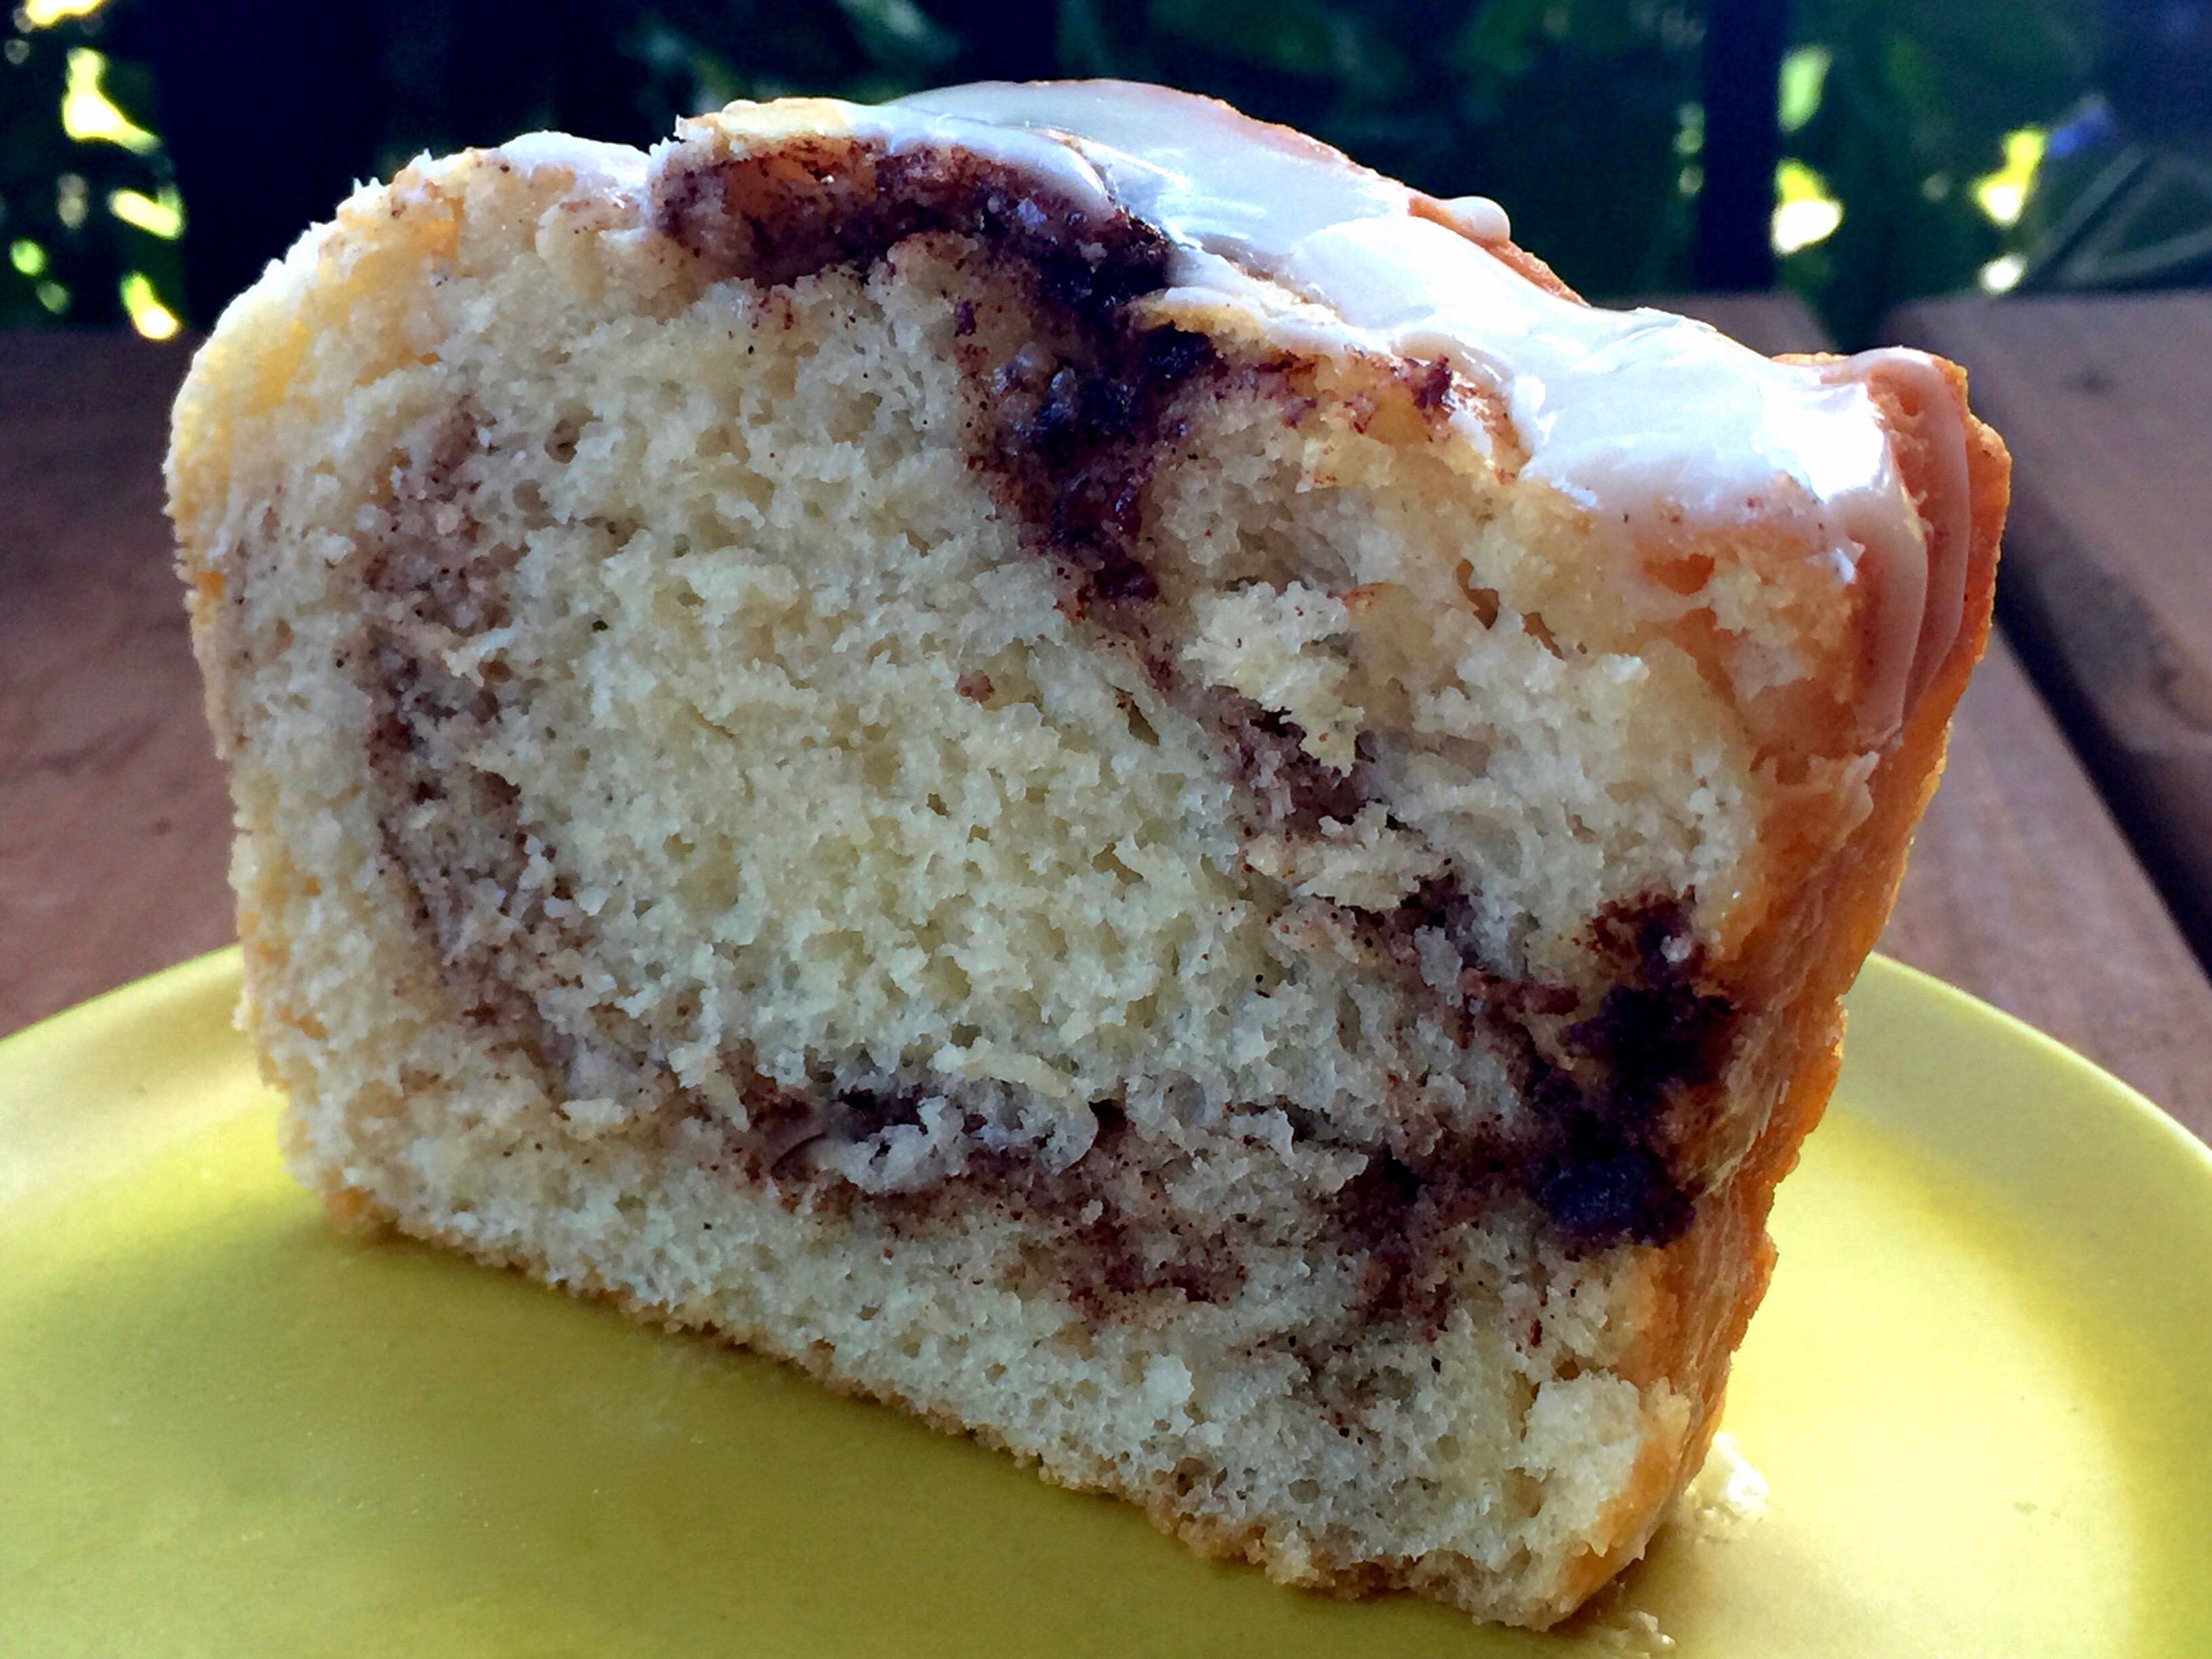
 Lesson Learned 1: Make sure your bananas are really ripe: and by really ripe I mean the peels are really dark, dark brown as in the picture to the right. You don’t want a lot of yellow on your banana skins and you definitely don’t want any green. Most of the time the bananas you buy in the store are under ripe, mainly green and yellow. Those bananas have not reached their full peak of flavor. The skins need to look pretty dark. As the banana ripens it releases more sugar and becomes more flavorful. And as they ripen the skins turn darker. If you want the best tasting cake you need to use bananas with dark skins.


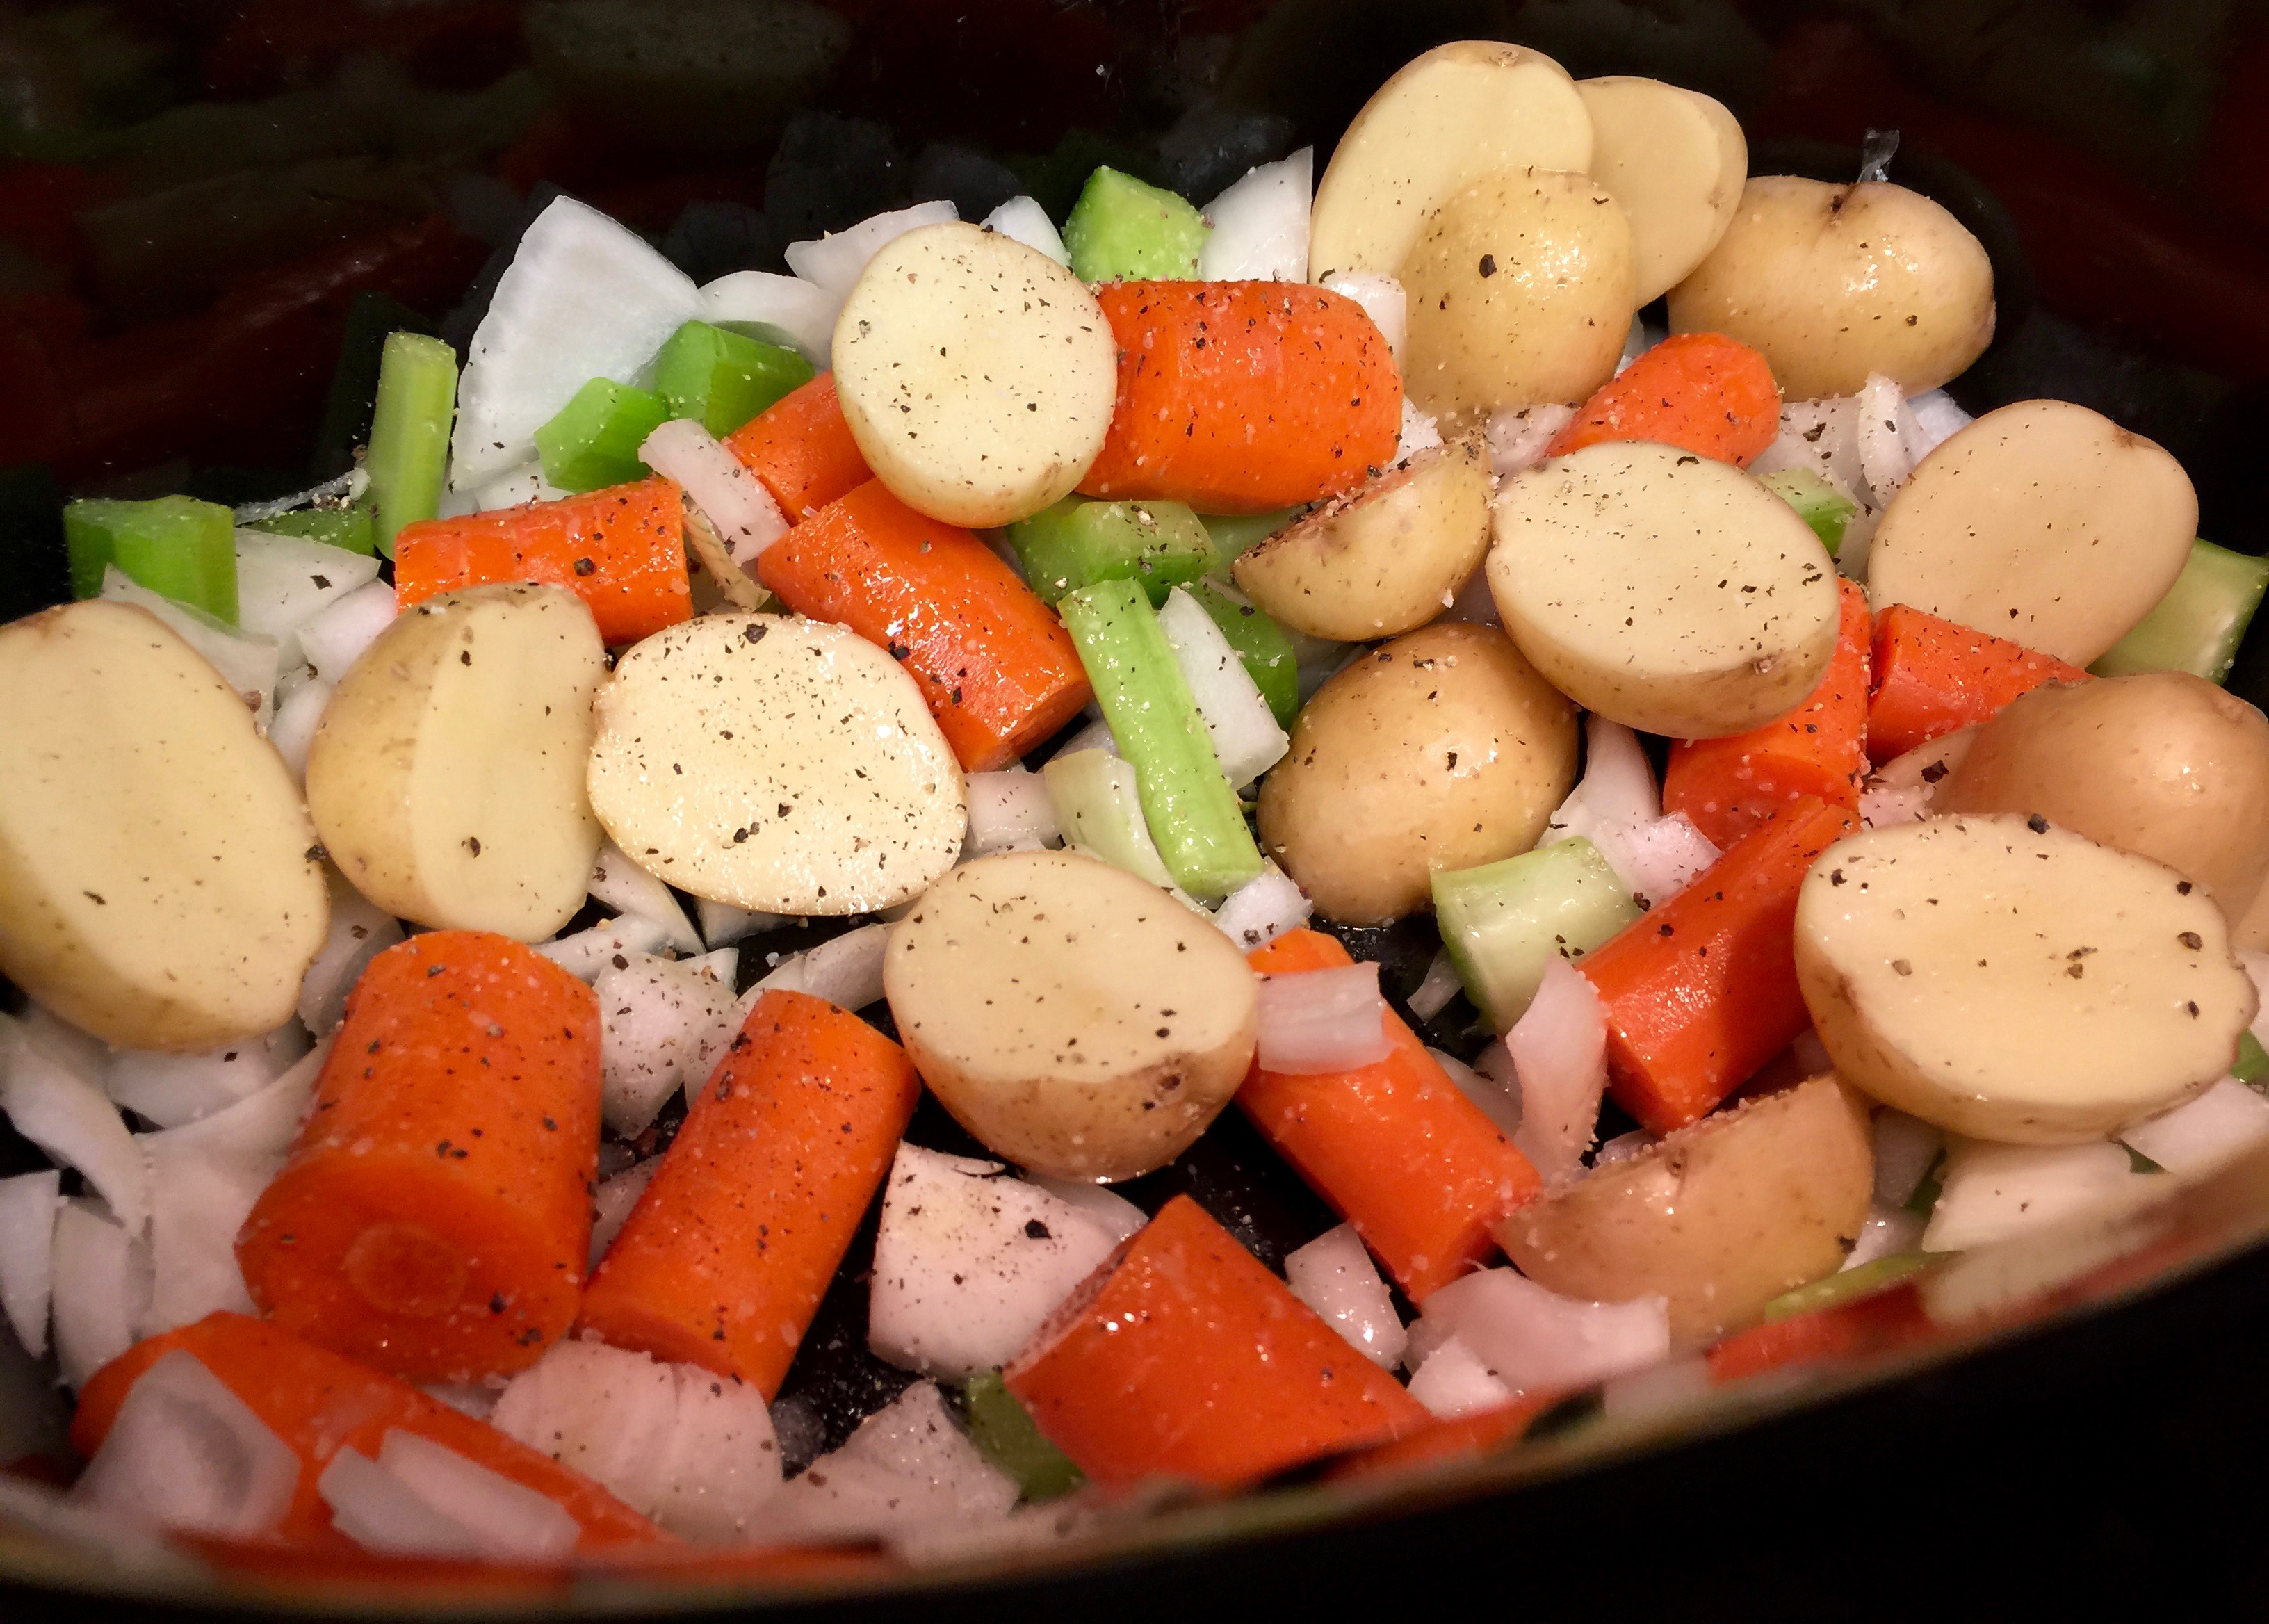
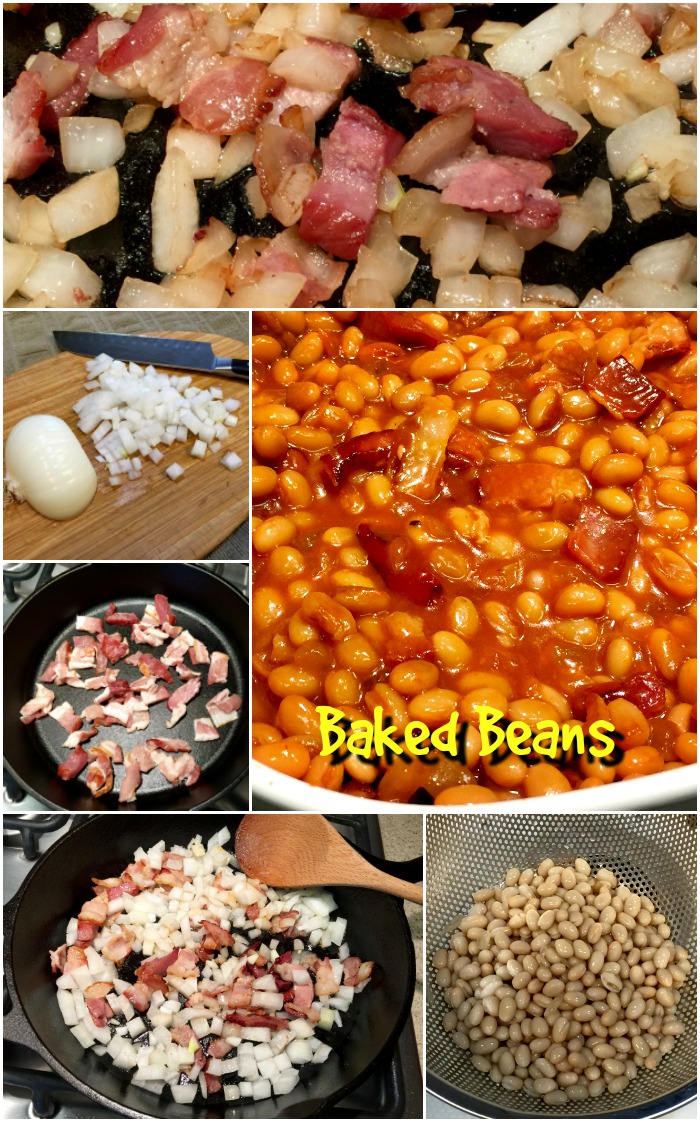
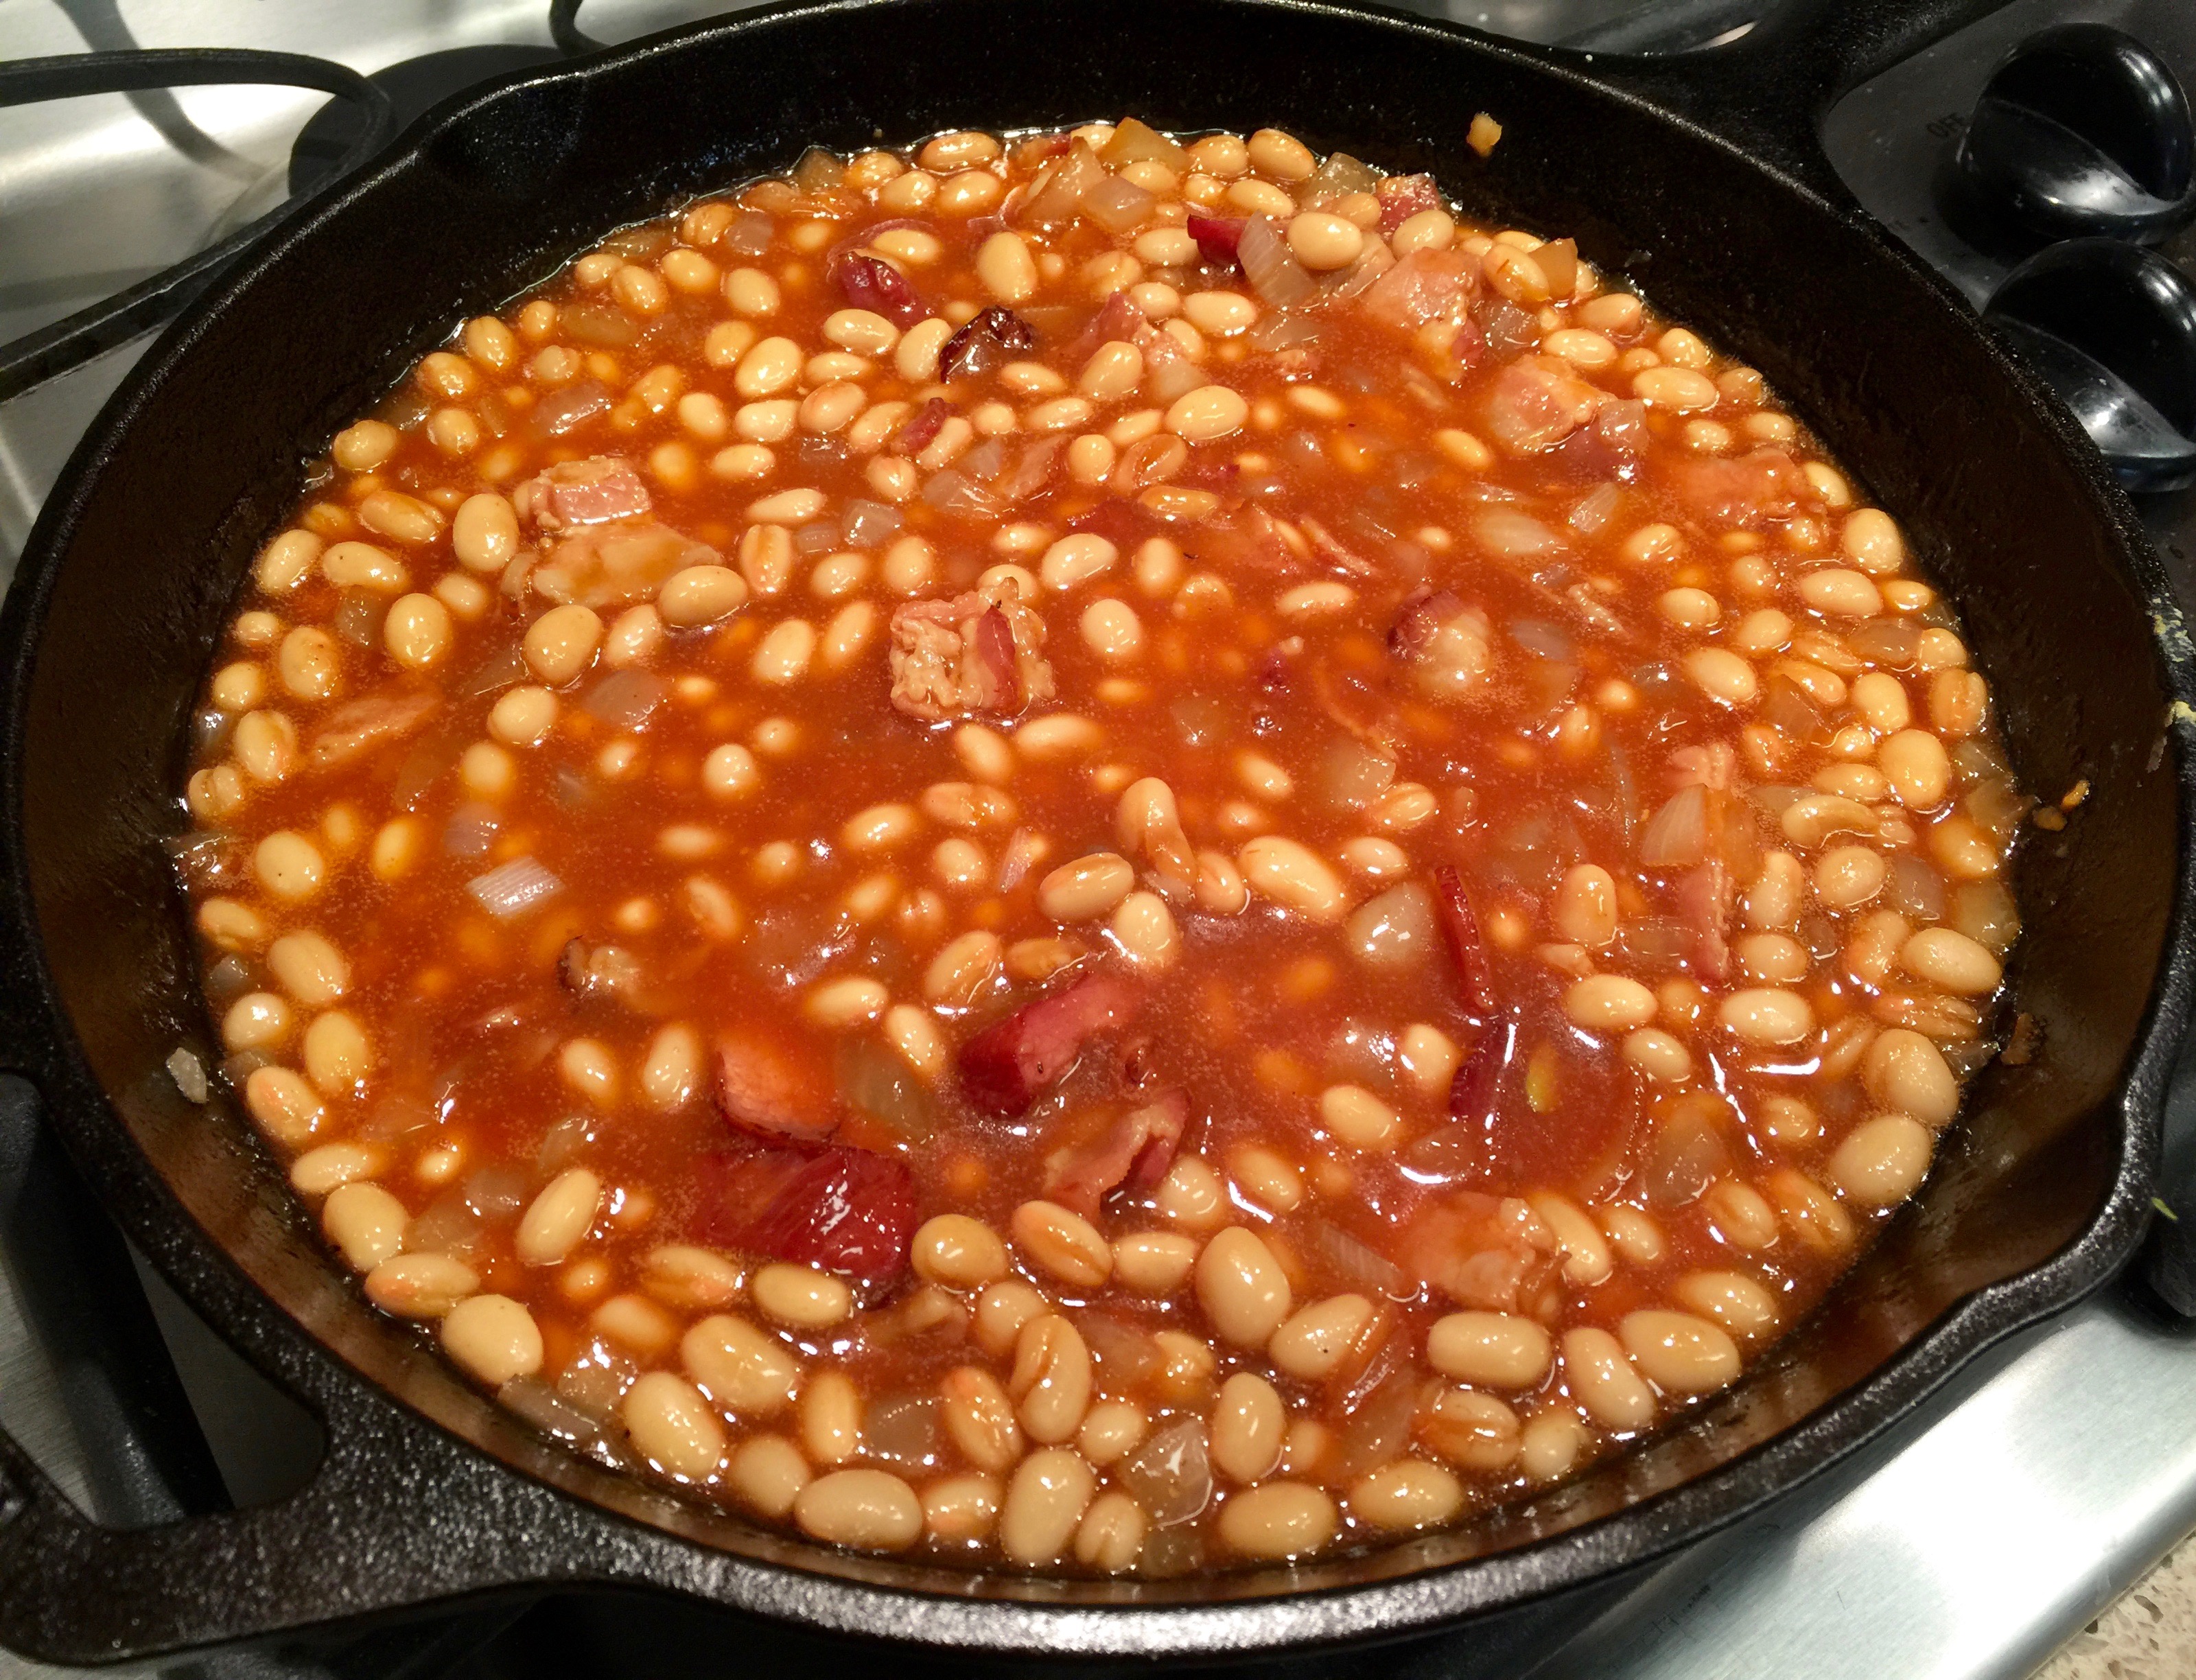
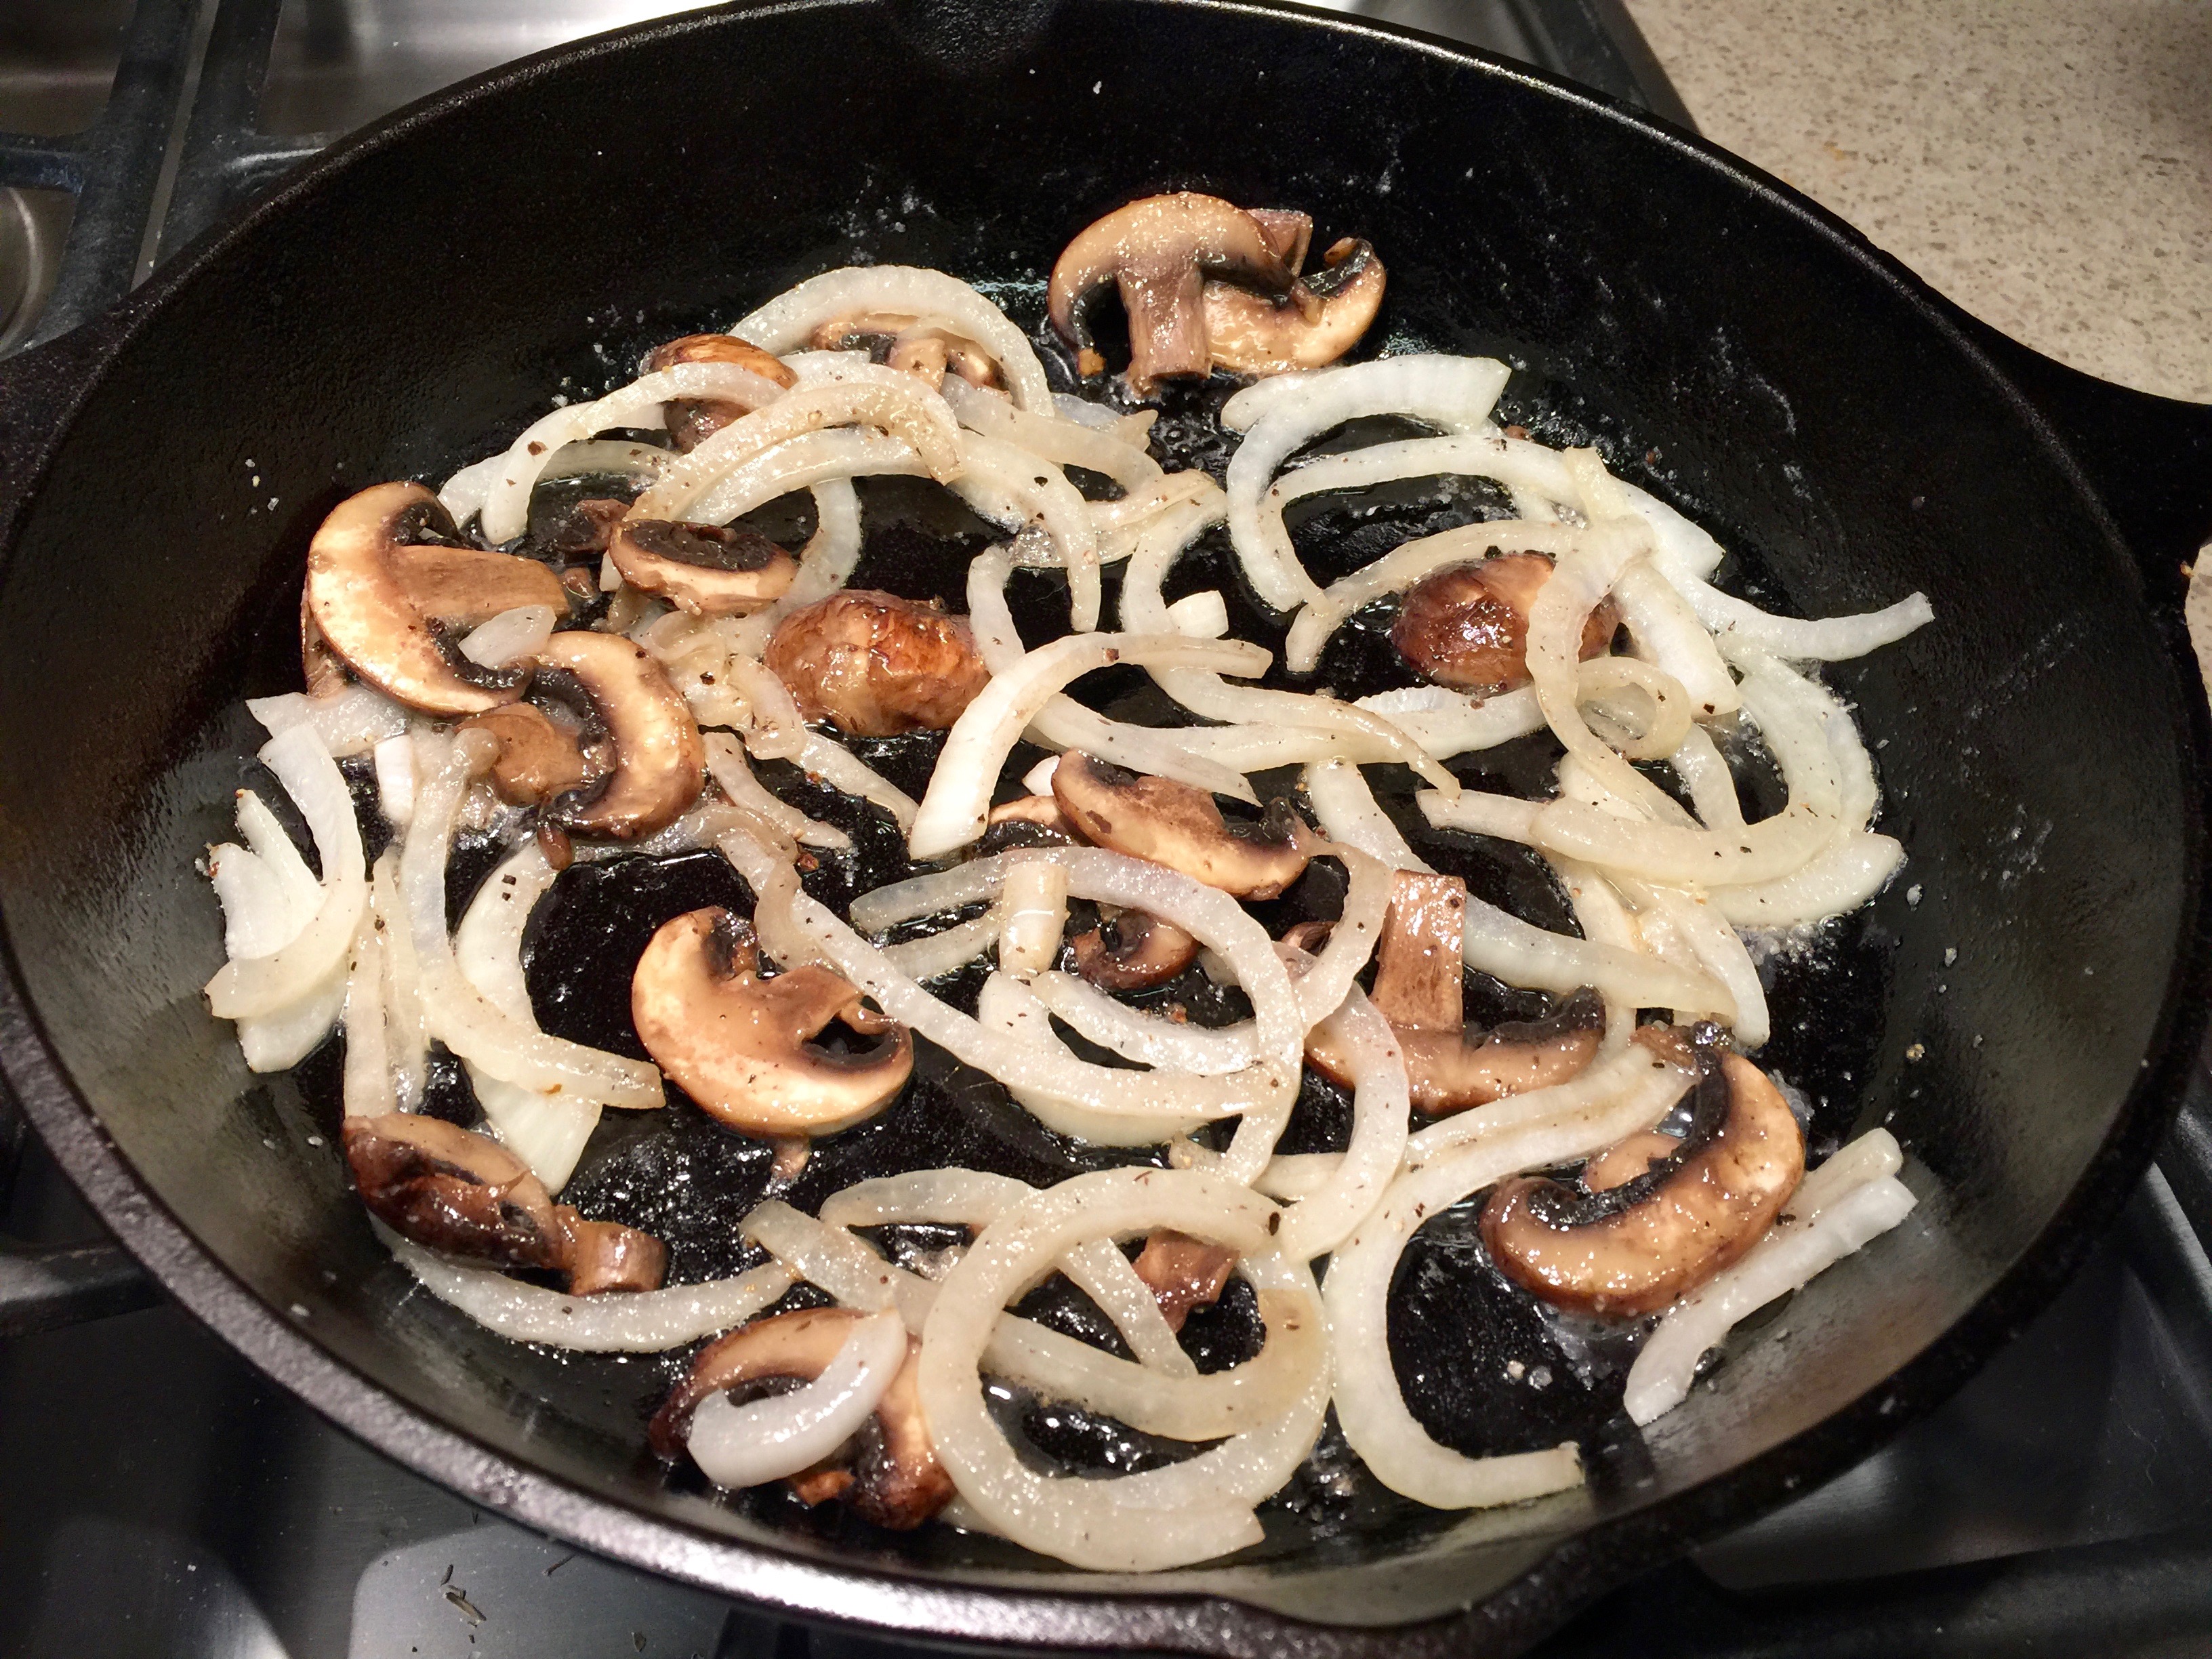
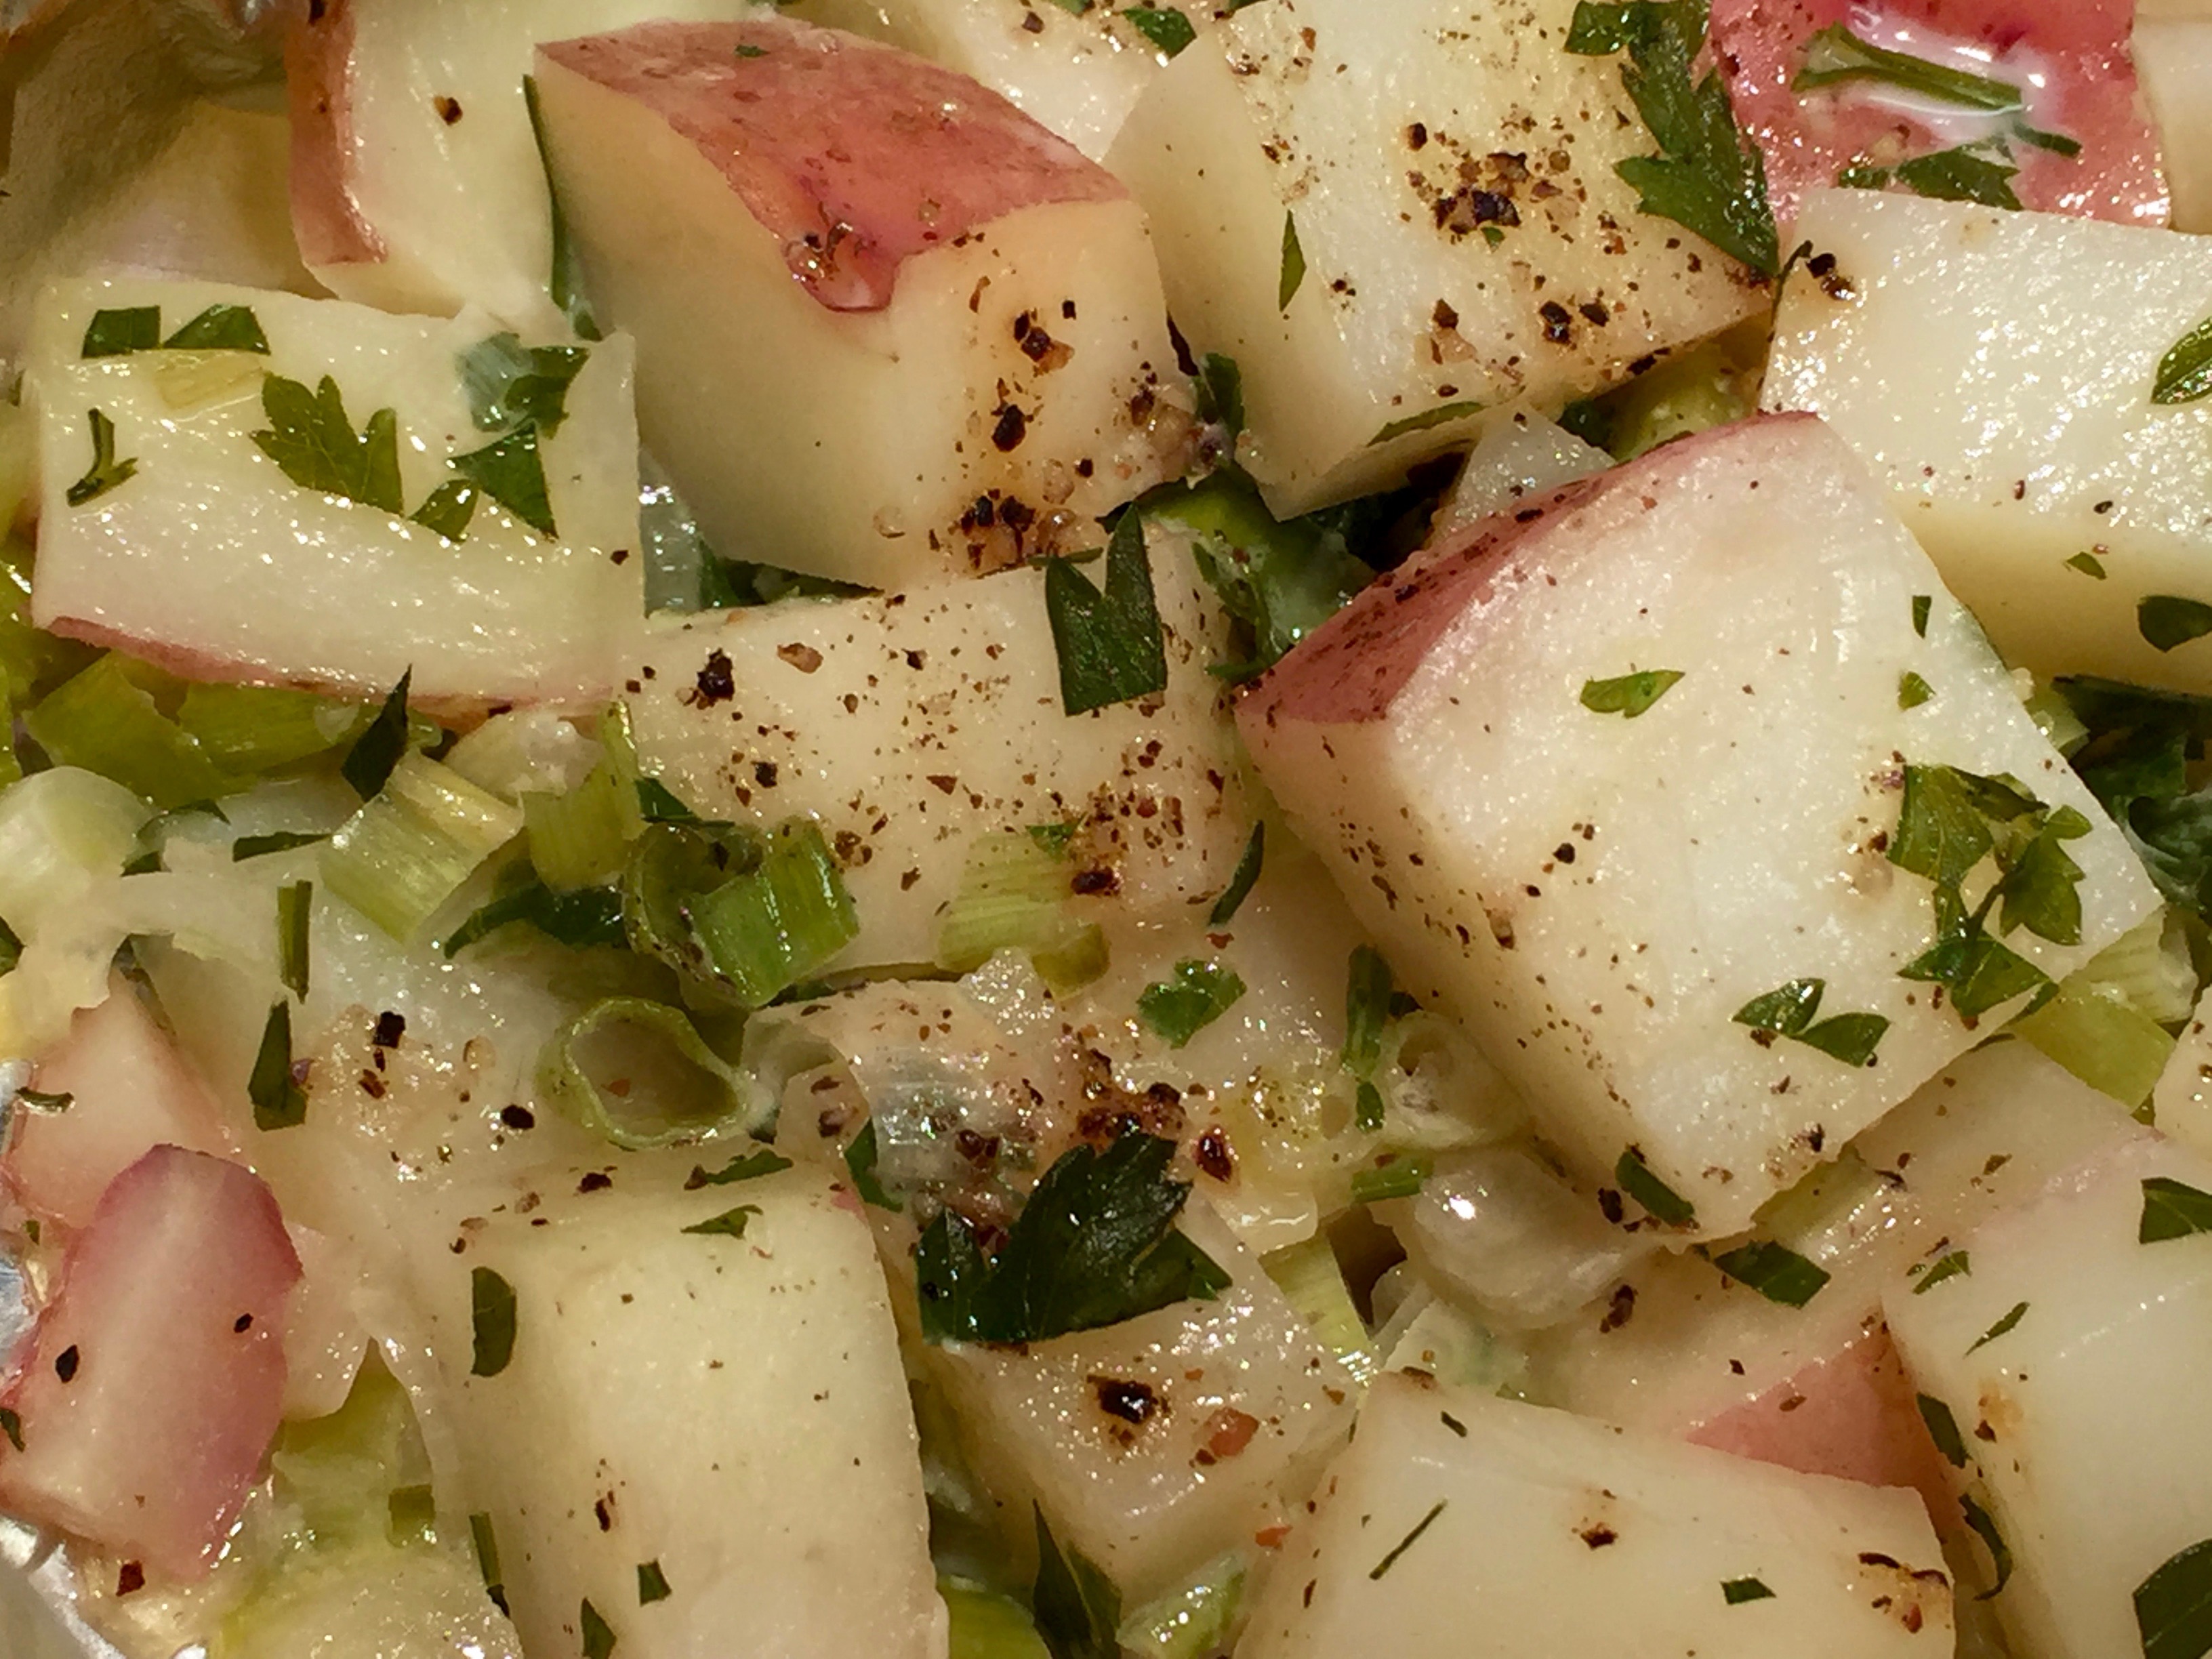
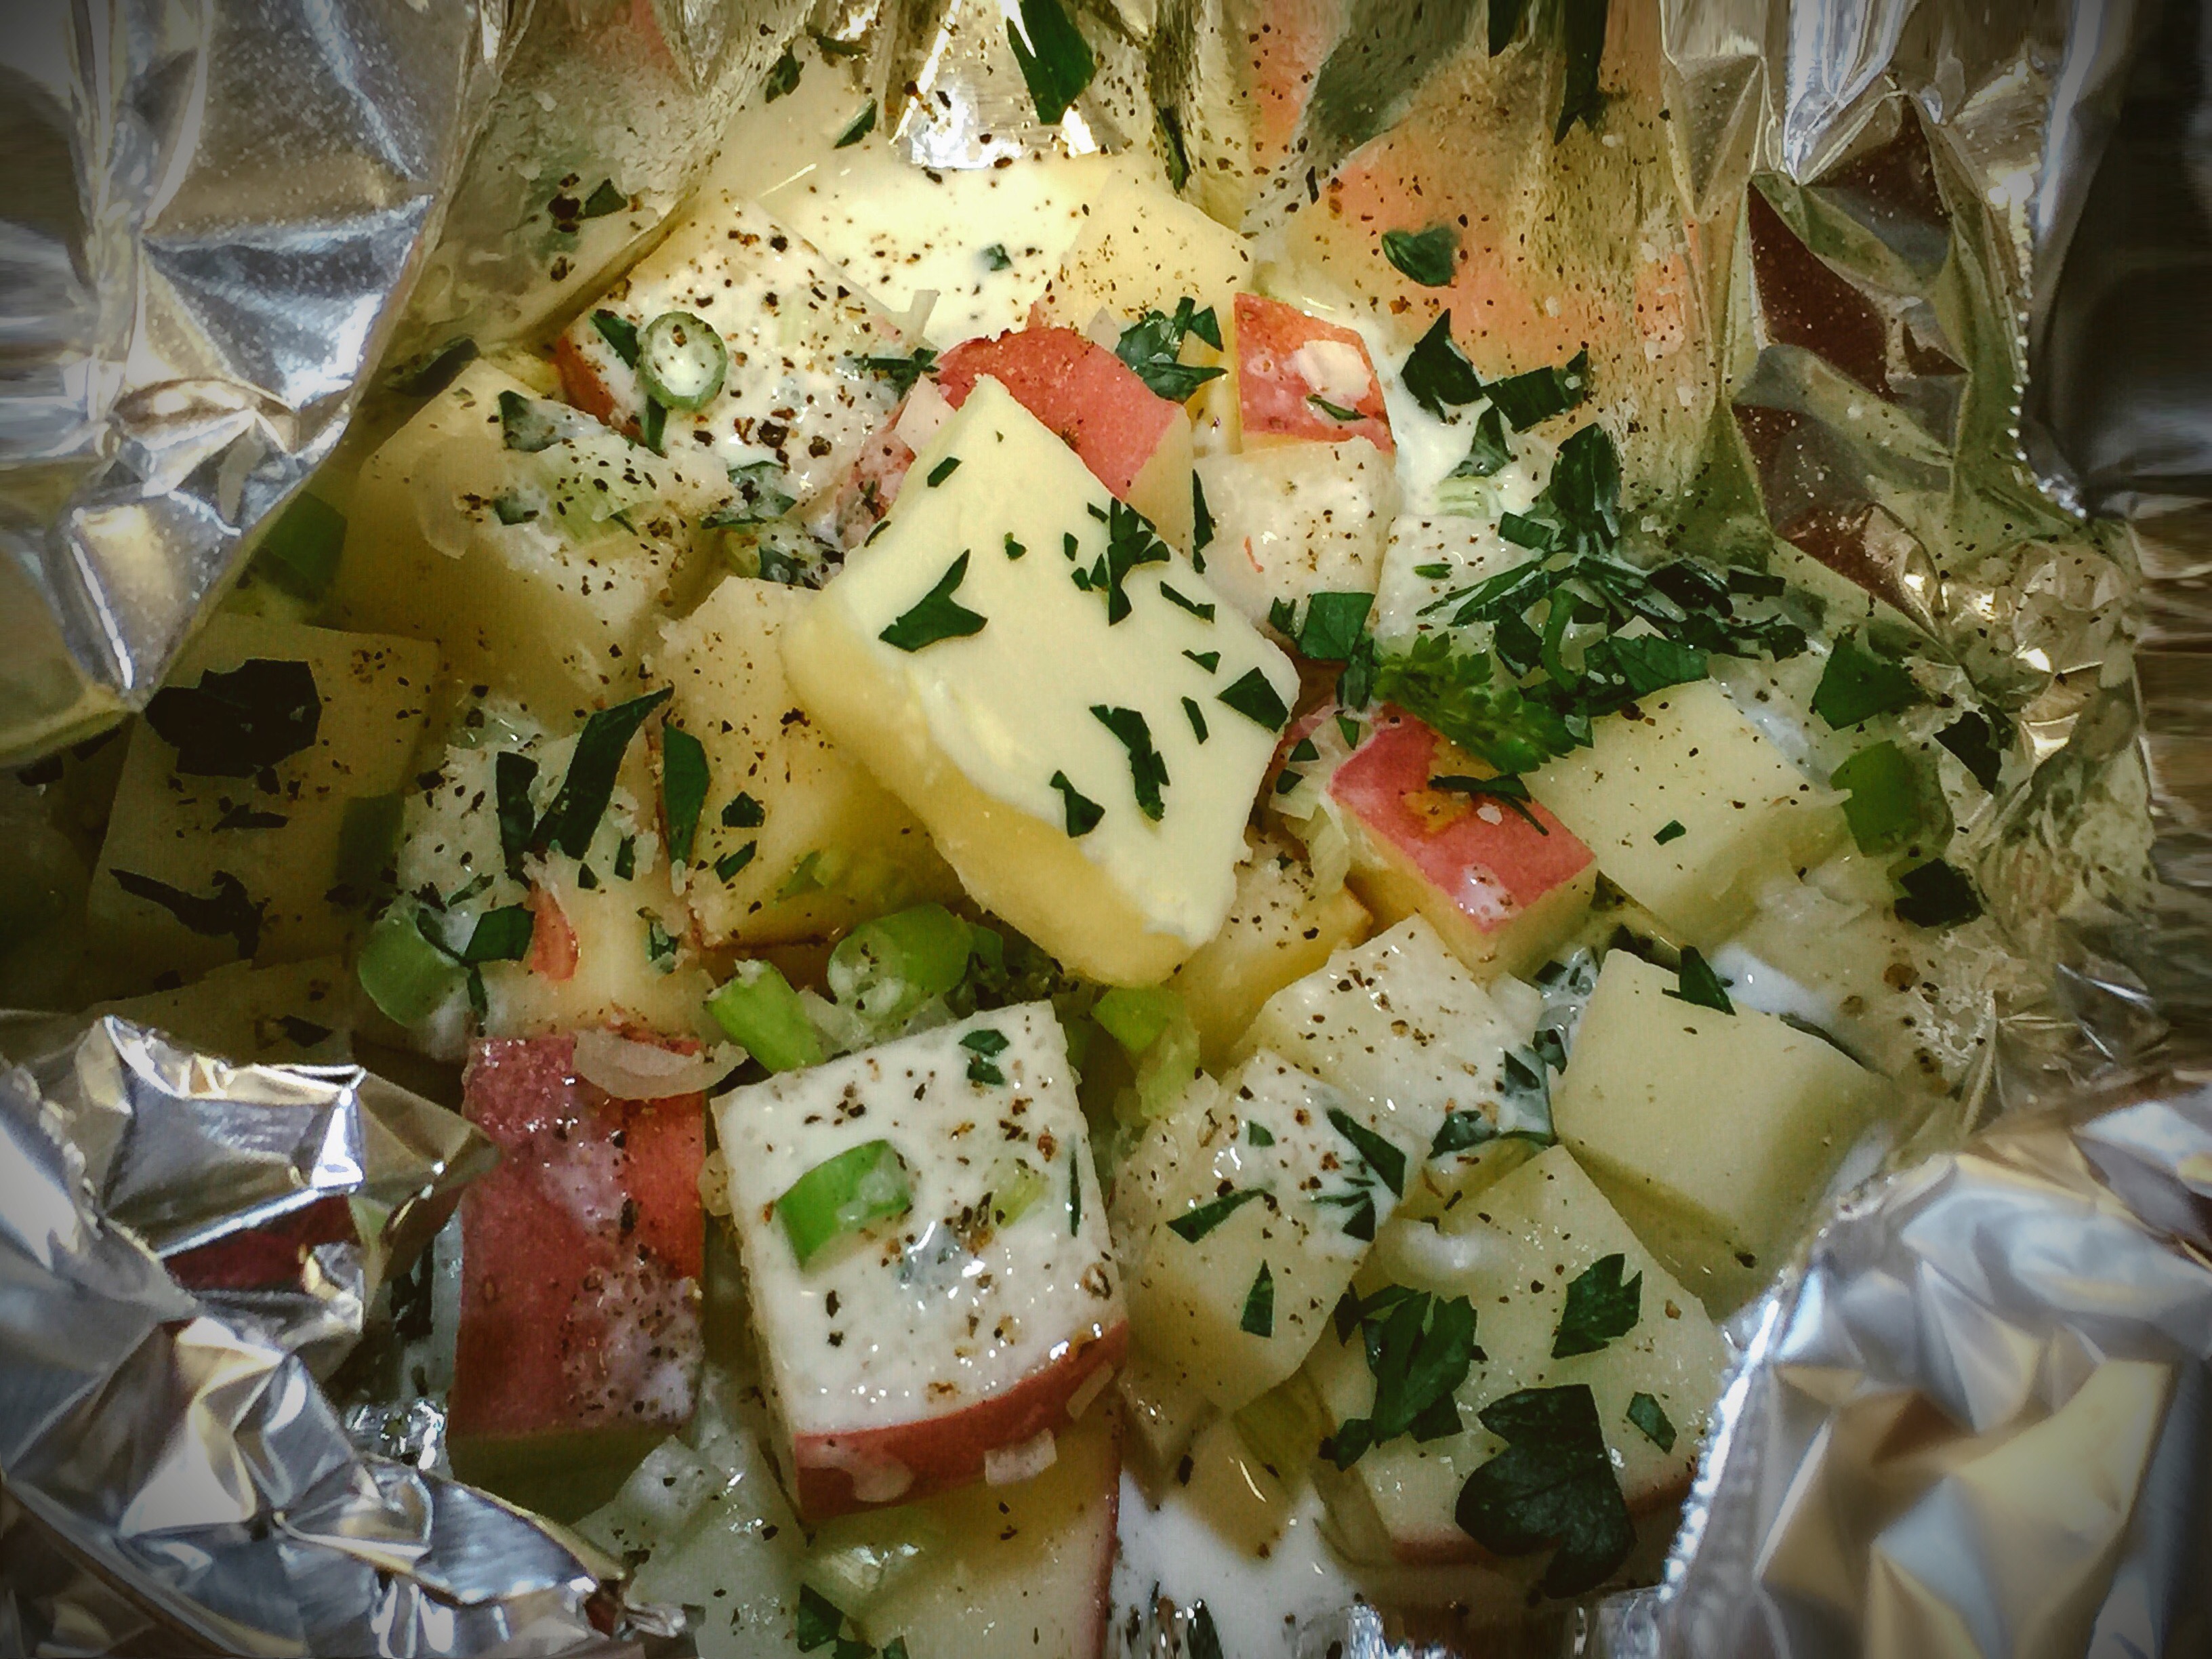
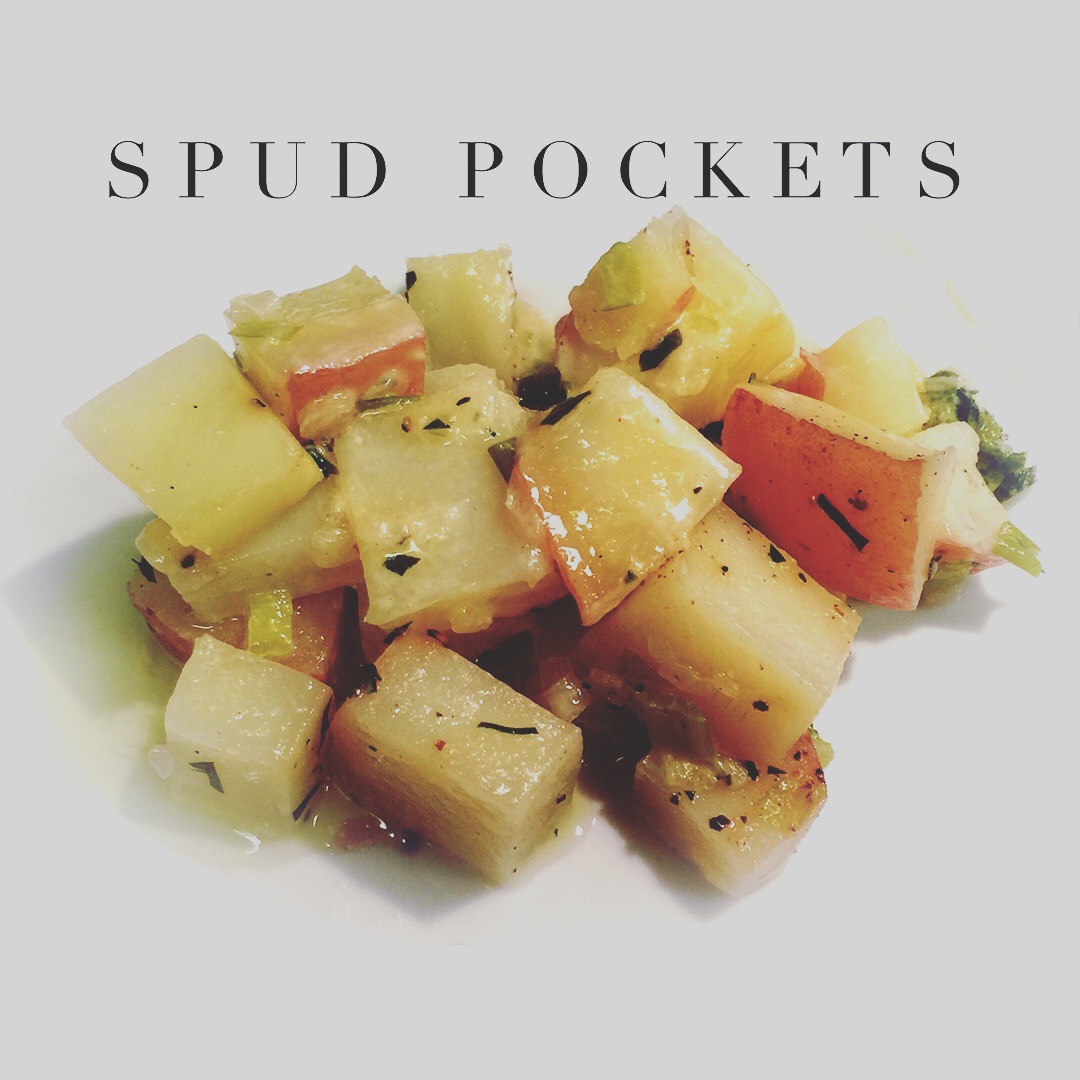
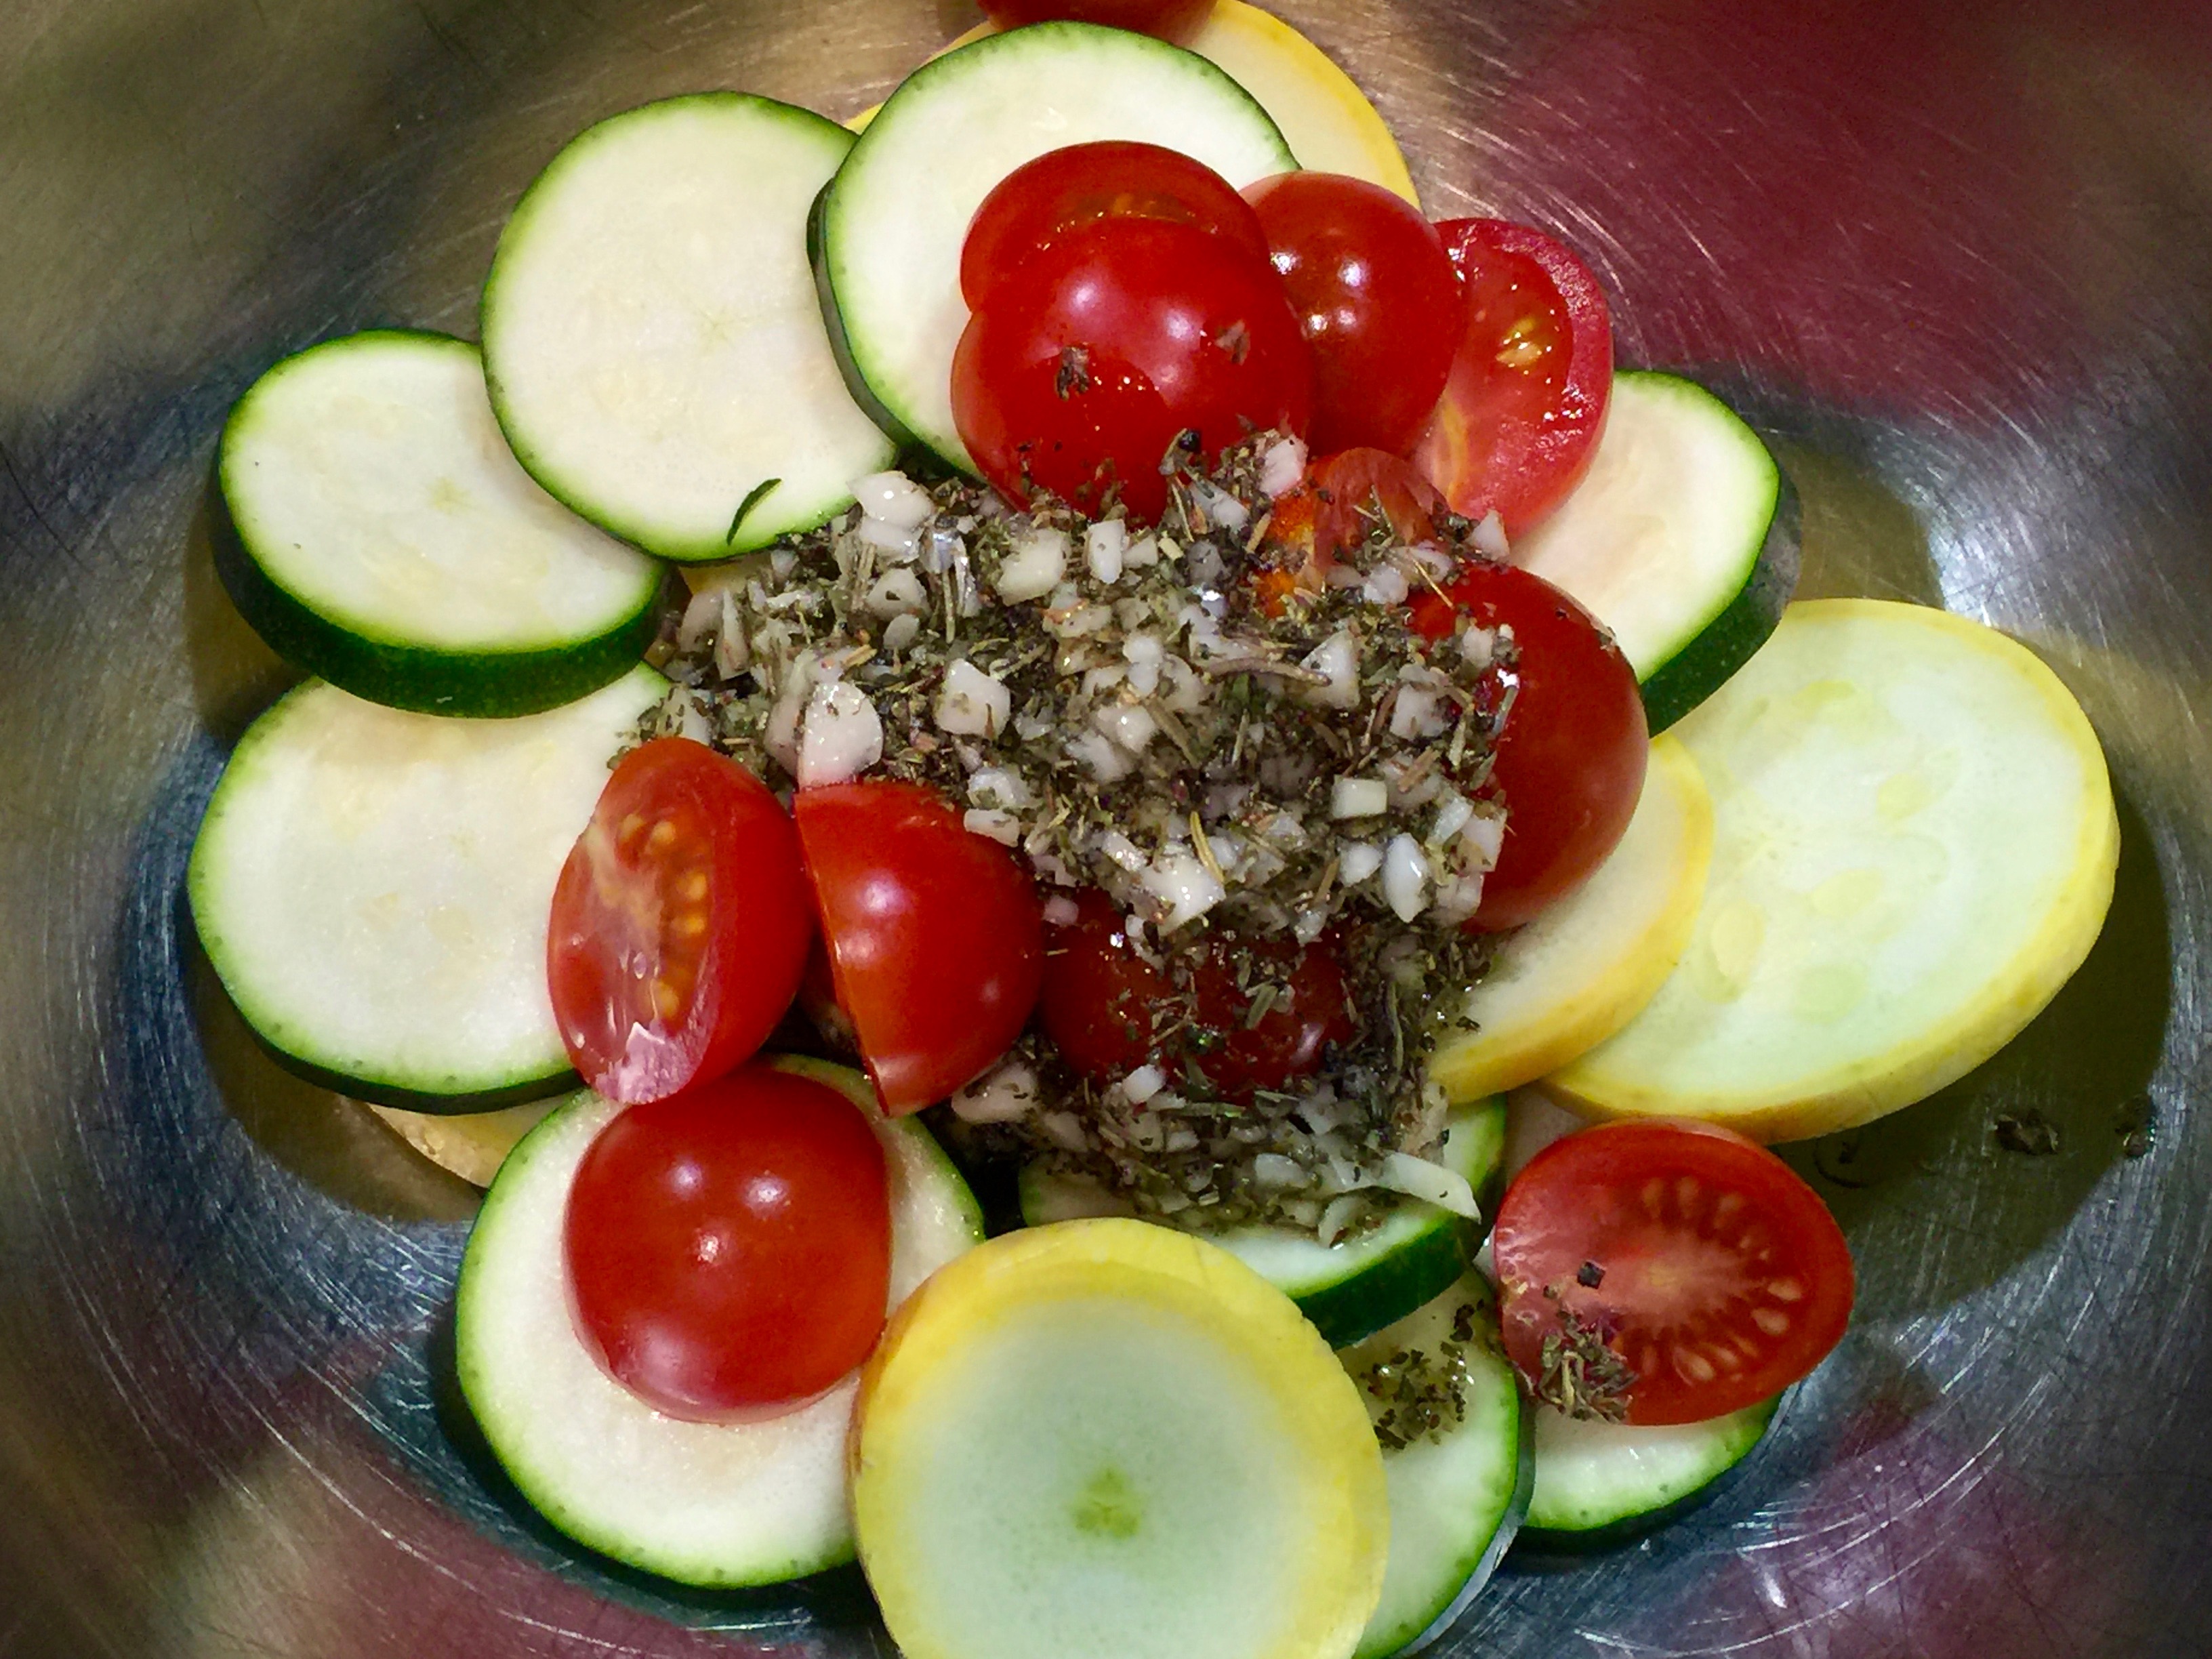
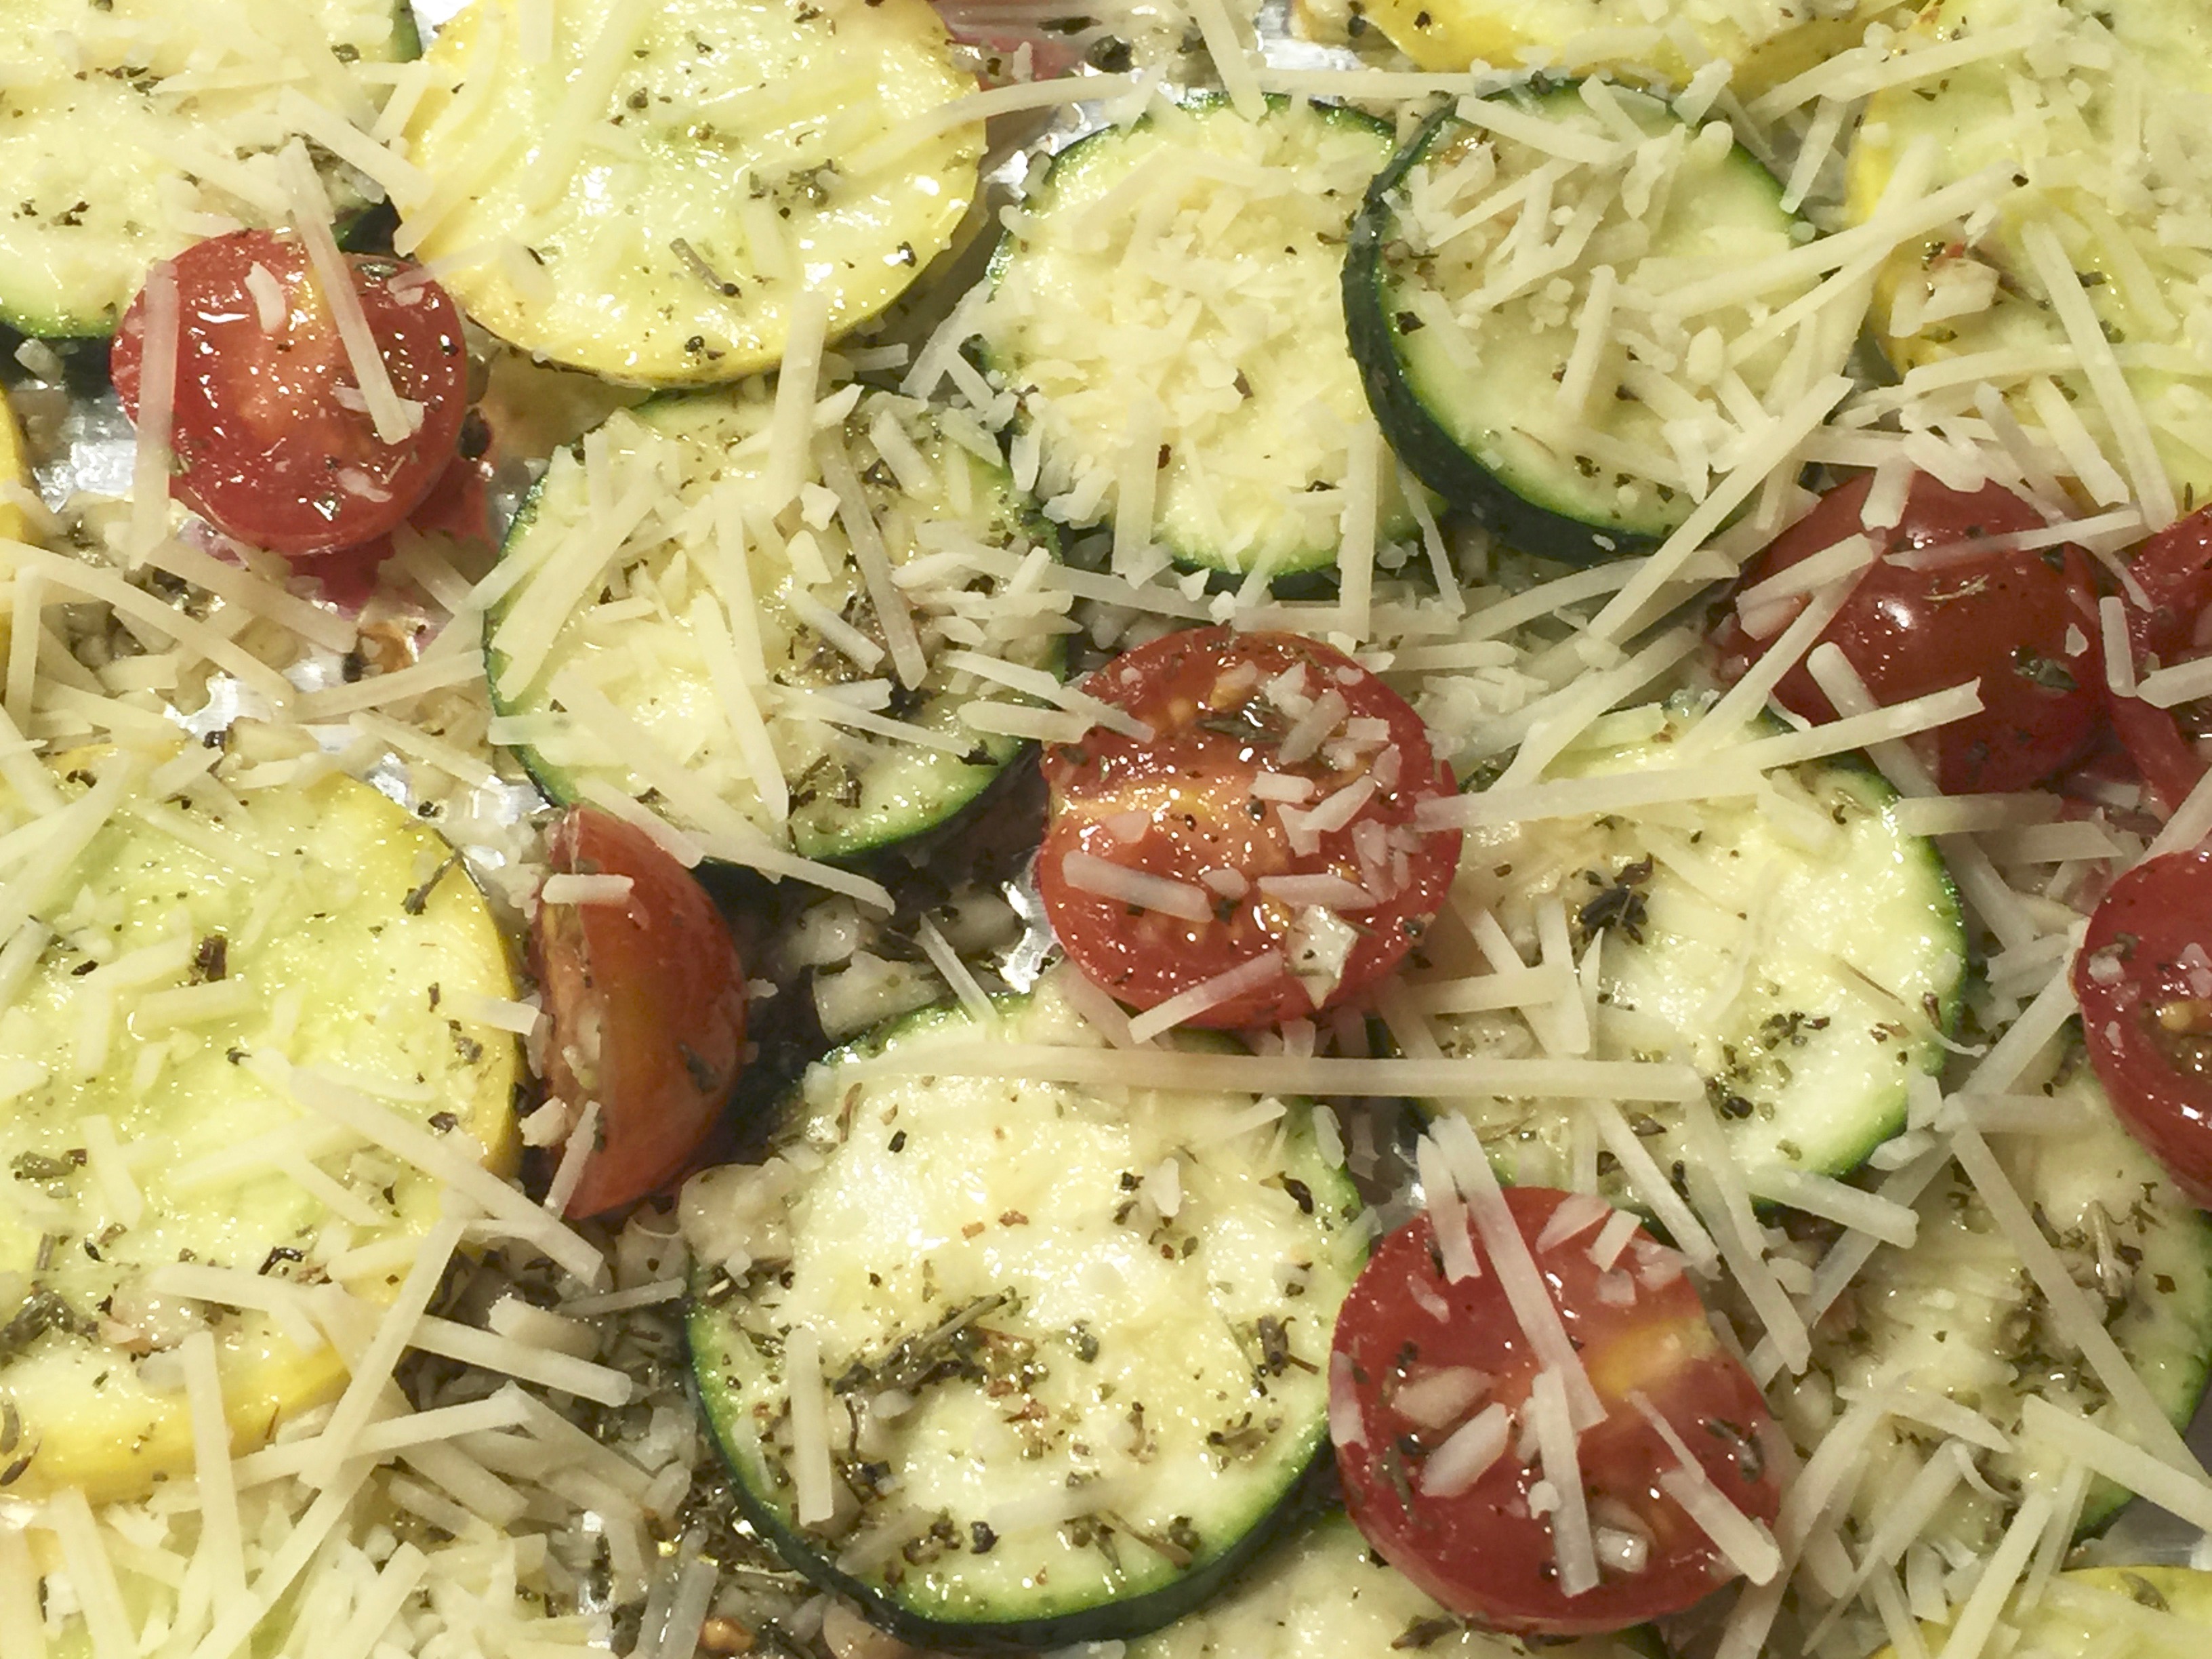
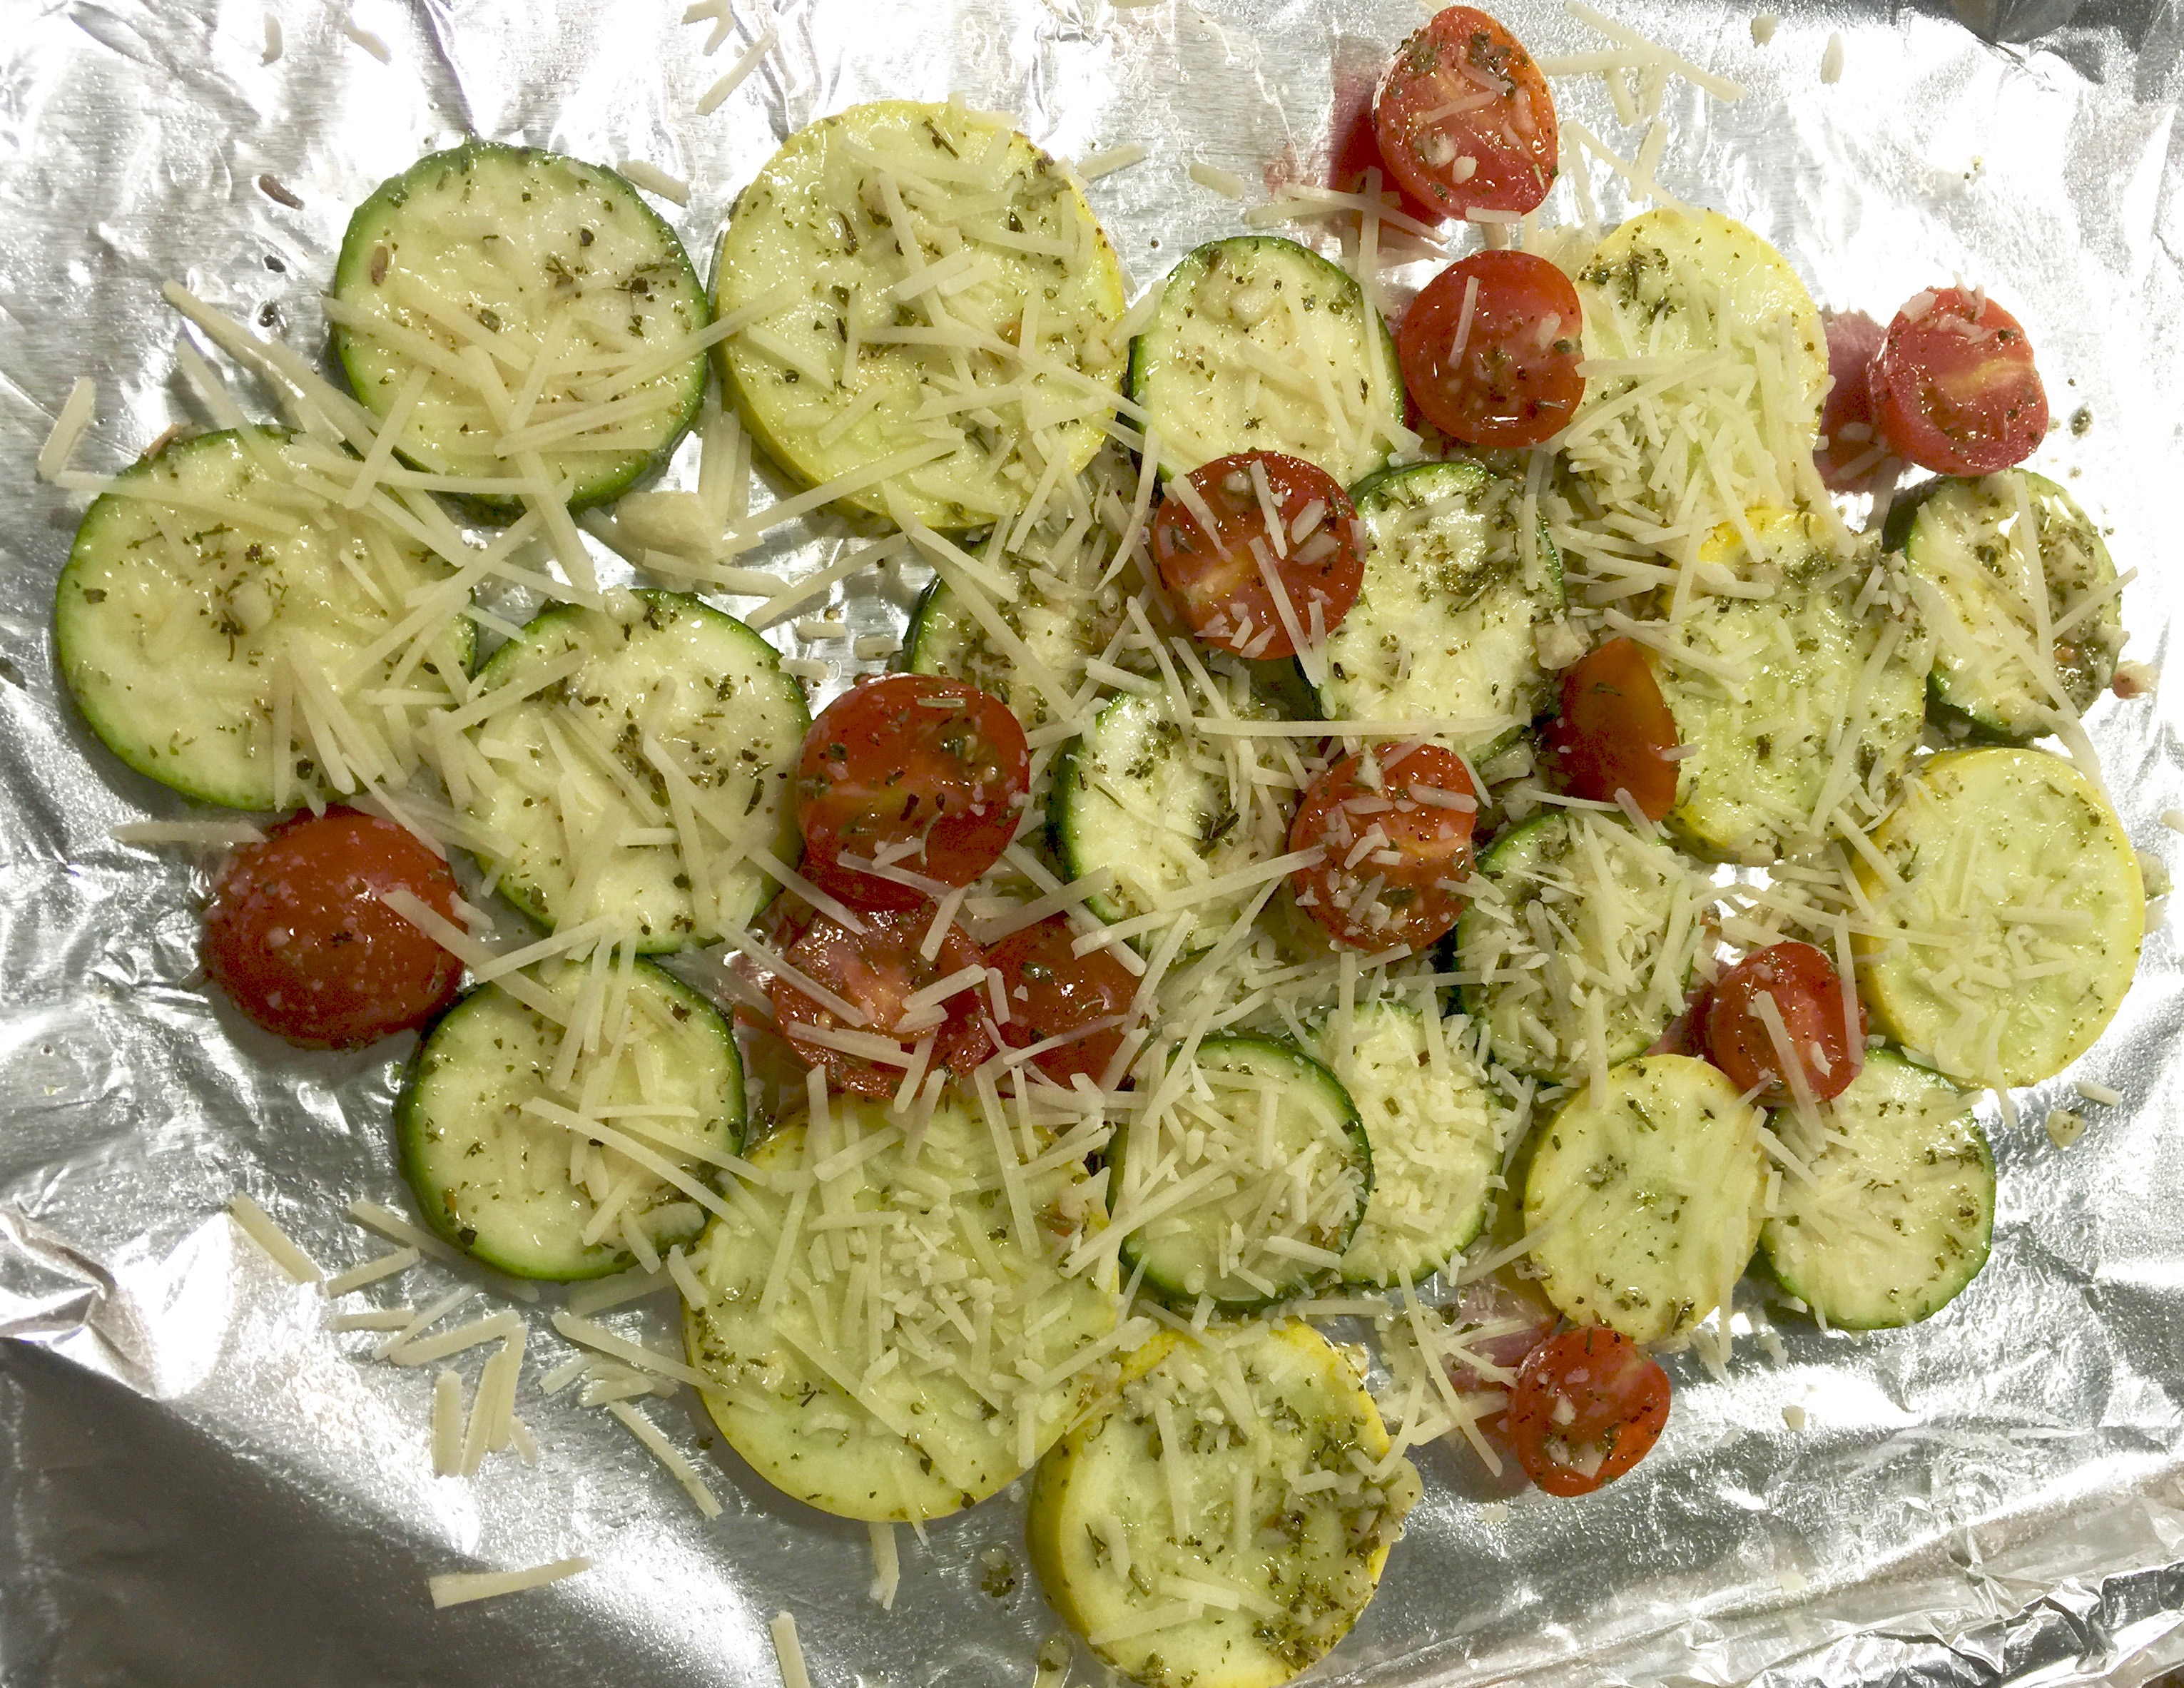
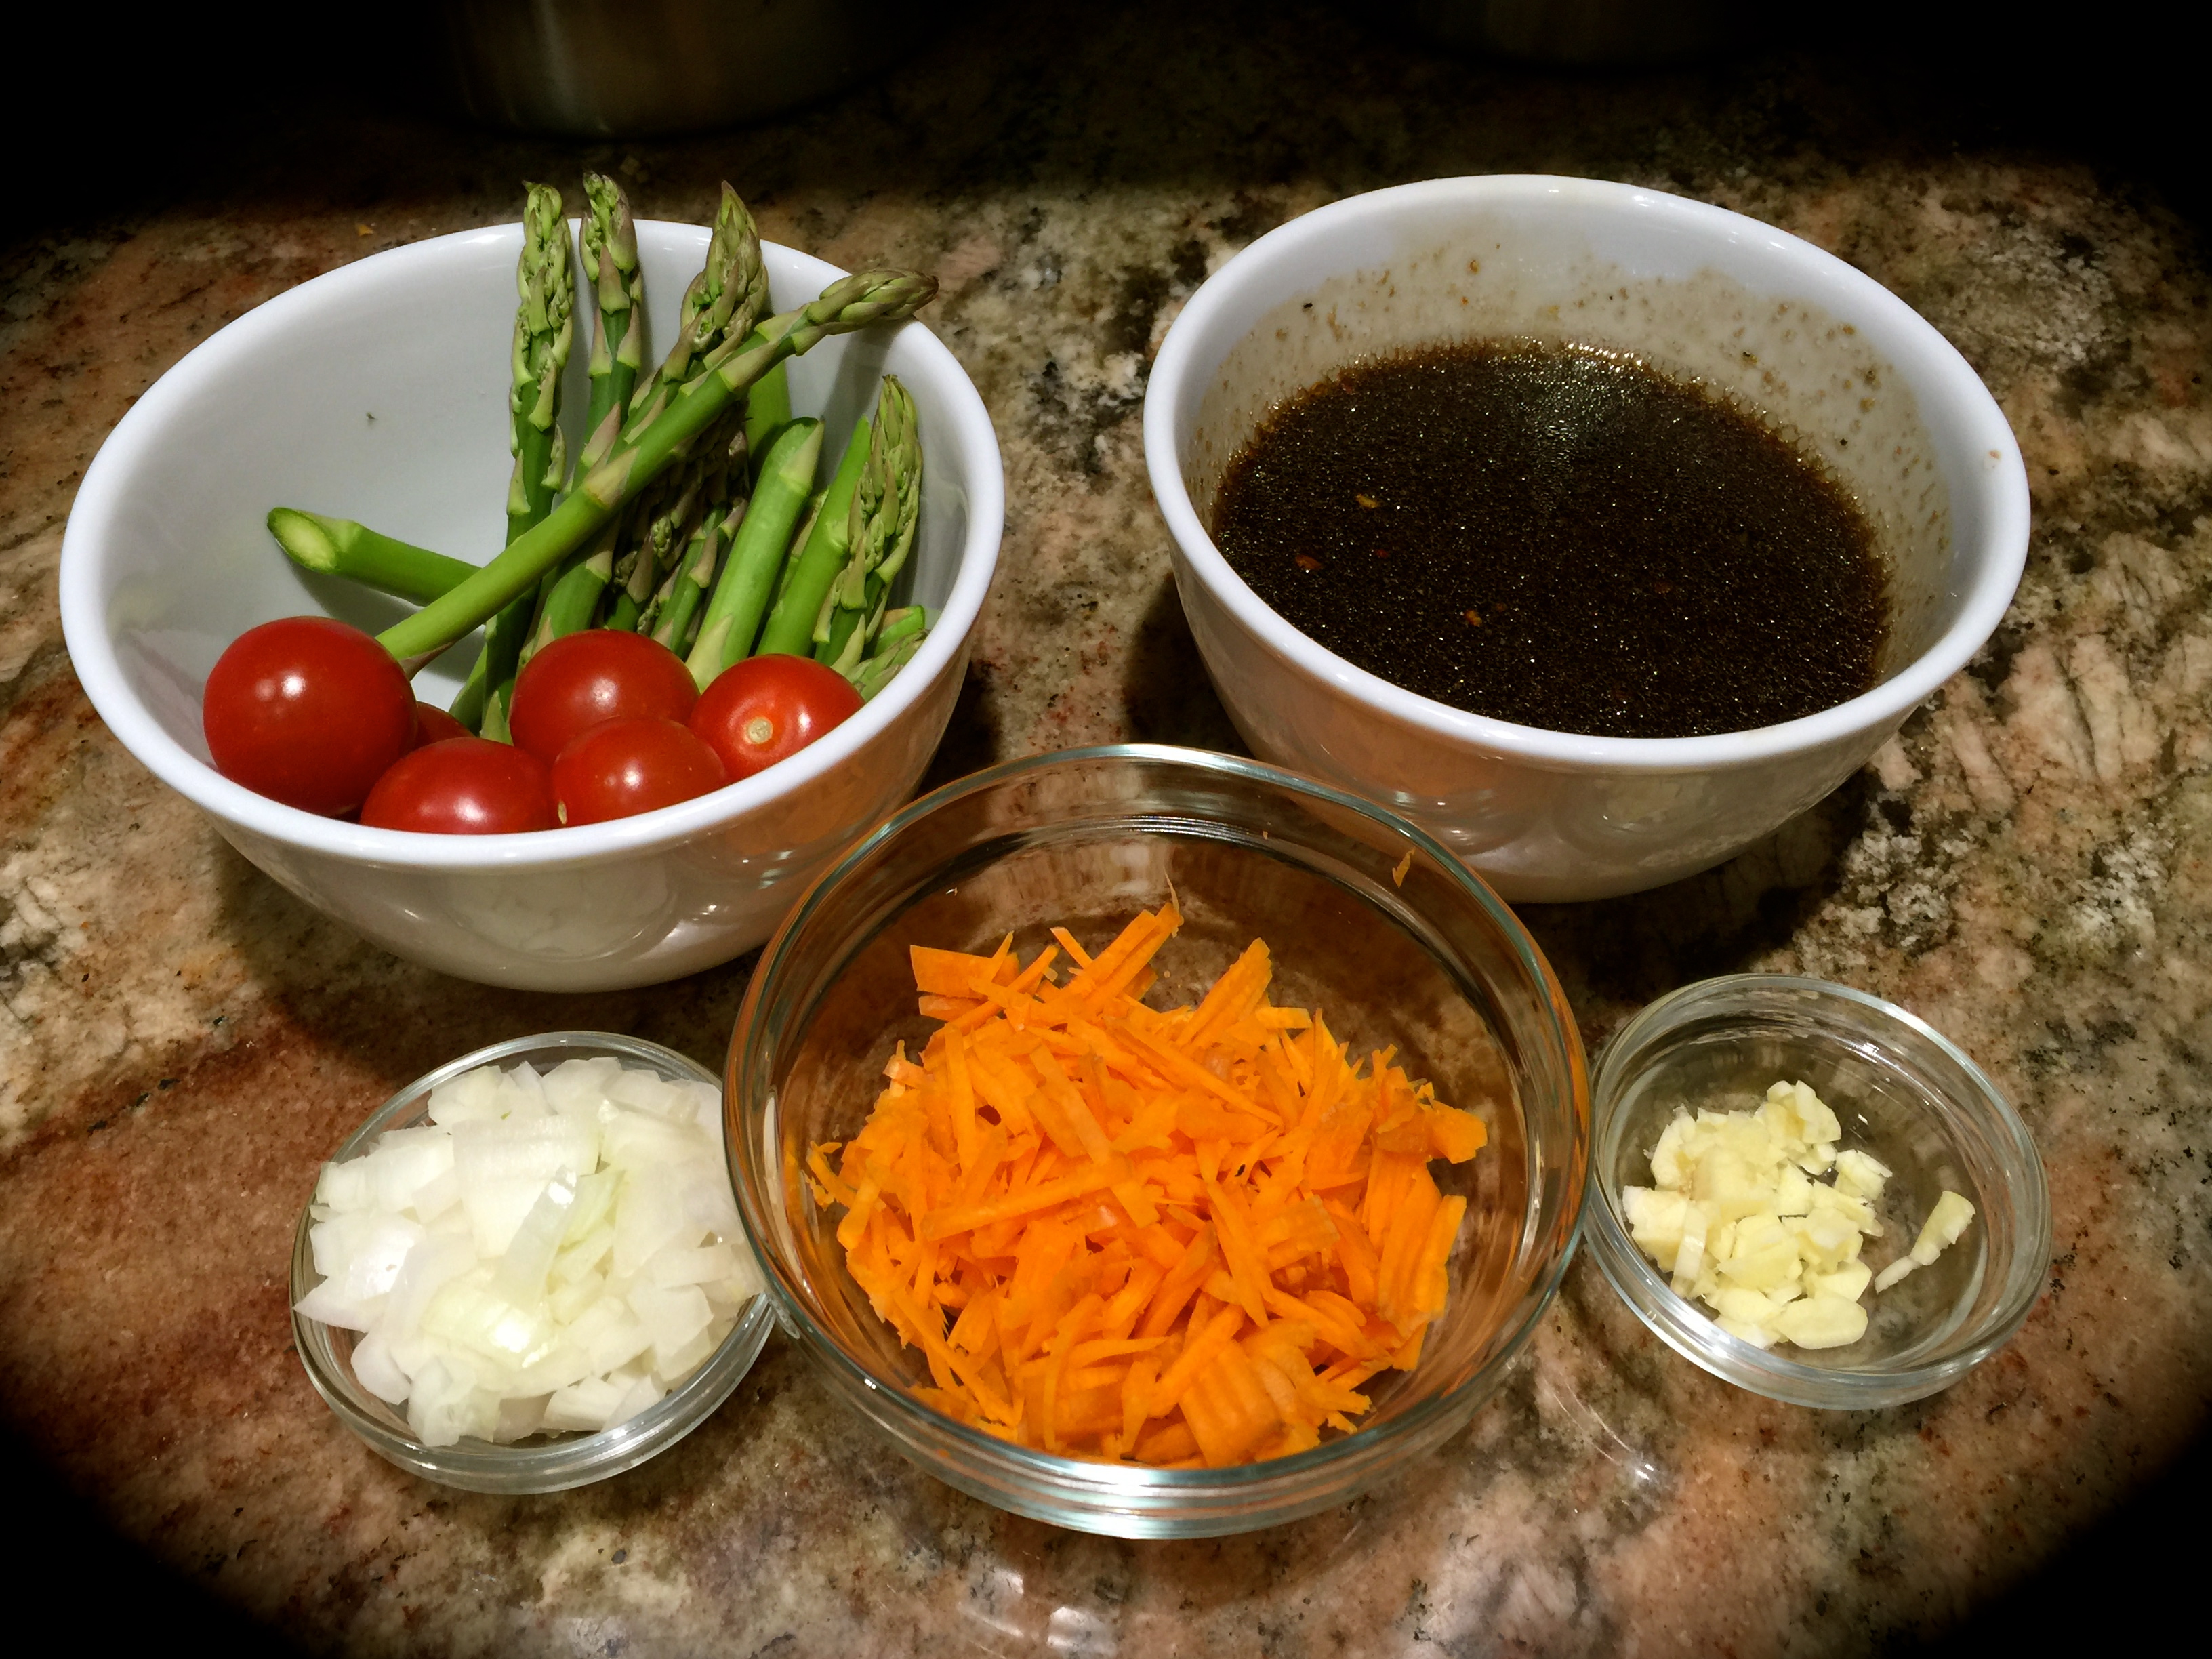
 Lesson Learned 1 – It bears repeating, cut your veggies into chunky pieces: Because you cook for extended periods of time in a slow cooker your veggies can break down if you don’t cut them chunky. You want to see and taste your veggies. So don’t be afraid to cut them into chunky pieces. They will cook I promise you.
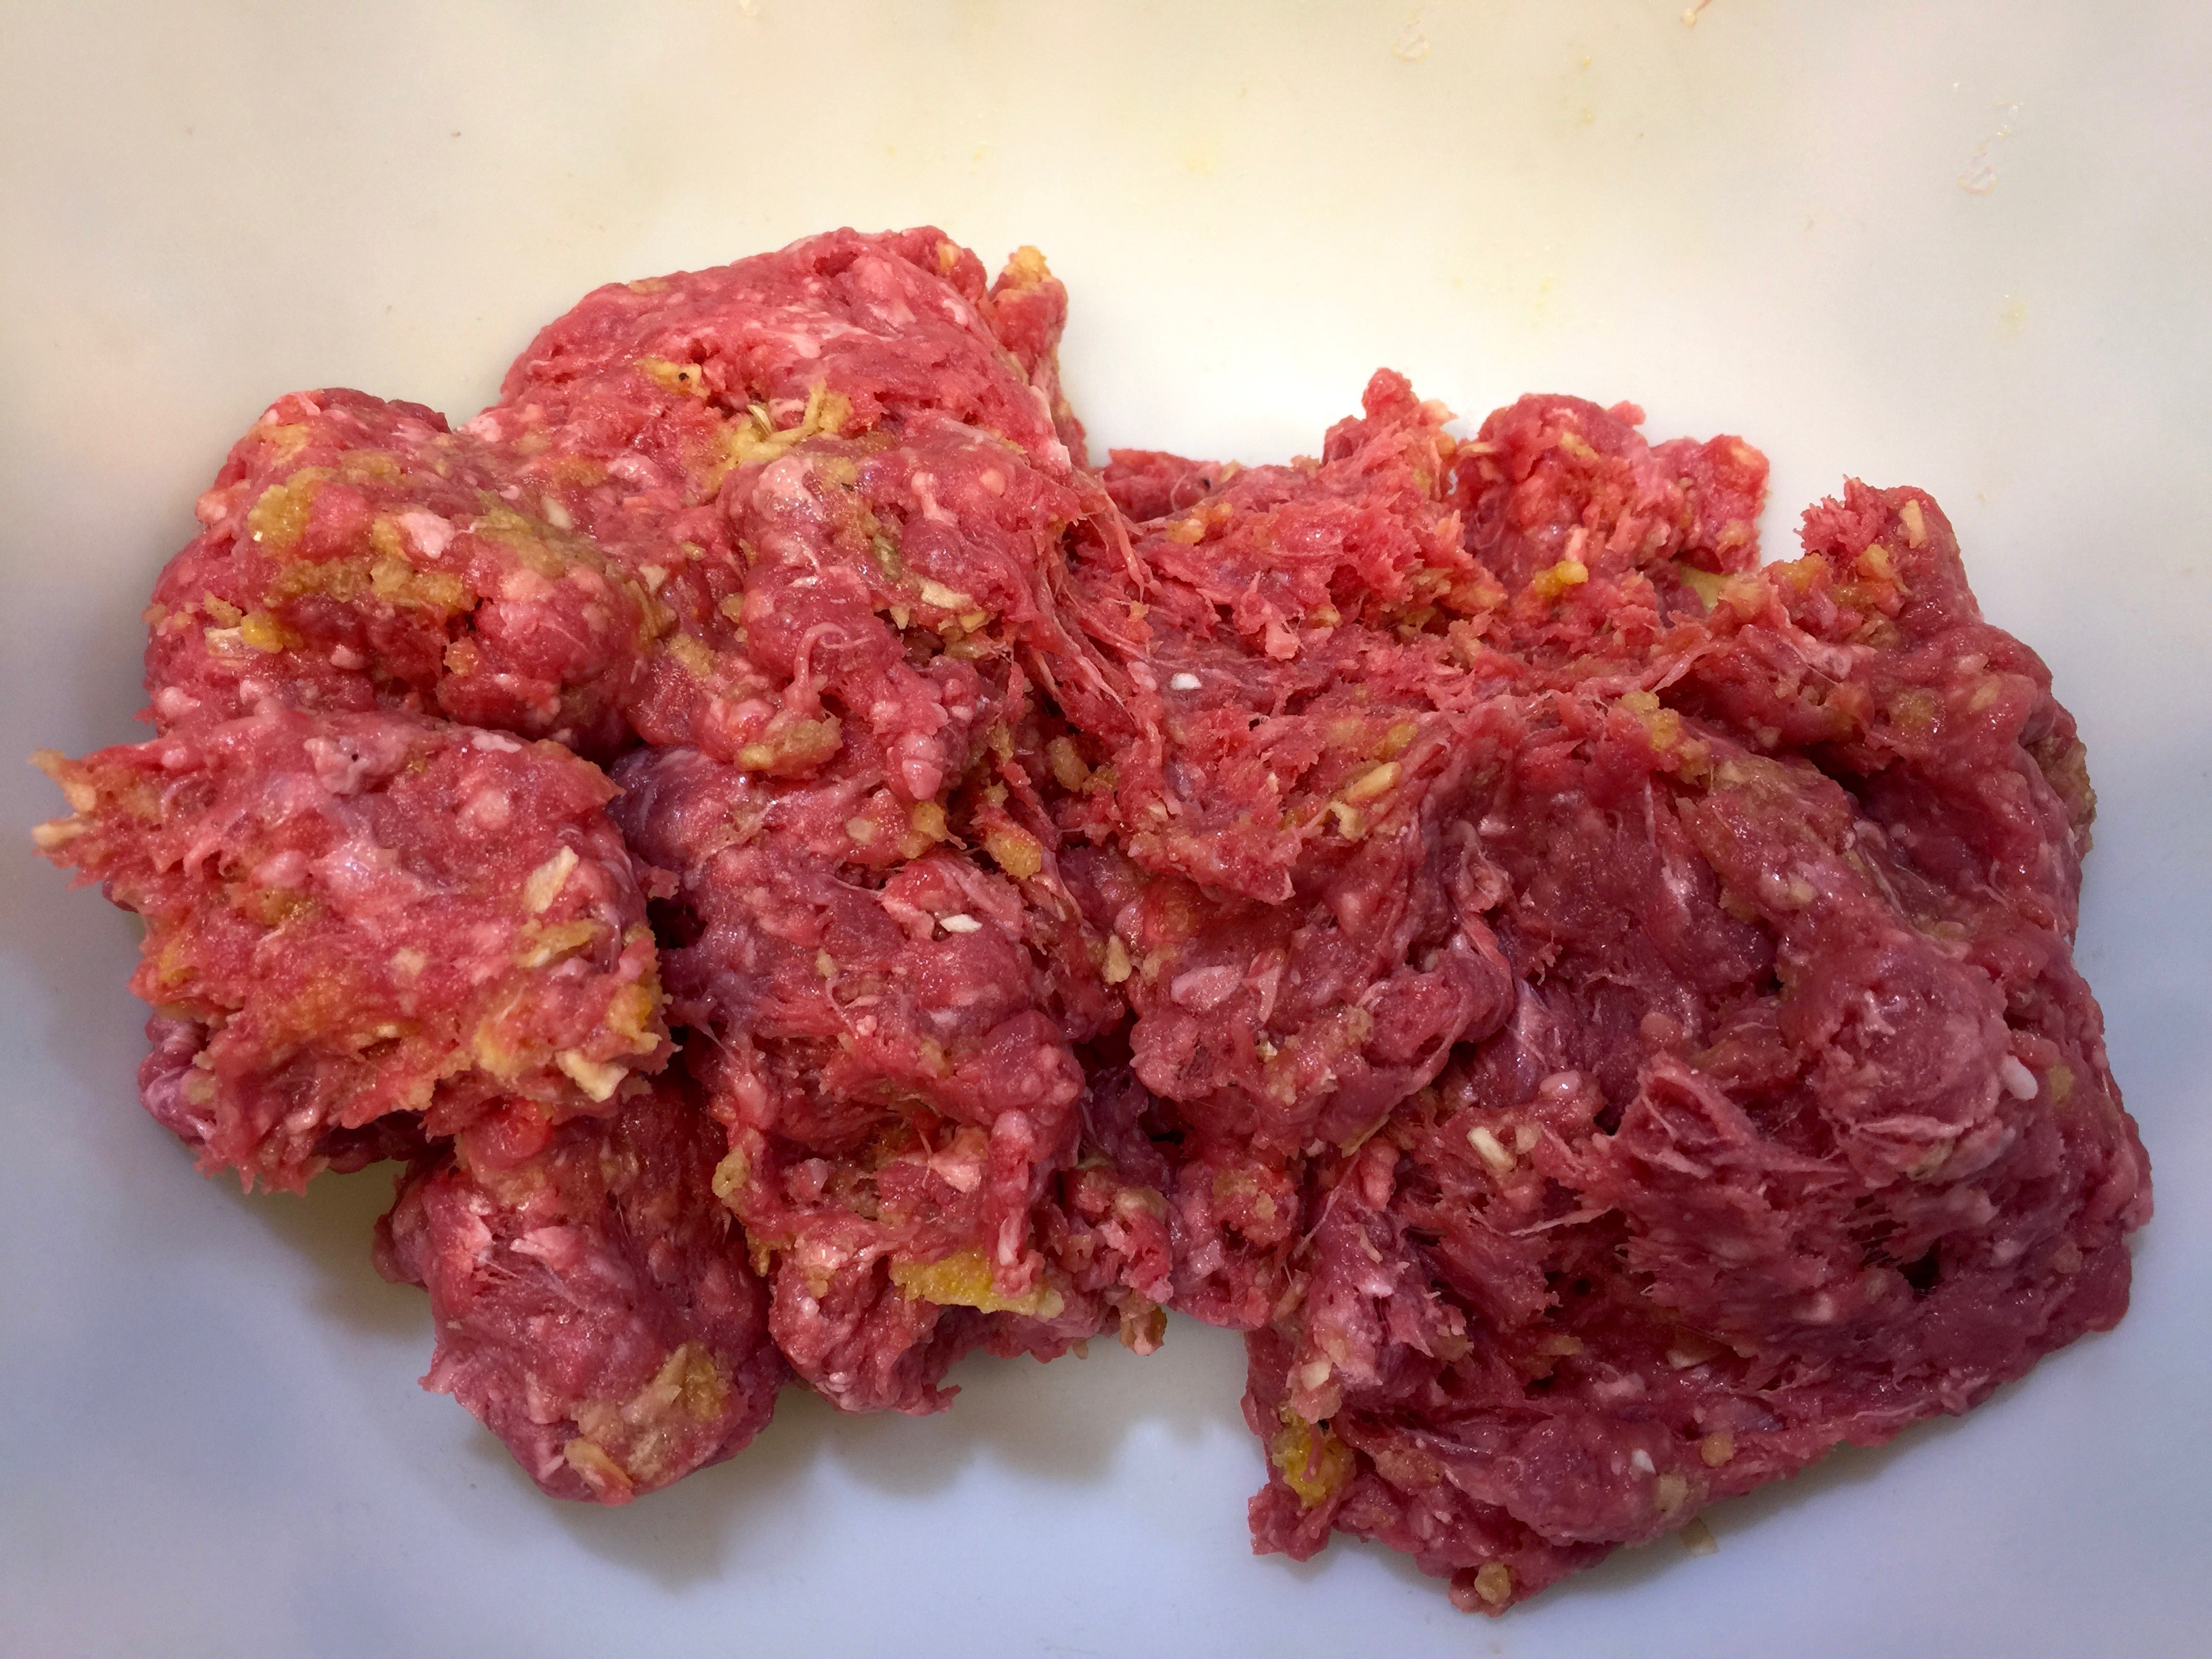
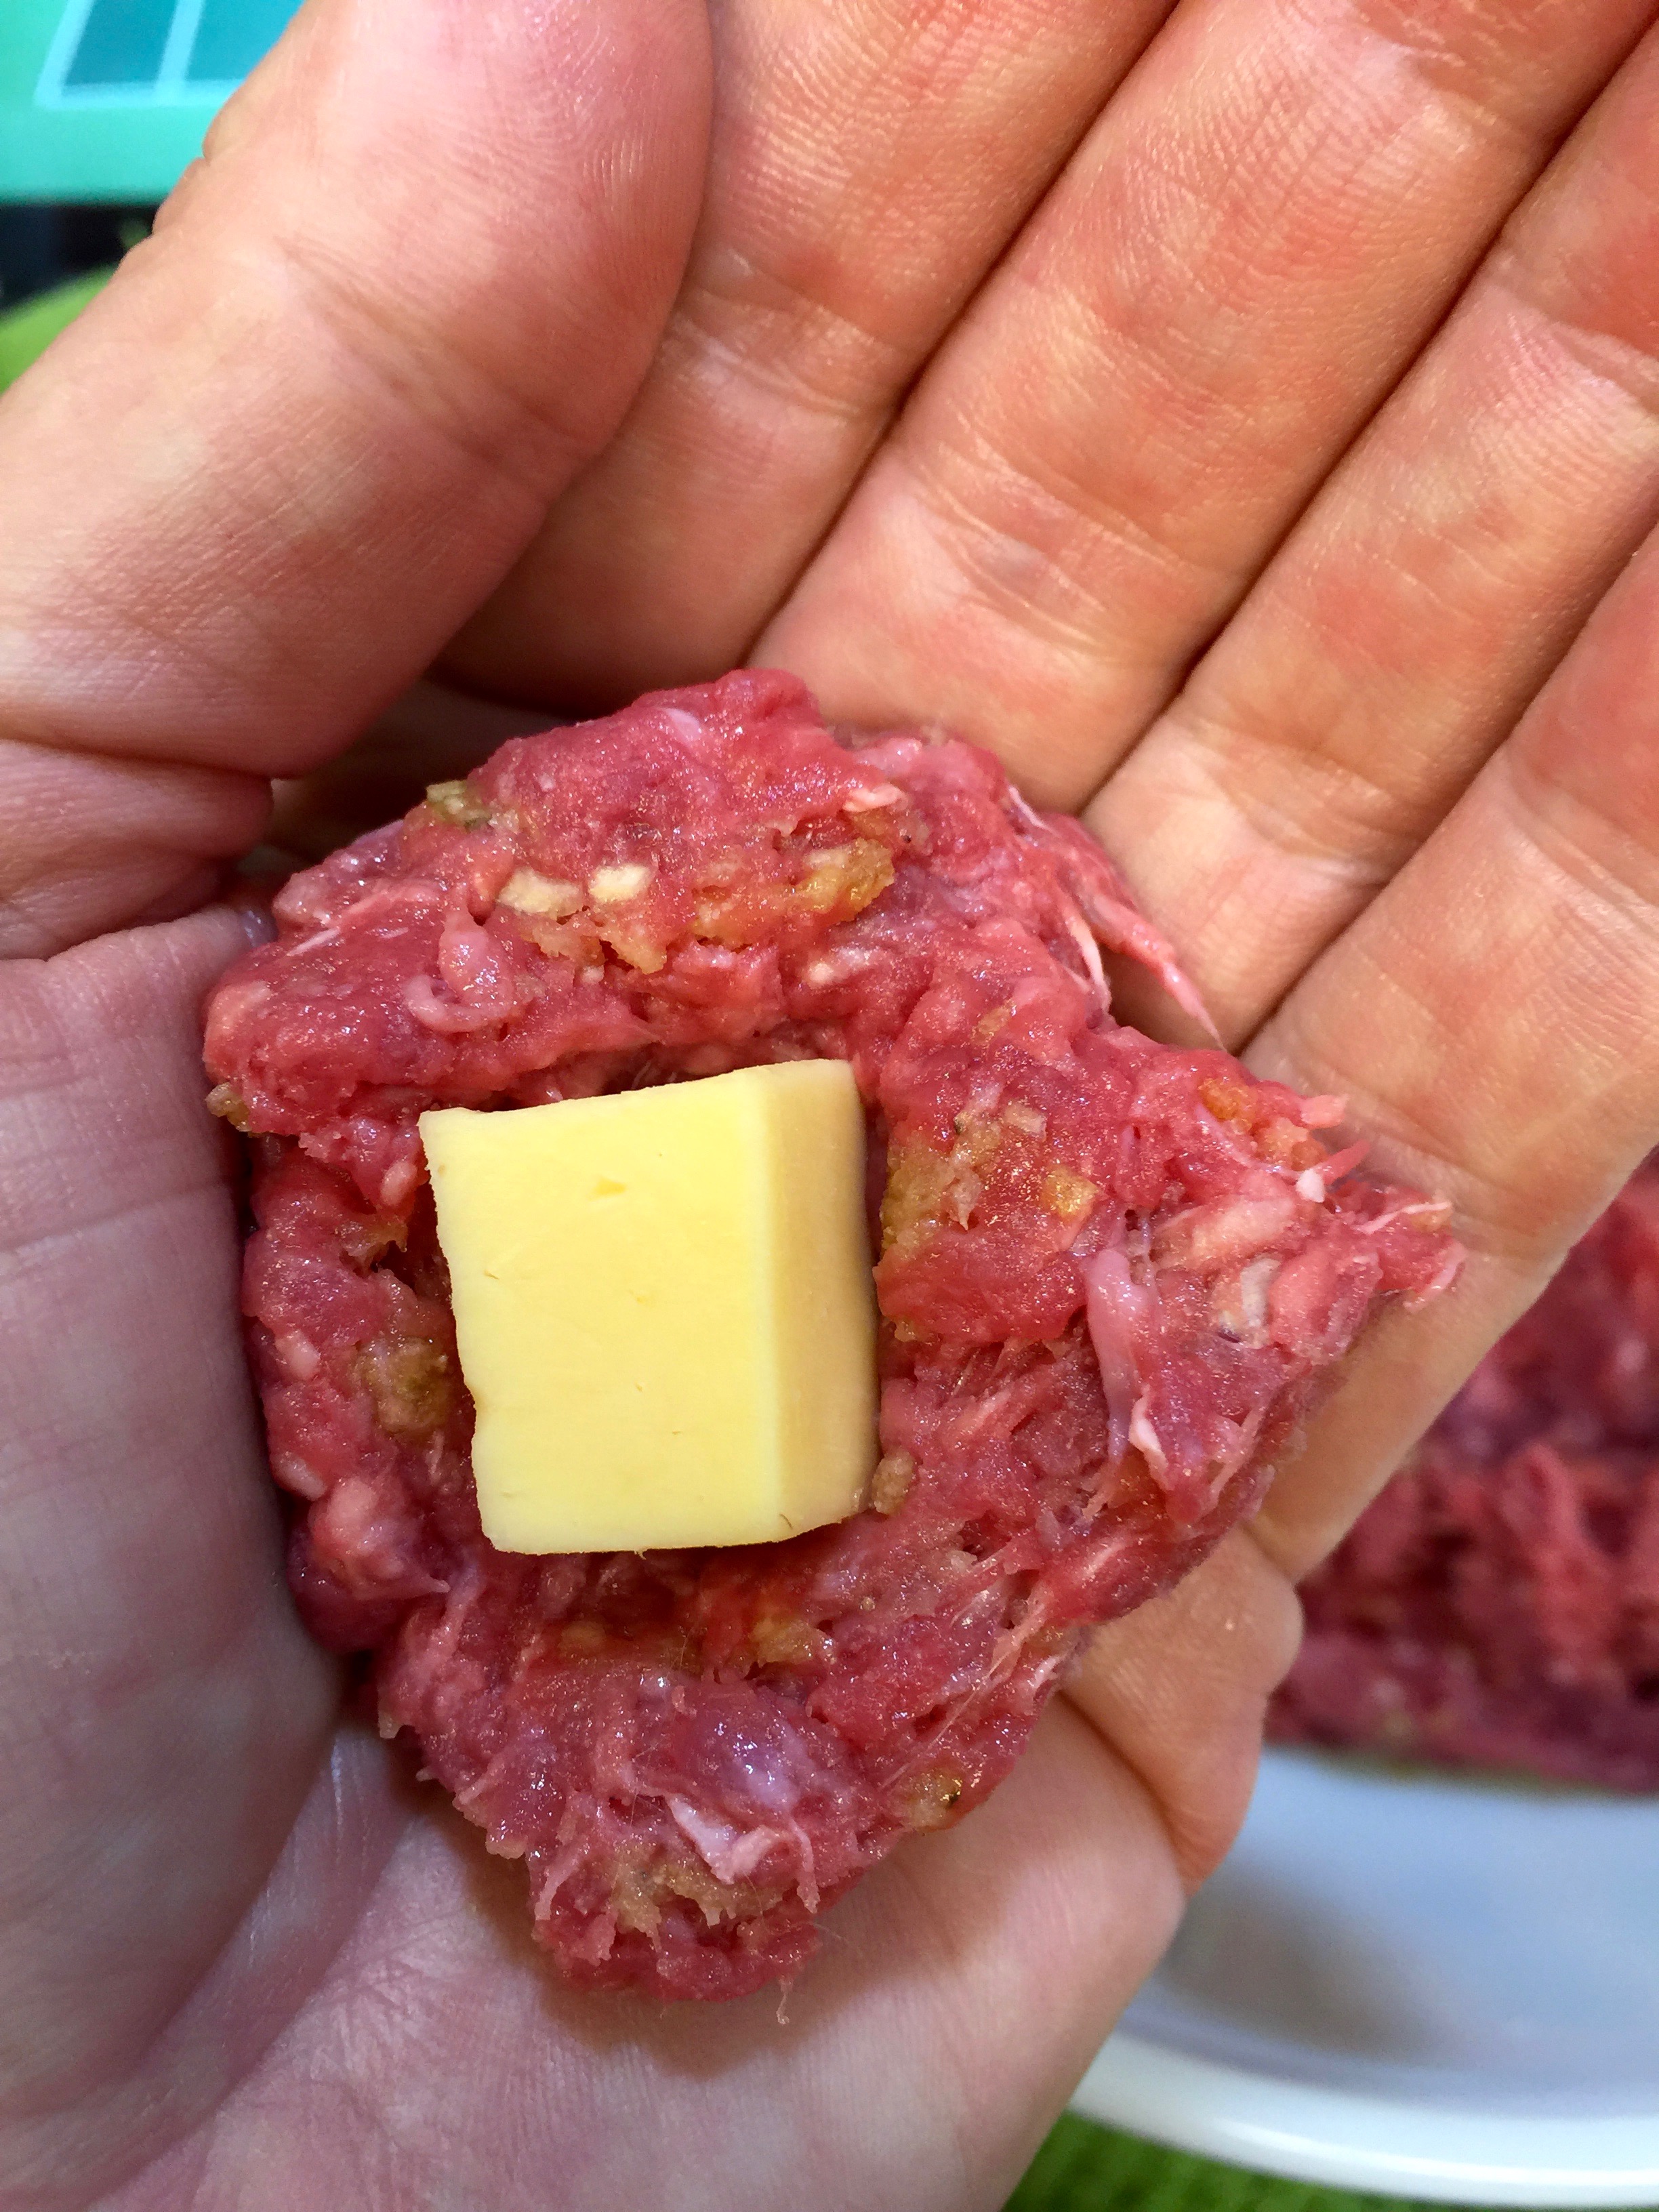
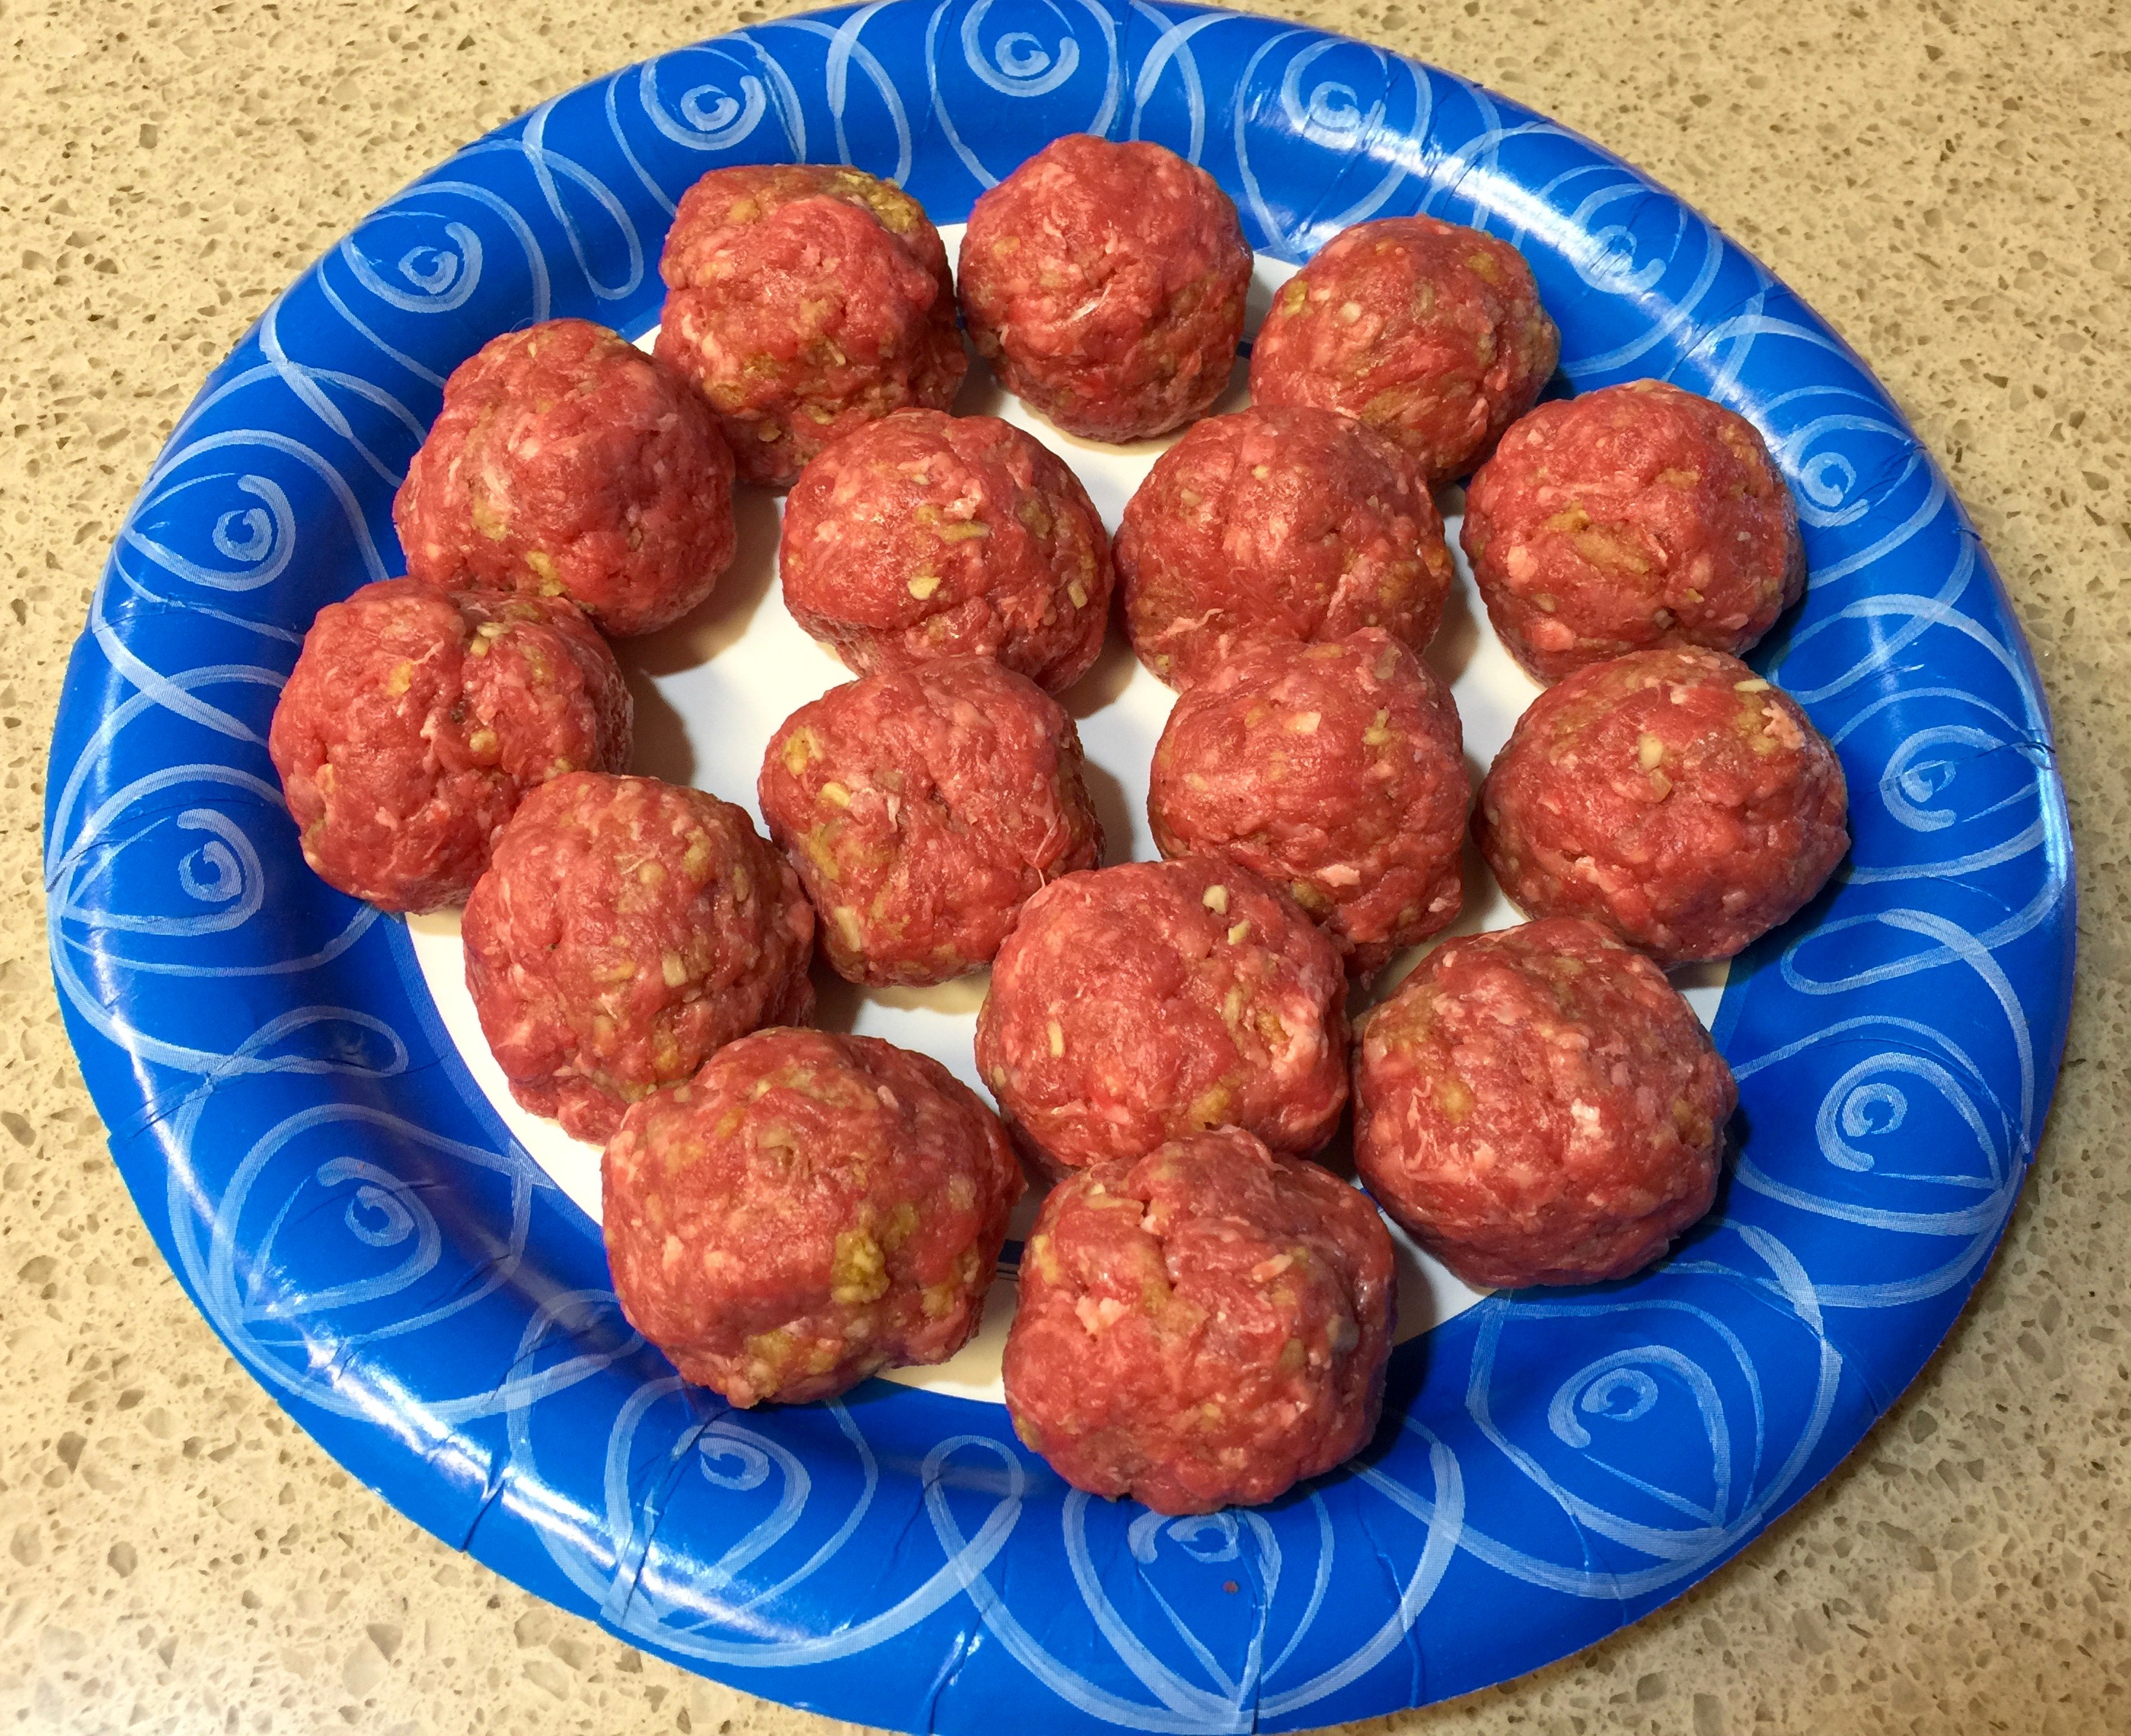
 Lesson Learned 3 – Don’t be afraid to be creative: Originally I was going to add chunks of sausage links to the recipe but my husband has a hard time with the casings. So I removed the casings and formed portions of the meat into meatballs. That worked just fine. I also used sweet Italian sausage in my recipe but you can use hot Italian sausage and give the soup a little more kick if you like. You can also use ground beef, but I think the seasonings in Italian sausage give more zip to the flavor of the soup.
 1 pound Italian sausage (ground or links cut into chunks)


 I finally worked with a butcher at Safeway who cut me a two rib roast and tied the bones to the bottom as I requested. The roast coast $44 for a 4.3 pound roast. Still expensive, and choice but not prime, but I could rationalize that for a special meal more than $68.00. In the end the roast was fabulous so I was glad I opted for the less expensive cut. My next step was researching various cooking methods and determining what I felt would work for me. So I have some really good lessons learned to share with this blog…
 Lesson Learned 4 – A rub on the roast makes a difference: I used a rub consisting of olive oil, fresh garlic, fresh rosemary, thyme, and salt and pepper. What I found is the rub creates a delicious crust when cooked at those initial high temperatures. It added a fabulous flavor to the meat. I highly recommend the rub in this recipe. It tasted divine!
 1 4-5 pound rib roast, bones tied to the bottom


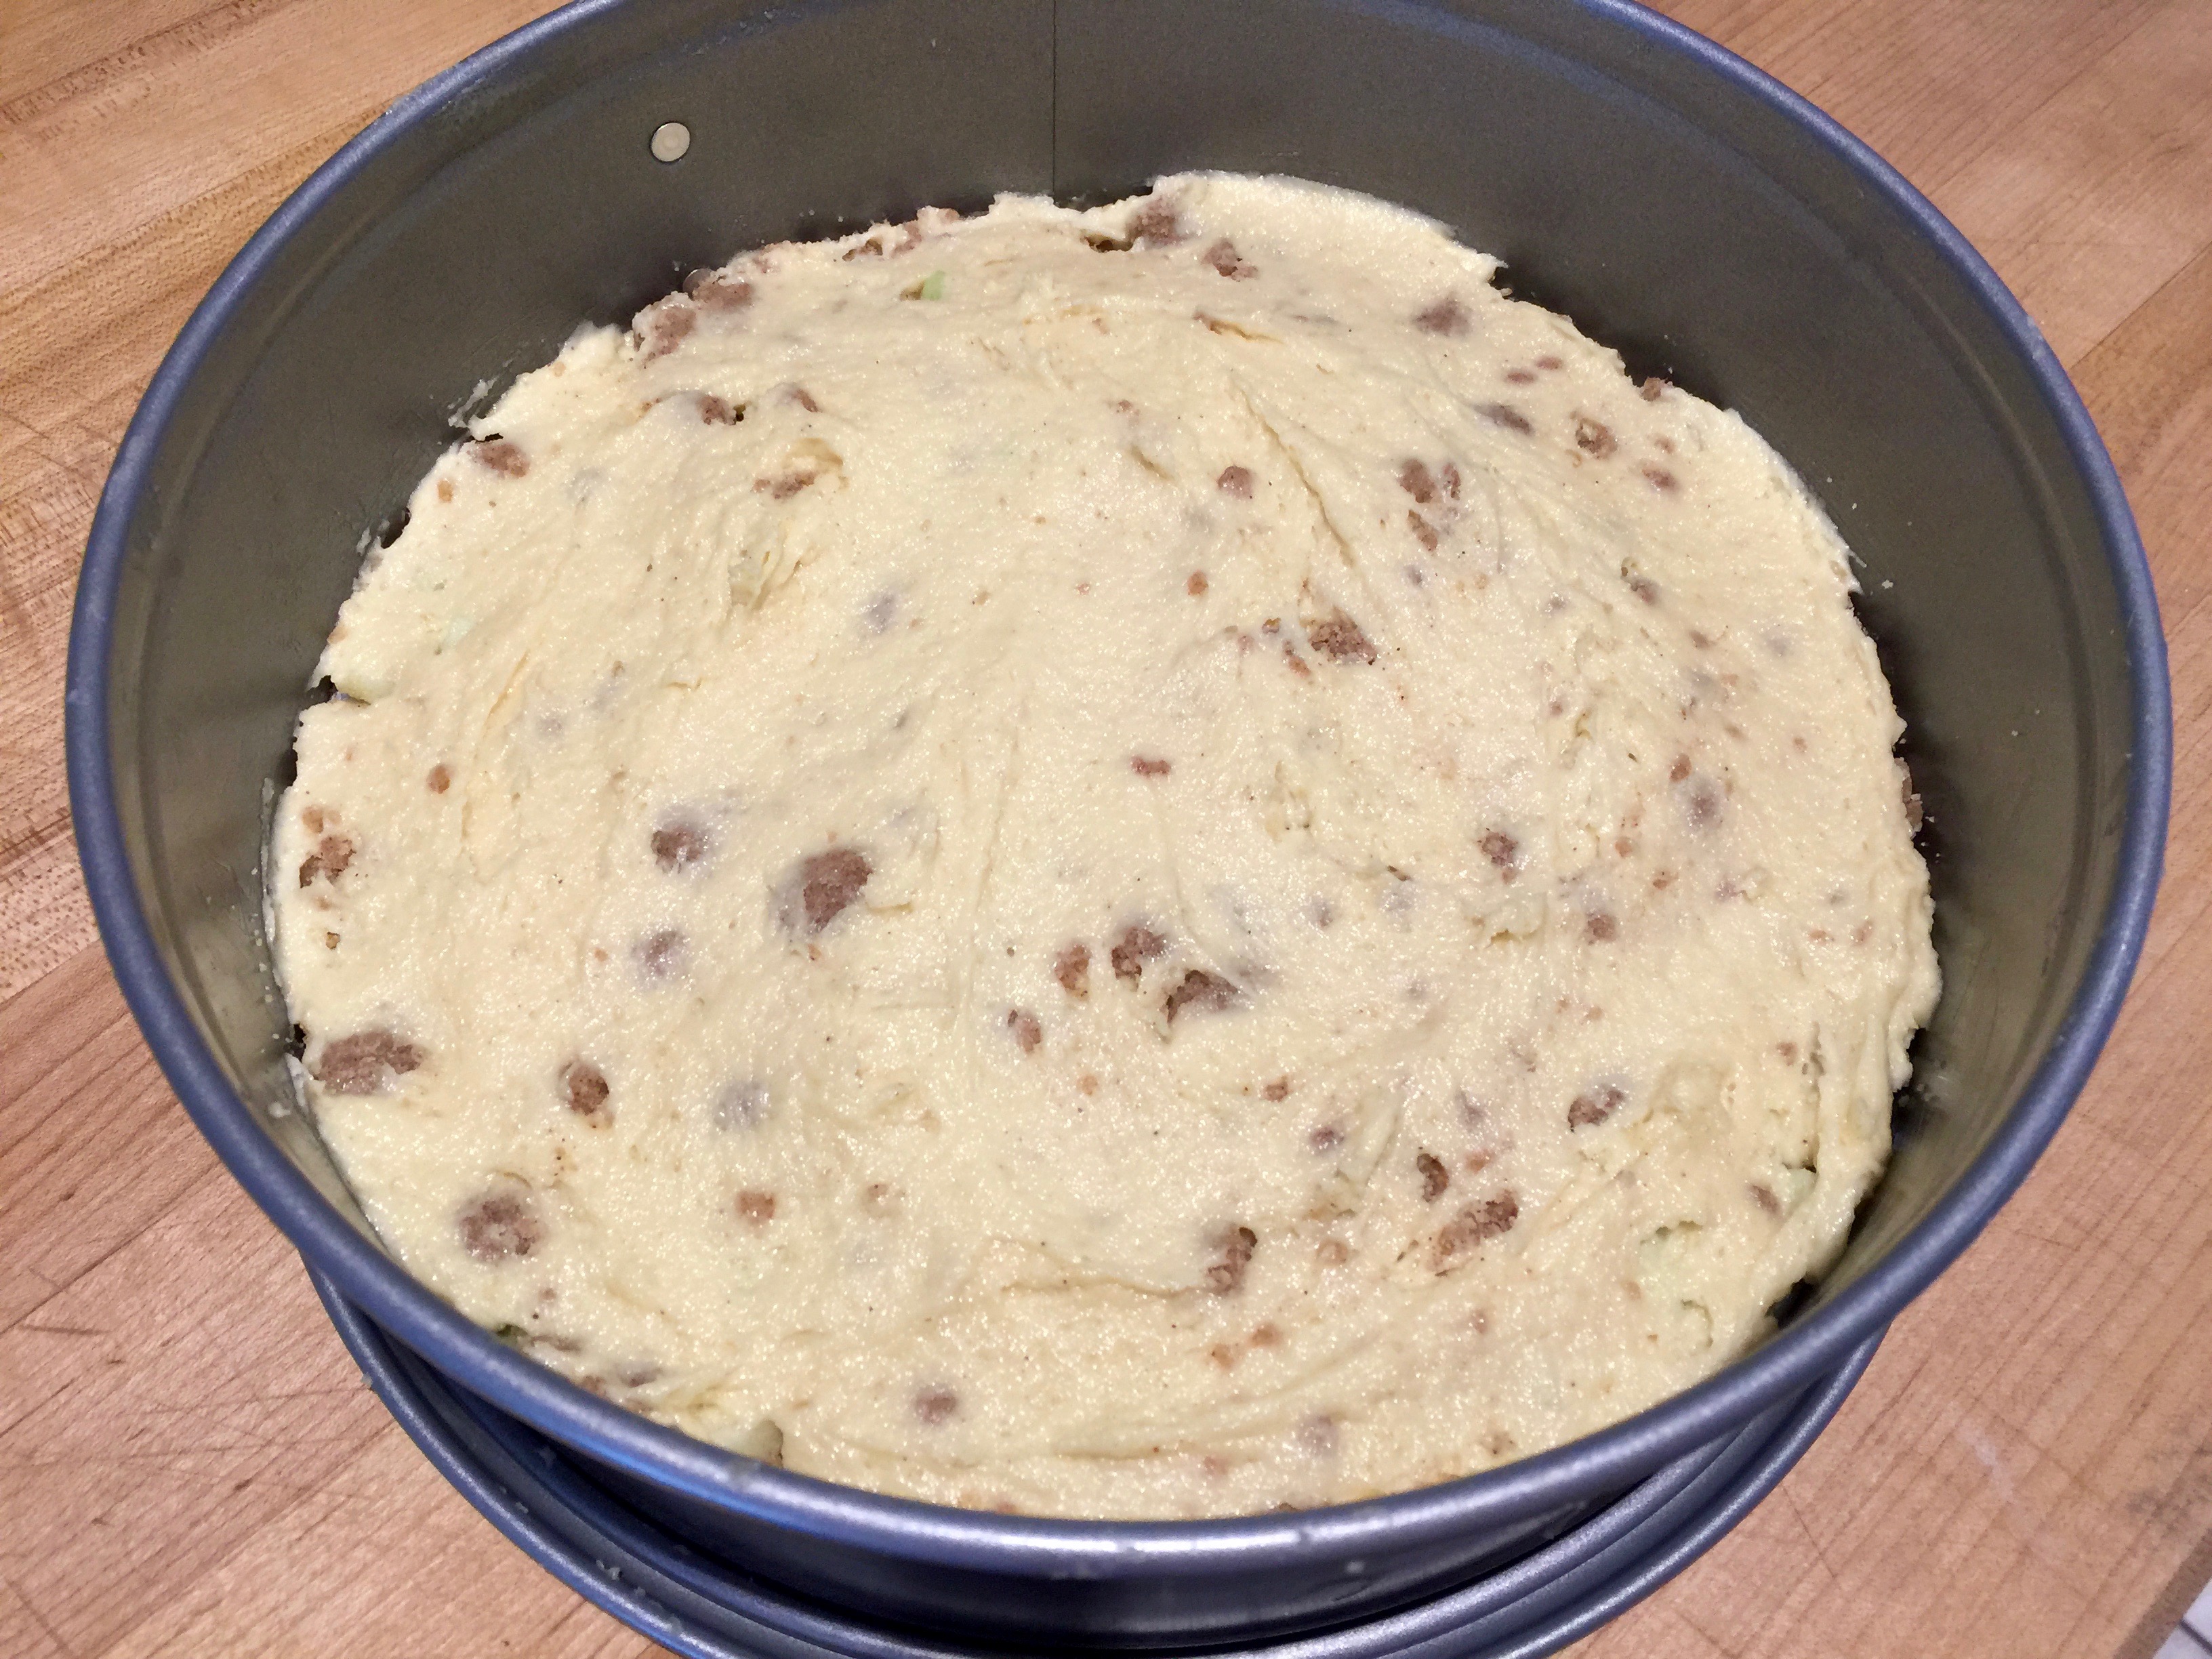
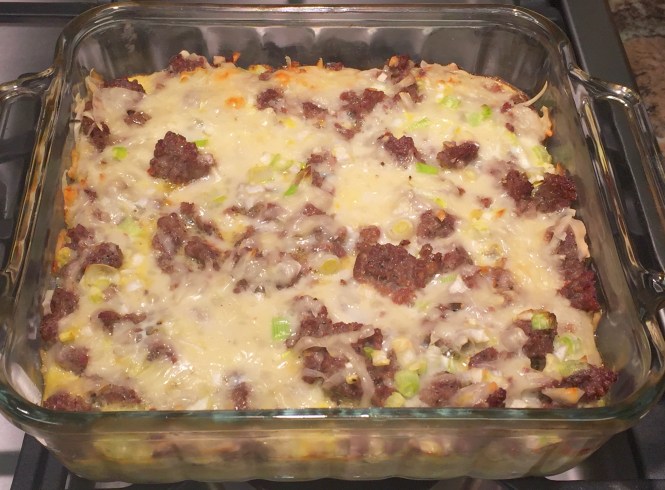
 Lesson Learned 1 – You probably will not need an entire tube of breakfast sausage: This recipe is made in an 8 x 8 pan and serves four. Double it if you want to make it in a 13 x 9 pan. In the smaller pan you probably will not need the entire tube of sausage. Use as much as you like and if you are a true meat eater use the whole thing. We only needed about three quarters of the tube. We froze the rest to use later.


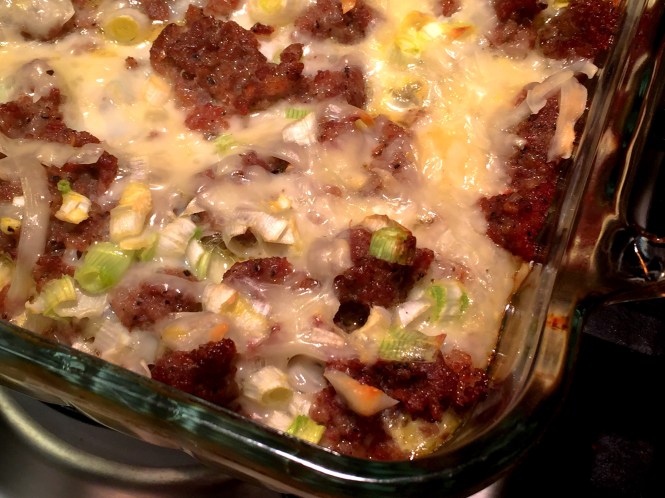


 Lesson Learned 3 – Cut large slices of your veggies: Whenever I slow cook I always cut my veggies on the larger side. I find that after cooking for 4-8 hours I’m left with veggies that still have texture and flavor versus veggies that have been completely broken down by the long cooking process.


 Lesson Learned 1 – I used ground italian sausage but you can also use prosciutto: My husband needs to eat foods that are easy to chew and so I used ground italian sausage. If you choose to use prosciutto, use about 5 thin slices. Add them to the onions once they are translucent and cook them until they are crisp. Then follow the remainder of the recipe as is. I guarantee it will be equally as good.
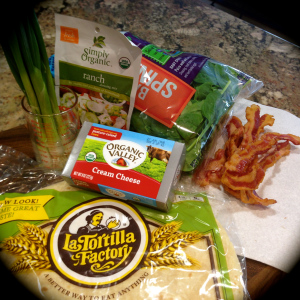
 when I looked at the ingredients they were all natural. There were no names that I couldn’t pronounce. Natural and organic foods are much higher in cost. That is unfortunate as I hate to think about all these chemicals we can put in our bodies every day. But heck, before I was born my mother drank and smoked and I’m still here. I guess the idea is why tempt fate. The better you take care of yourself the better your chances are of living a longer healthier life.


 Lesson Learned 3 – If you’ve never had it, try some mint jelly with your lamb chops: I was introduced to lamb chops with mint jelly when I was a kid. I was at a friend’s house for dinner and this is what was served. I never had lamb before and didn’t know what to think. At the time I was not all that enamored with the flavor but was afraid to say anything to my friend’s mom so I just said it was fabulous. Because of that, she made lamb with mint jelly every time I came over for dinner. I learned to love it, and now it is one of my all time favorites. Just use a little jelly with a piece of lamb. The flavor combination is to die for!