I’ve never been a big fan of brussels sprouts. Cooked cabbage of any kind doesn’t do anything for me. The meal I dread the most is corned beef and cabbage (sorry to any of my readers that love CB&C) – I could just gag. But my husband loves brussels sprouts and has often asked me not only to eat them but also make them. I now can empathize a little more with my mother who was not a great cook. She had a limited palate and she refused to make anything she didn’t like. I get it now. It’s hard to get excited about making something you don’t like. But if you know me, you know I like a good challenge. Was there a brussels sprouts recipe out there that could actually get me to eat and enjoy them? I had my doubts. And so my research began…
I looked at a wide variety of recipes and came across a couple of combinations that sounded interesting. One involved cranberries, feta cheese and nuts (and that will be a future blog) and one involved pancetta. Making brussels sprouts with pancetta is a little less involved so I thought I would try it. The results were quite interesting…
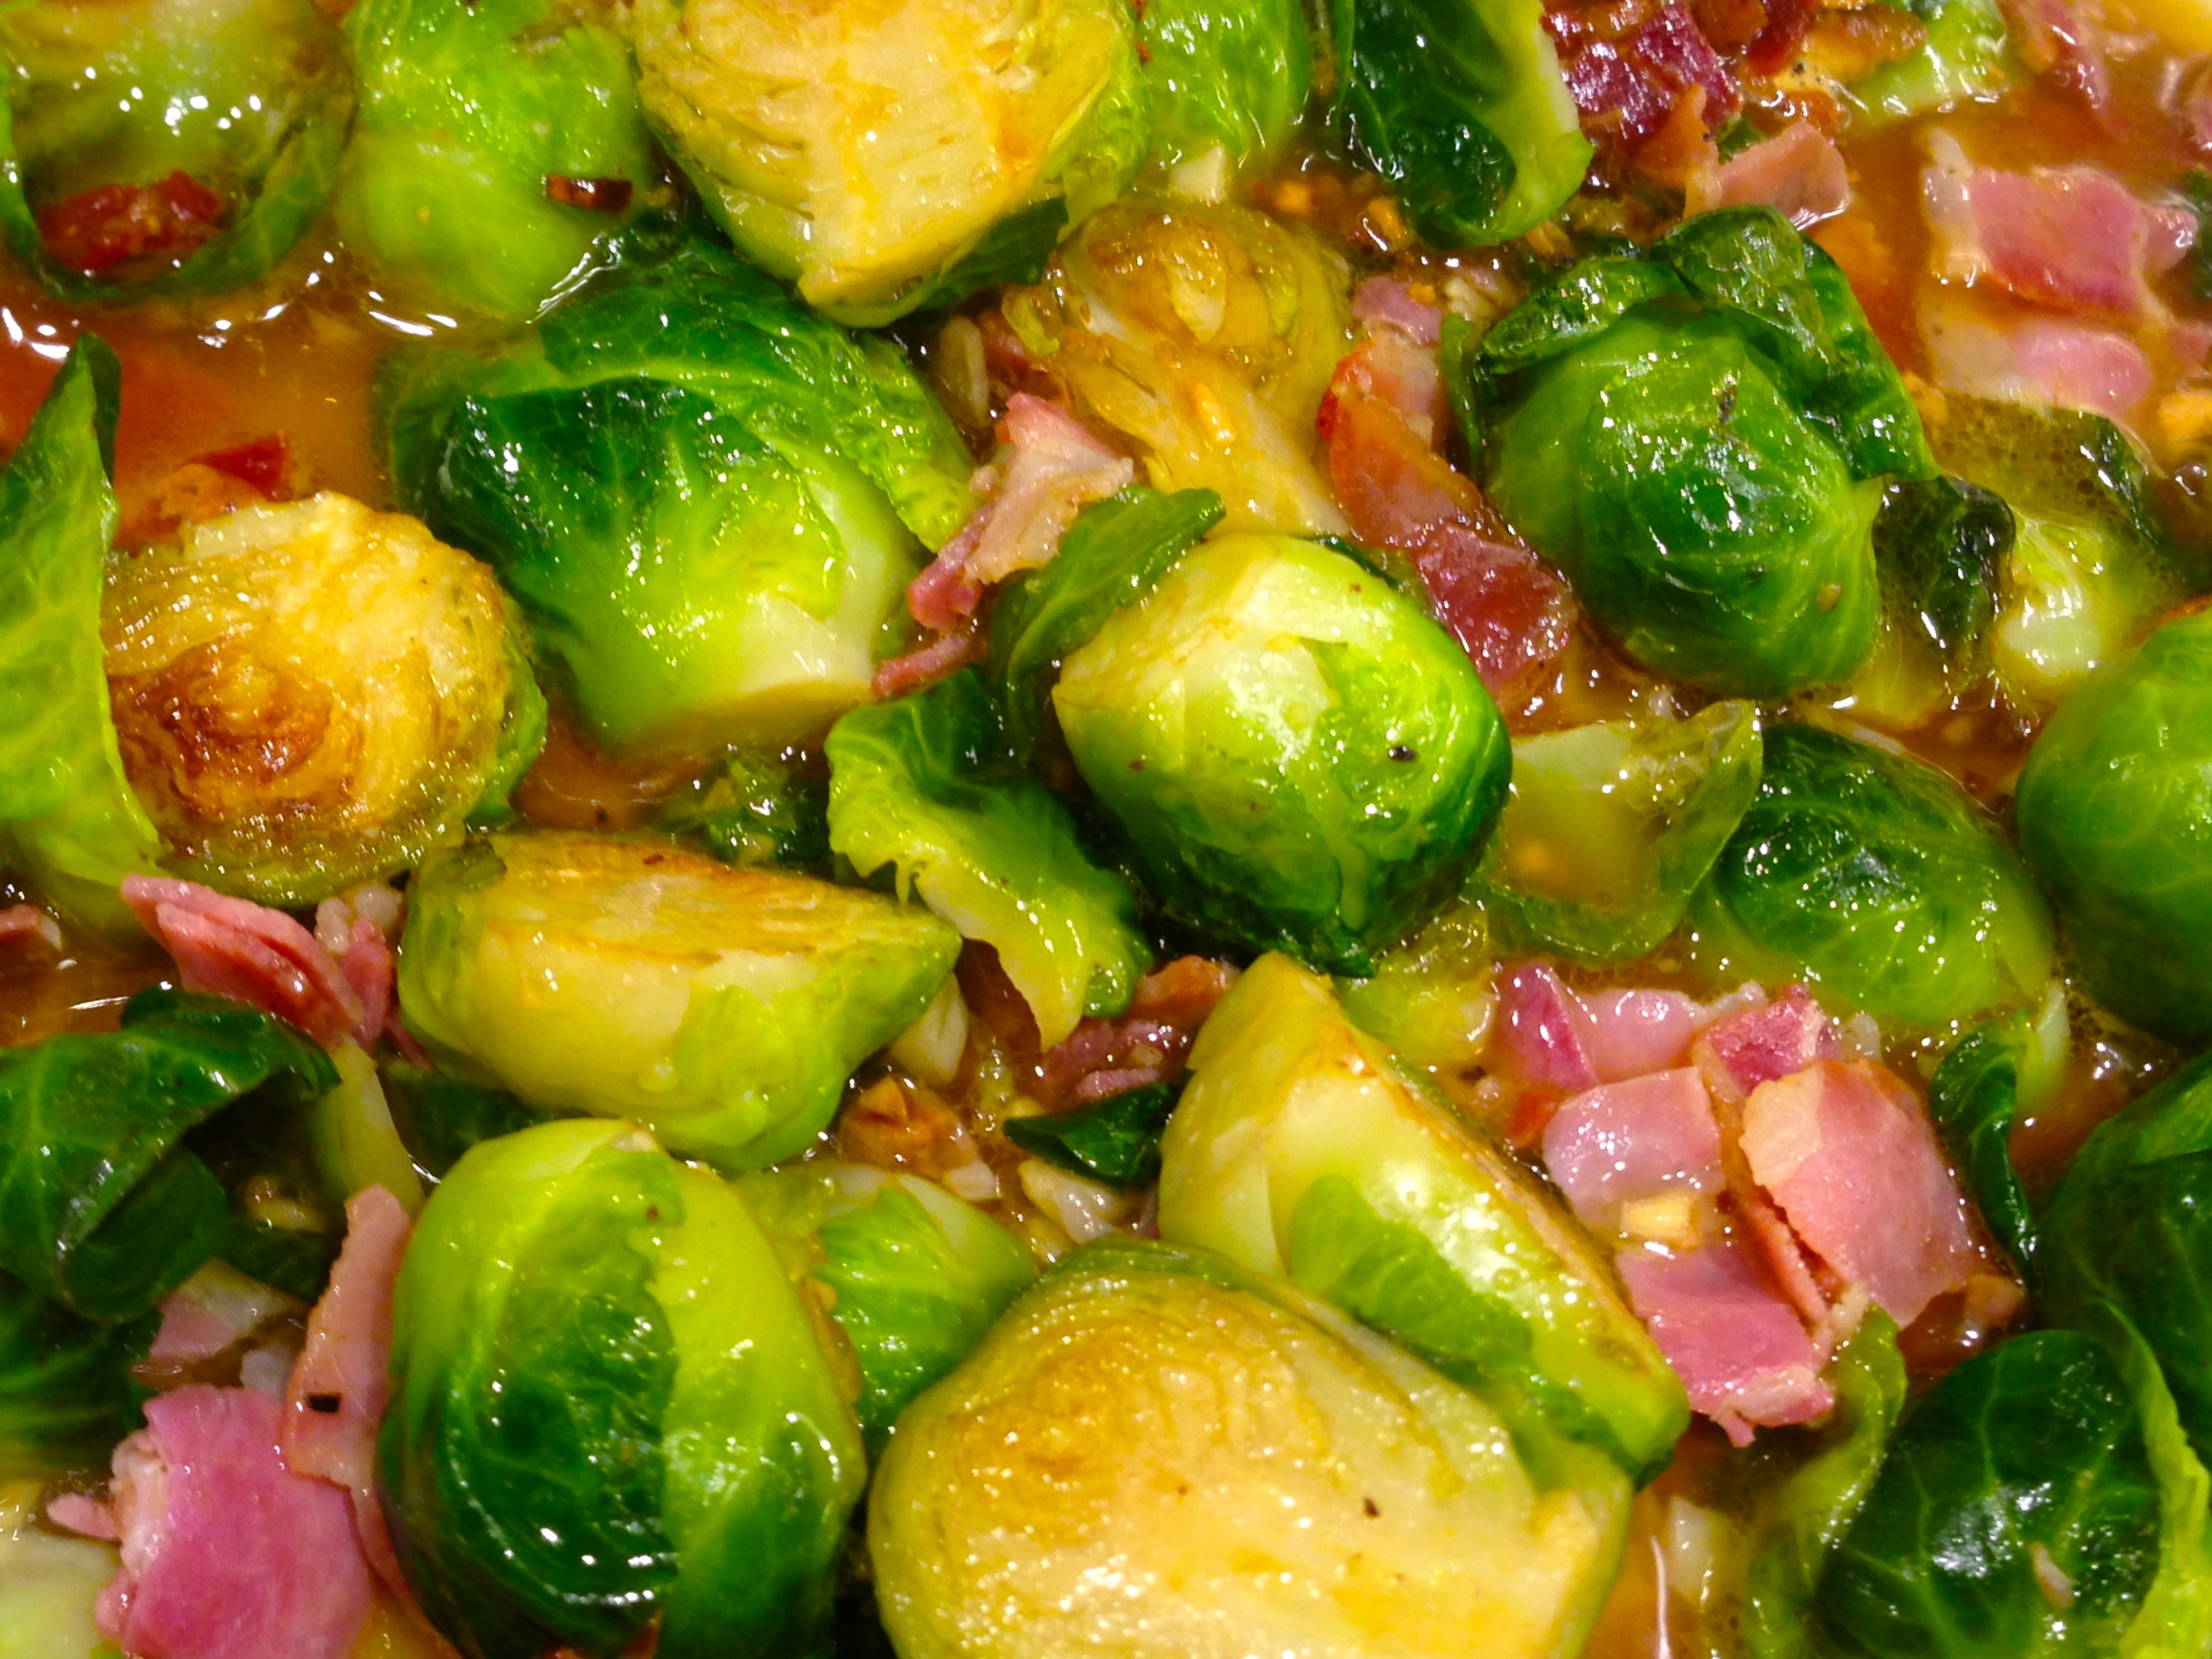
Recipe Rating: A – I even had to admit that the results, for me, were very palatable and for my husband, who is a brussels sprouts lover, it was phenomenal. The combination of the pancetta, garlic and chicken stock infused the brussels sprouts with flavor. I actually made this recipe twice (as I had a lot of brussels sprouts and extra pancetta) and enjoyed it. Don’t get me wrong, I didn’t kid myself into thinking that brussels sprouts will now become my vegetable of choice, but at least I know there is a way to prepare them that I can live with and that brussels sprouts lovers truly enjoy!
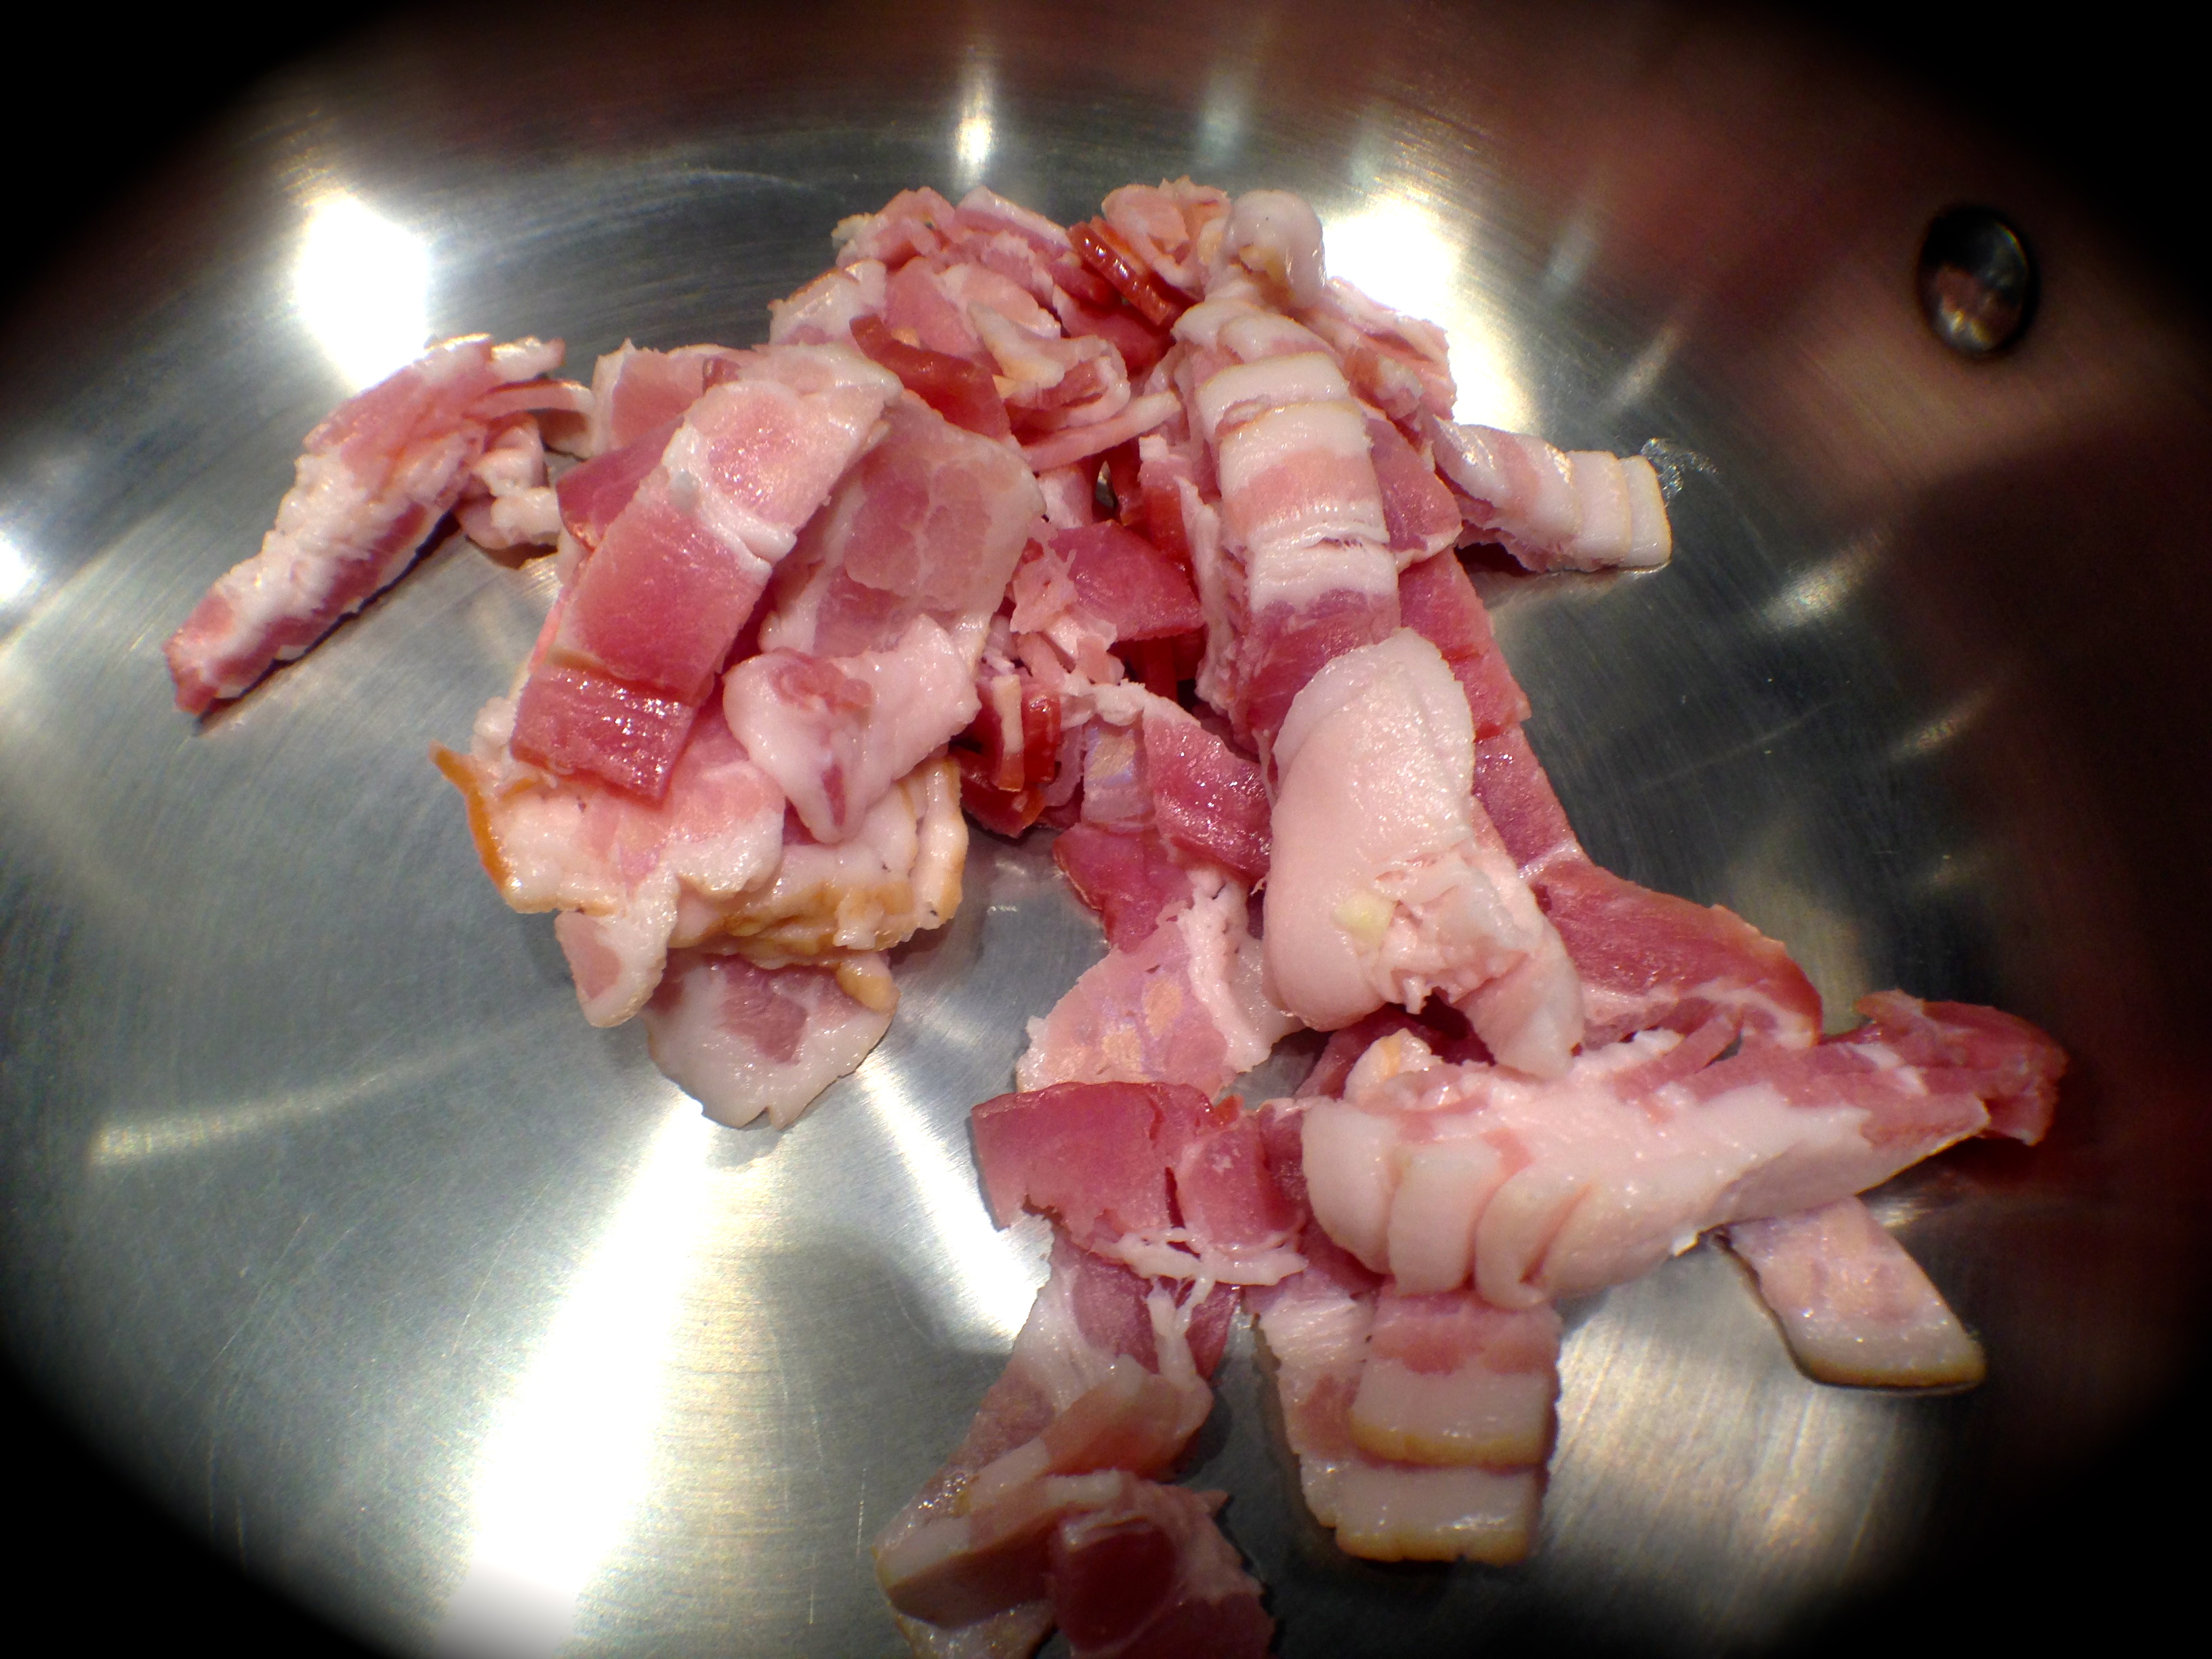
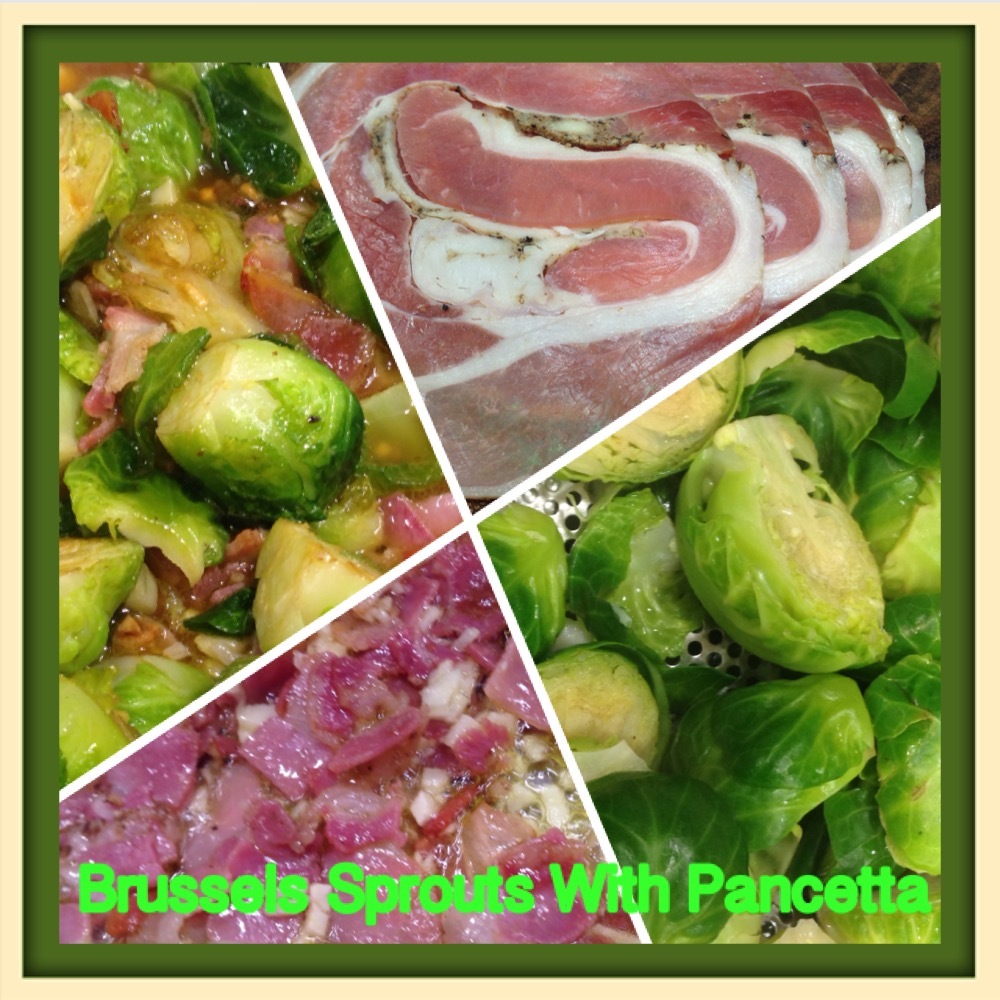
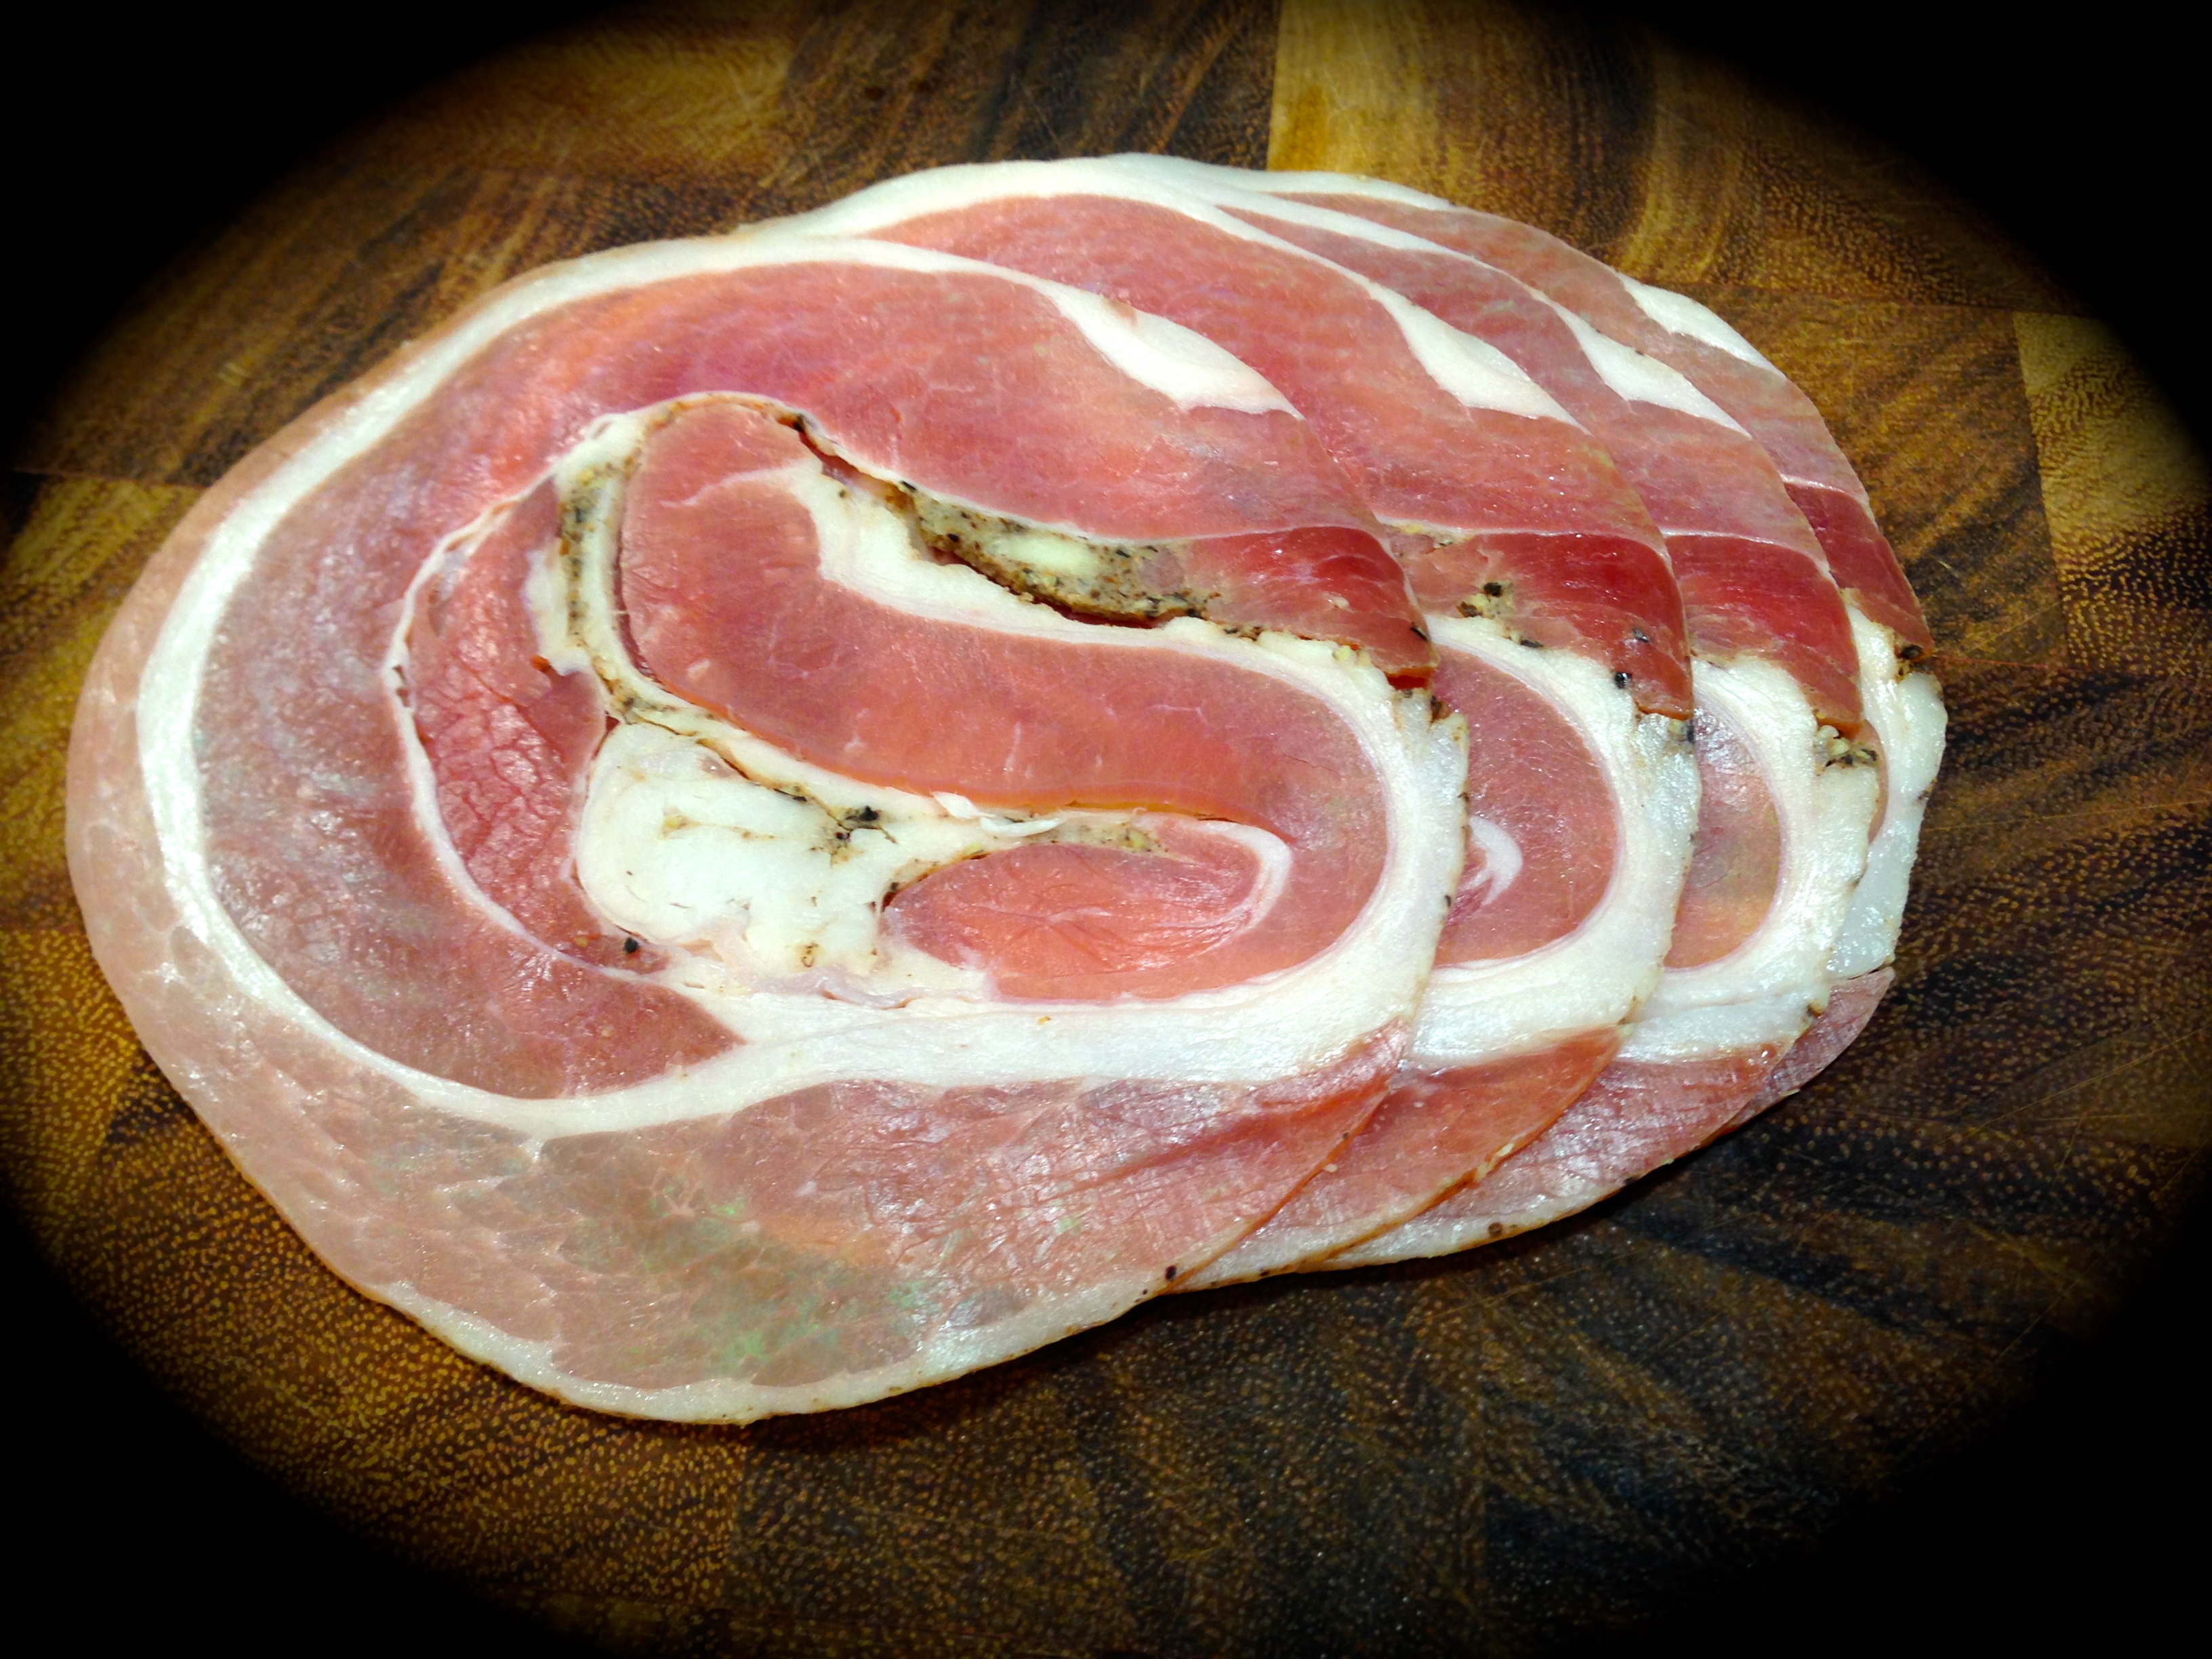 Lesson Learned 1 – The difference between pancetta and bacon: Both pancetta and bacon are made from pork bellies. The difference is how they are prepared. Bacon is brined and smoked. Pancetta is seasoned with a lot of salt and pepper then rolled and wrapped in a casing to keep its shape. Pancetta is cured but not smoked. You can easily substitute bacon for pancetta in any recipe. I cut the pancetta into lardons just like I would bacon and added the brussels sprouts once the pancetta began to crisp. What I learned in making this recipe is, if you use pancetta, wait until the very end to add any salt to the sprouts. The nice thing about brussels sprouts is they highly absorb the flavors they are cooked with, and in this case they absorb the salt and pepper from the pancetta. I found it best to use unsalted chicken stock as well and to taste the sprouts at the very end to see if they needed any additional salt or pepper. I found that I needed very little salt at the end, much less than I would have added originally. So be careful. You can always add more salt, but you can’t take it away. You don’t want the brussels sprouts to be too salty.
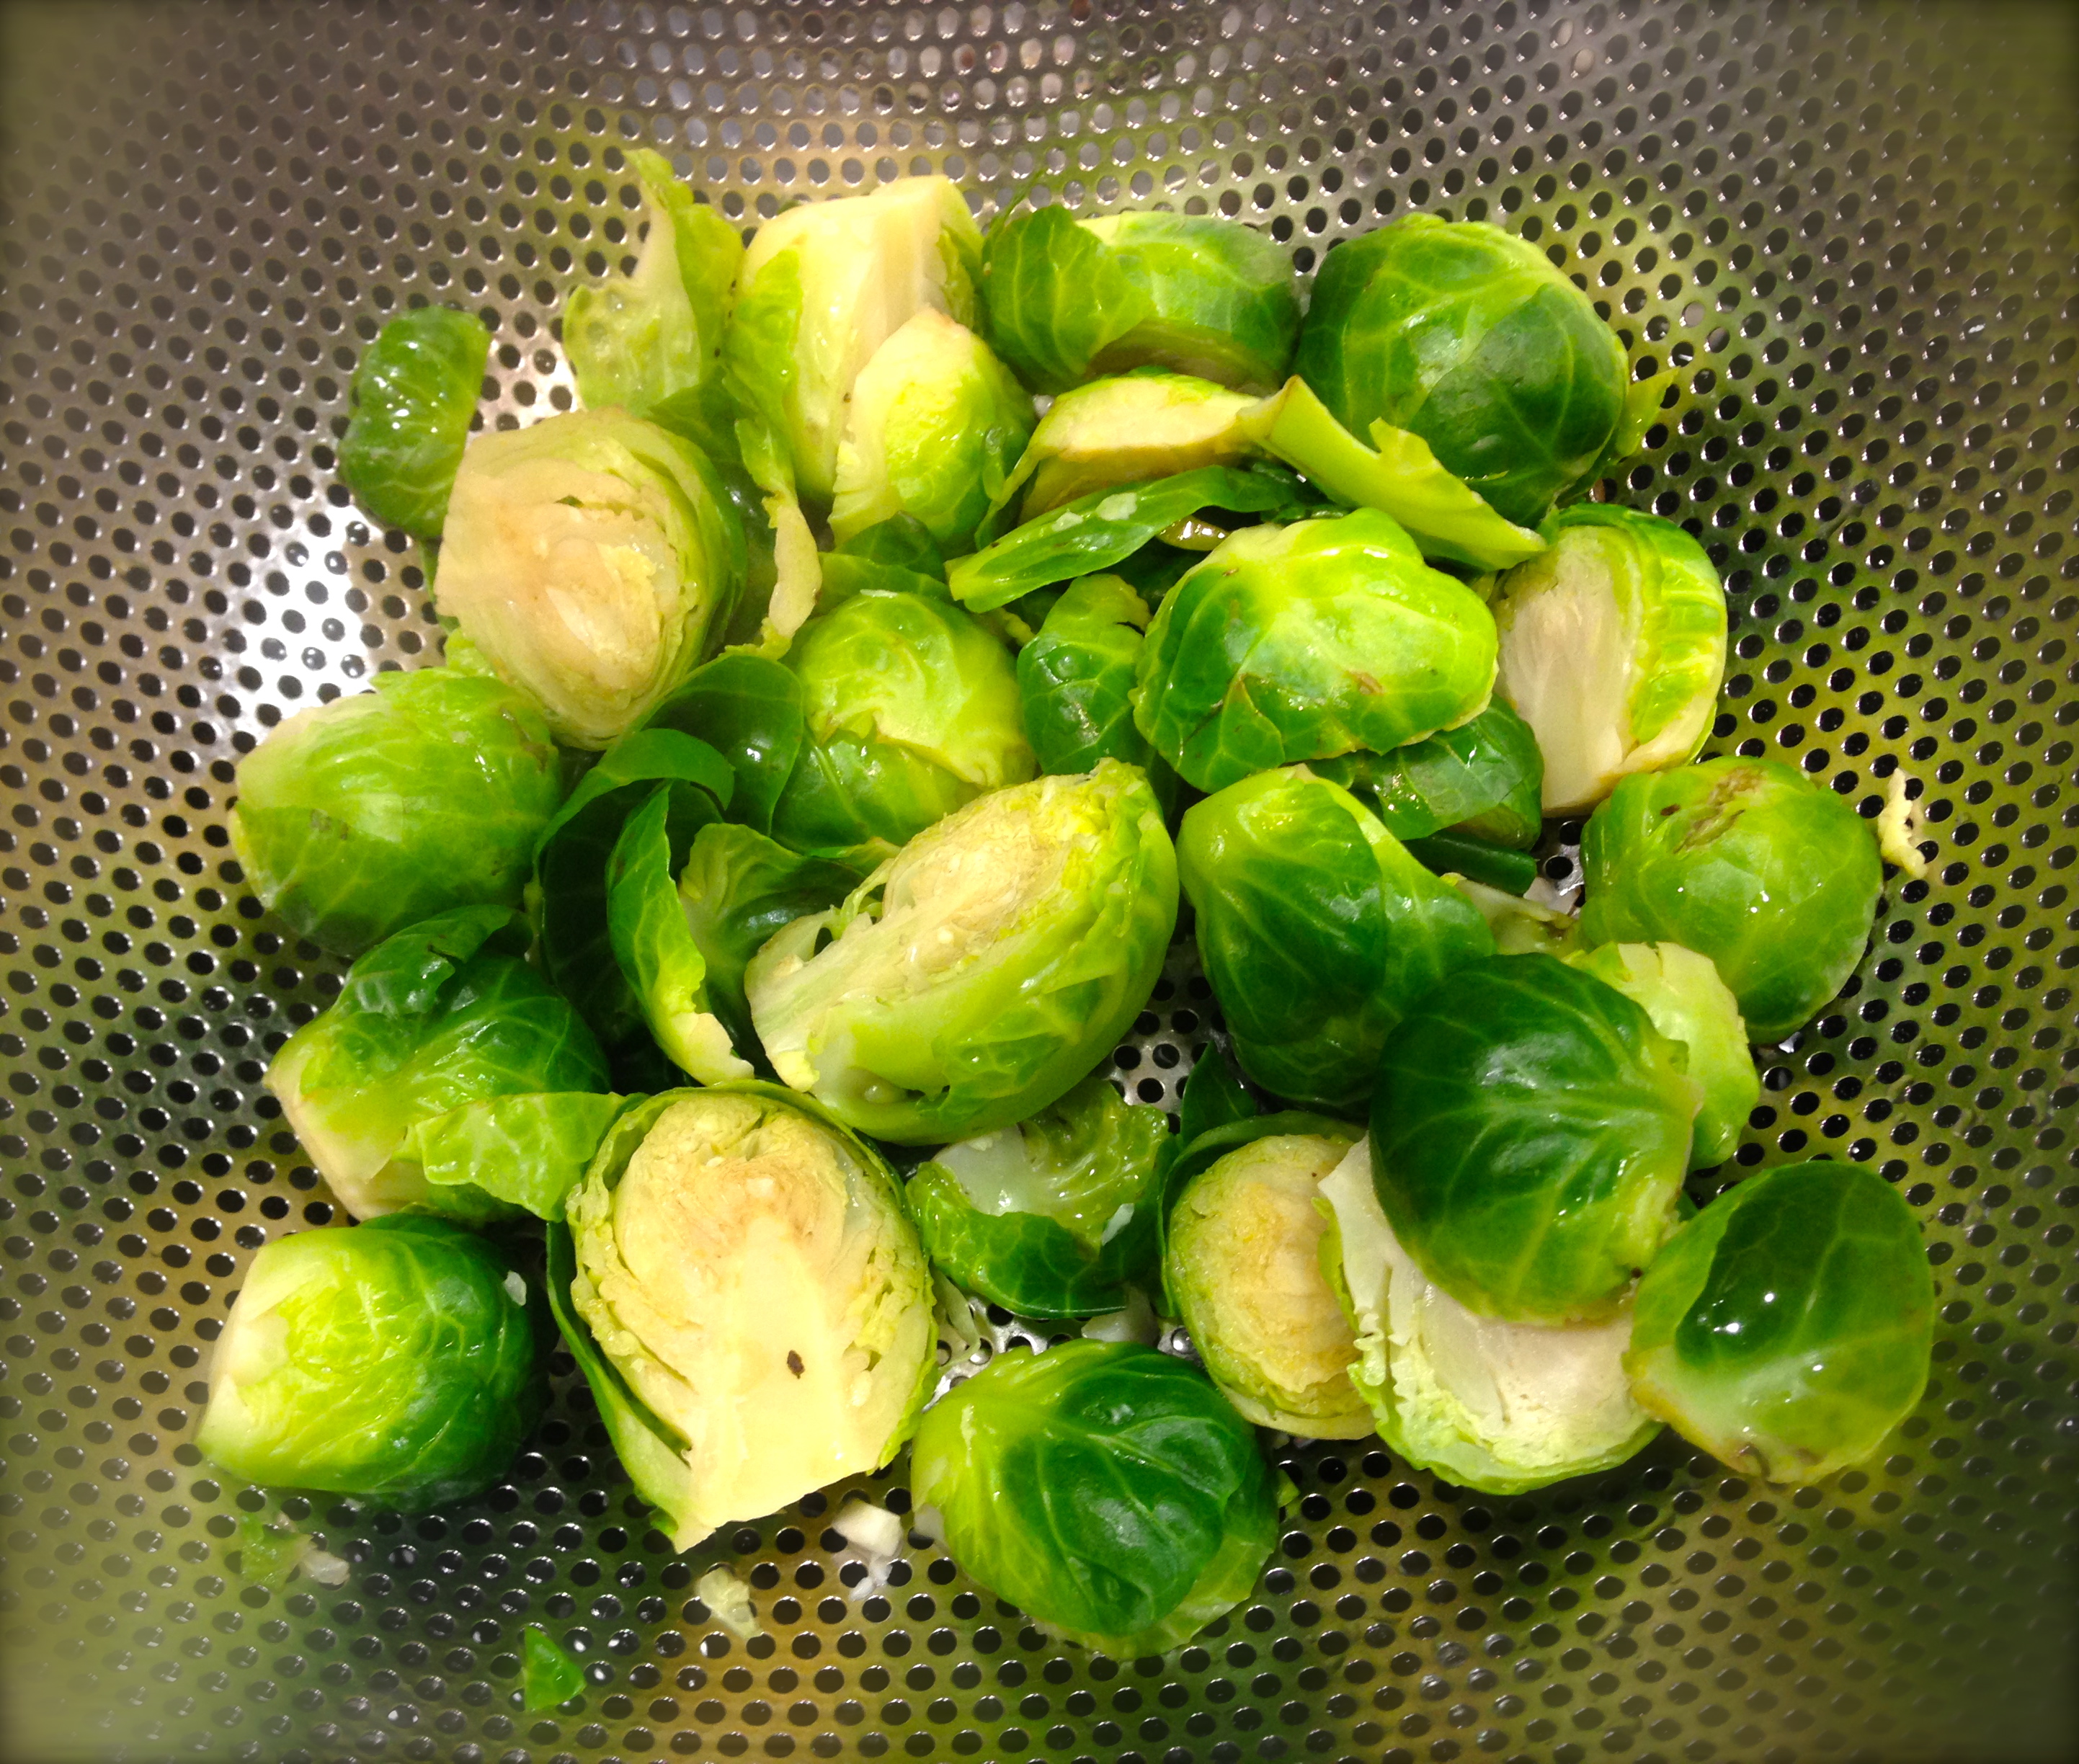 Lesson Learned 2 – Boiling the sprouts before putting them in the skillet: You need to do this otherwise the sprouts will not cook all the way through in the time allotted for the recipe. I found putting them in boiling water and letting them cook for 5-7 minutes is the best way to get the desired end result. The remaining time they cook (approx. 25 minutes) in the skillet will then be sufficient to produce tender sprouts. Also it is important to try to make the sprouts of equal size. If some of them are too big, cut them in half or in quarters. That way they will all cook evenly.
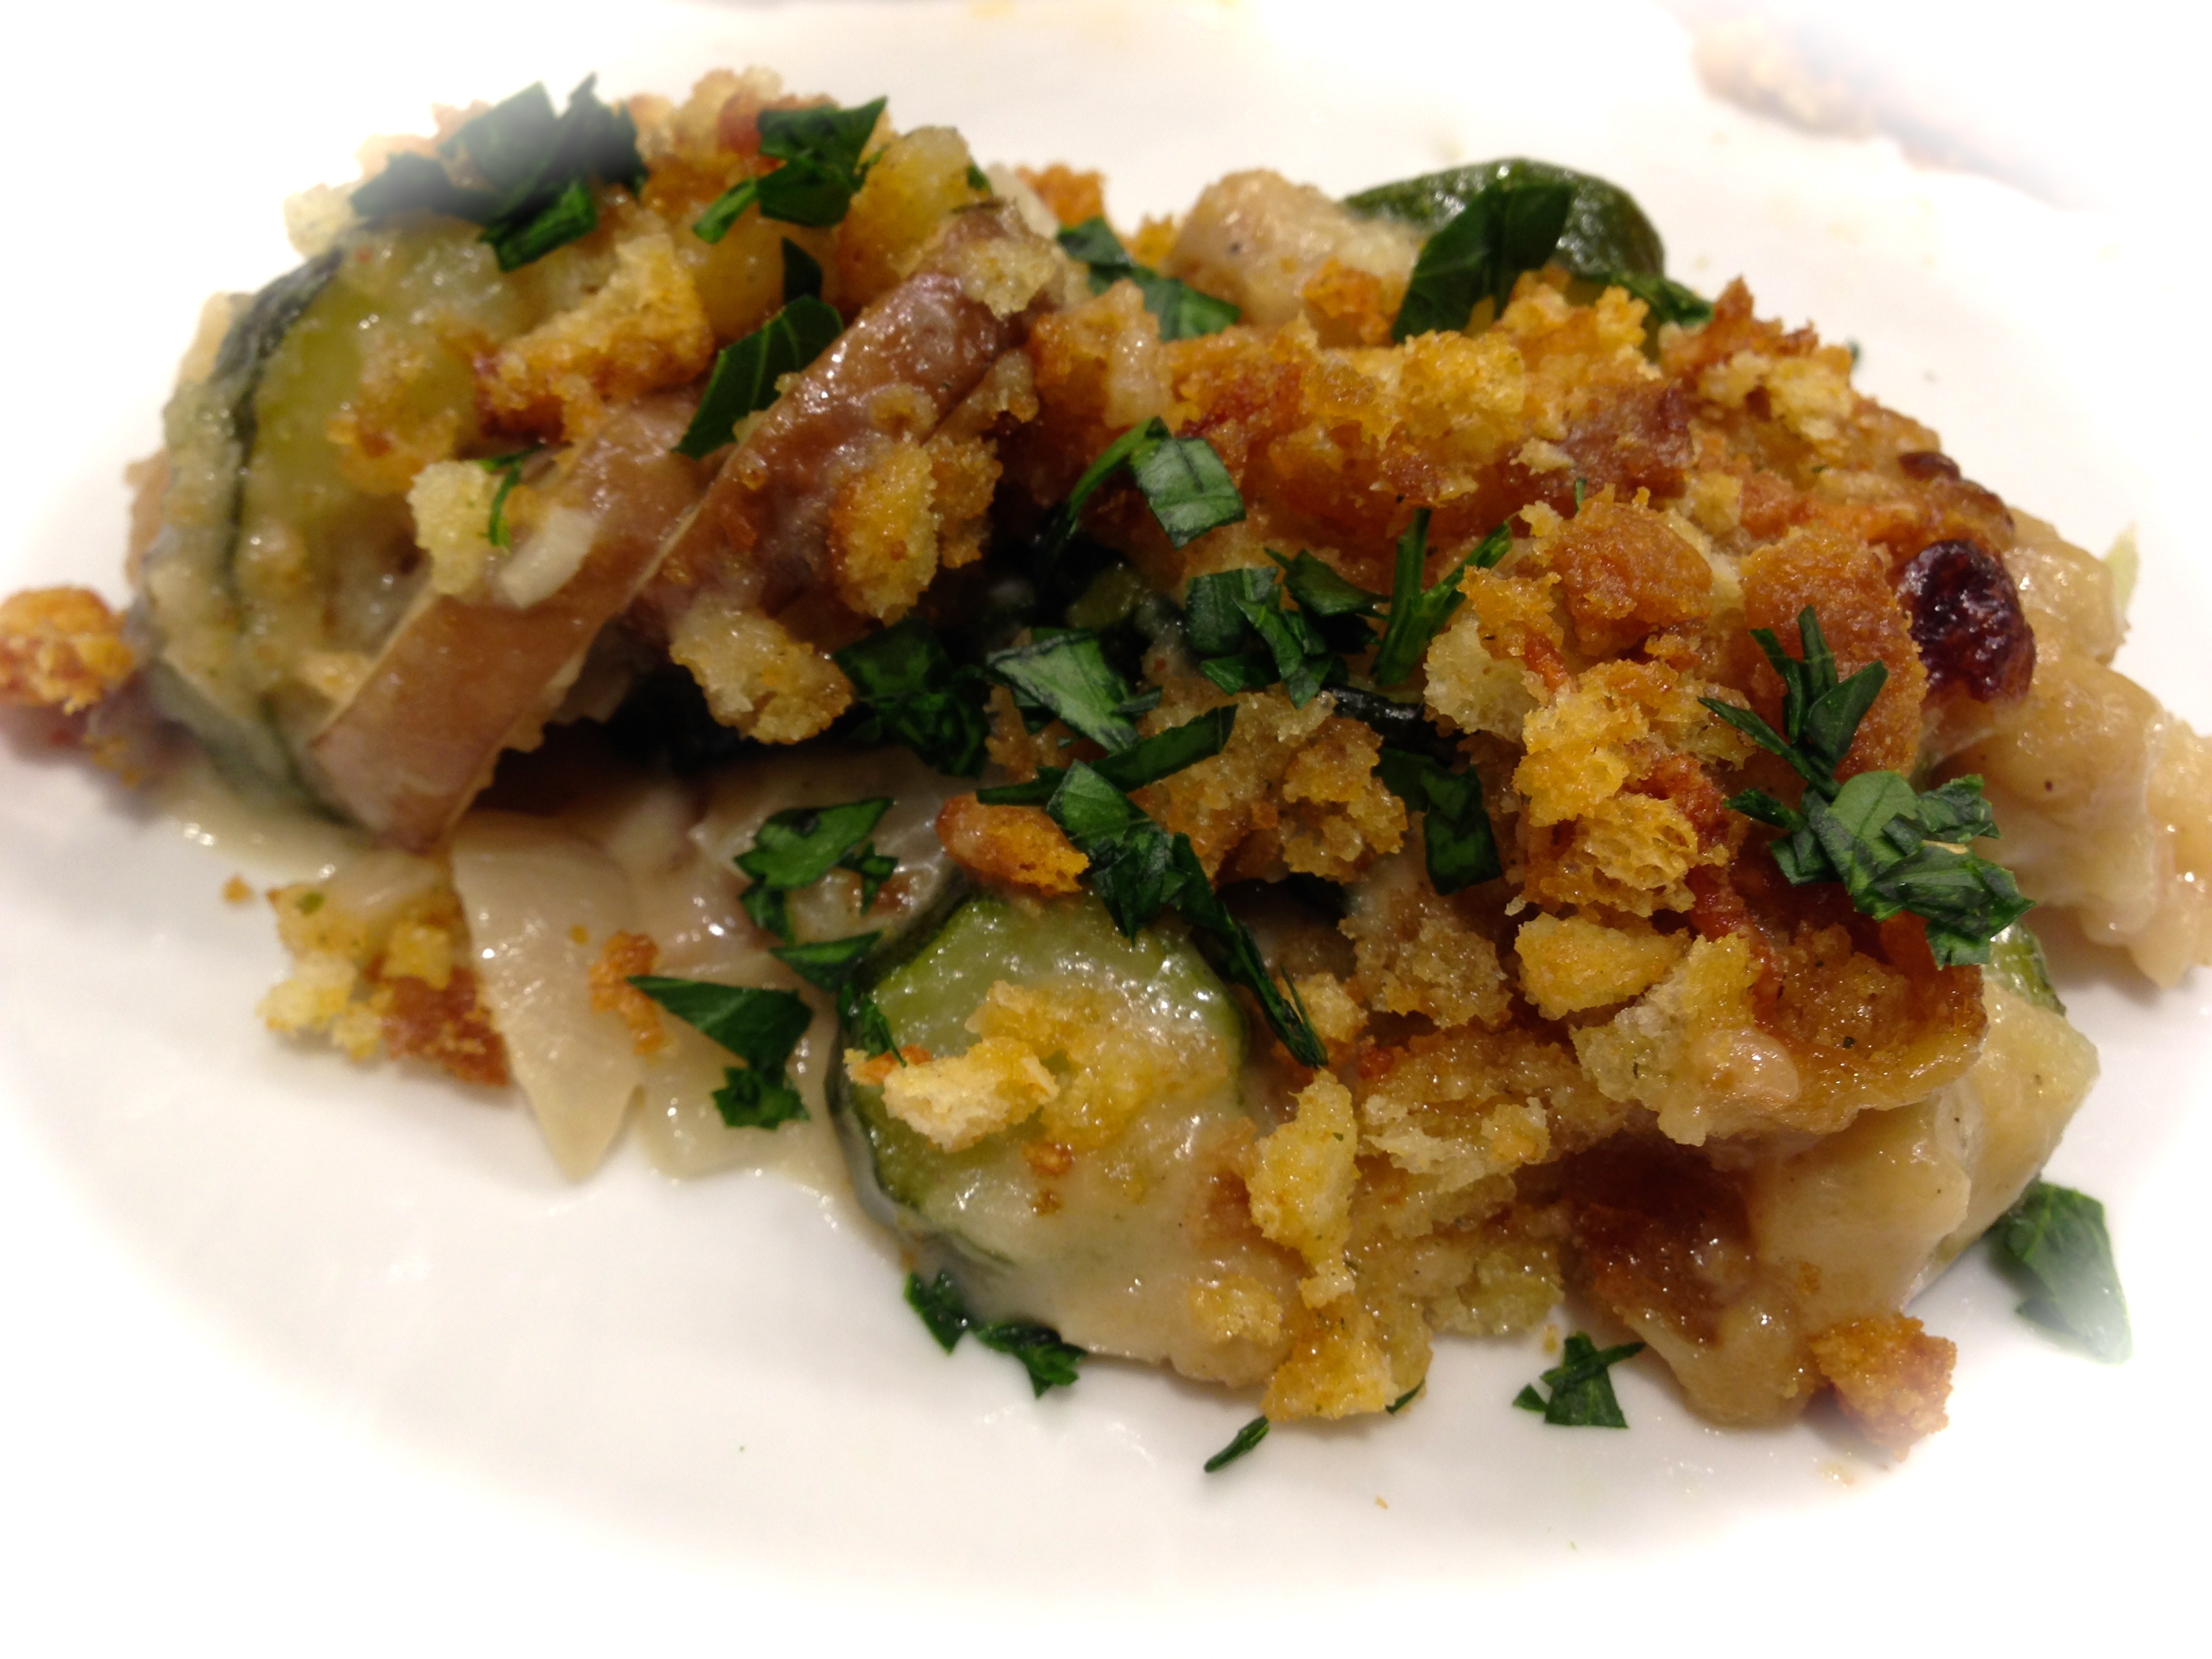
This recipe is easy to prepare and if can be enjoyed by someone who is not the biggest fan of brussels sprouts, imagine how good it will be for someone who loves them. I can now say that I have eaten brussels sprouts and enjoyed them – something I thought would never have come out of my mouth!
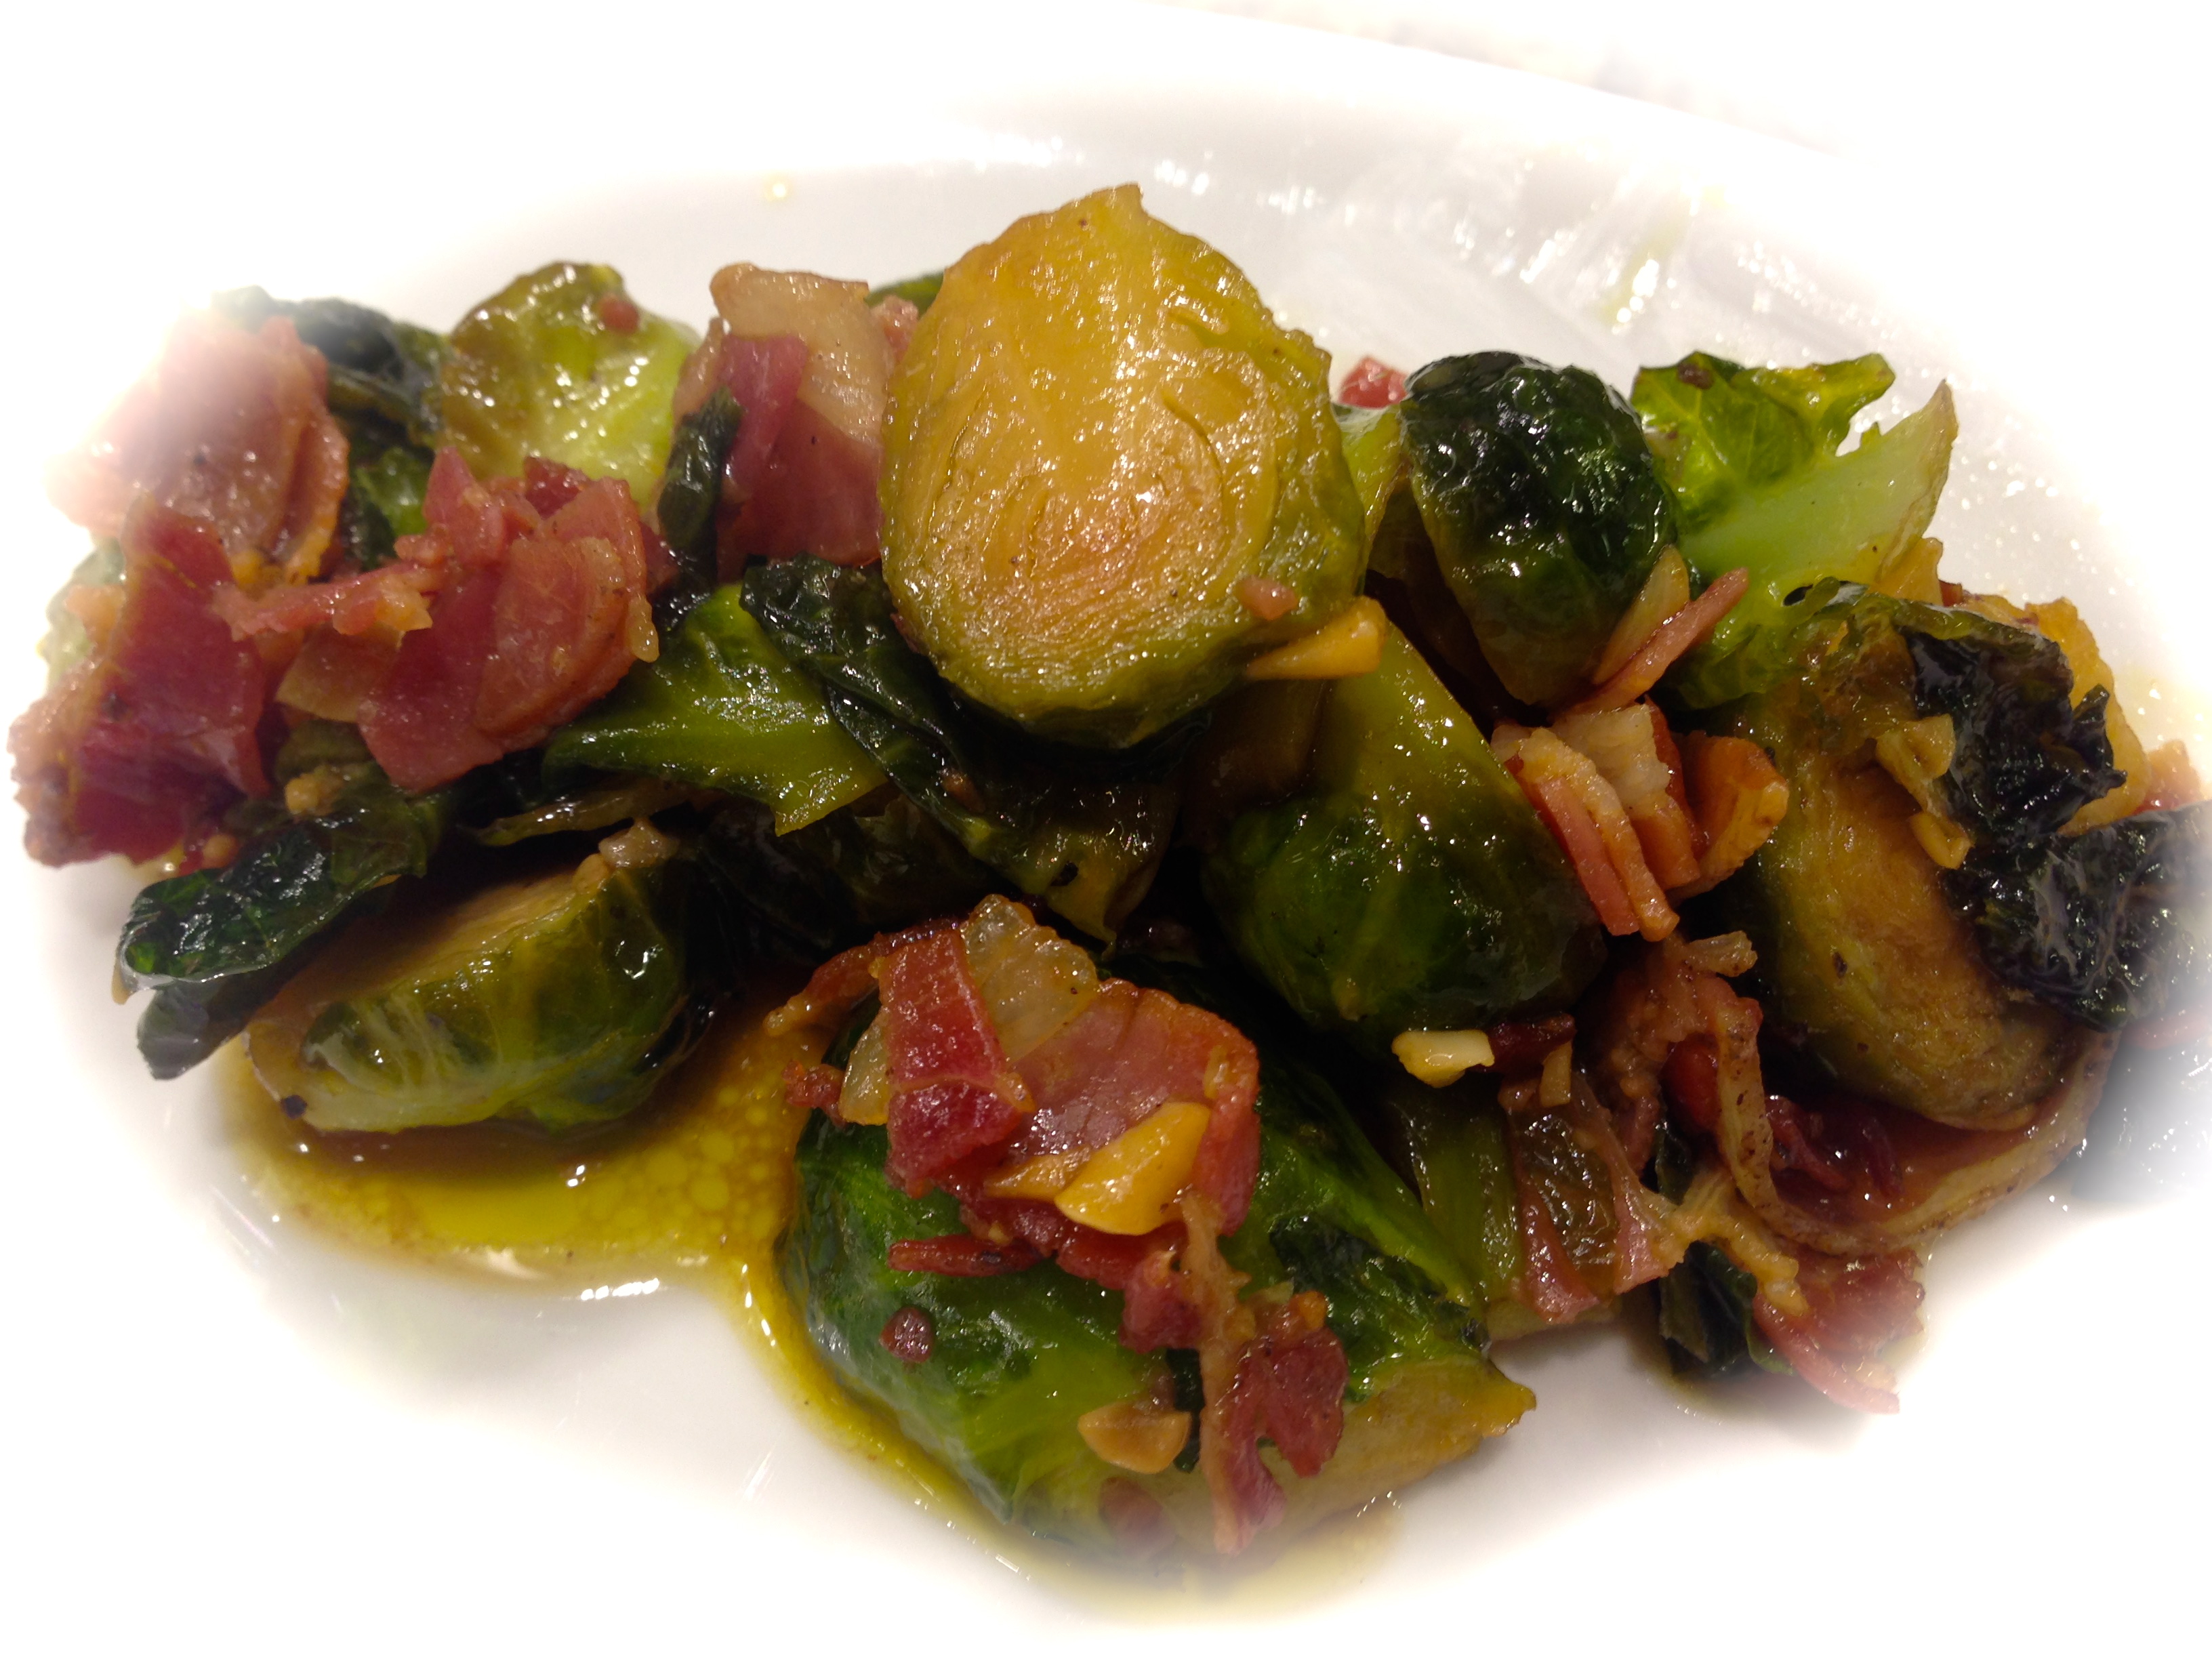
Brussels Sprouts With Pancetta…
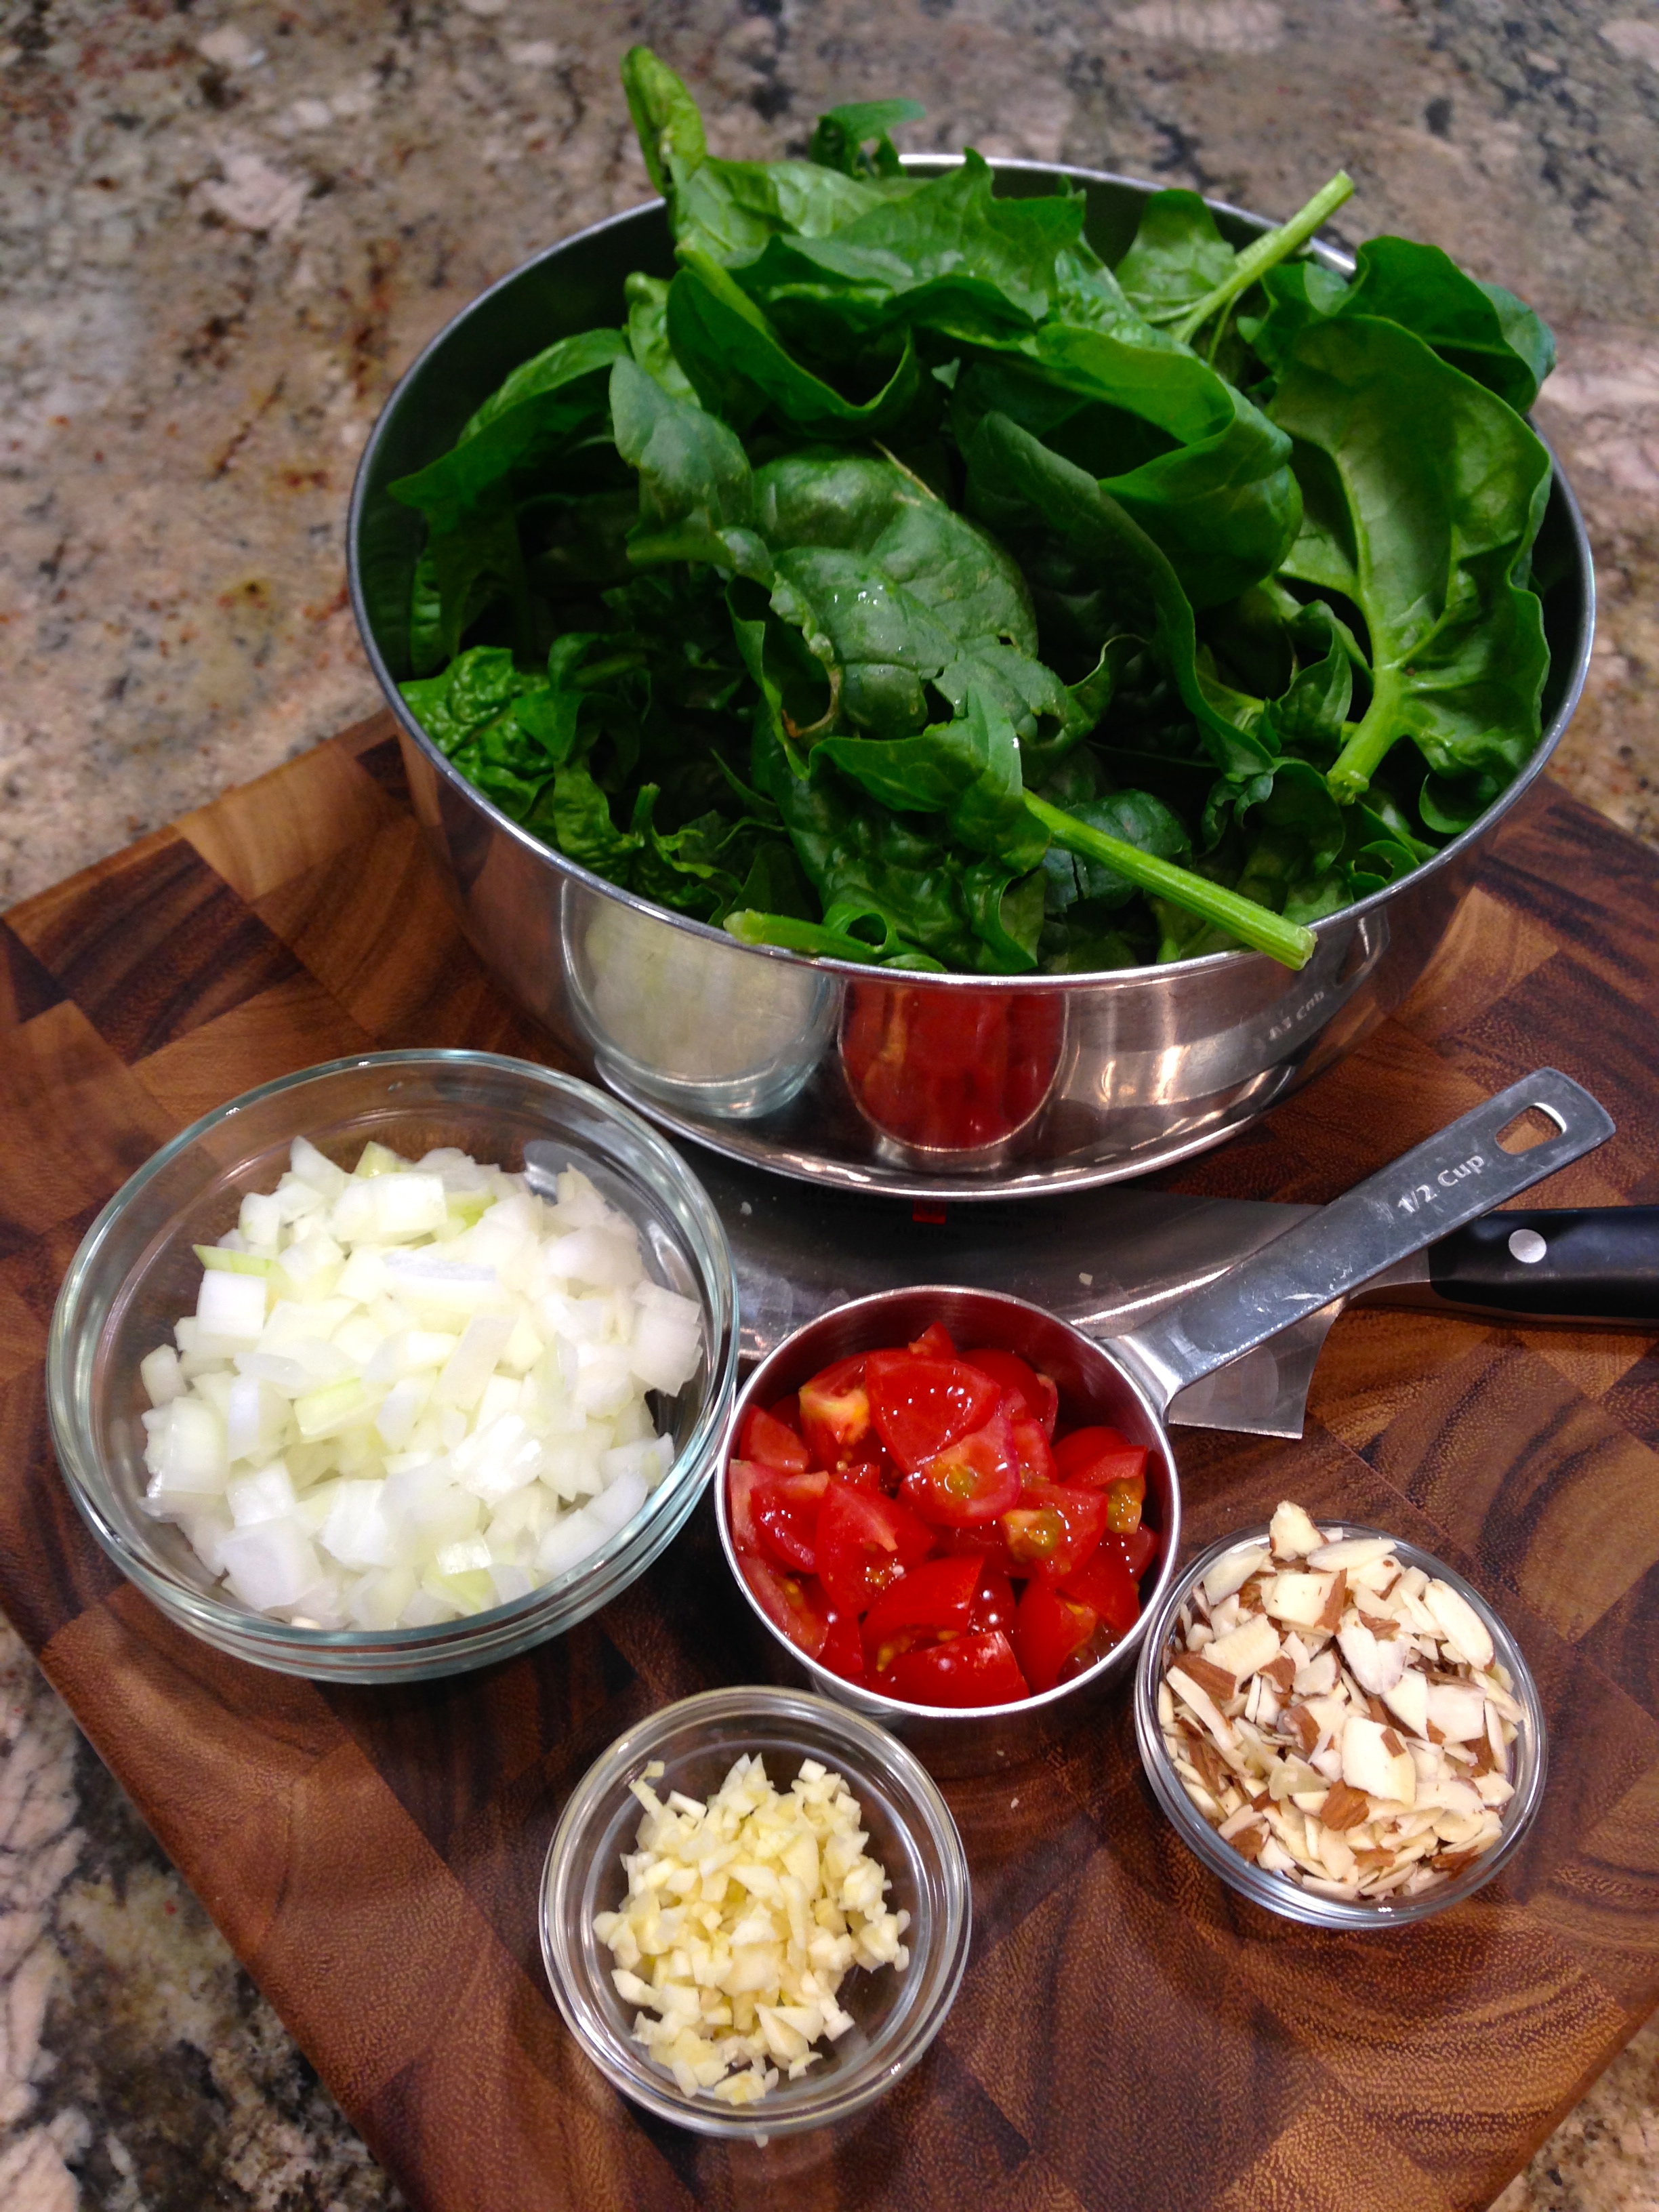
INGREDIENTS:
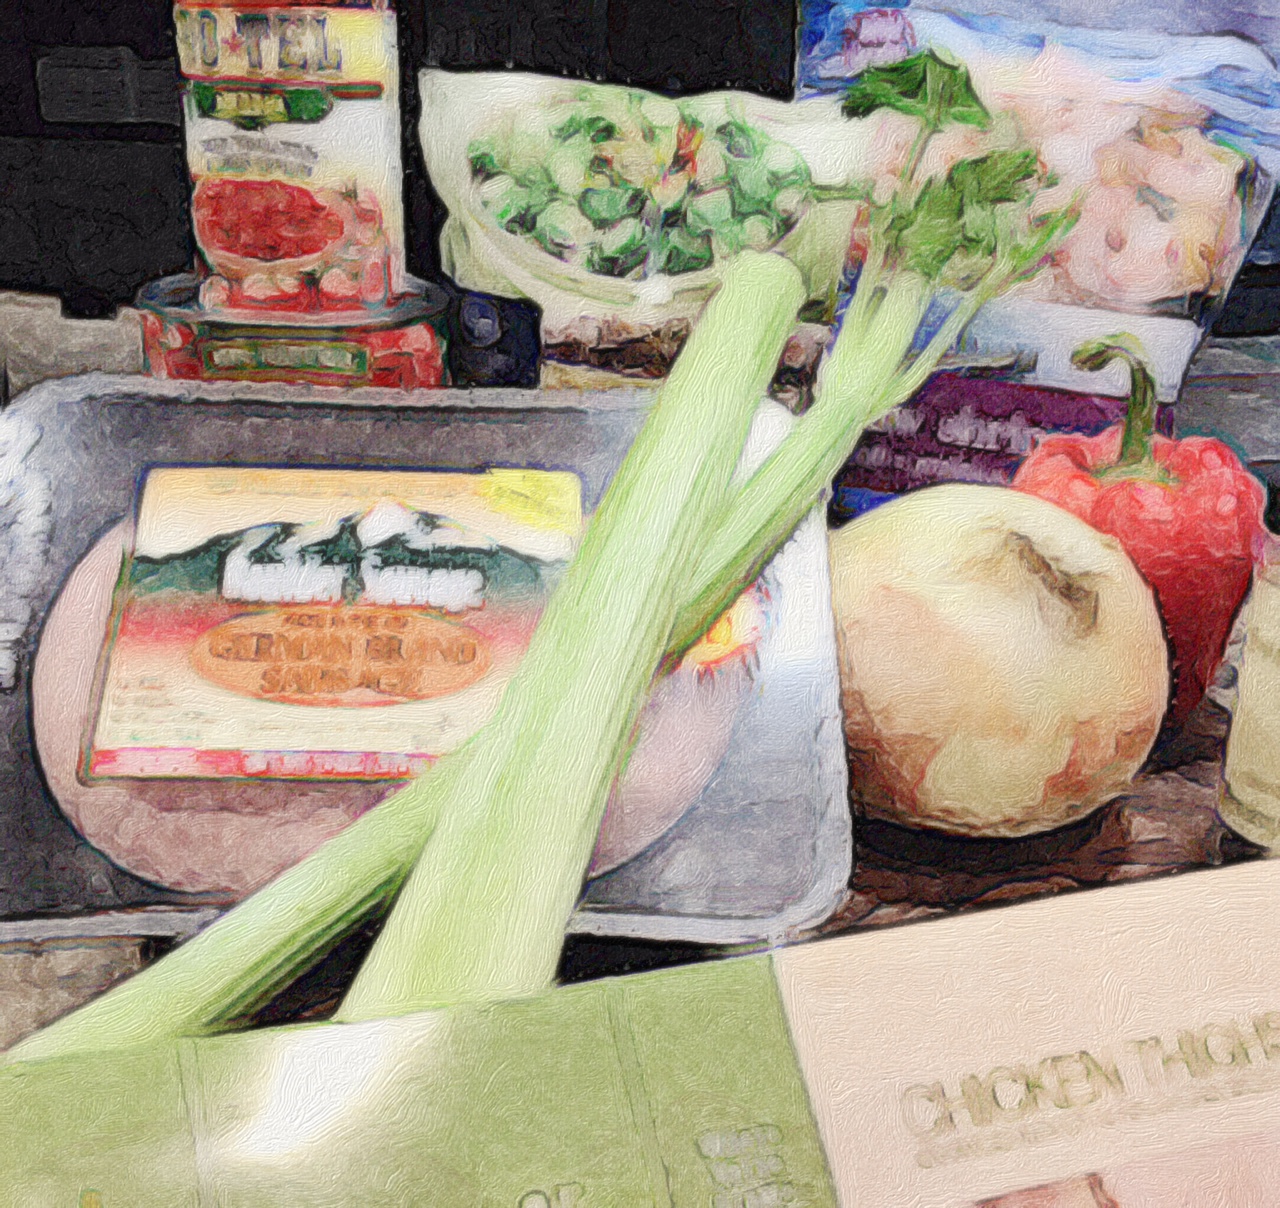
1/2 pound fresh brussels sprouts, trimmed
2 Tbs. olive oil (I used garlic infused olive oil)
2-3 ounces of very thinly sliced pancetta cut into lardons
2 cloves garlic, minced
3/4 cup unsalted chicken stock
DIRECTIONS:
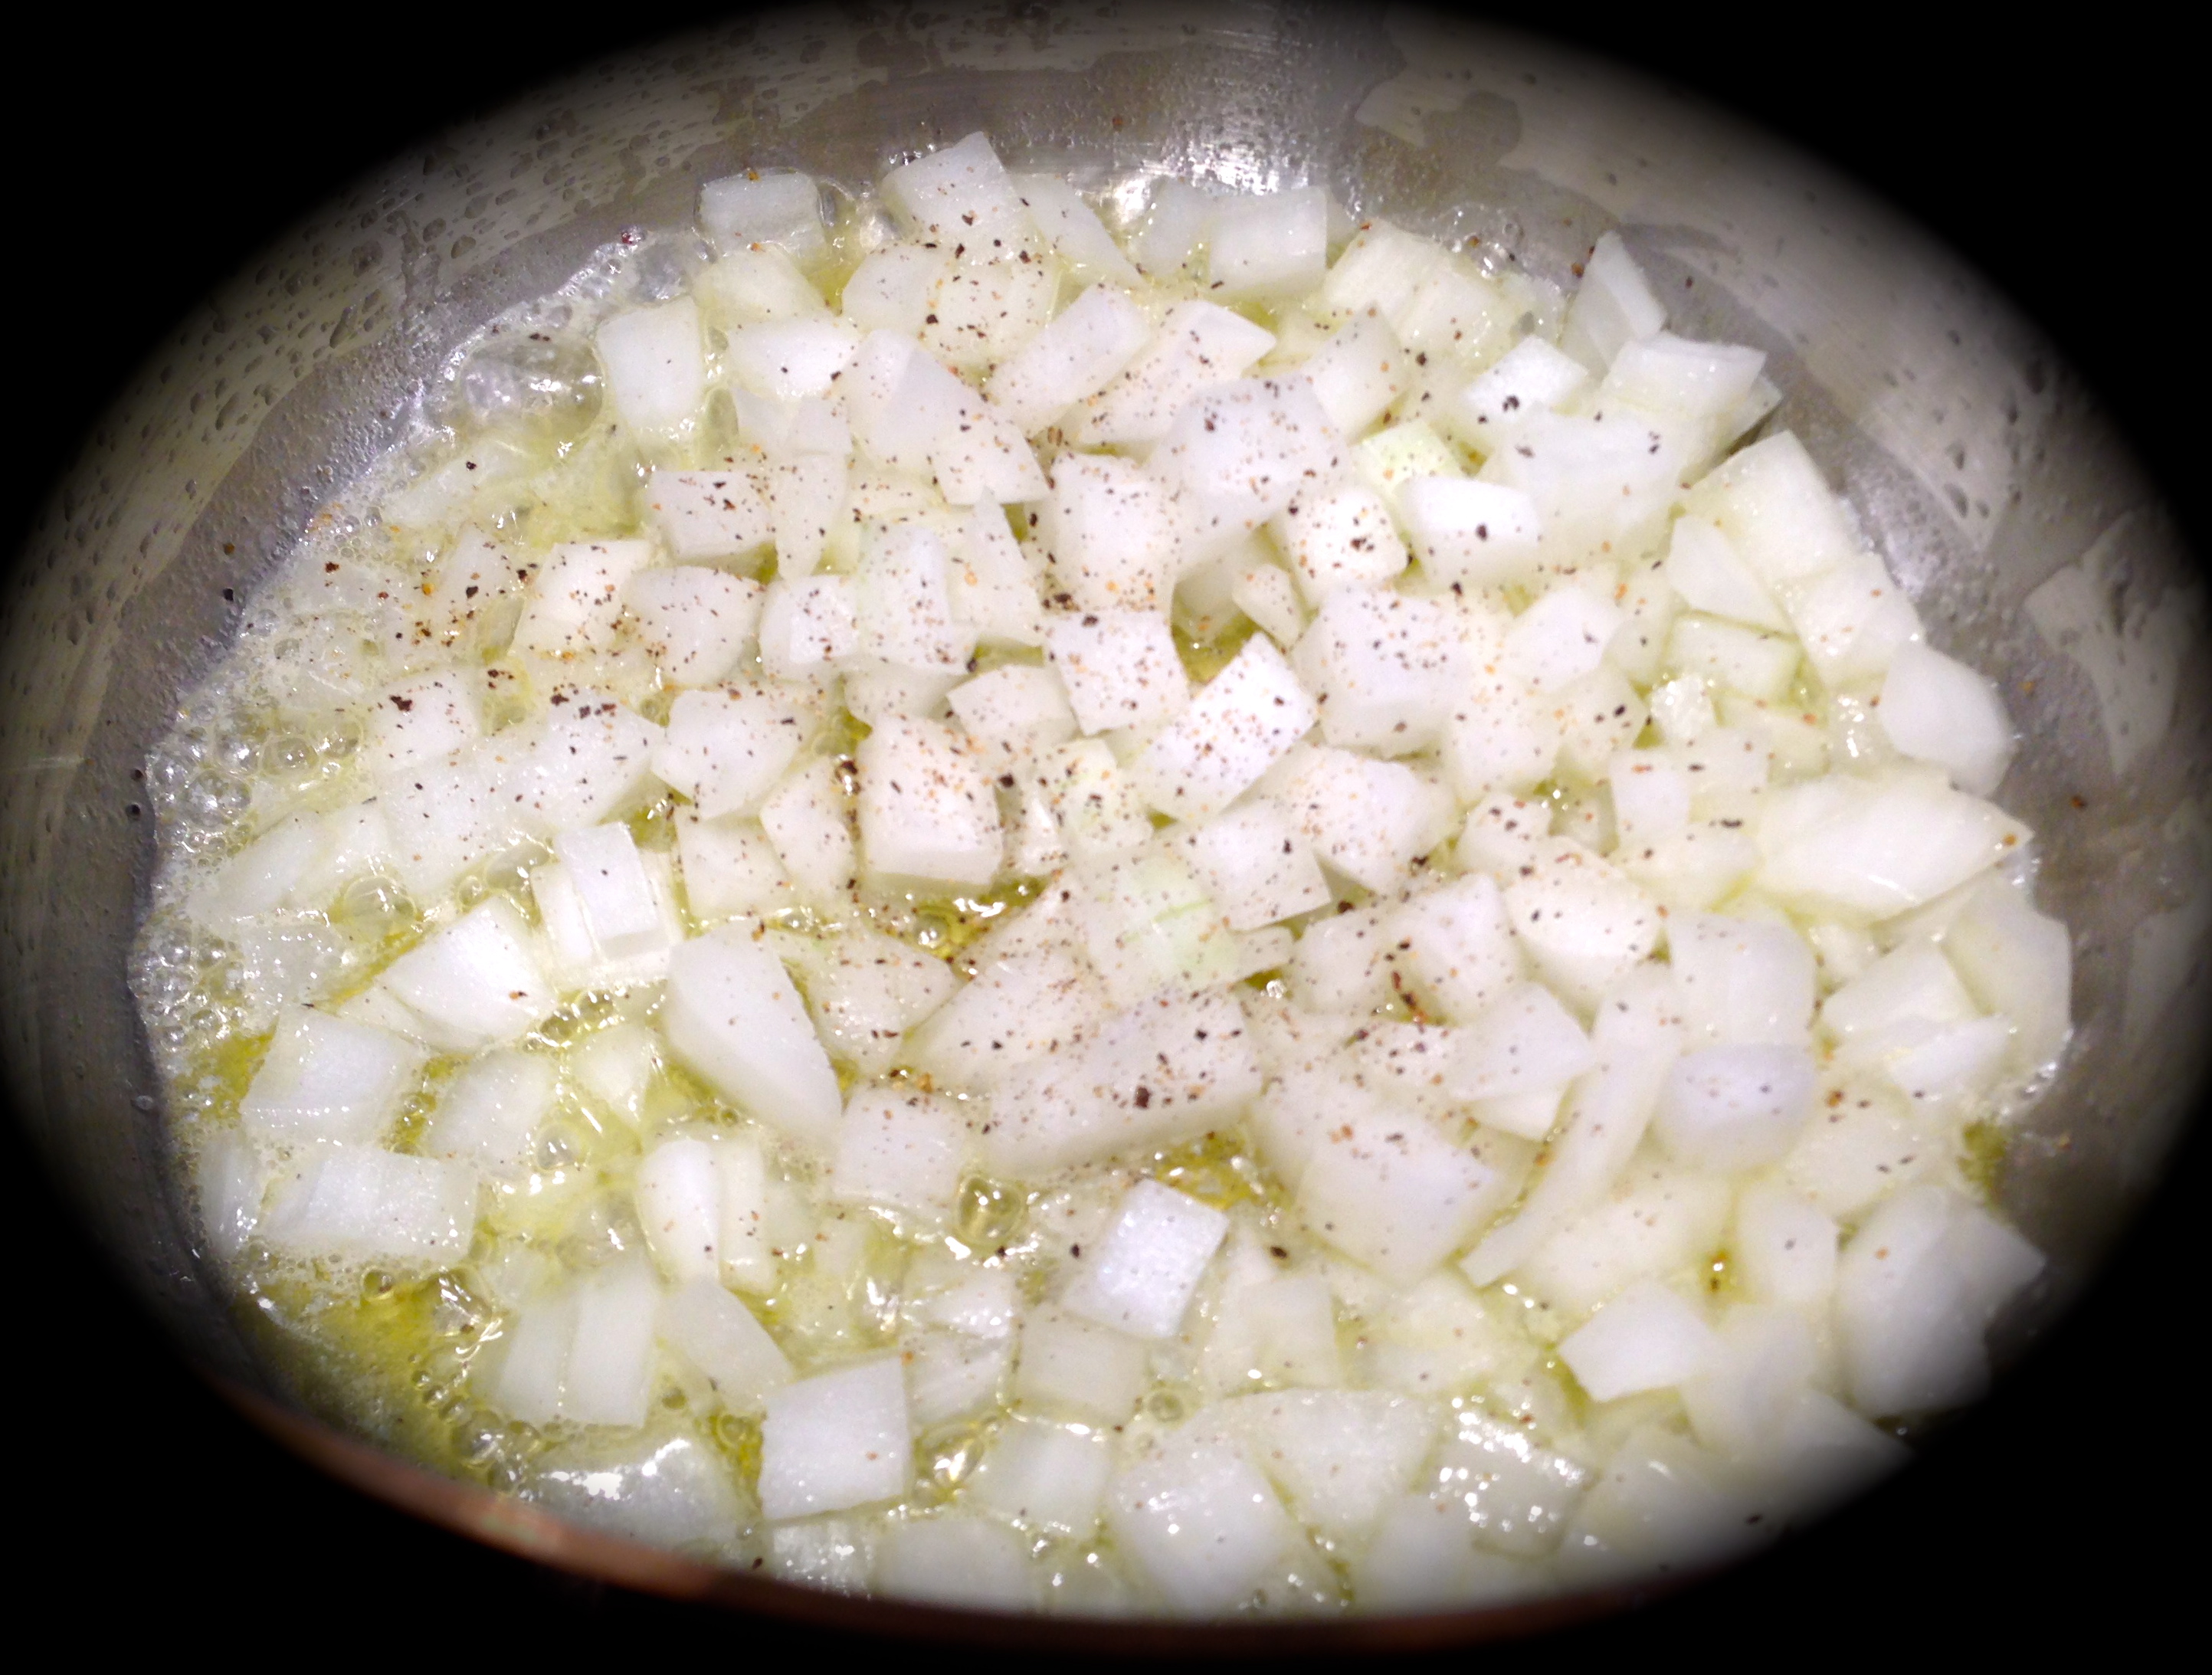
Start a pot of water boiling on the stove (do not add any salt to the water at this time). Once the water comes to a boil put in the brussels sprouts and cook for 5-7 minutes. Drain the brussels sprouts and set aside.
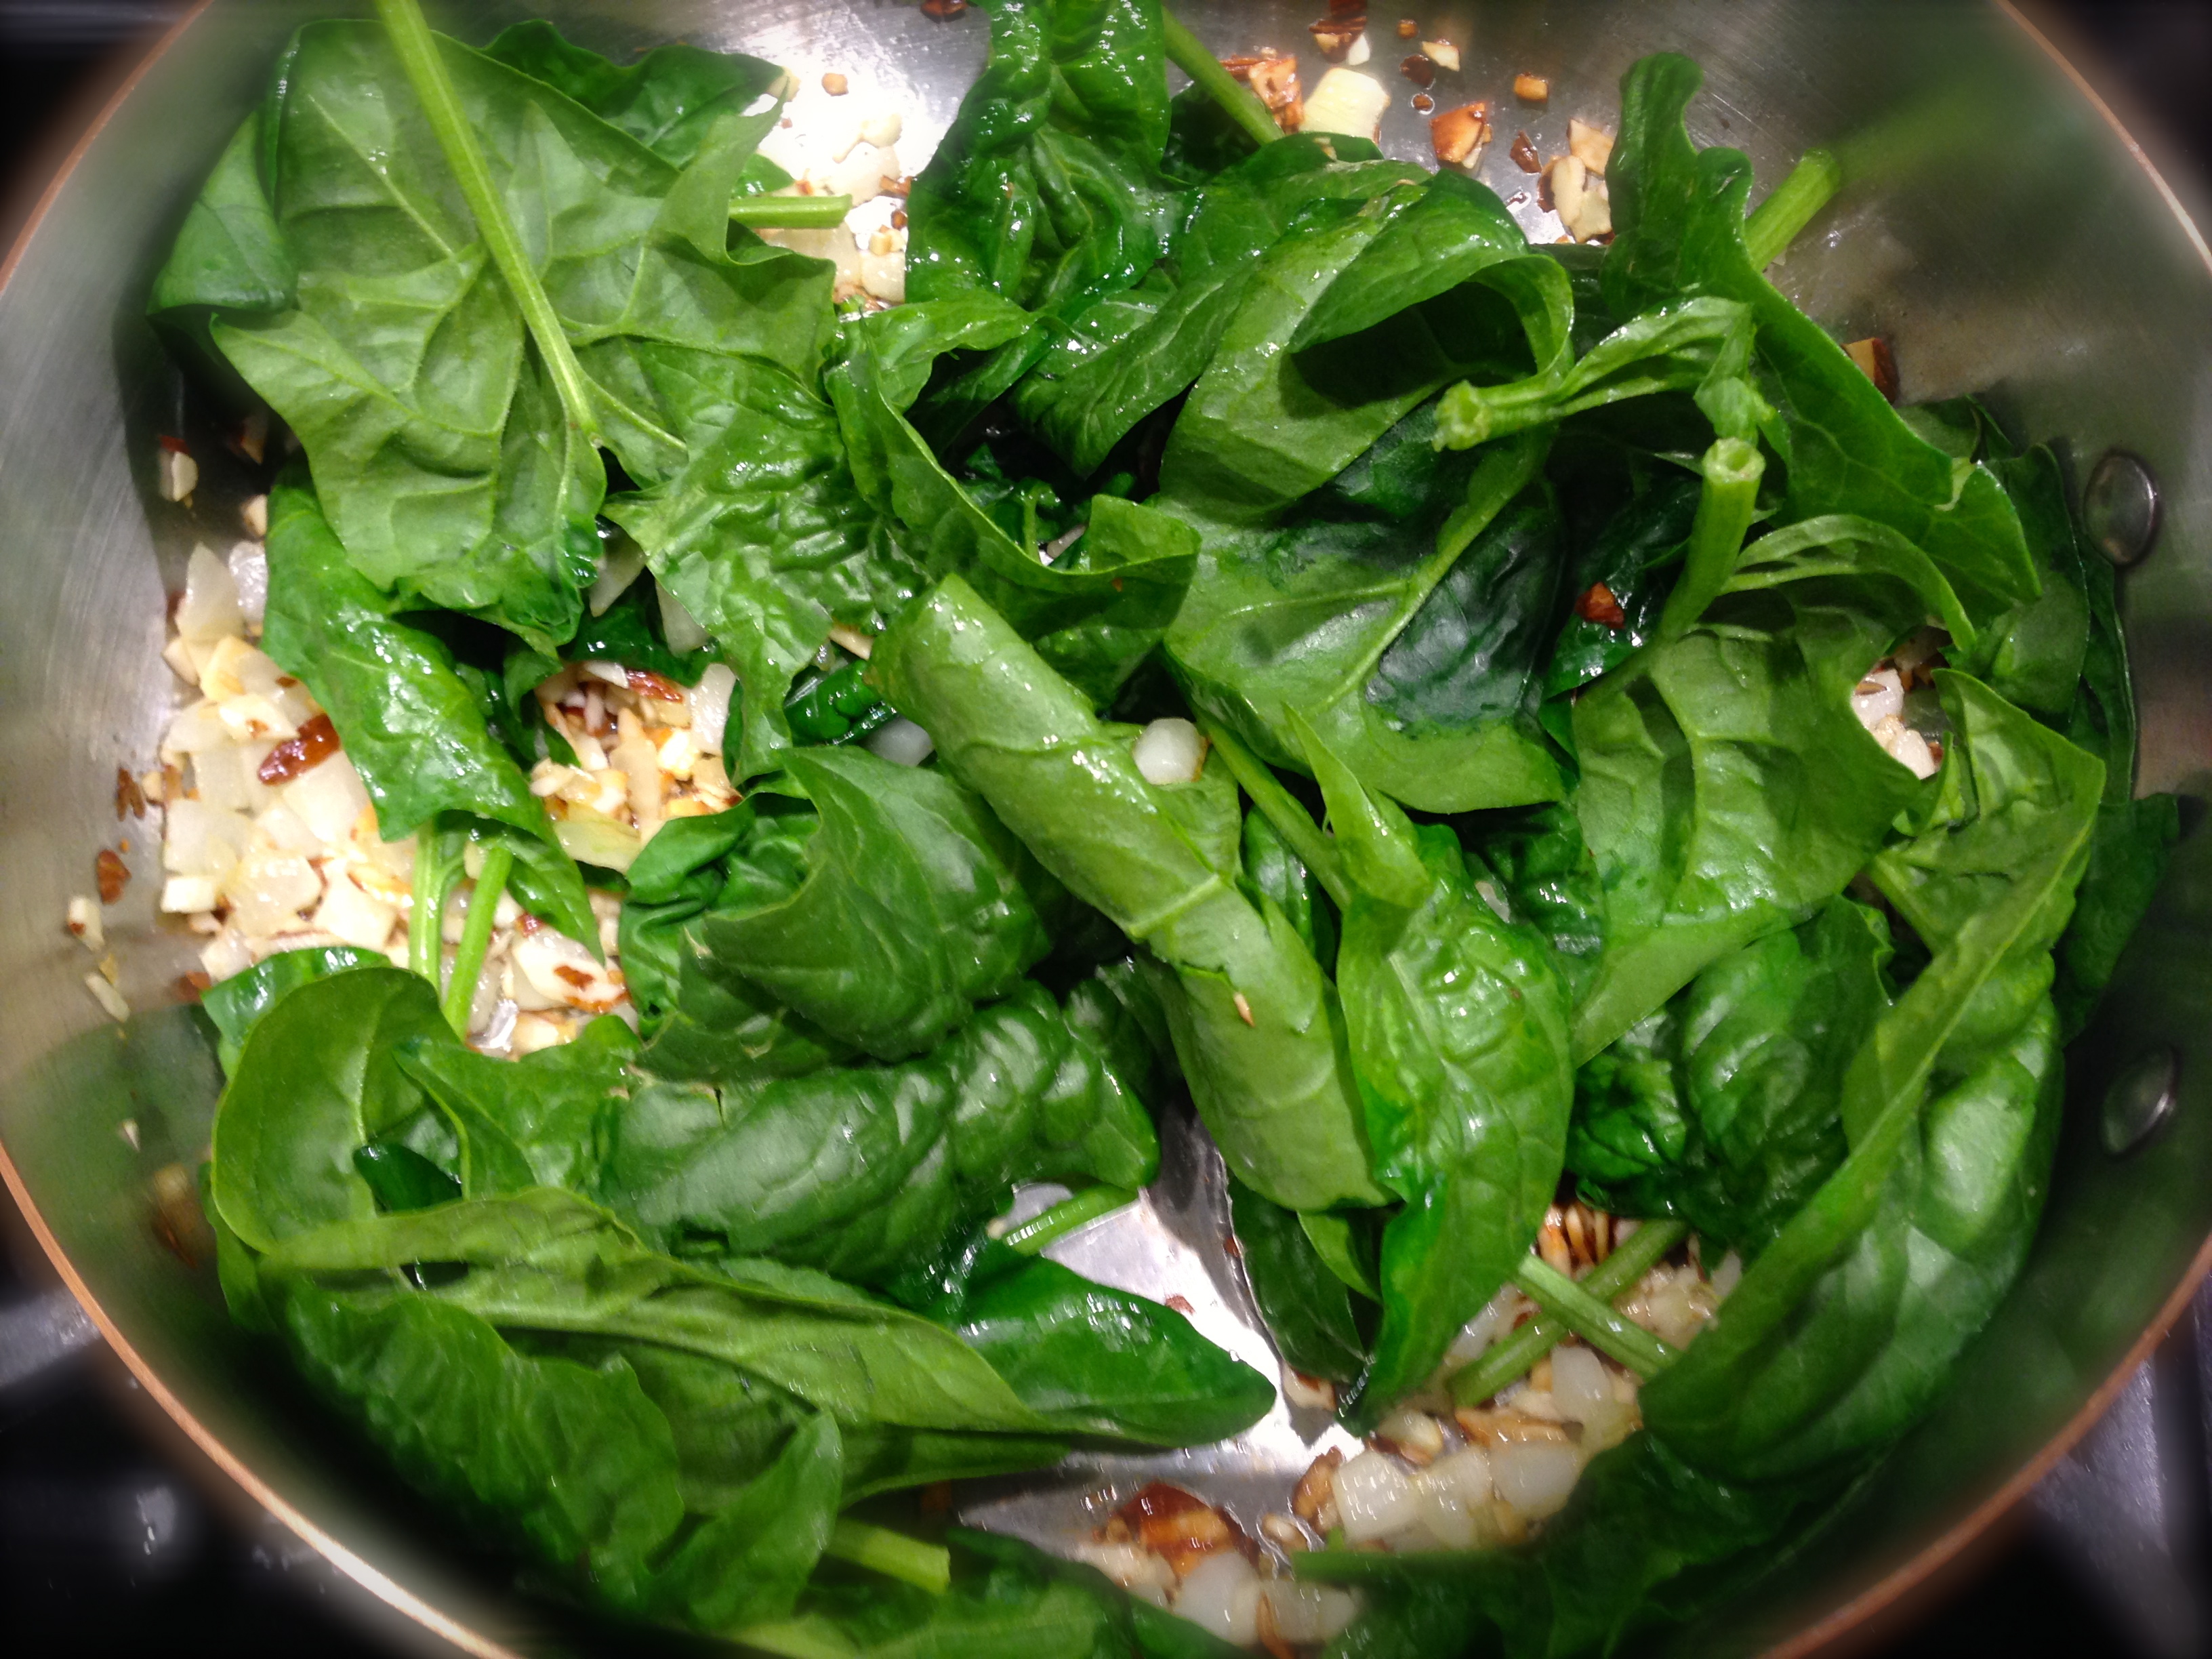
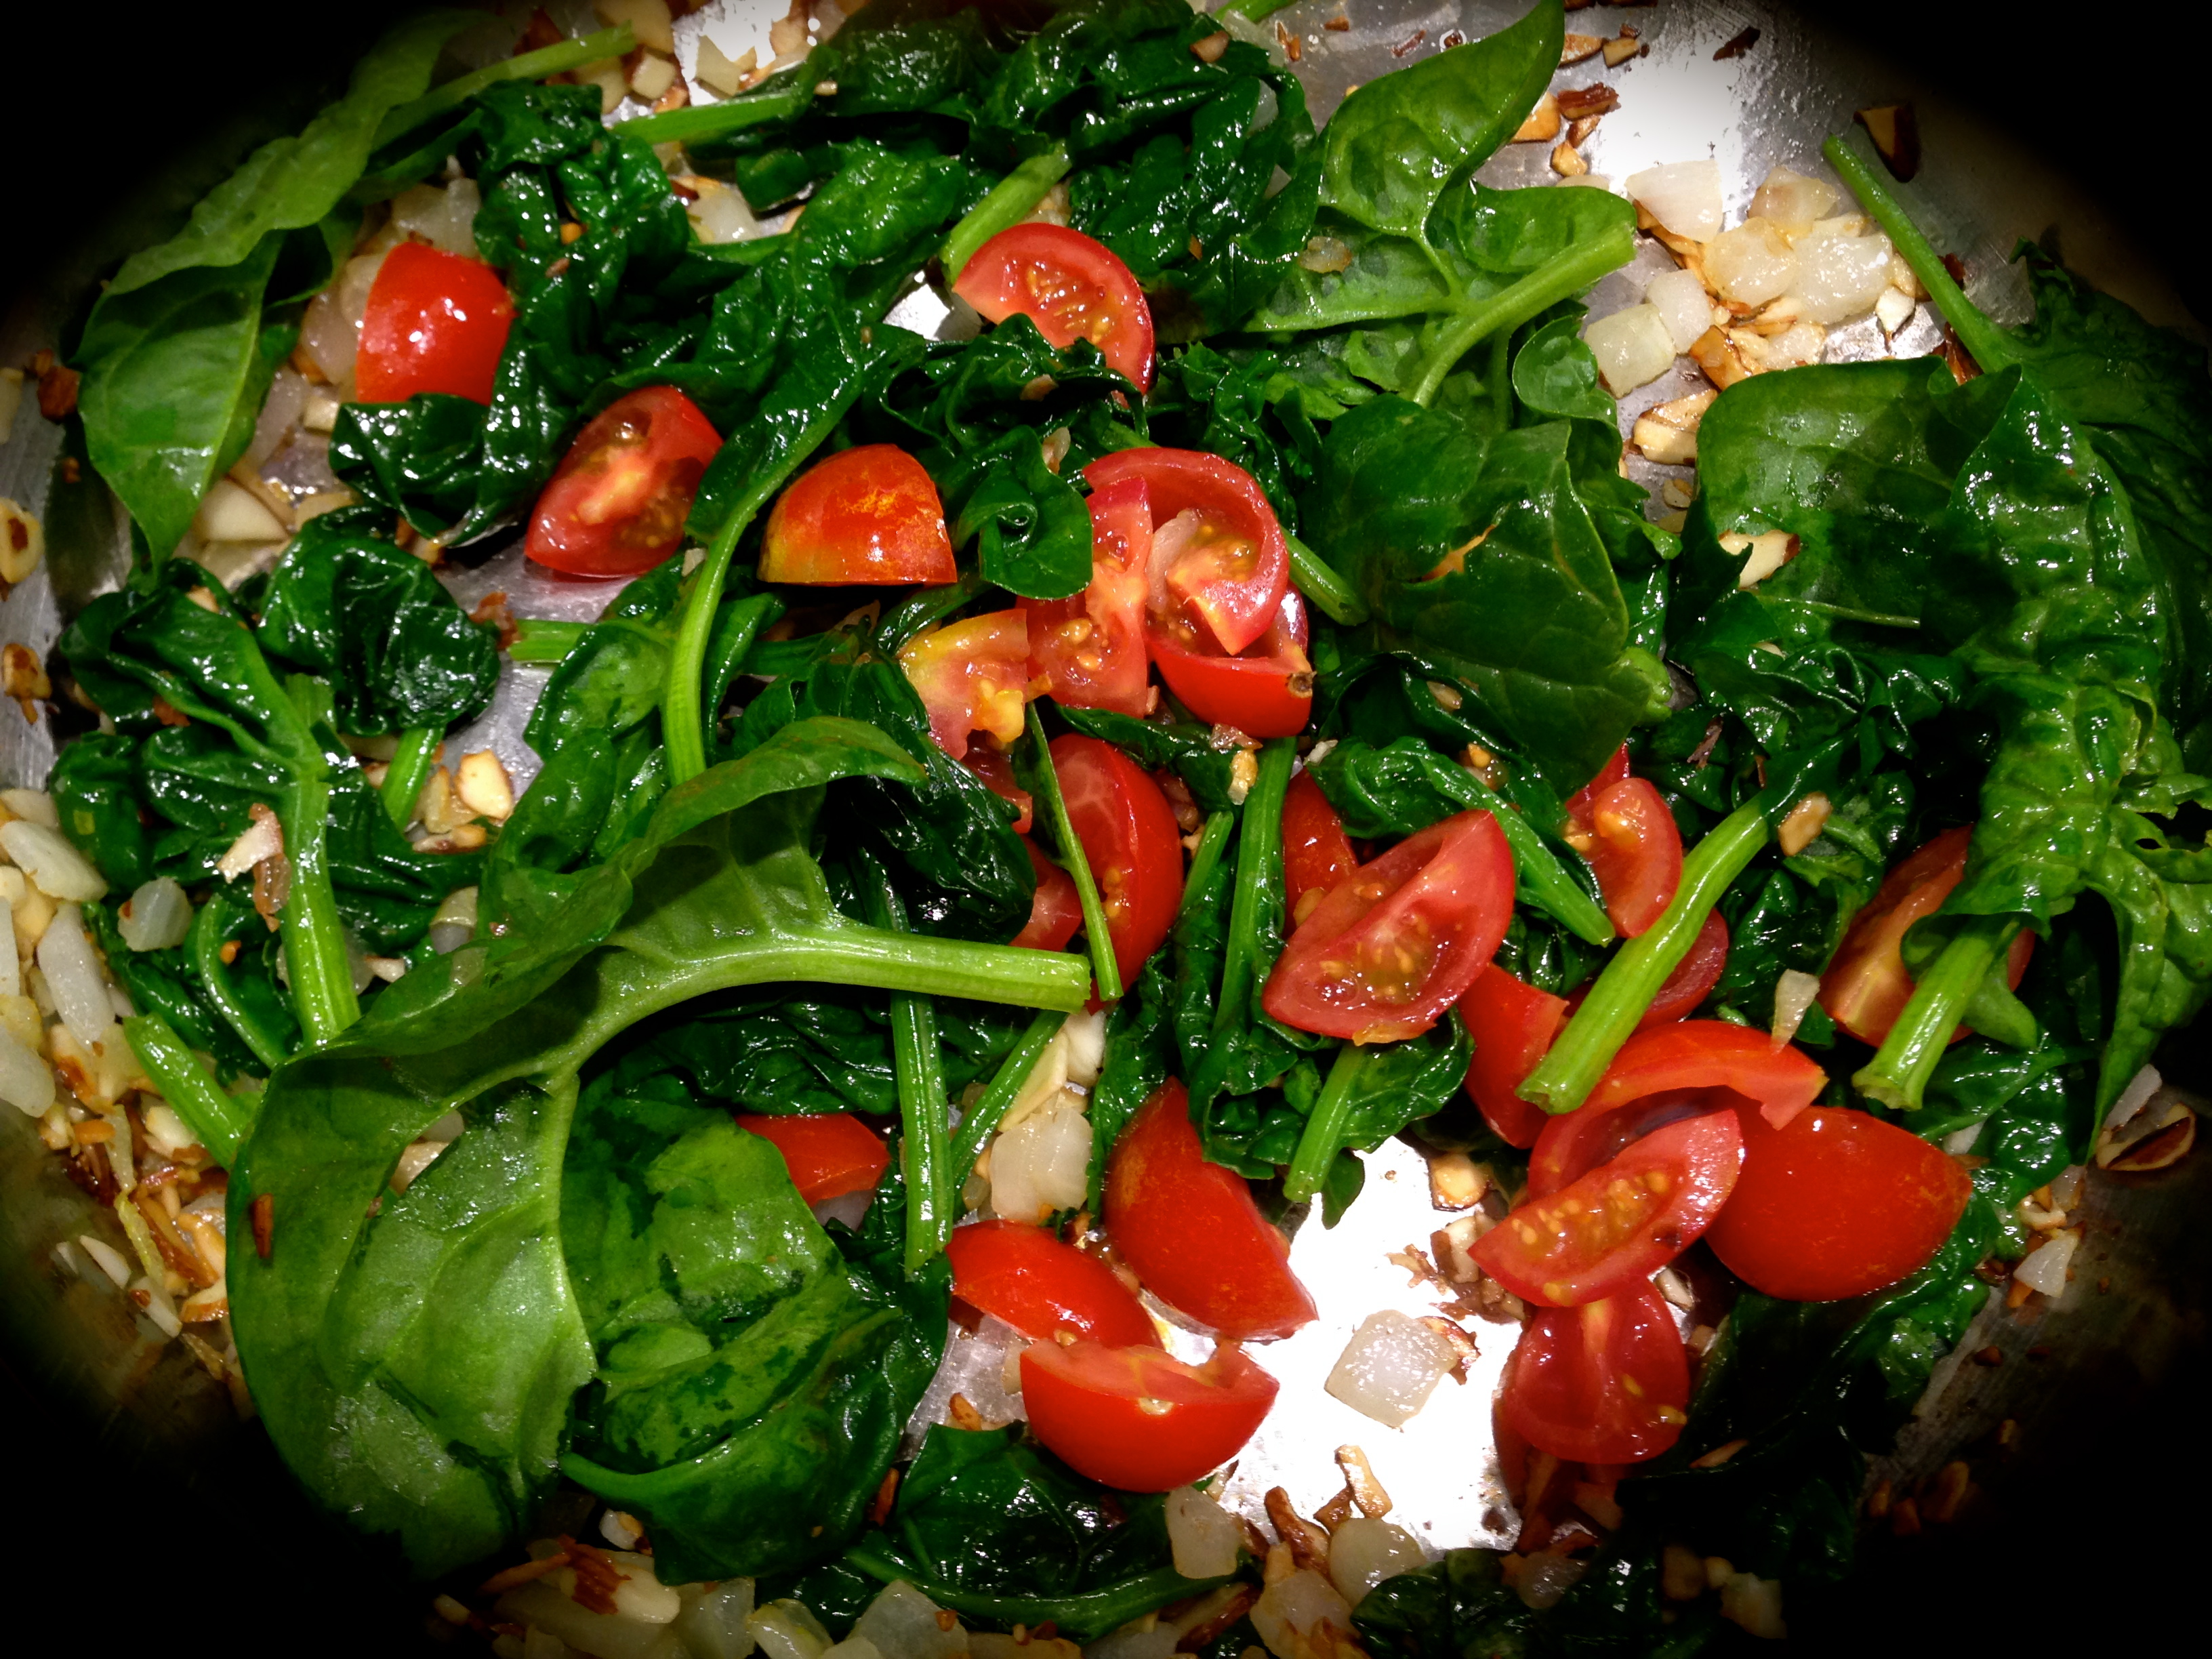
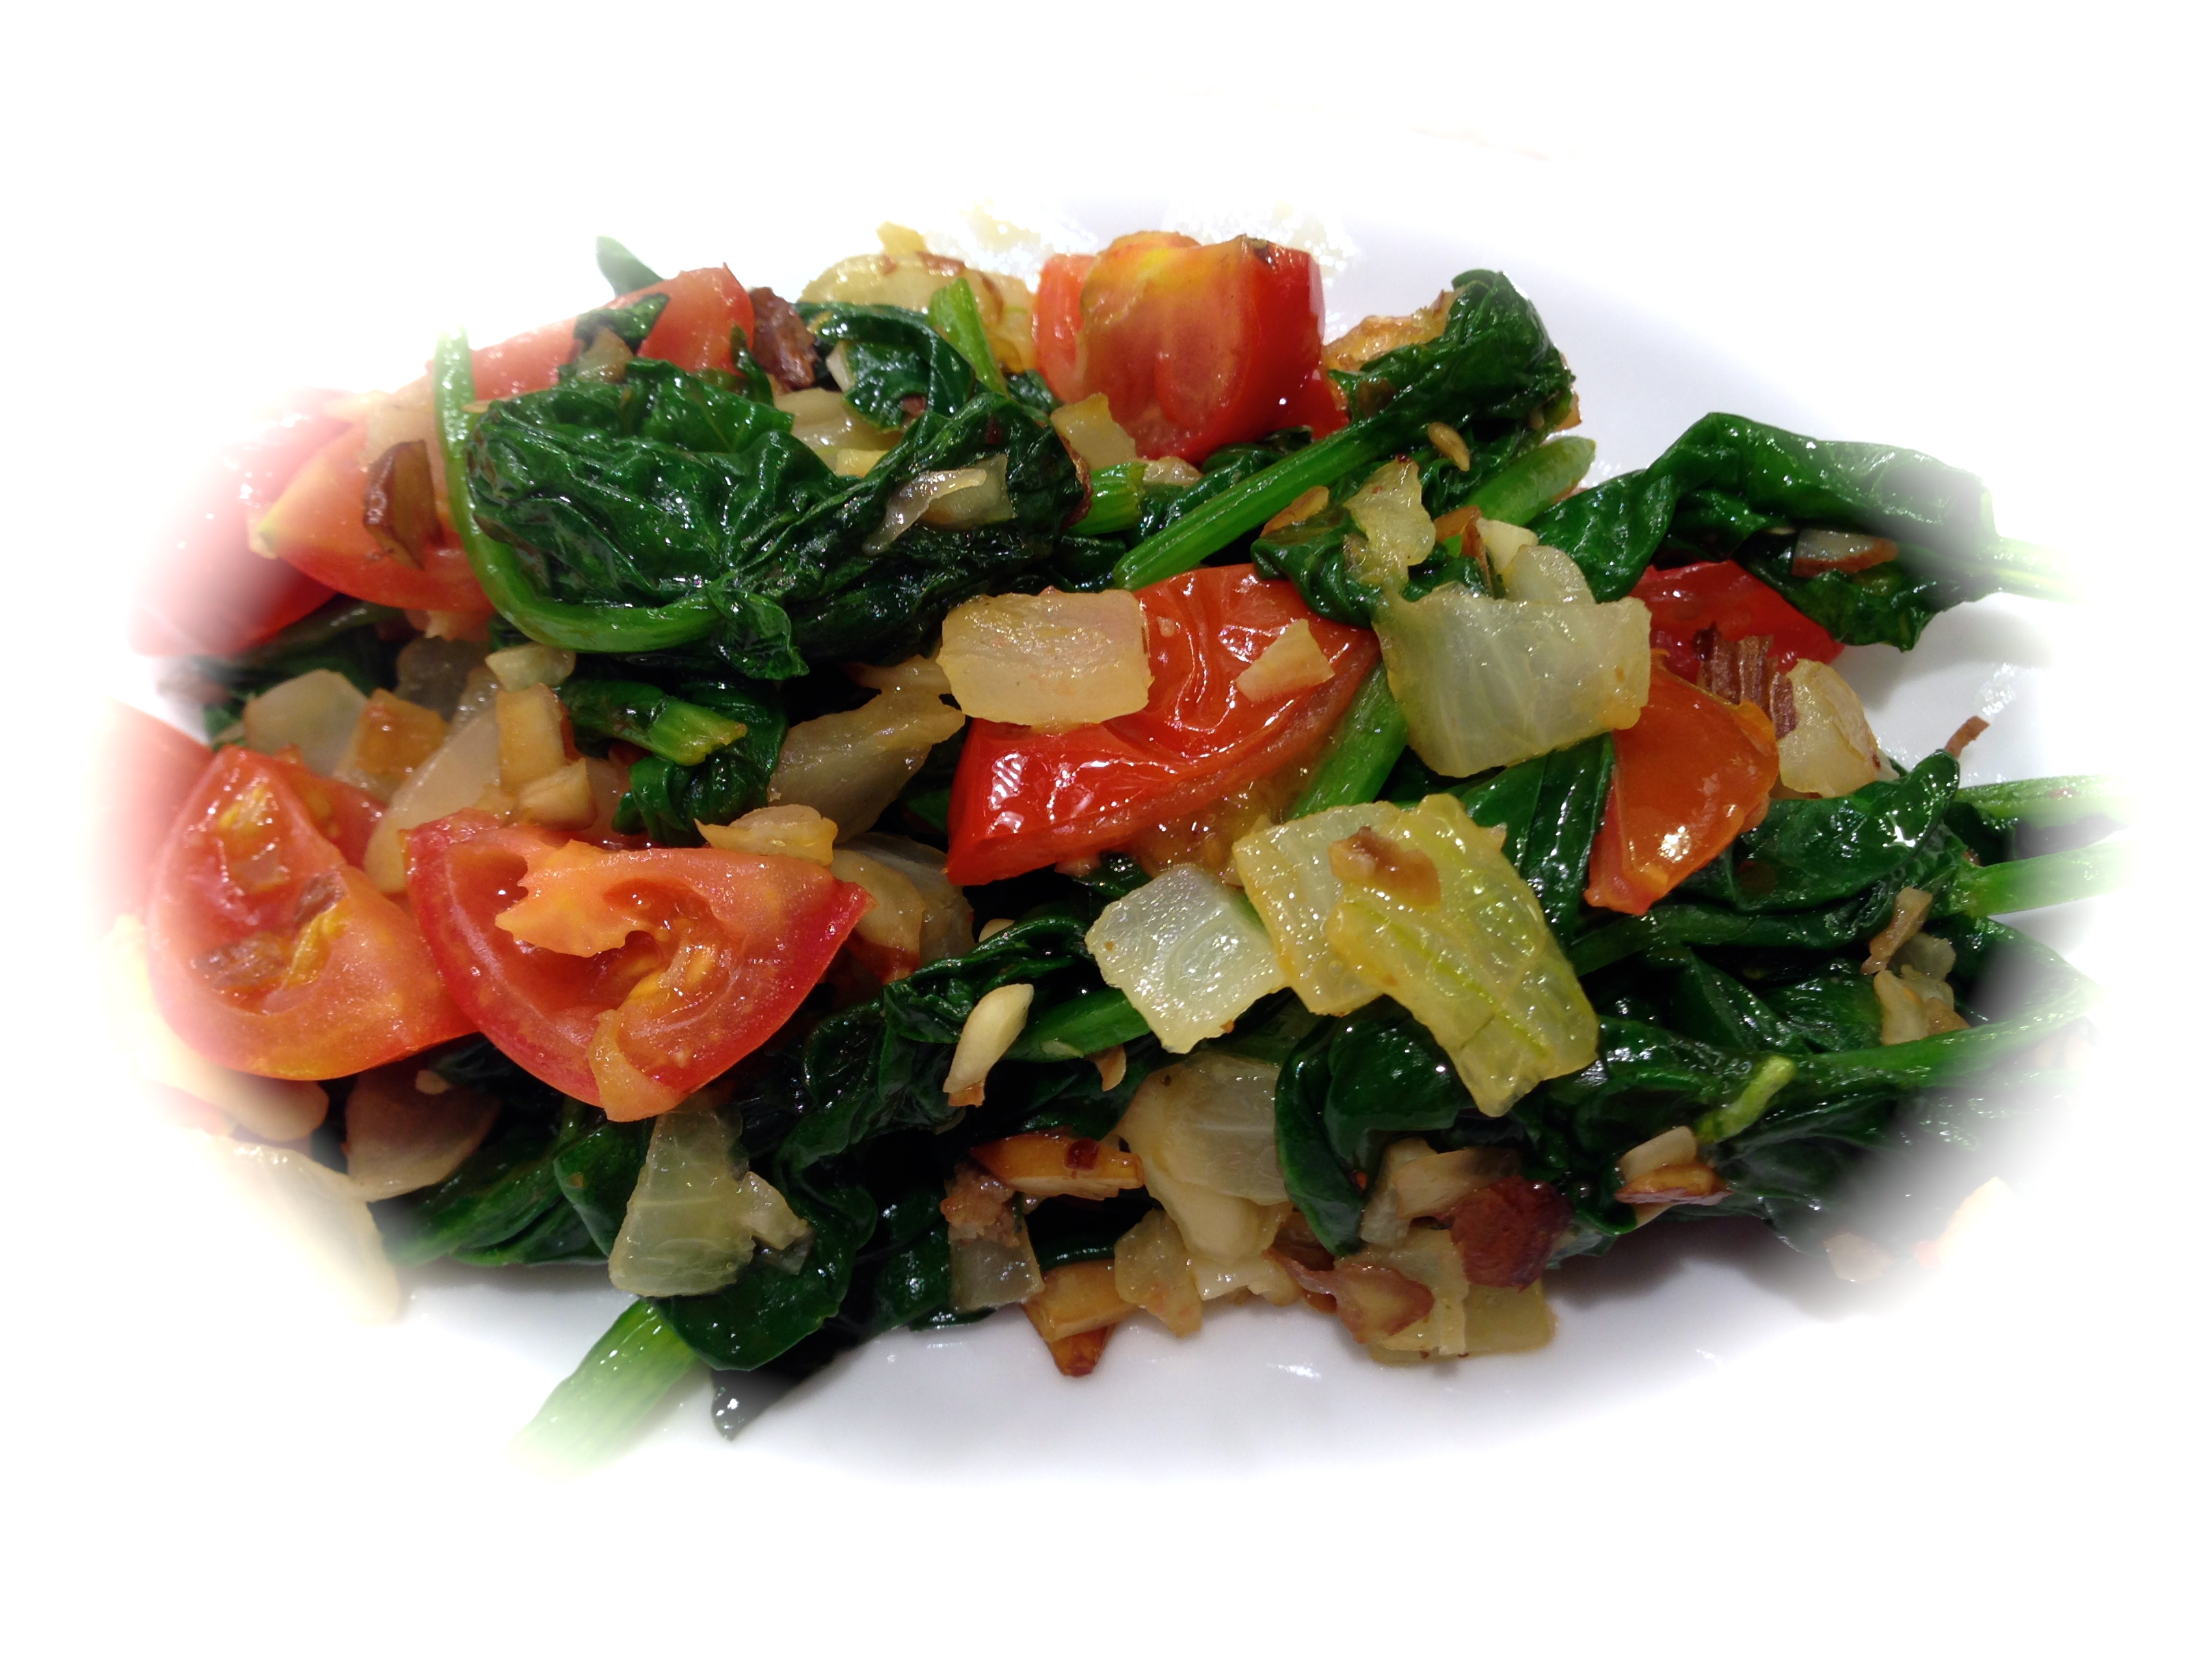
Add olive oil to a hot pan. Add the pancetta and cook until the edges start to crisp. Add the garlic and cook for 30-60 seconds until the garlic becomes fragrant. Add the brussels sprouts to the pan and cook until they begin to brown. Turn them over and allow them to cook a little longer or until the second side begins to brown. Add the chicken stock, scrape any bits off the bottom of the pan and cook until the broth reduces to the point that it is just coating the sprouts. Serve immediately.

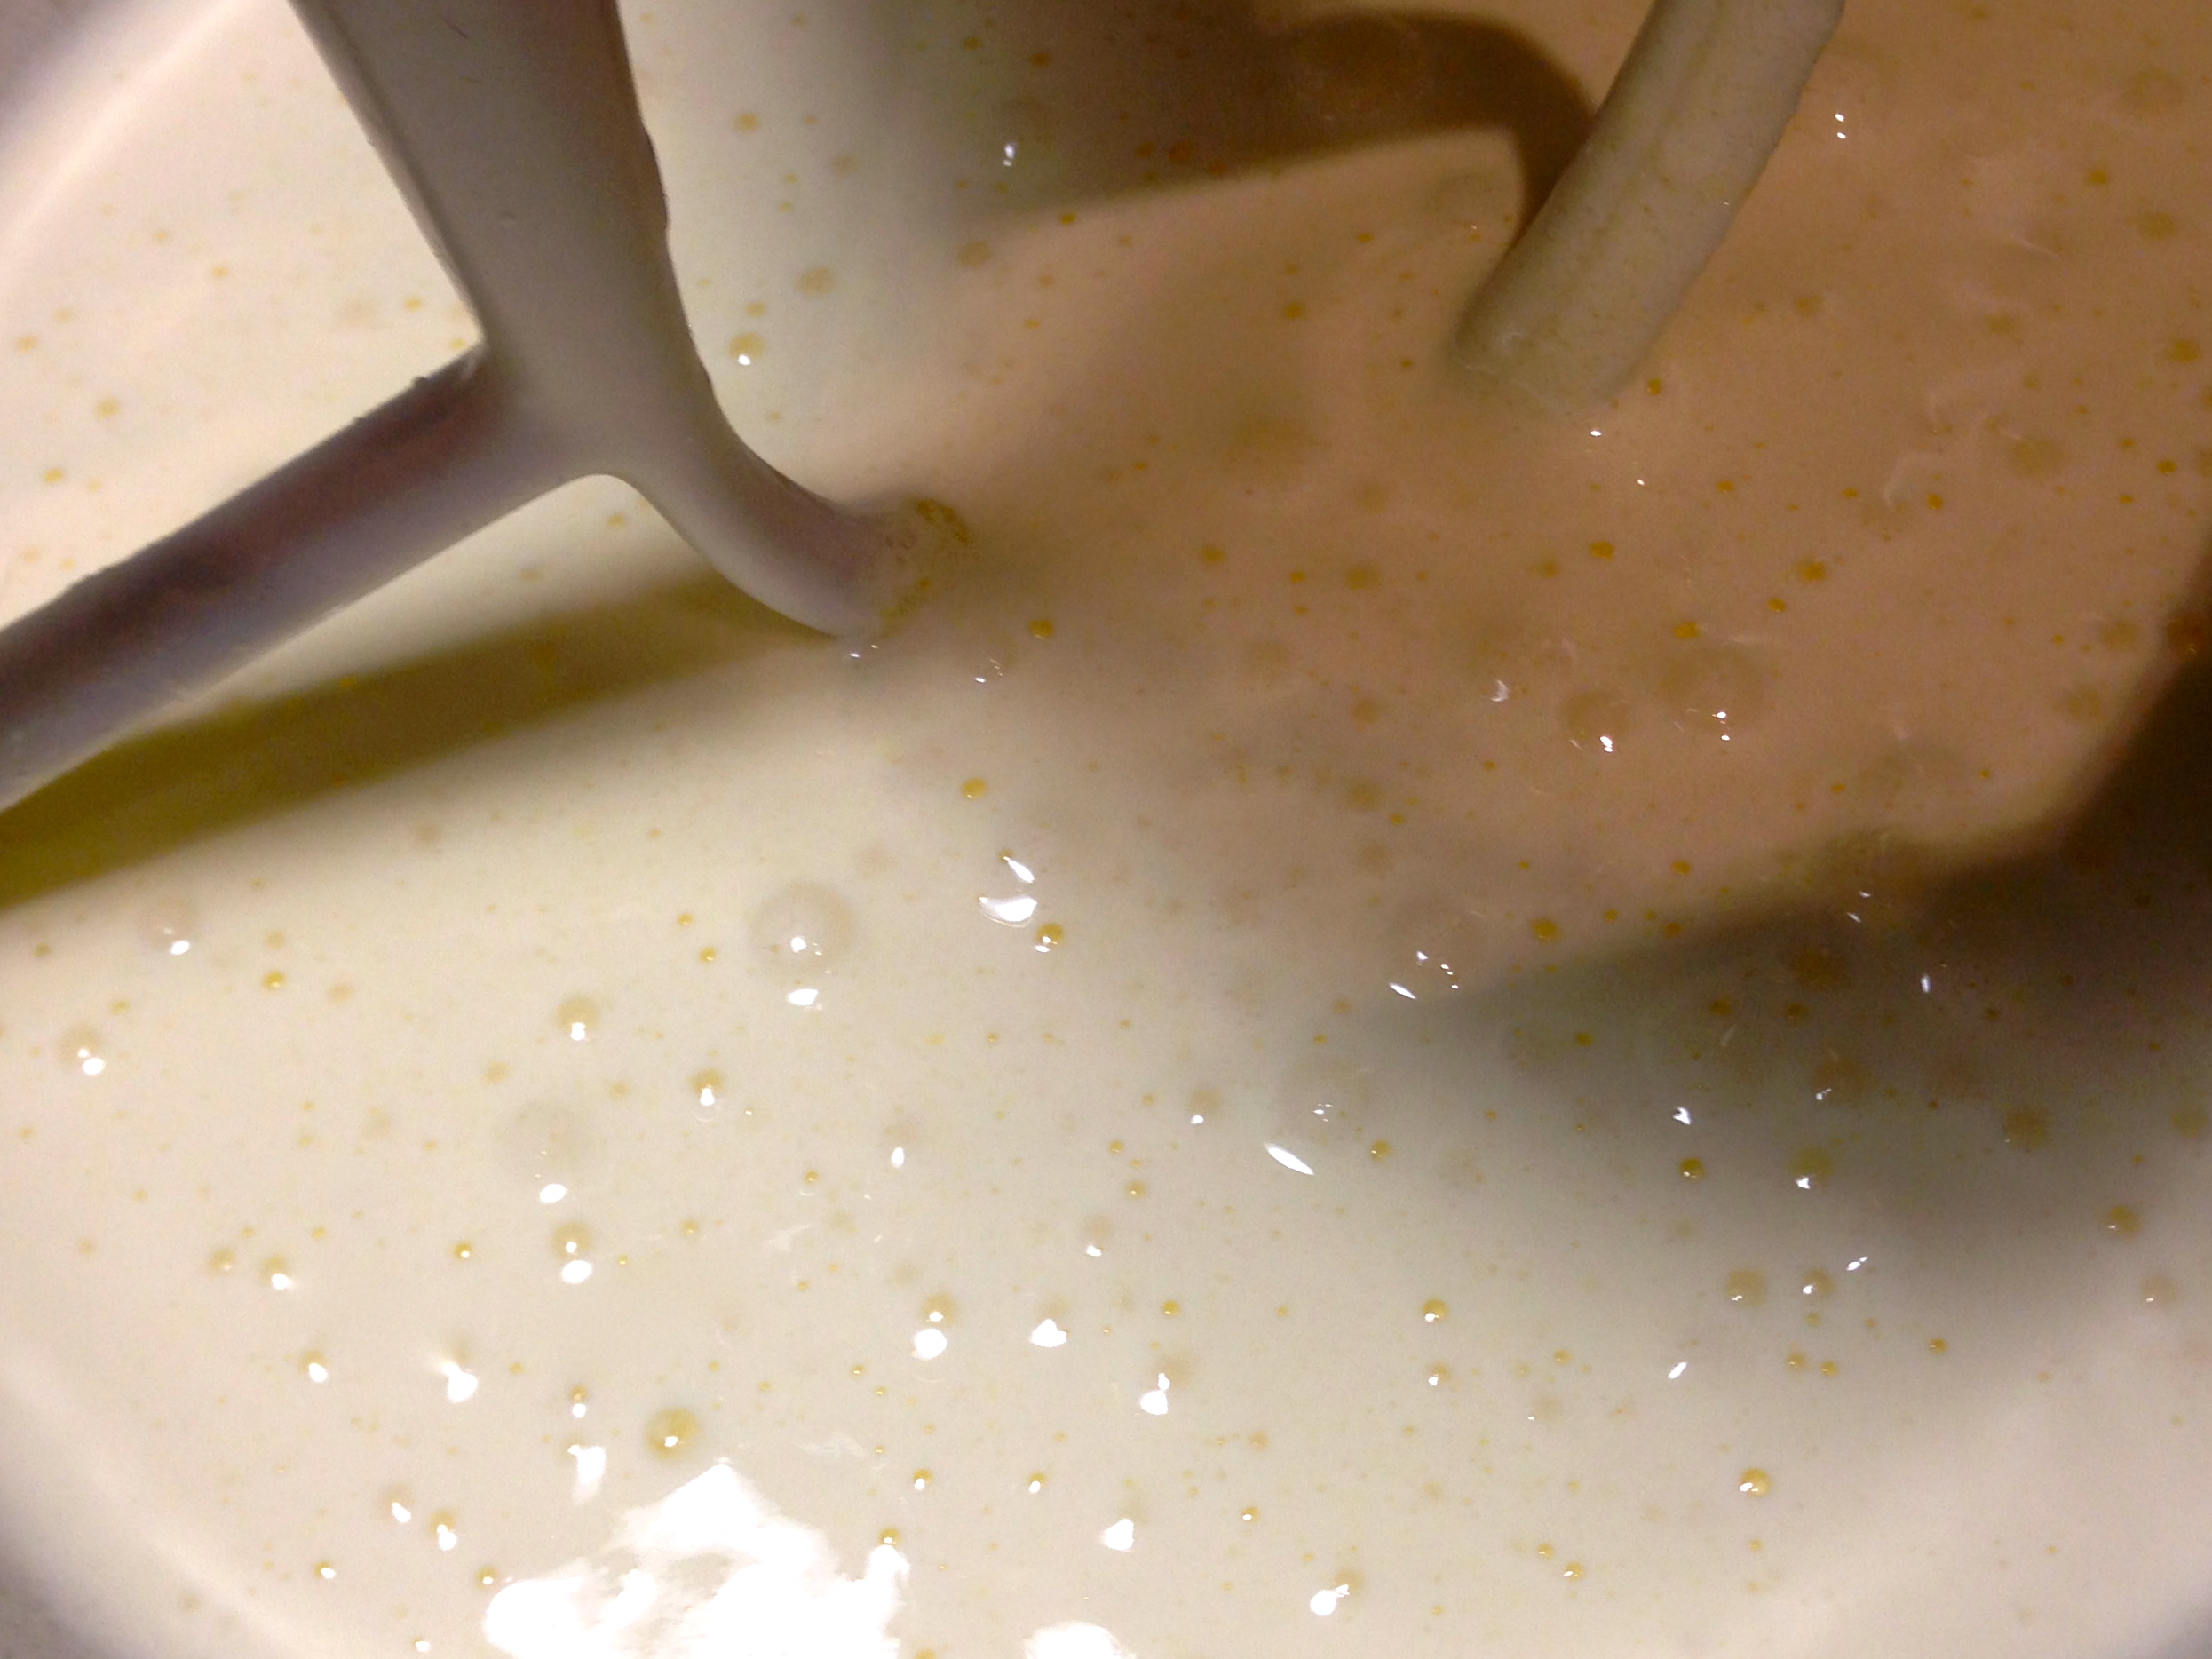
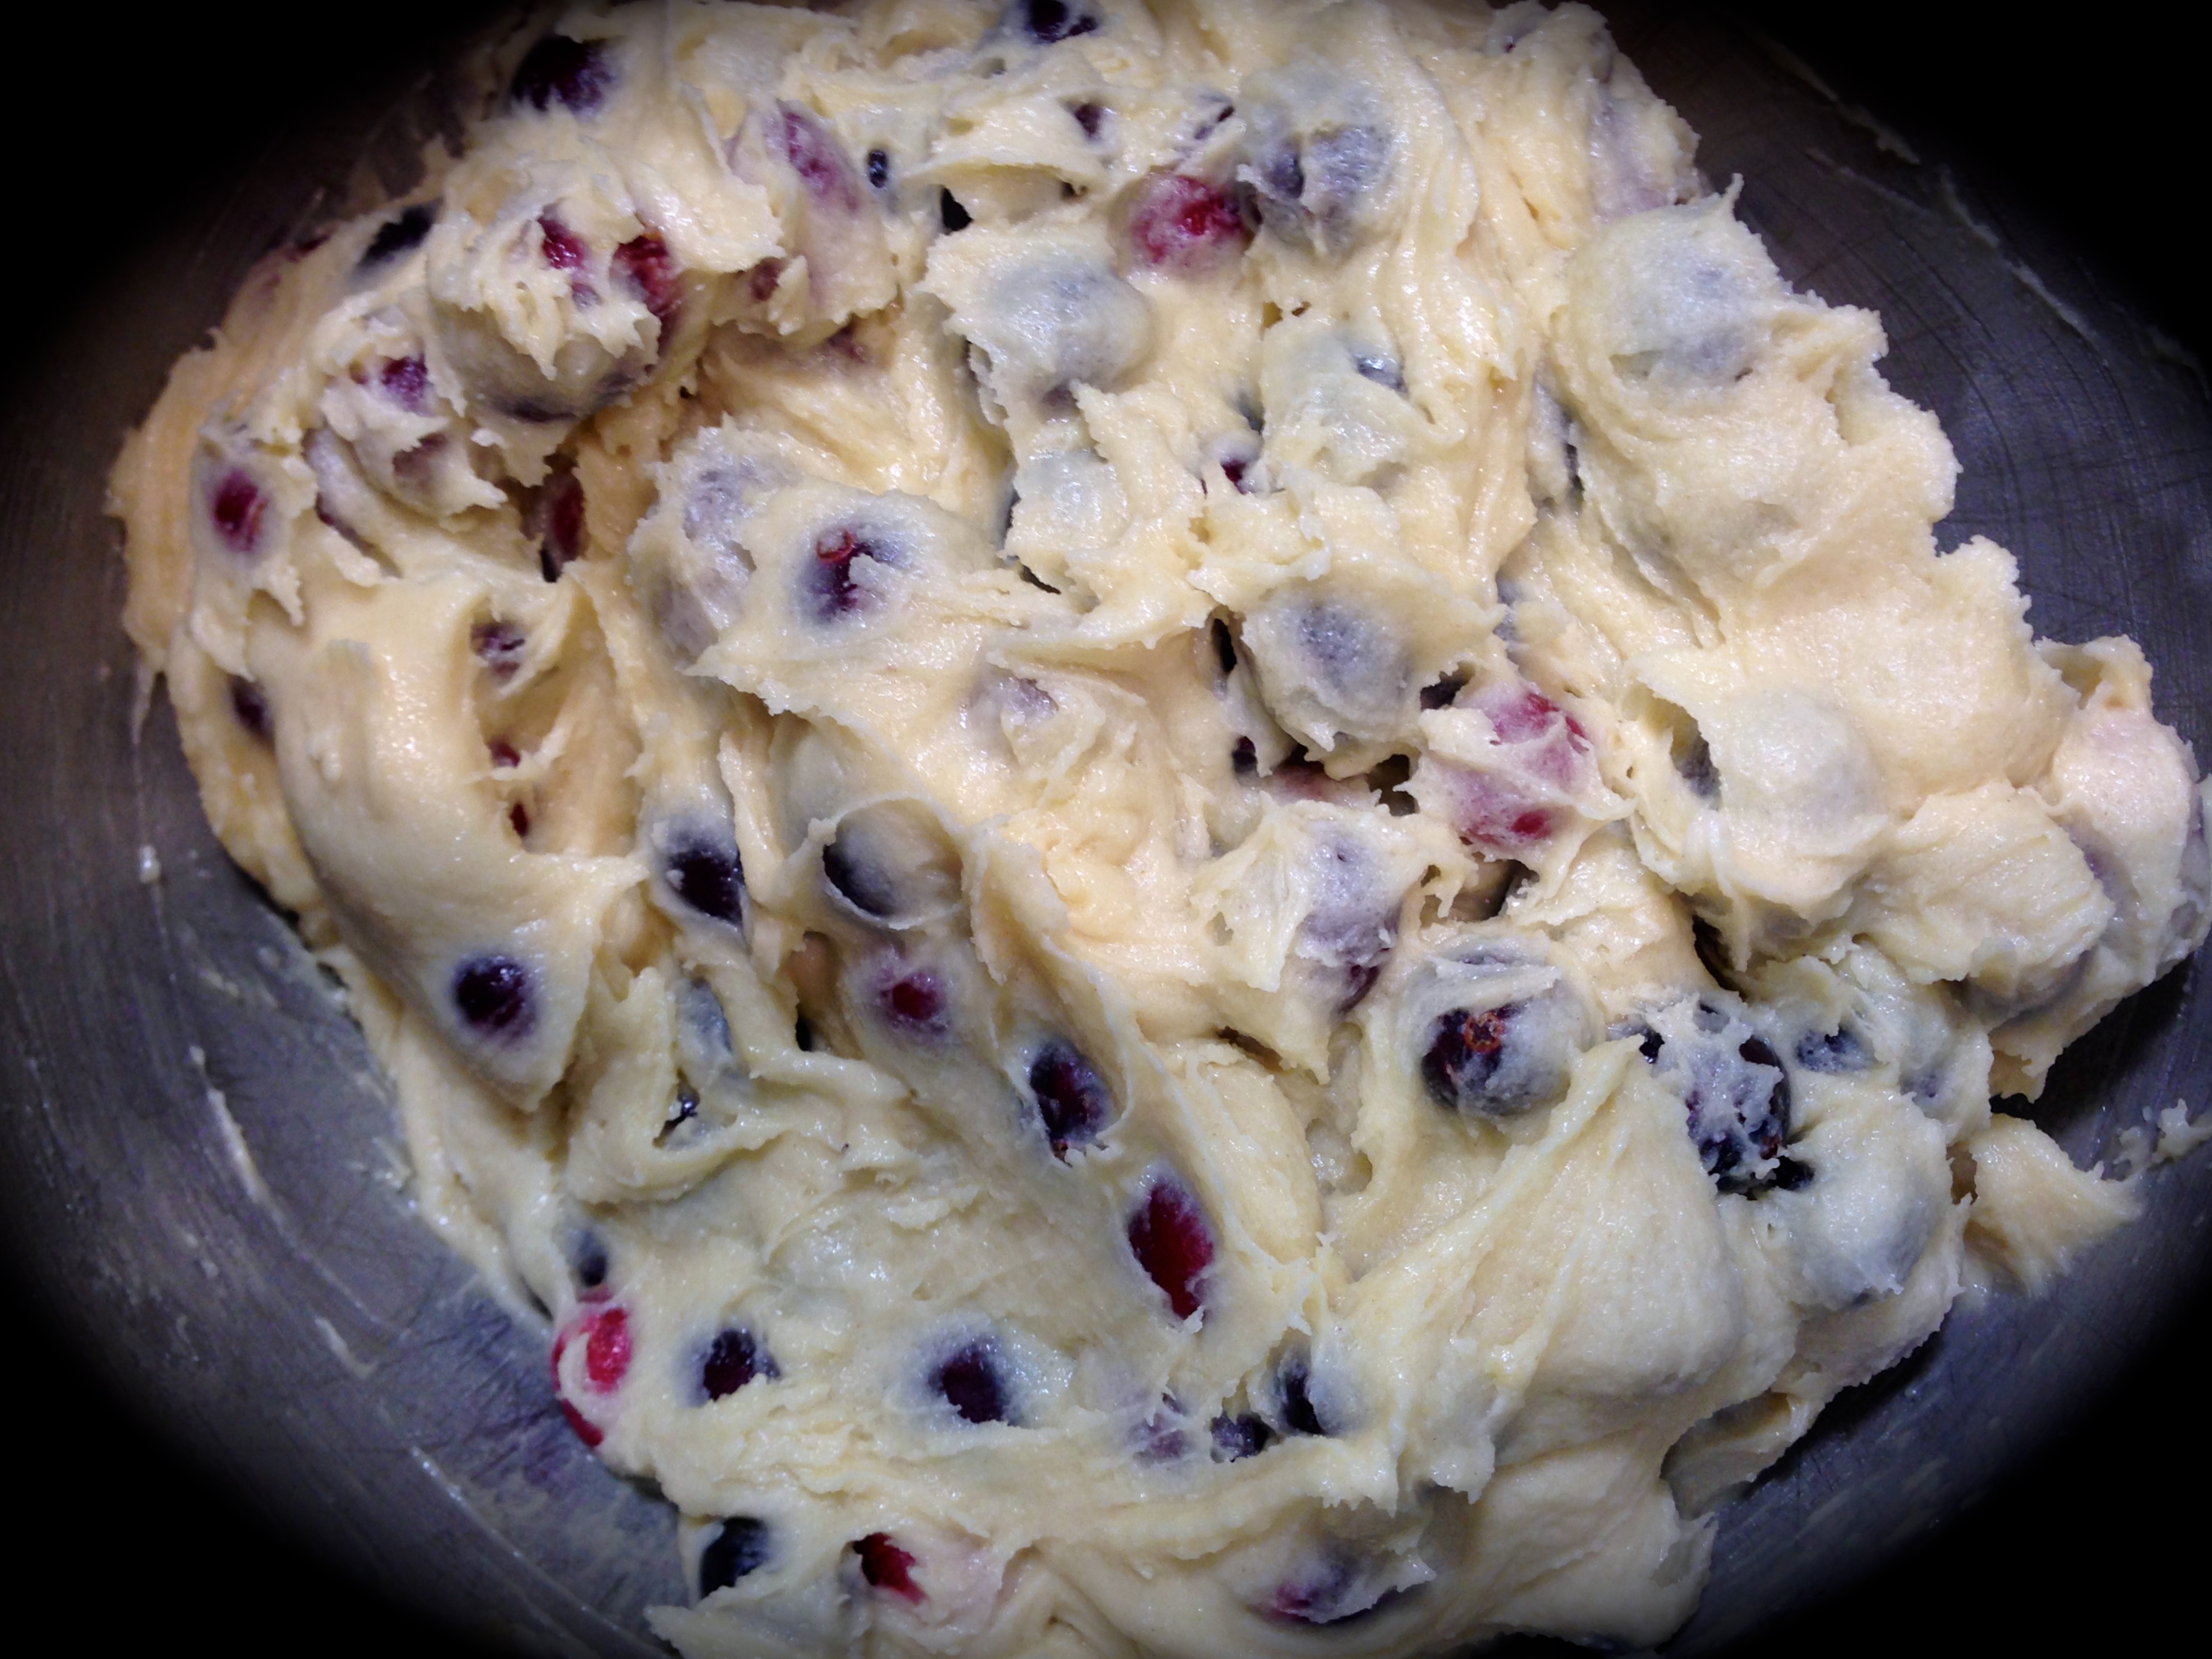
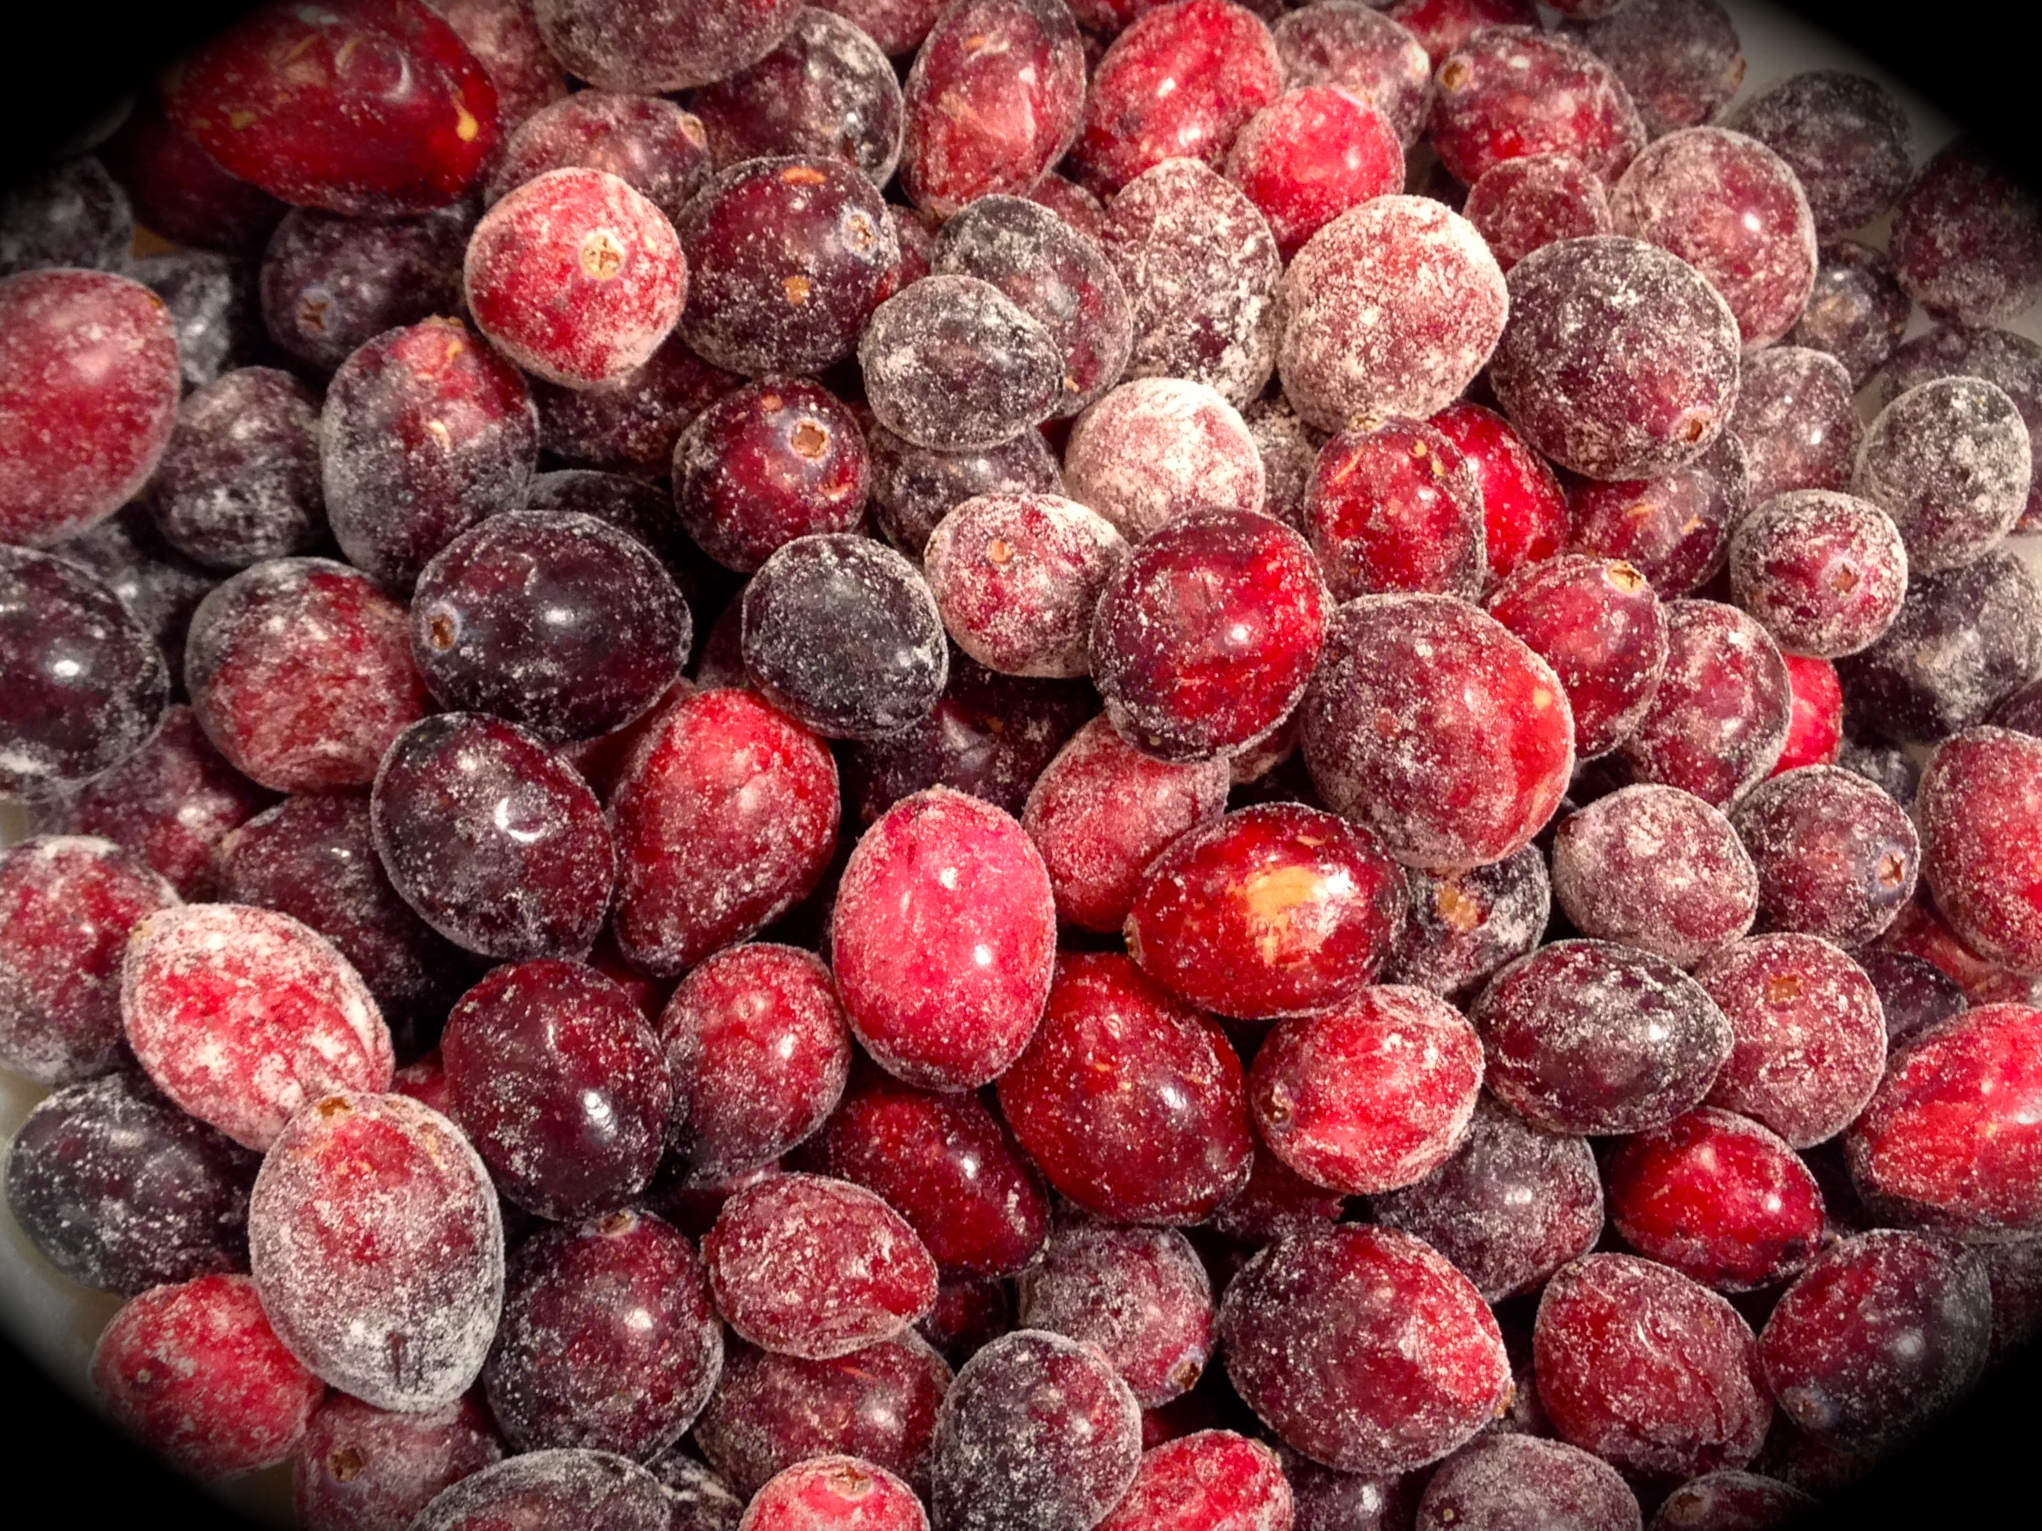
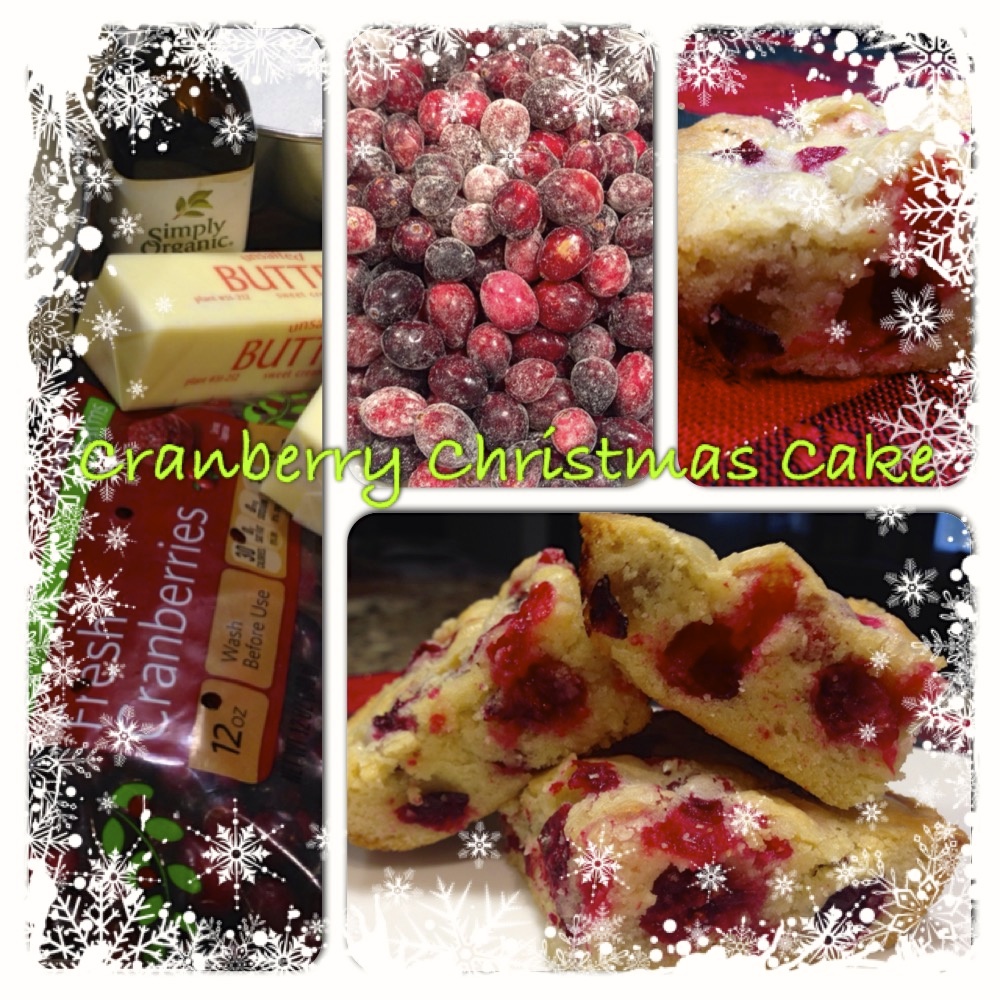
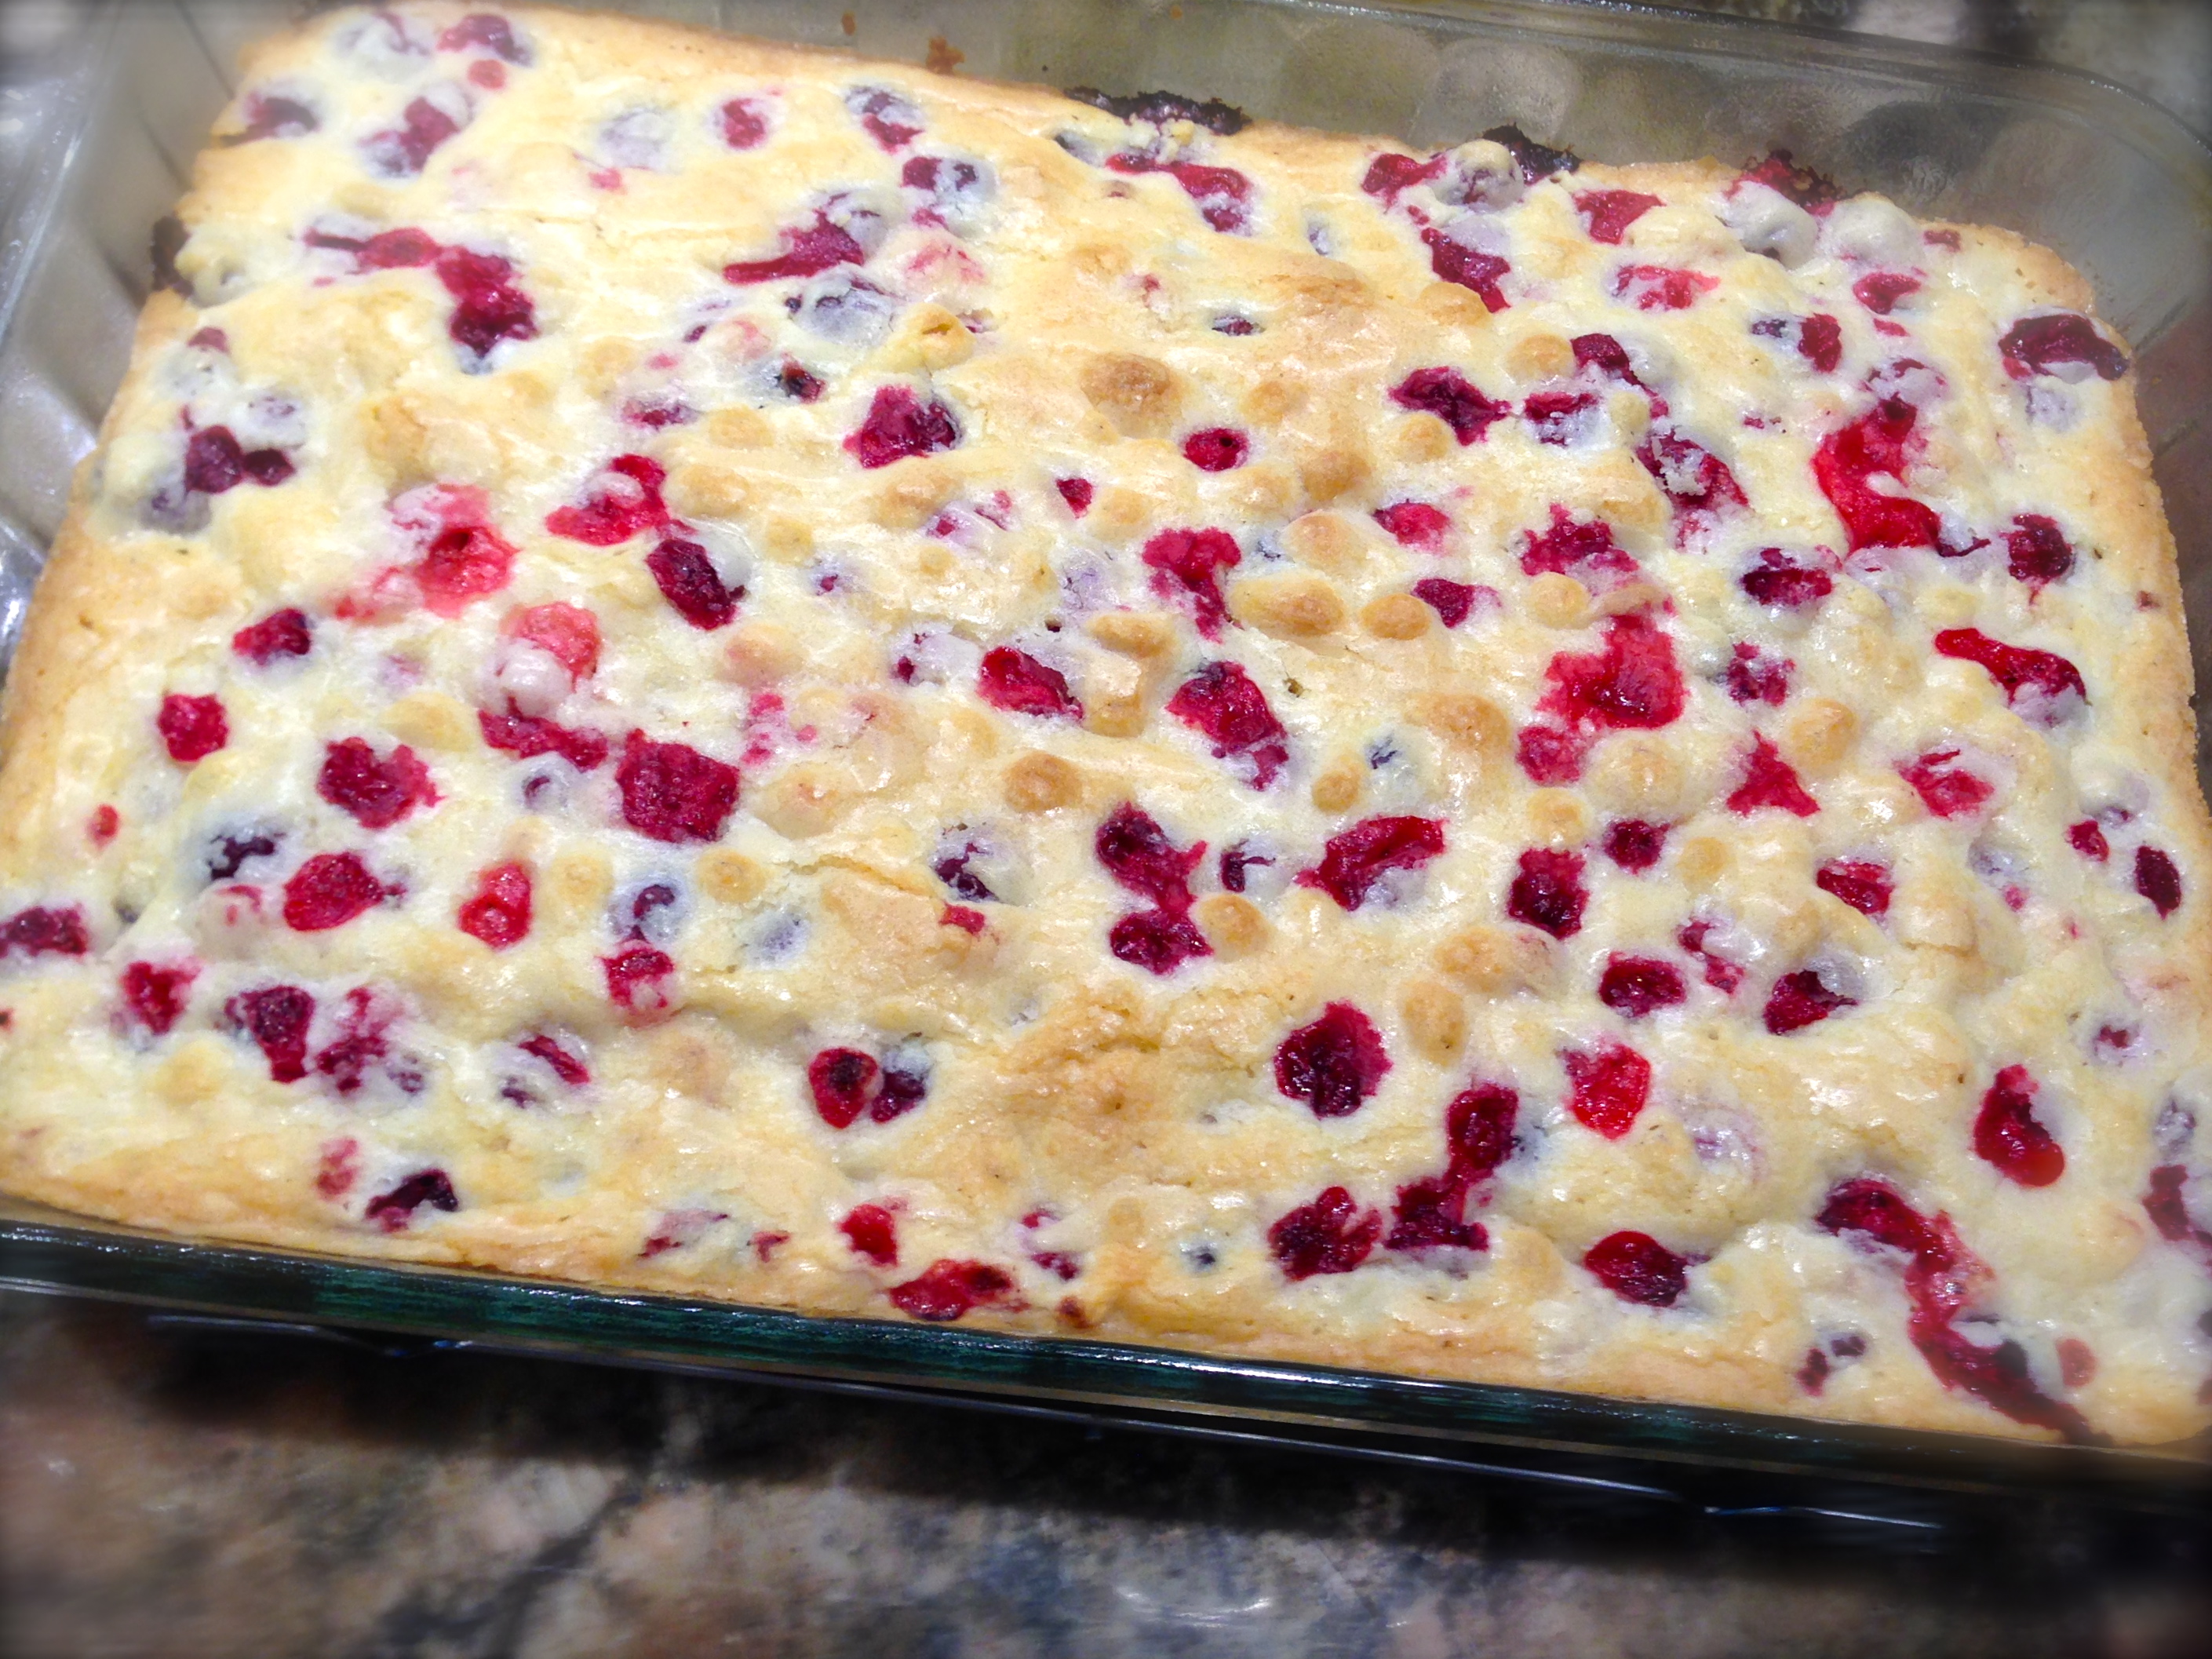
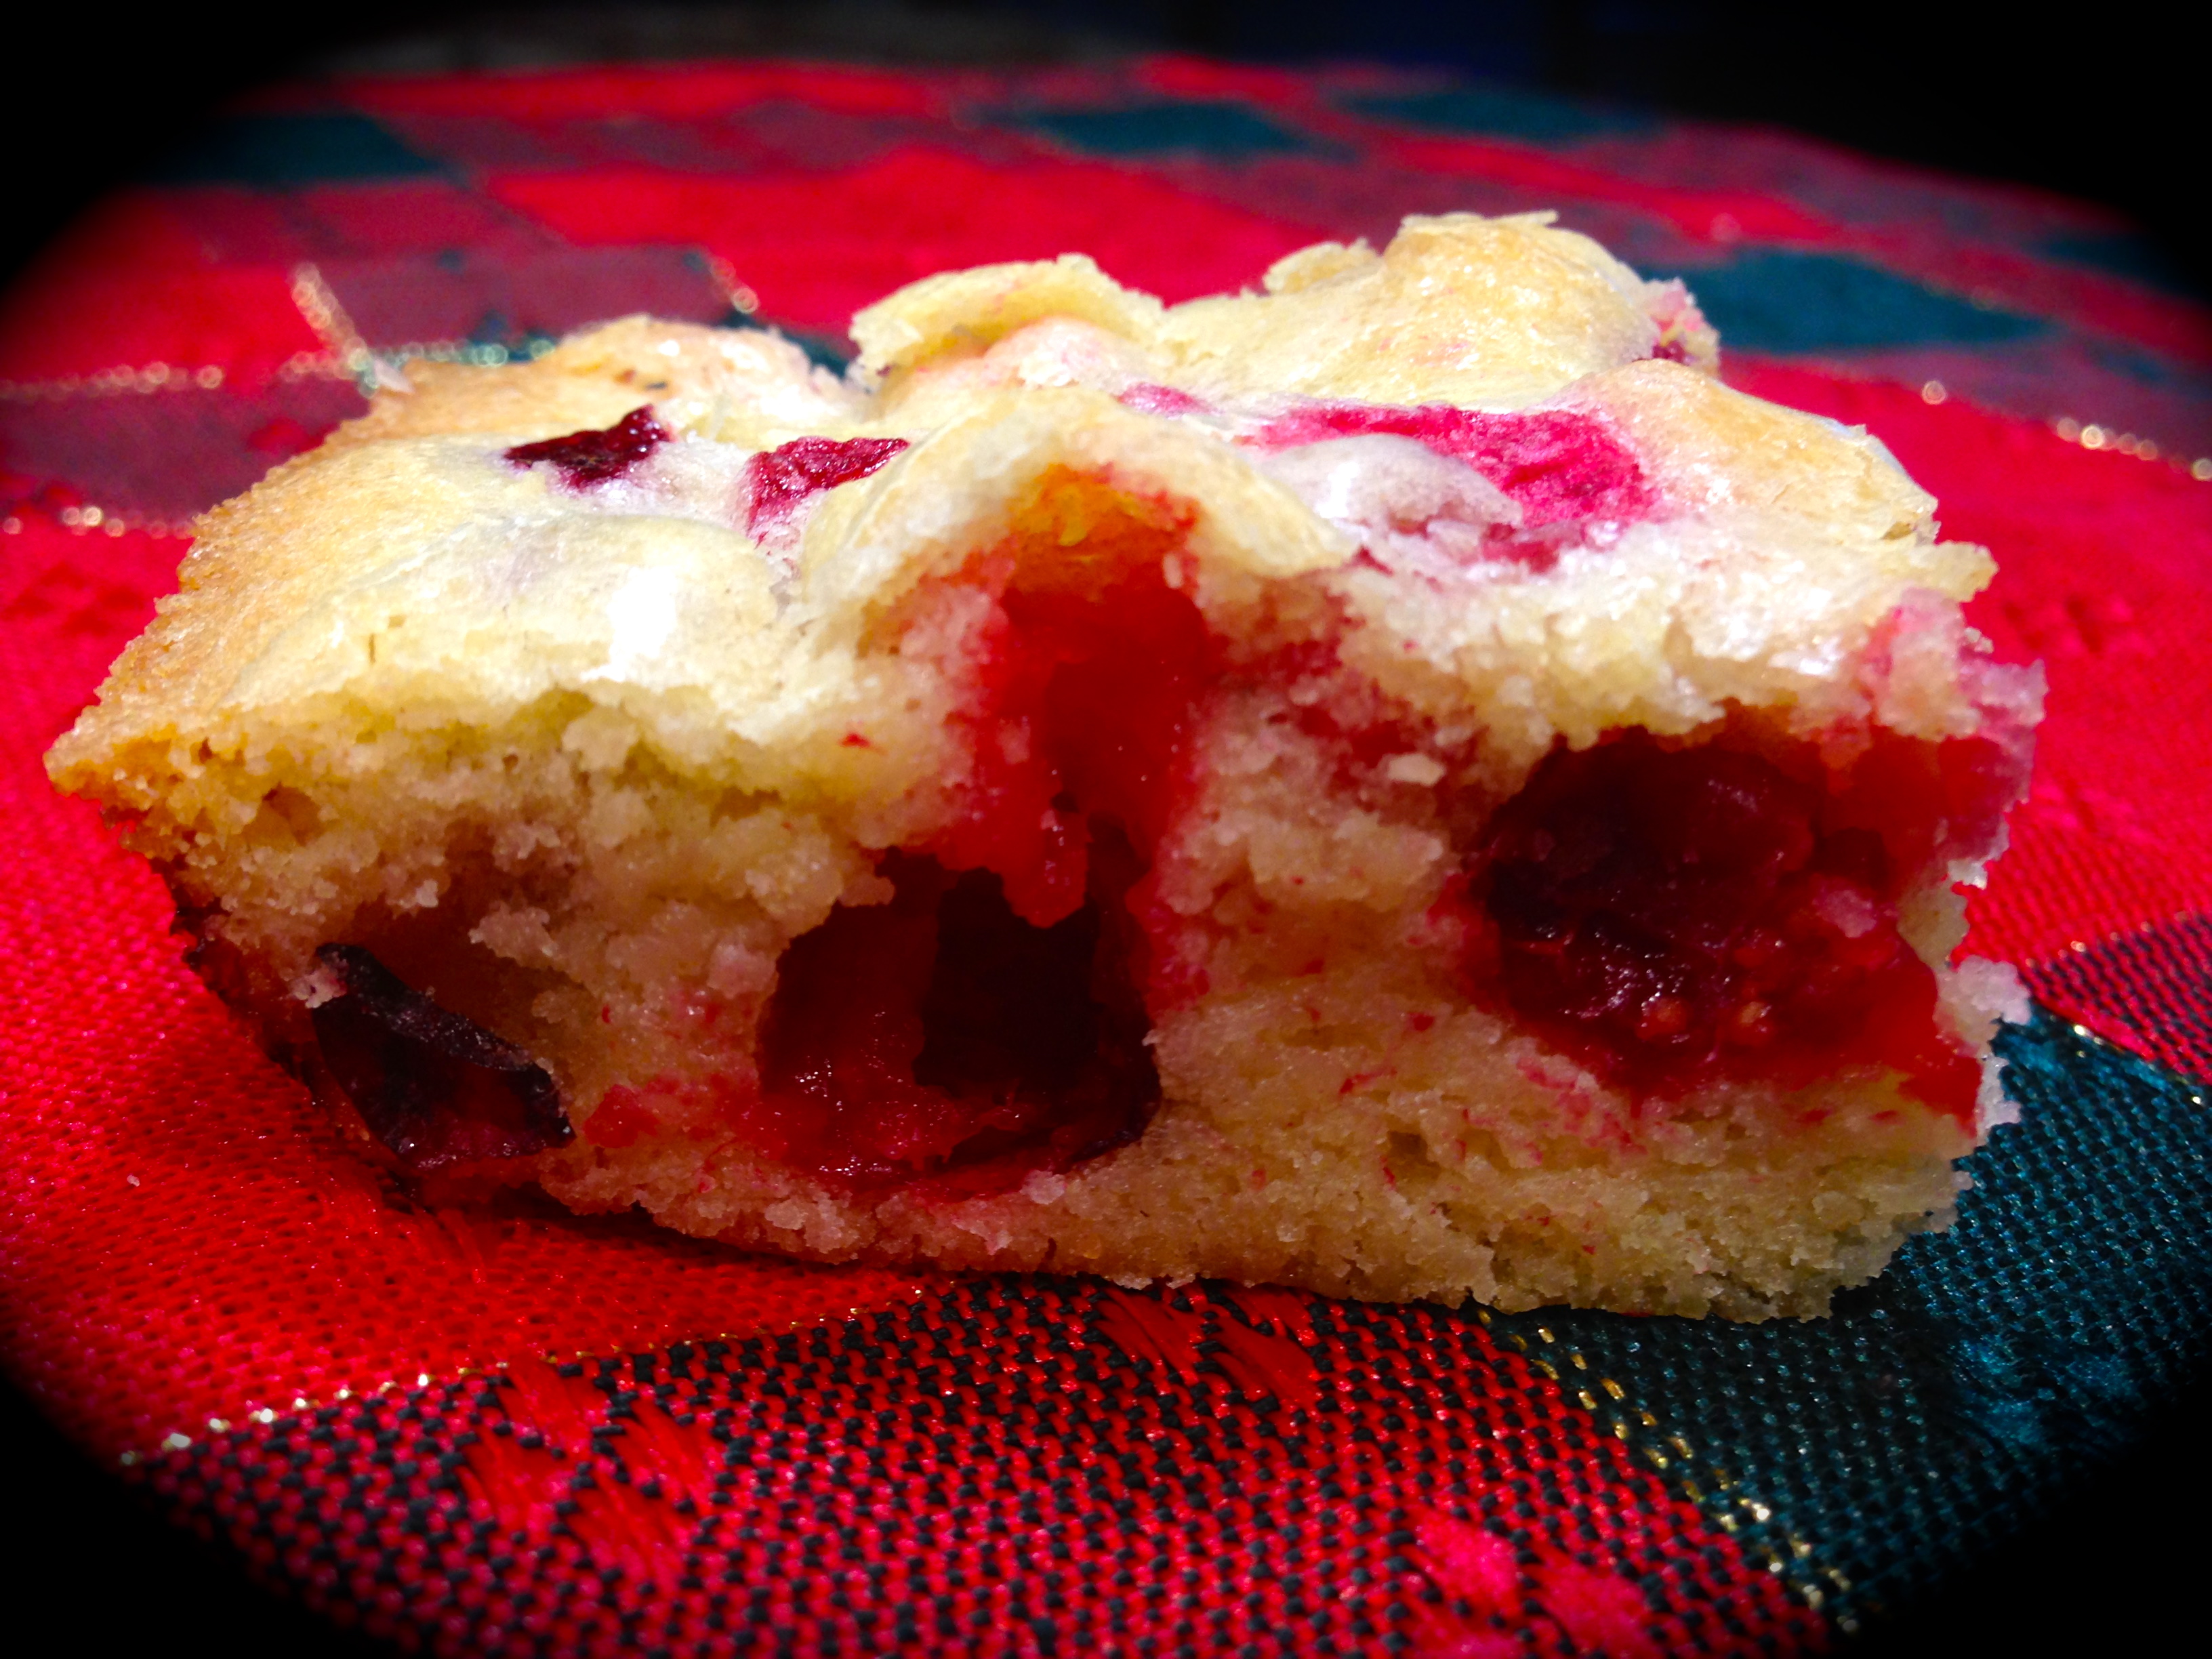
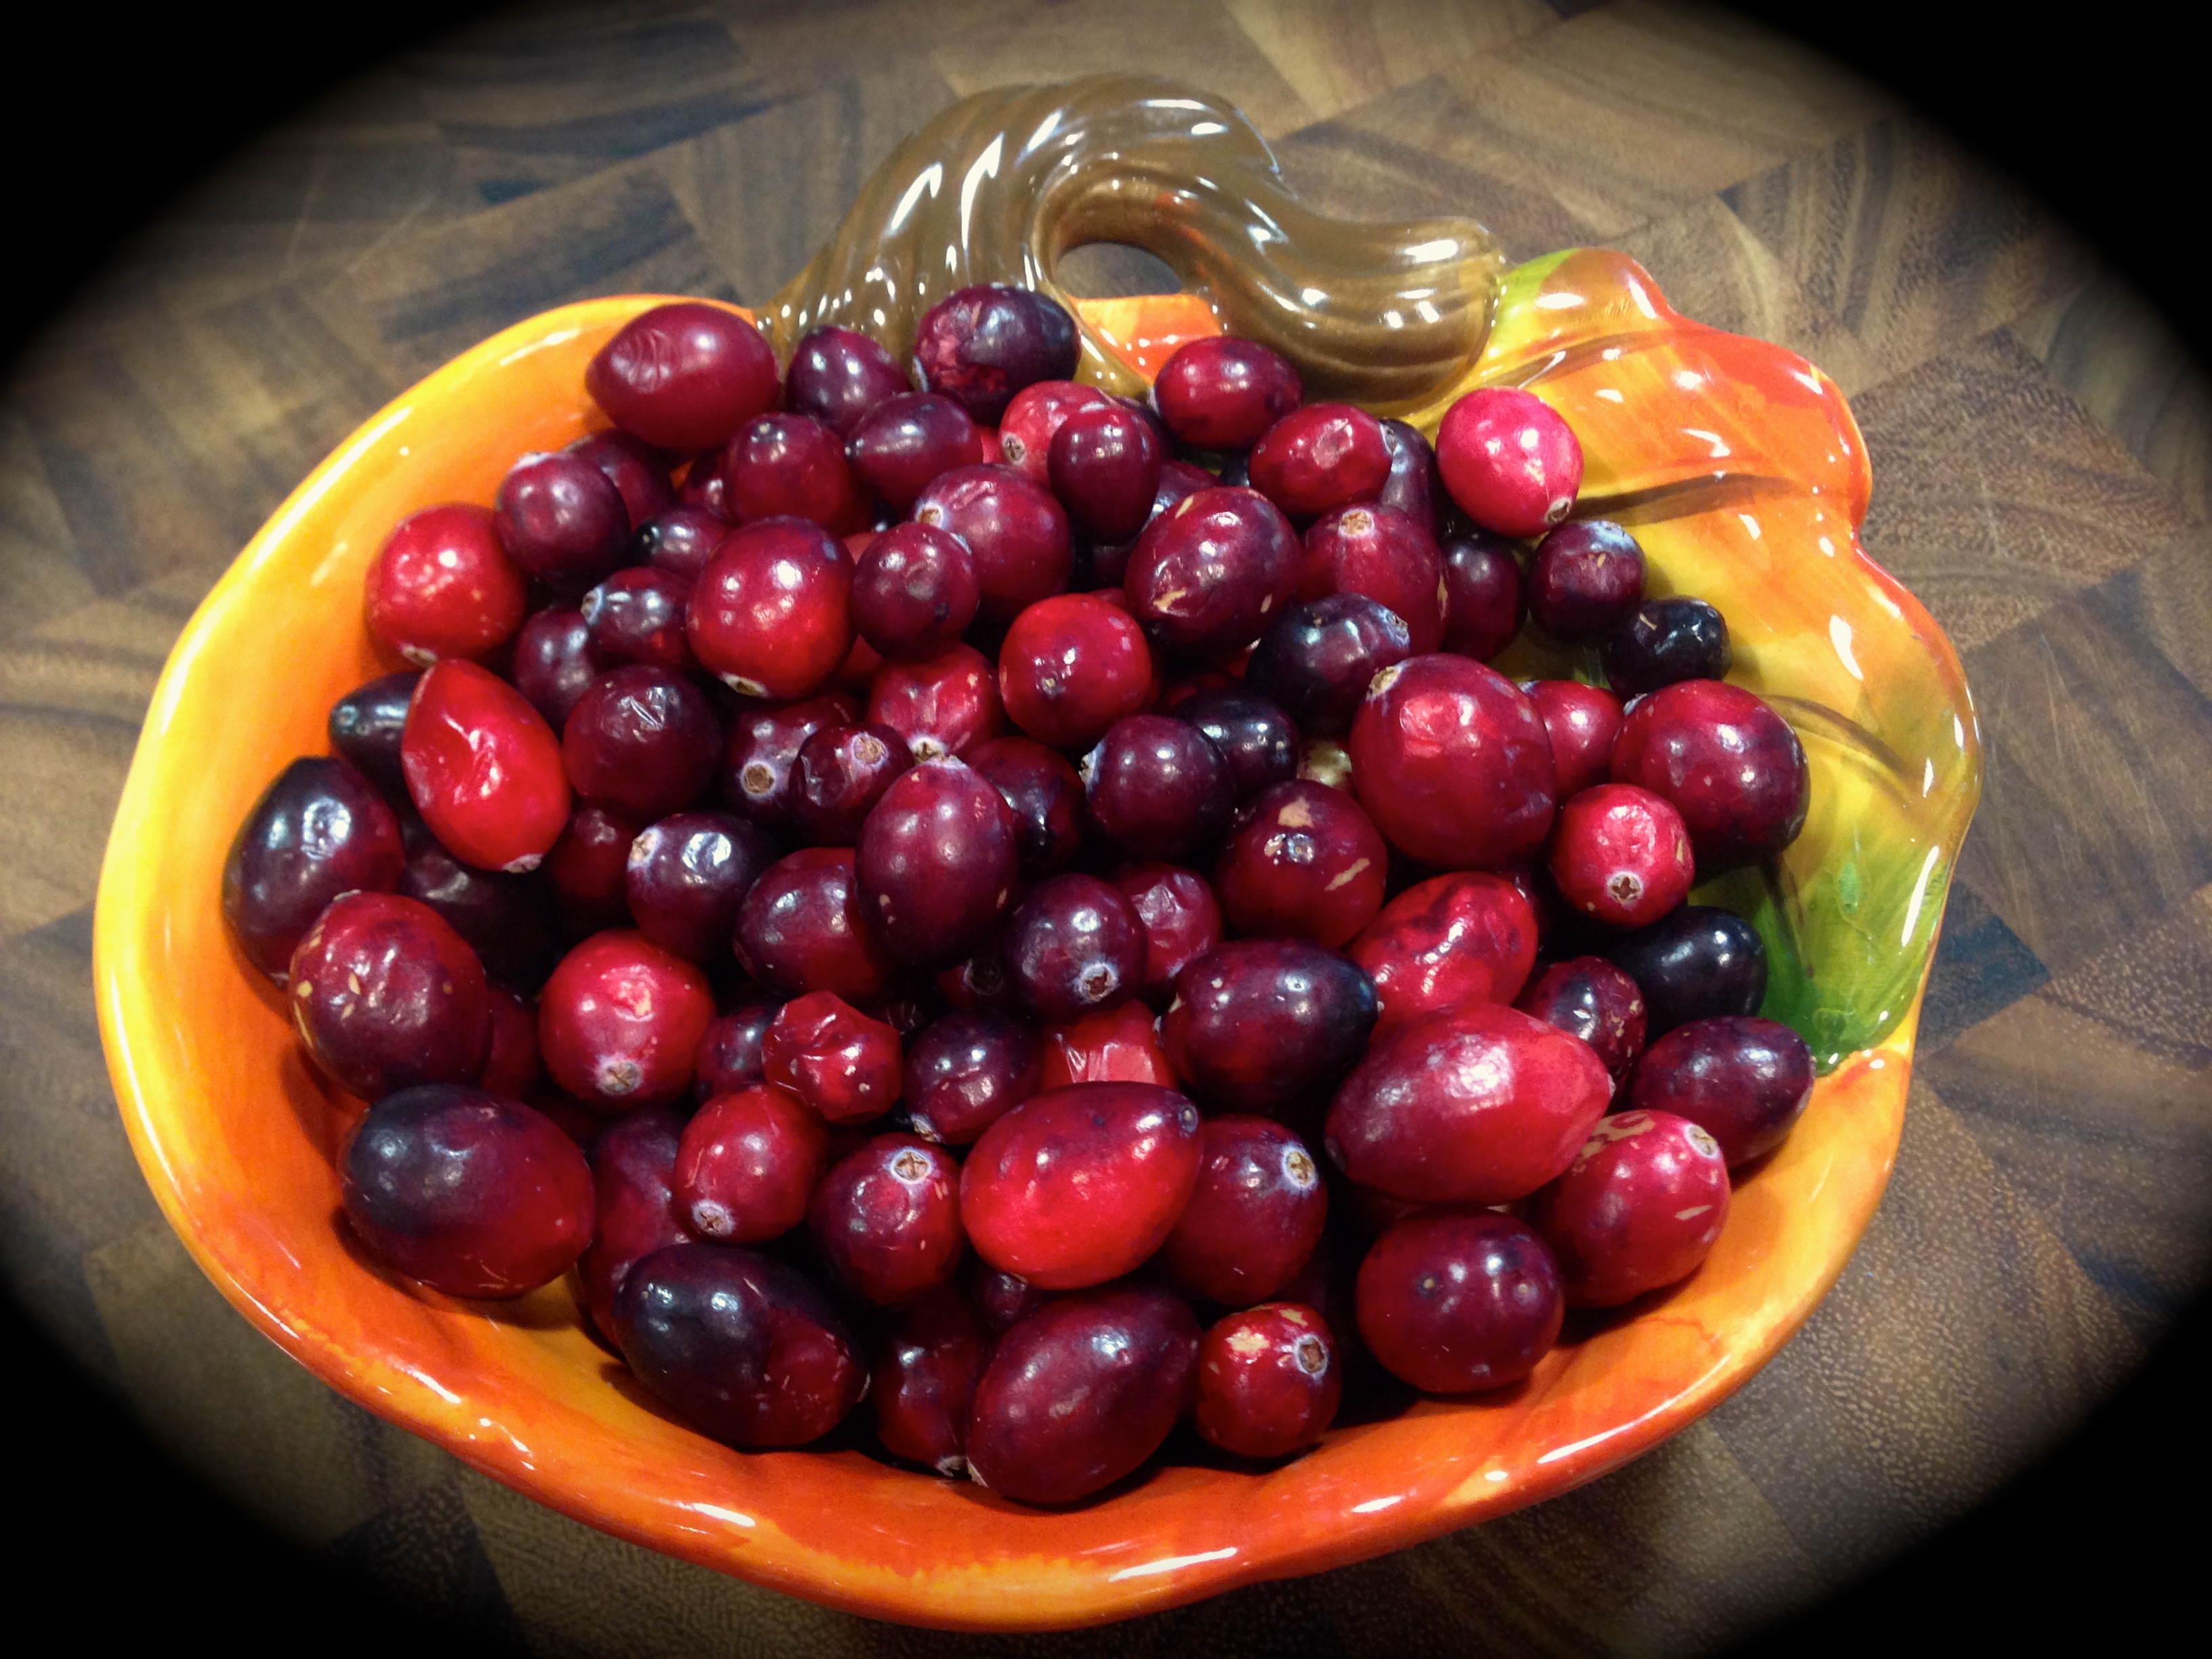
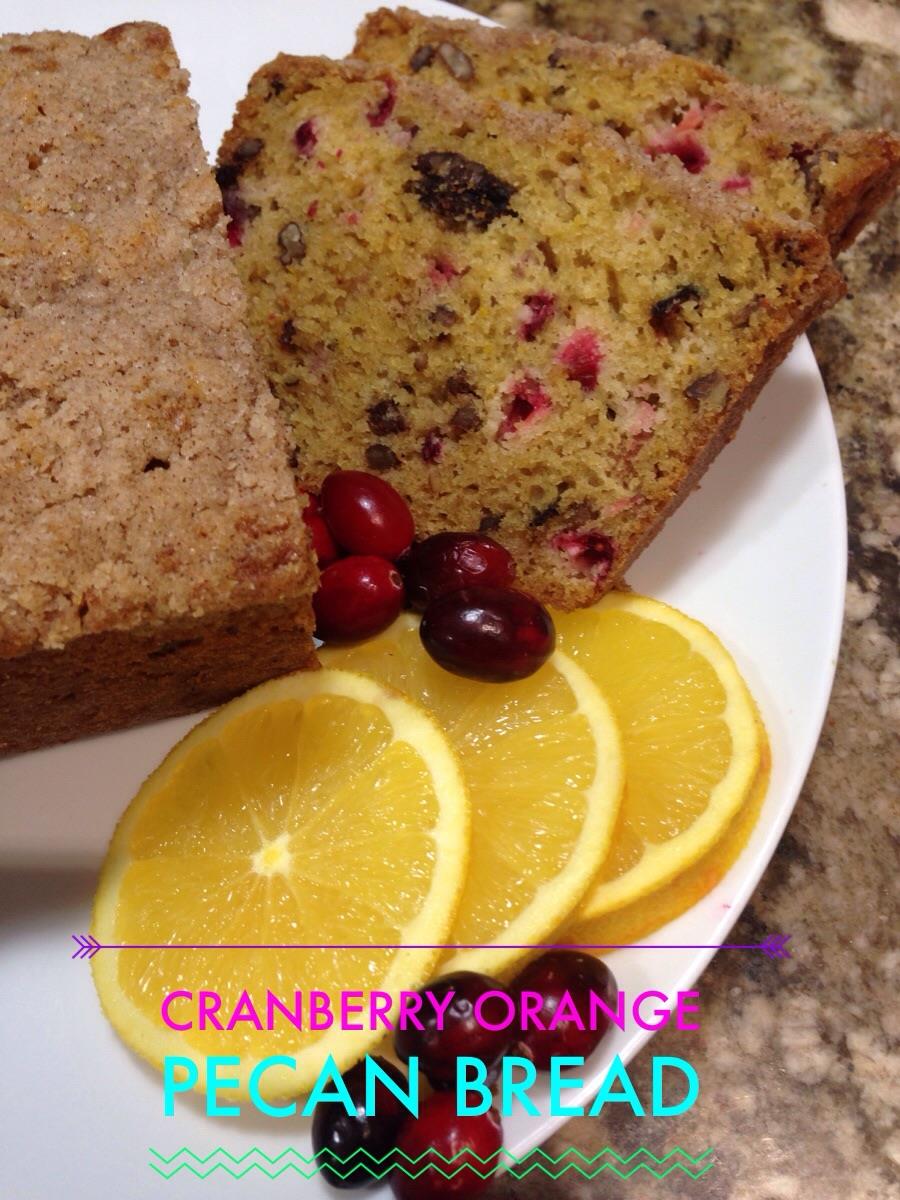
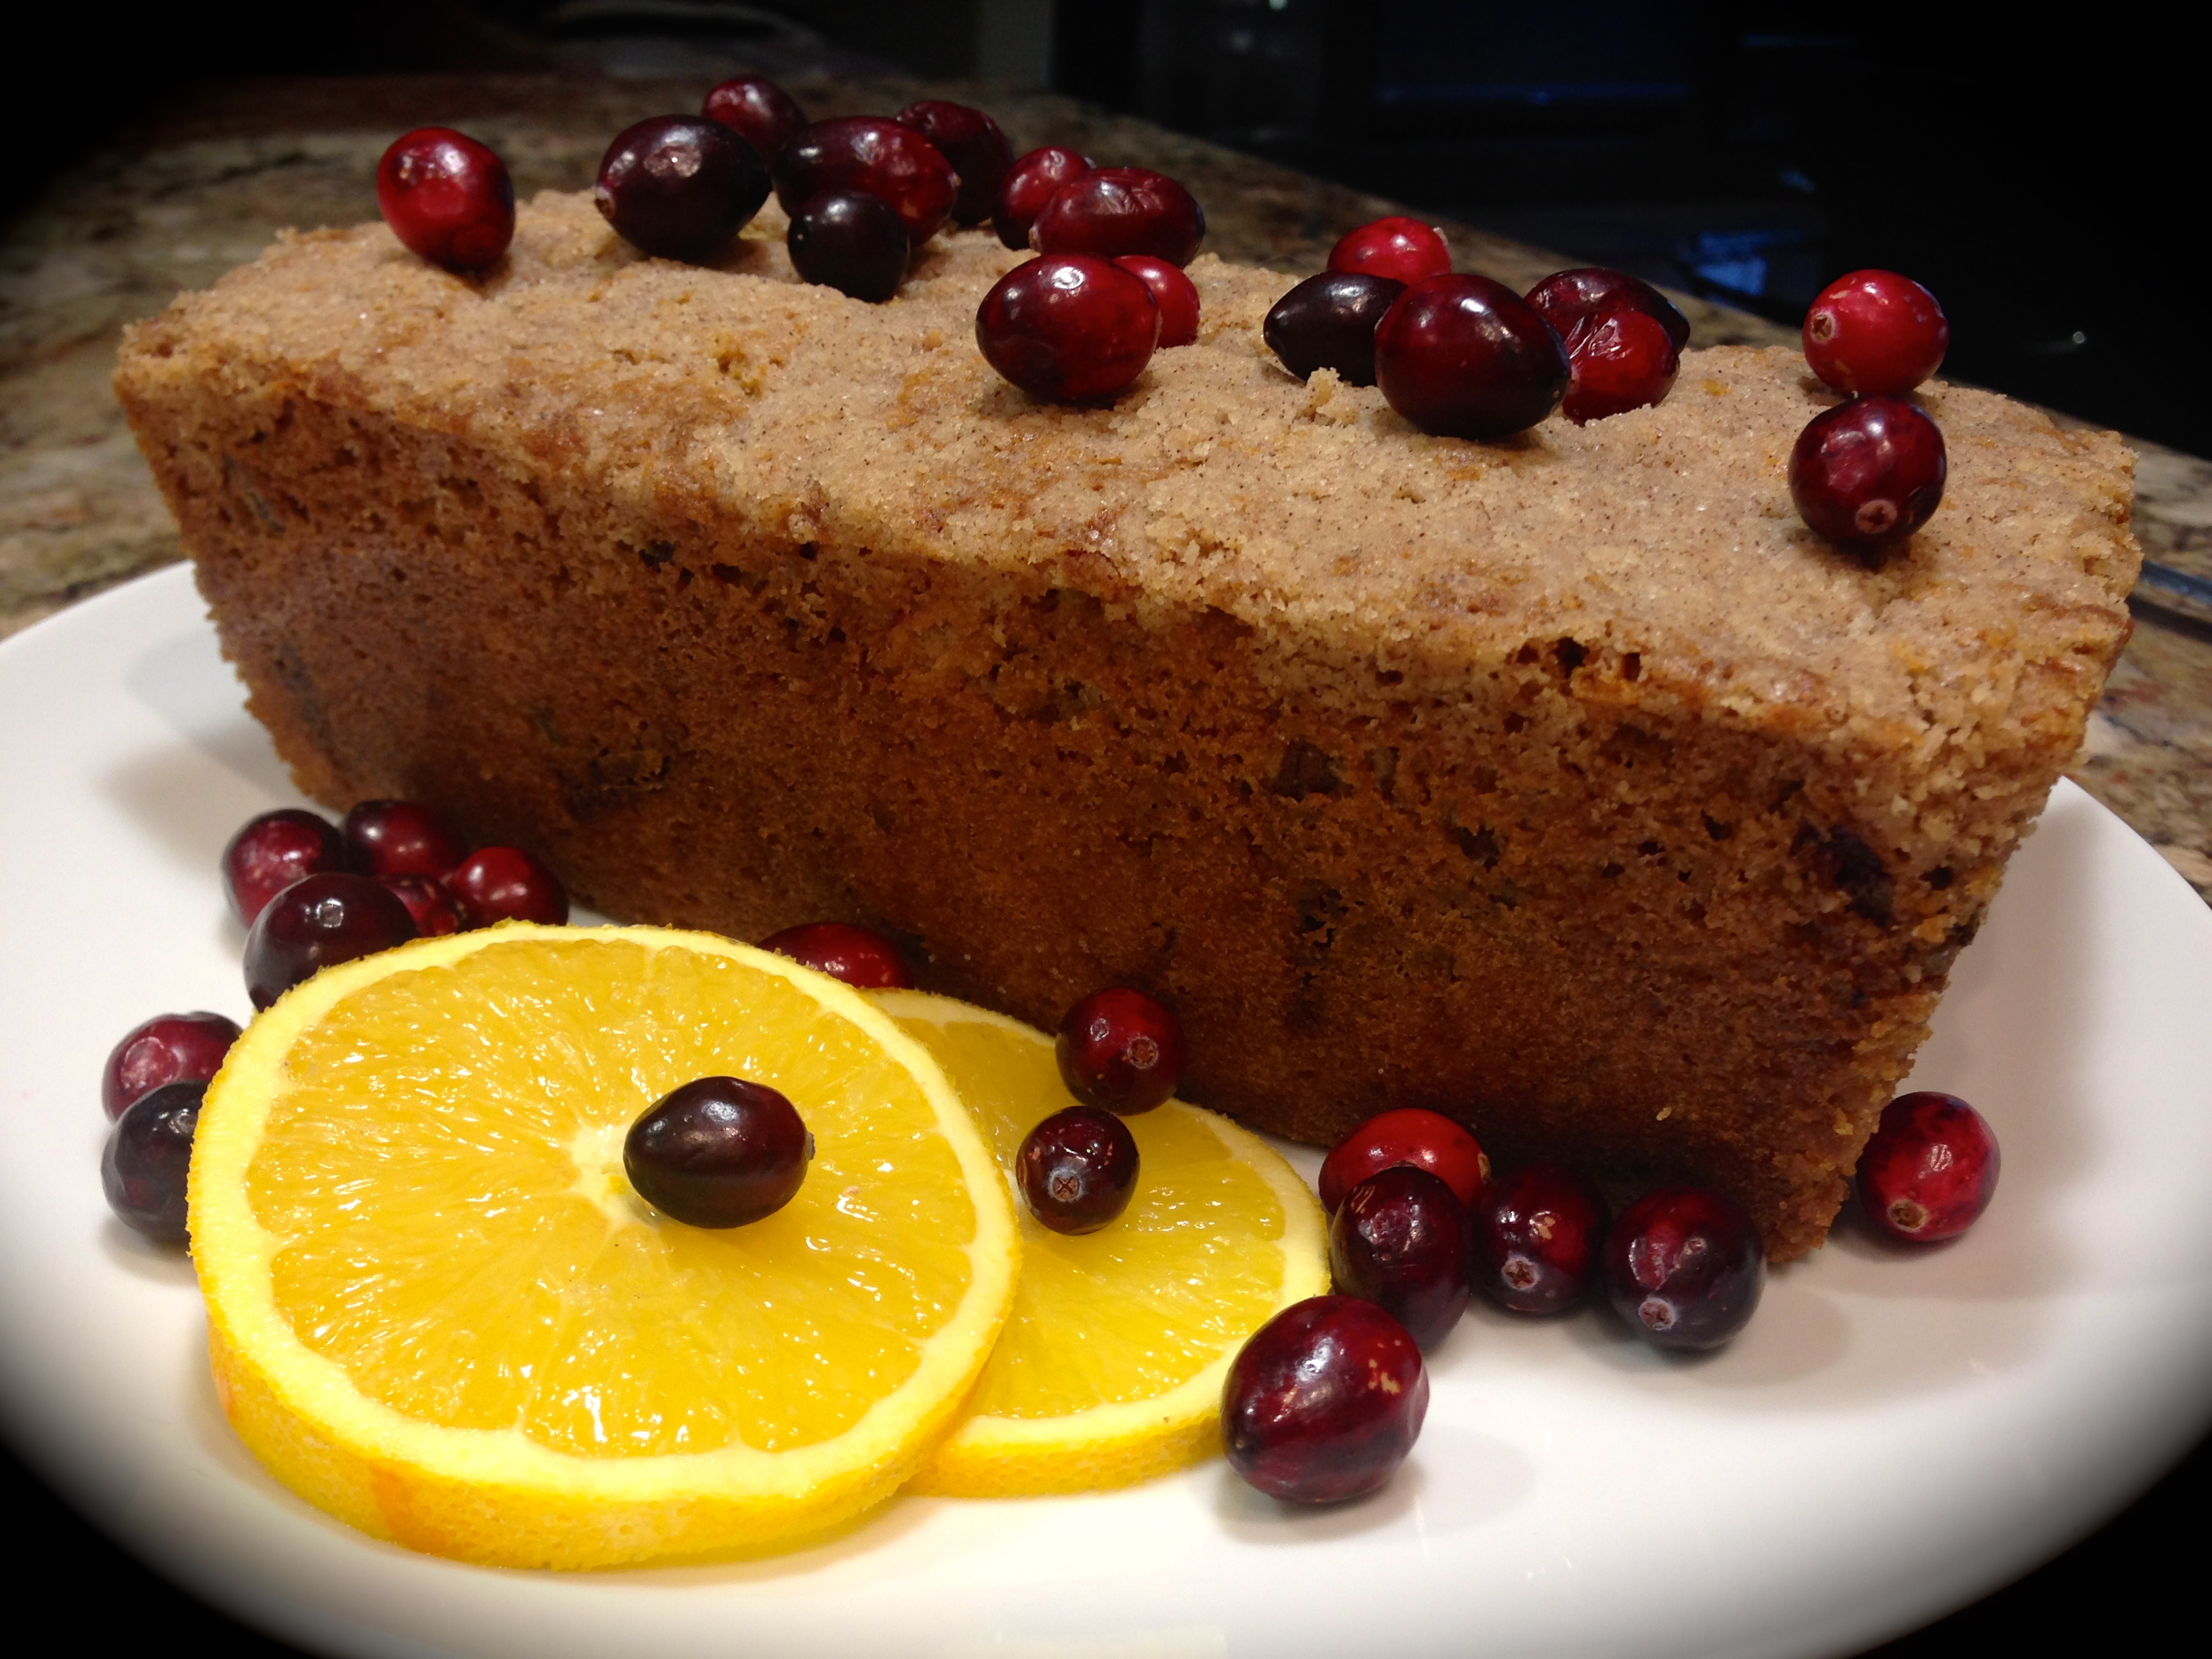
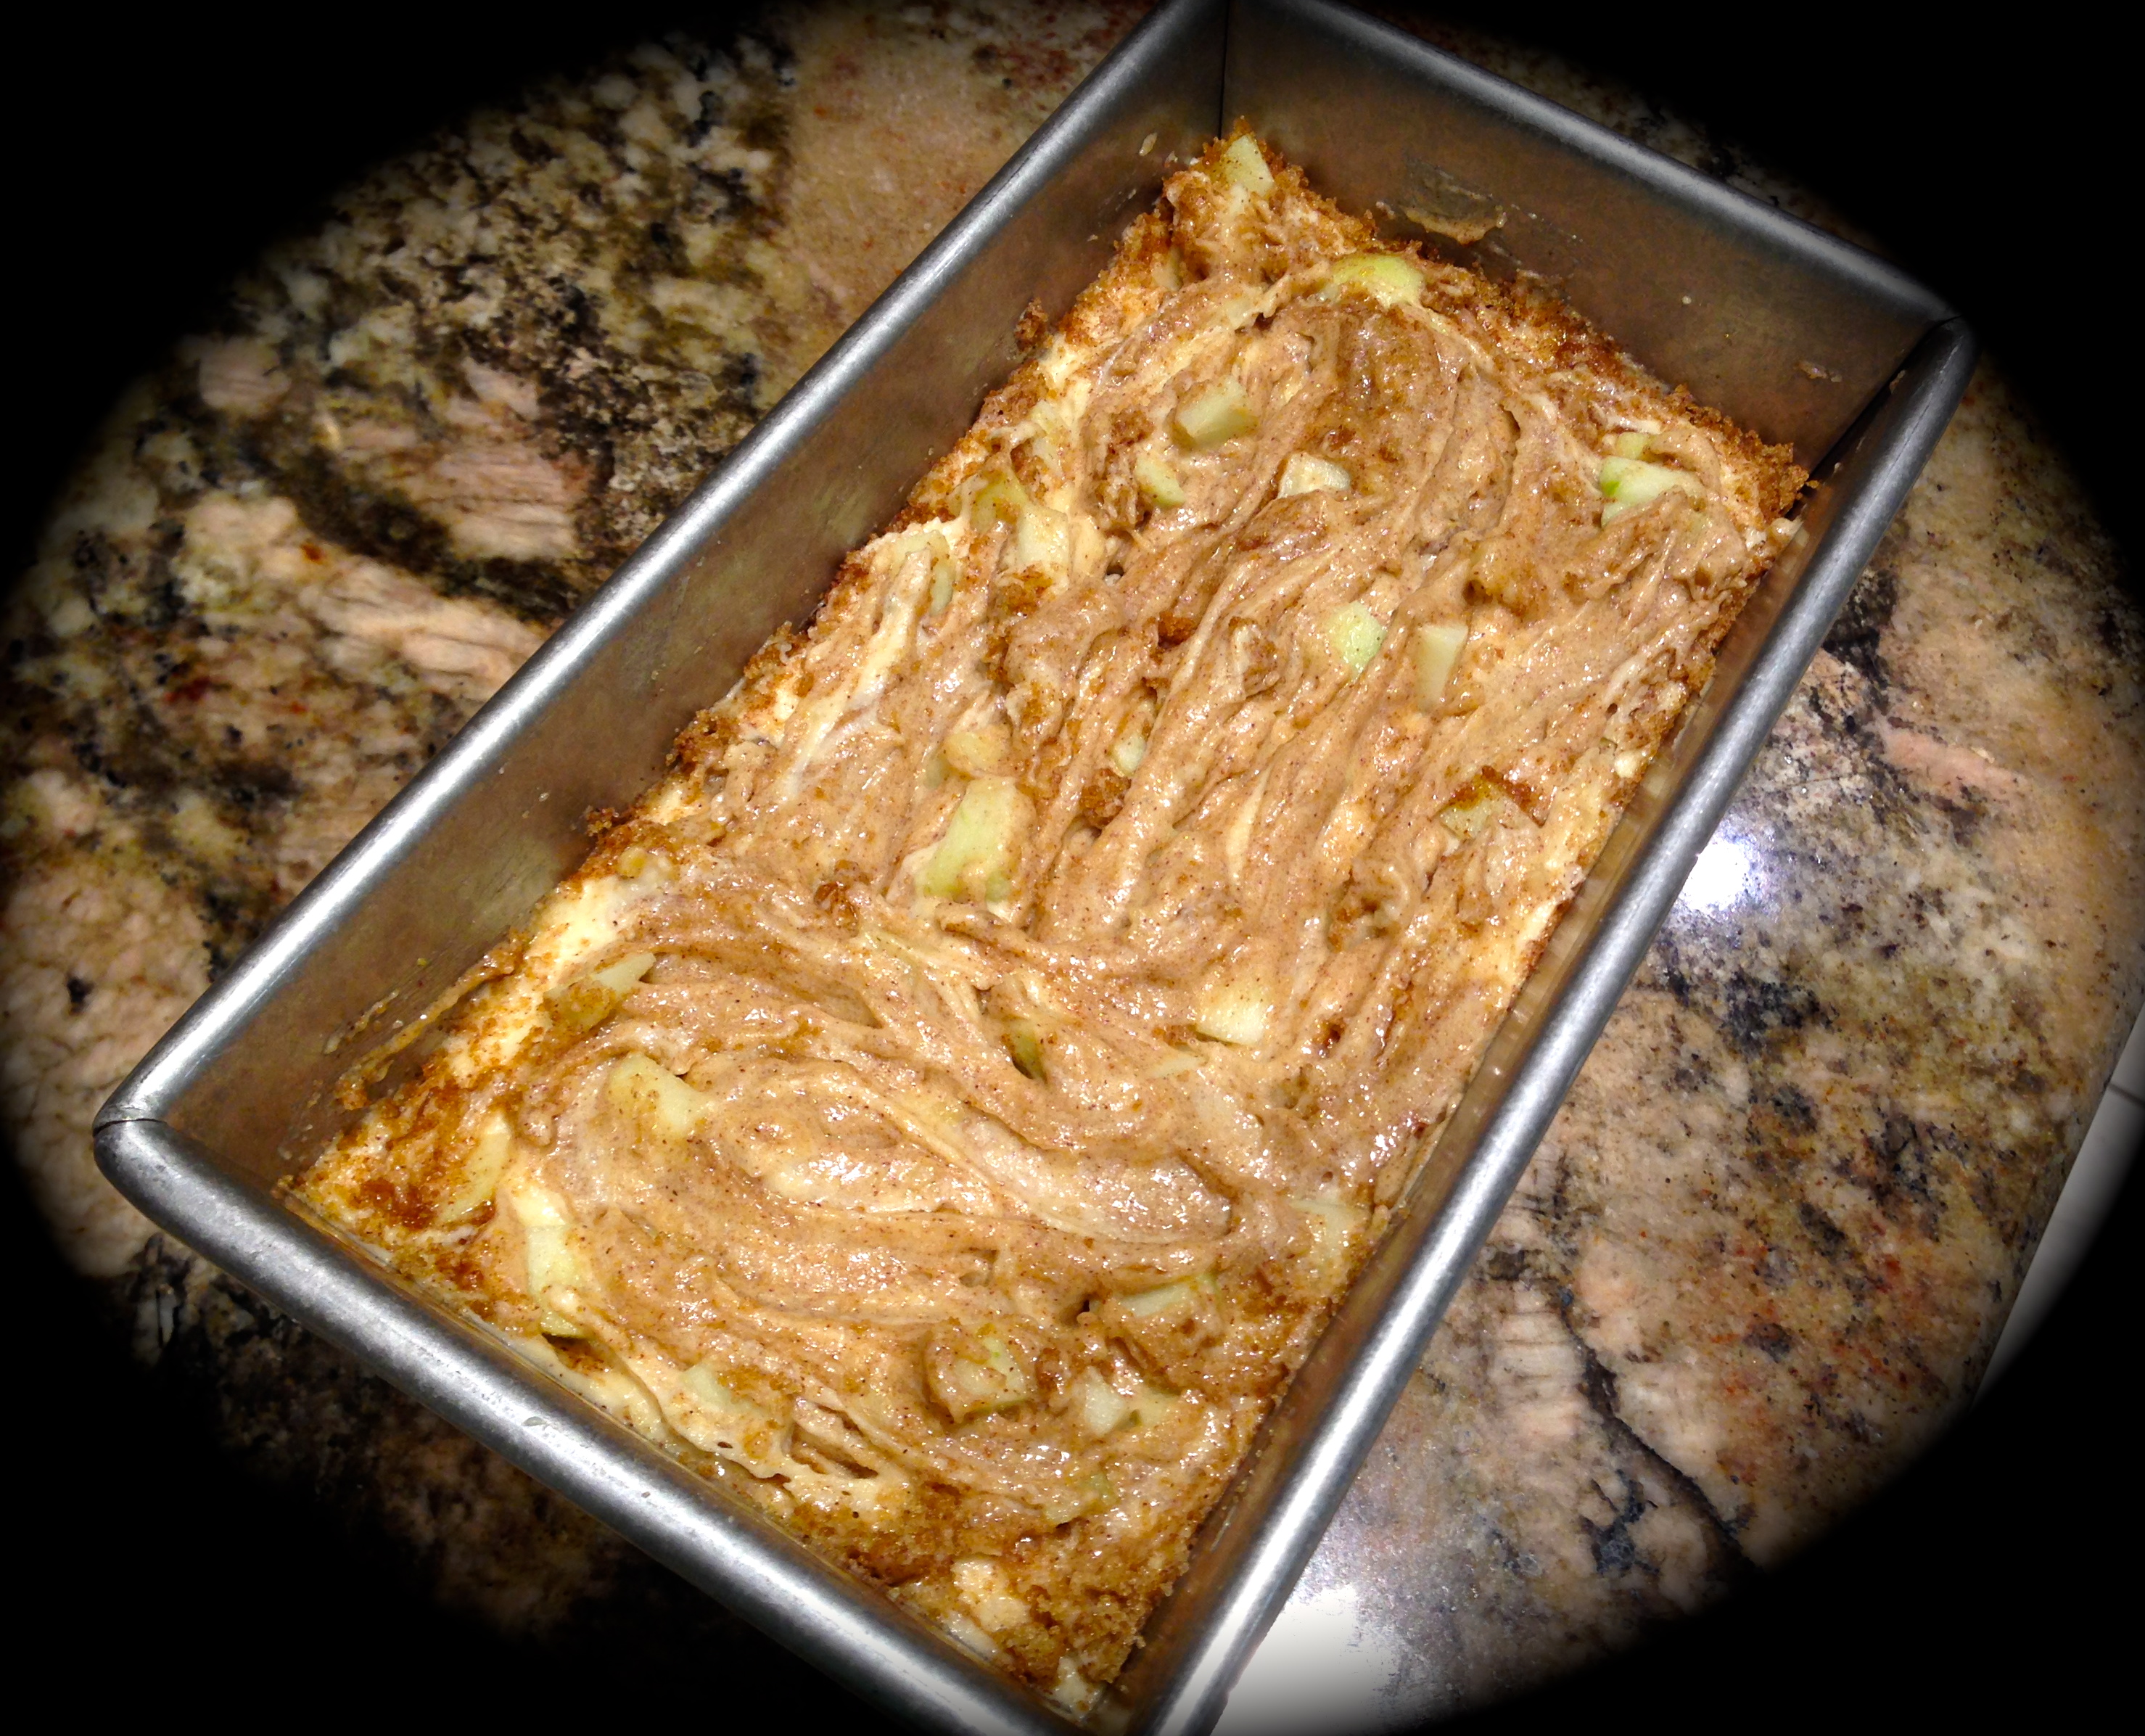
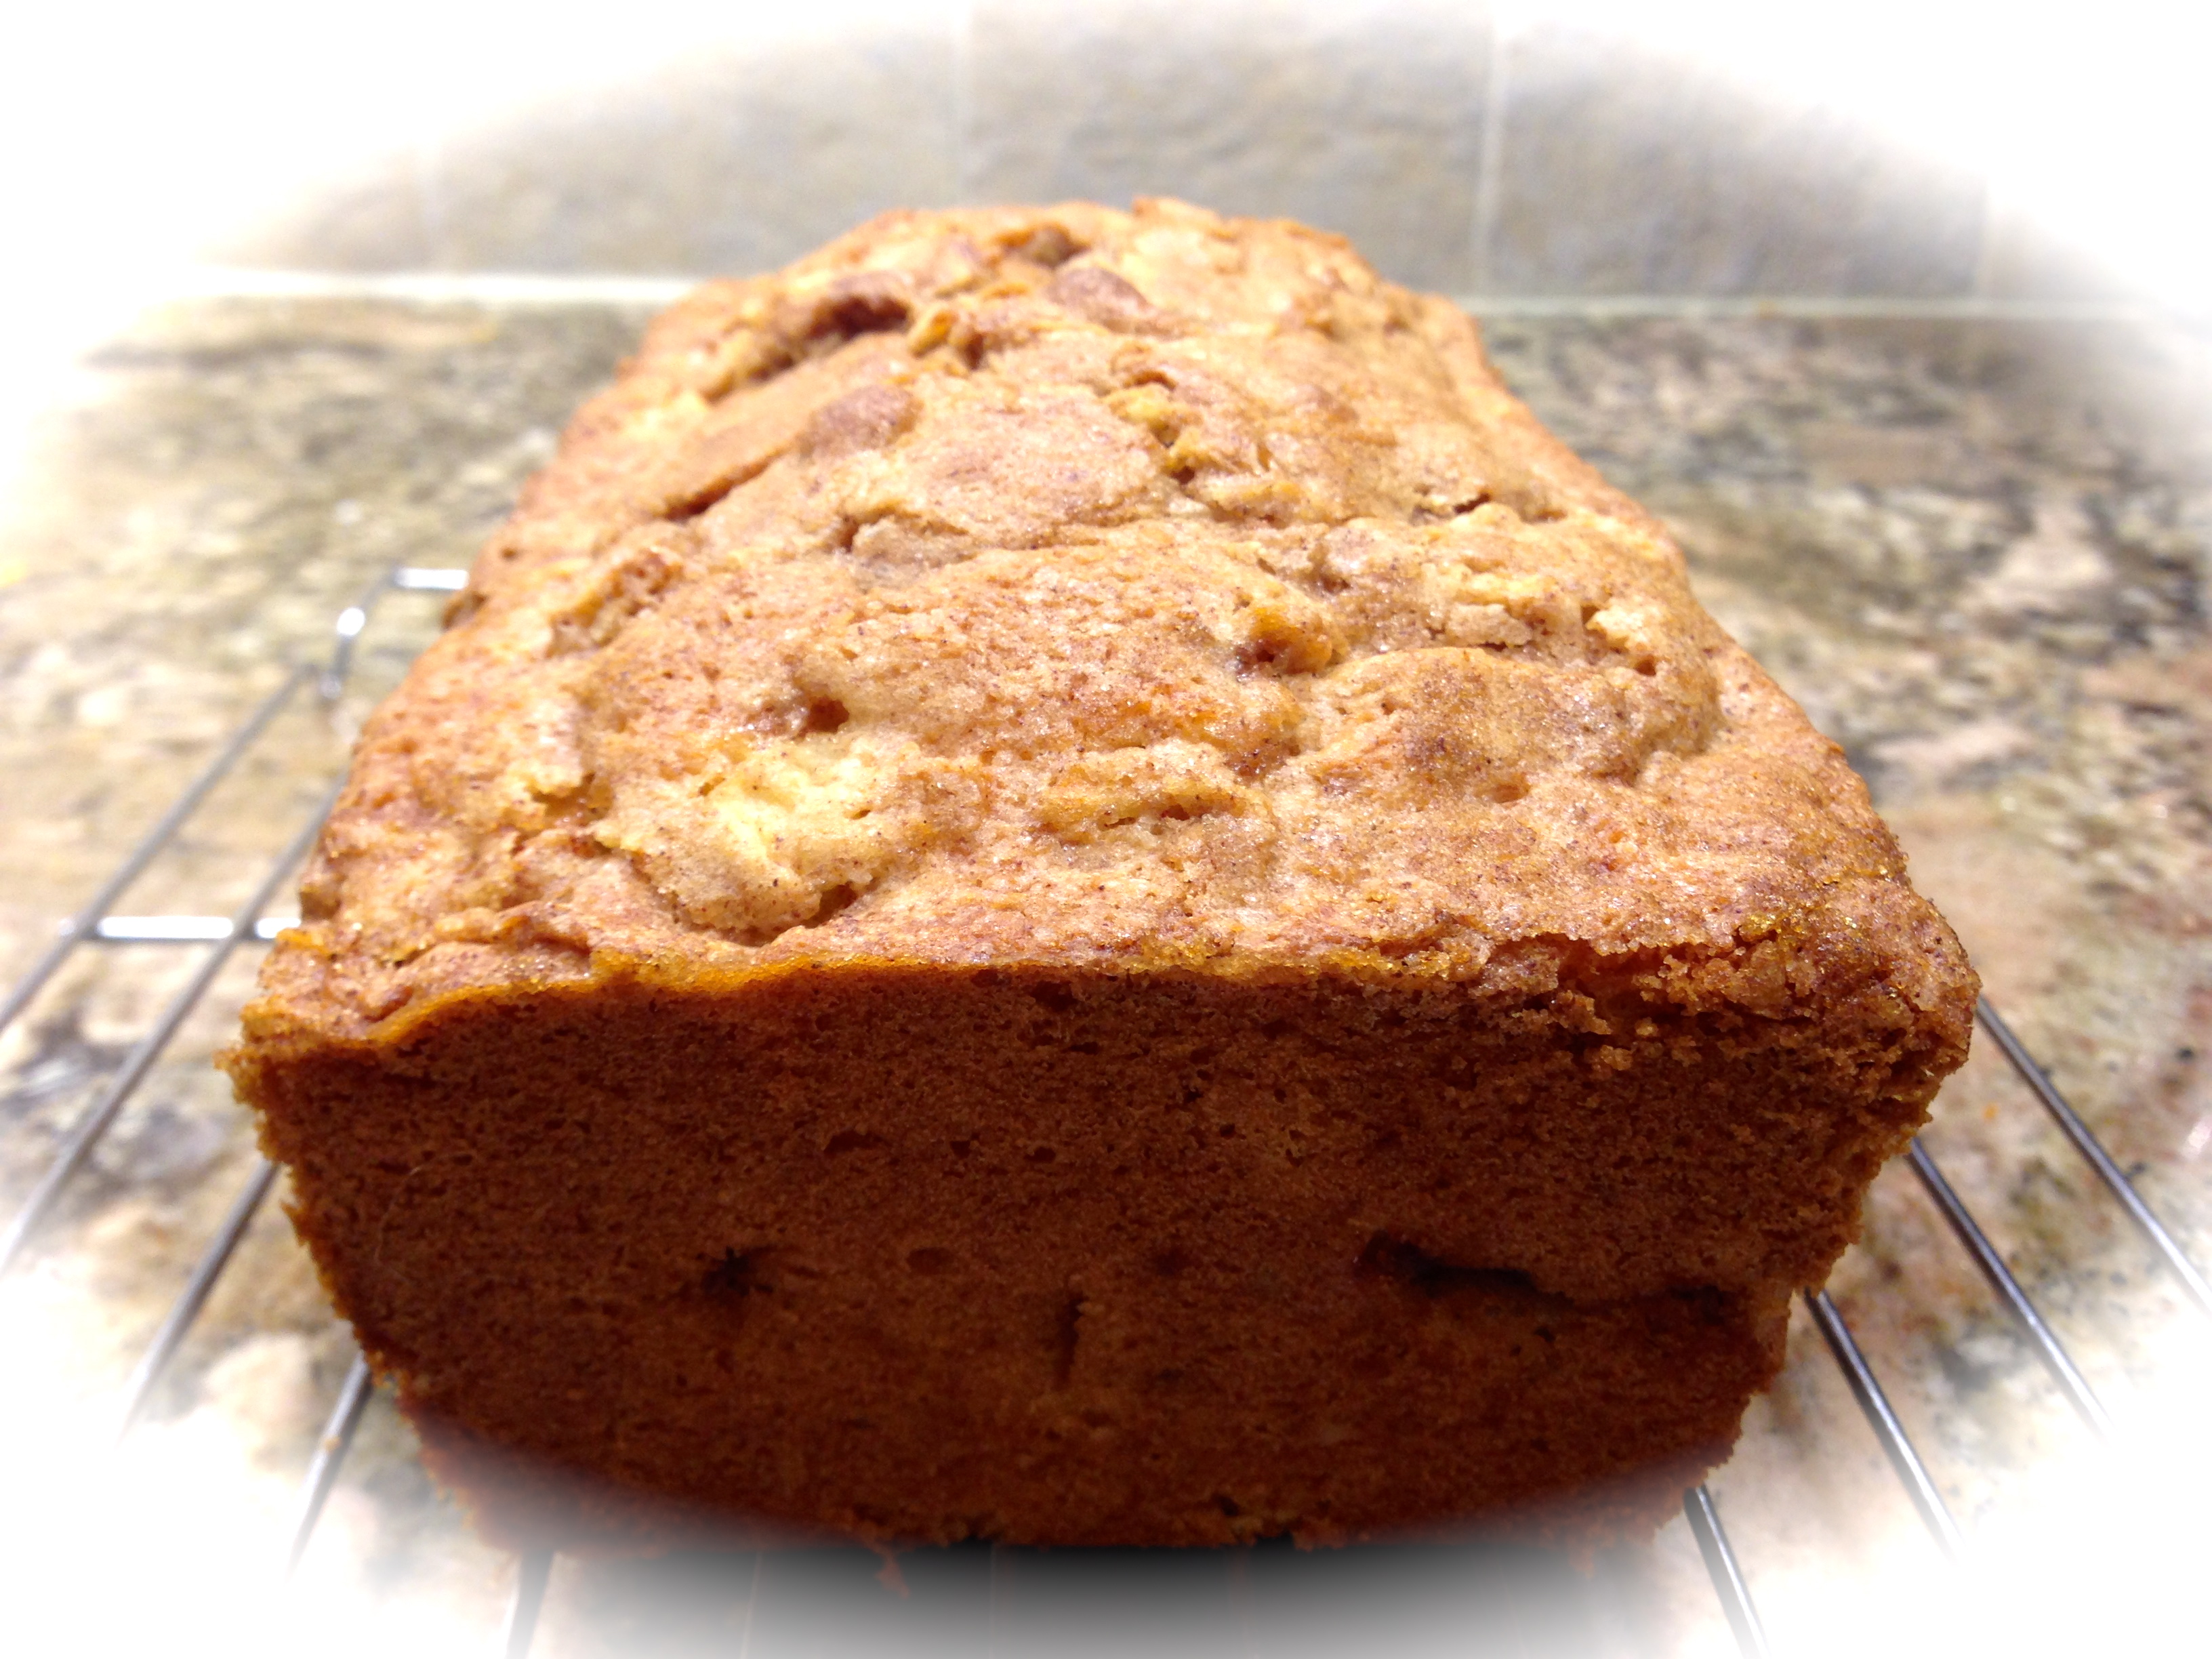
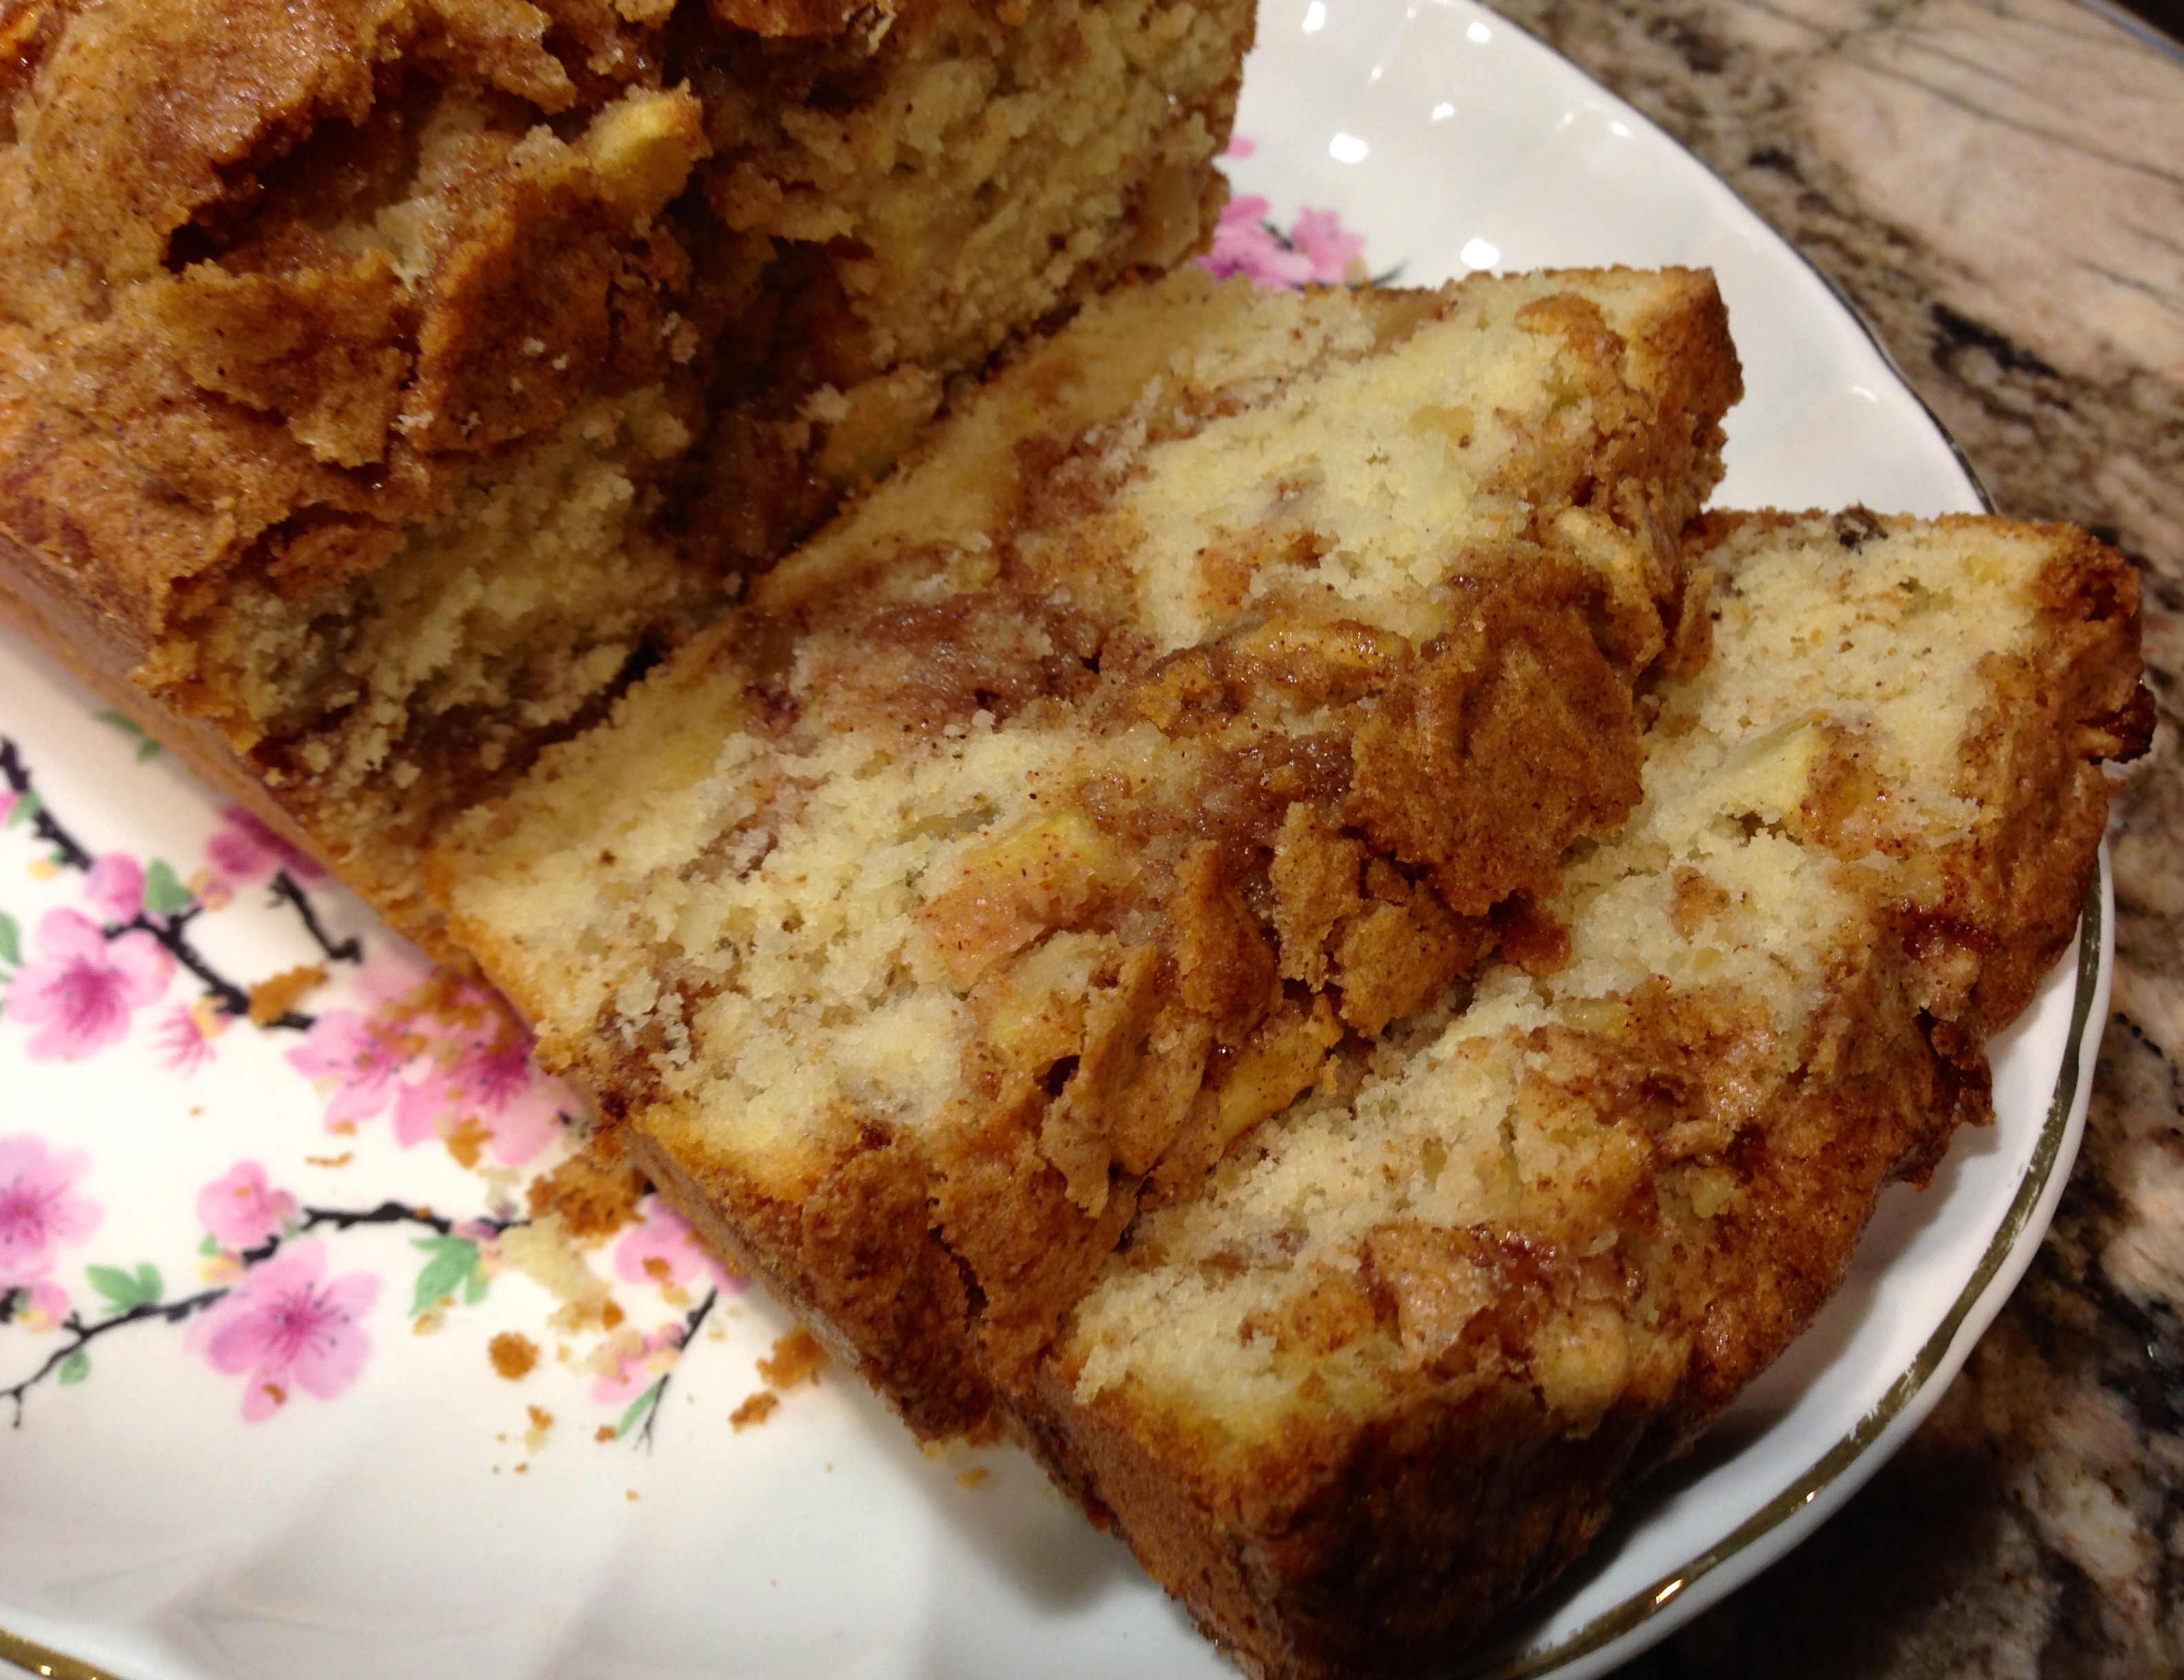
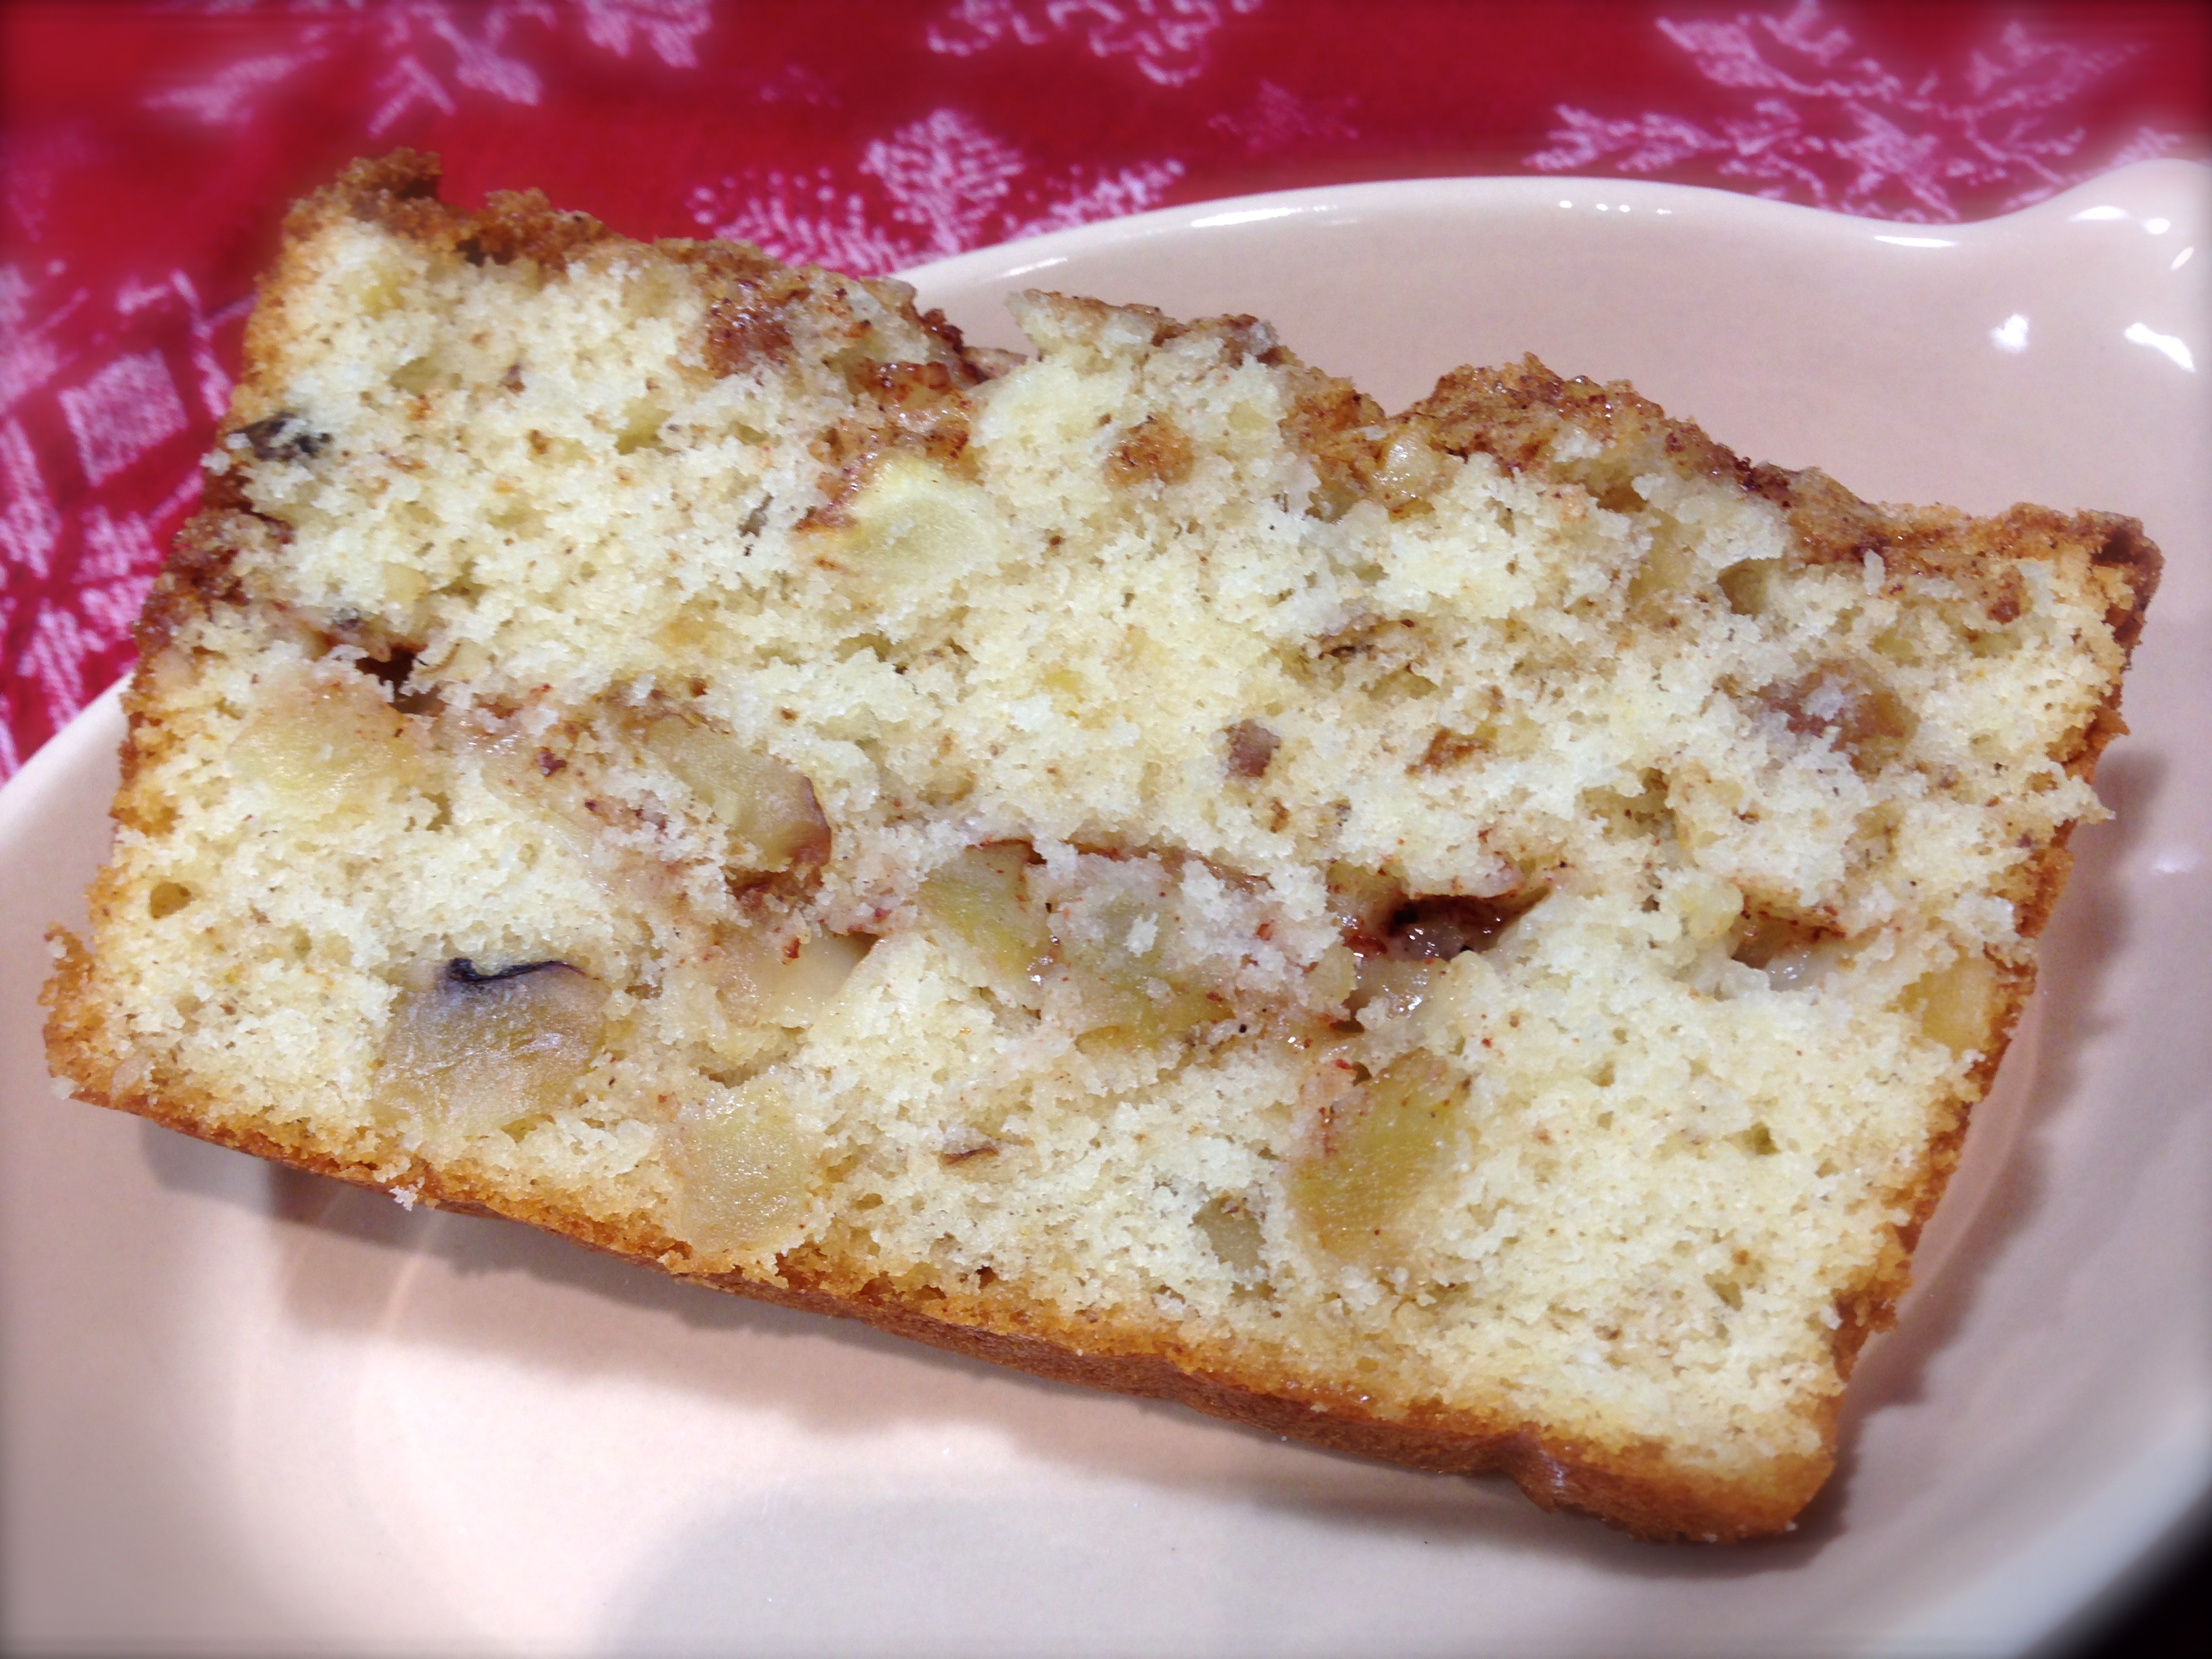
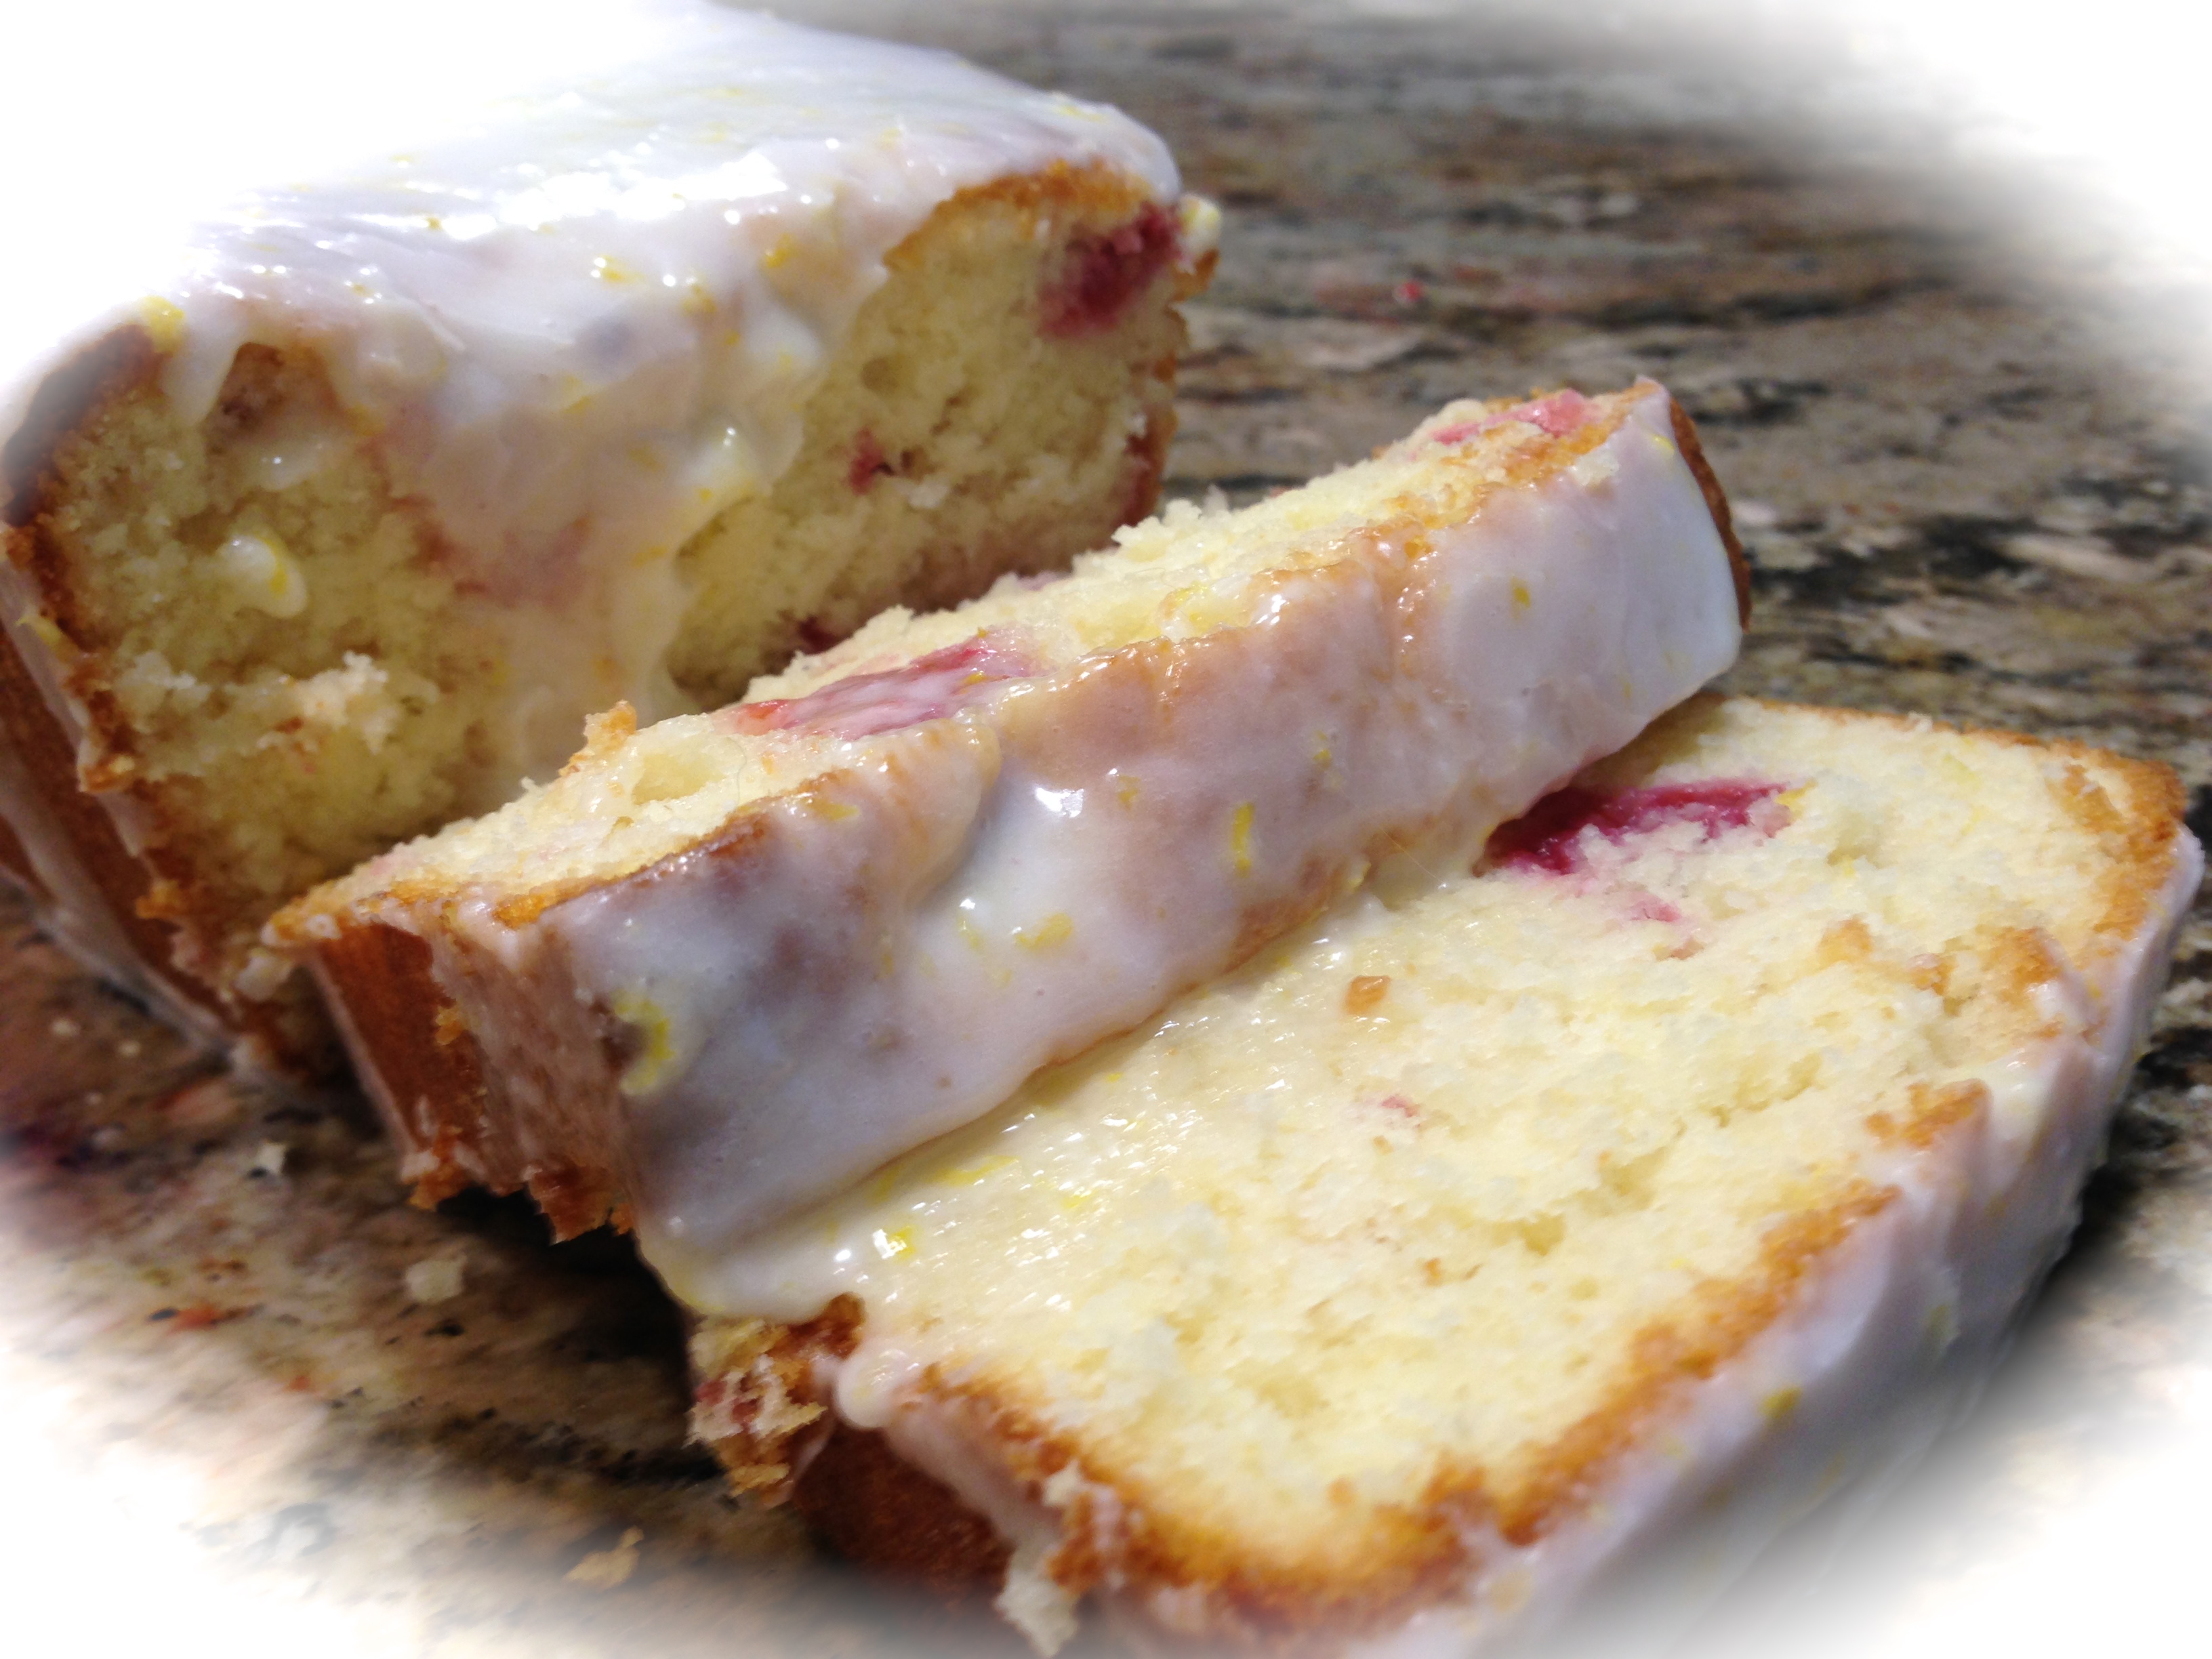
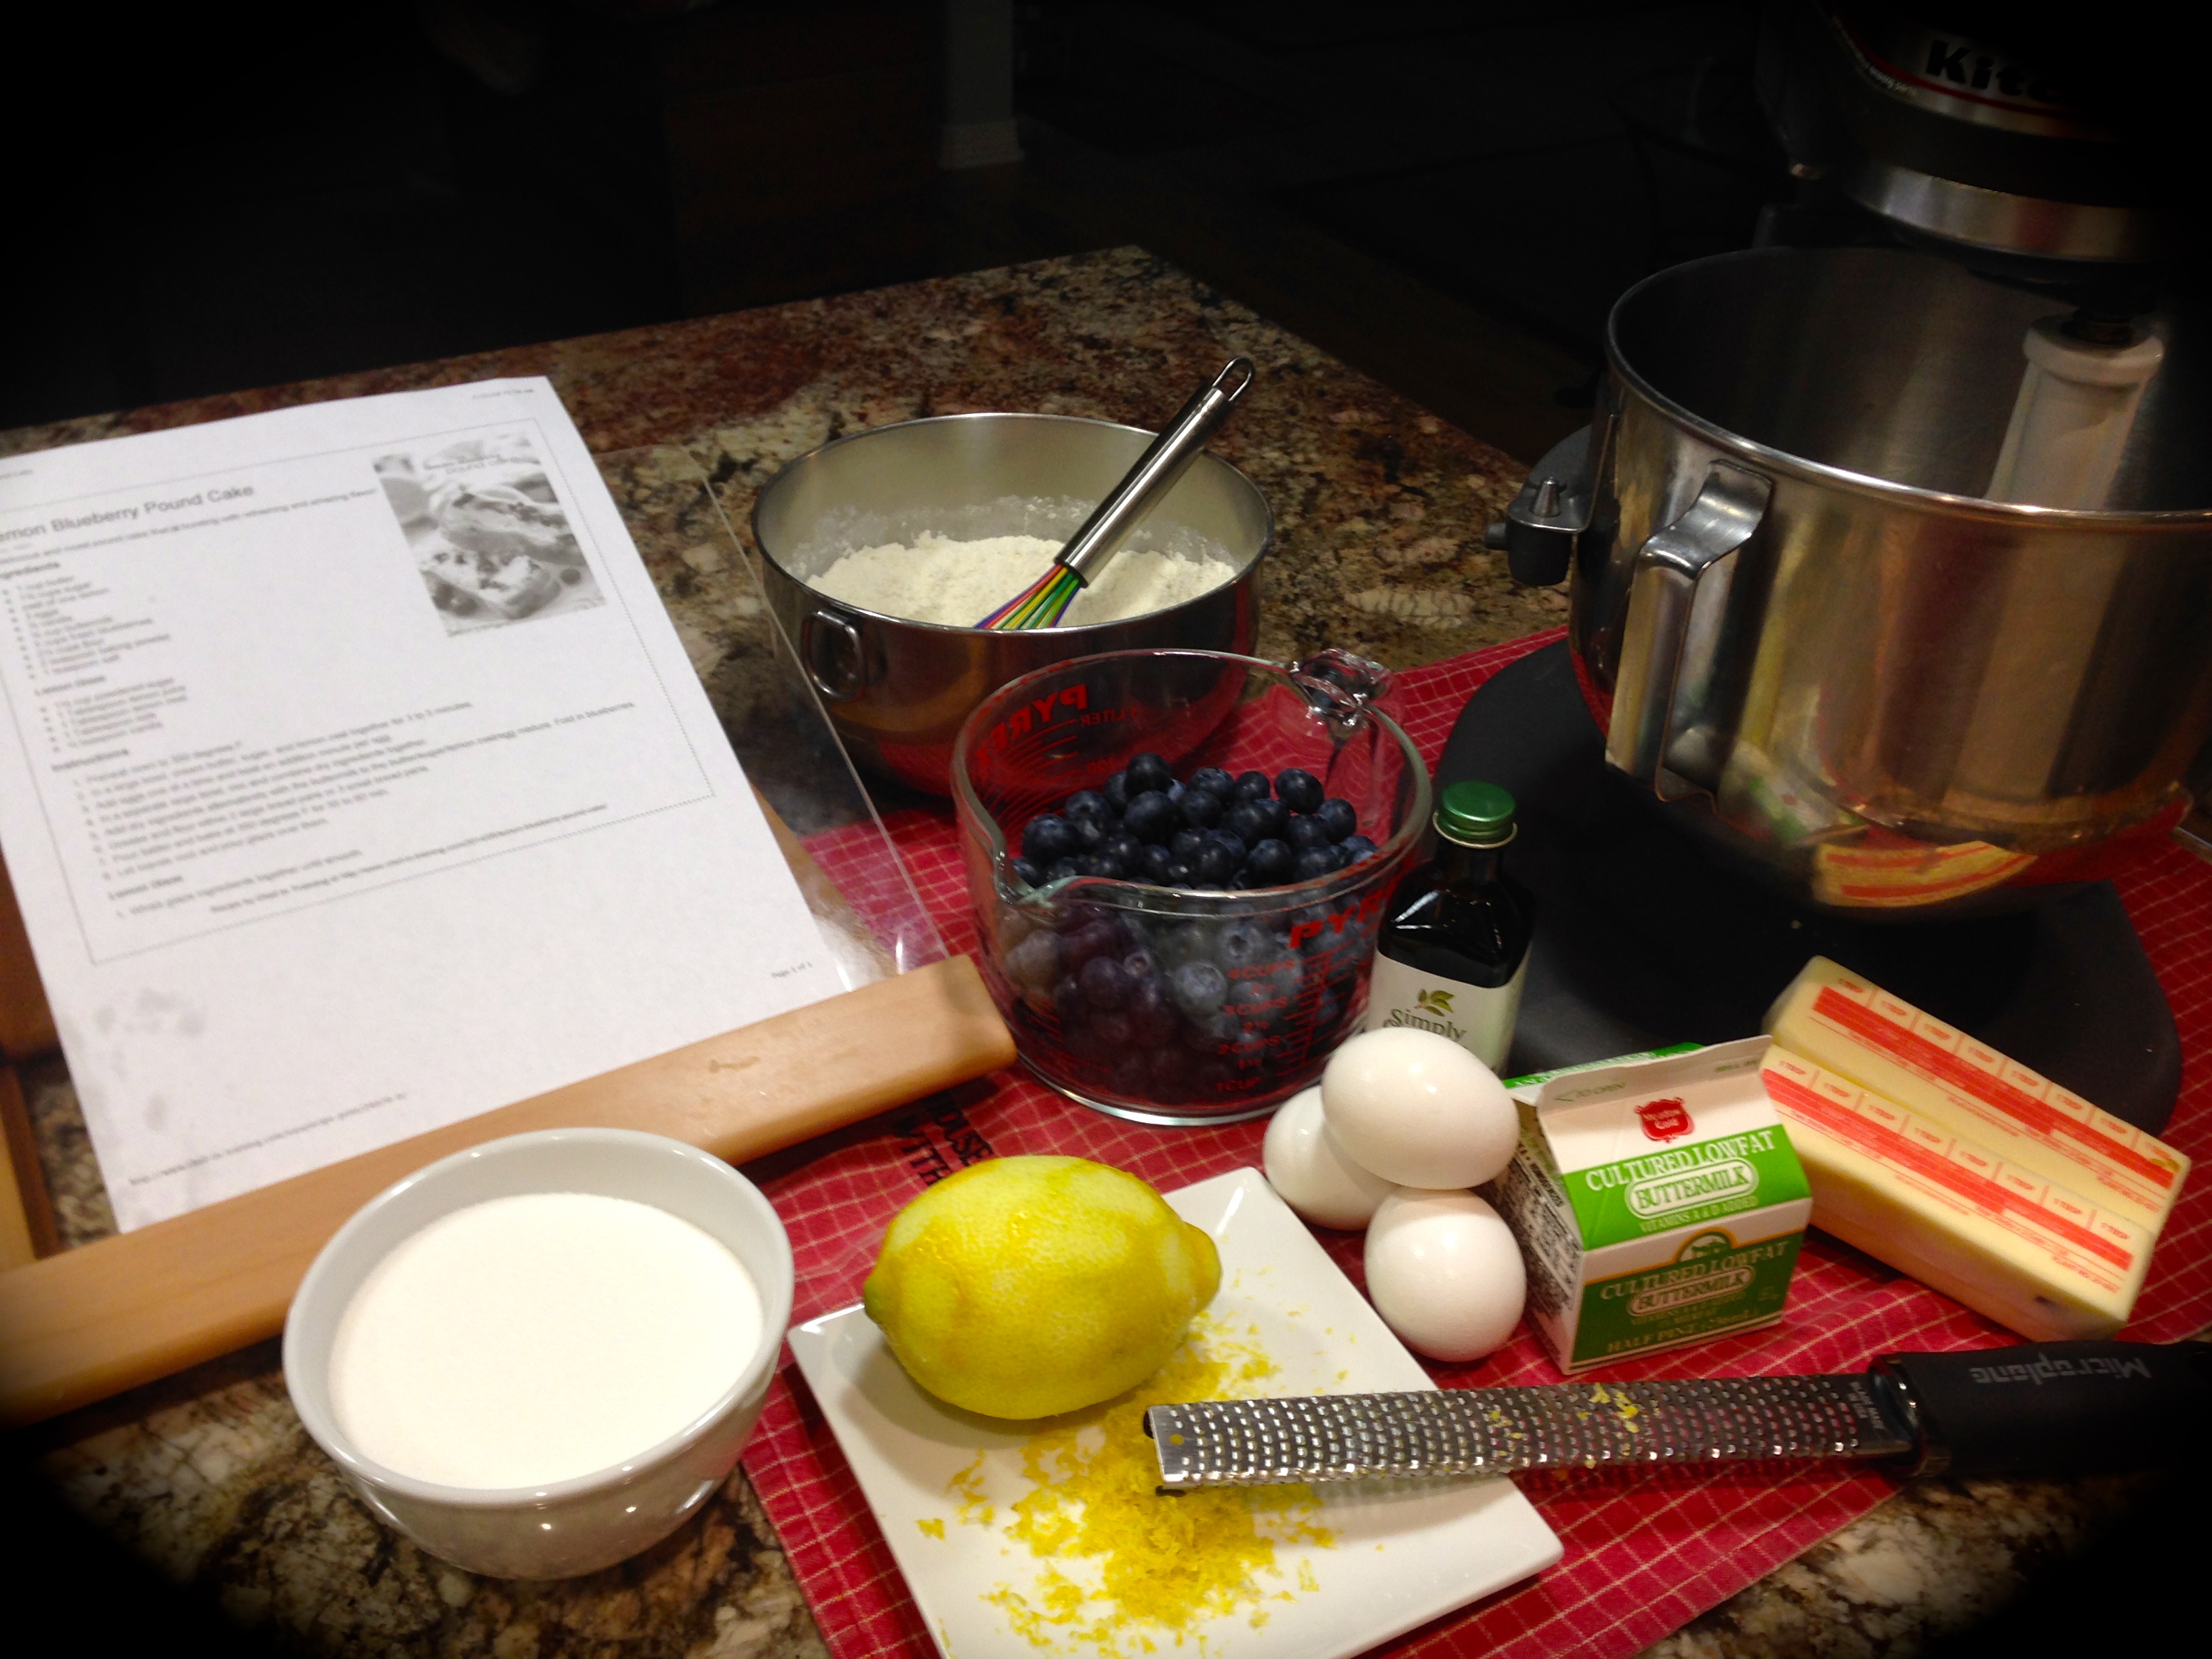
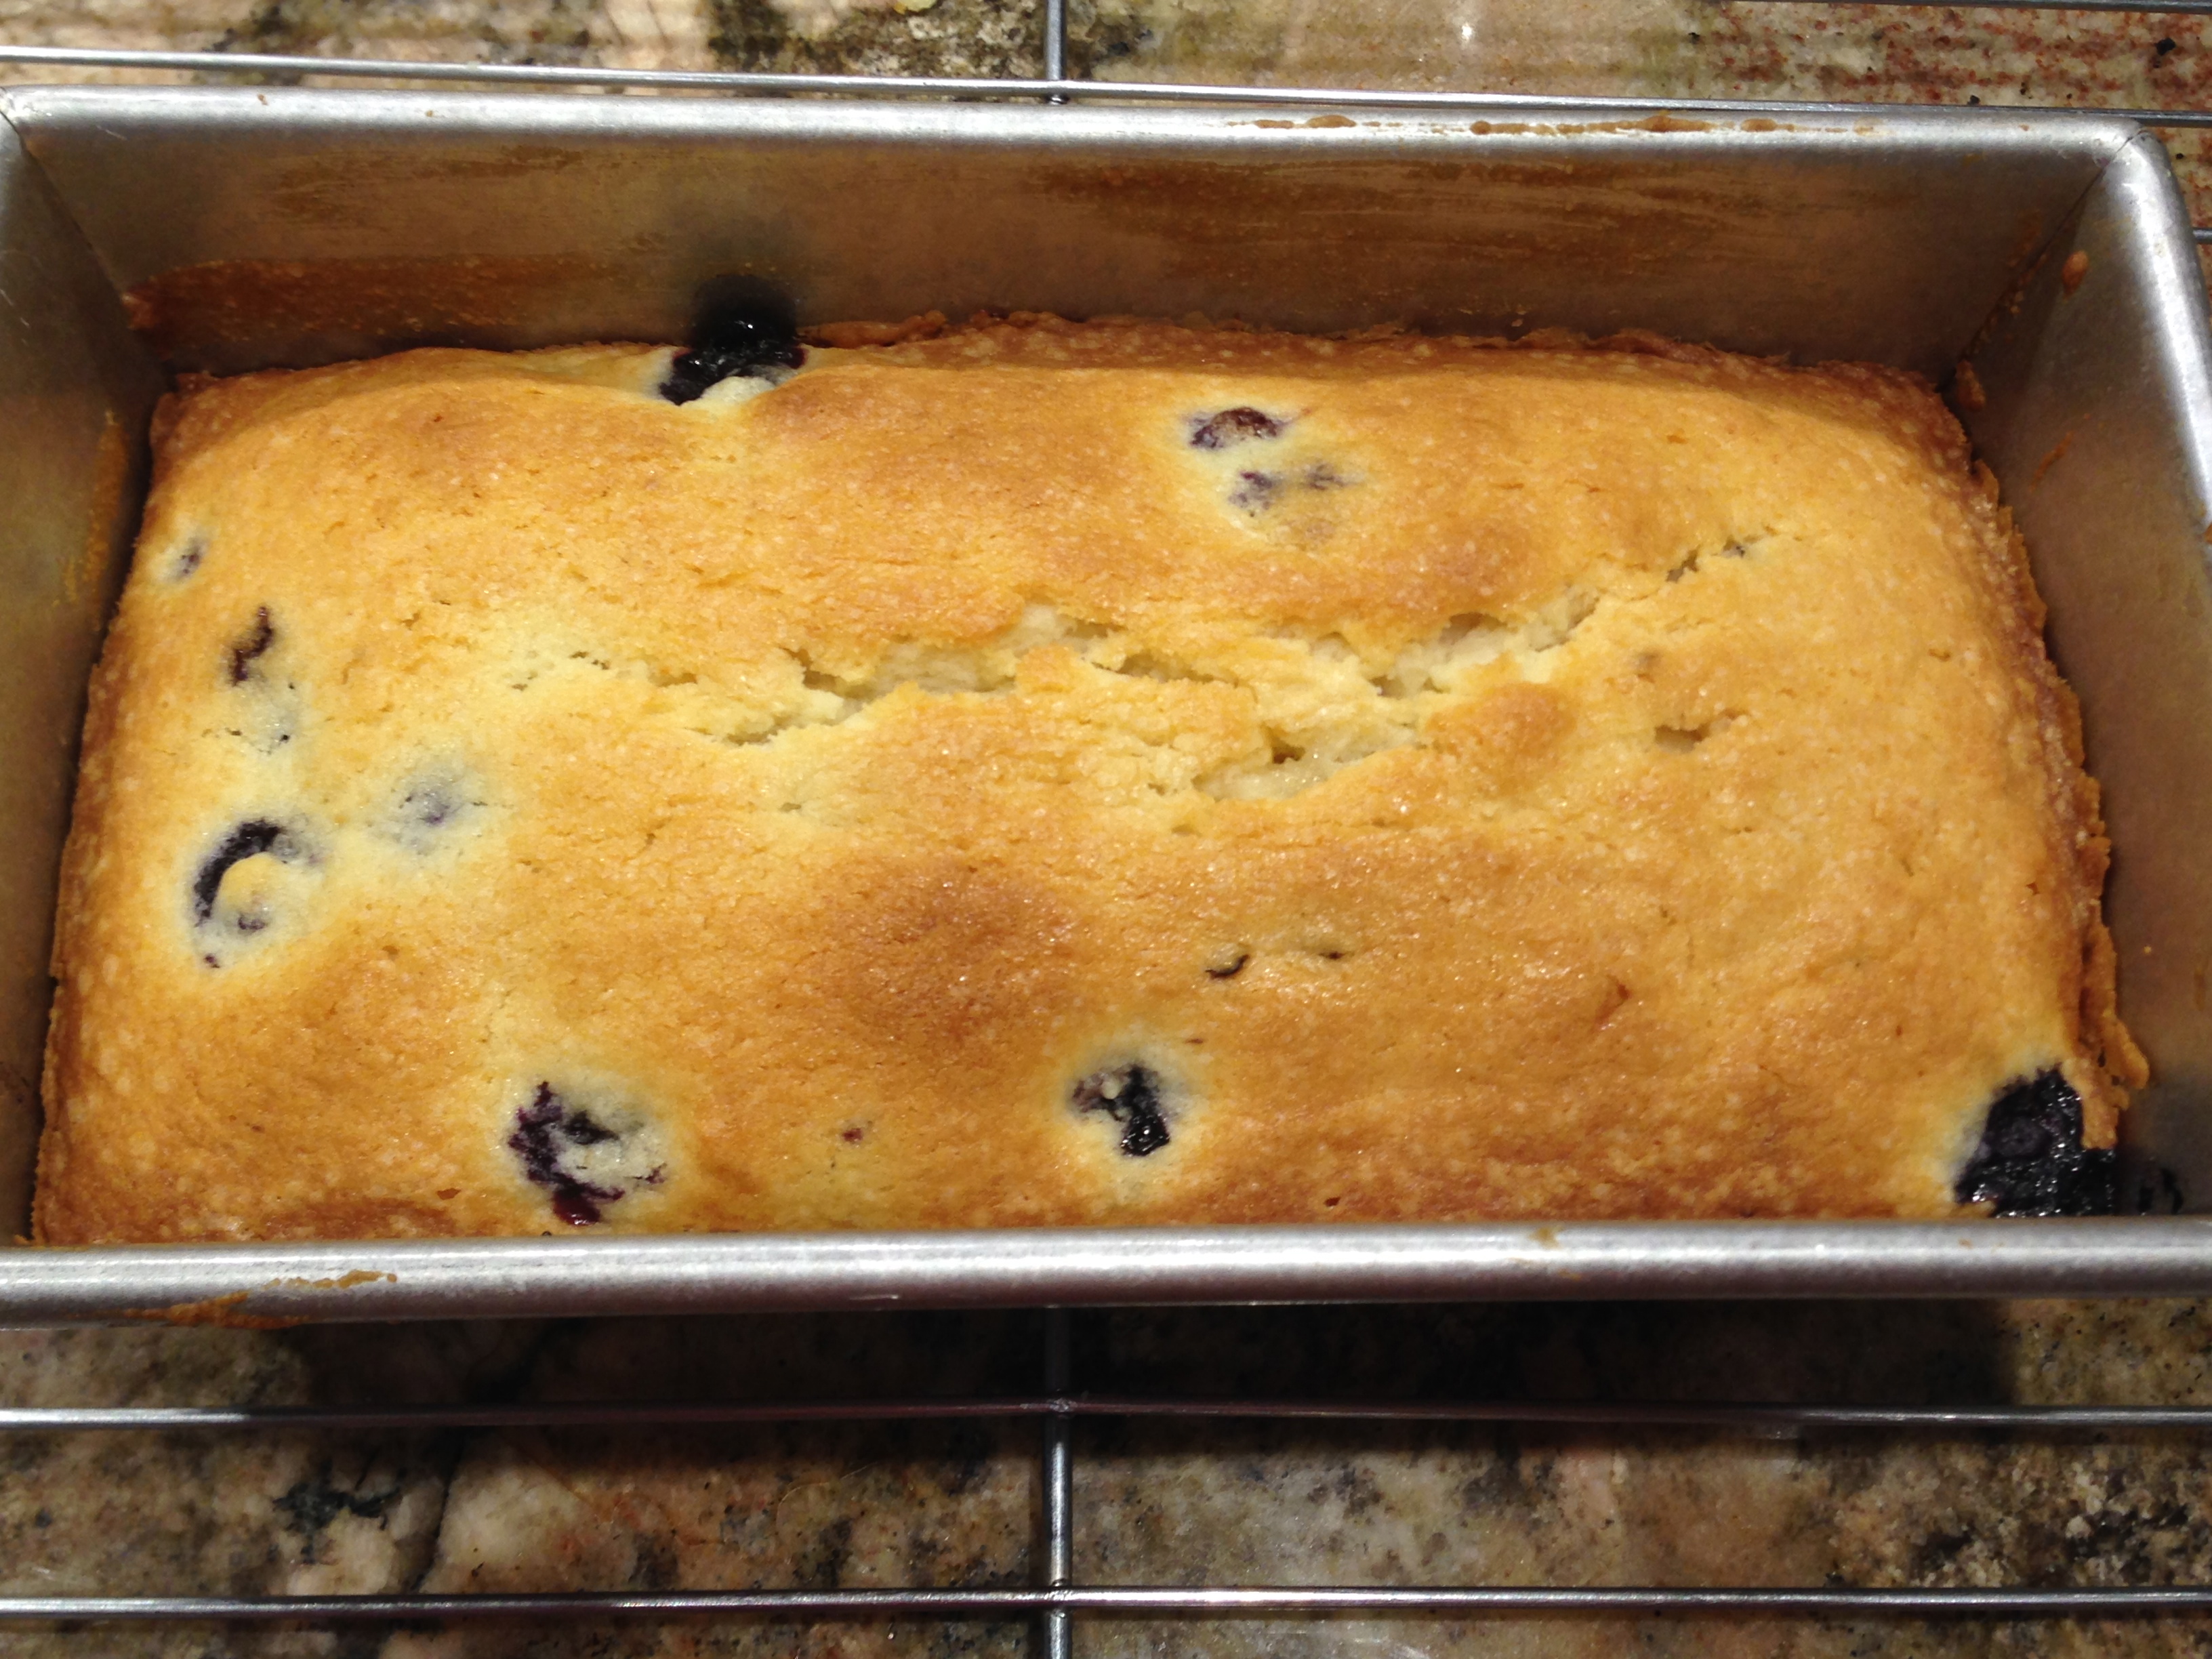
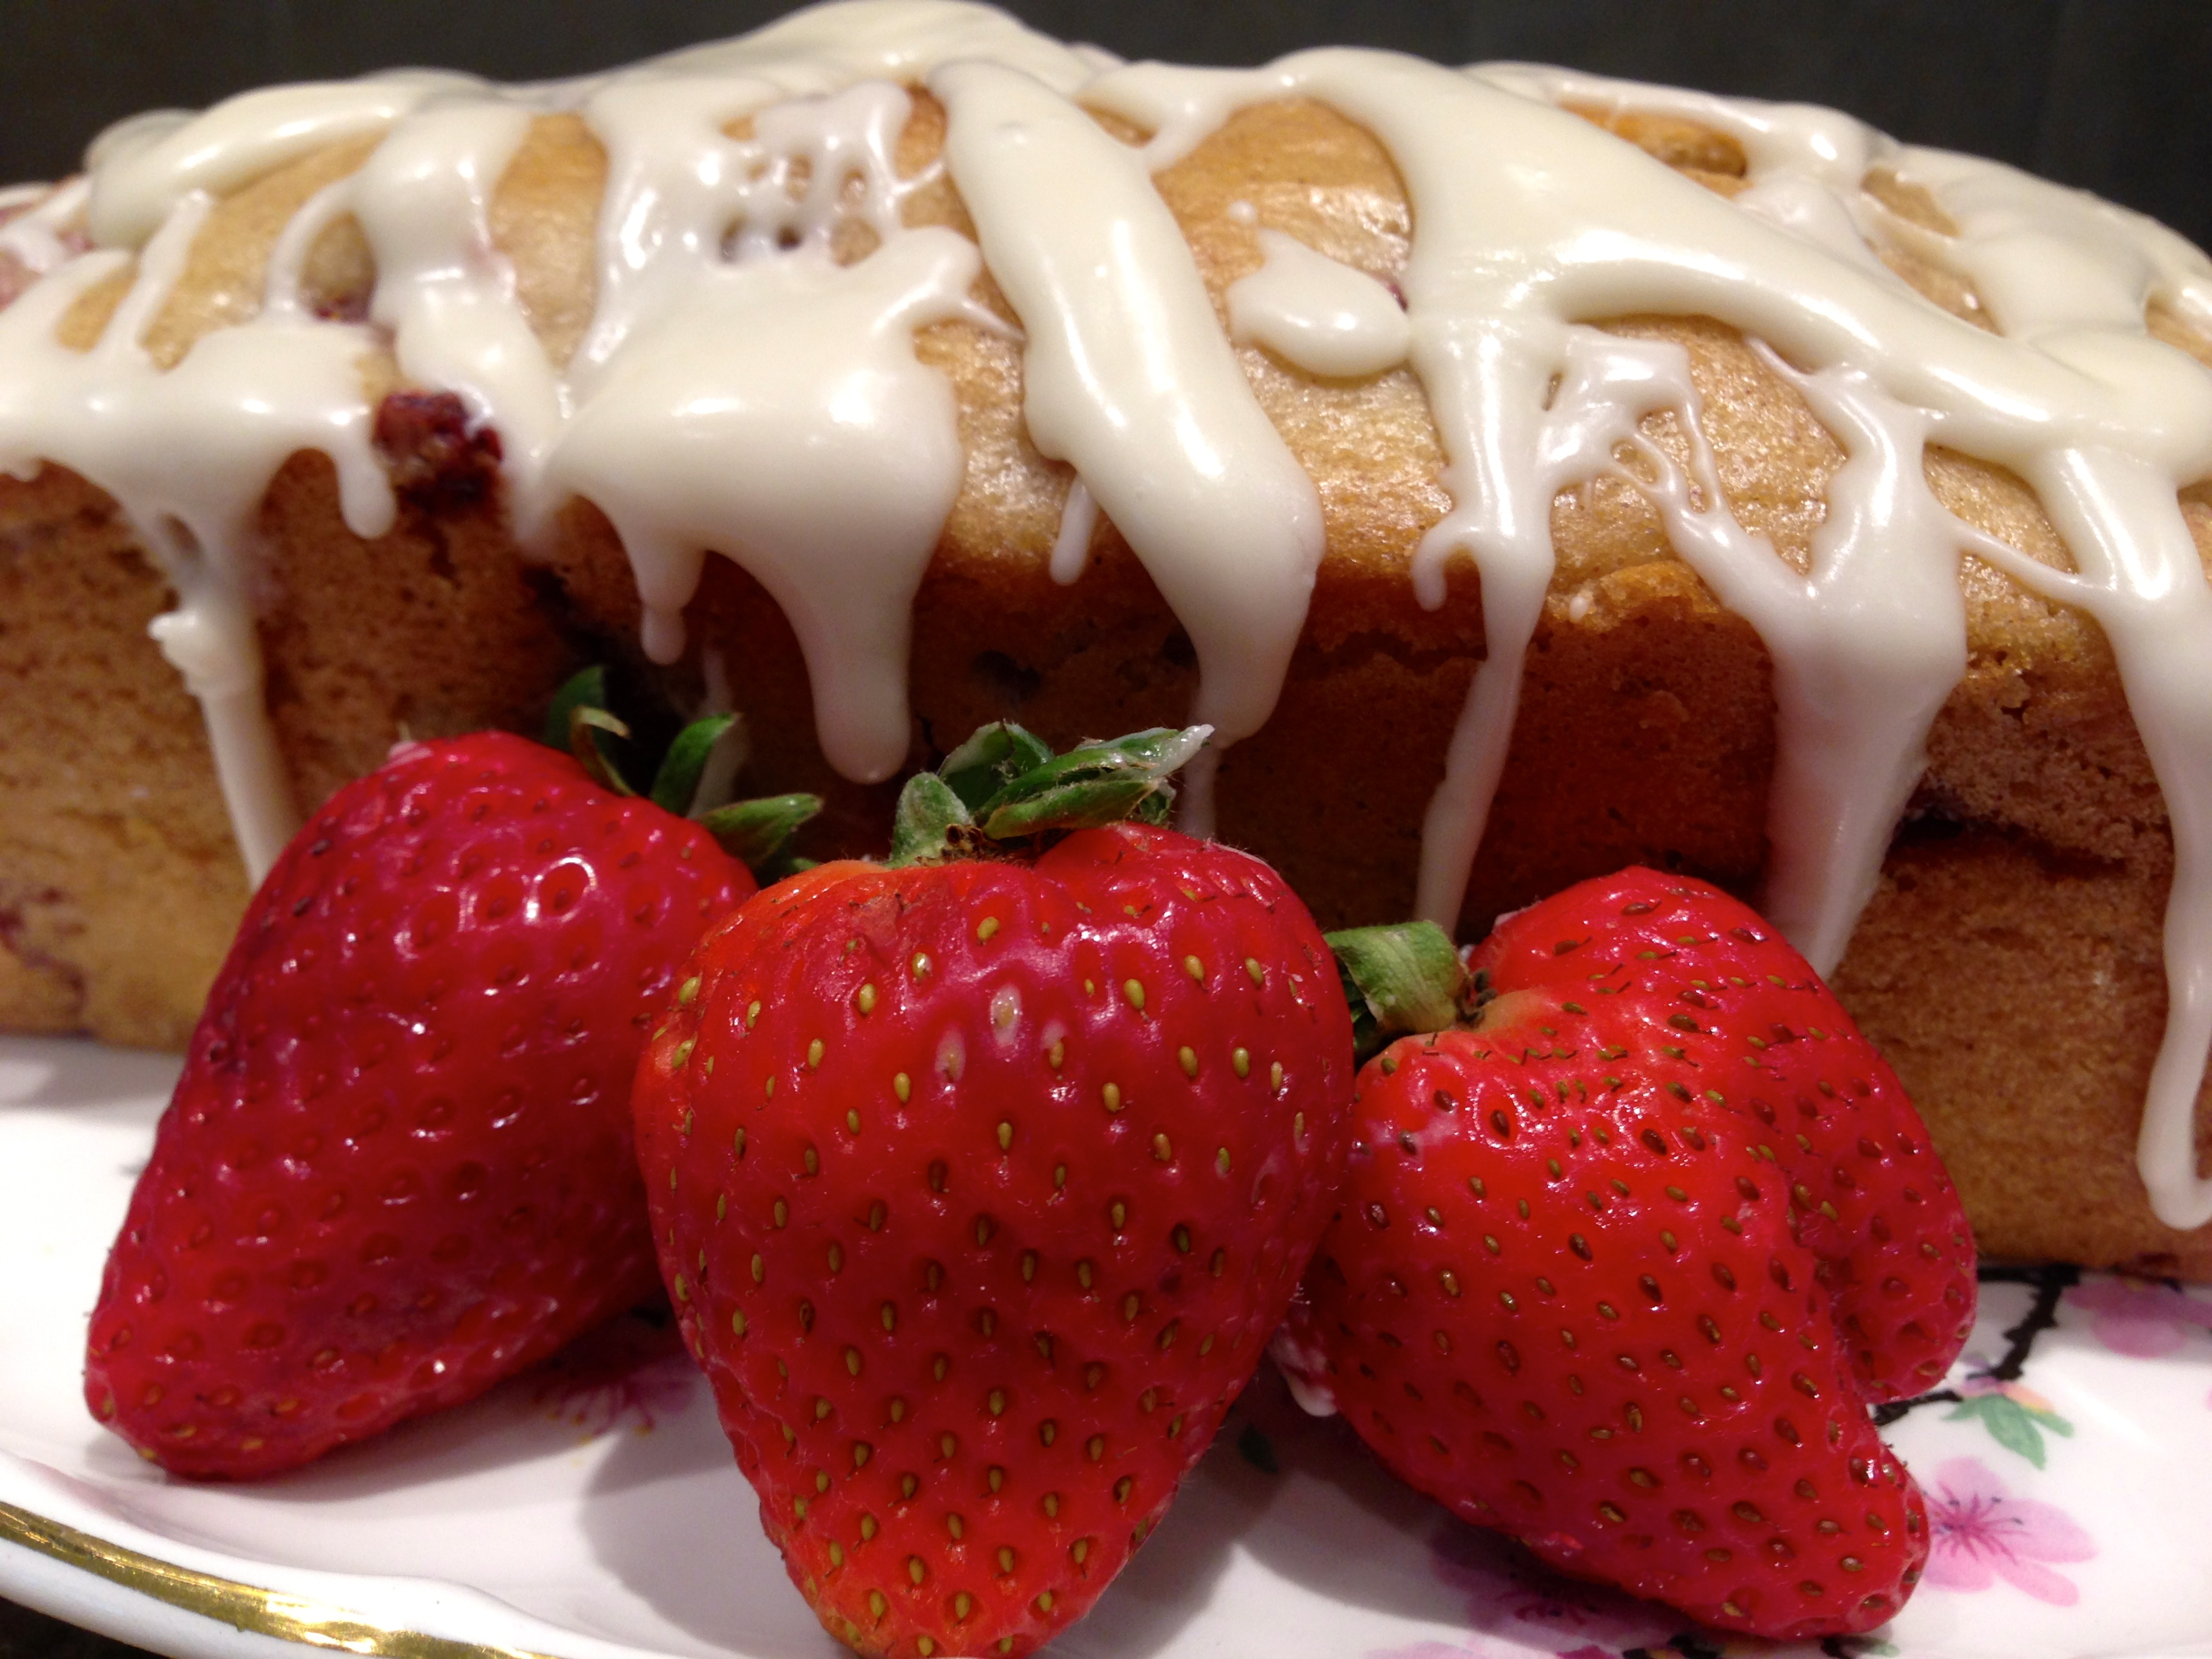
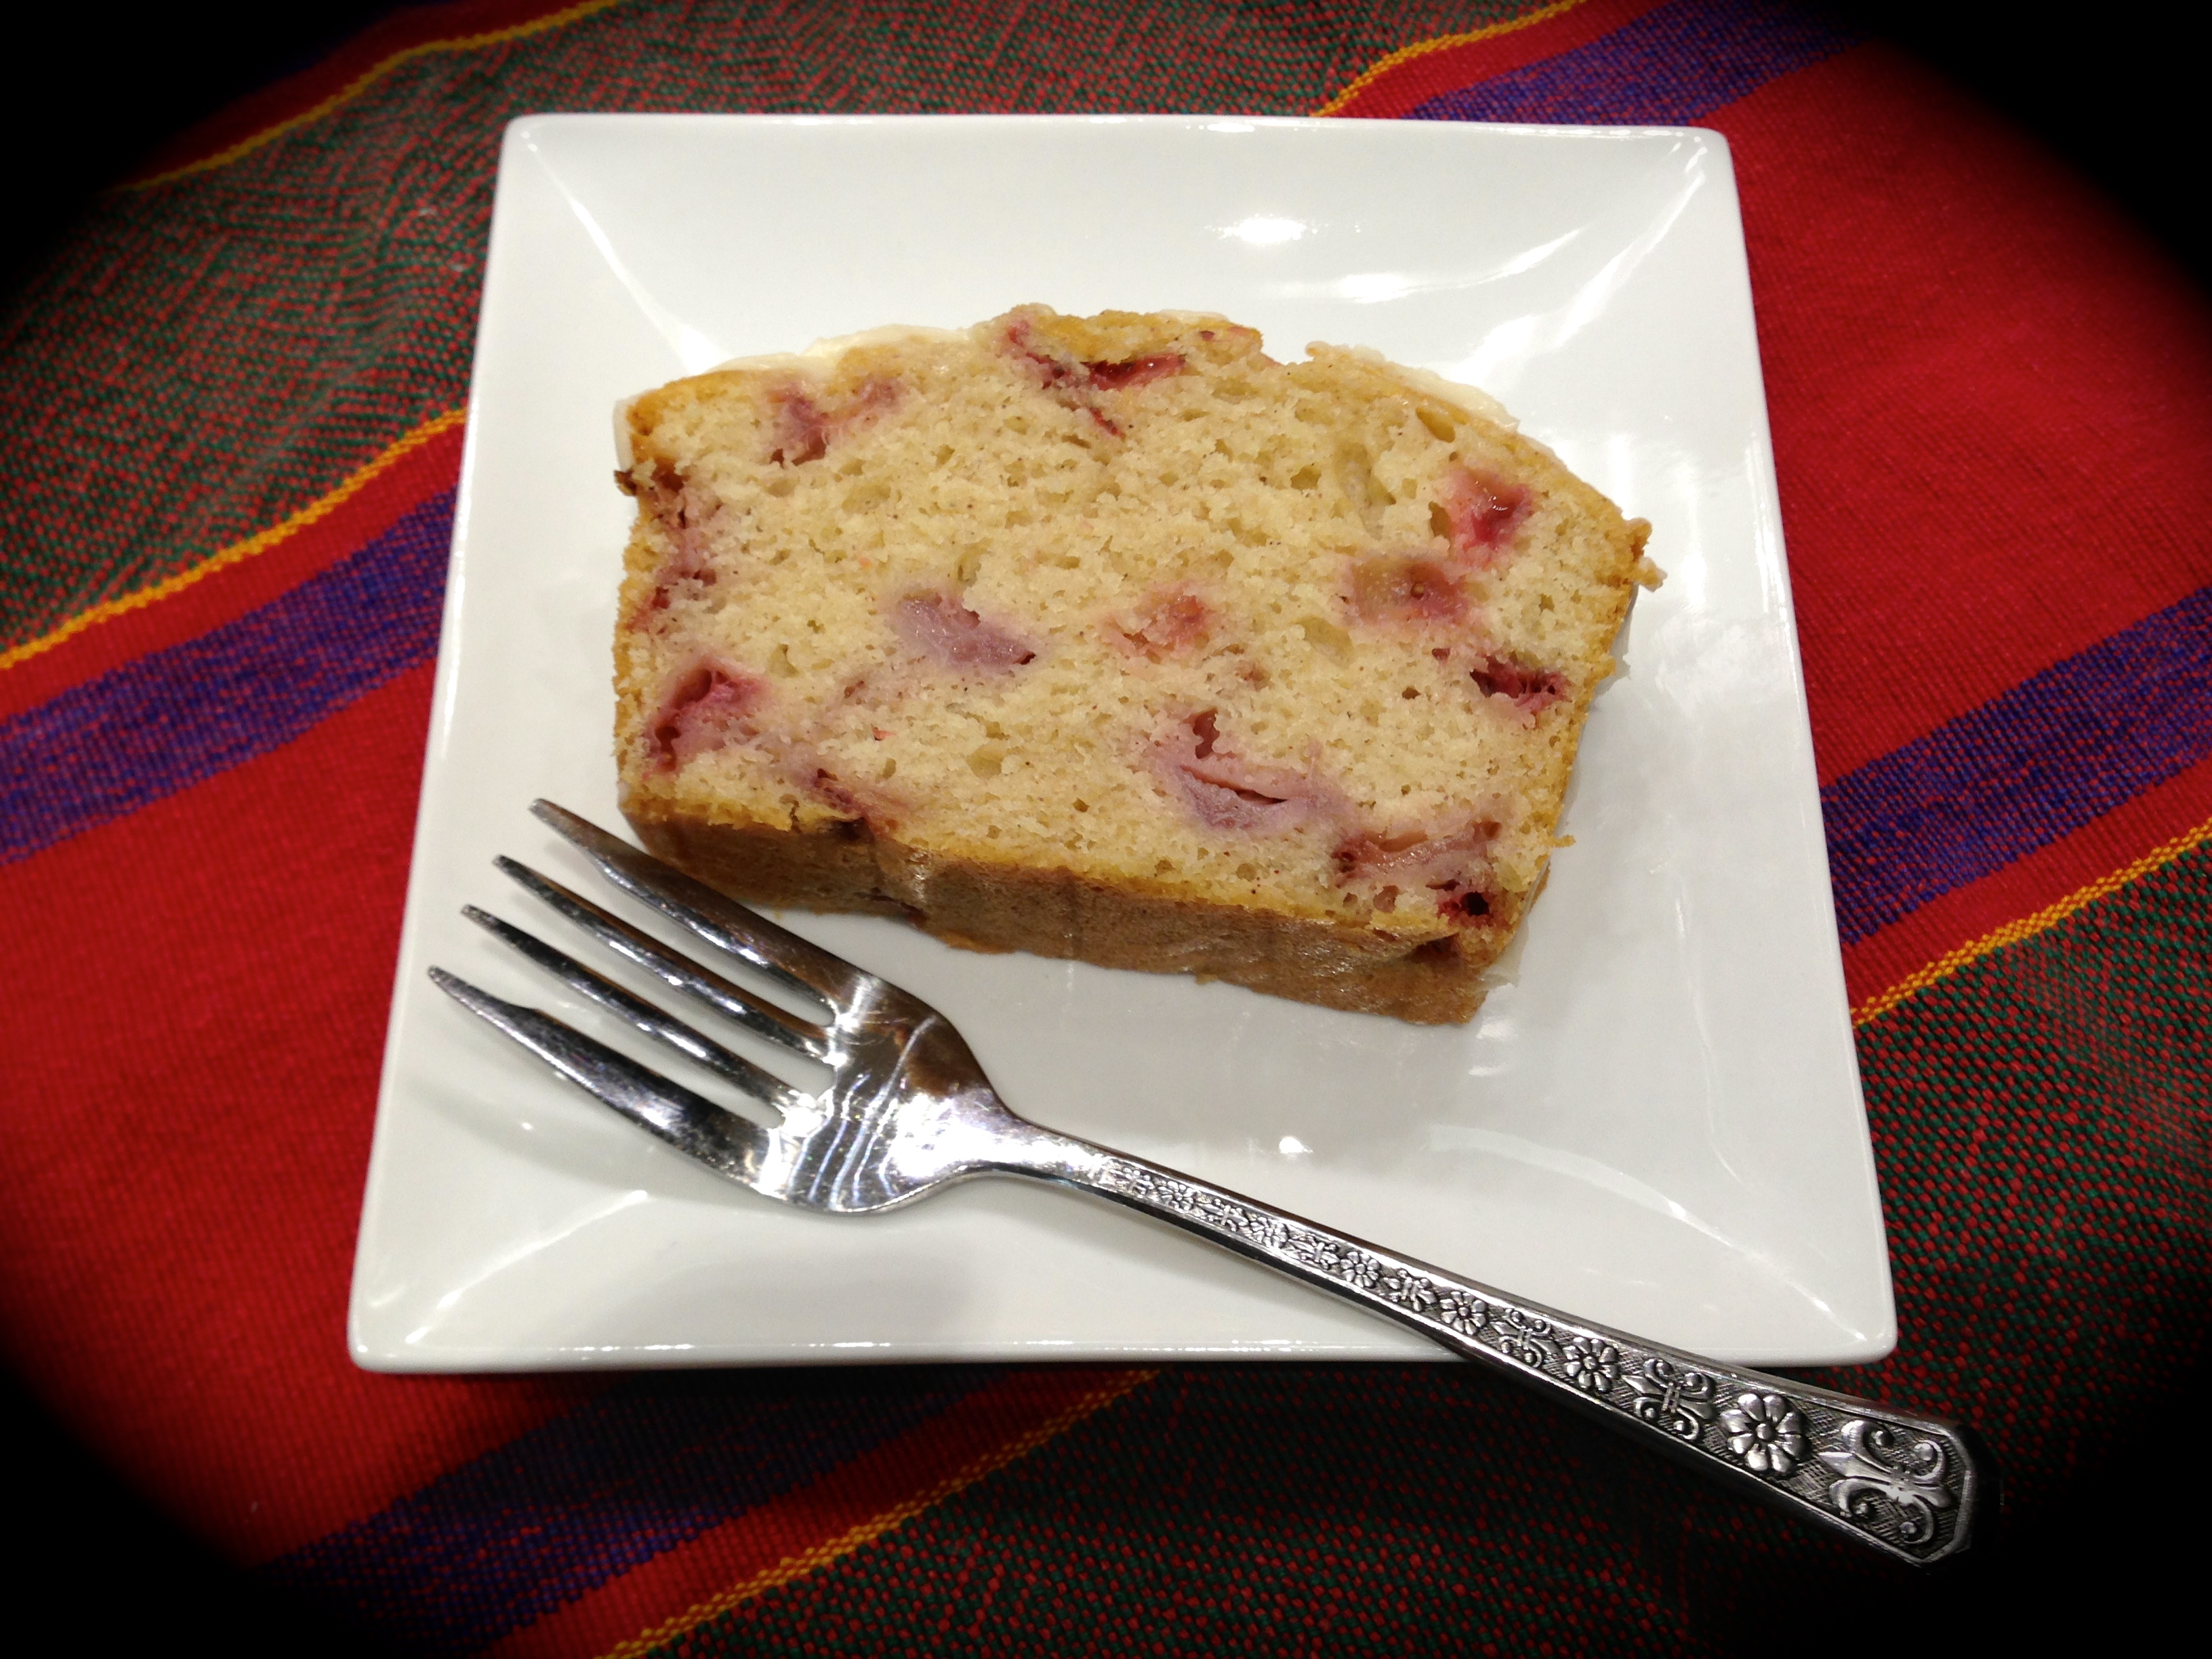
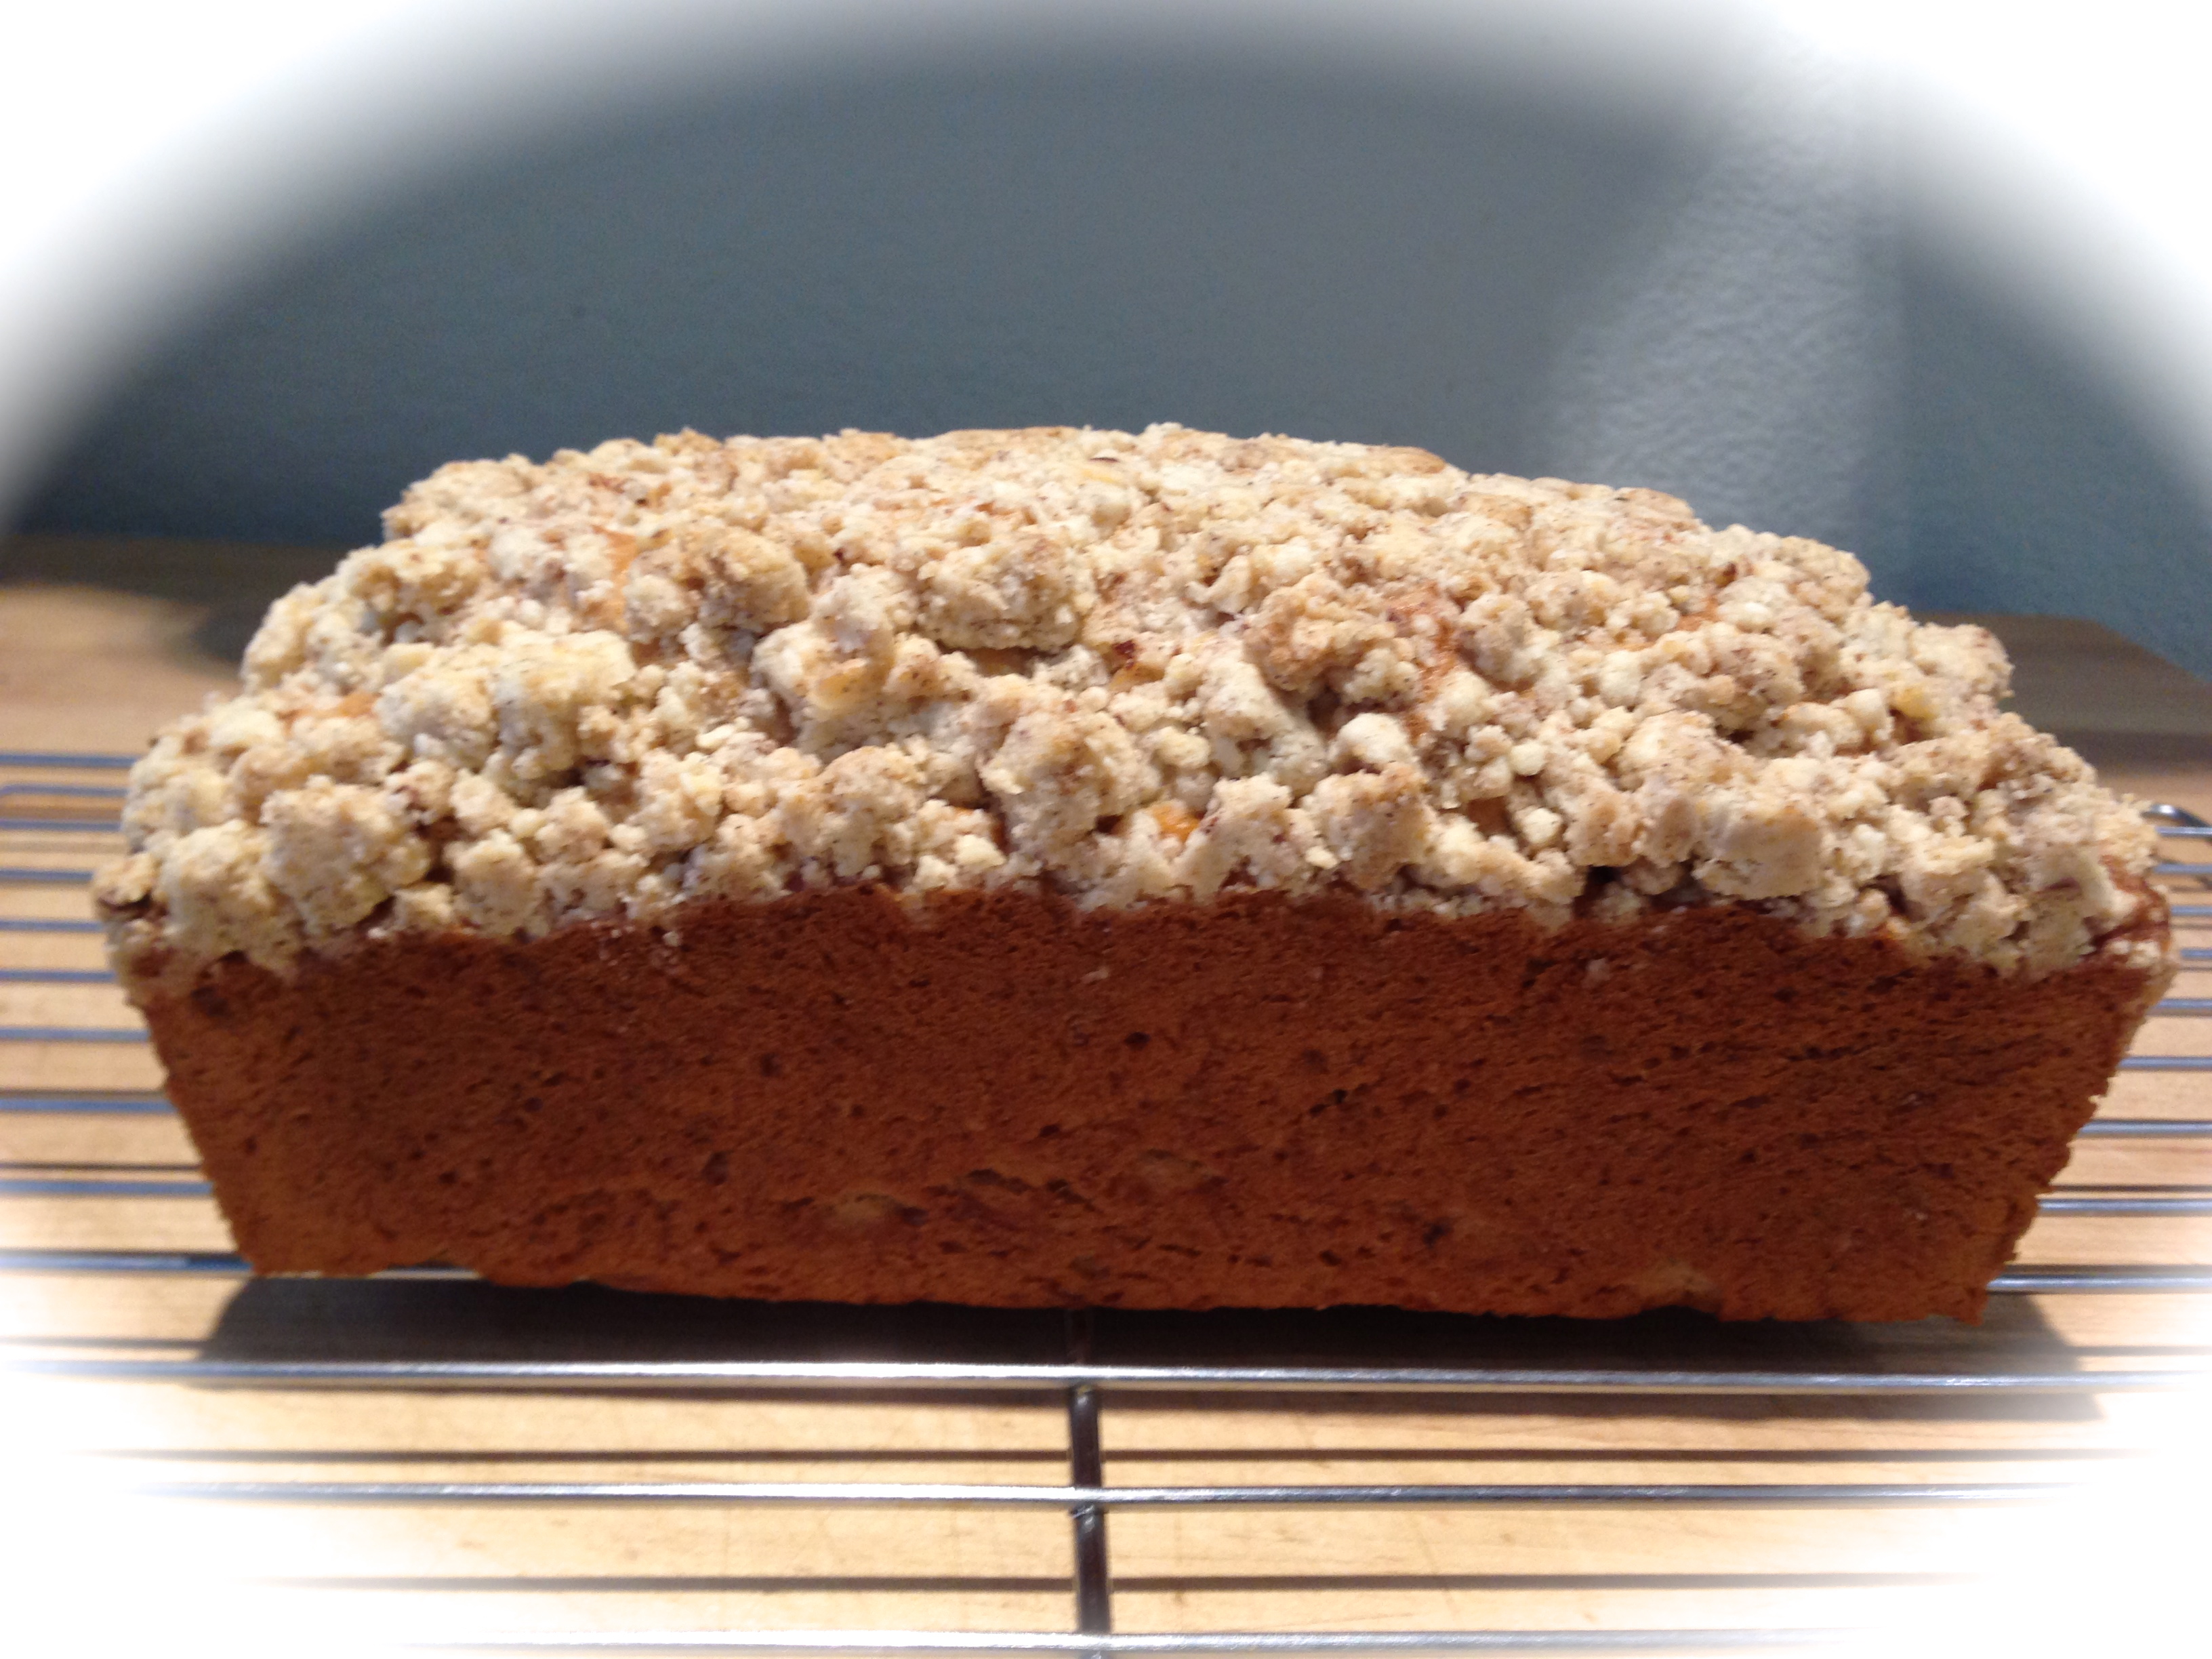
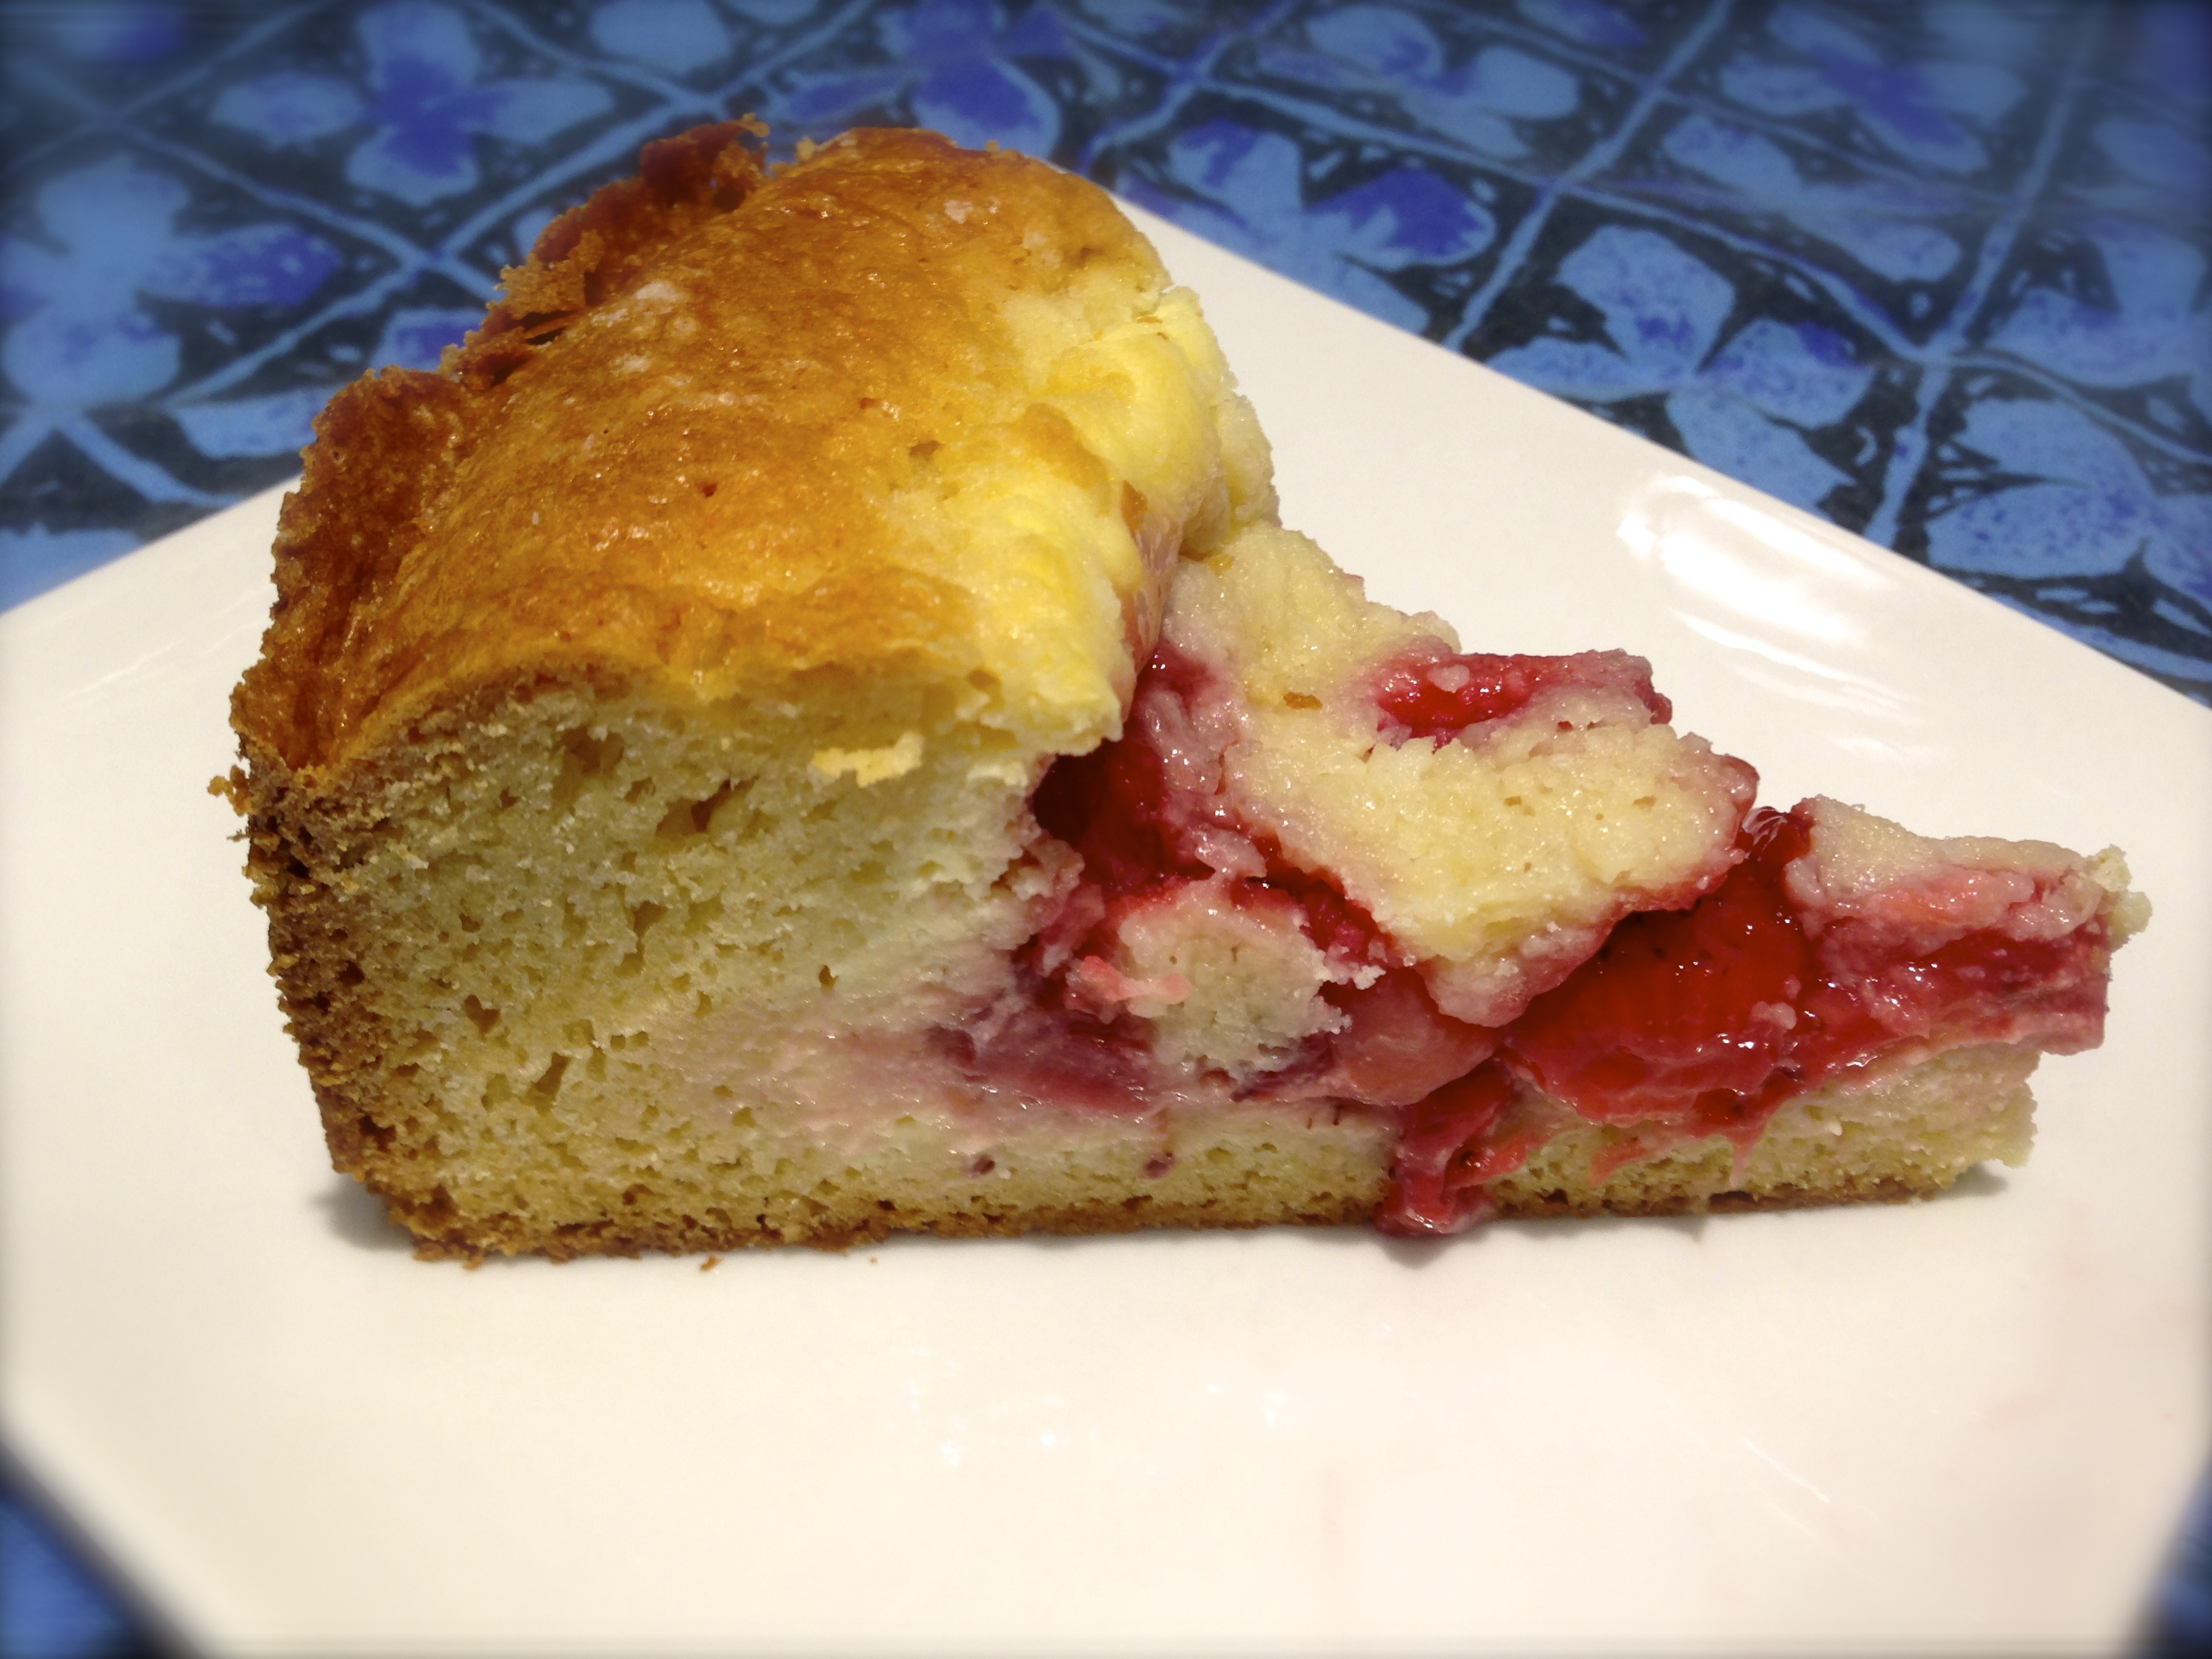
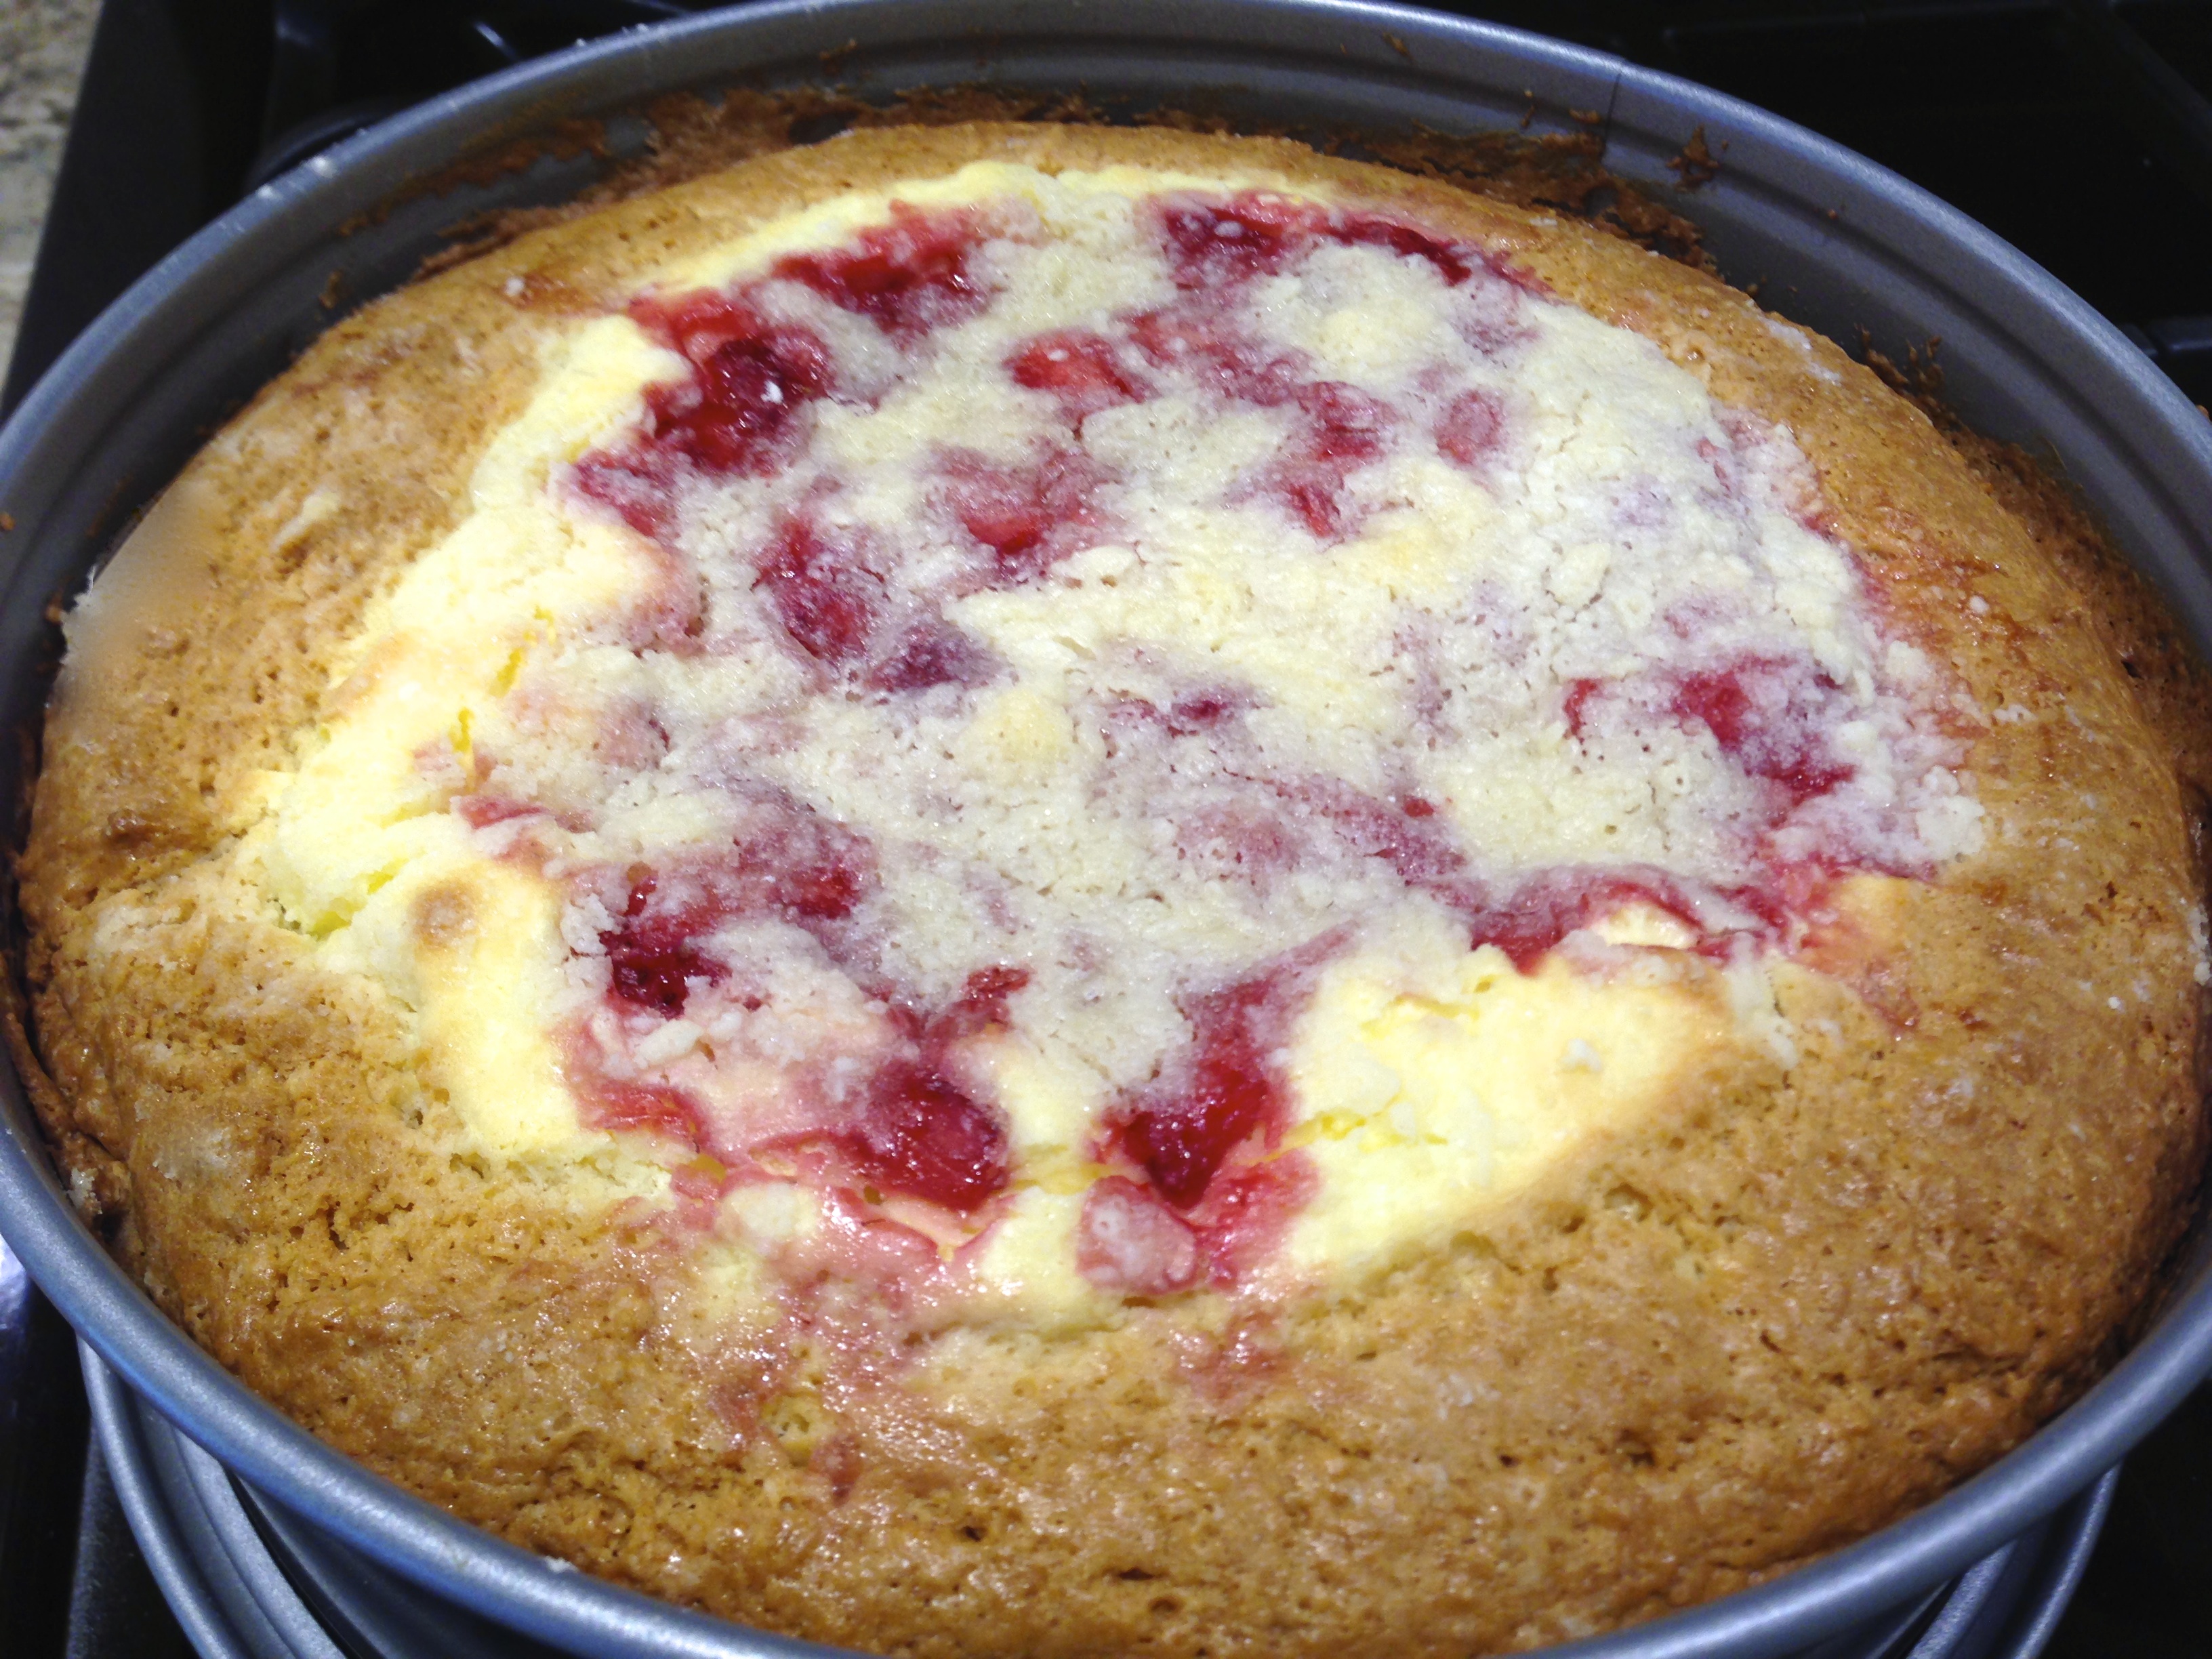
 his one because it only has 6 ingredients and the most labor intensive part of making it is beating the eggs and sugar for 5-7 minutes. I can handle that. Plus the cake uses one of my all-time favorite holiday ingredients, cranberries. This recipe is perfect for the novice baker who may not have confidence in the kitchen but wants to make a lasting impression with his/her confection creating skills. You can’t fail with this one, trust me!