I’d never made stuffed peppers before. I always bought them either frozen or pre-prepared at the grocery store. But in my quest to do one new recipe a week I decided to try my hand at making stuffed peppers. As you can imagine there are so many variations of stuffed pepper recipes out there but I wanted to do something that was simple but also interesting.
I came across a recipe called “Make Me Stuffed Peppers” from the website genaw.com. It was quick, easy and in my mind adaptable to what I already had in the refrigerator and so I chose it over a plethora of others. Here is my rating and lessons learned.
Rating: B for the recipe, C for how the recipe was written. The recipe although good needed, in my estimation, a little something. It lacked depth of flavor. The next time I might try adding a little BBQ sauce or worcestershire sauce to the ground beef or maybe some red pepper flakes or smokehouse beef seasoning just for a little more kick. Don’t get me wrong, it’s not a bad recipe. It just needs a little more substance to it. And if you like things a little more mellow don’t add anything. I think the beauty of this recipe is its adaptability to one’s personal tastes.
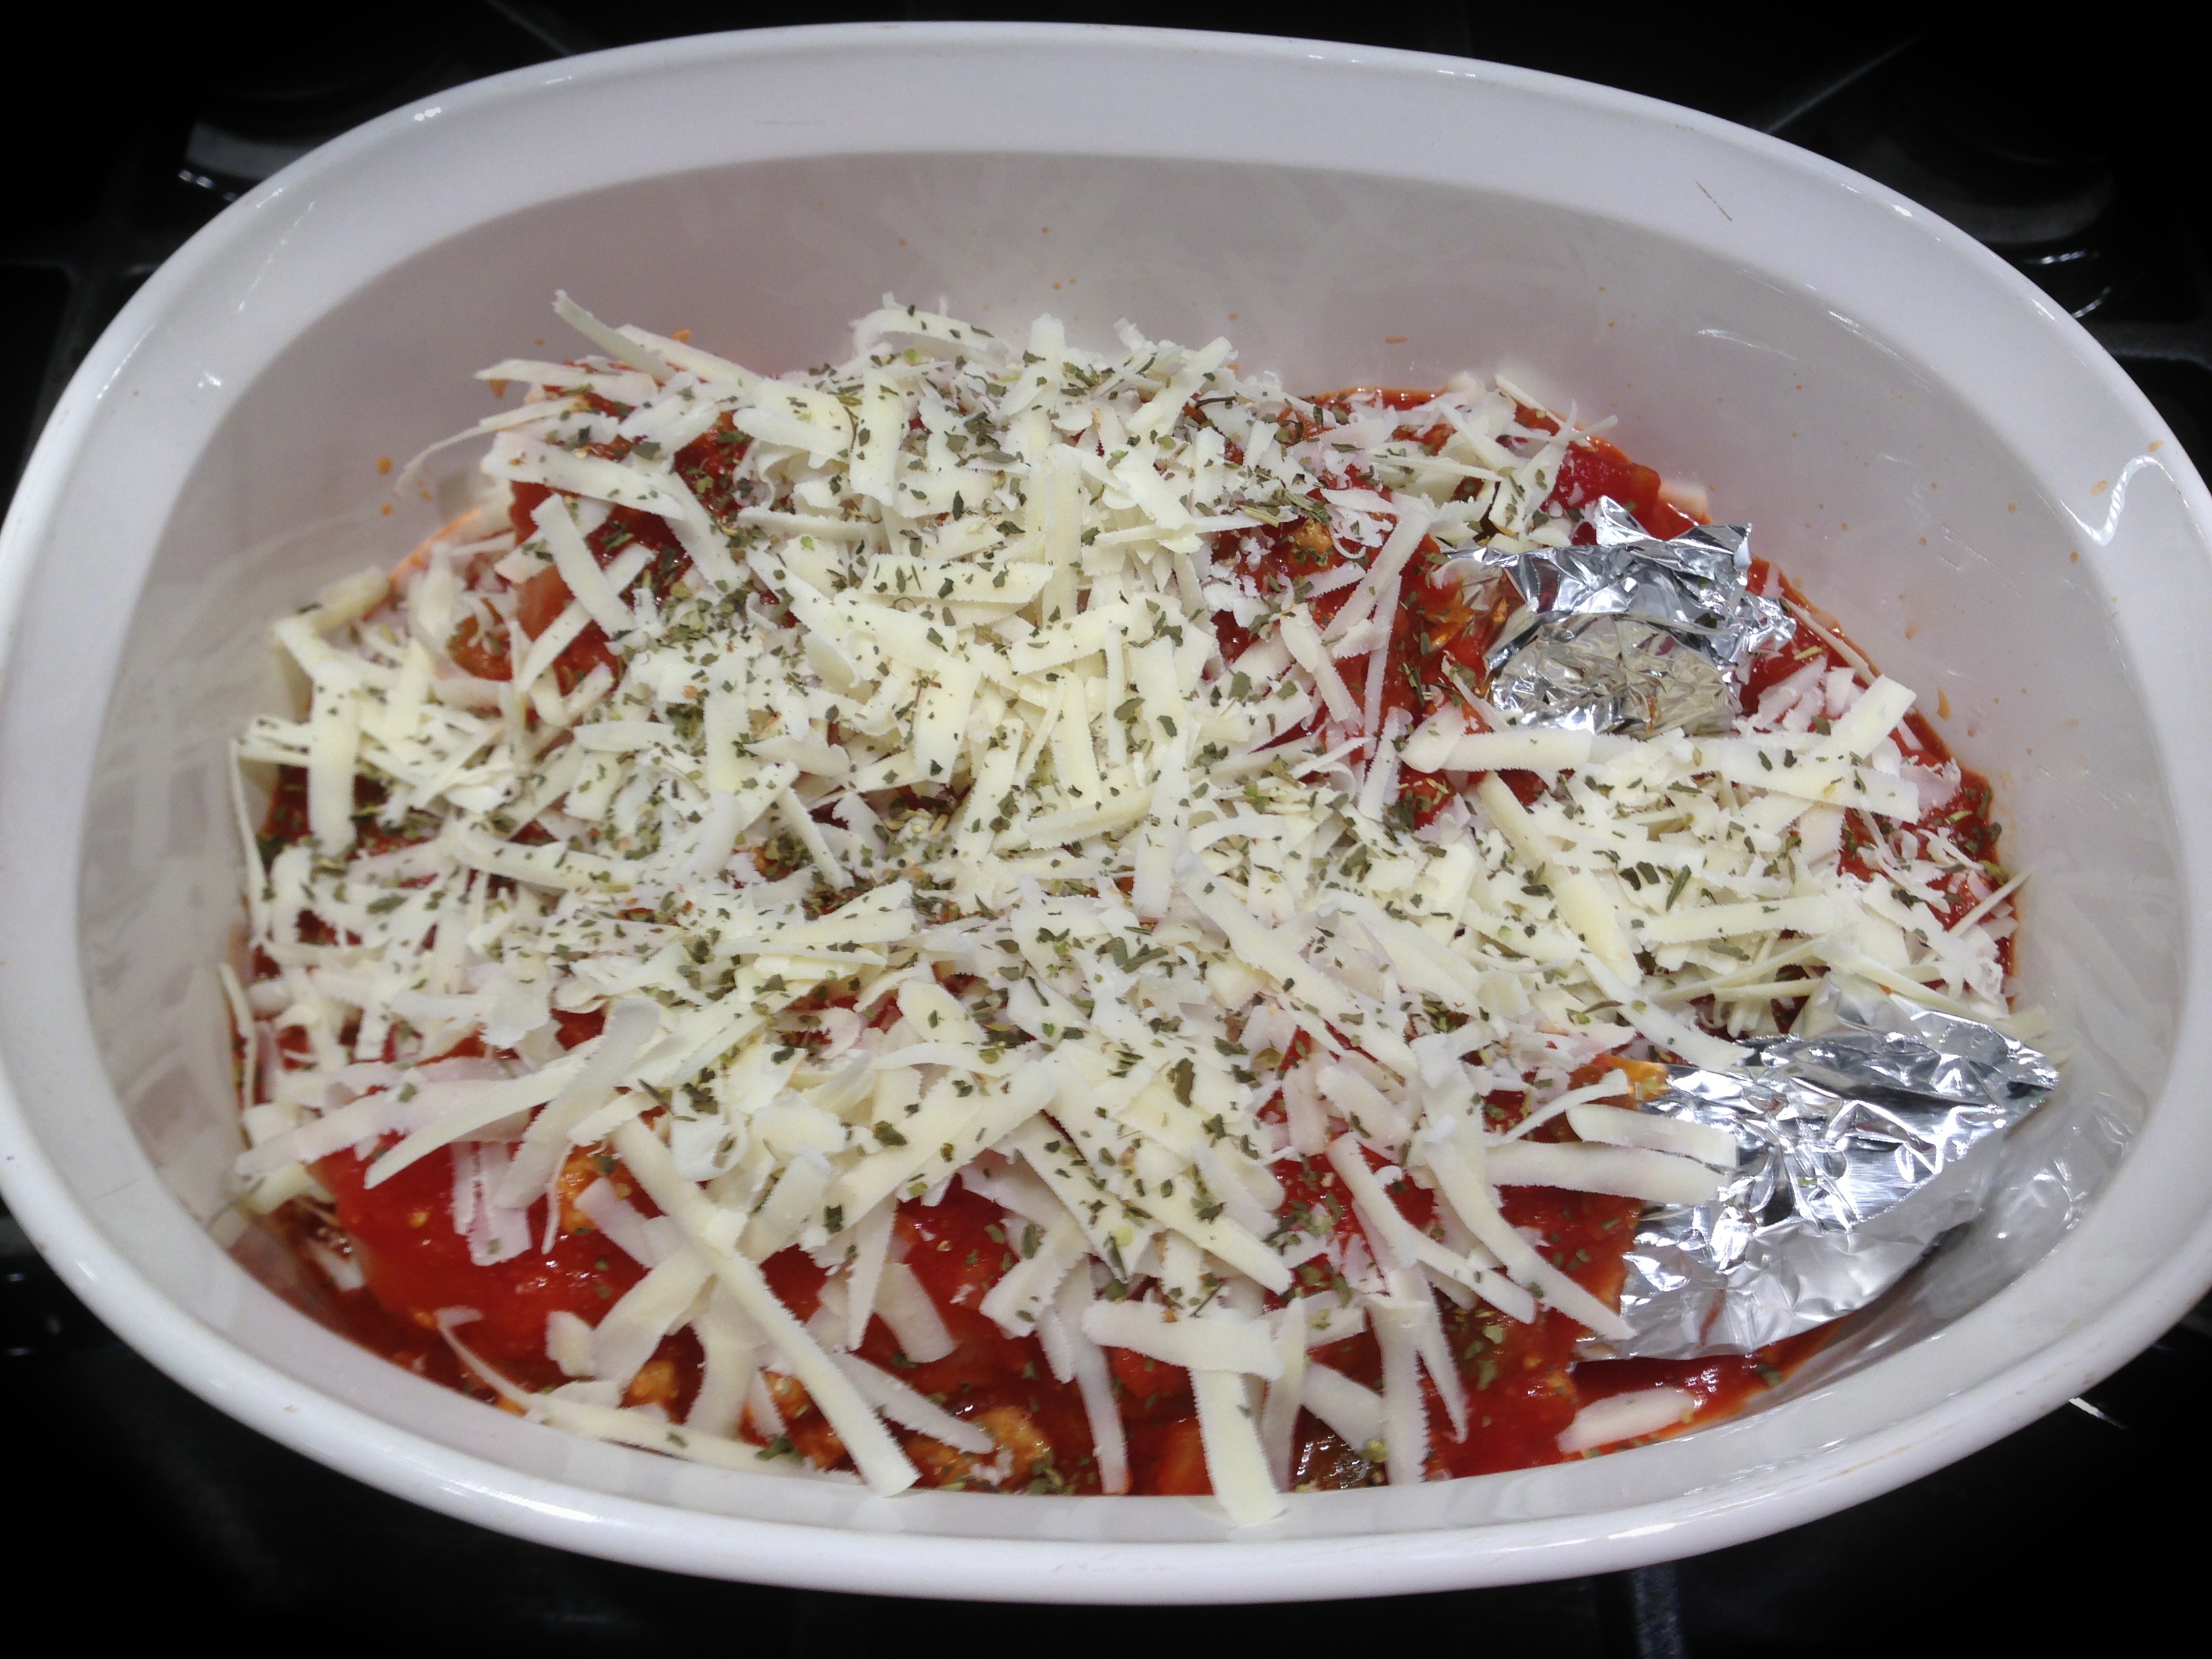
Lesson Learned 1: CHEESE. The recipe mentioned something that I never knew. It calls for cheese to be mixed with the ground beef and also for some cheese on the top. It specifically states not to use pre-shredded cheese as the powdery coating doesn’t allow it to melt properly. I never heard that before, but I have experience pre-shredded cheese not melting properly. Who knew? Good thing to remember for next time. The recipe called for using cheddar cheese both mixed in with the ground beef and on top. I mixed the ground beef with a cheese blend that contained three different types of cheeses mixed with cream cheese and that melted nicely. I also had some provolone slices and I used those to put on top of the stuffed pepper. That melted nicely as well. The beauty of this recipe is that you can use whatever cheese you have available – it doesn’t matter. The cheese blend gave the ground beef a nice silkiness and I liked that.
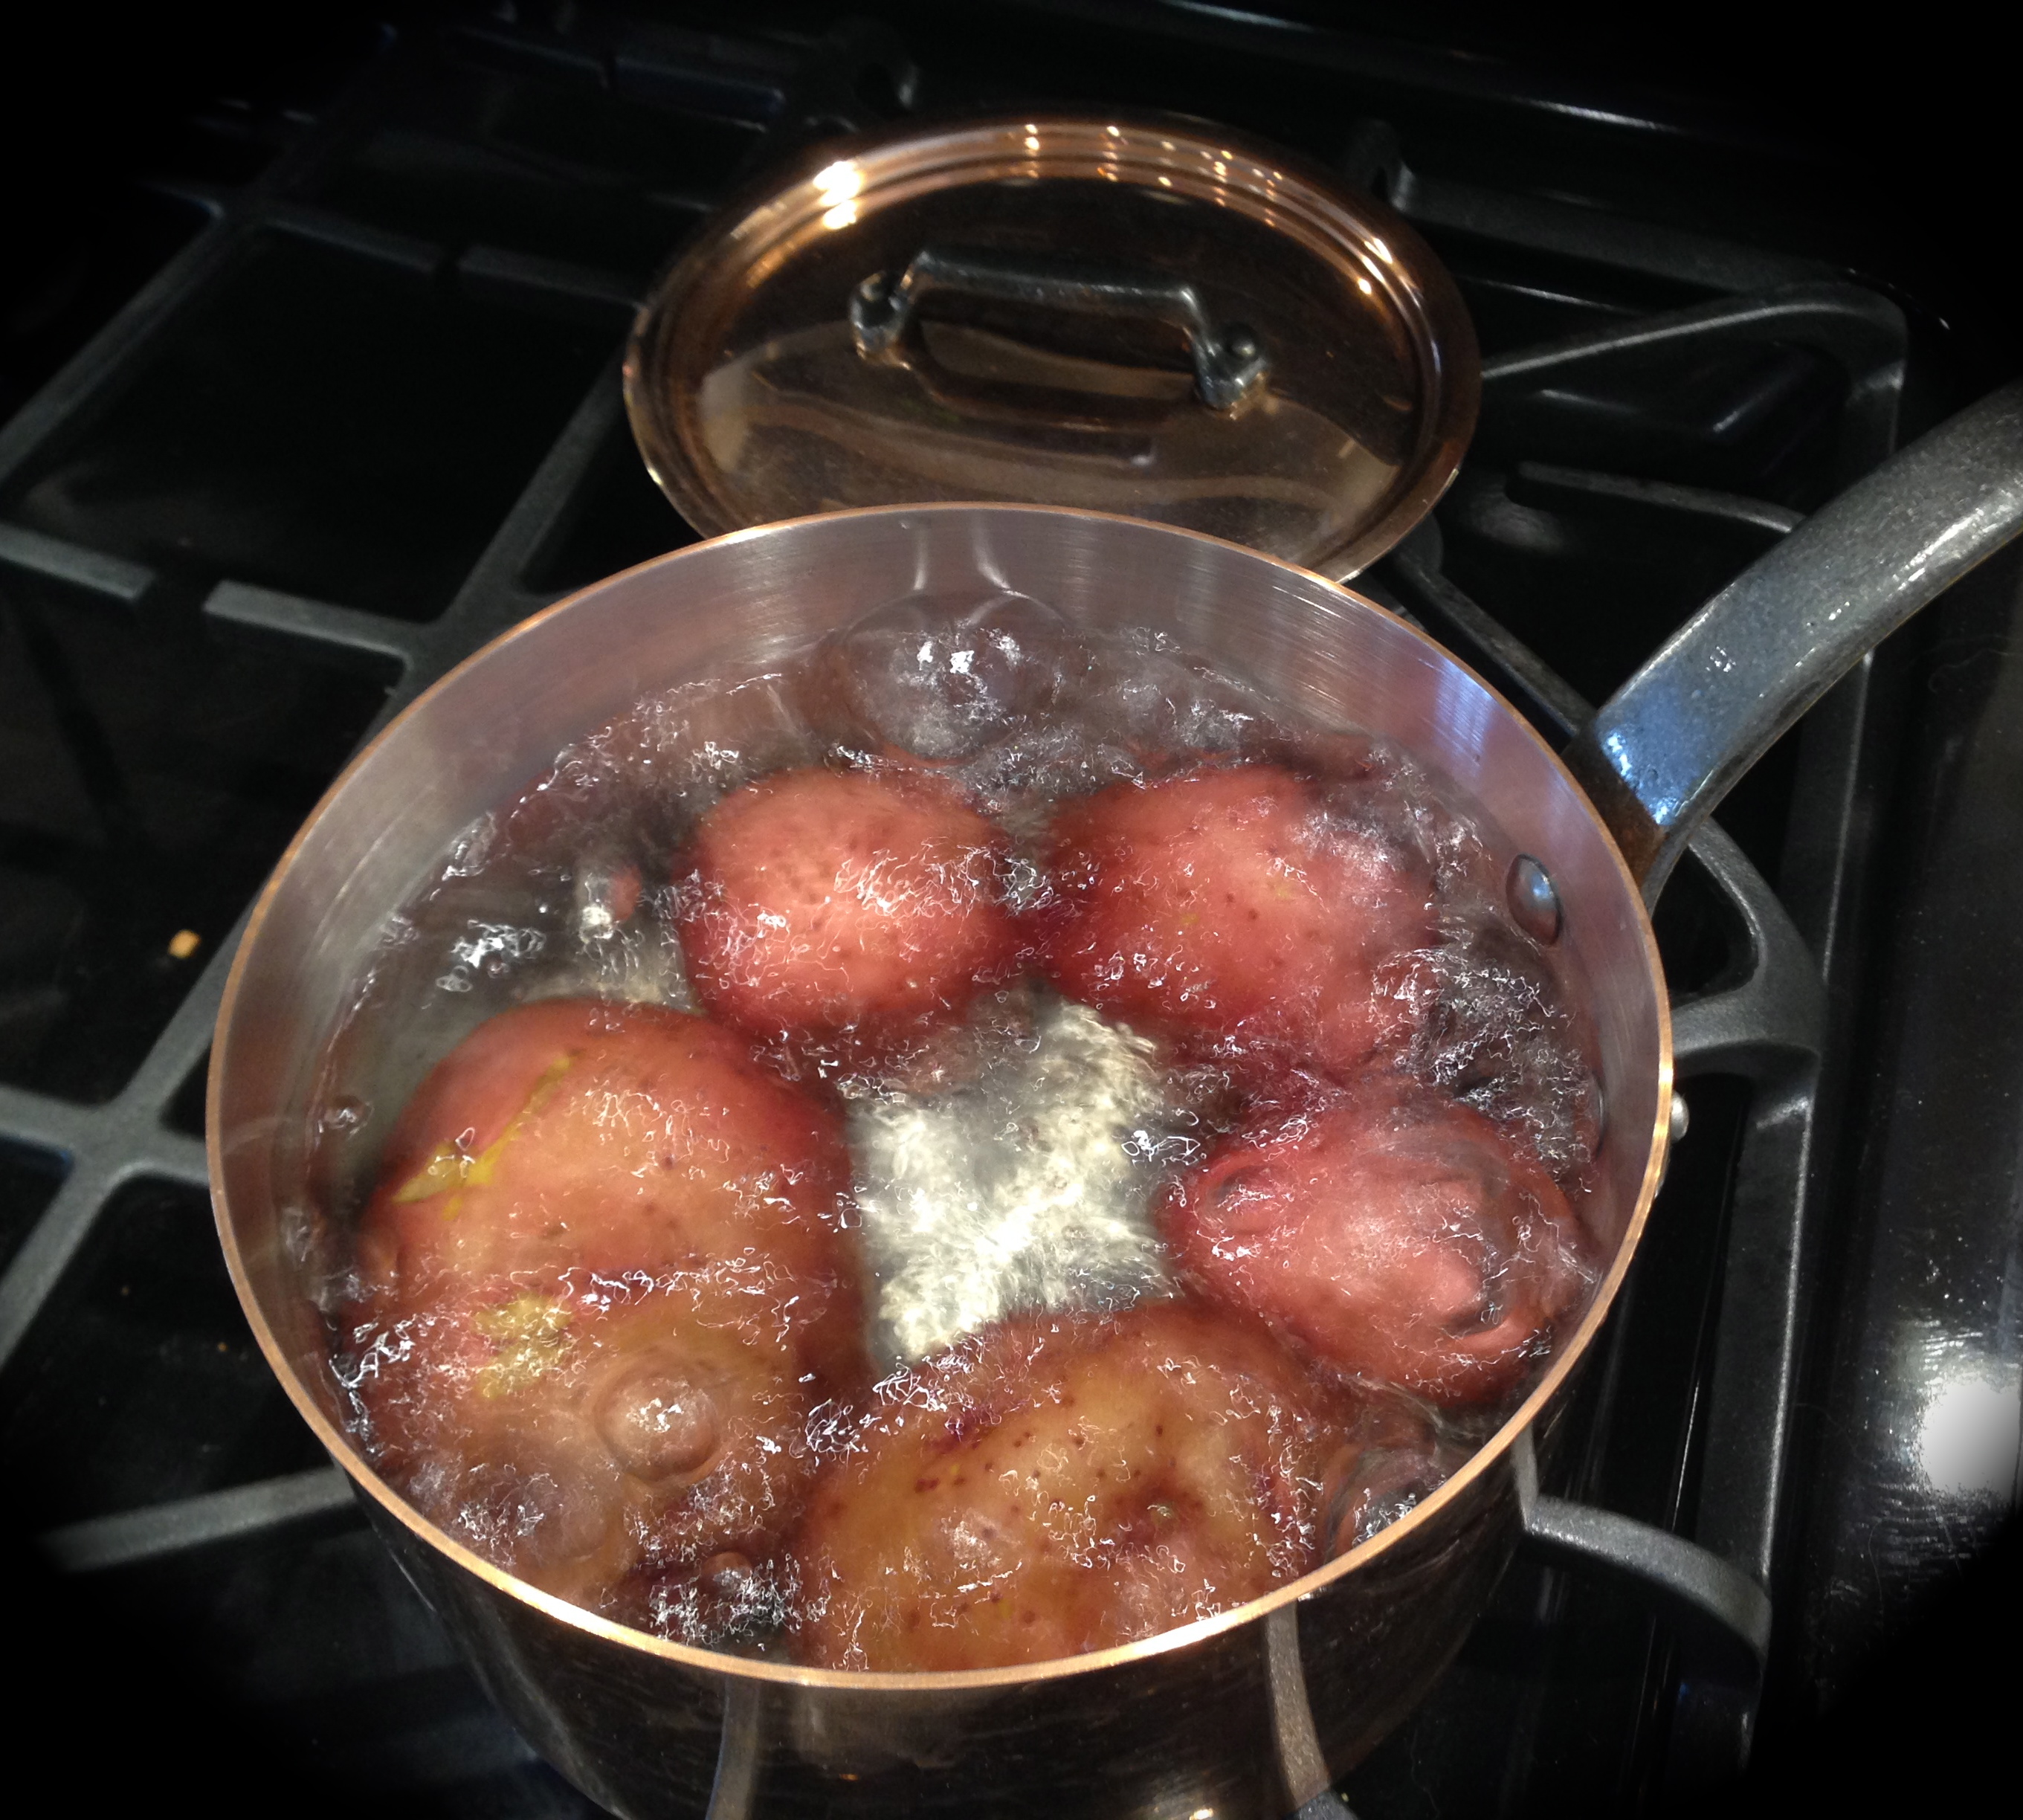
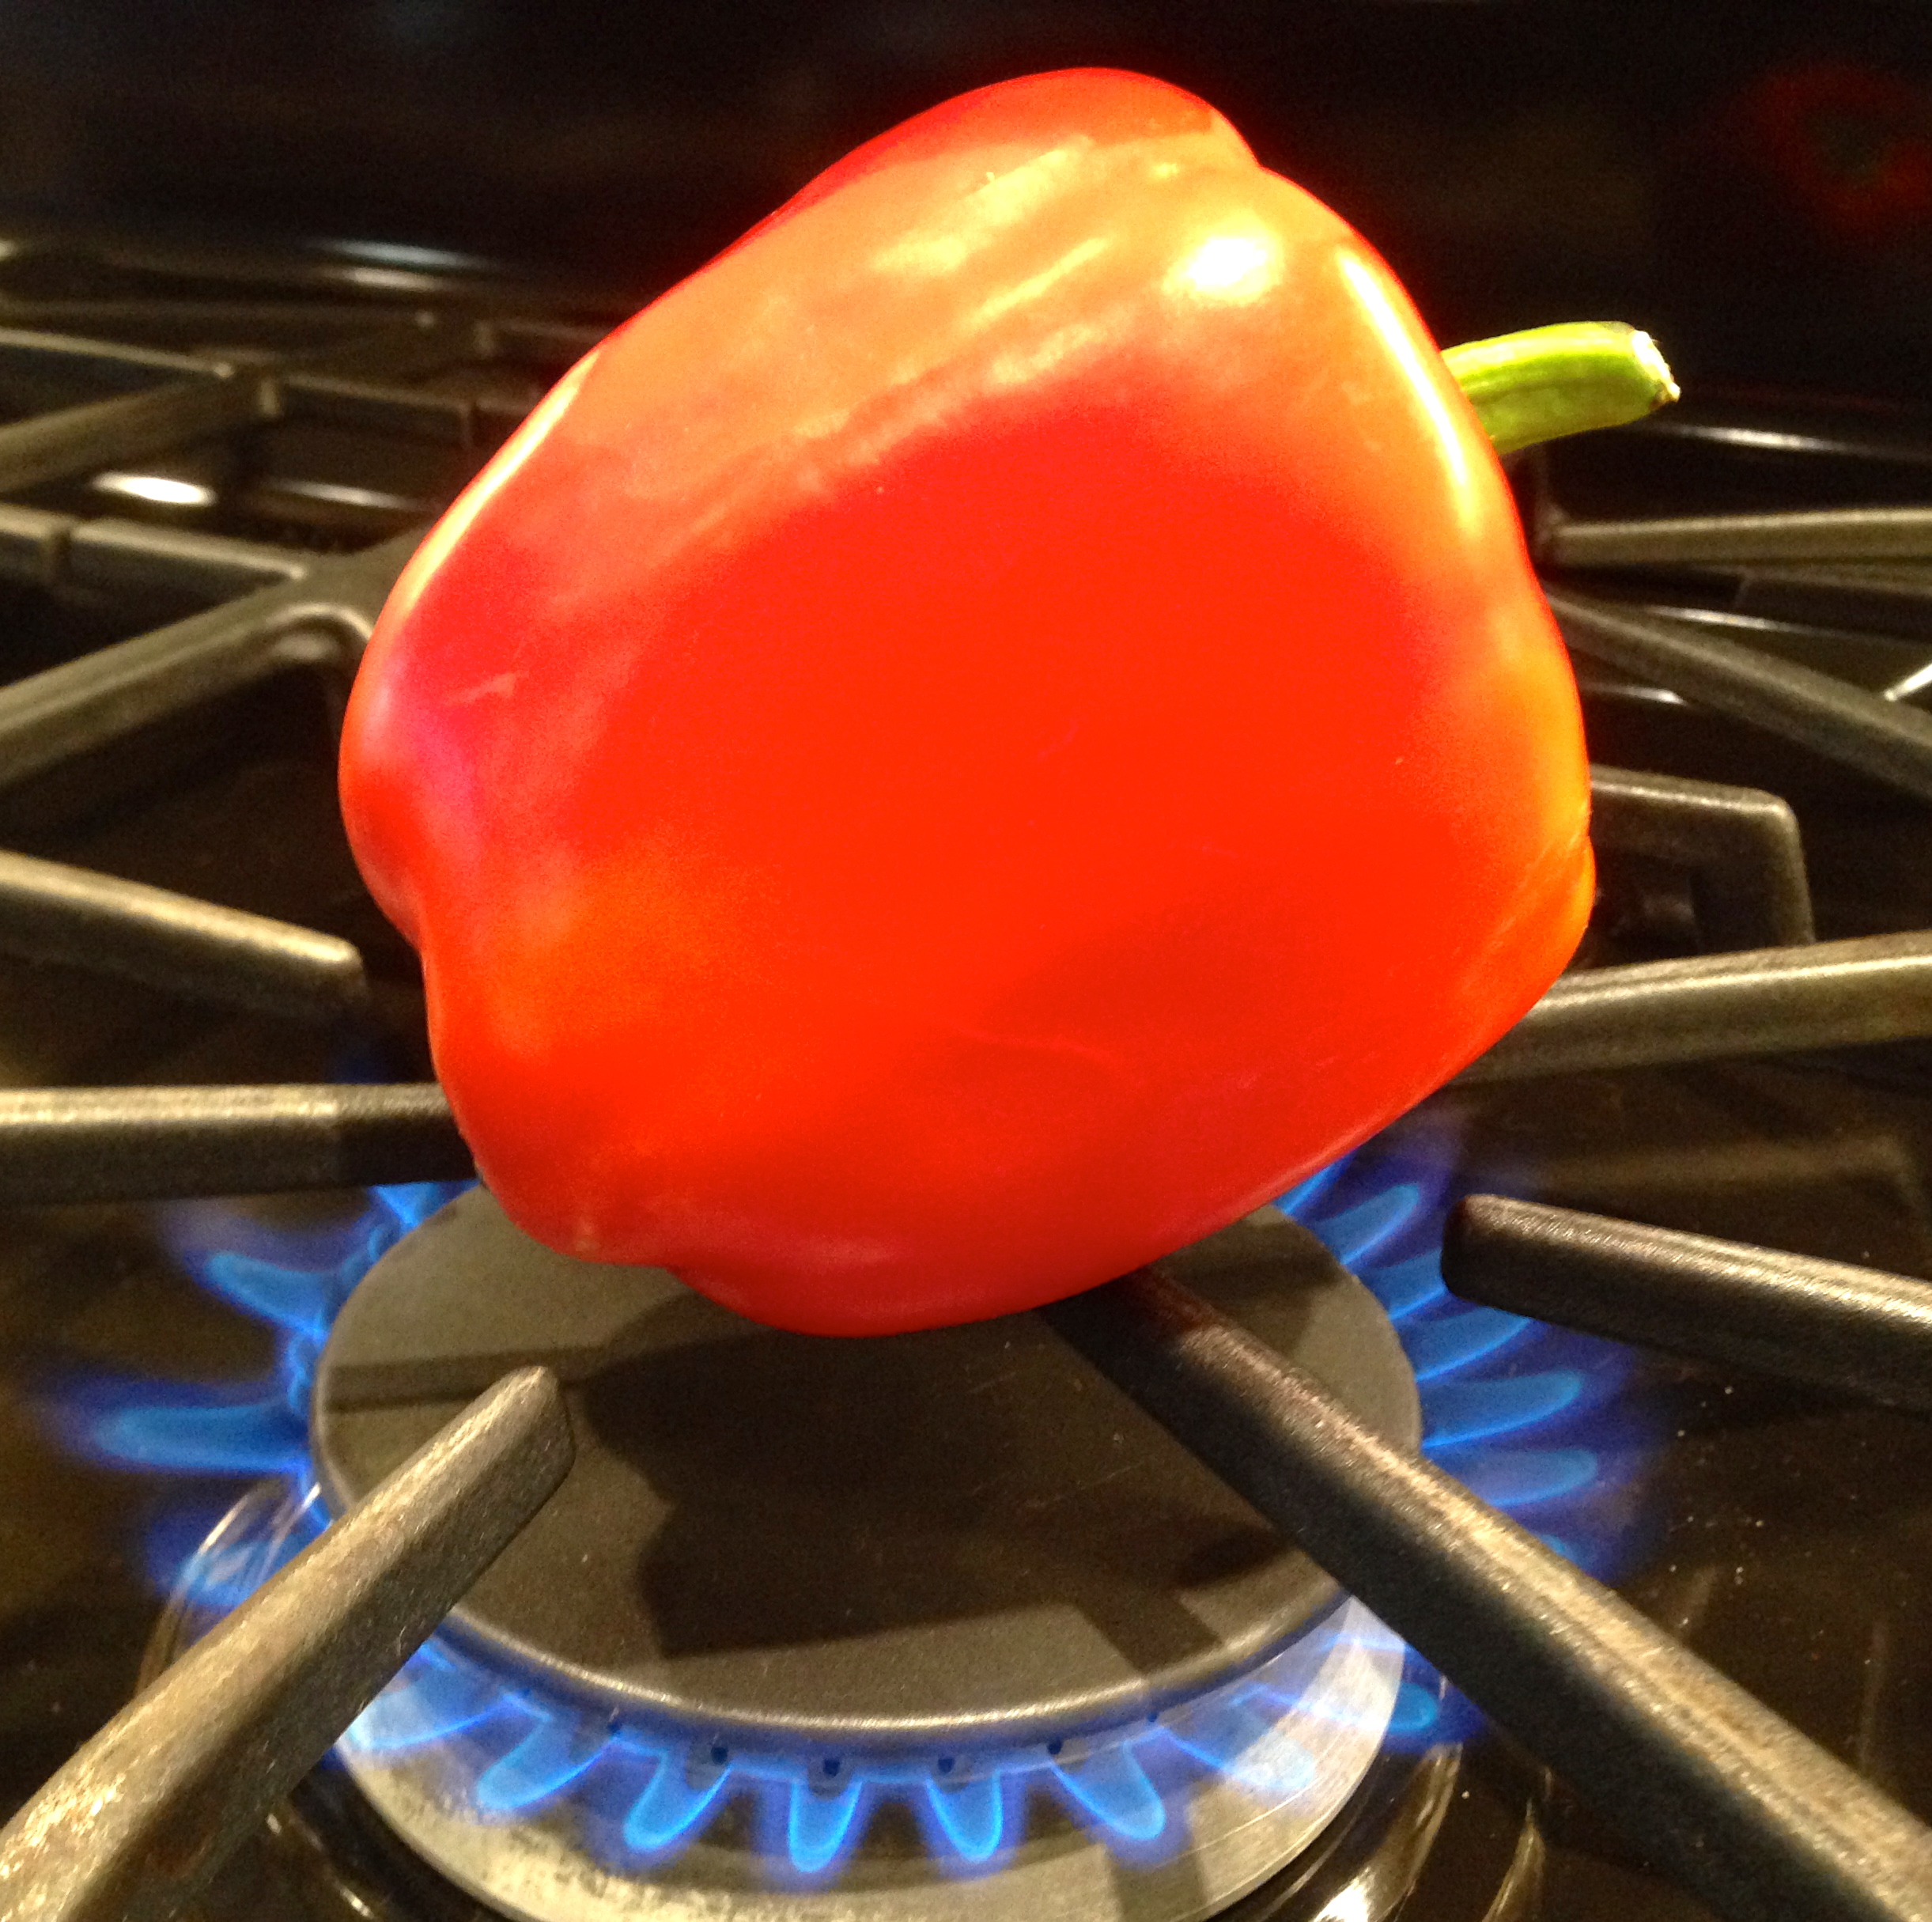
 Lesson Learned 2: PARBOILING THE PEPPERS. It is important to cook your peppers in boiling water for 3 minutes before you cut them and fill them. Bring a pot of water to a boil, put in the peppers and cook for only 3 minutes. Take them out, let them cool slightly and then prepare them to be stuffed. If you don’t do this step they won’t cook properly. Don’t cook them any longer than 3 minutes or else you’ll have mush on your hands at the end of the process. Cooking them for 3 minutes gives them just enough of a head start to be done perfectly when they come out of the oven.
Lesson Learned 3: BROWN BUT DO NOT COOK THE GROUND BEEF. The ground beef will be in the oven for a half hour after you stuff the peppers. There is no need to cook the meat all the way through when preparing ground beef mixture. Cook it about three quarters through (so you still see a little bit of pink). The oven will take care of the rest. I also recommend using a fattier ground beef for this recipe. That way the meat will not dry out in the oven. Be sure to thoroughly drain off the grease after you brown the meat and before you stuff the peppers.
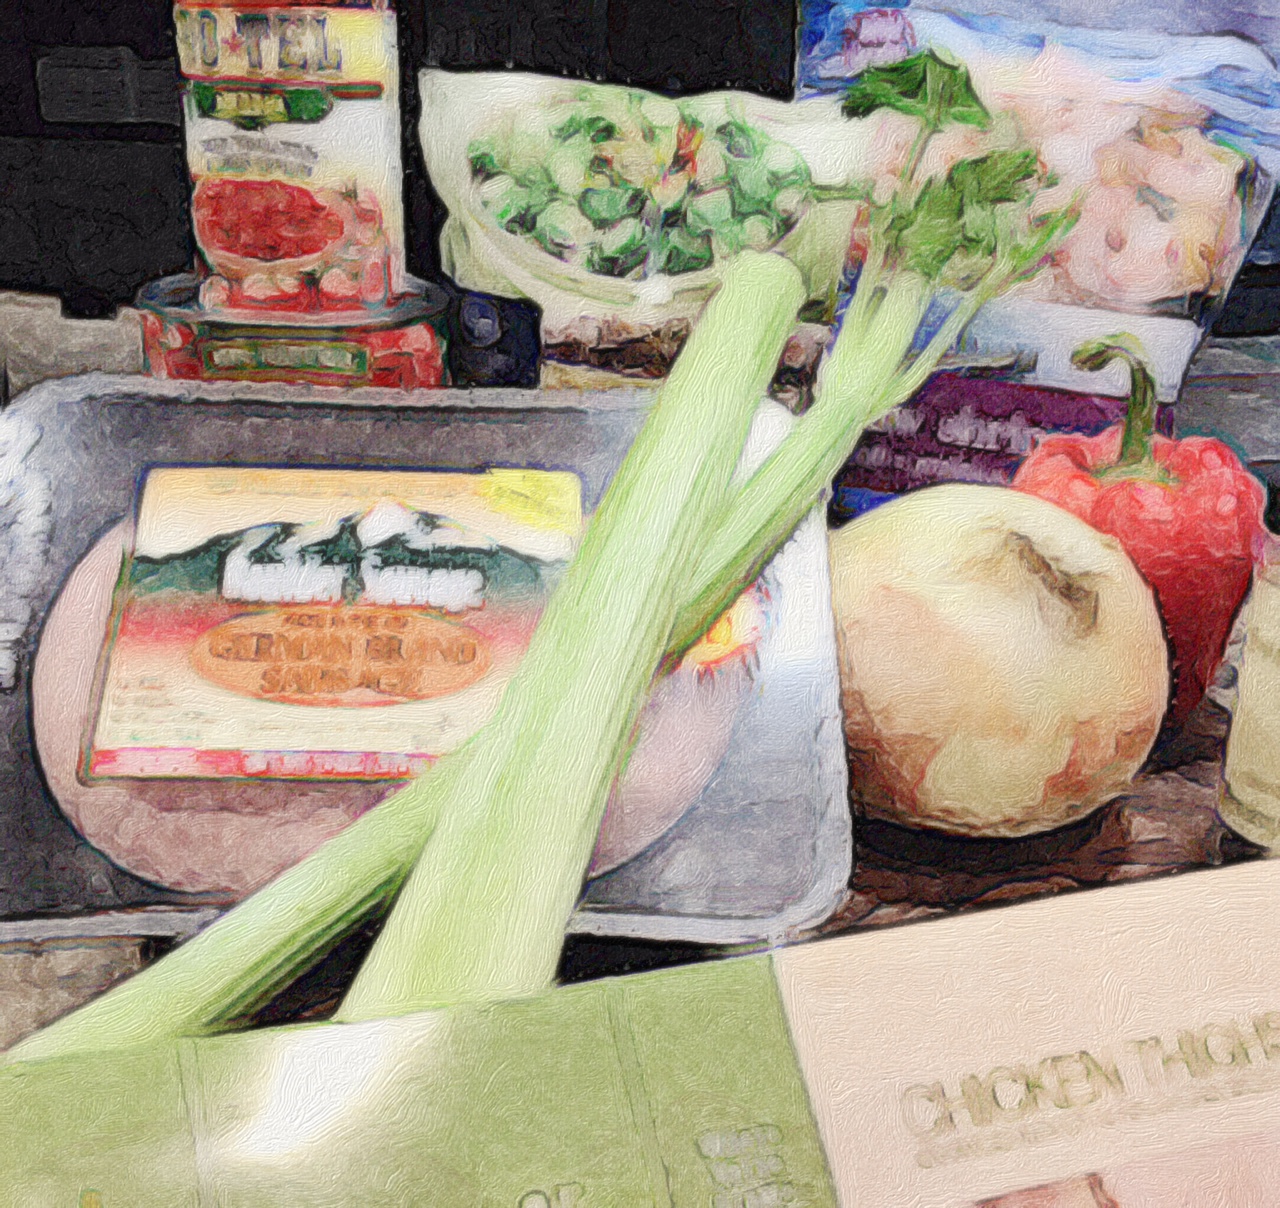
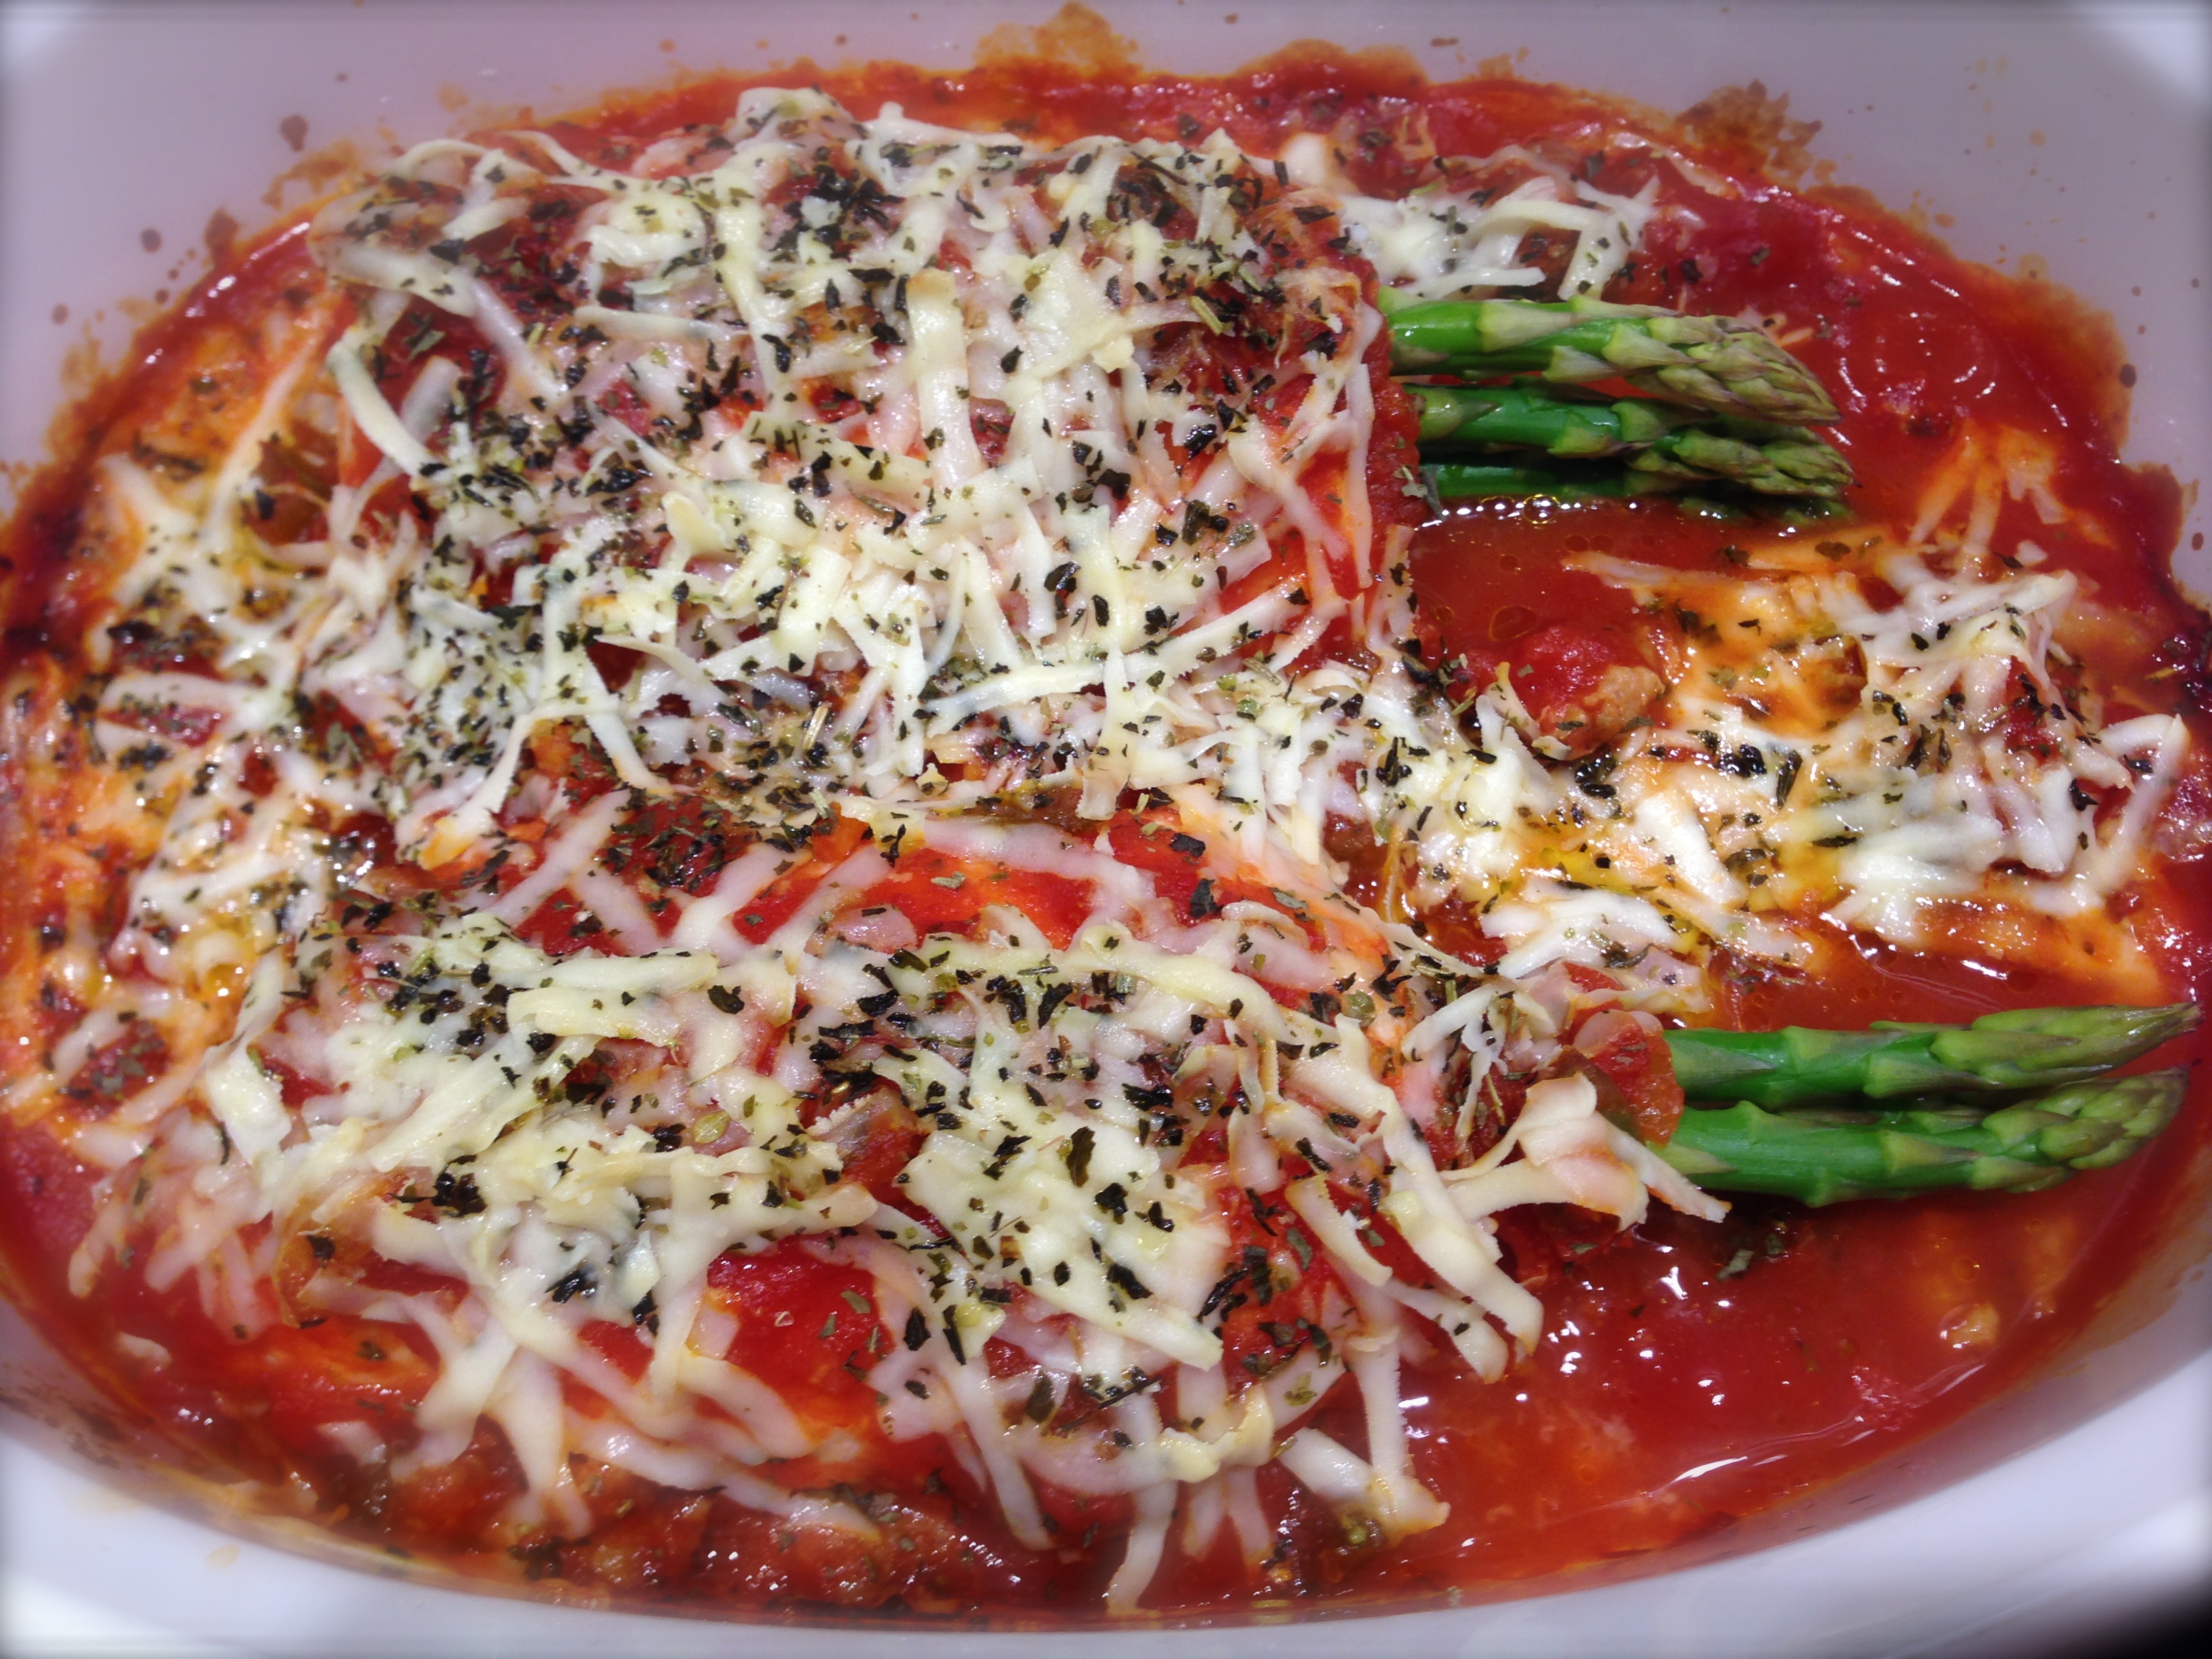
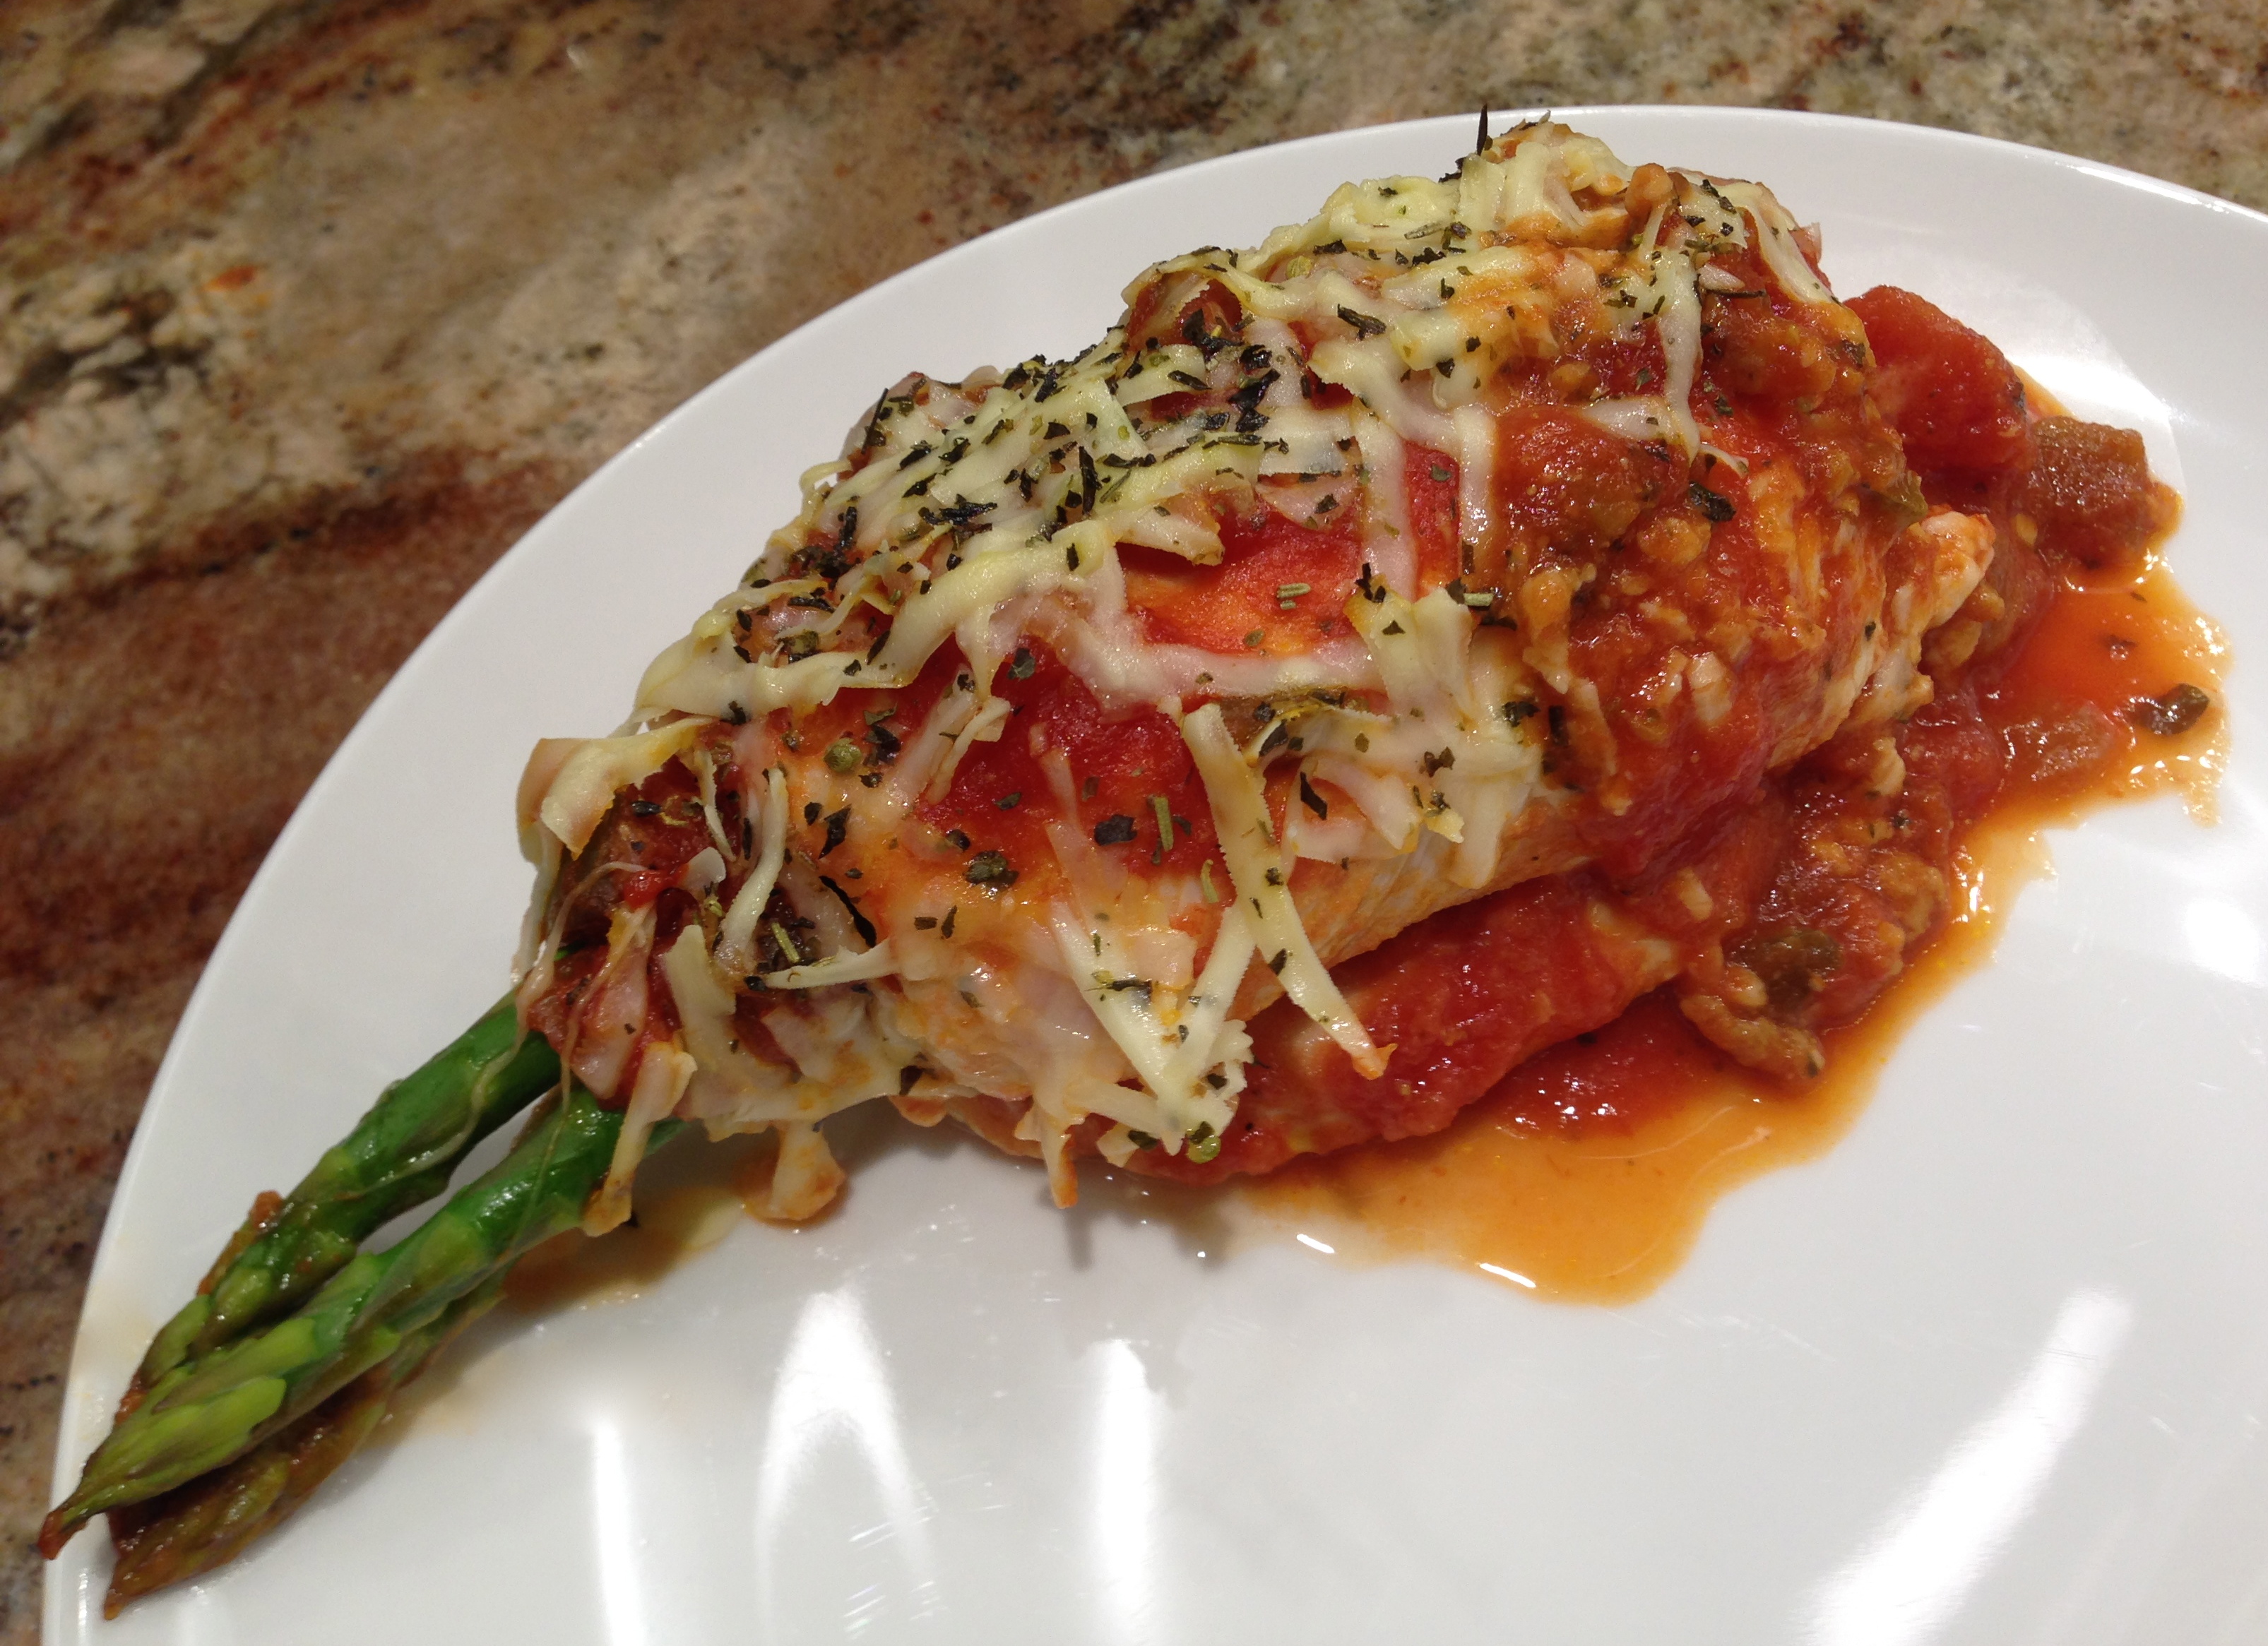
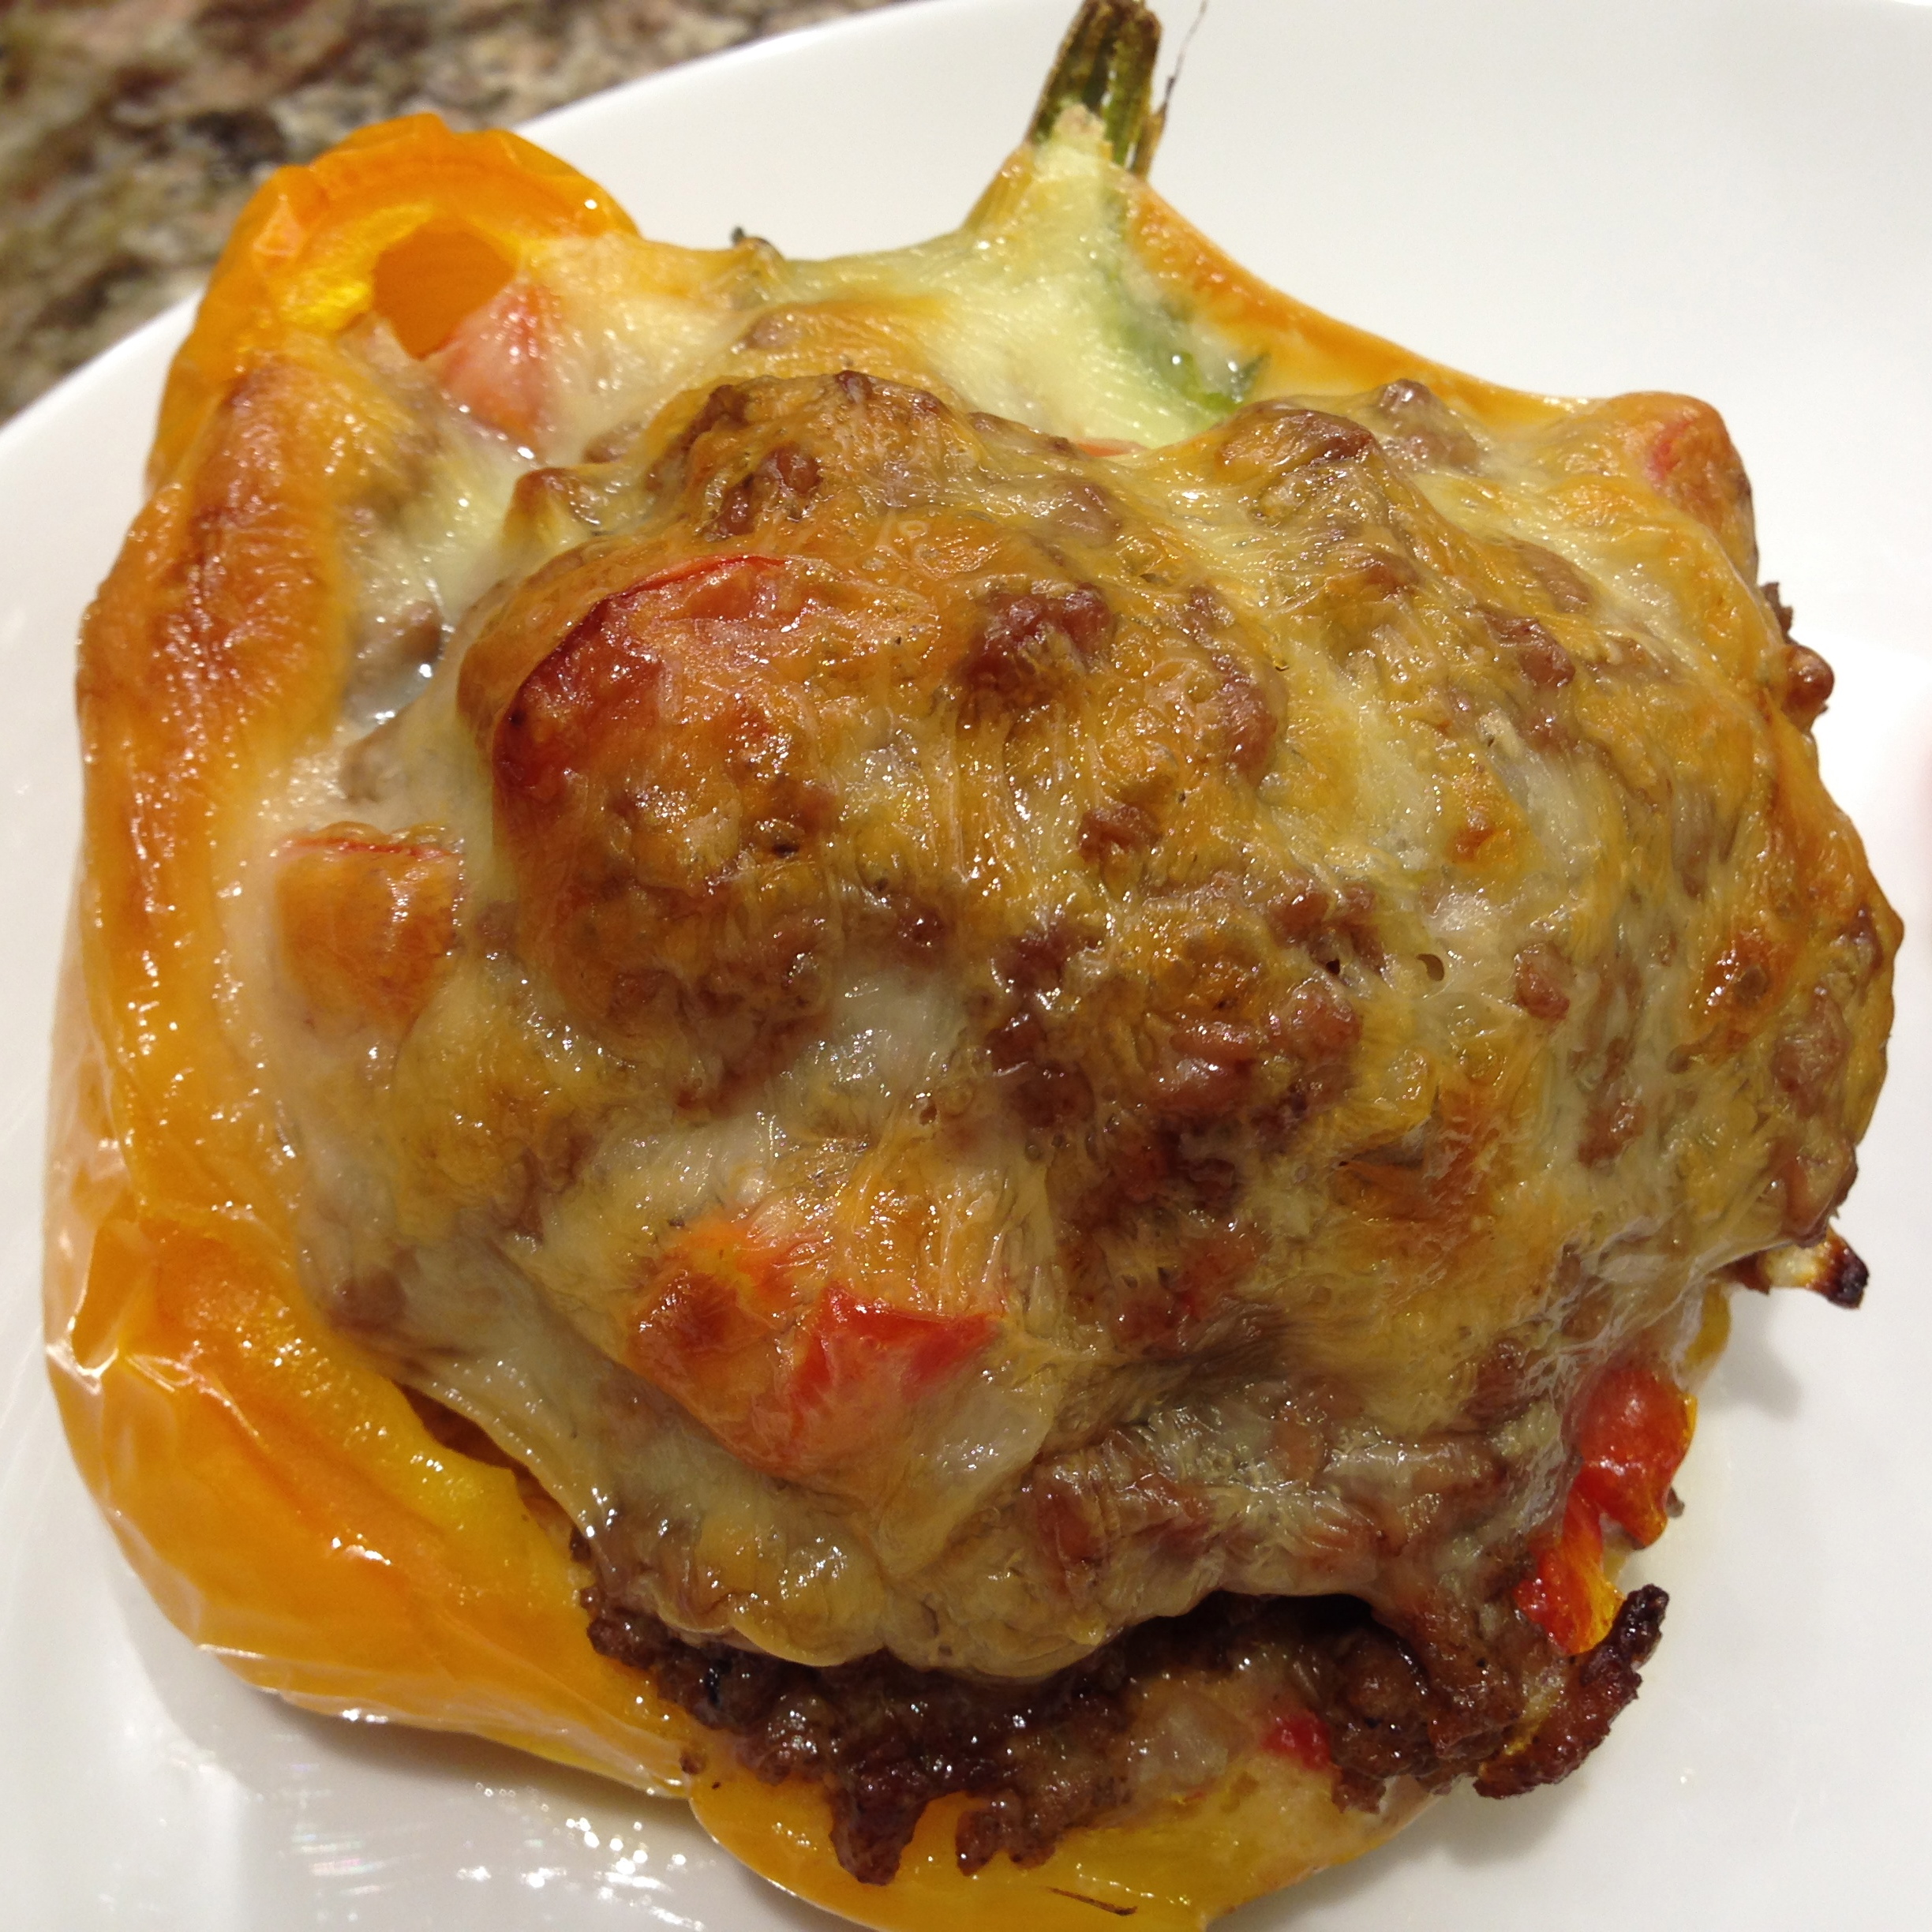
Lesson Learned 4: CUTTING THE PEPPERS. I recommend cutting the peppers in half as shown in the picture above versus hallowing out the pepper and trying to make it stand on end. If you cut the pepper lengthwise you don’t have to worry about the peppers falling over in the oven. You also are serving half a pepper per portion versus a full one. Personally I think that is a much more reasonable portion size.
My husband, my very own in-house recipe critic, liked this recipe but told me not to be afraid to jazz it up a bit. That was a very clear message that, yes it was good, but it needed just a little more umph! I’ll write the recipe as I made it and I encourage you to experiment with some additional things to add depth of flavor. This is definitely a recipe that, with your own personal tweaking, can be a staple in your recipe repertoire. I would love to hear of any adjustments you make and how it turned out. I always love to hear new ideas!
Easy Cheesy Stuffed Peppers
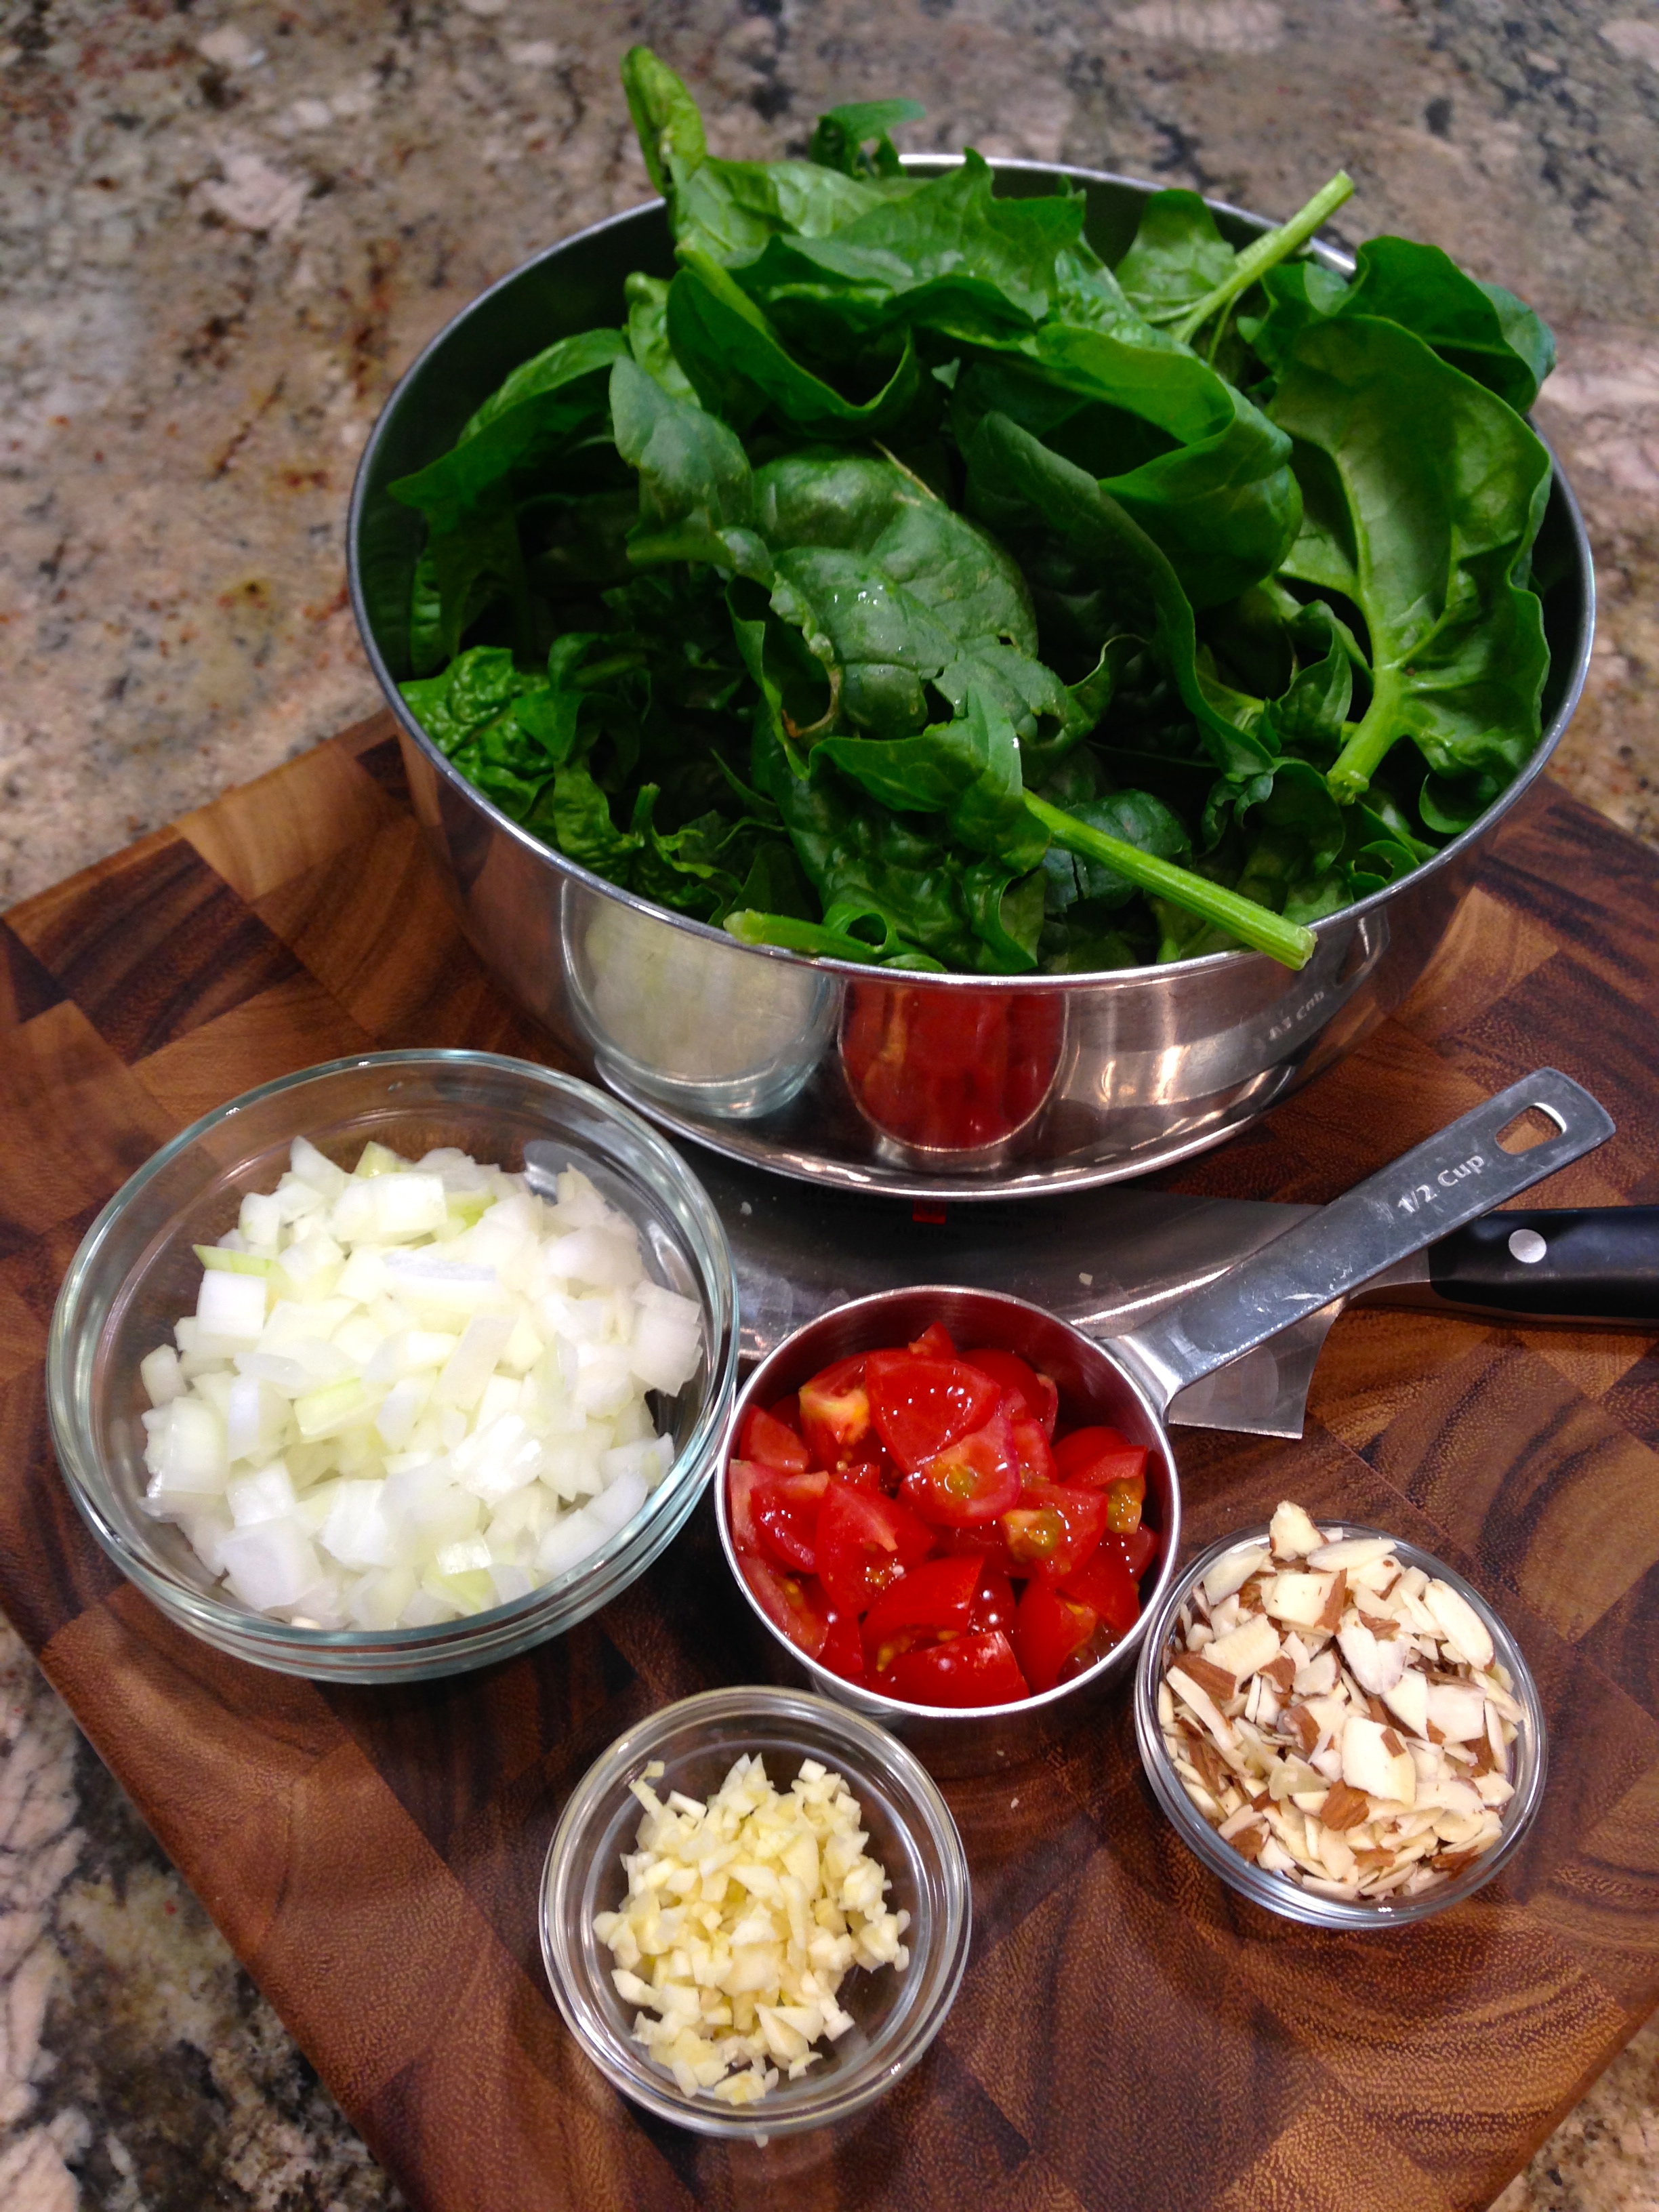
INGREDIENTS:
2 large sweet peppers halved lengthwise
1 pound ground beef
1 TBS butter
1/4 cup of onion, chopped
2 cloves of garlic, minced
1/2 cup chopped fresh tomato
Salt and pepper to taste
4 ounces of cheese (to be mixed with the ground beef)
2 ounces of cheese for the topping
DIRECTIONS:
Preheat the oven to 350. Bring a large pot of water to a boil. Once the water is boiling put in the peppers and cook for only three minutes. Immediately remove the peppers from the water and set aside to cool slightly for easy handling.
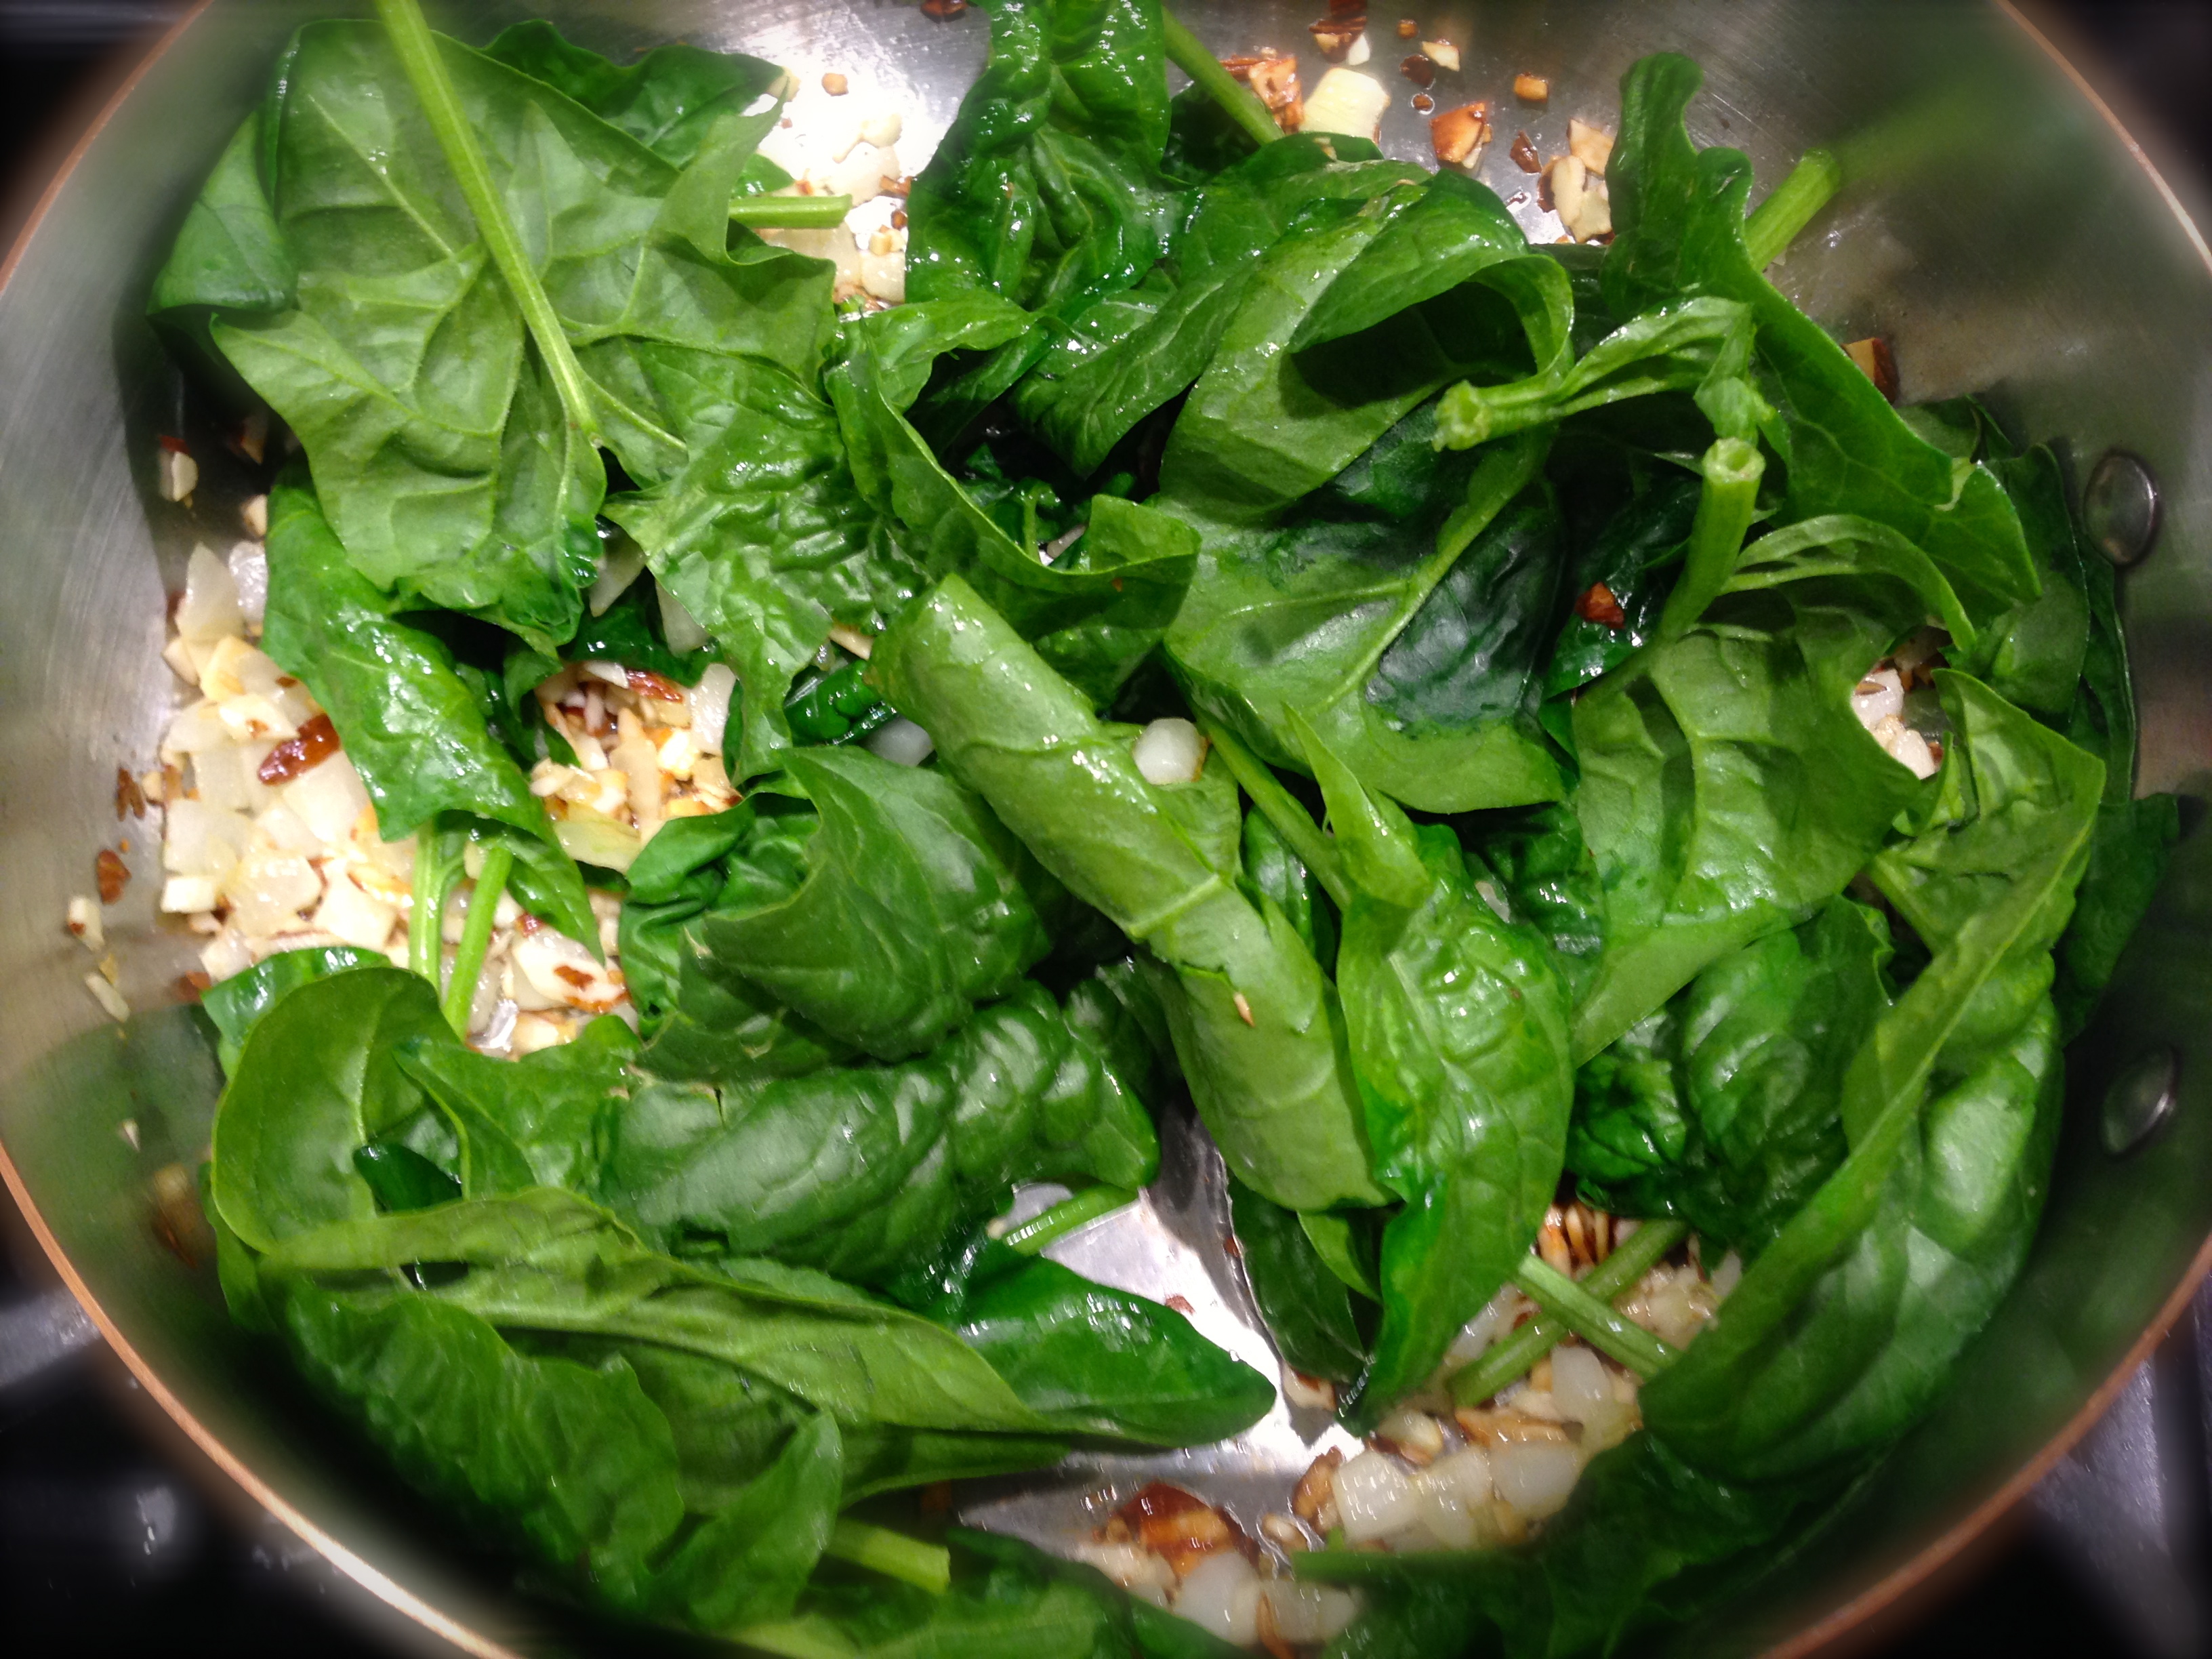
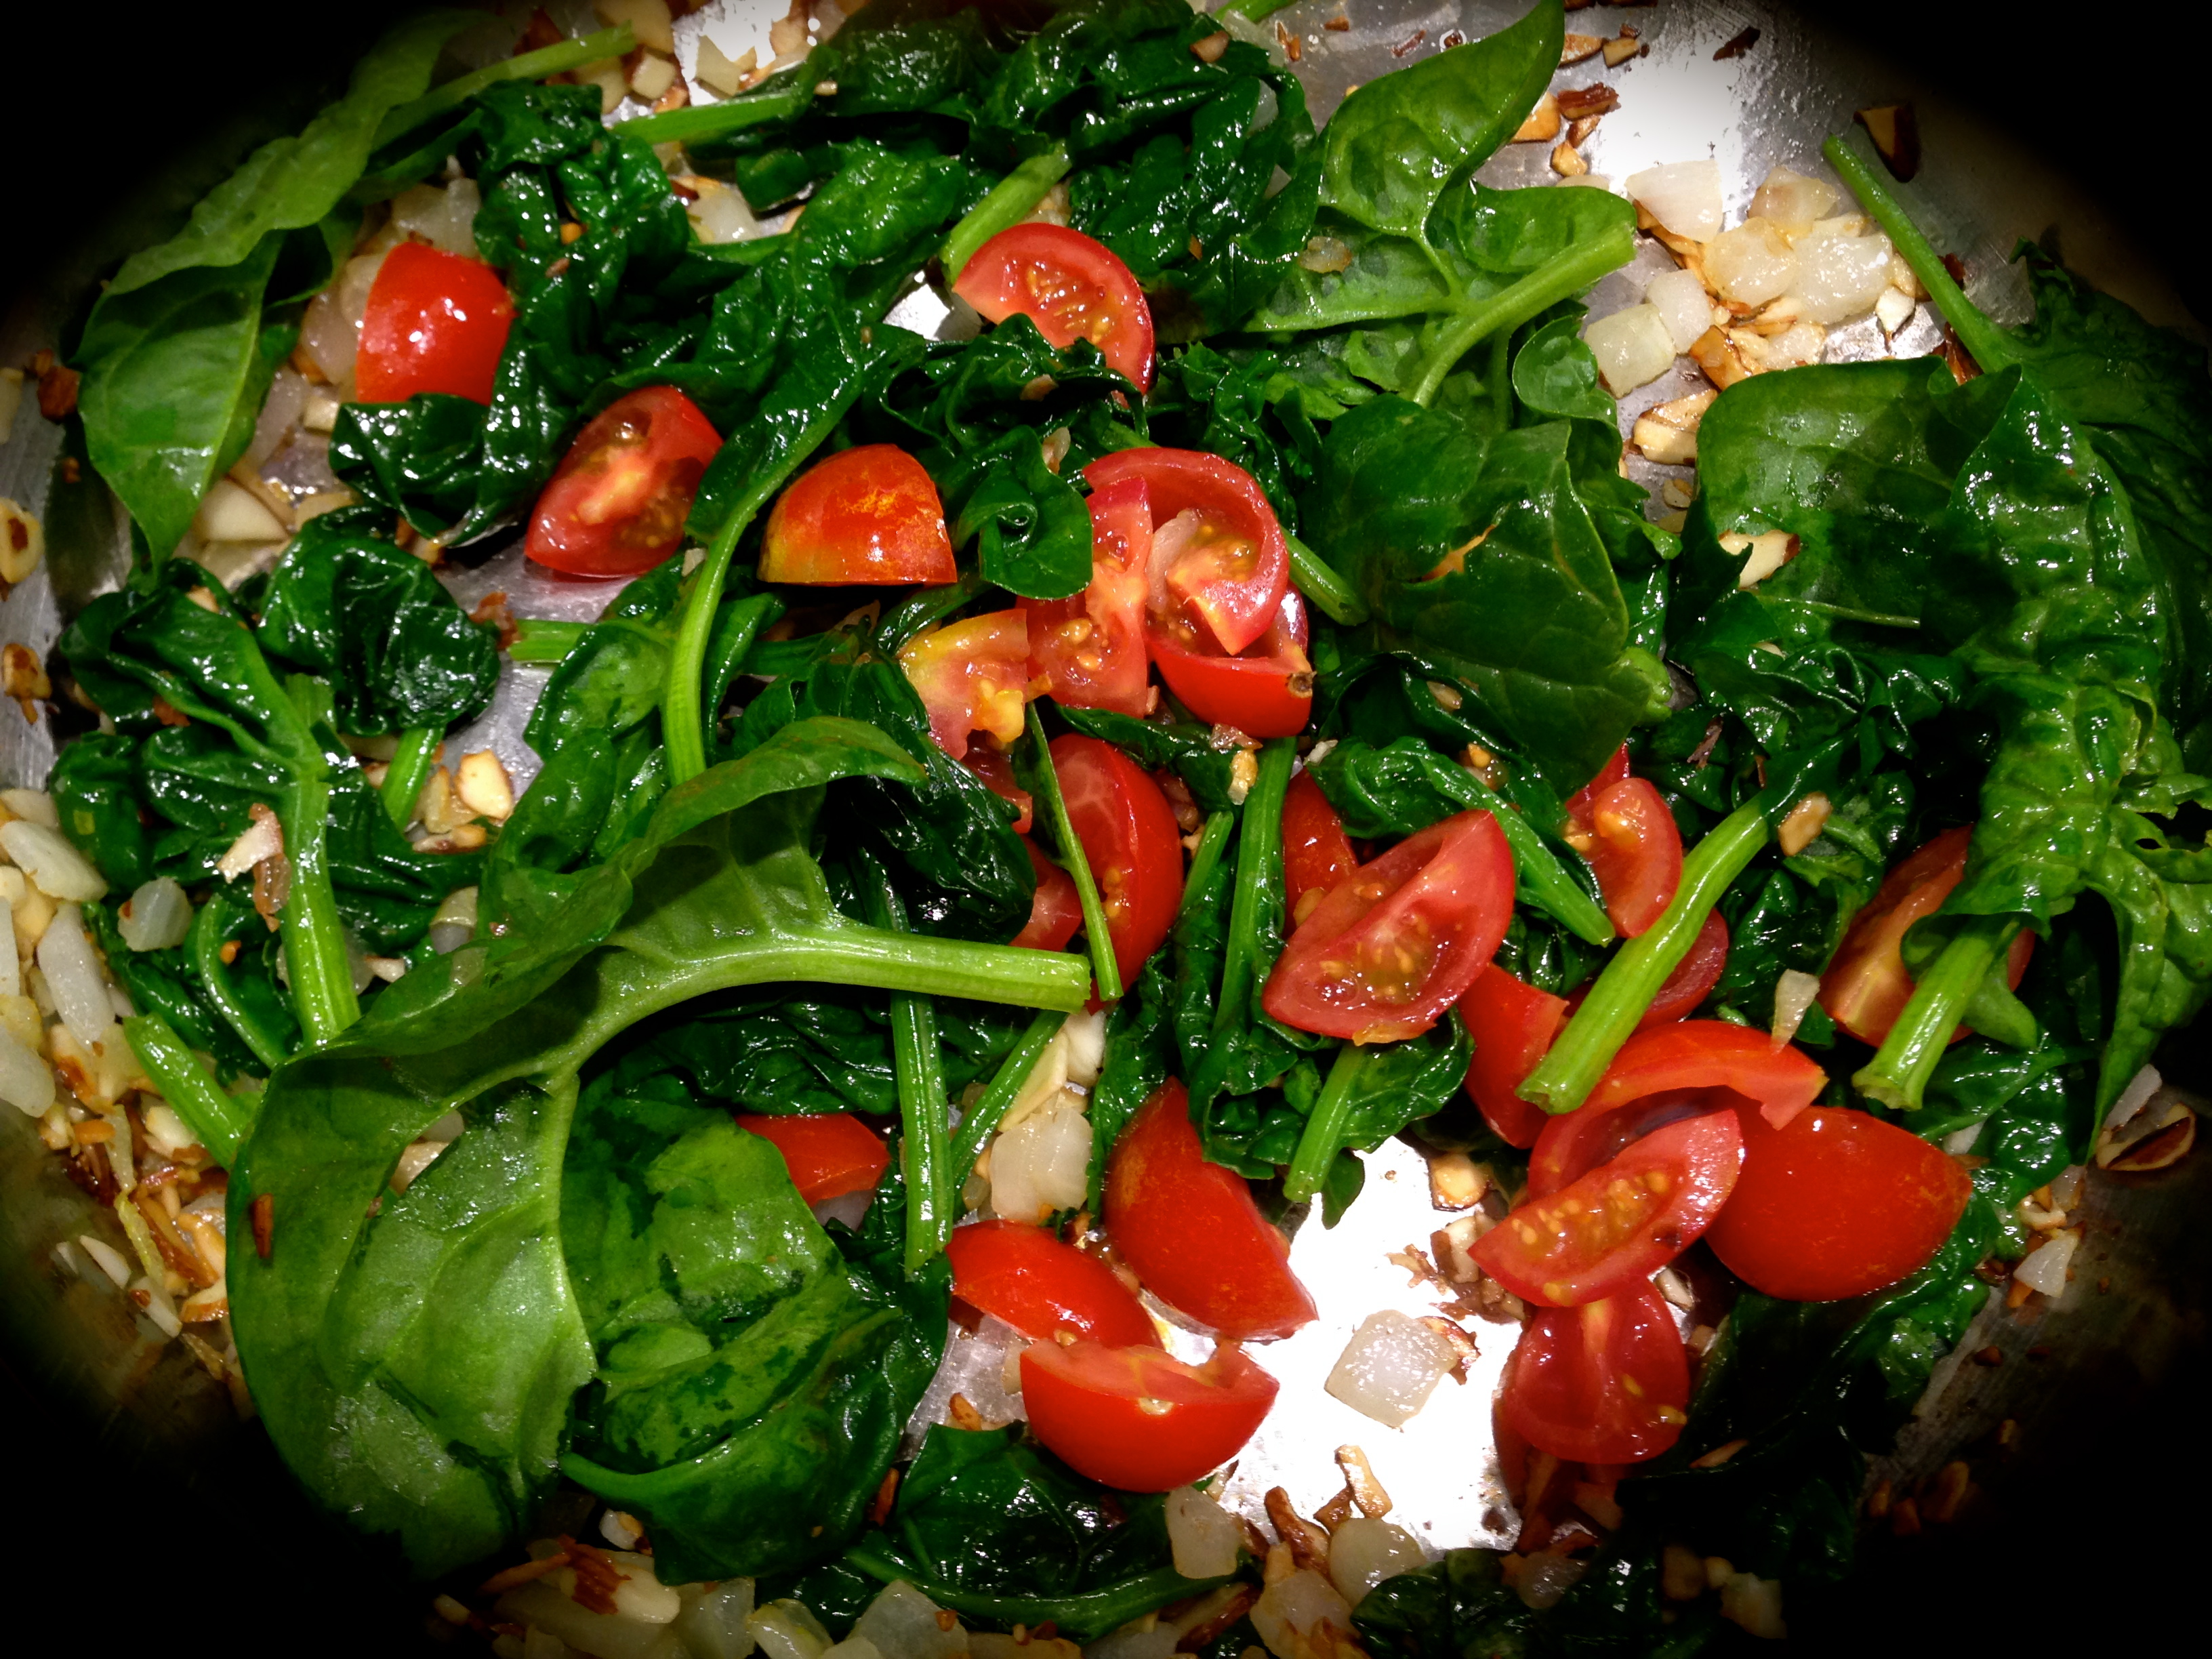
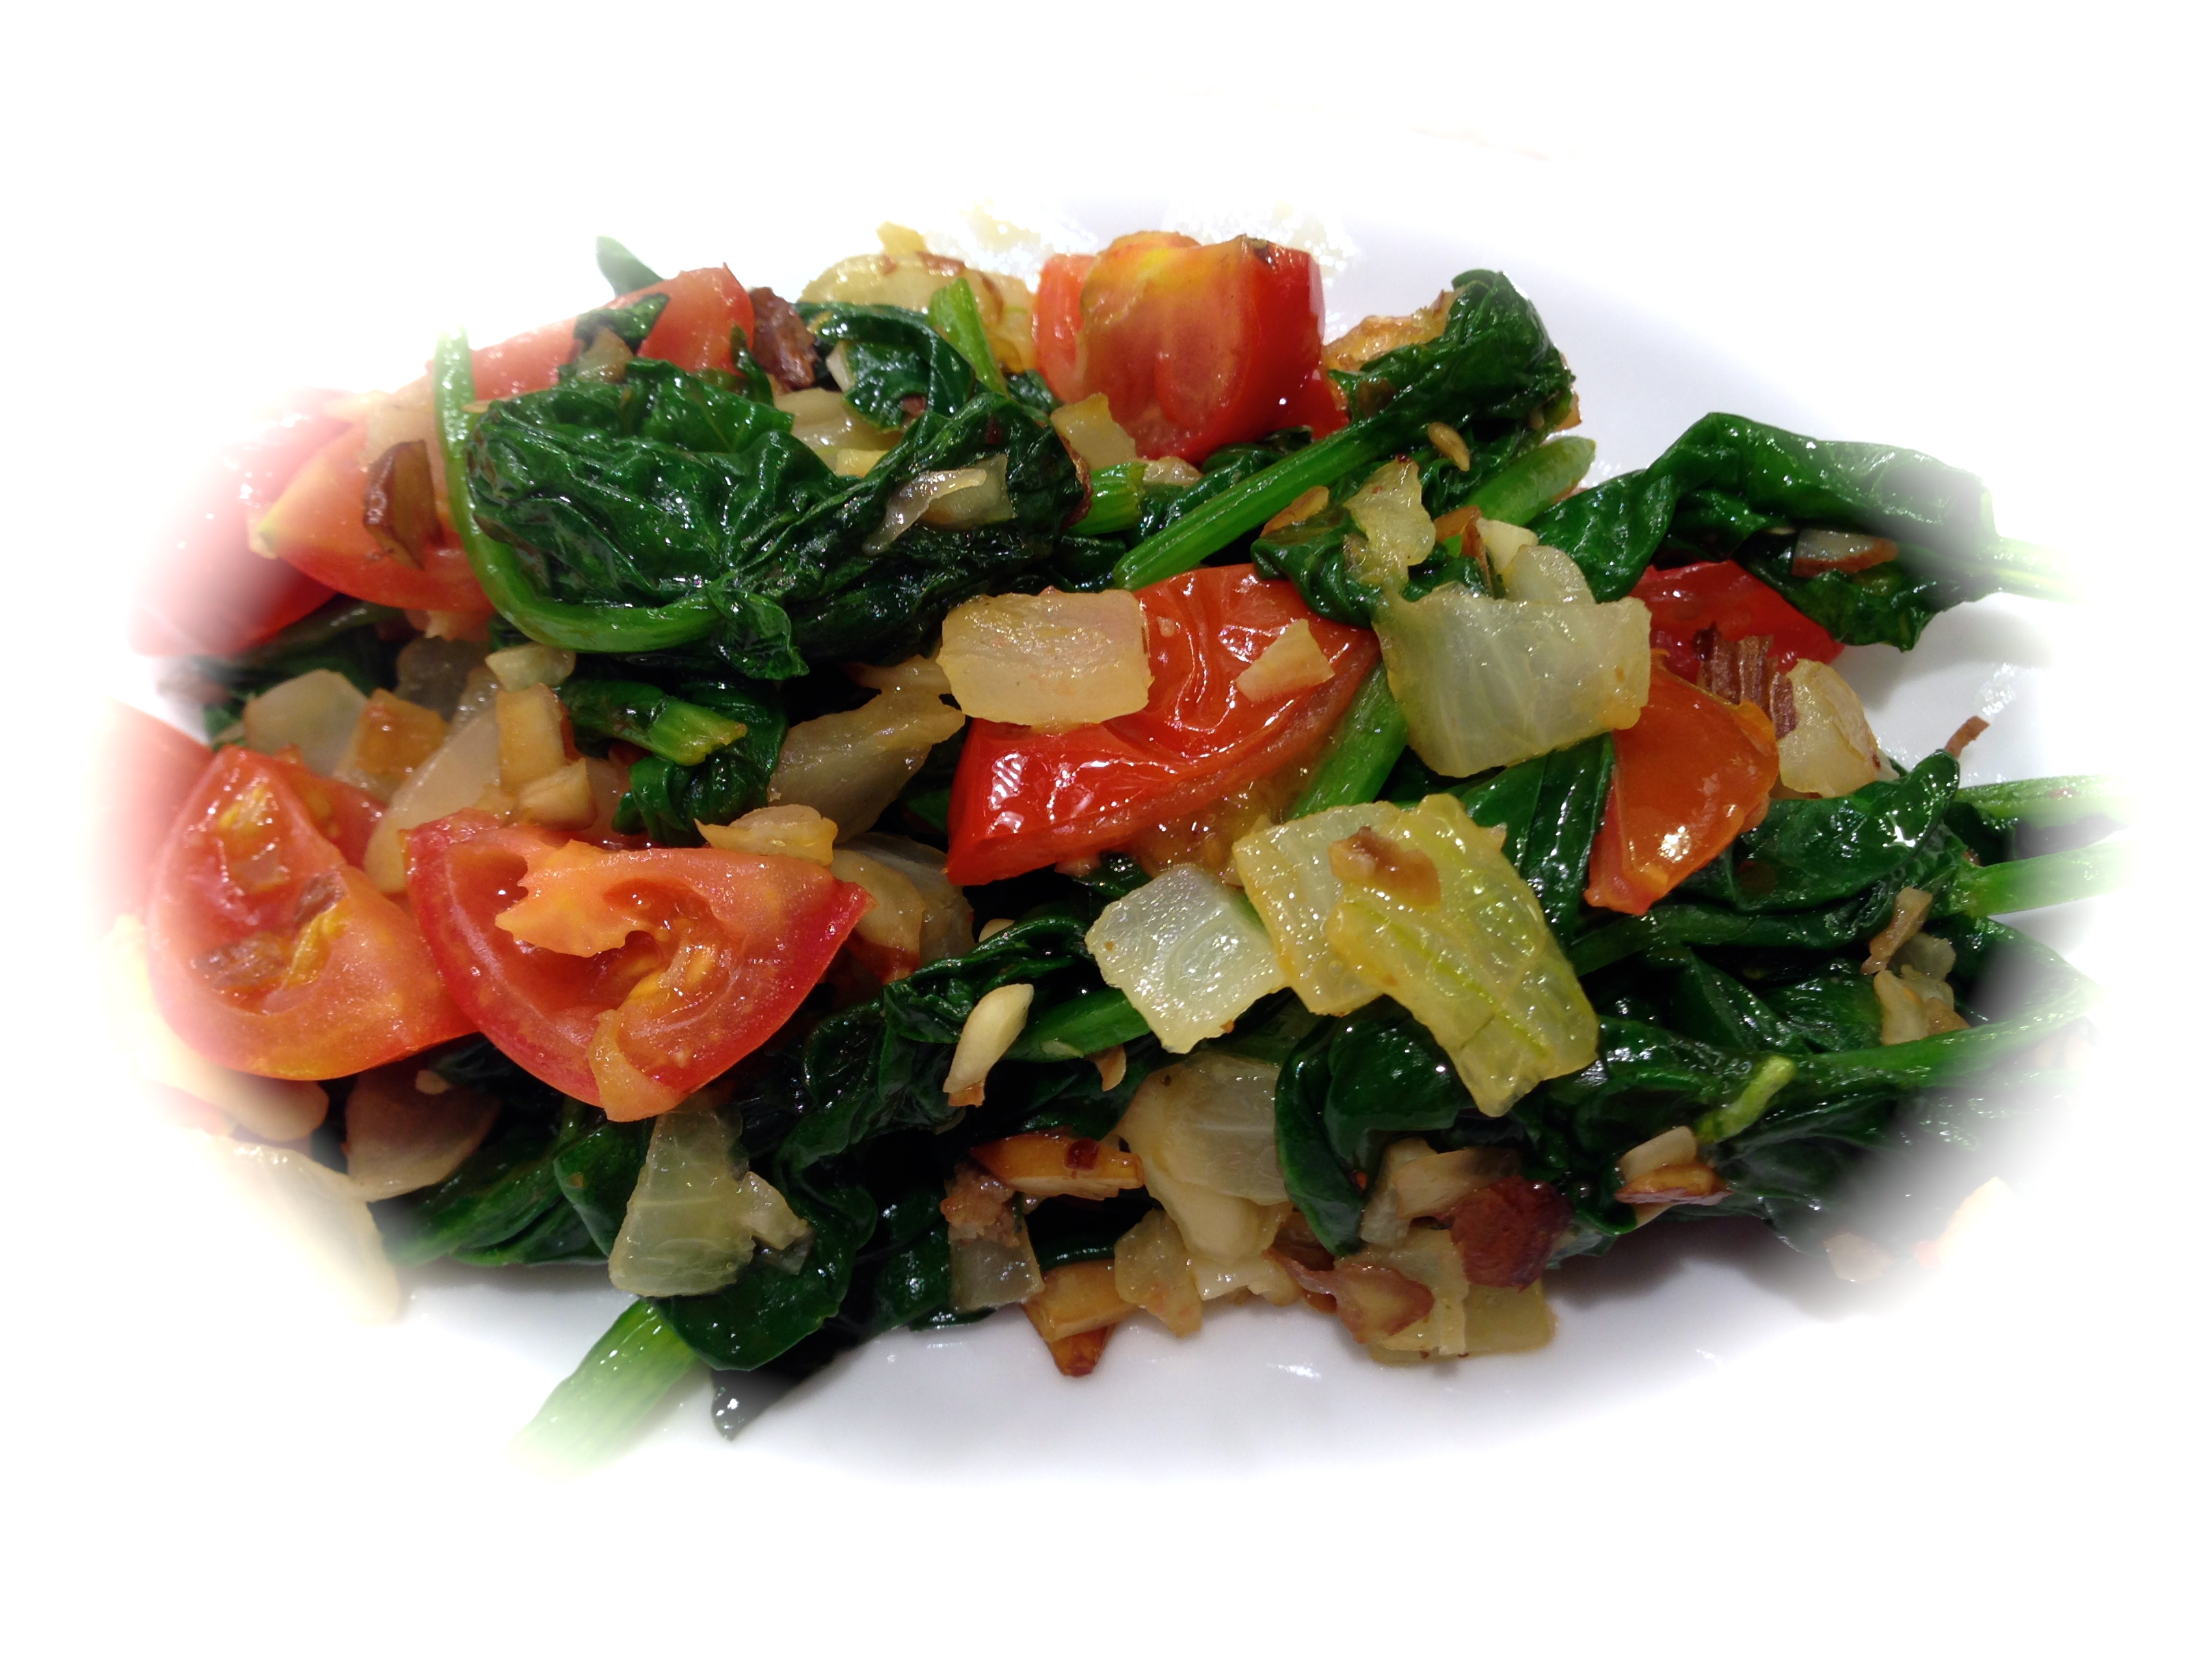
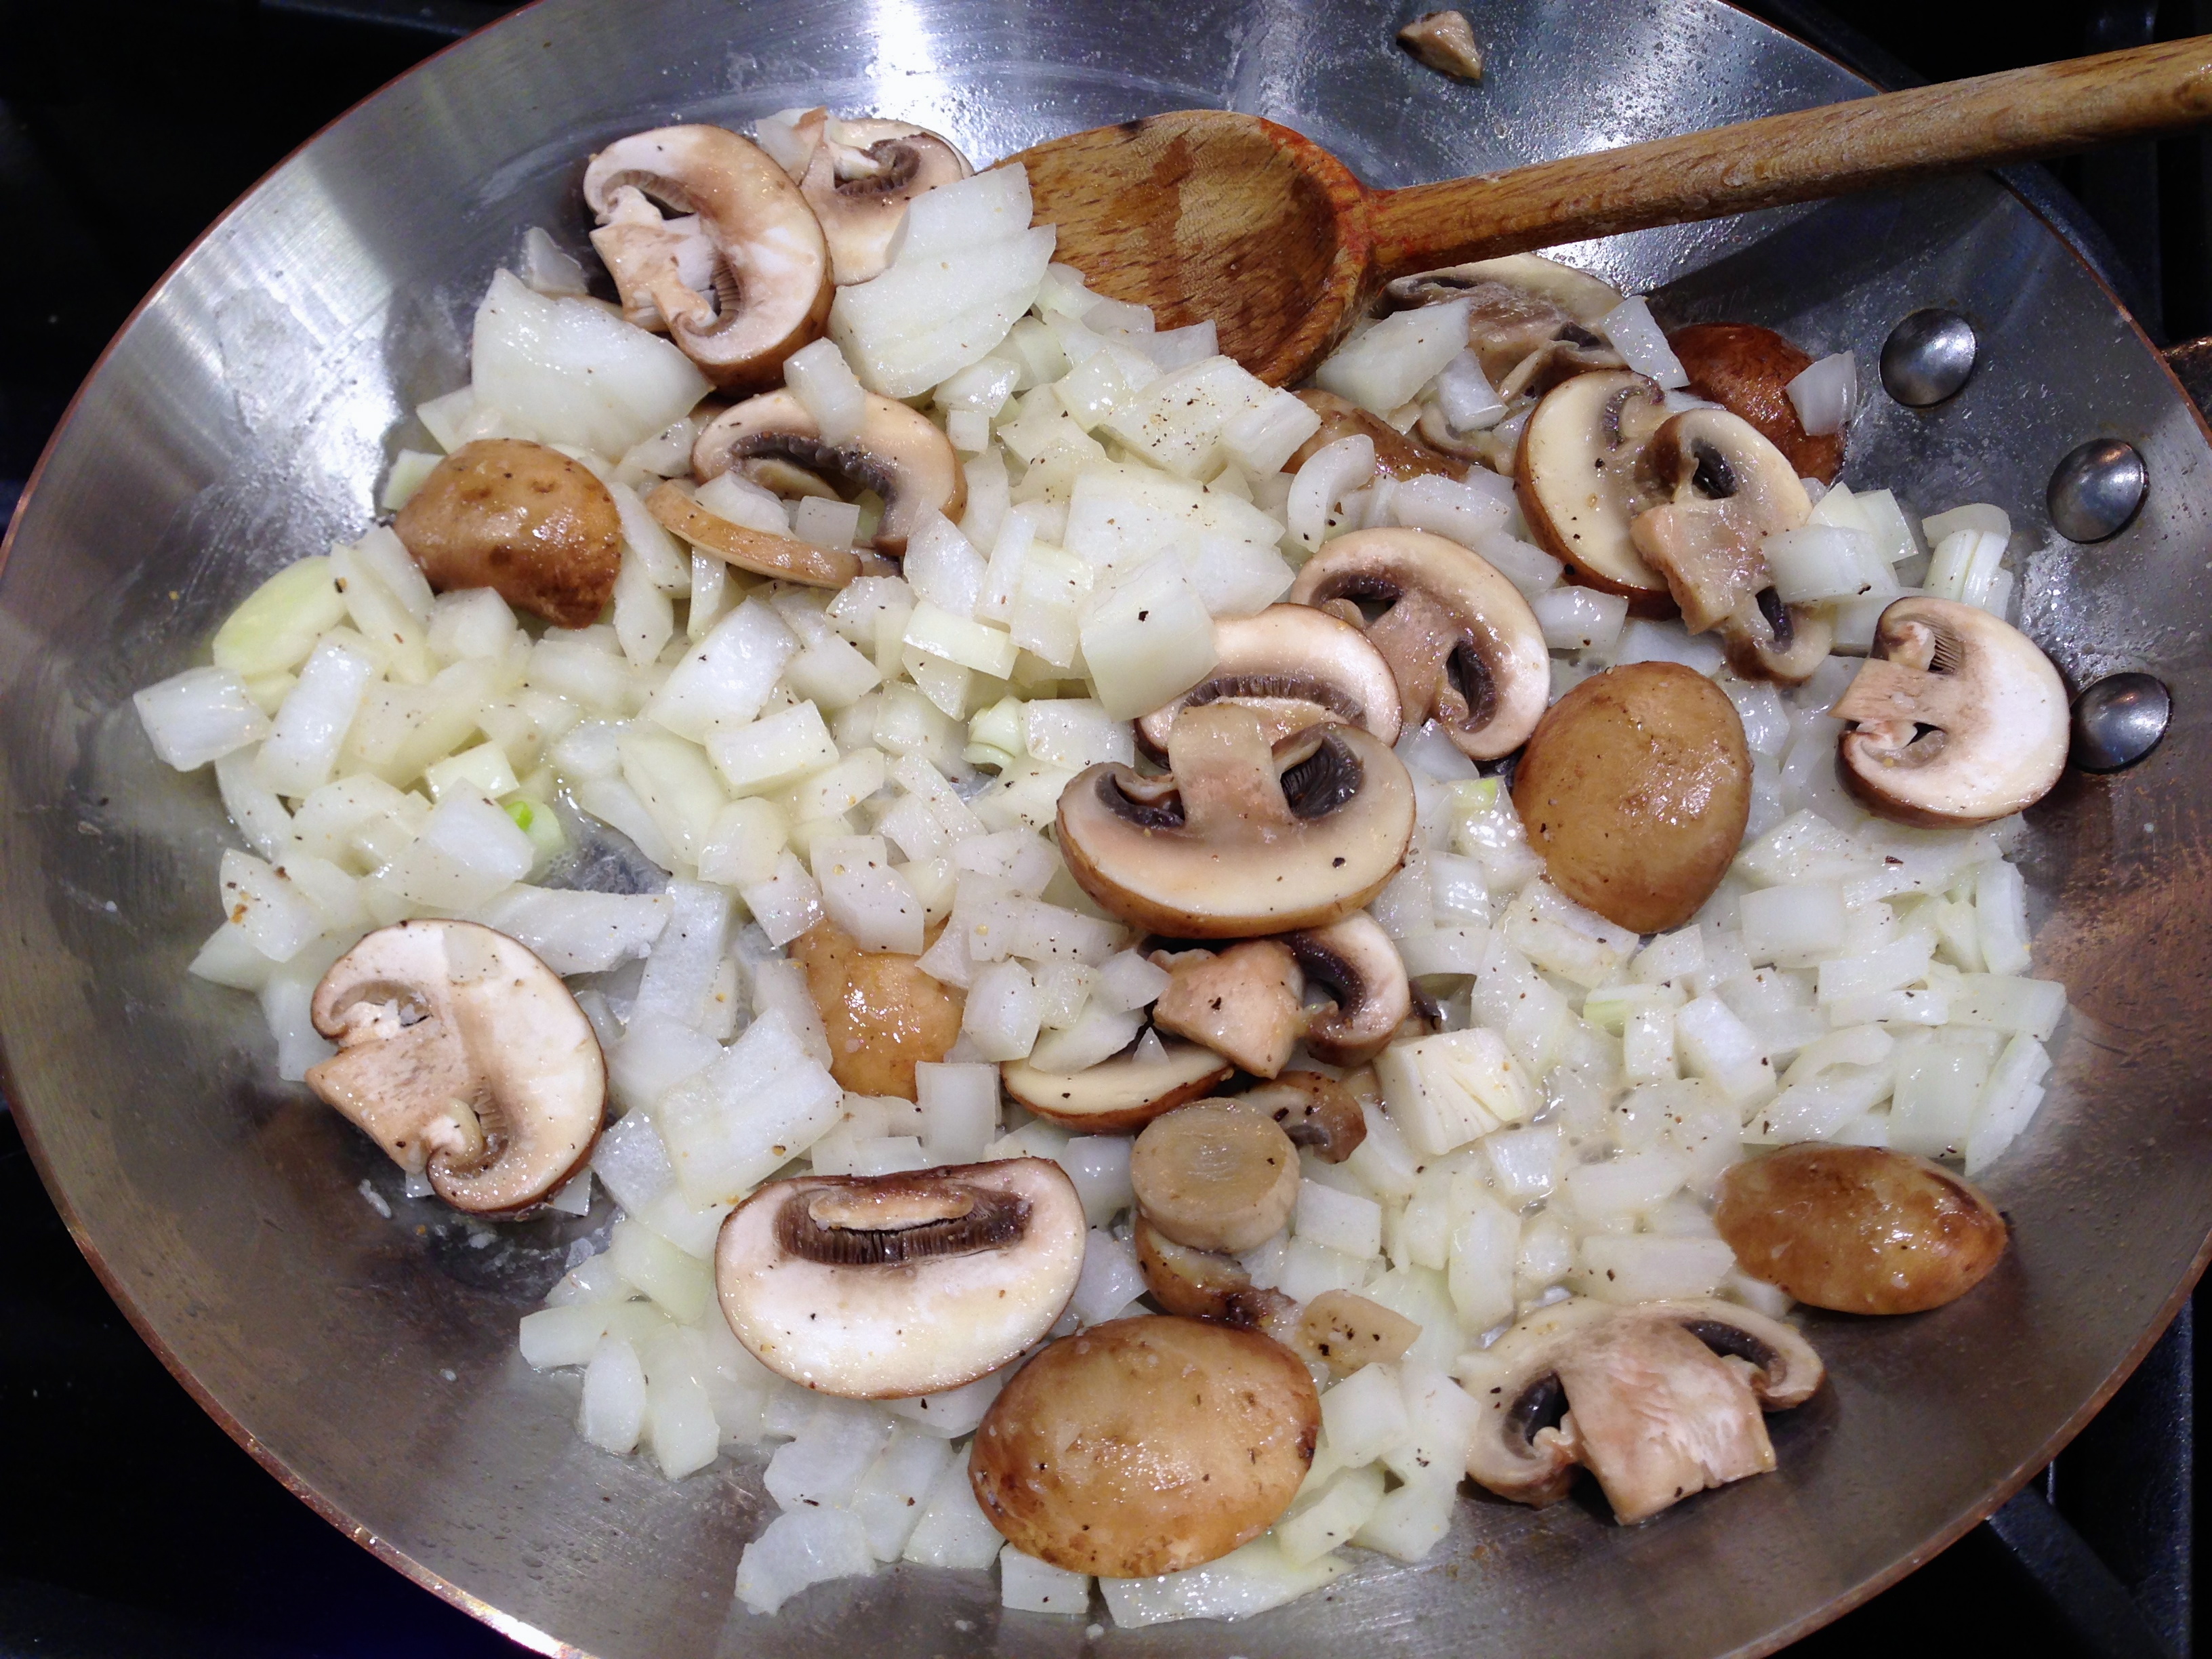
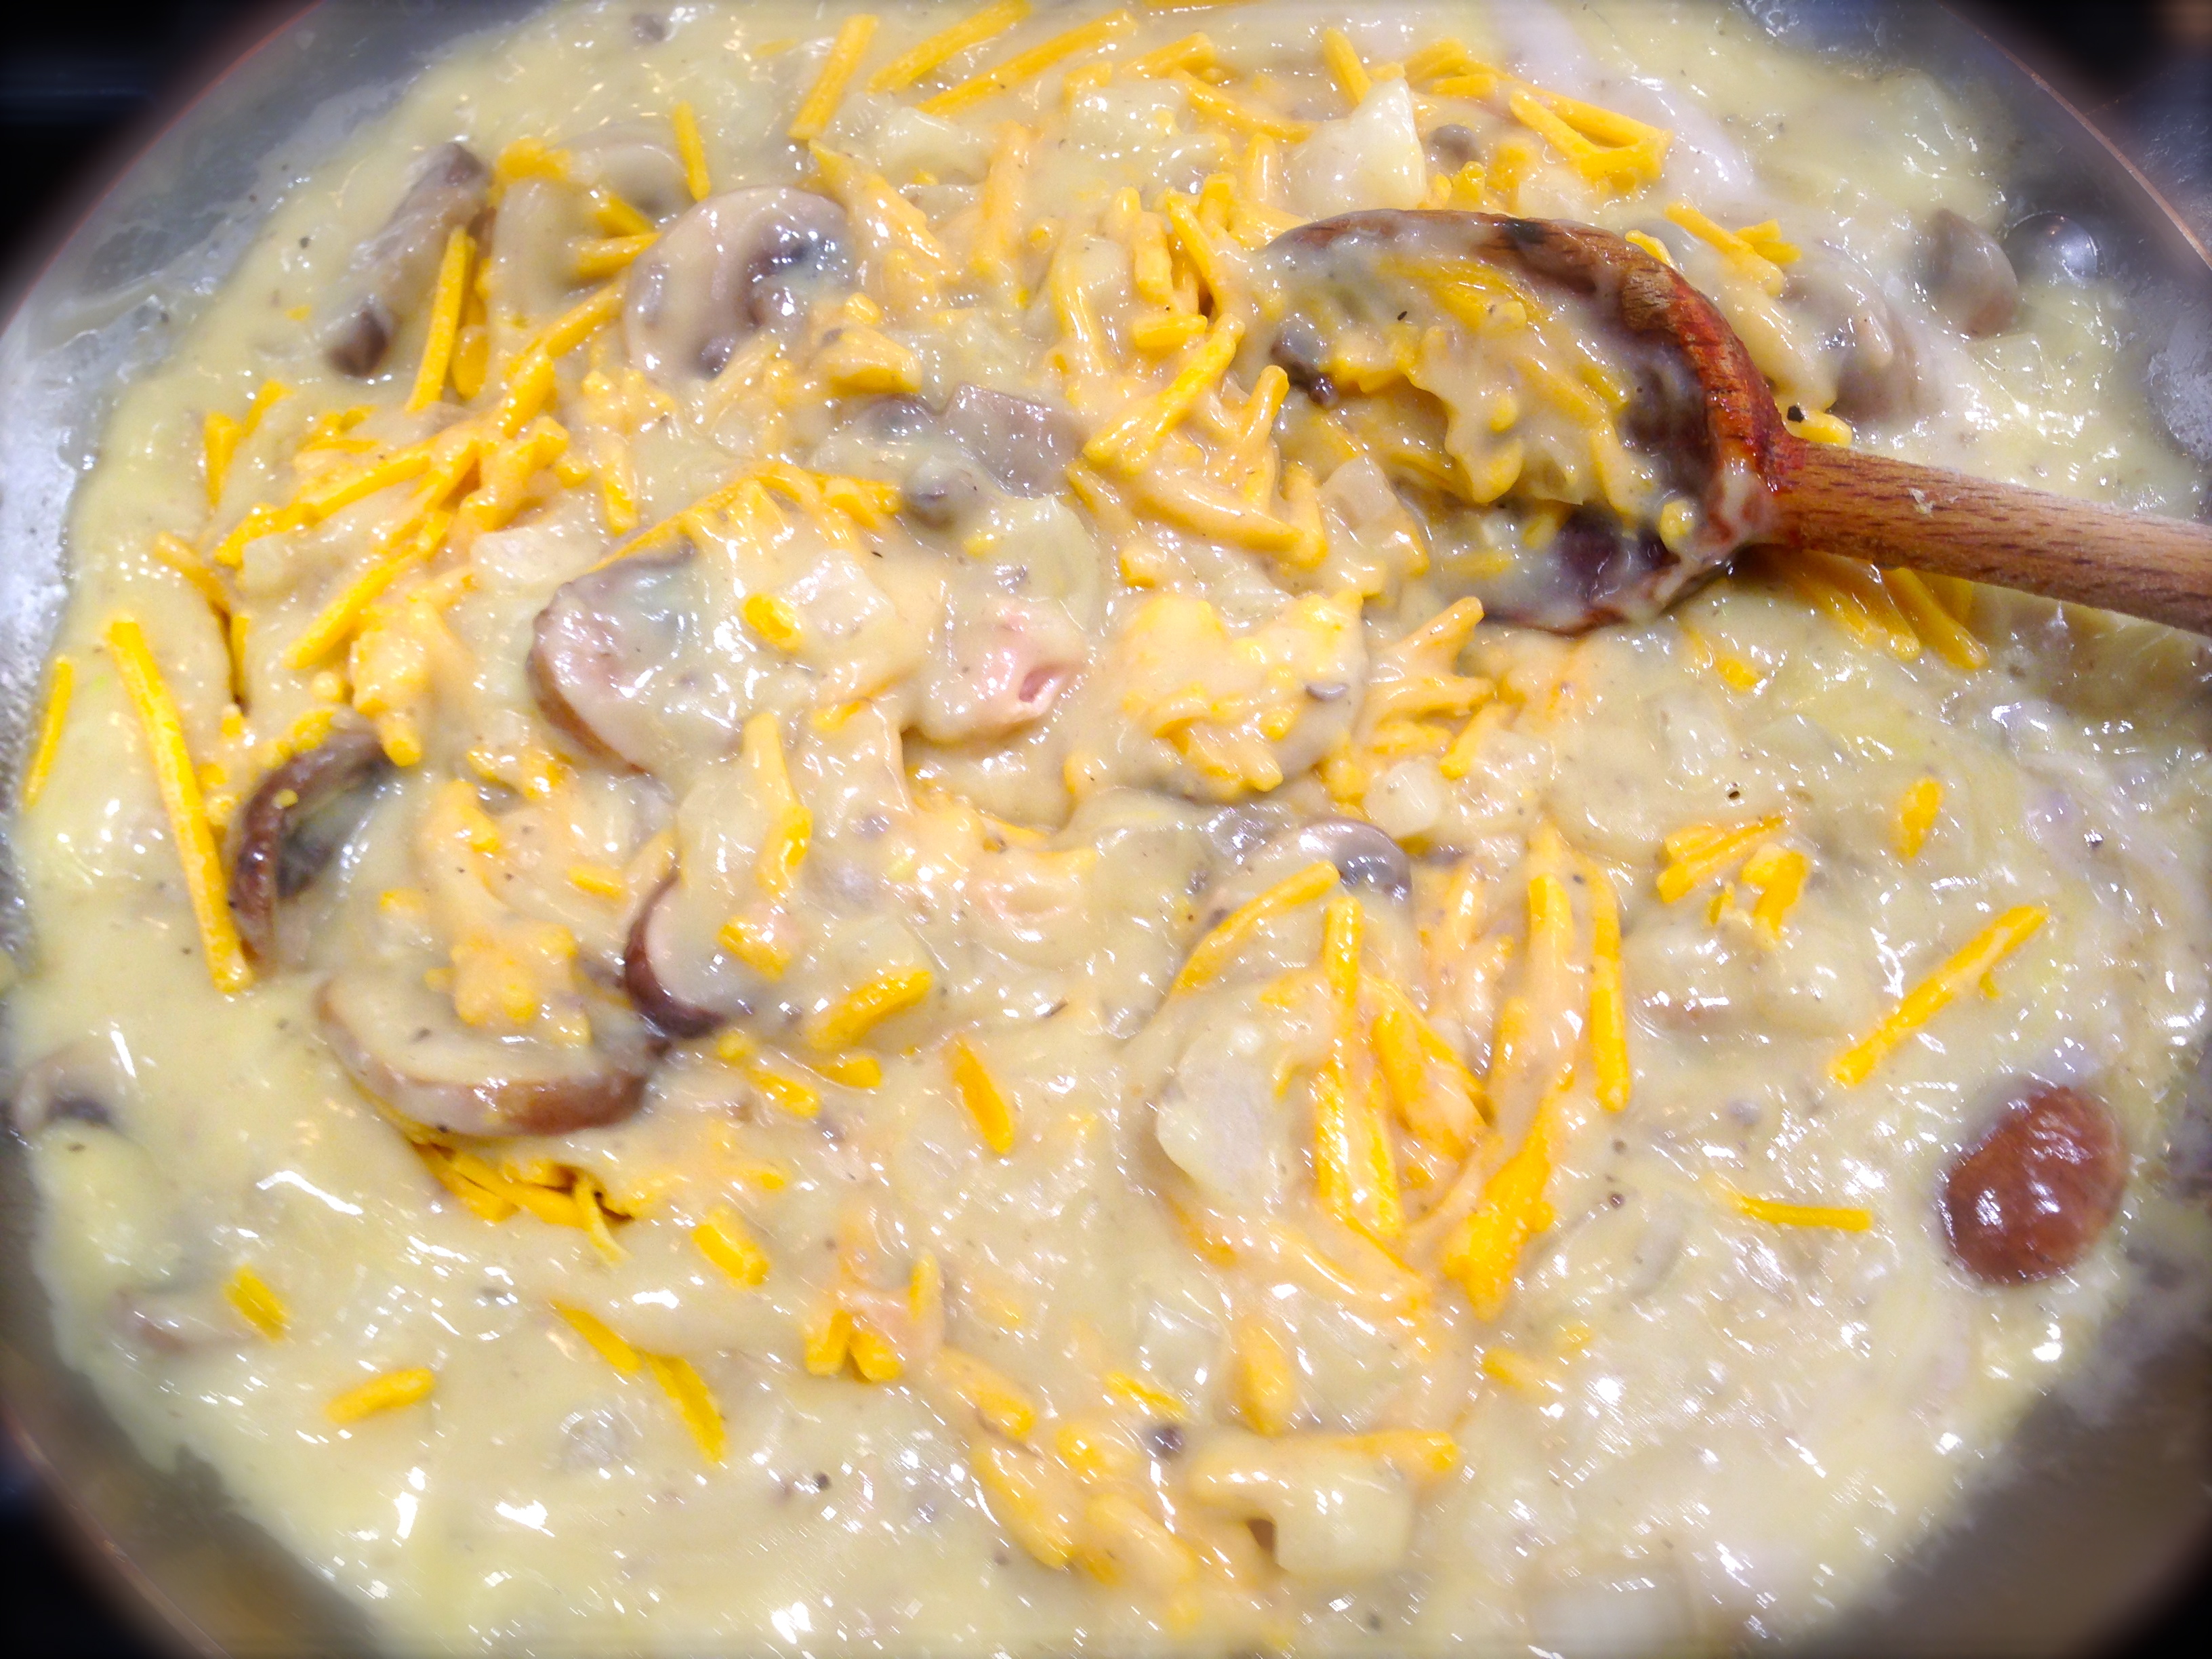
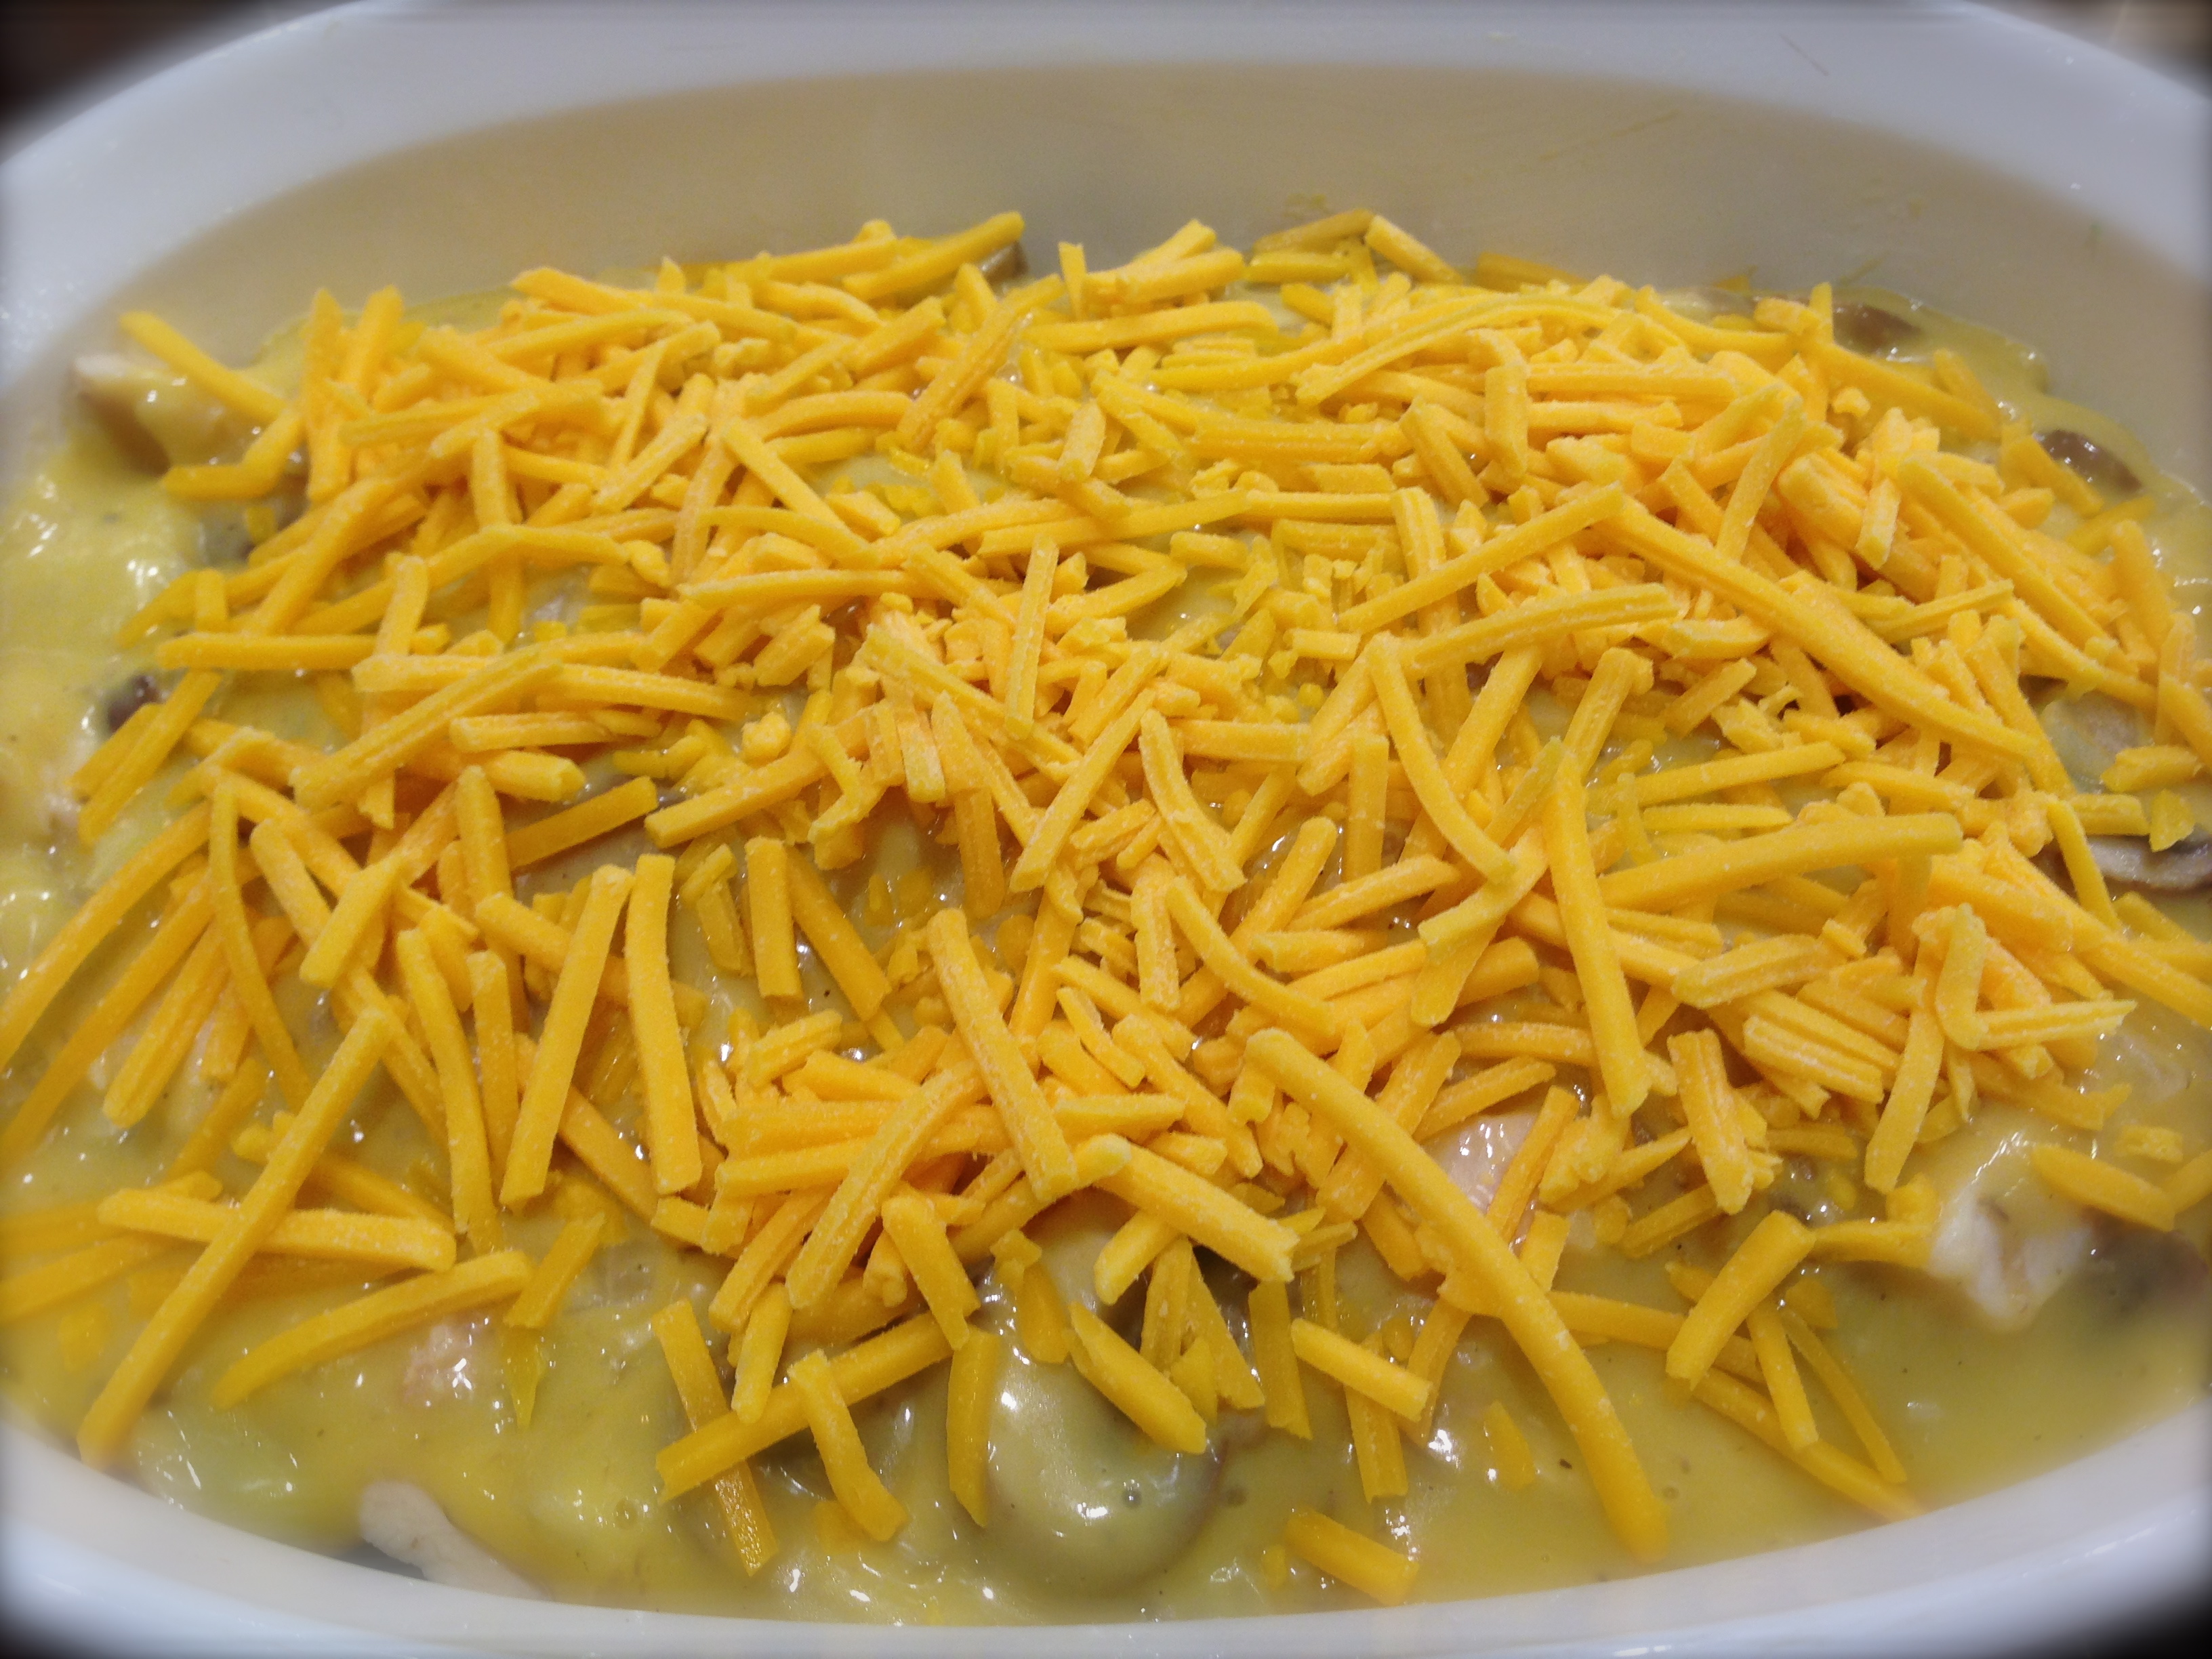
In a saute pan, melt the butter and cook the onions until they become translucent. Salt and pepper the onions during the cooking process. When onions become translucent add the garlic and cook until fragrant (between 30 seconds and one minute). Push onions and the garlic to the side of the pan and add the ground beef. Break up the ground beef and spoon the onions and garlic on top of it. Let cook over medium heat until browned (approximately 5 minute). Turn the meat over and cook for a few more minutes. It is ok if there is some pink in the meat, it will finish cooking in the oven. Add the tomatoes and cook only until warmed (no longer than a minute). Stir in the cheese, combine until the cheese is melted and take the mixture off the heat to cool slightly.
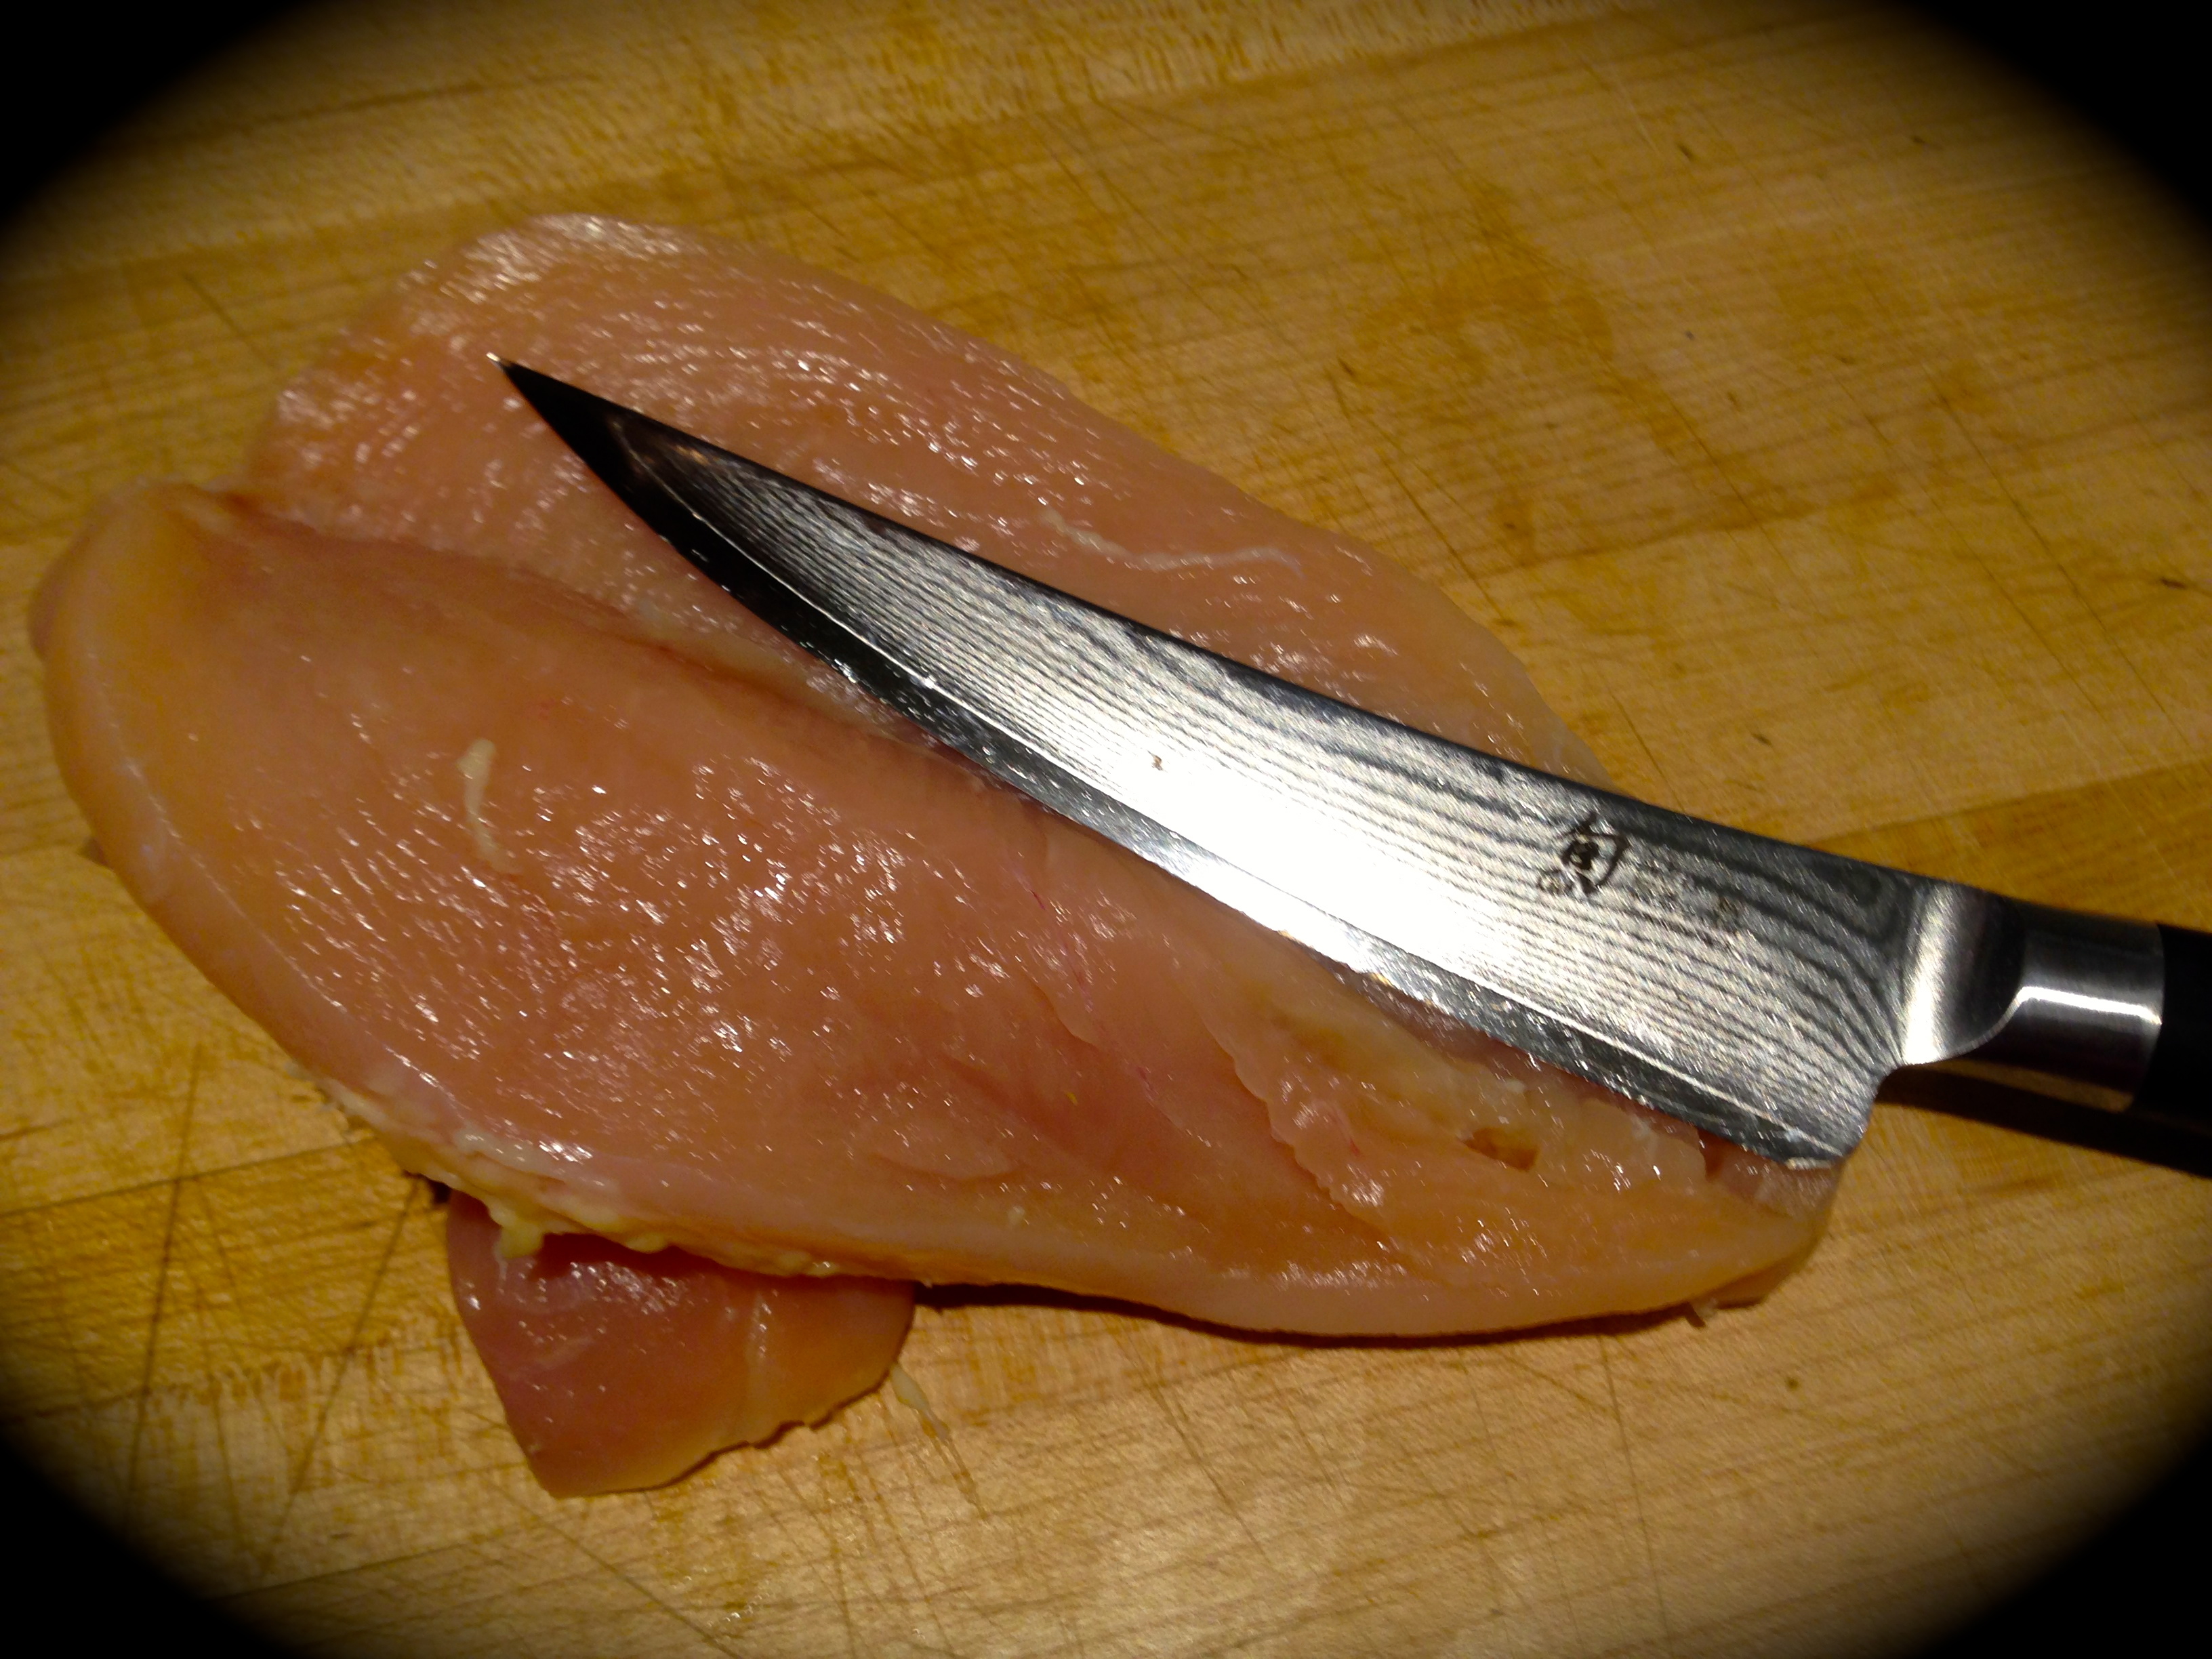
Cut the peppers in half lengthwise and remove seeds and any white pith. Fill the hallowed out peppers with the meat mixture. Top with cheese.
Place the stuffed peppers on a greased (or you can use nonstick spray) baking sheet. Bake at 350 degrees for 30 minutes. Serve immediately.
Easy Cheesy Stuffed Pepper