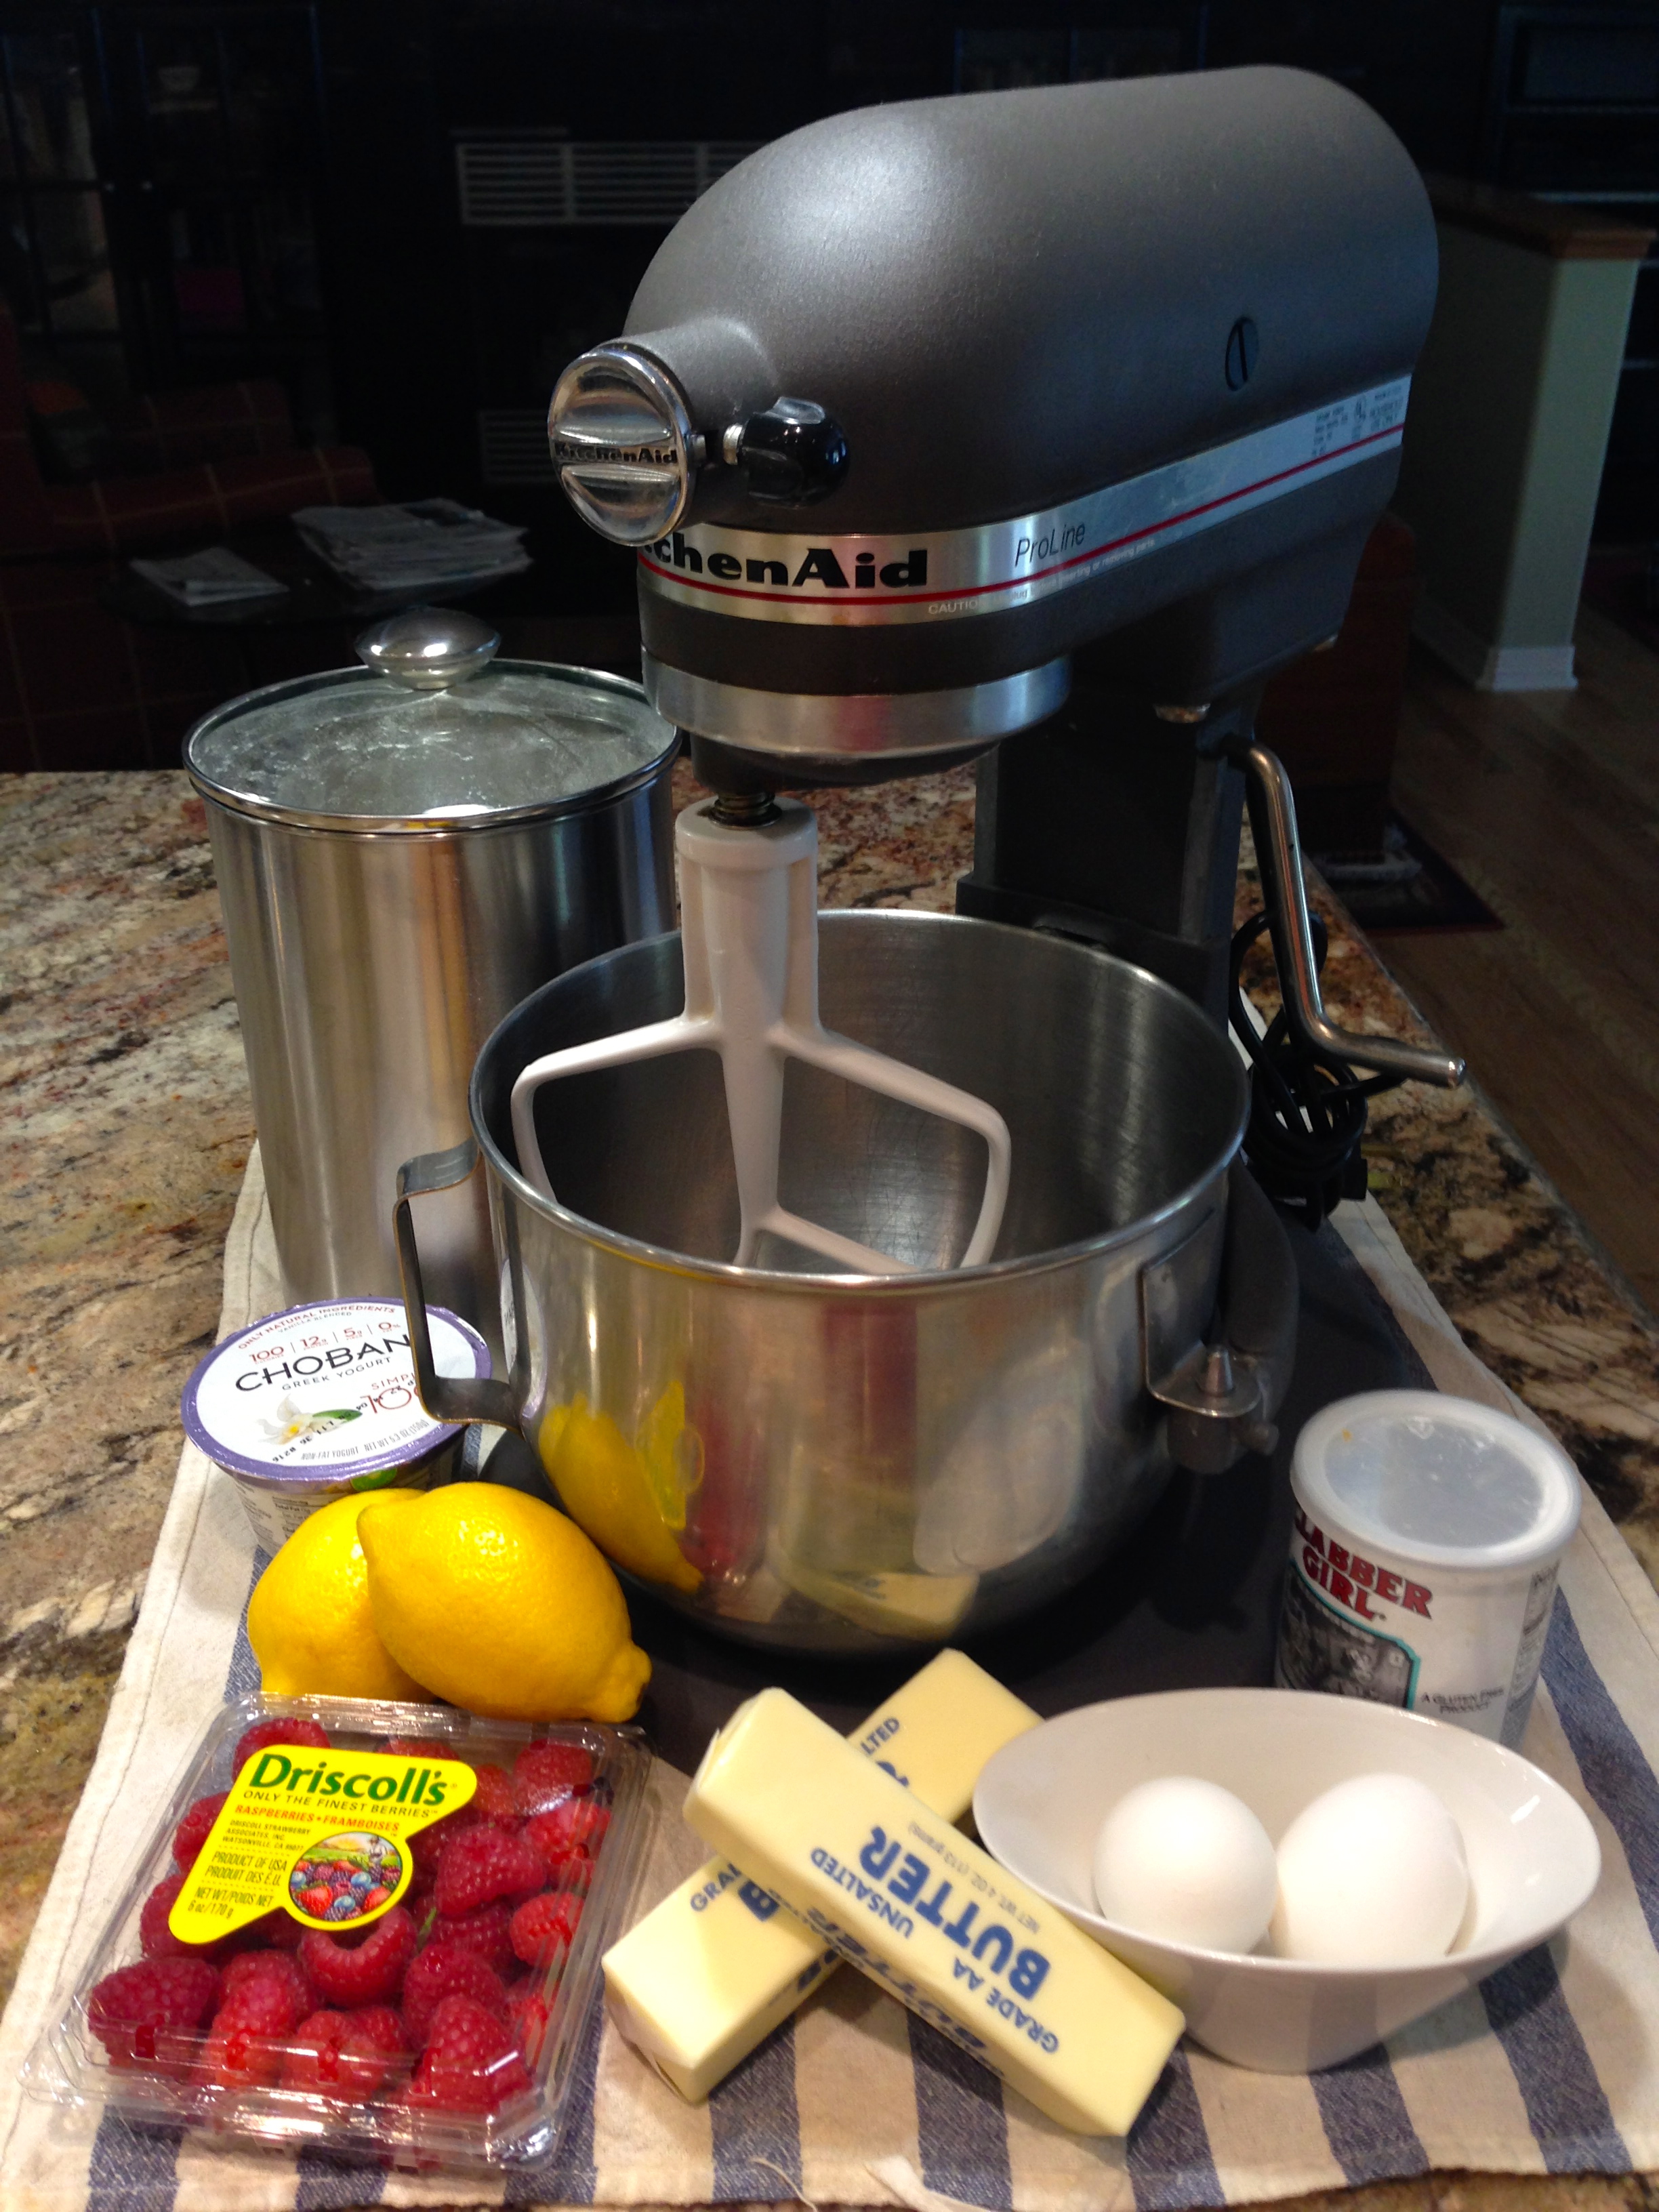
I promise I haven’t gone all cheese-cakey on you but every once in a while I find a recipe that I post that is not my own, nor have I adapted that is absolutely fabulous. This is one of them. It is is so good and so easy that I just had to share and give credit where credit is due.
I’ve mentioned before that over the years I’ve become a Food Network junkie. I have to admit I was more enamored with the programming several years ago, but there are still some shows that I like to watch. Trisha Yearwood’s show is one of them. I’ve tried several of her recipes and enjoyed them, but this one is just over the top.
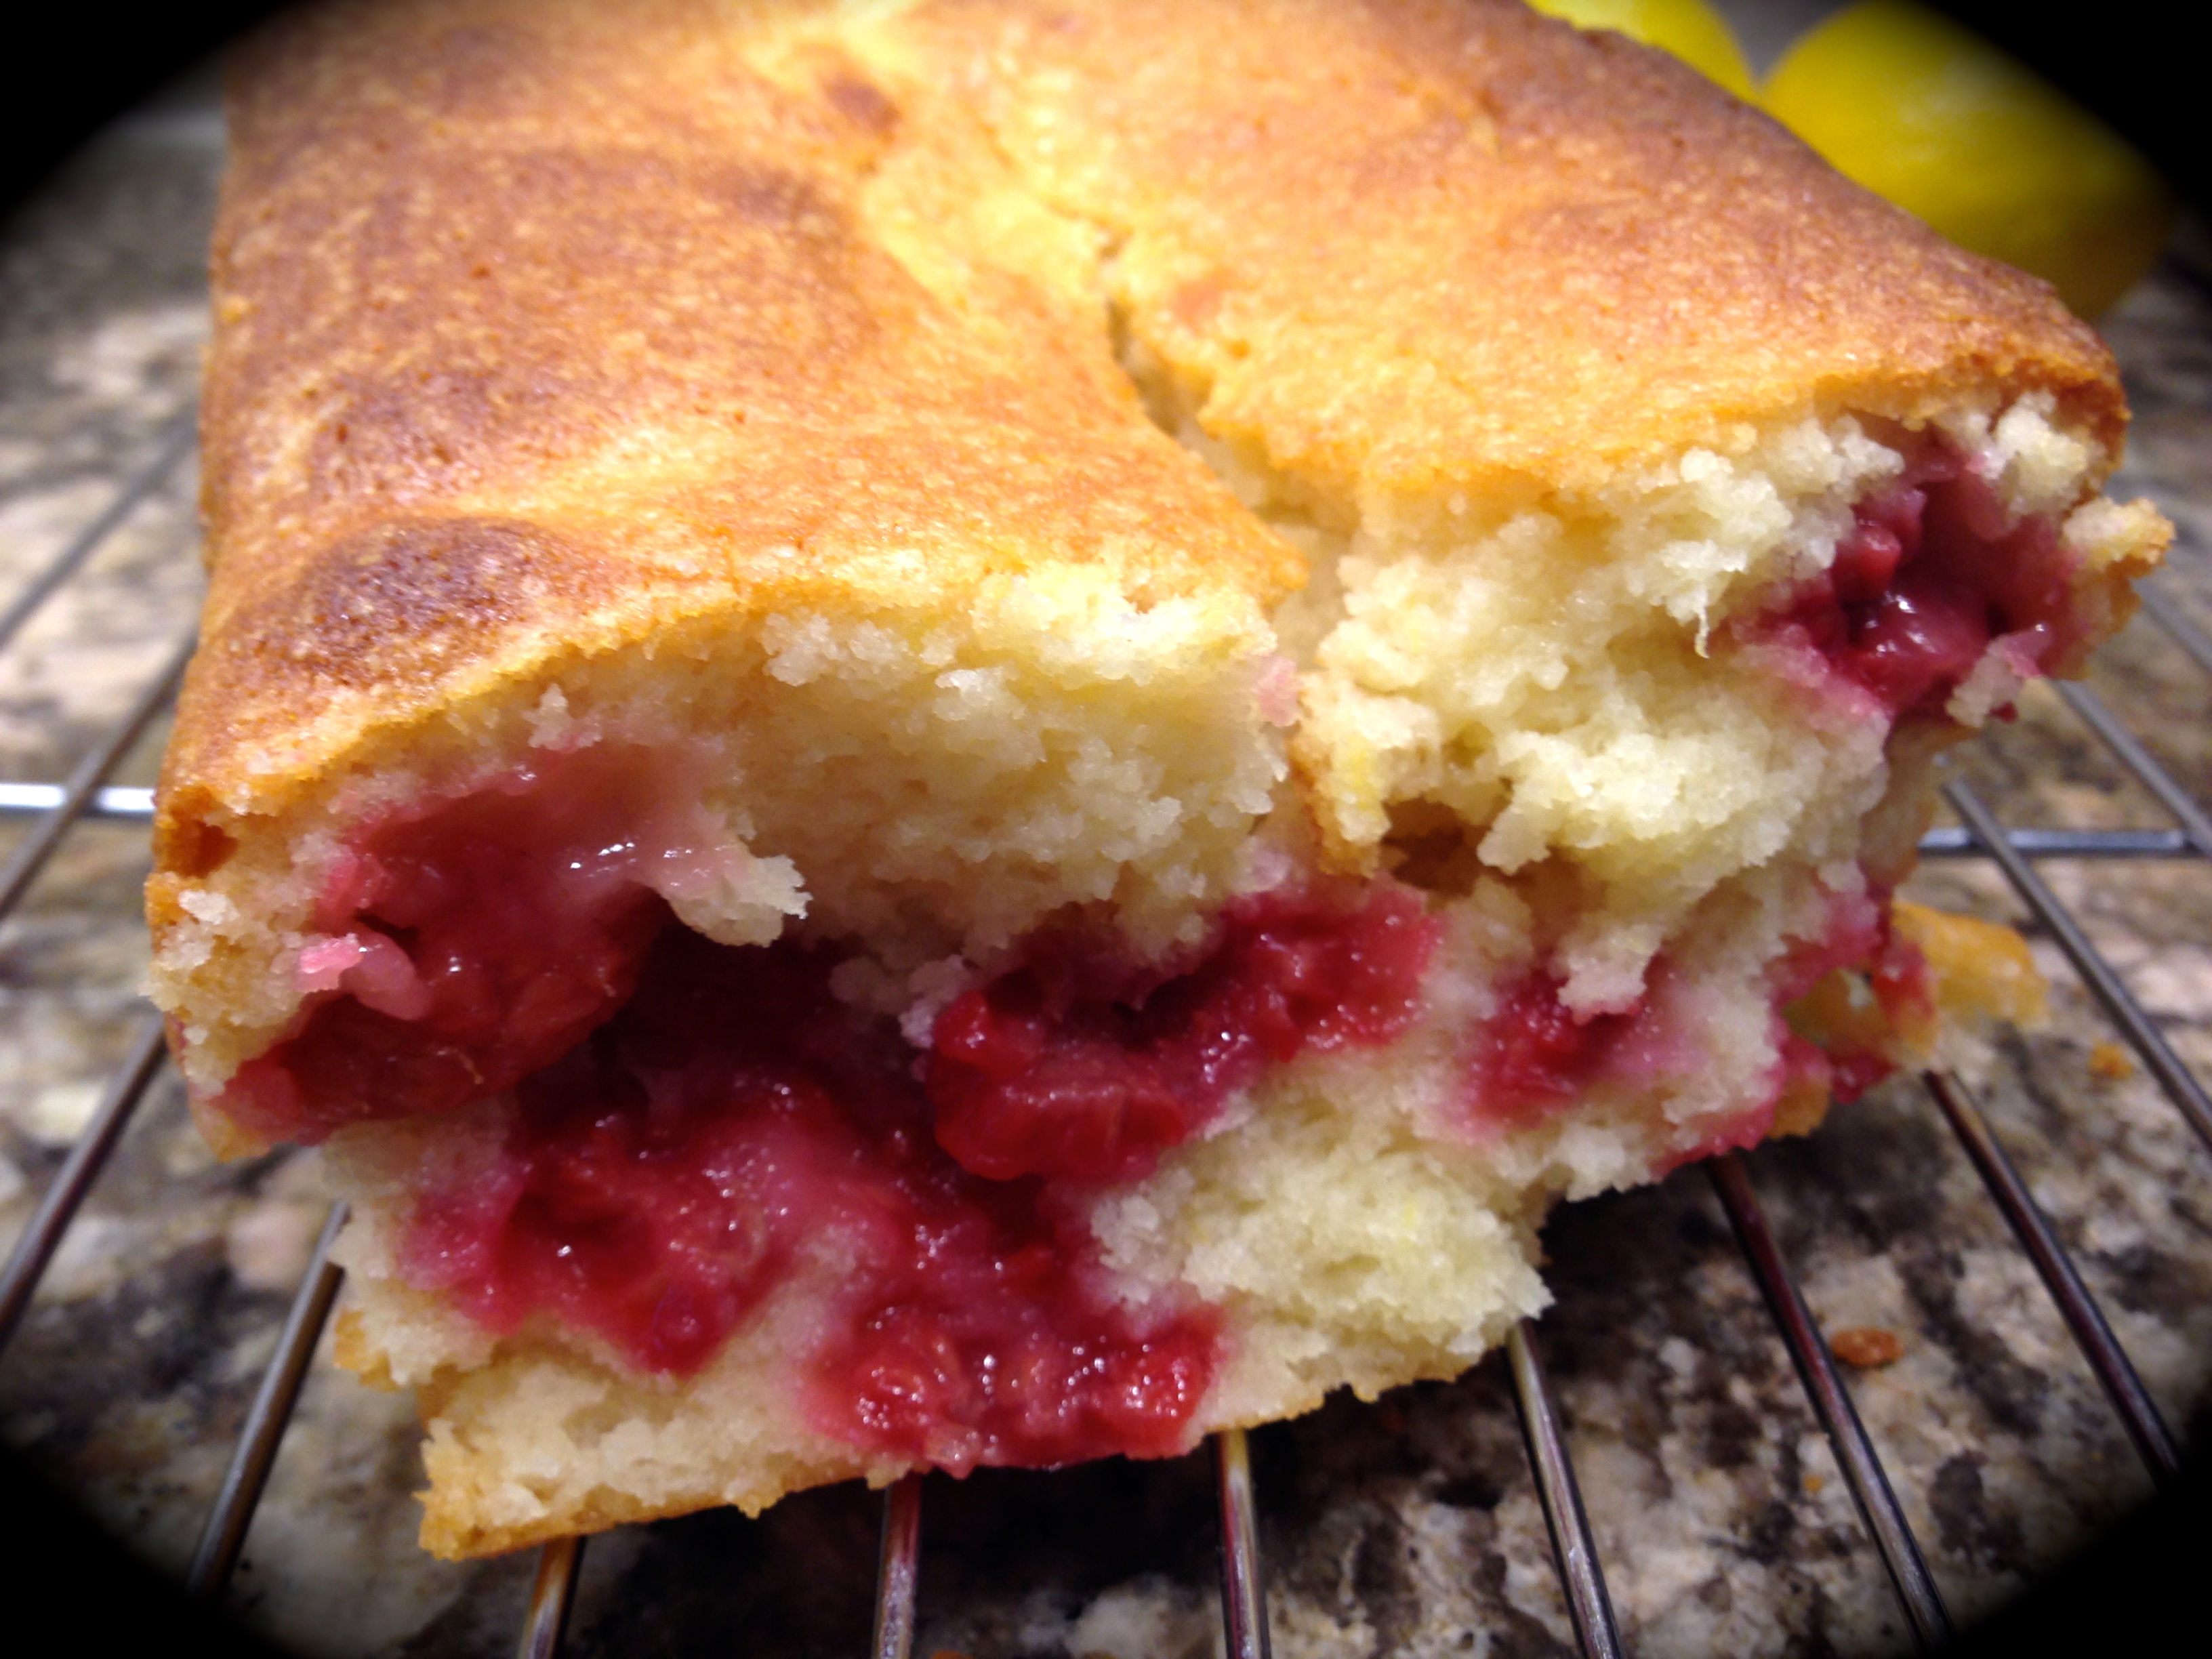
 I happened to be watching her show recently right after I made my Lemon Raspberry Cheesecake Bars. On the show she was making a cheesecake. It has been years since I made a cheesecake and for some reason I had it in my mind that it was labor intensive and hard to make. Well, nothing could be further from the truth. After I watched her show I decided try it again.
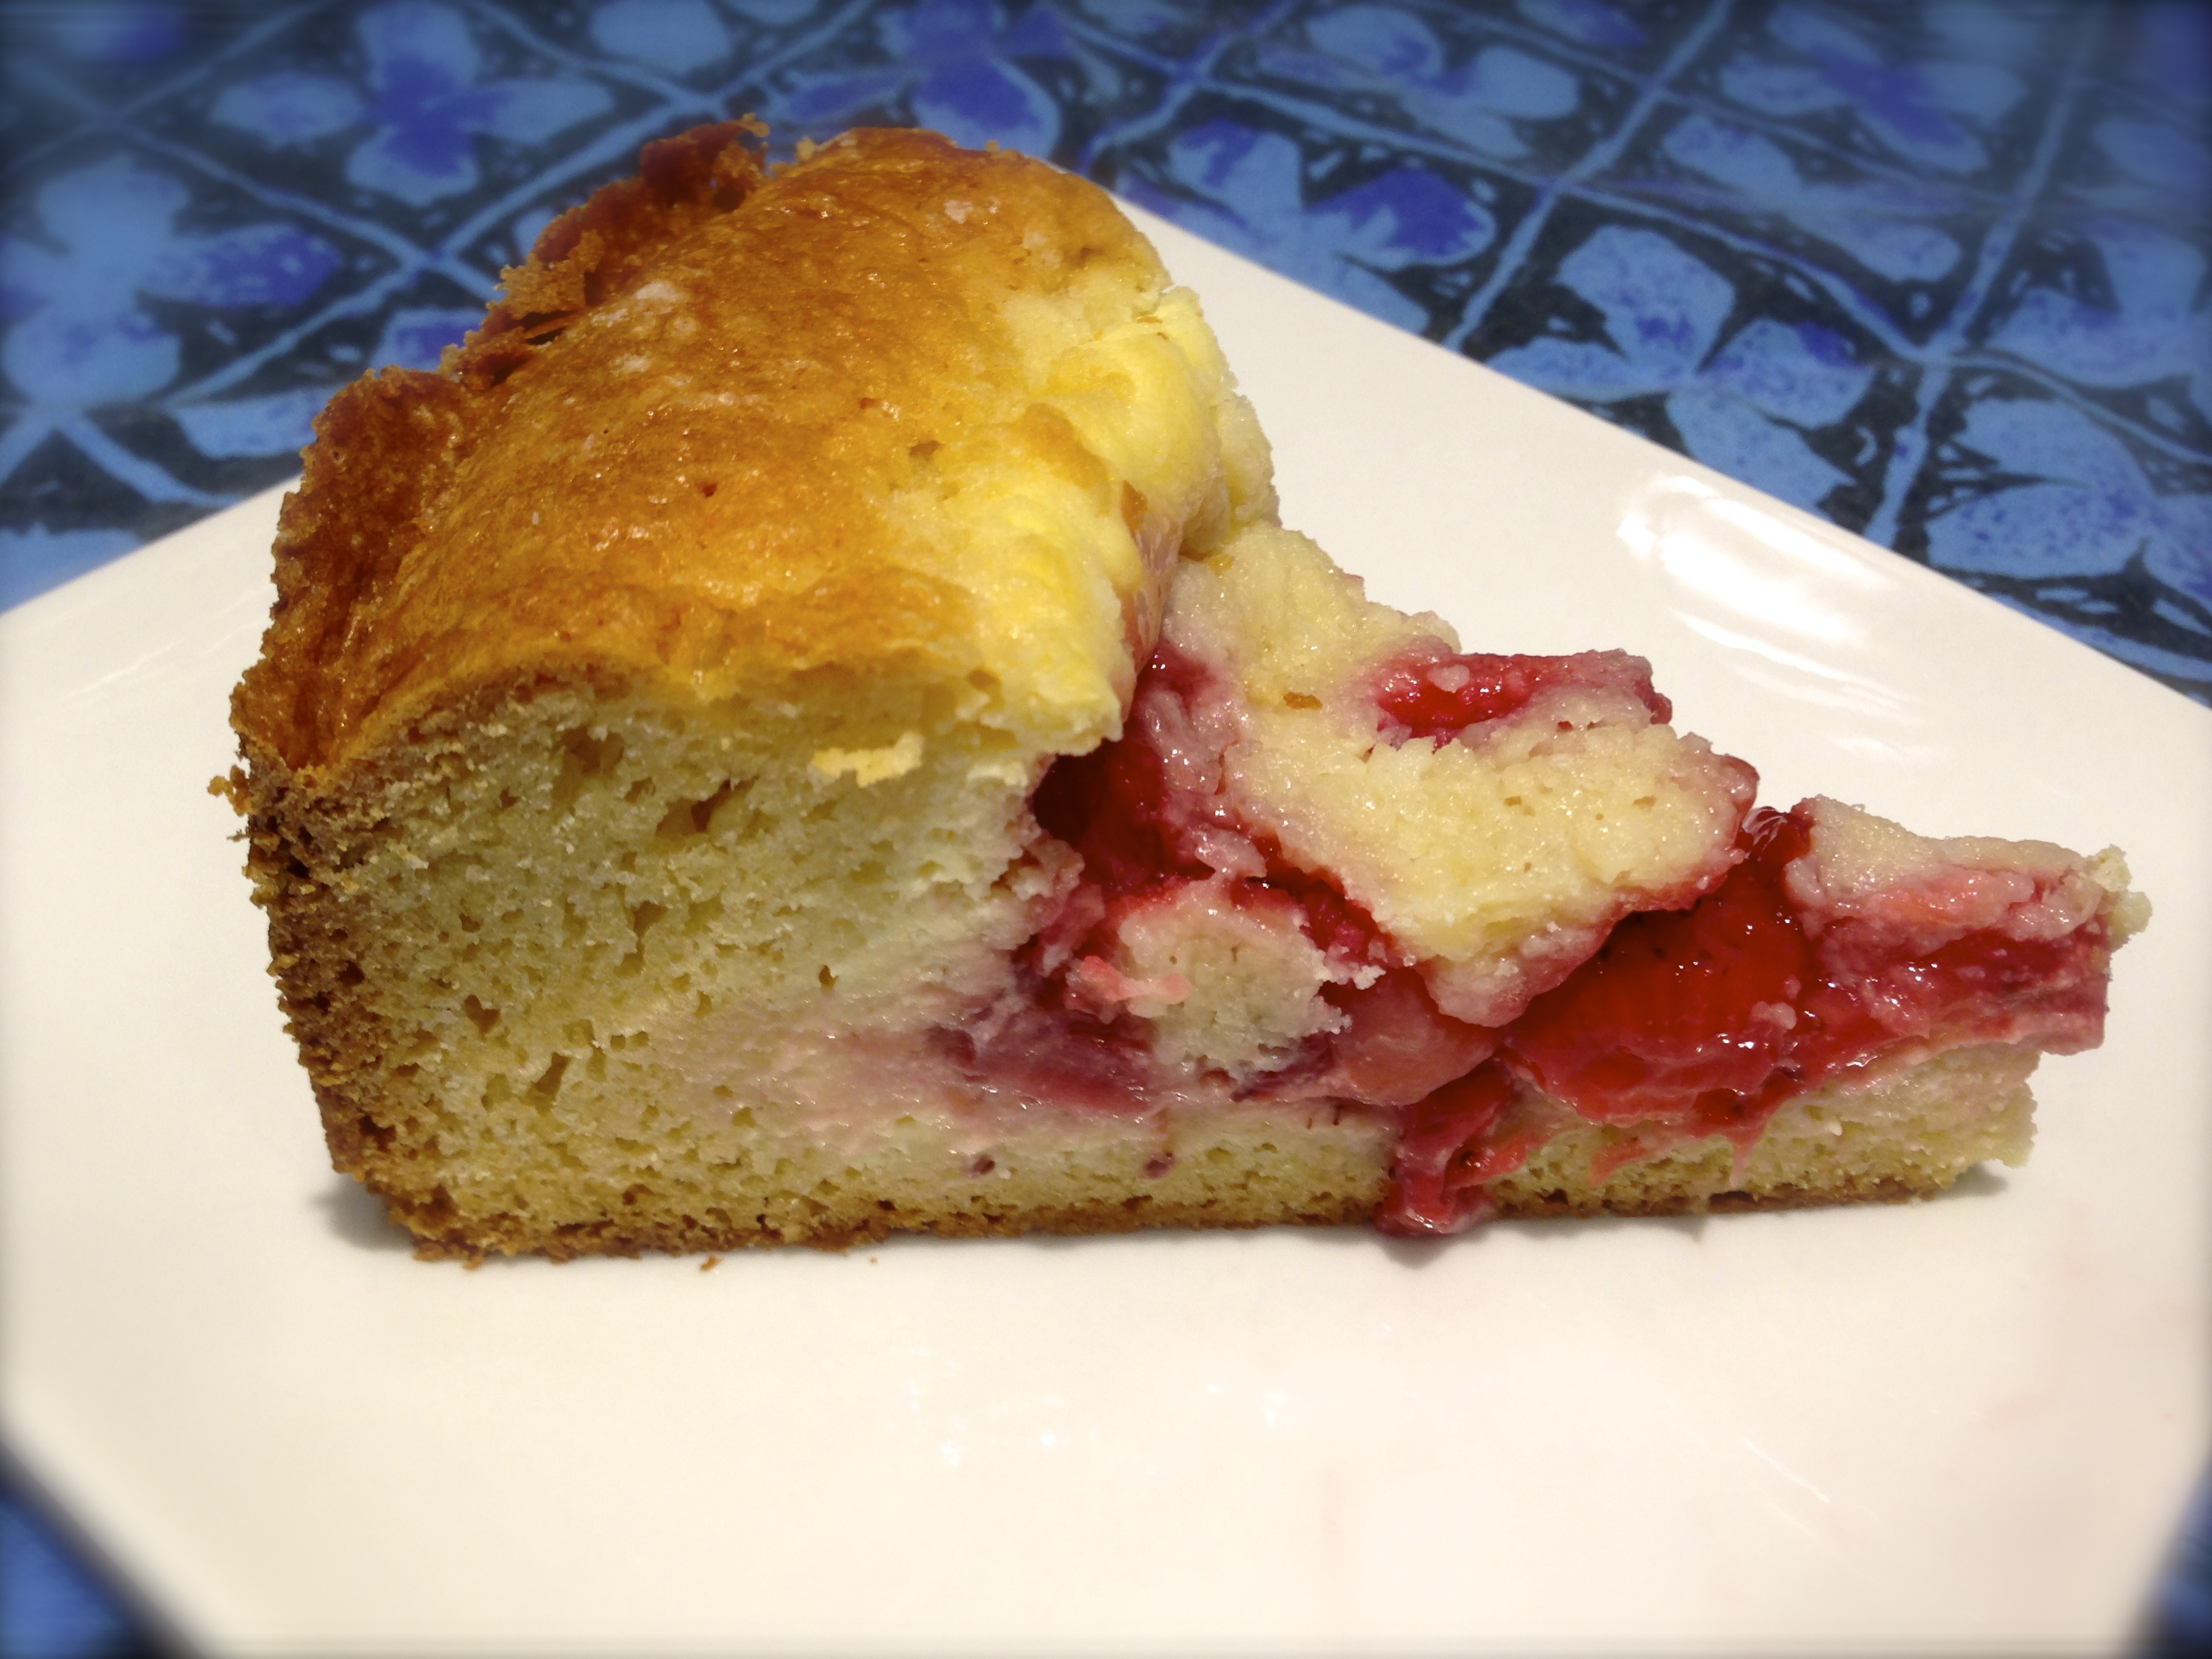
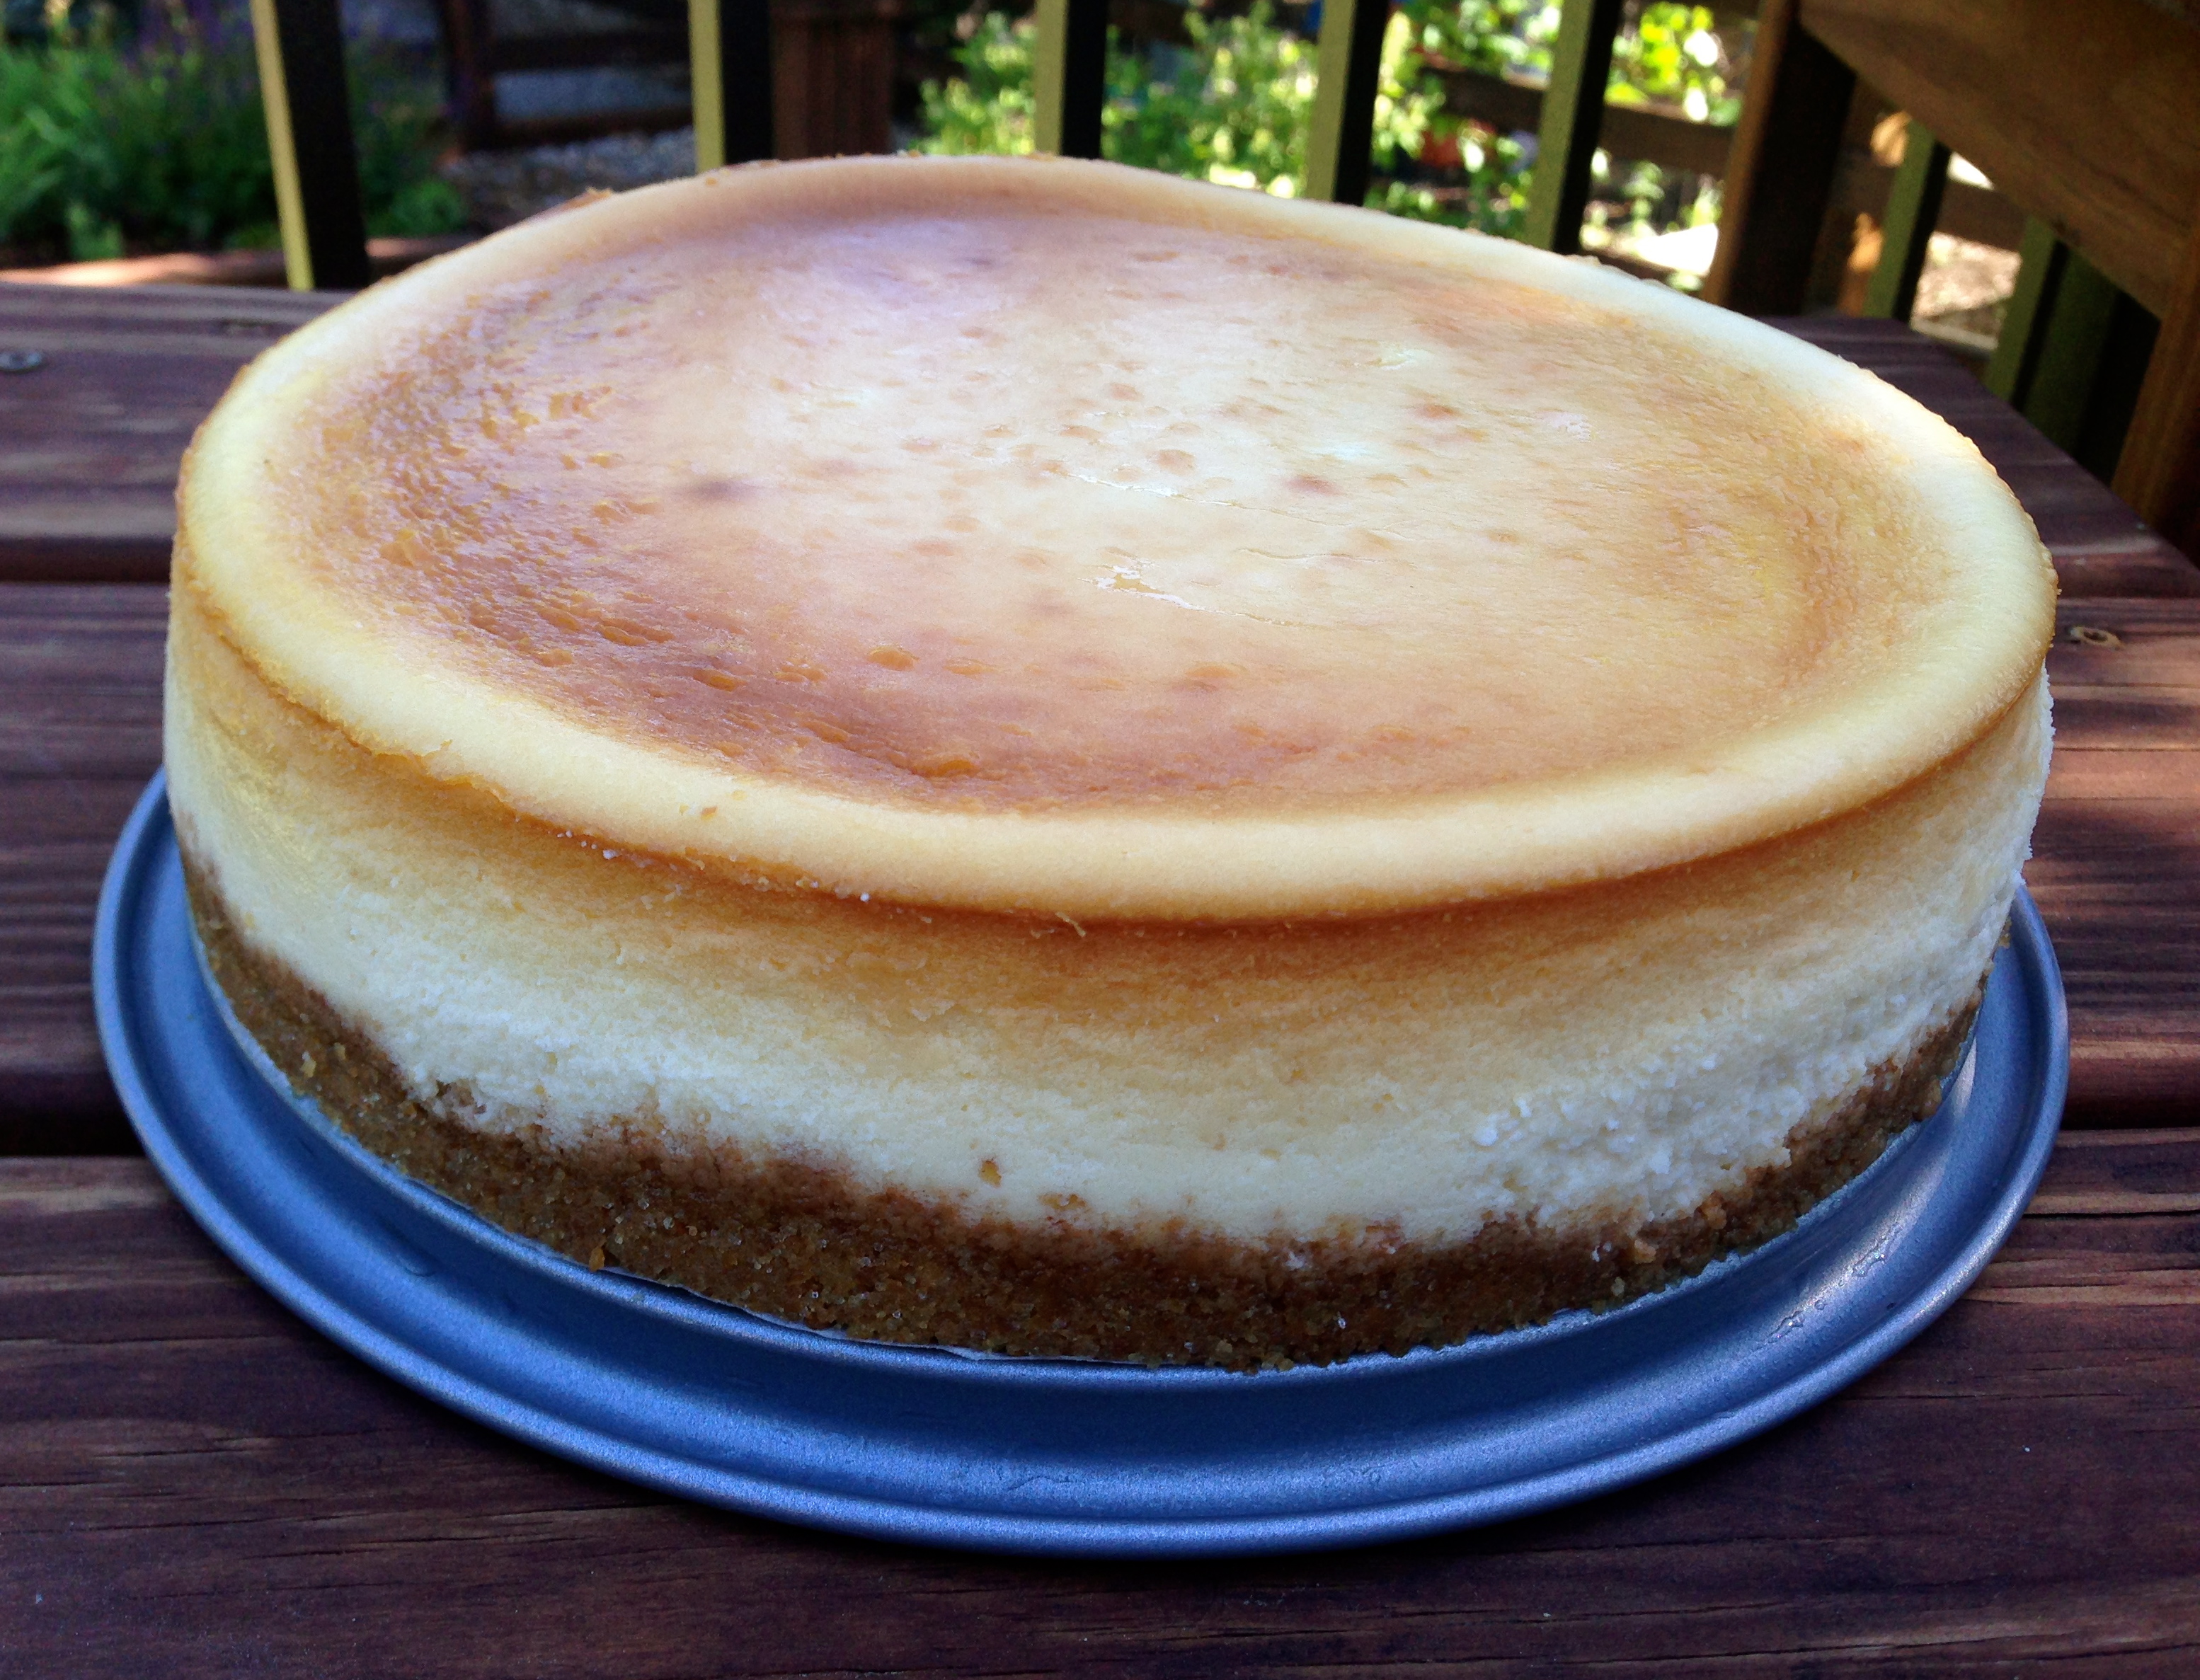
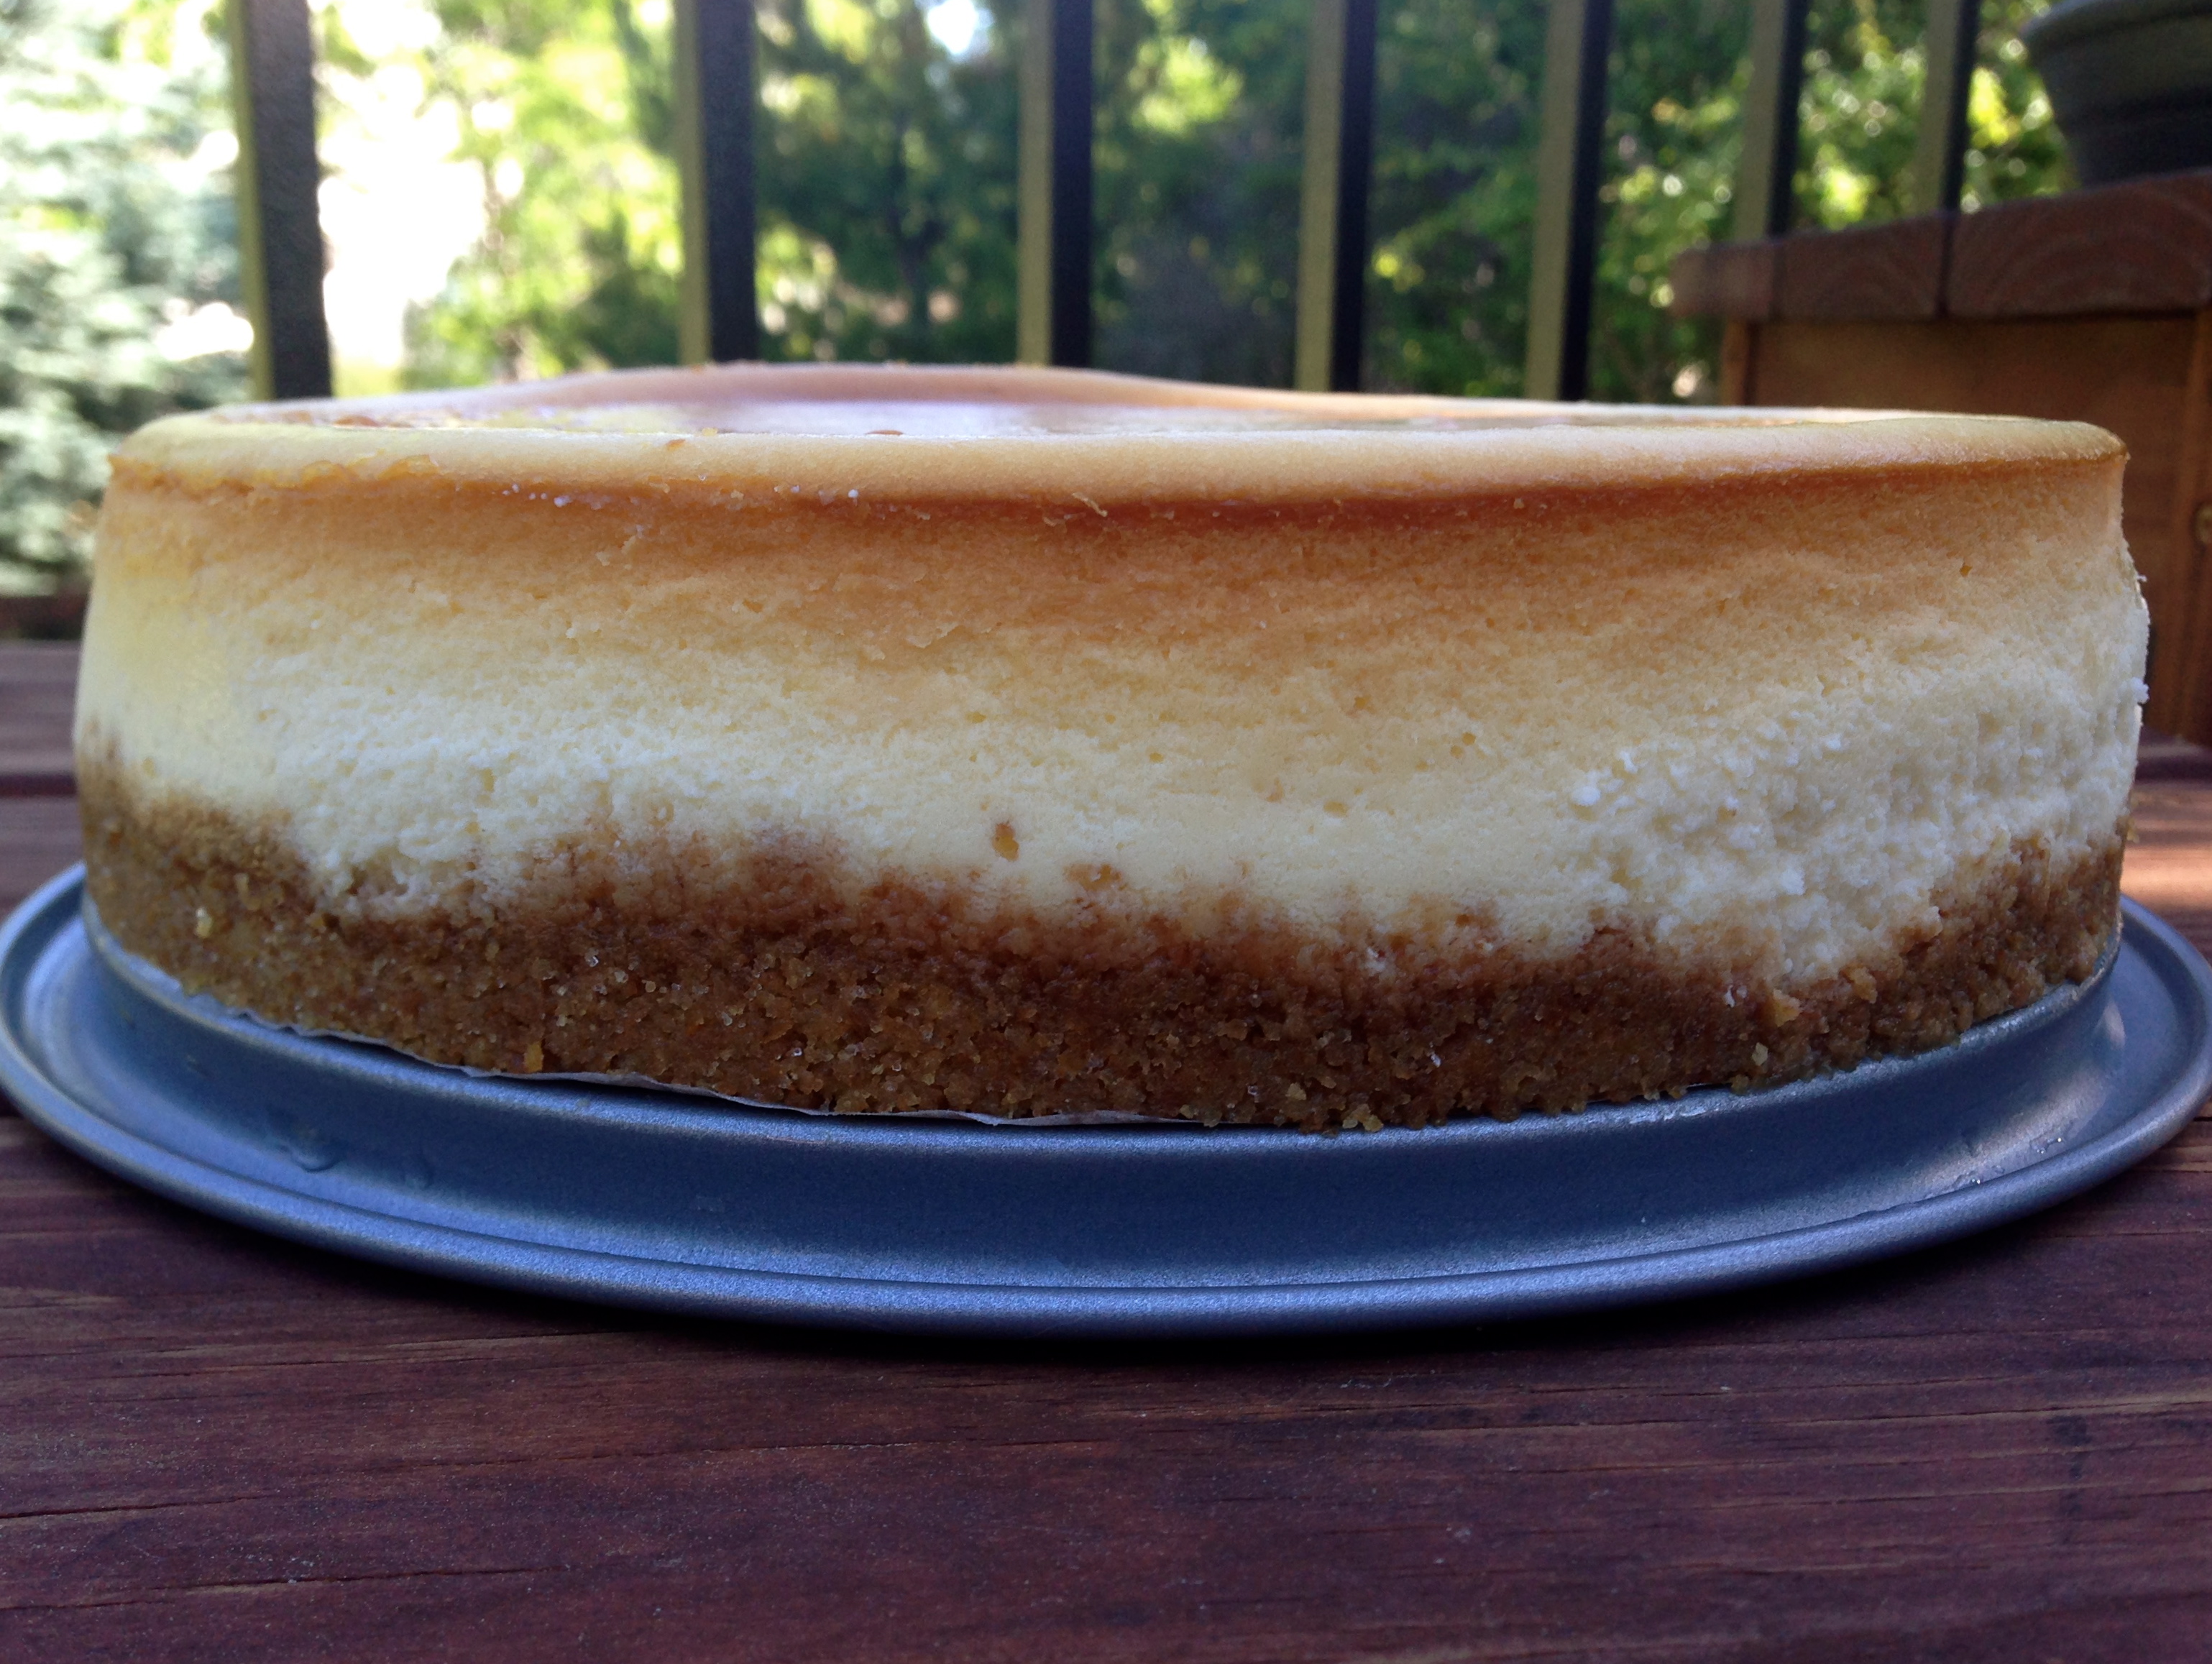
All I can say is that it was surprisingly easy and turned out perfectly the very first time. How often can you say that about the recipe? And if you look at my pictures and the pictures on the Food Network site, the cake looks exactly the same. Perfection!
I’ll write out the recipe for you here, but will also include a link to it on the Food Network site because I need to give credit where credit is due. But I did have a couple of good lessons learned while making this, and these I will share. Enjoy this one.
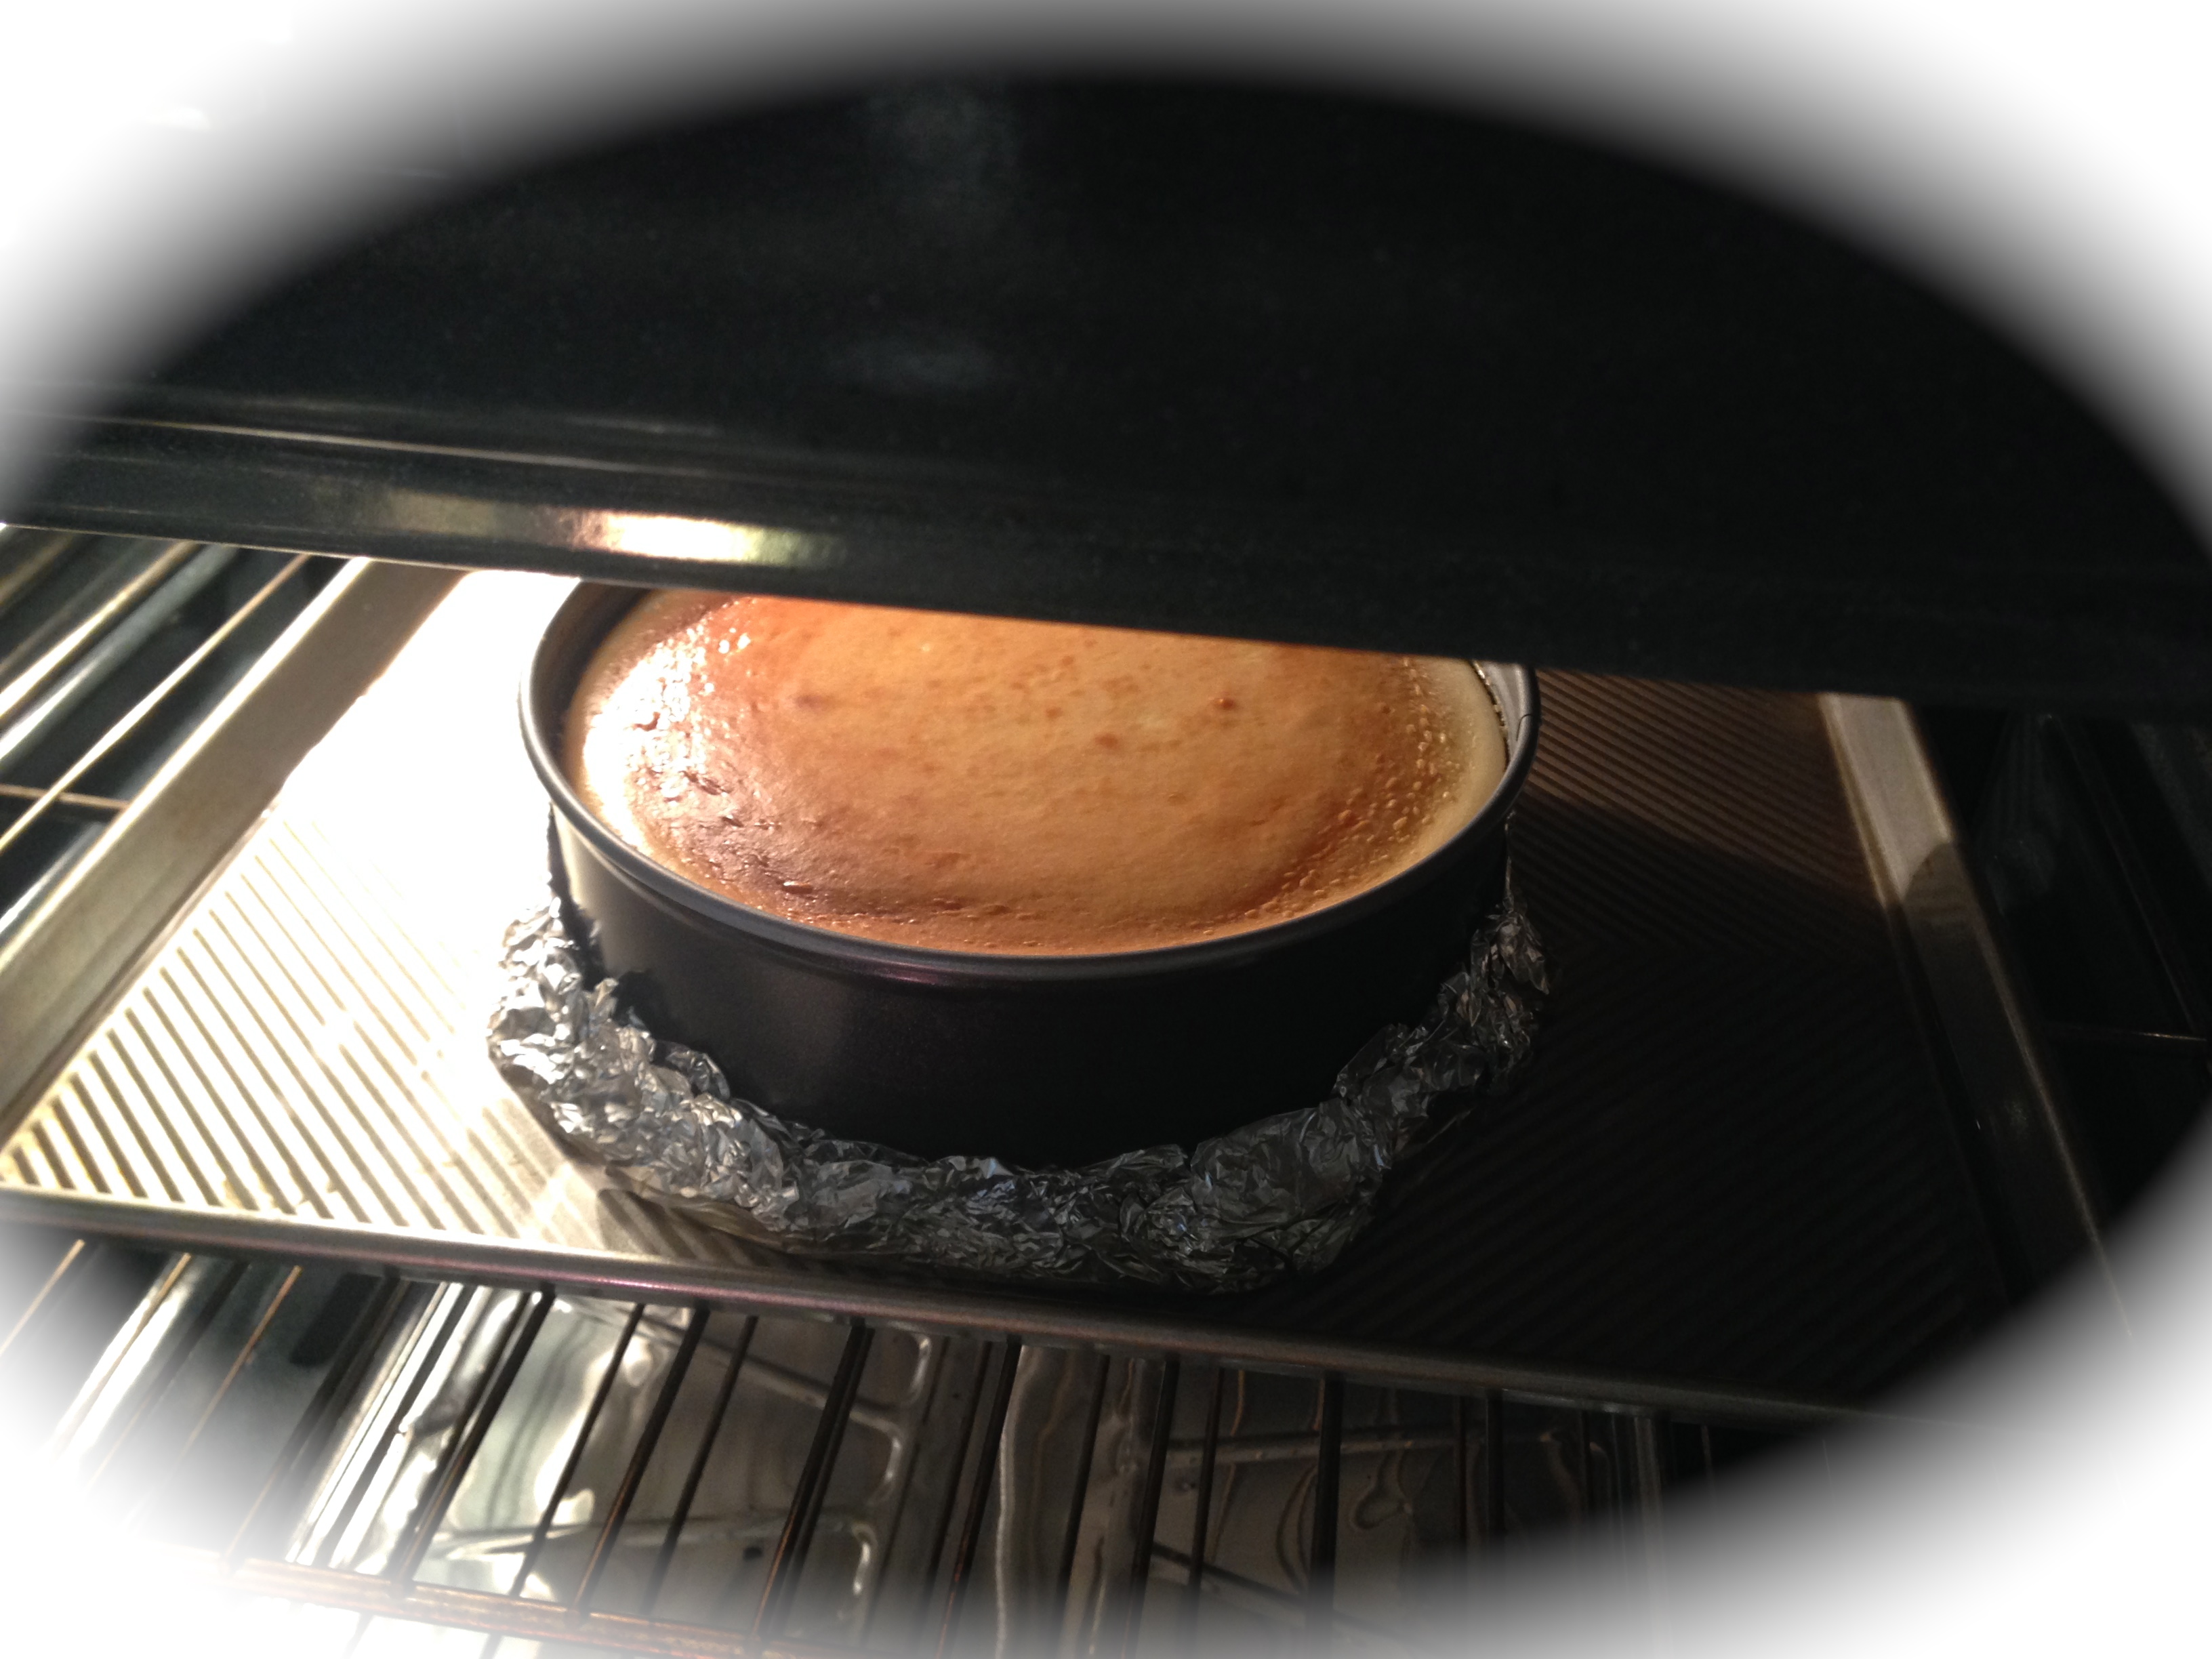
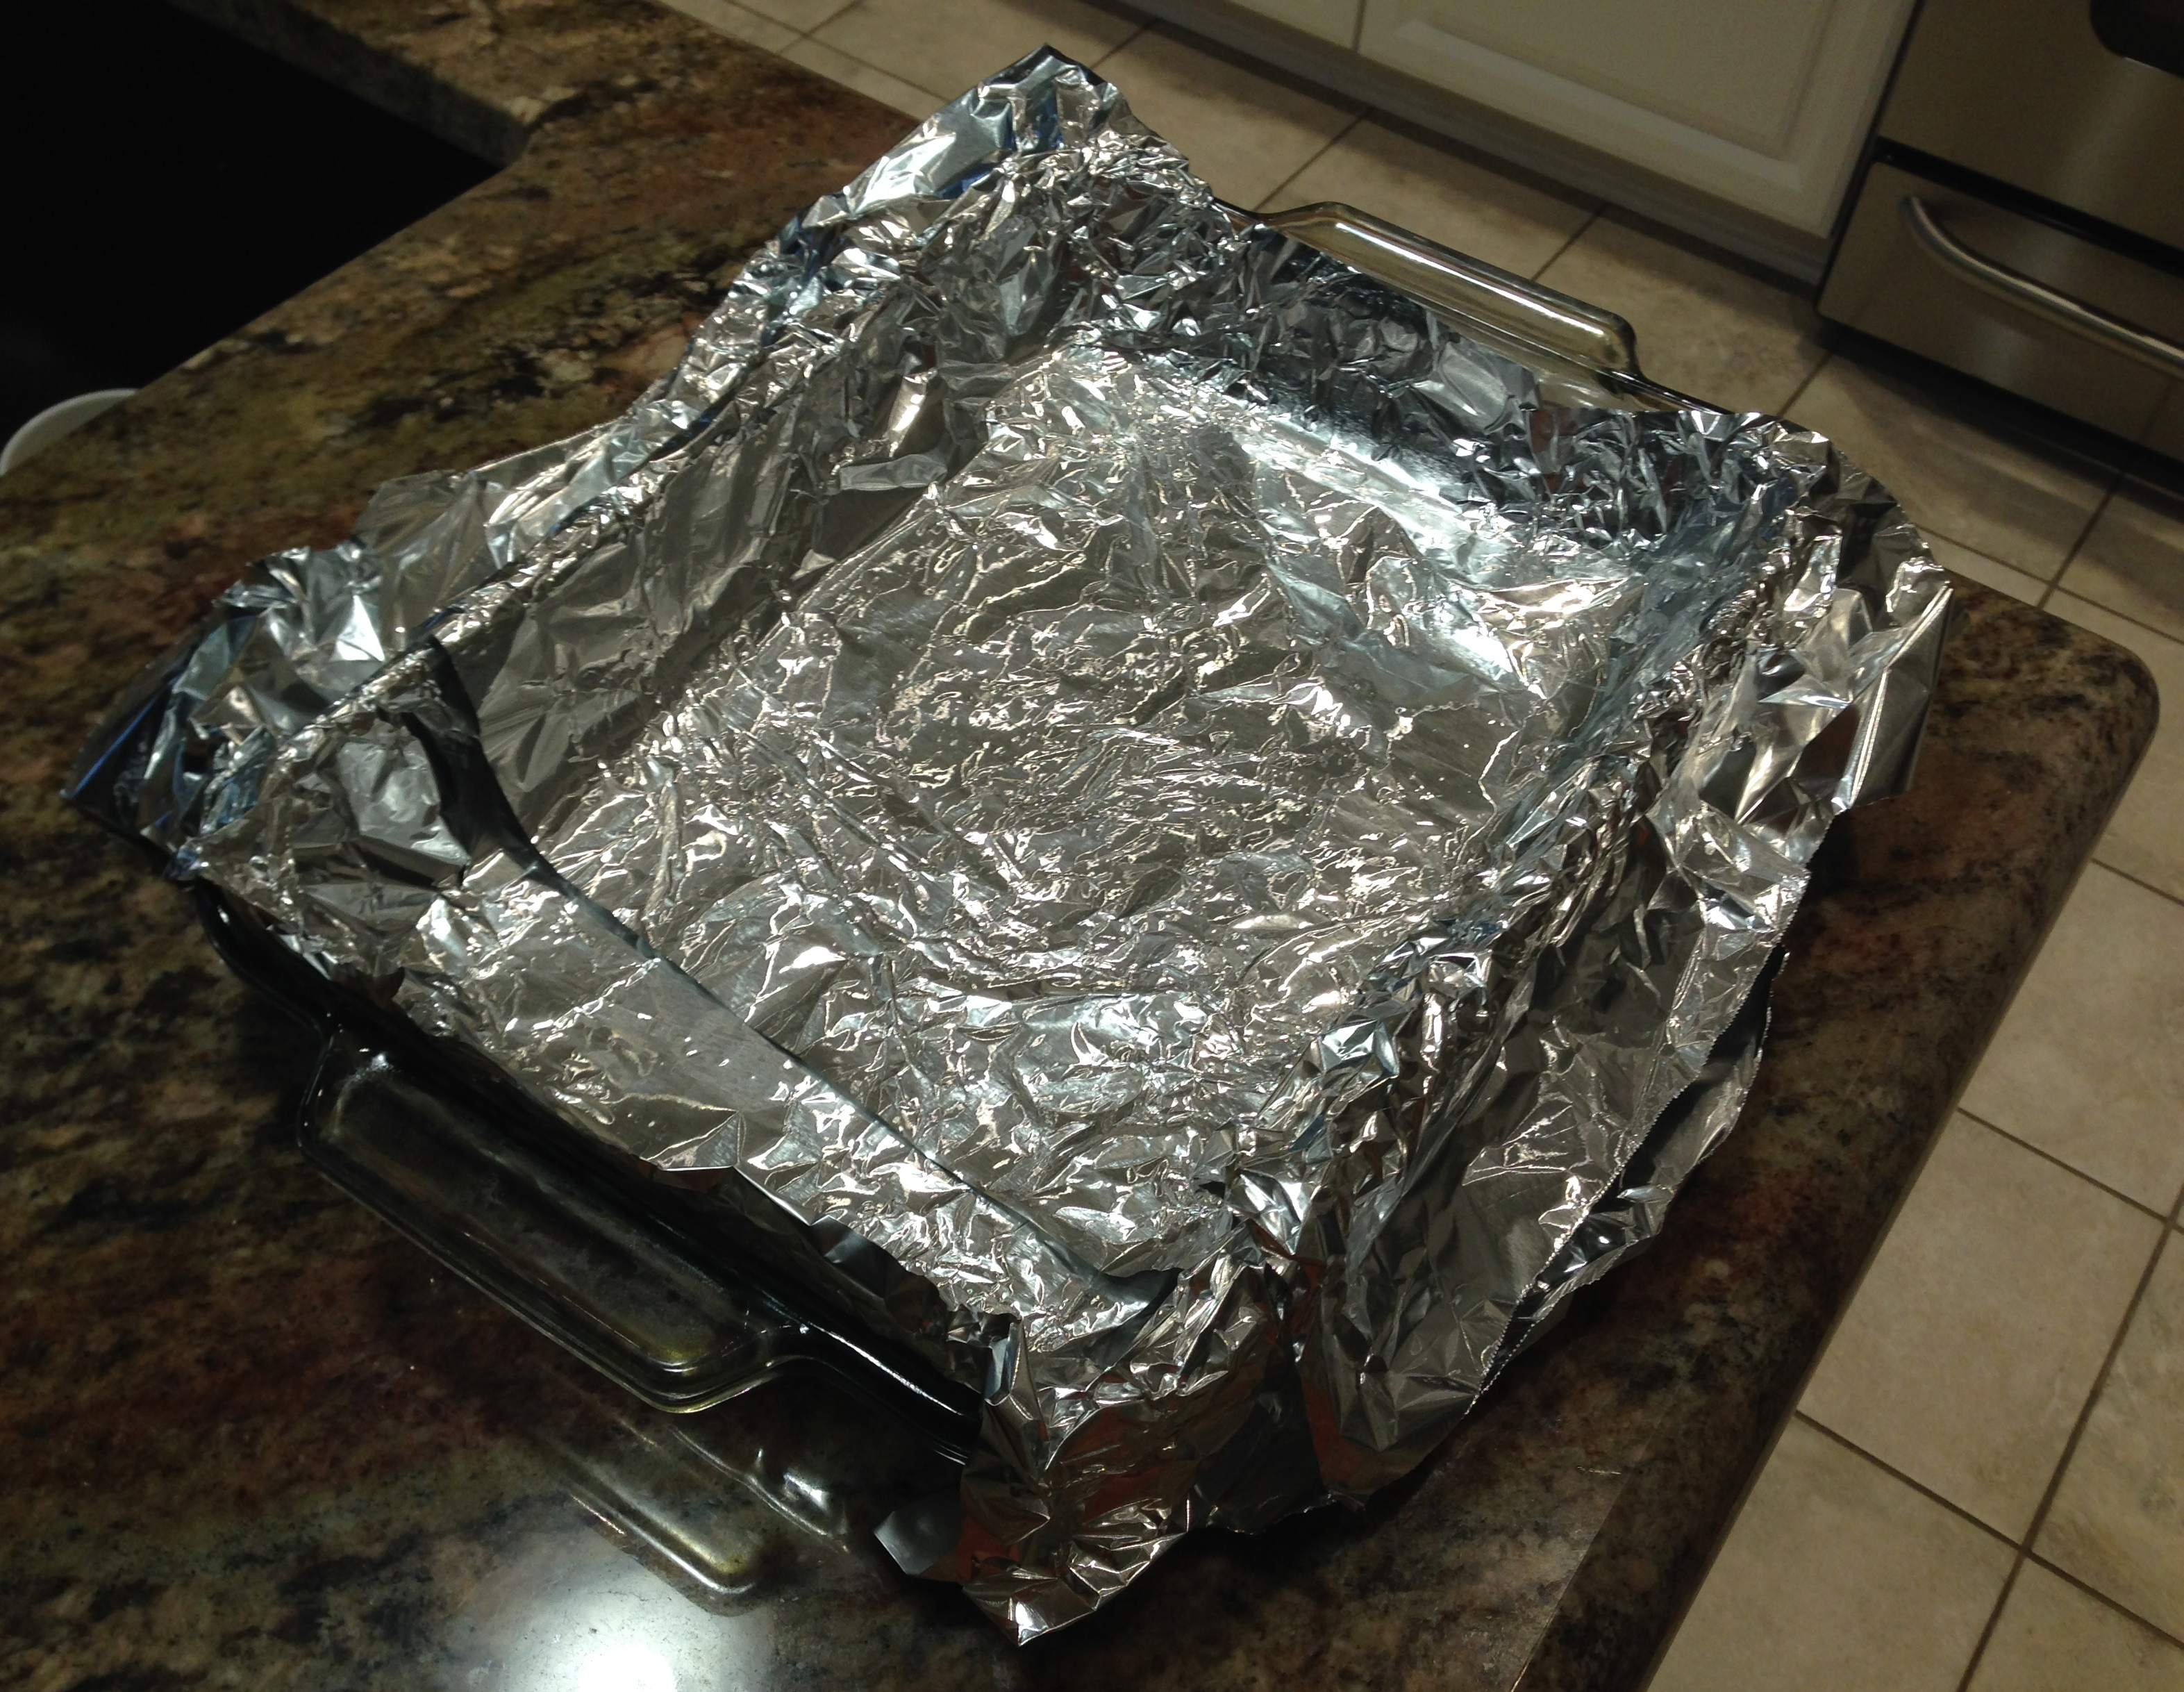
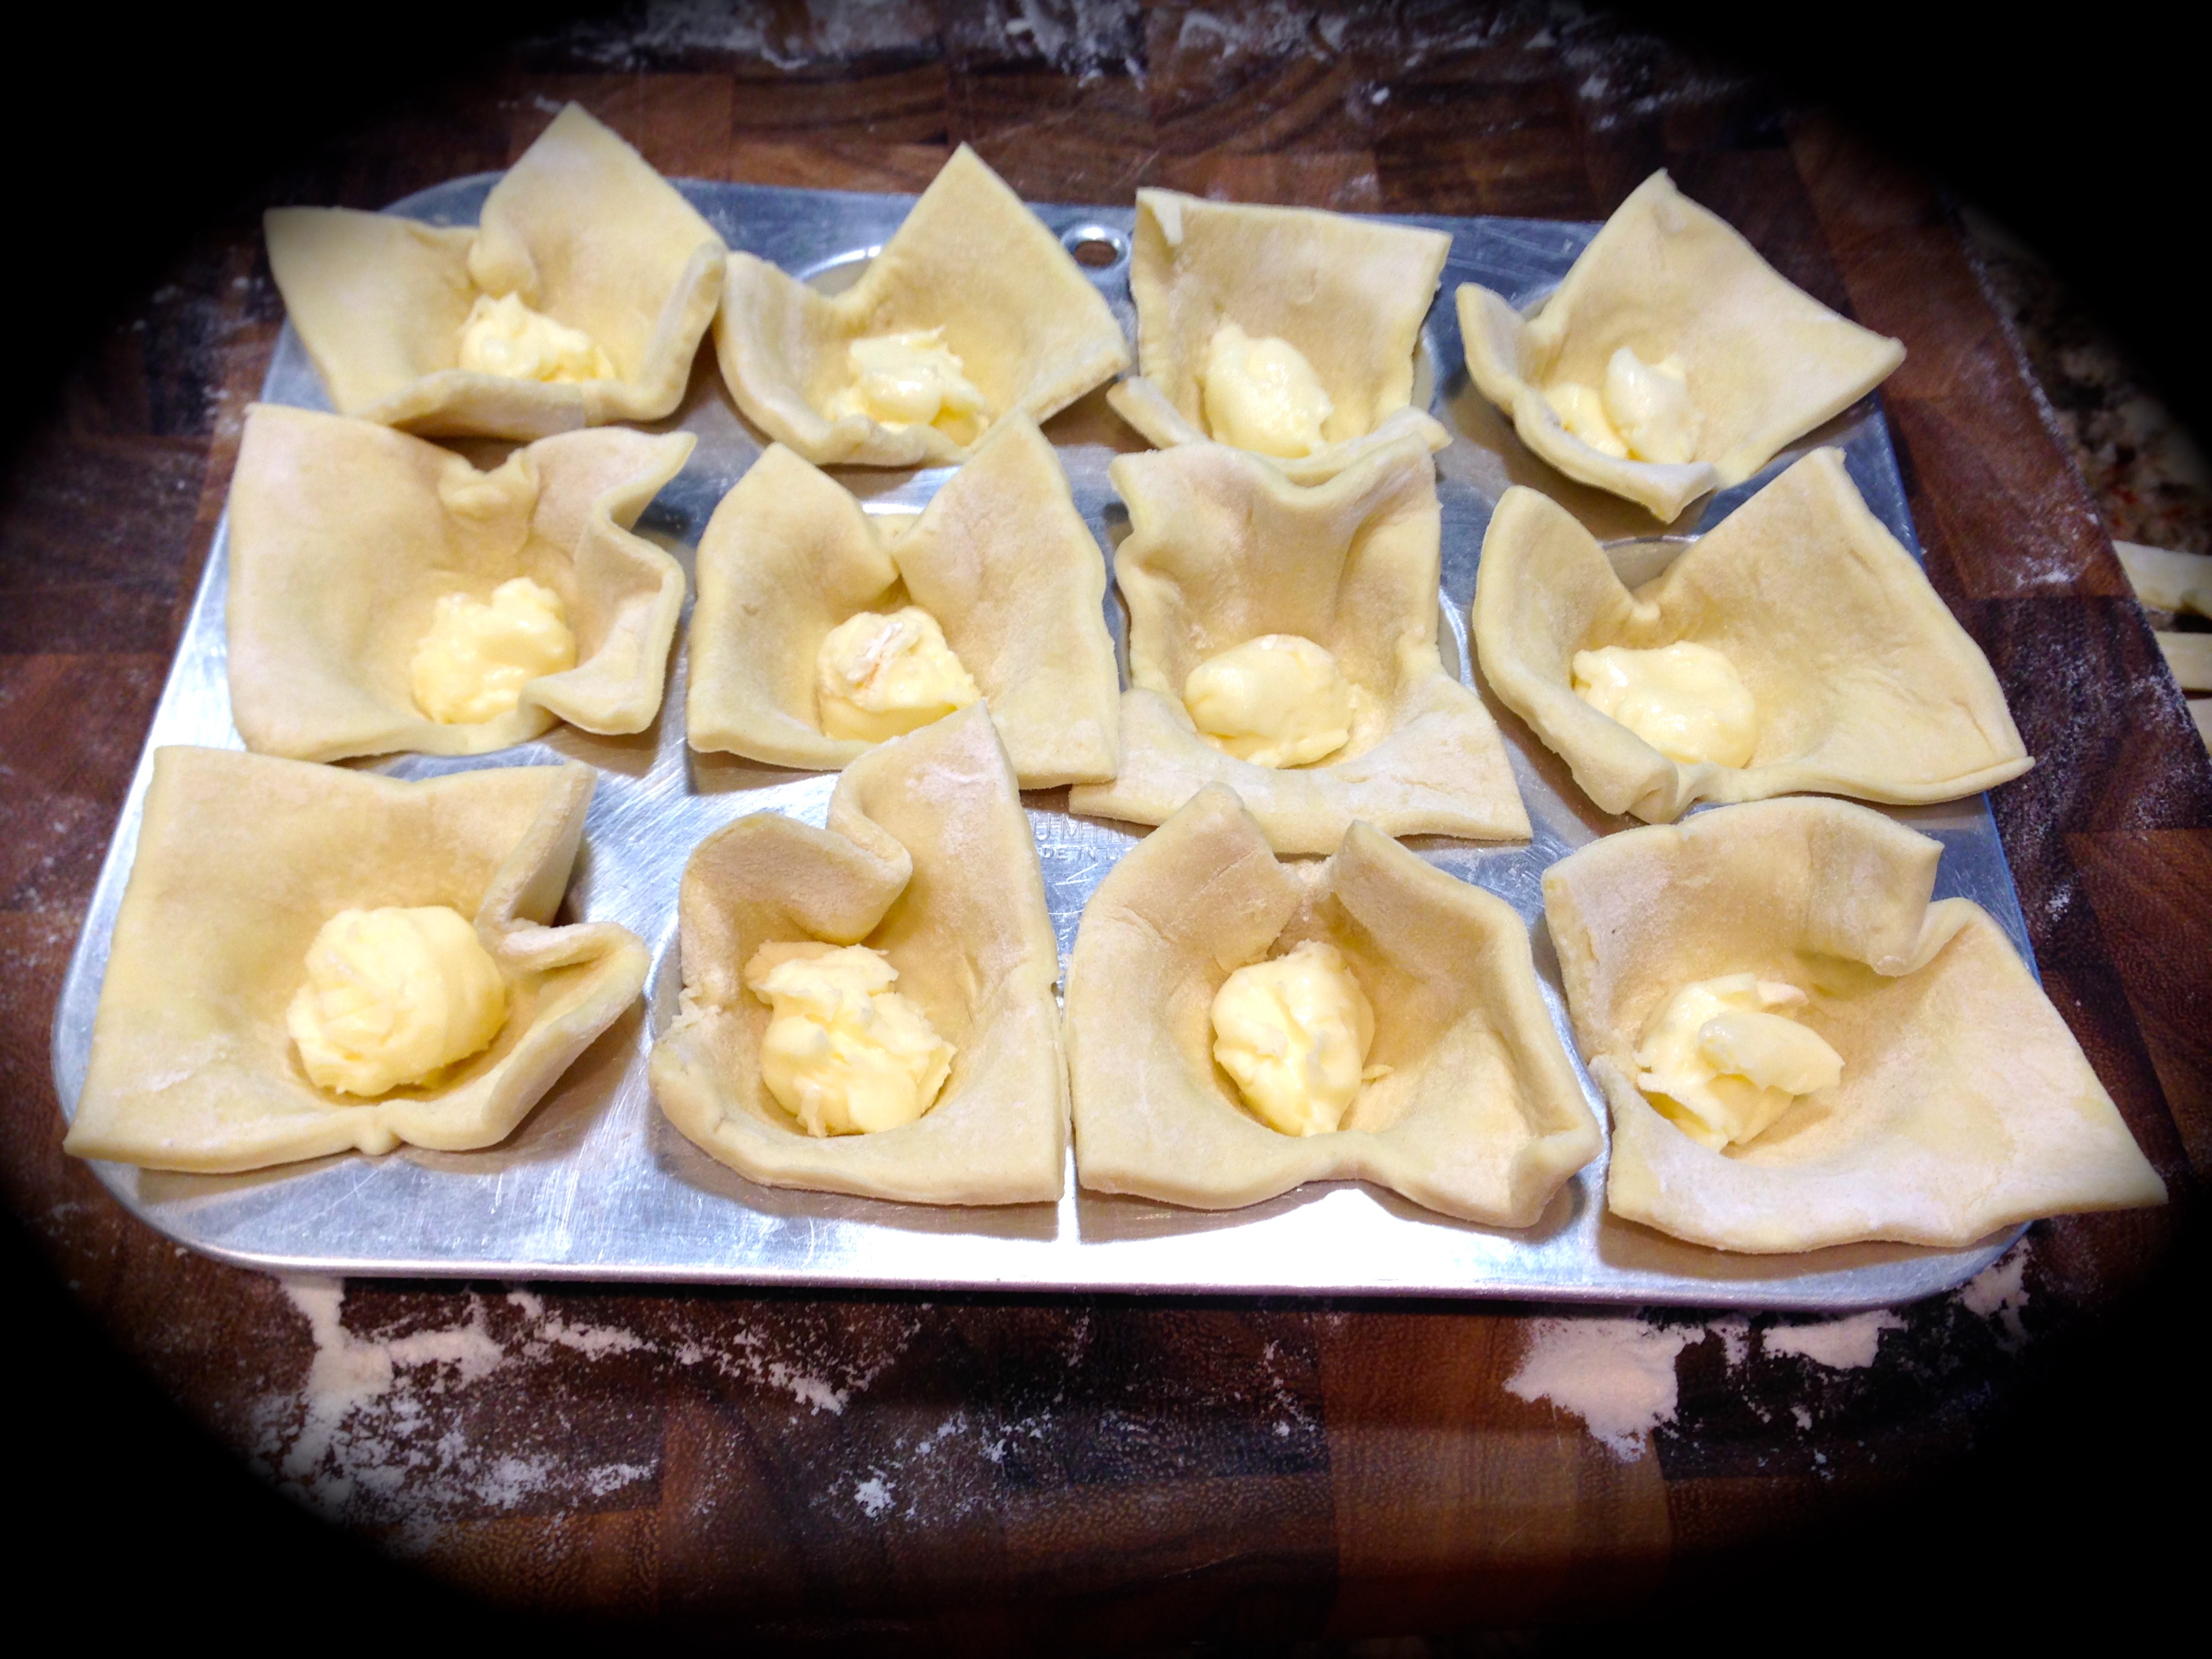
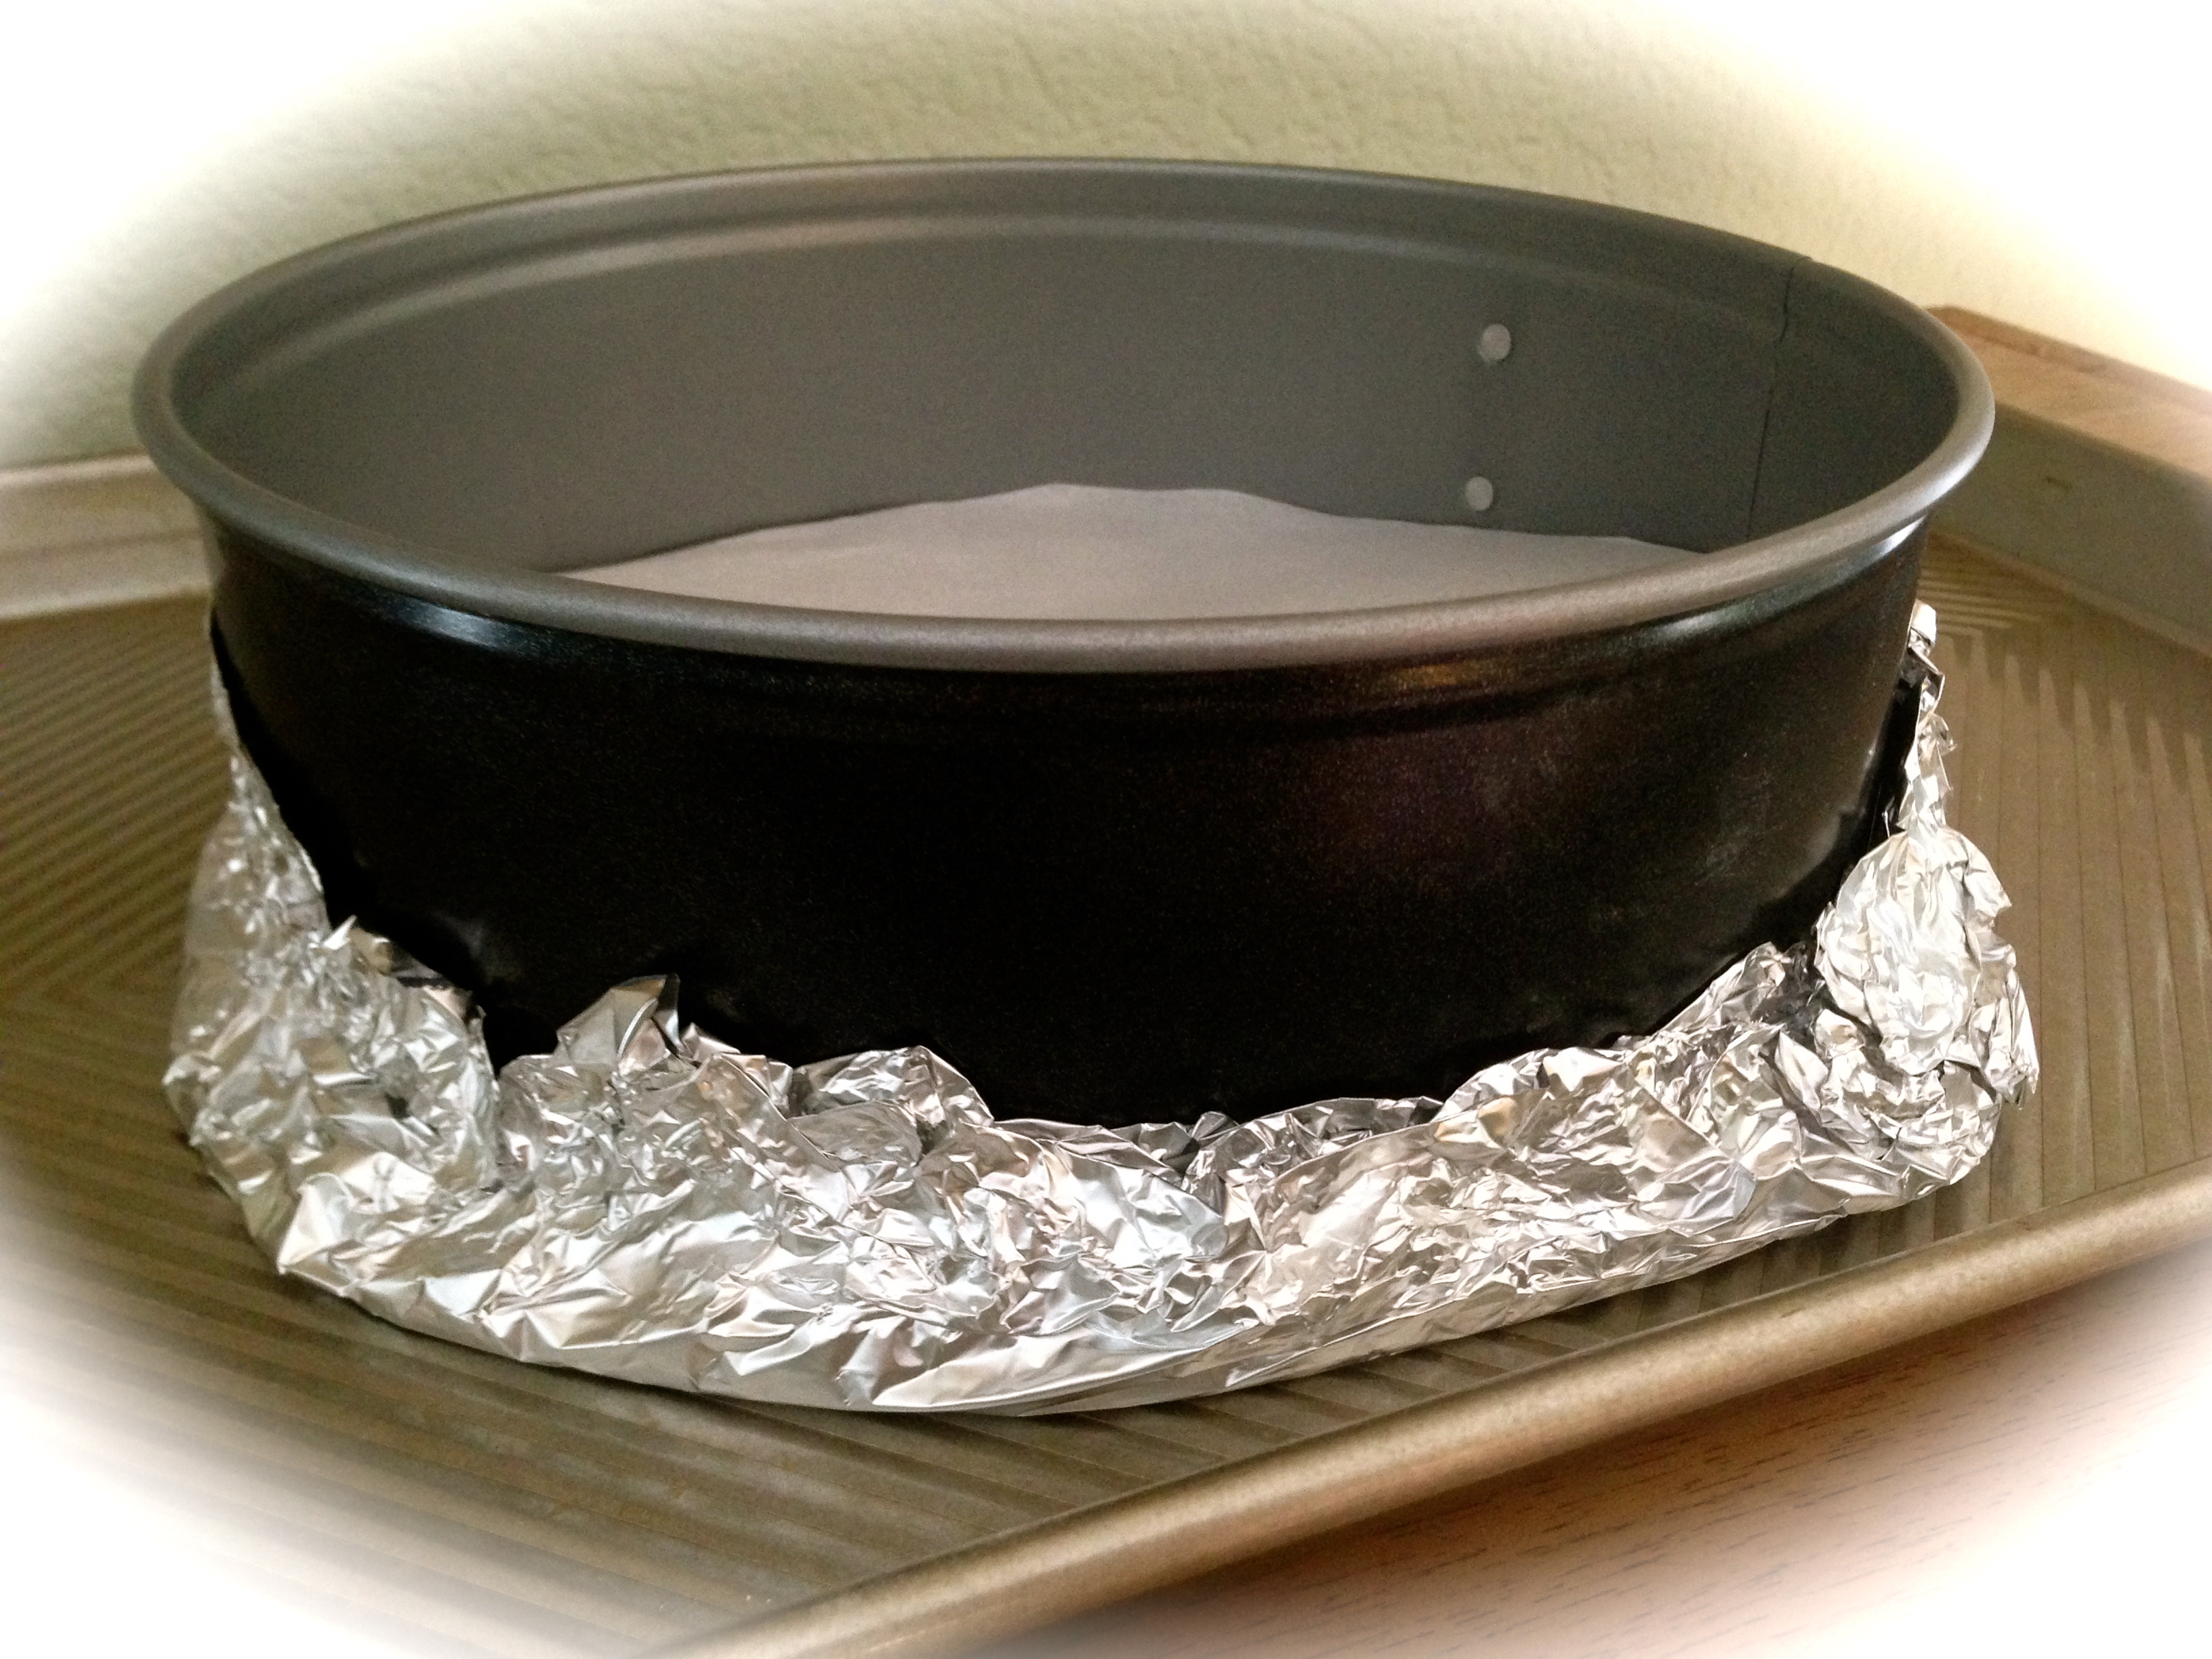 Lesson Learned 1 – The importance of the water bath: What do I mean by a water bath? In order to avoid having cracks in the top of your cheesecake you need to bake it in a water bath. Once you prepare a springform pan, create a bed of foil around the bottom of the pan as shown in the picture to the right. After you’ve filled the spring form pan with the cheesecake mixture, place it either in a lipped jelly roll pan or any lipped pan that is bigger than the spring form pan. Carefully add about a half inch of water to the lipped pan and cook the cheese cake in that water bath. The foil will prevent any water from getting into the cheesecake and the water will prevent any cracks from occurring on the top of the cake.
 I used a lipped jelly roll pan that I filled with water half way up the side and found that about three quarters of the way through the baking process process the water had entirely evaporated. I added a little more making sure the pan had water for the entire baking time. It worked beautifully.
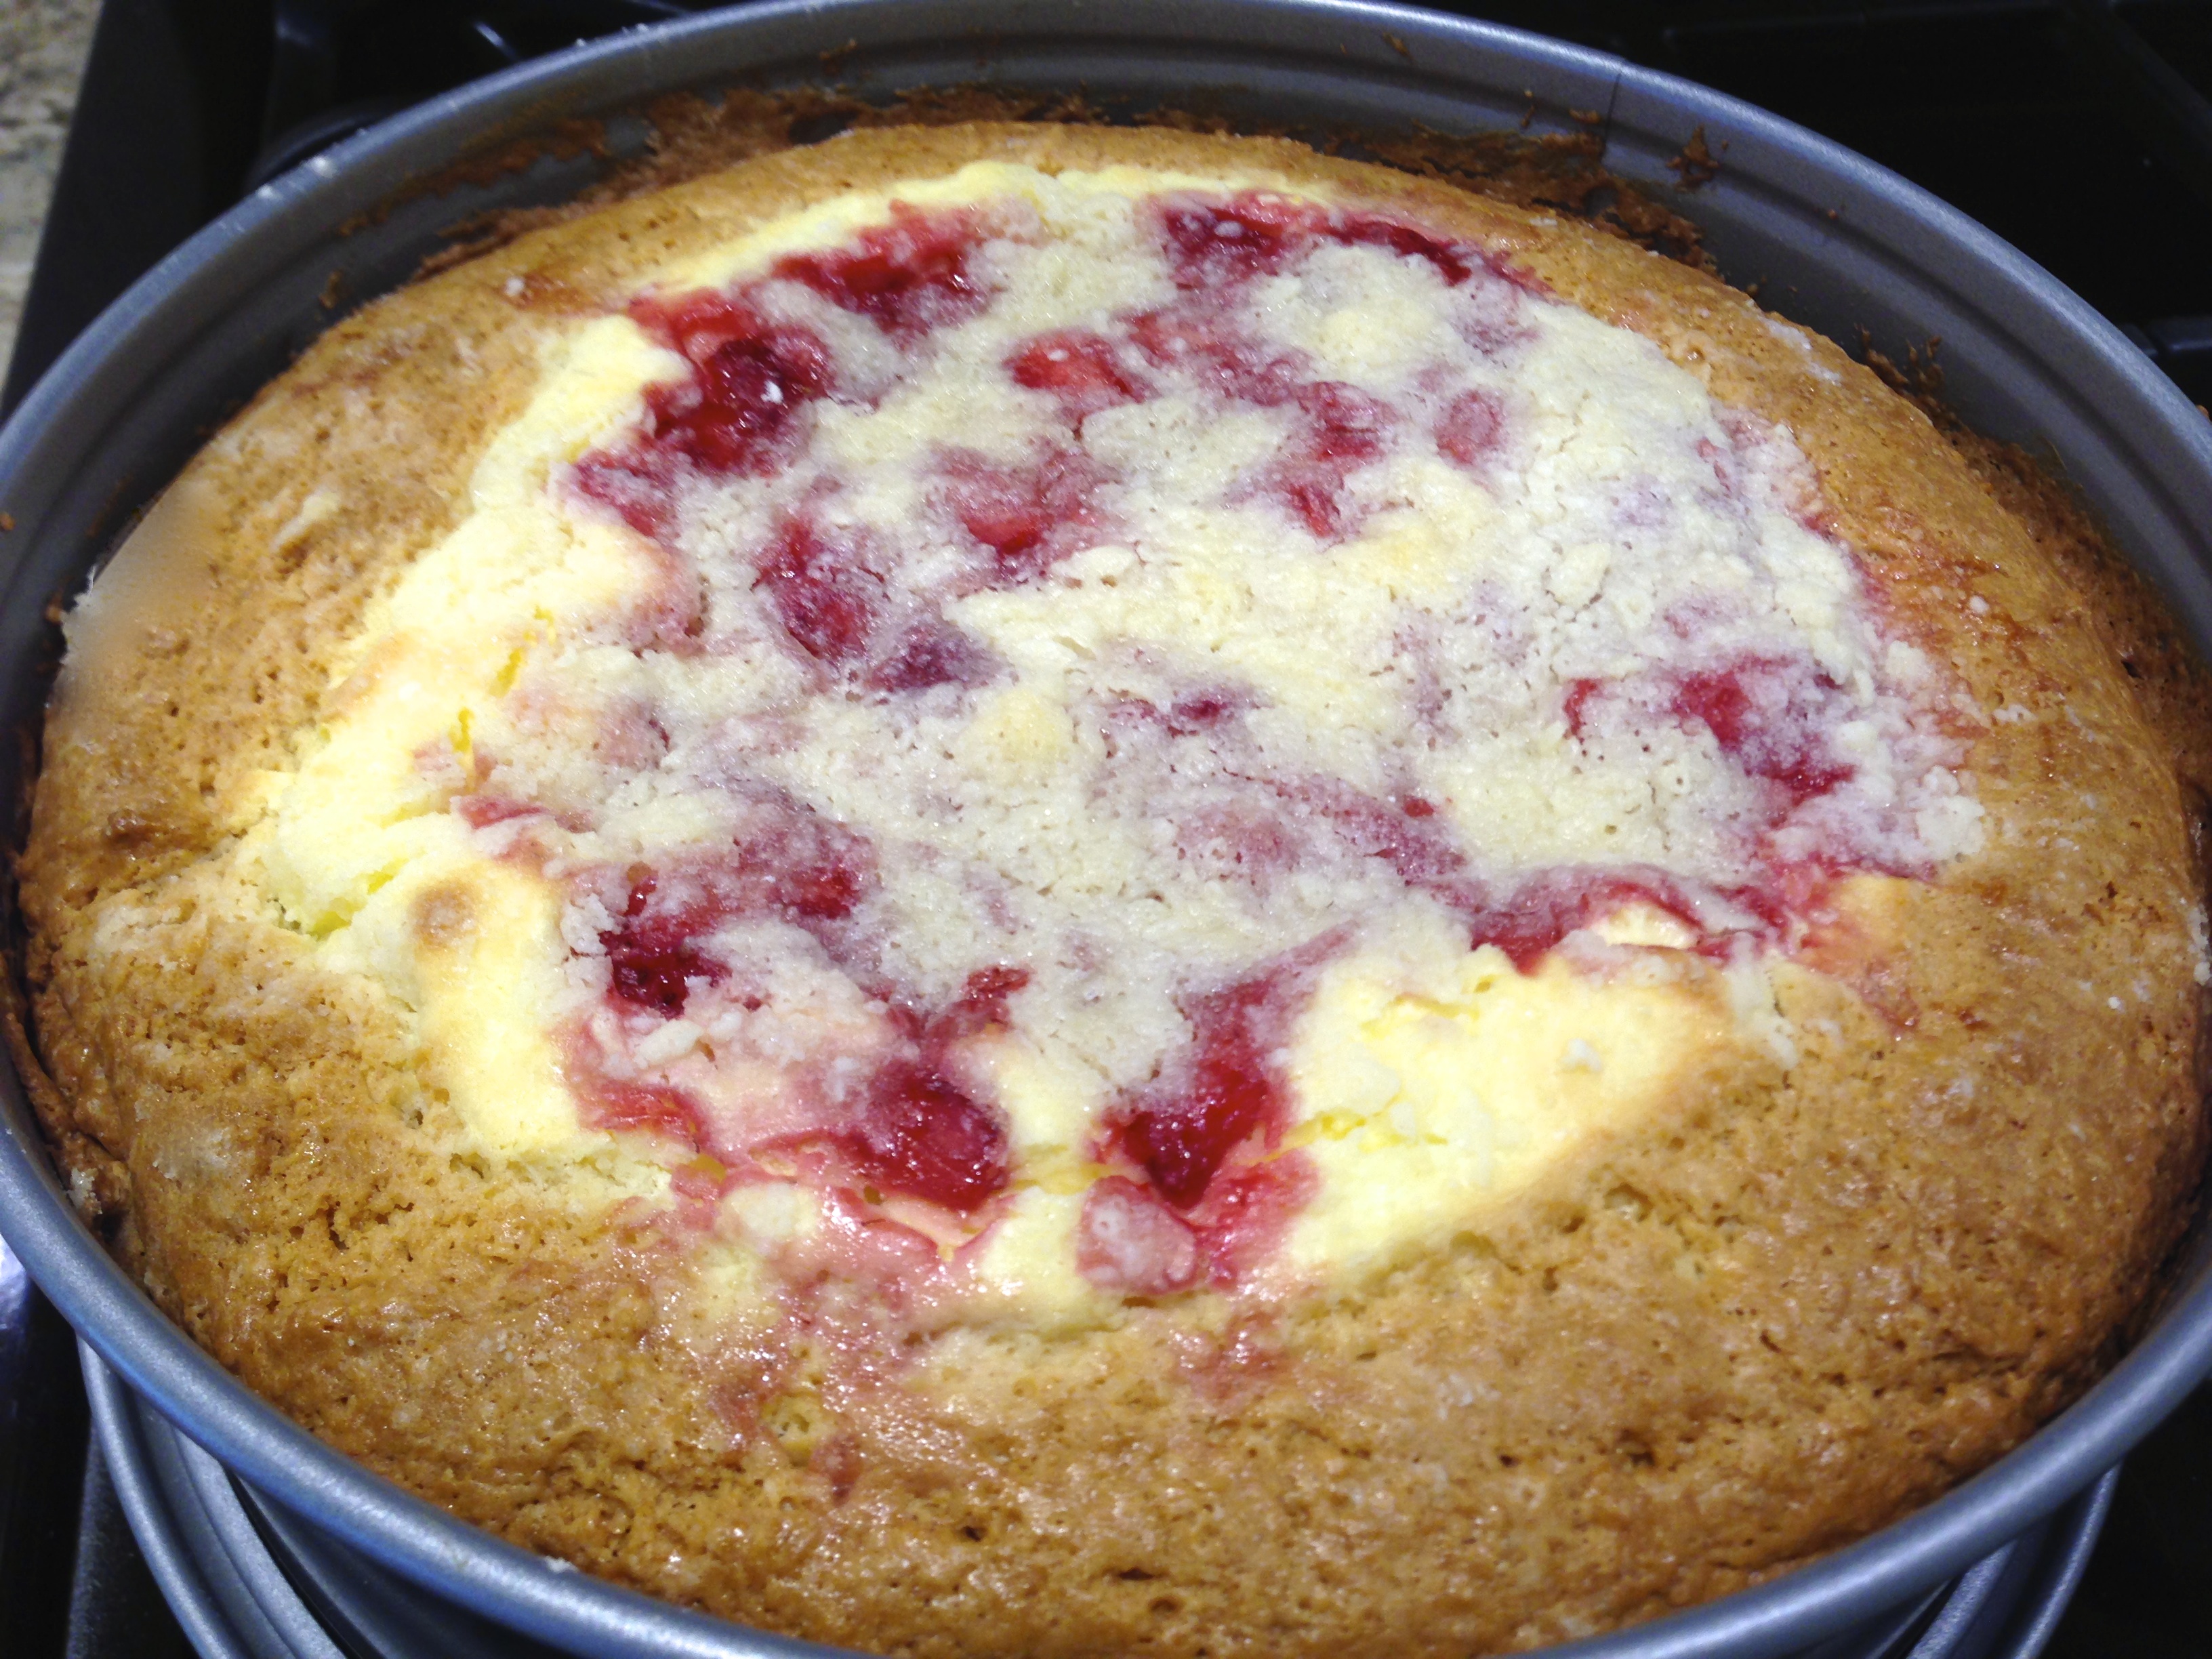
I recently had a conversation with a woman who was bemoaning the fact that she could never make a cheese cake that wasn’t all cracked on the top. She’d never heard of a water bath. When I showed her pictures of my cake and told her this was the first time I made one in years she was sold. I promise the water bath does the trick, and my pictures prove it!
Strawberry Sauce Ingredients
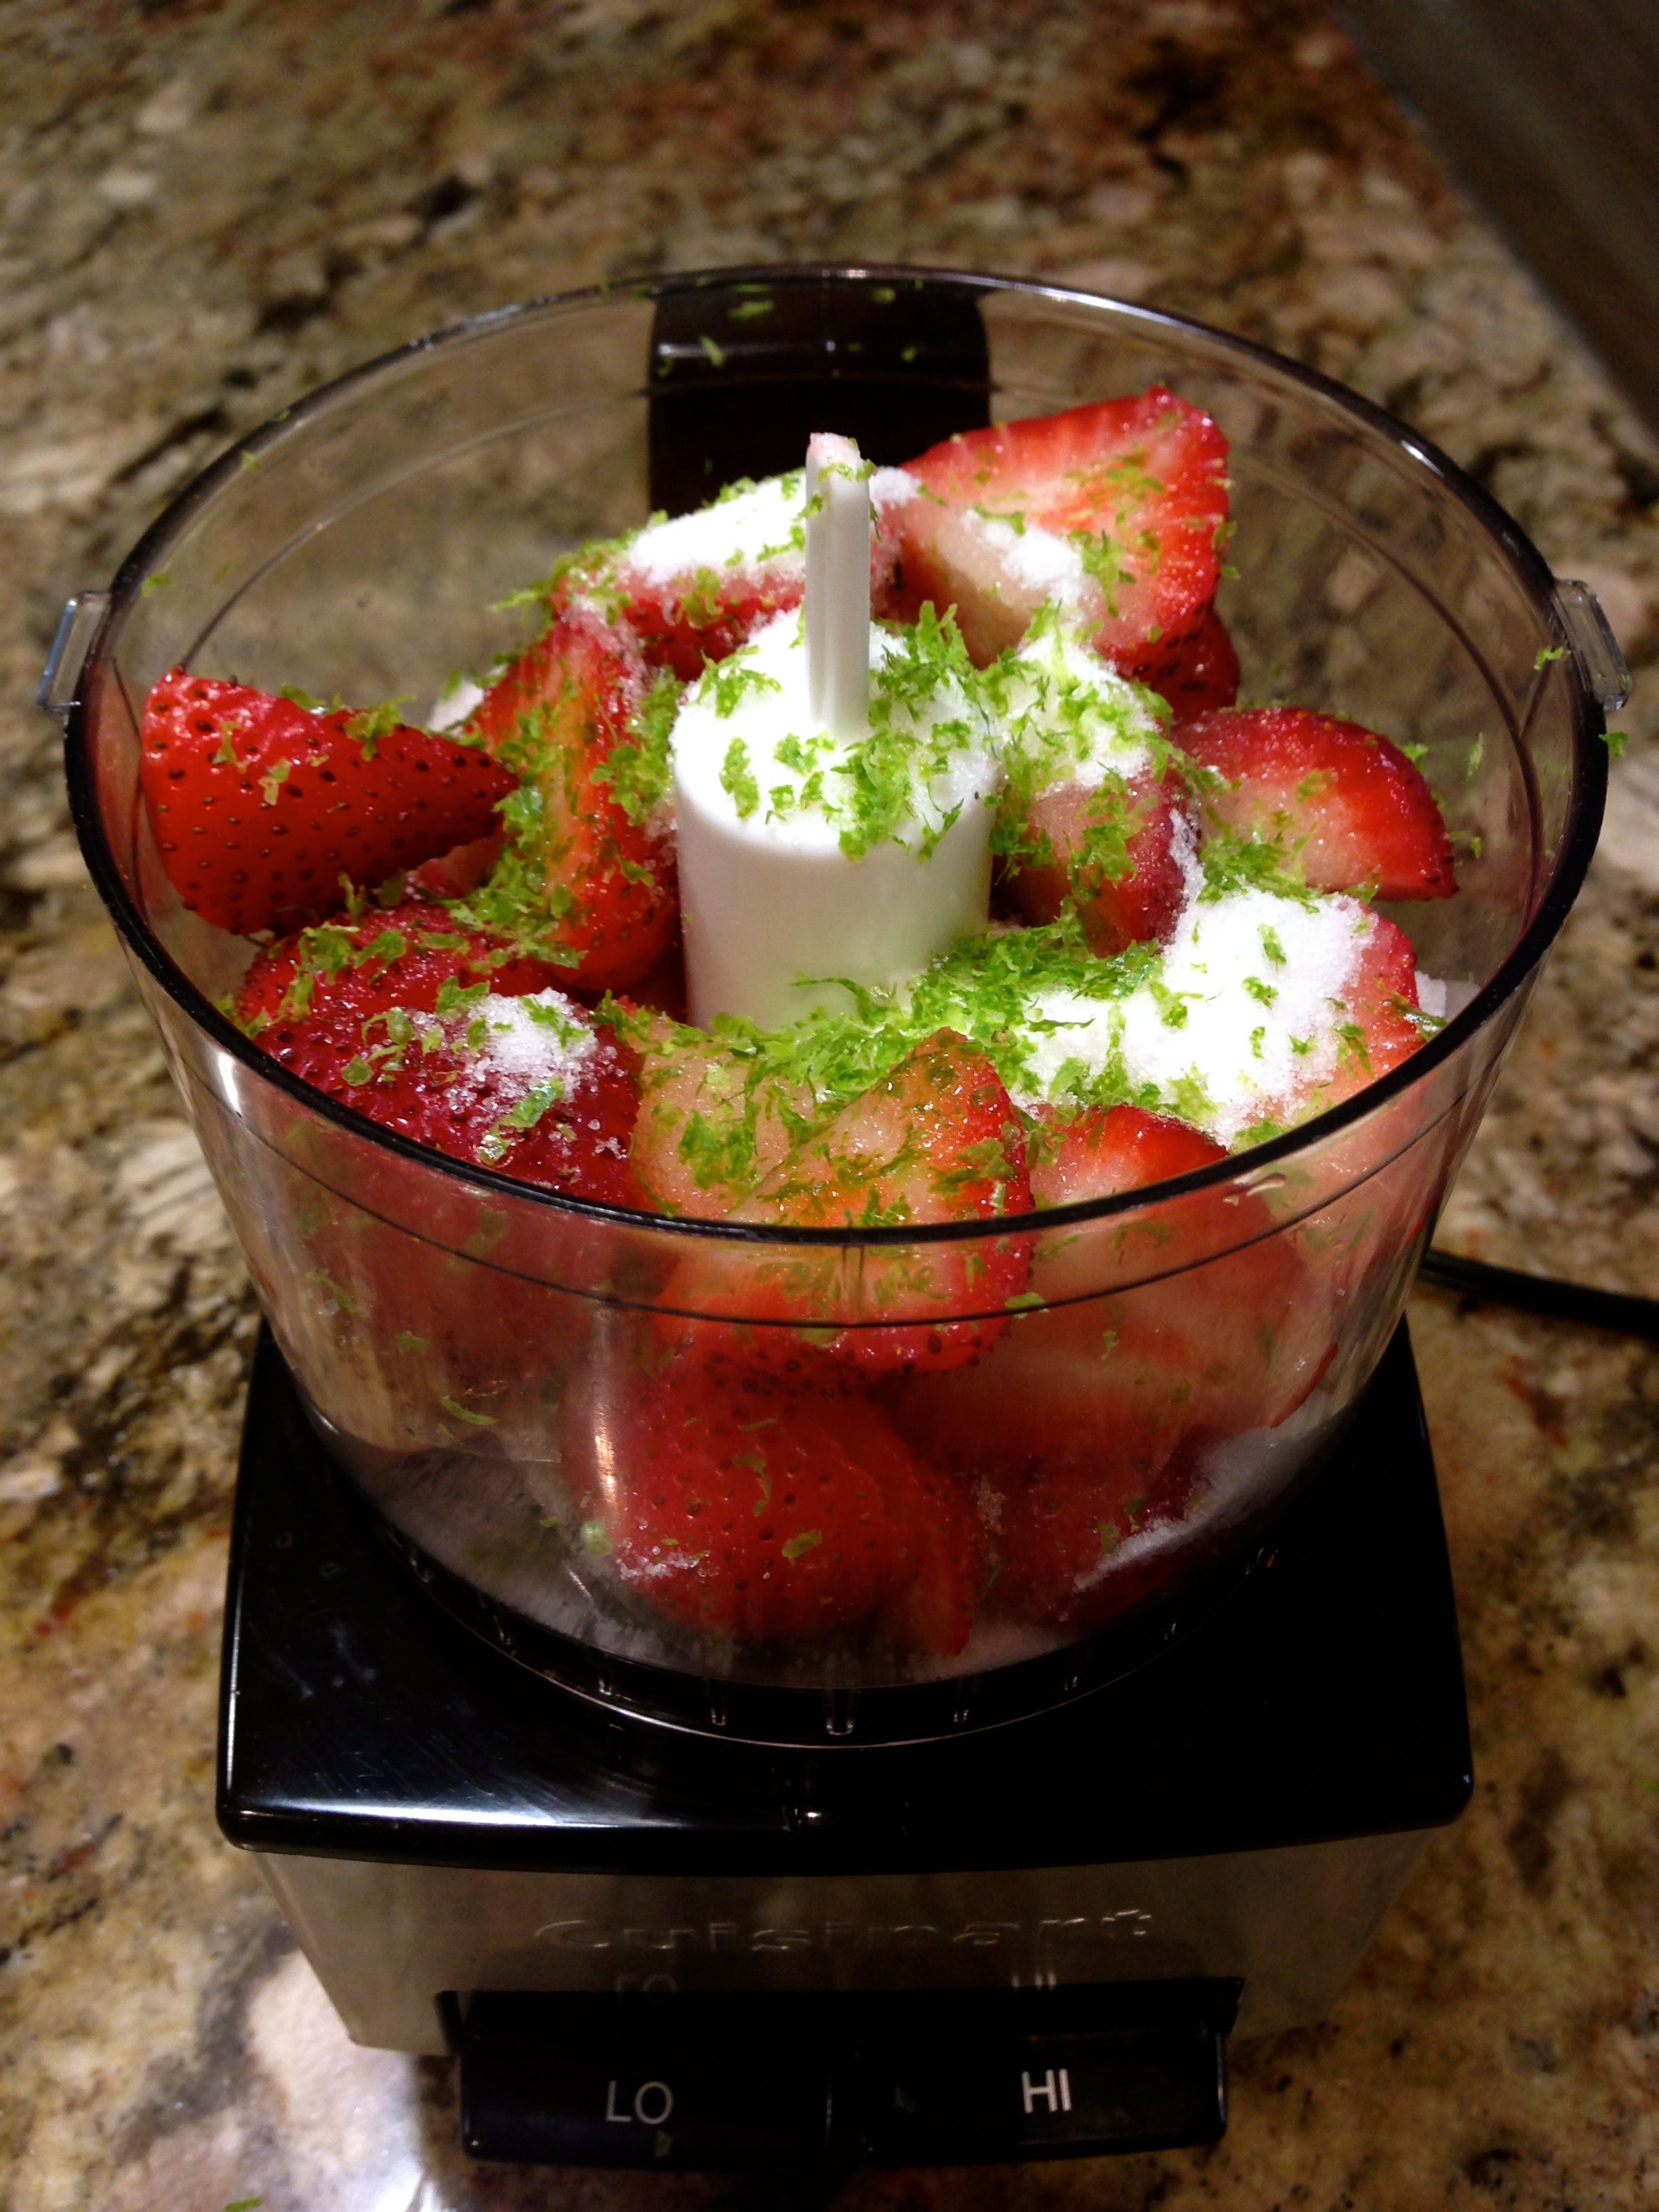
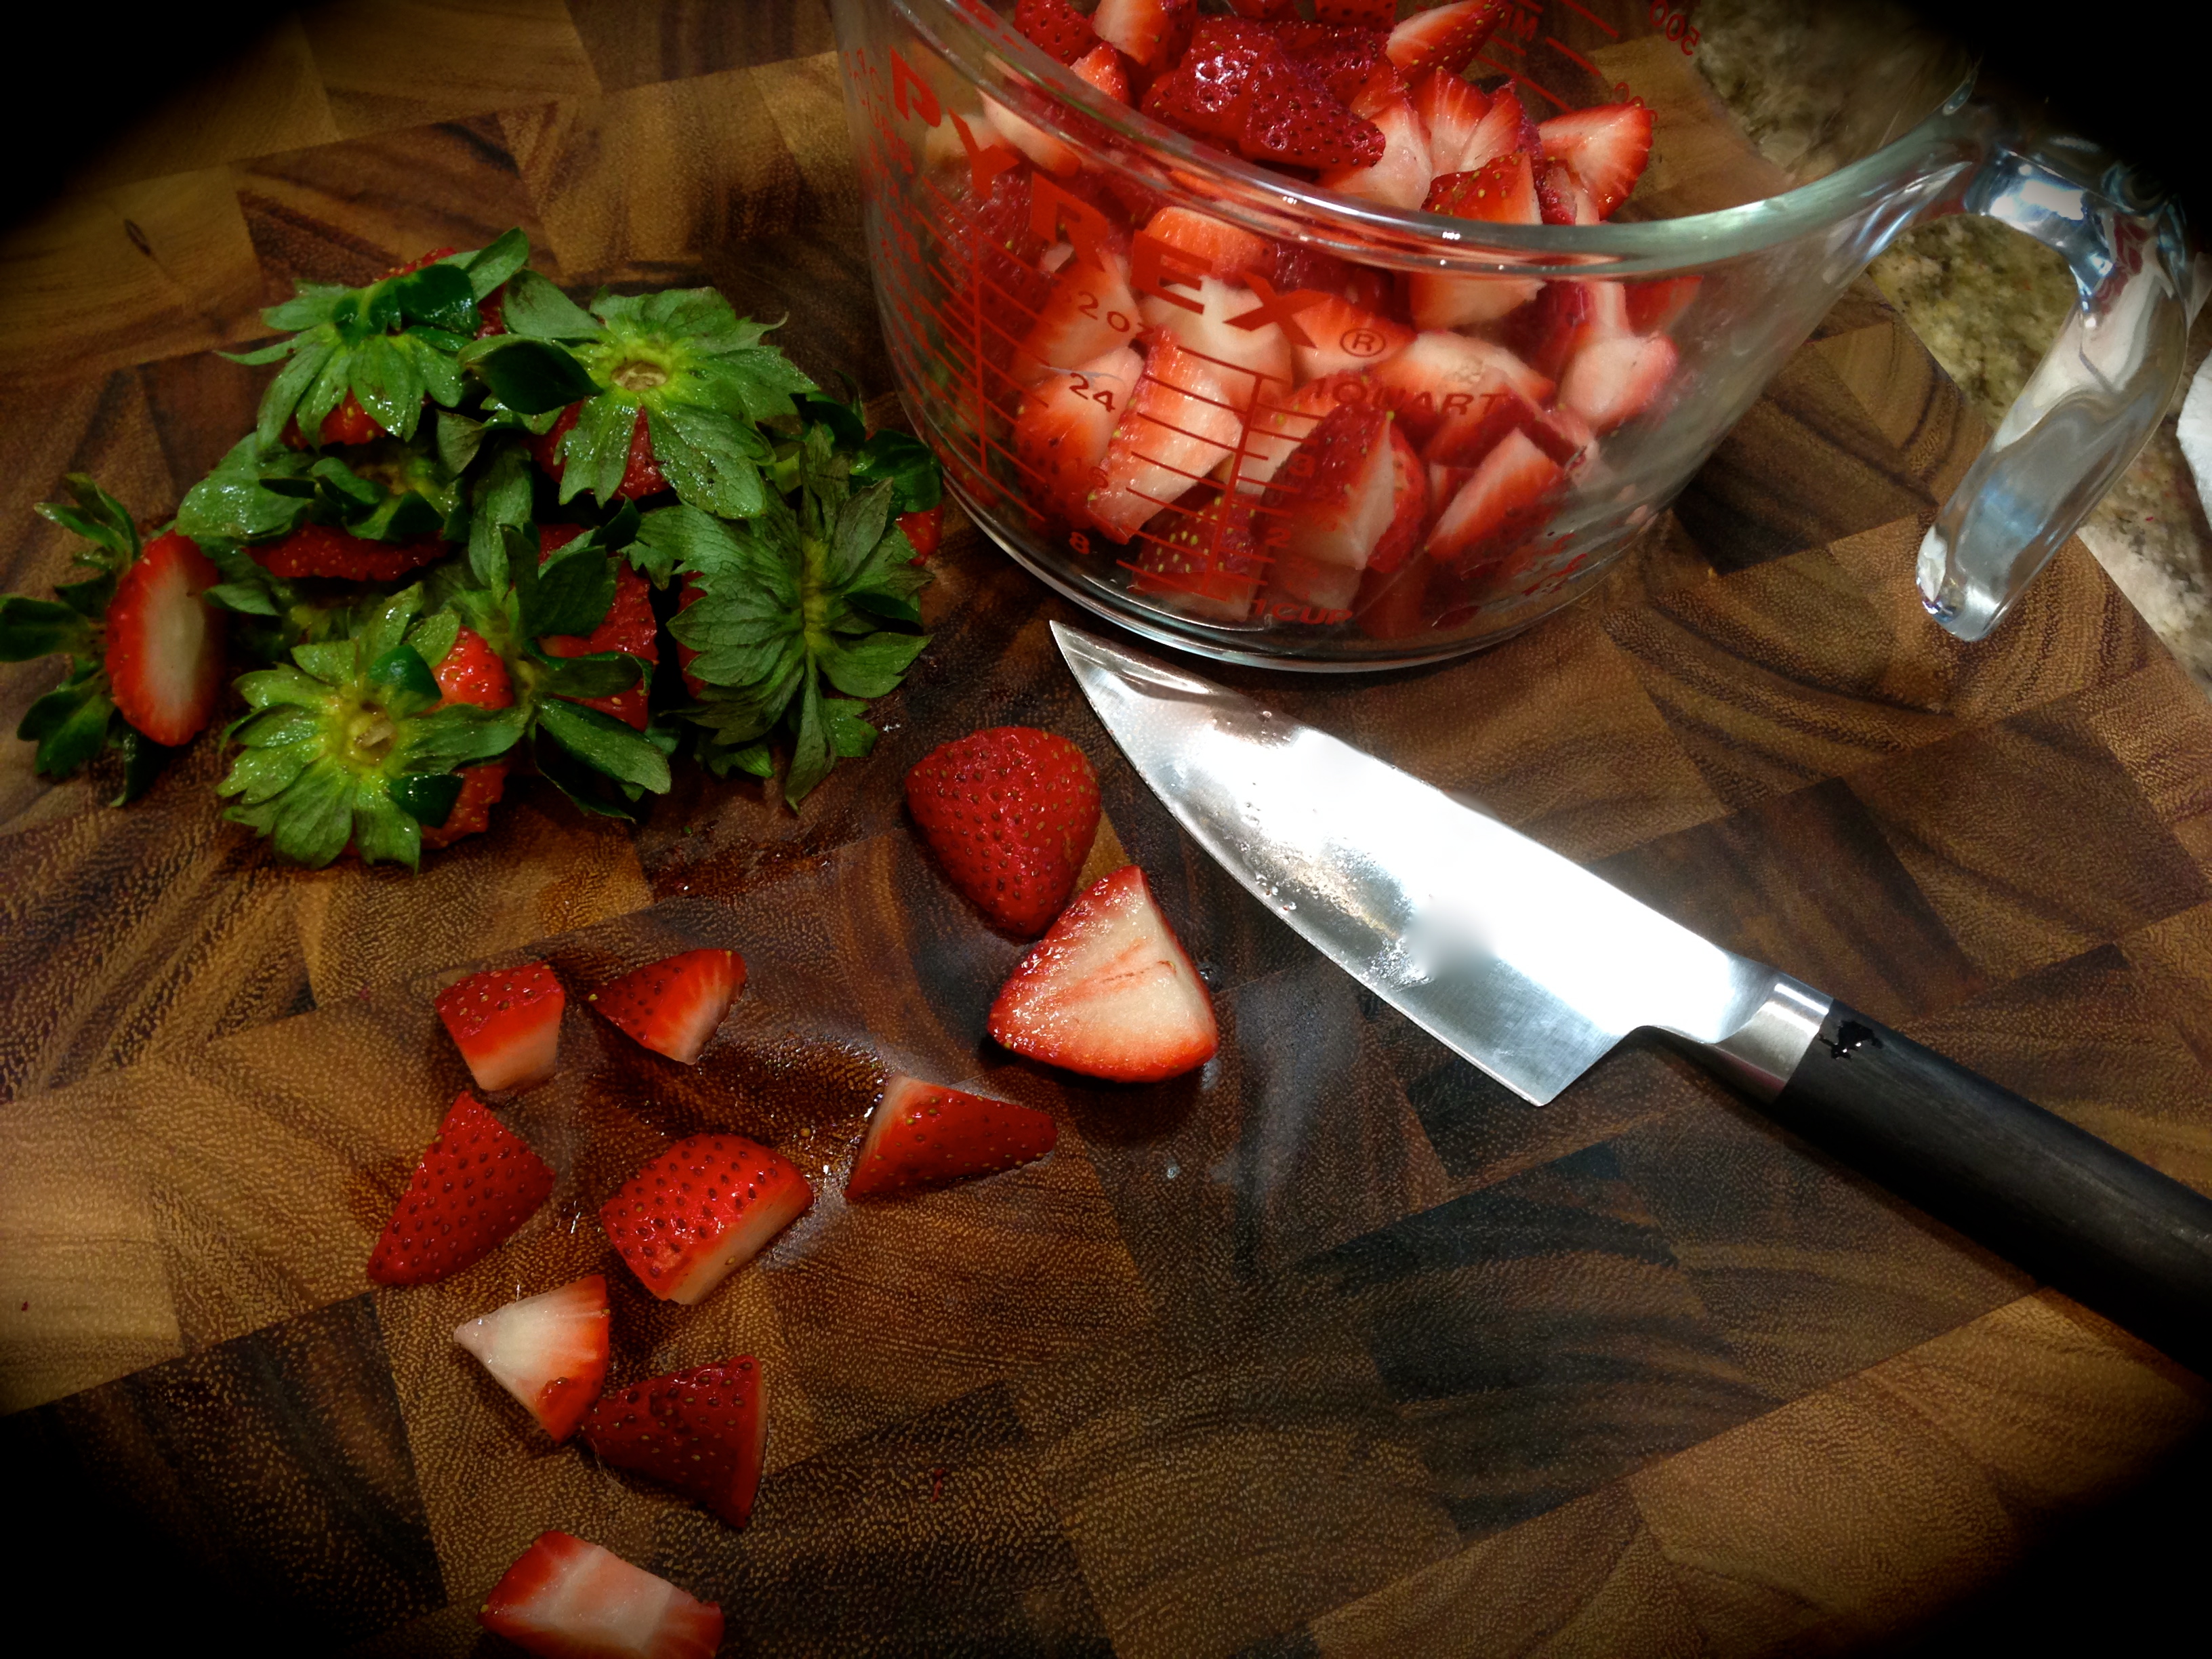
Lesson Learned 2 – Definitely make the strawberry sauce: The cheesecake on its own is divine but I think it needs a little extra added something. The strawberry sauce in this recipe is a perfect accompaniment to the cheese cake. I especially like using lime zest in the sauce. I felt it really brought out the flavor of the strawberries. Of course this is not the only thing you can use to add to the cake, but this sauce took very little effort and was divine, that’s why I like it.
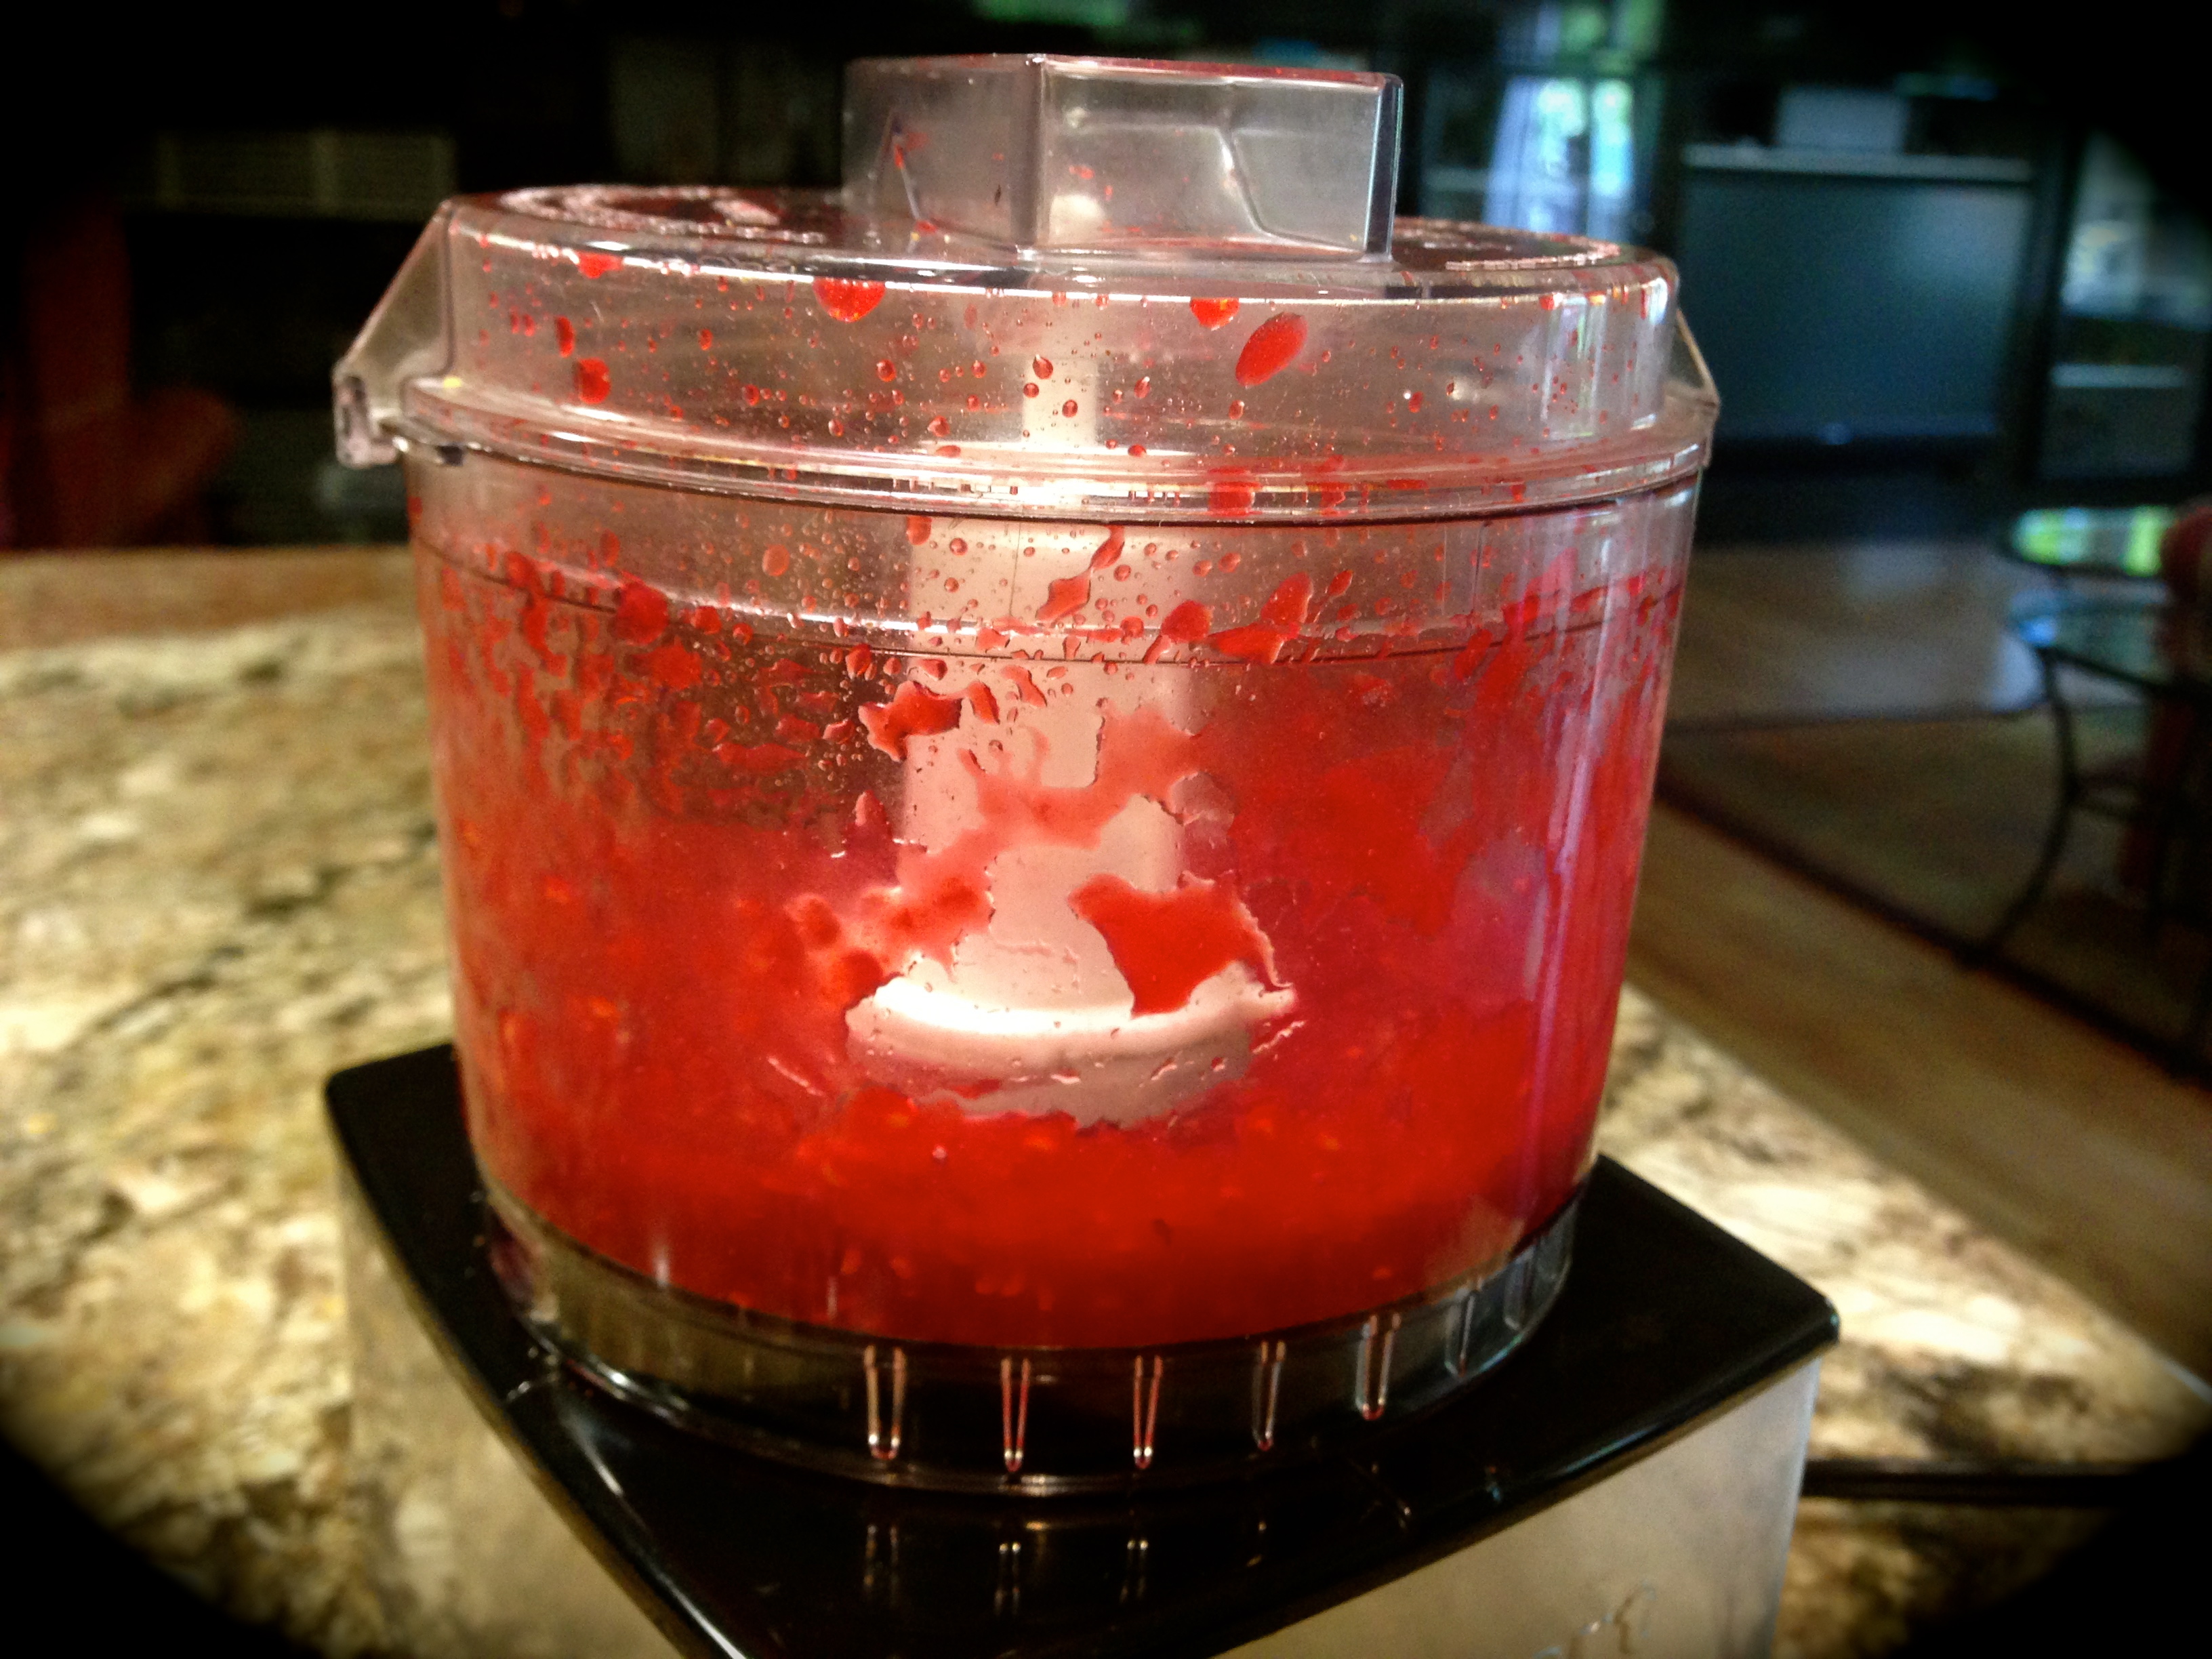
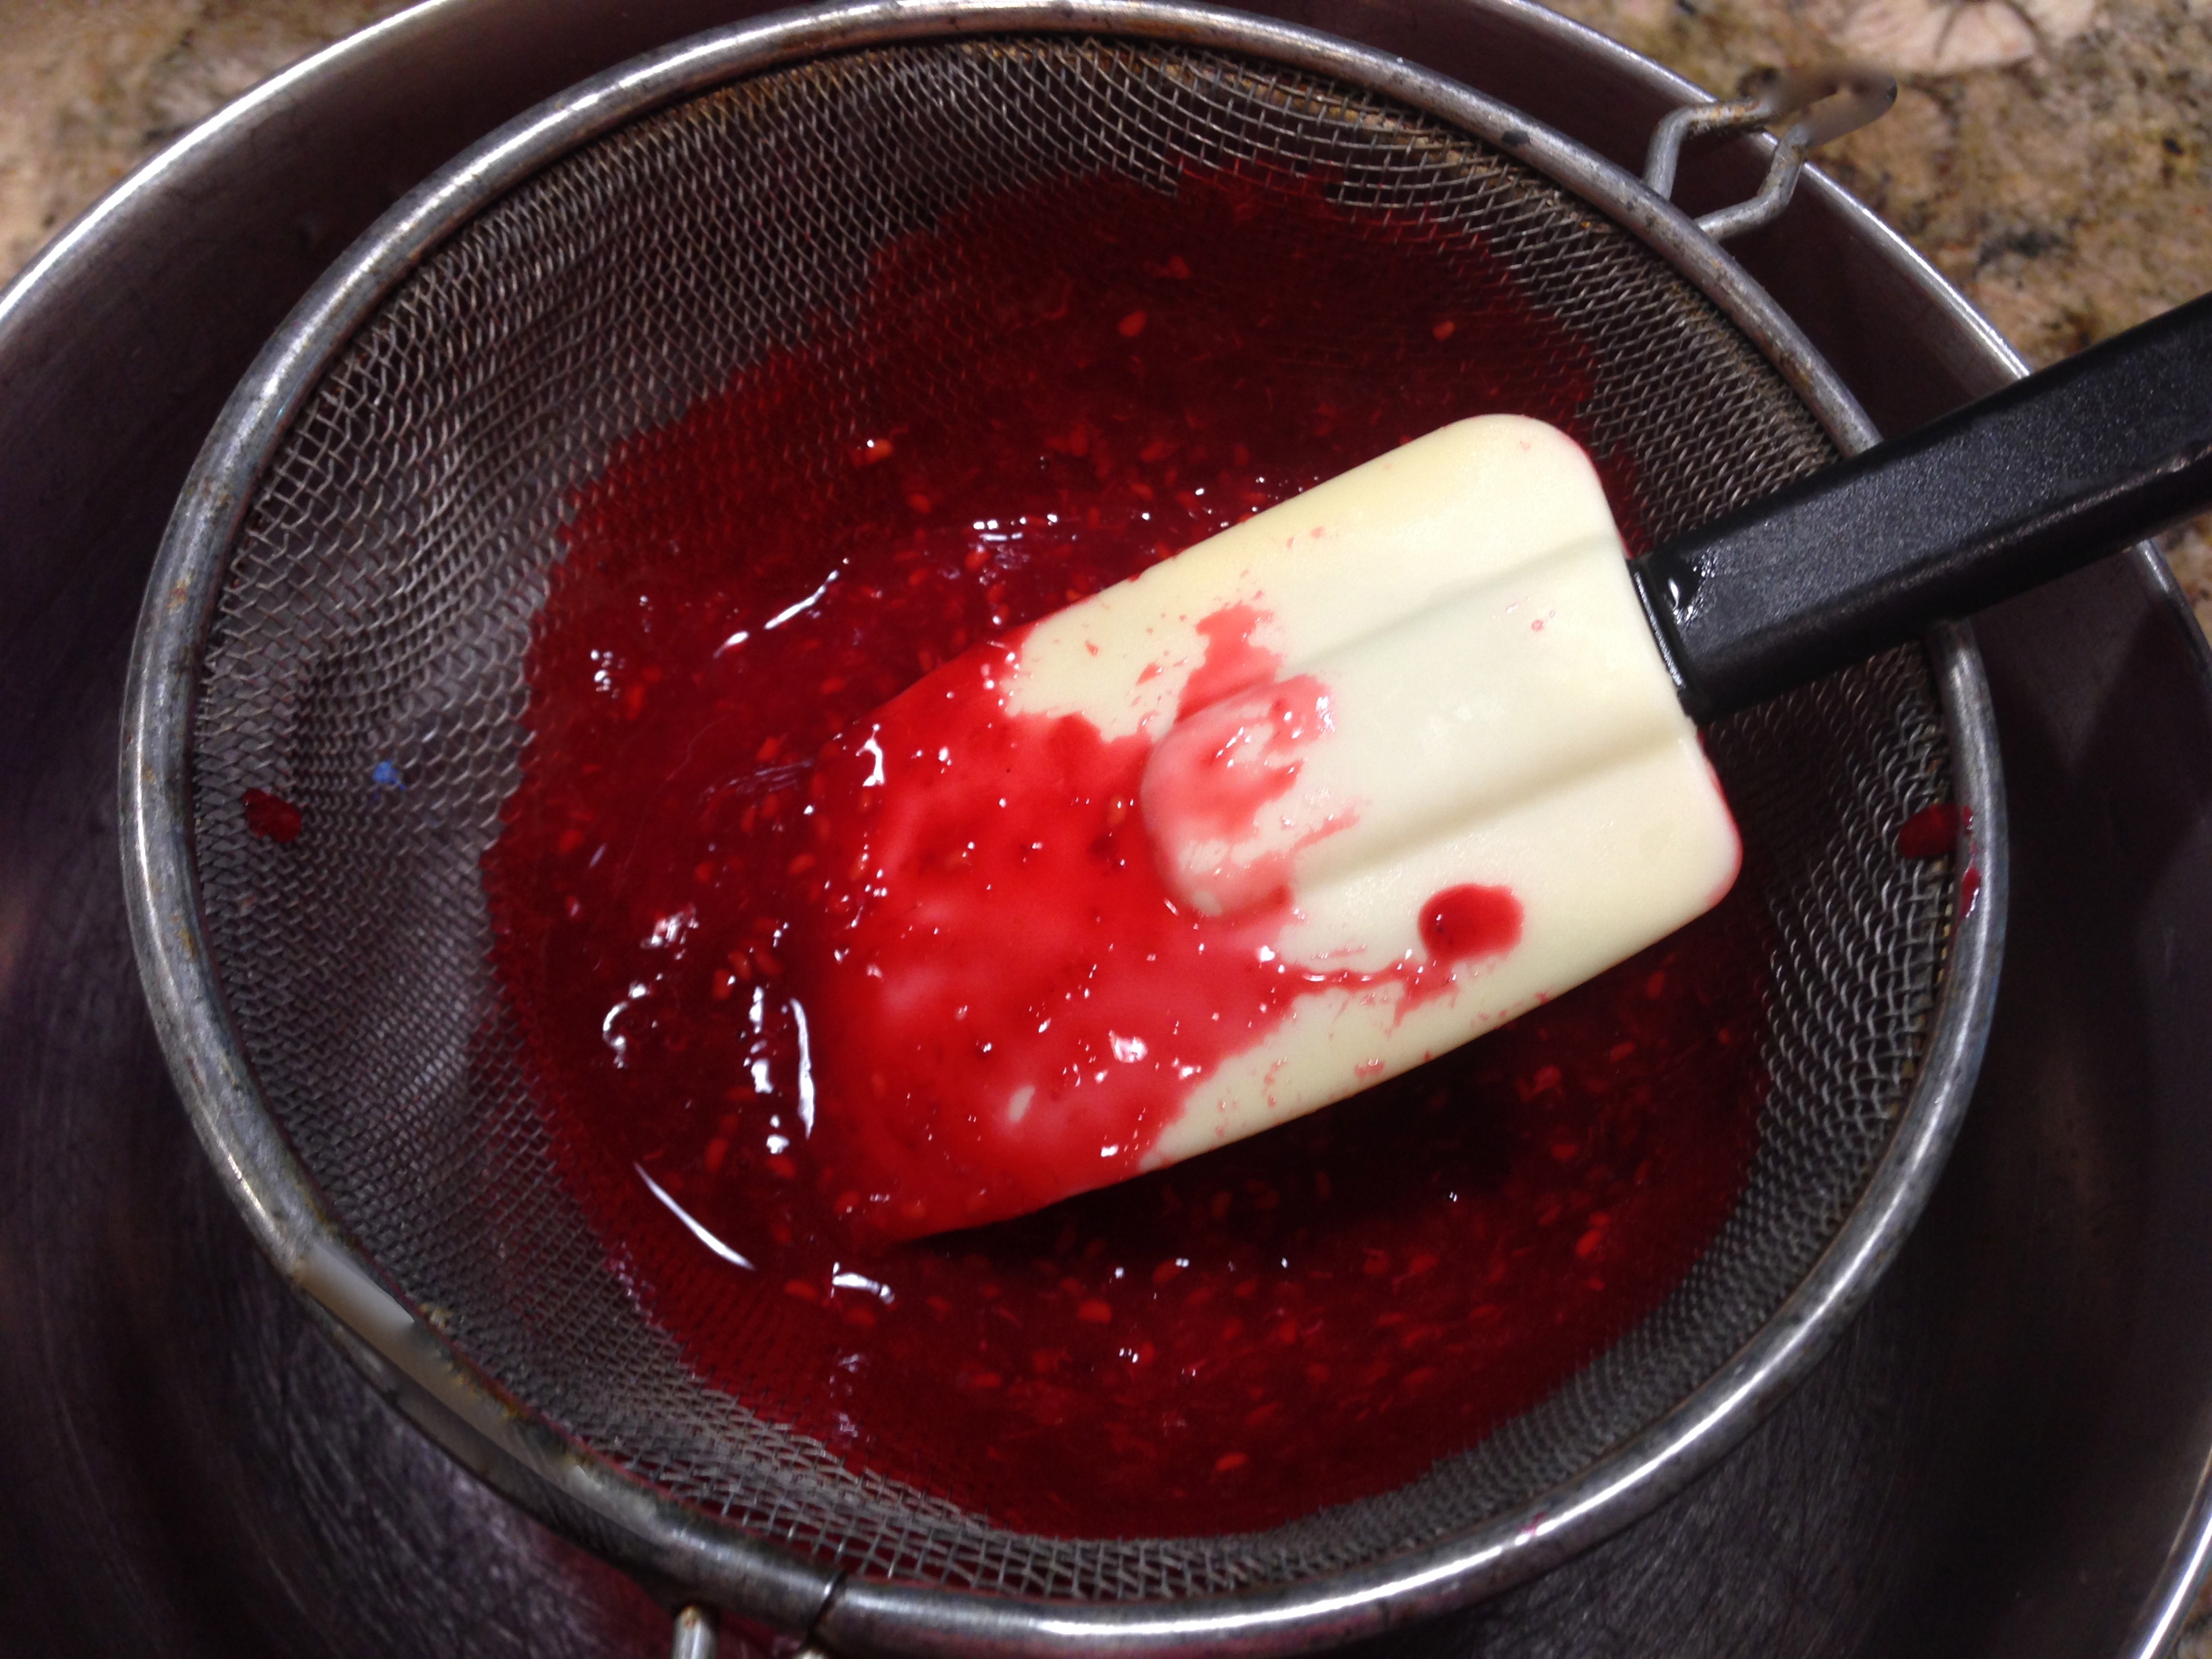
I just used my mini food processor and mixed all the ingredients together. You don’t need to strain the sauce as you would if you were using raspberries. The sauce is best served cold so make sure you refrigerate it for at least an hour before serving.
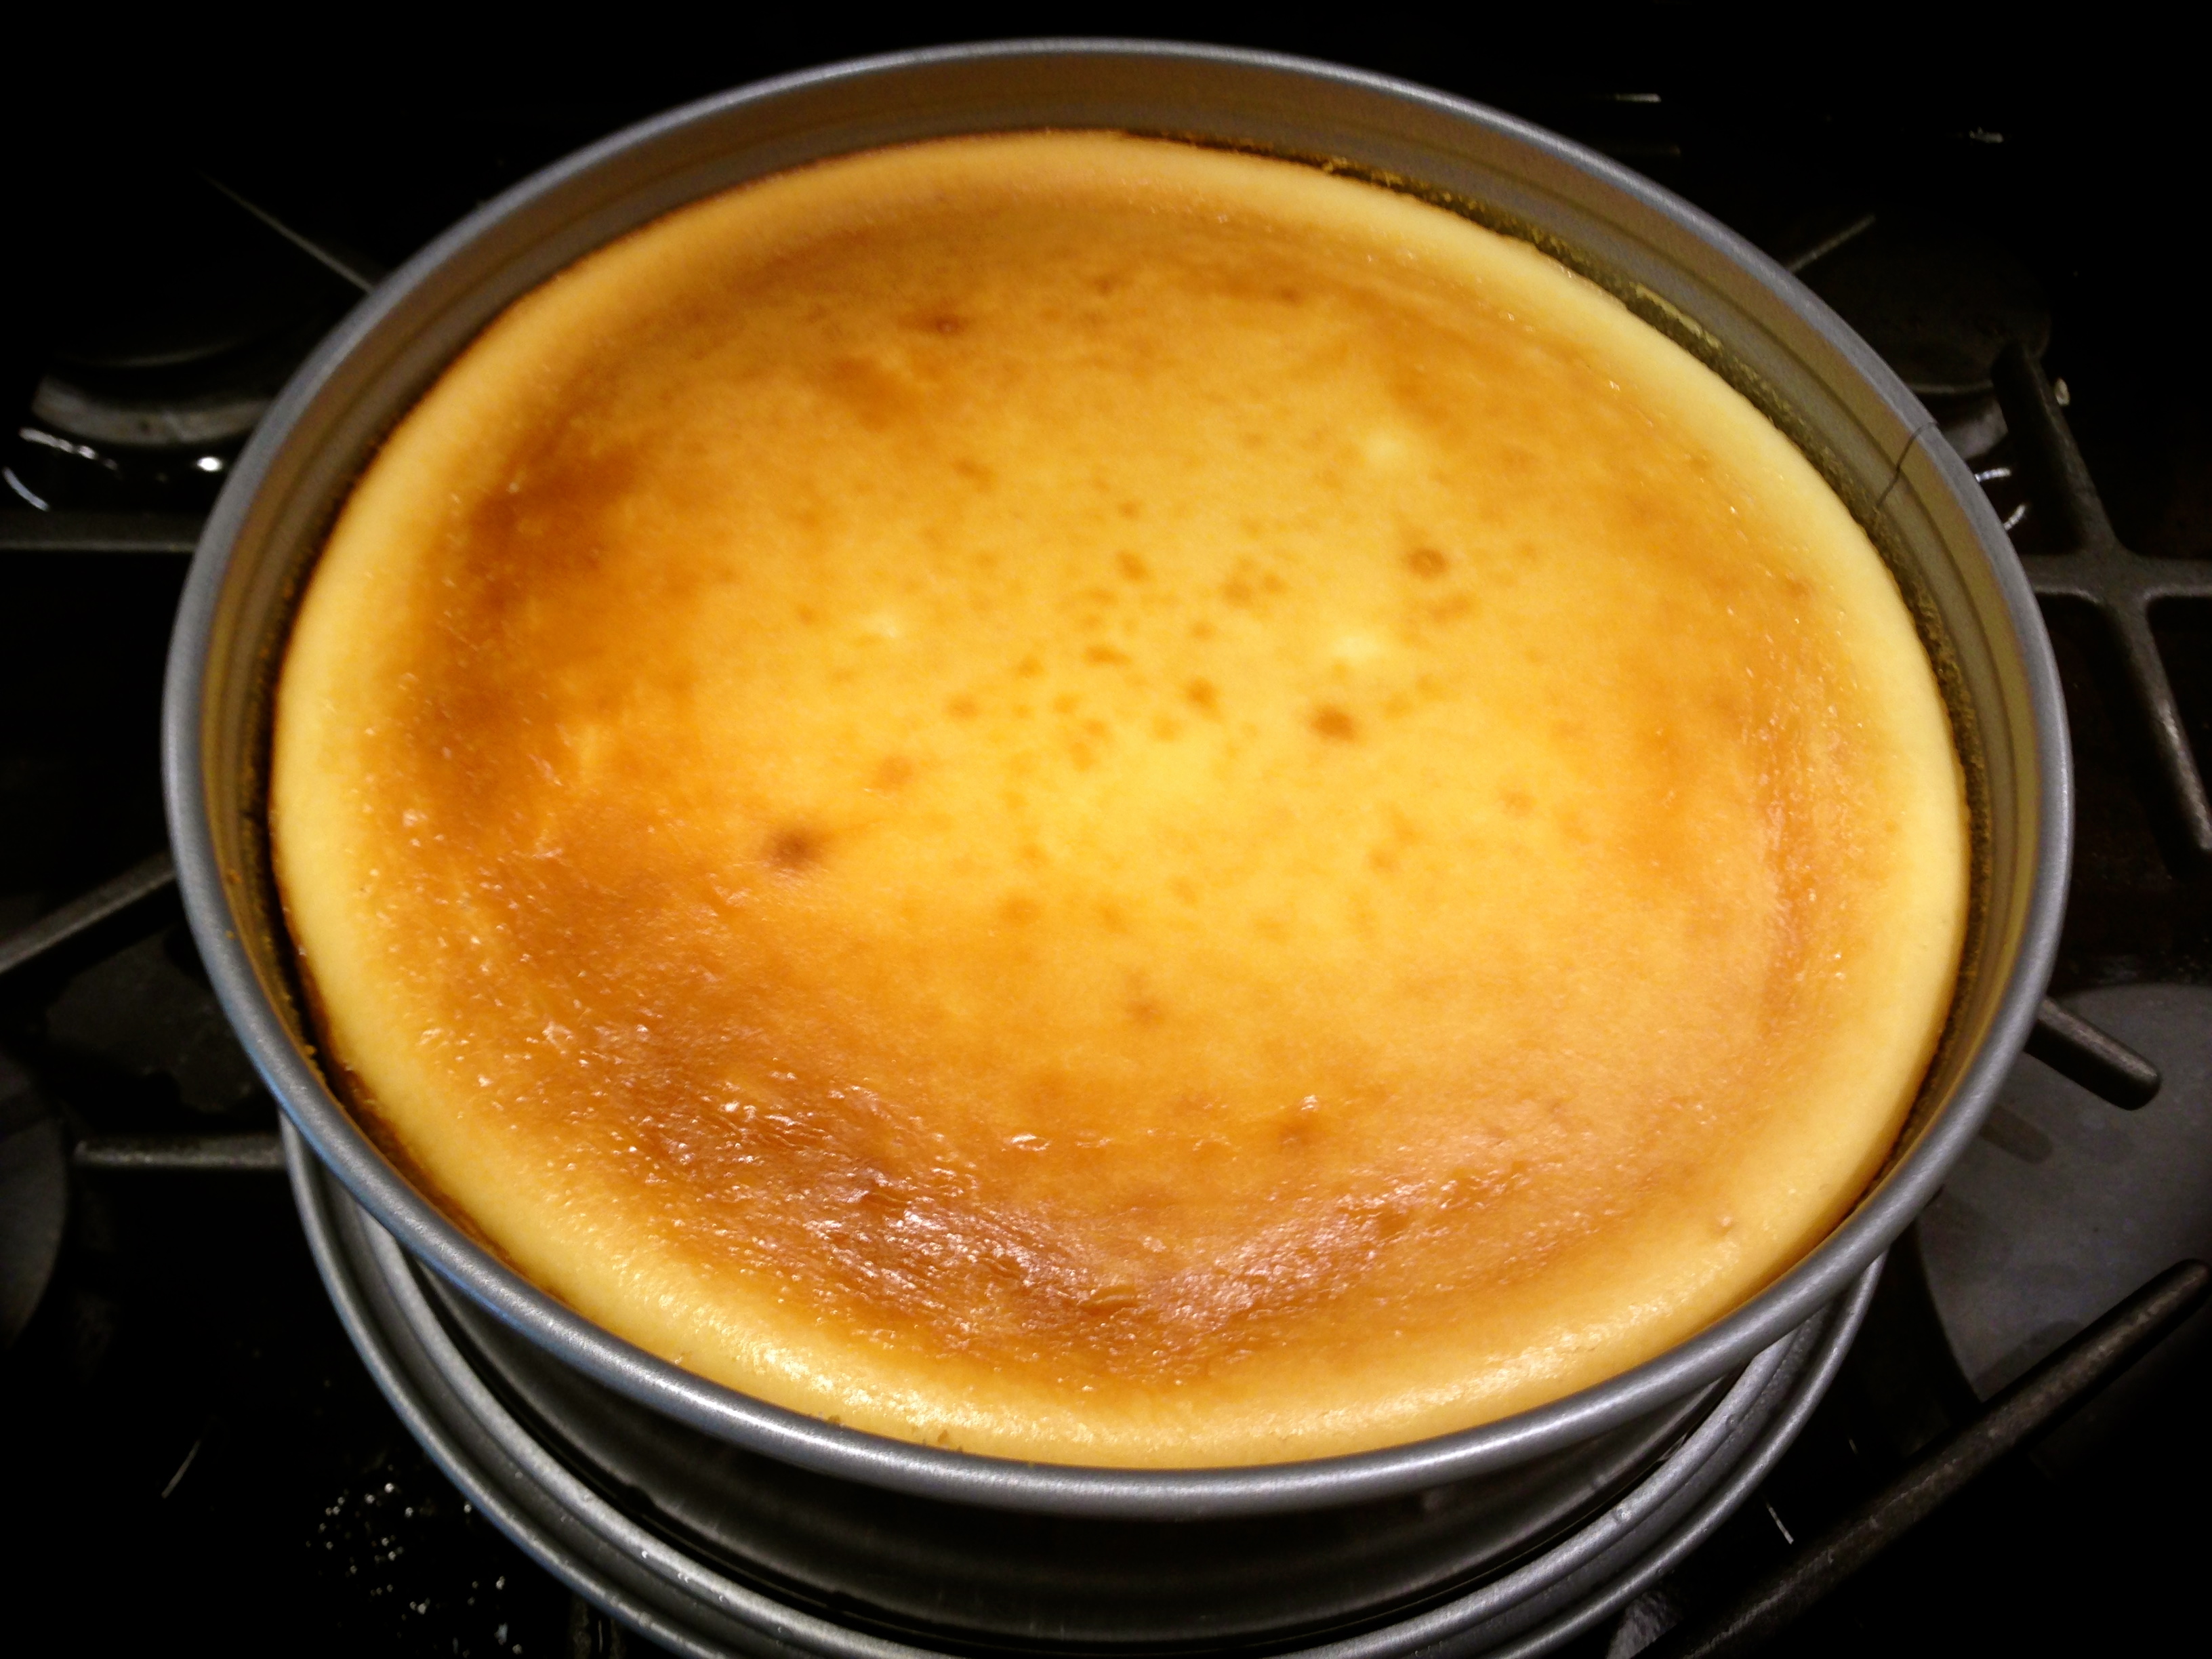
Lesson Learned 3 – Keep the cheesecake in the oven for an hour after it’s done baking: Once the cheesecake is done baking, turn off the heat and leave it in the oven for an hour with the oven door partially open. This helps to finish it off and is necessary for the cheesecake to set. So don’t be over anxious and take your beautiful cheesecake out of the oven right away.
As I mentioned earlier, I did not have to change a thing in this recipe nor did I have to adapt it to high altitude (and what a joy that was!). So here is the recipe and I’ve also provided a link to it on the Food Network site below. Enjoy!
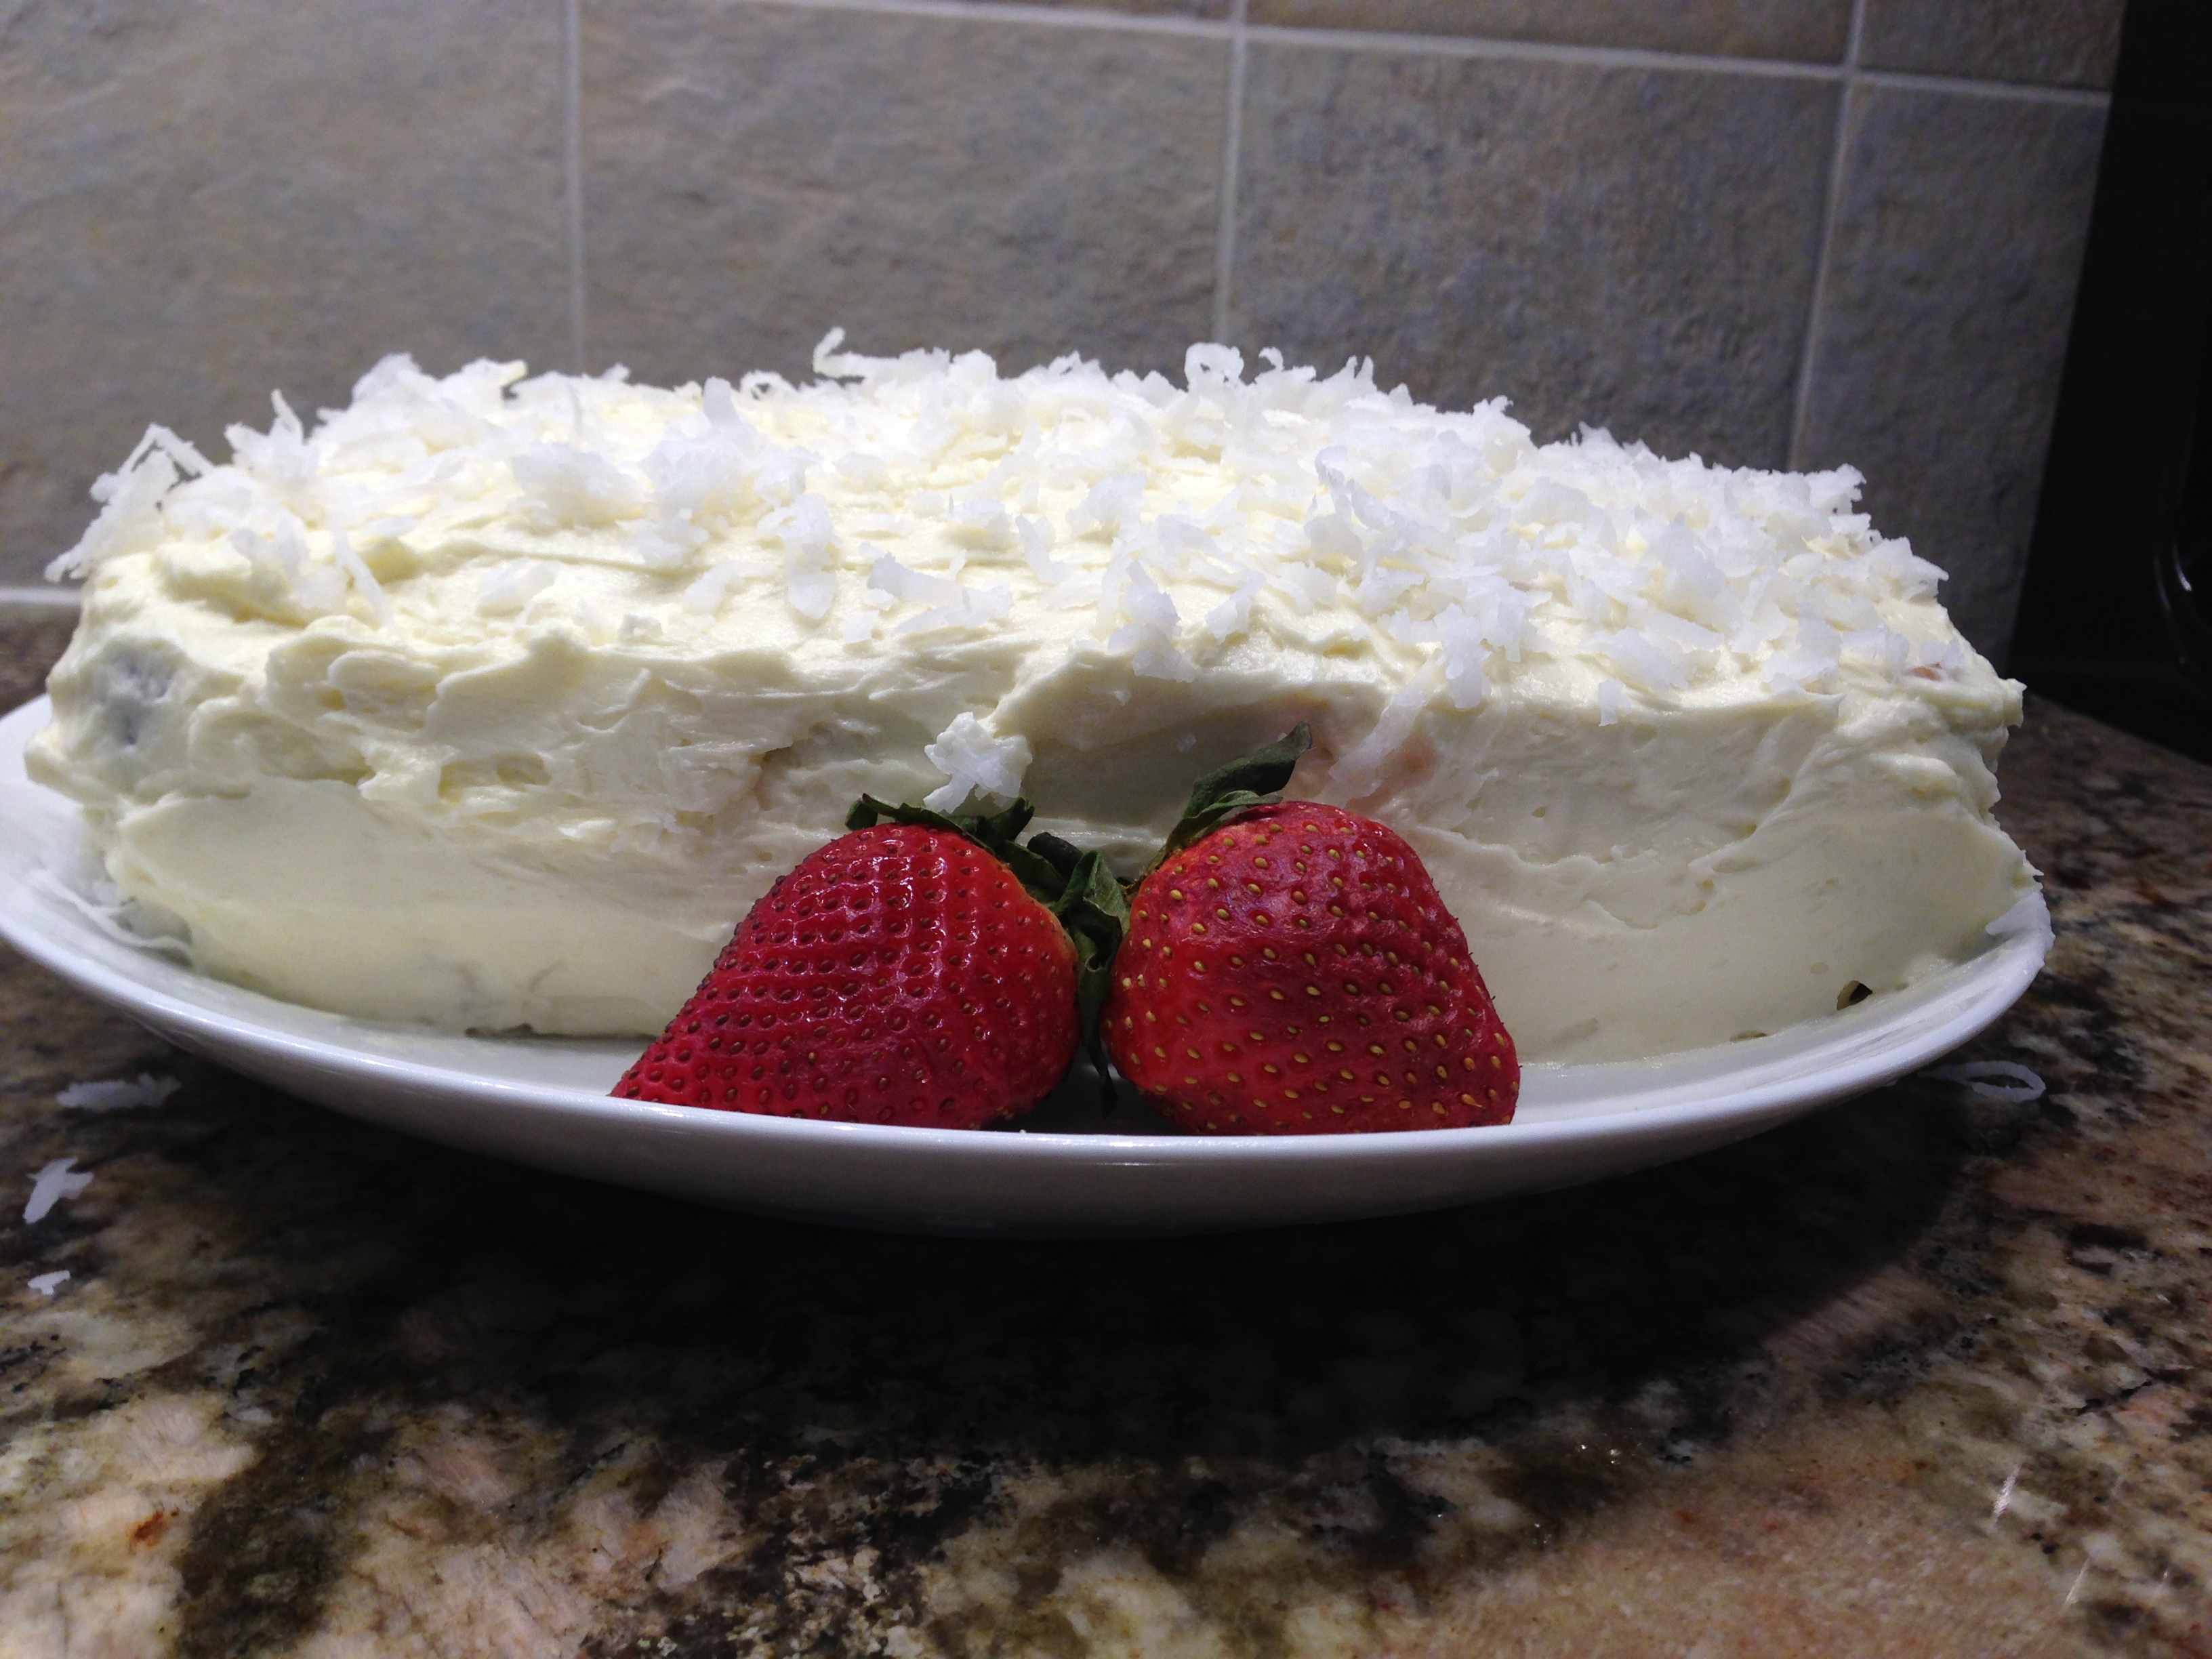
Cheesecake With Fresh Strawberry Sauce...
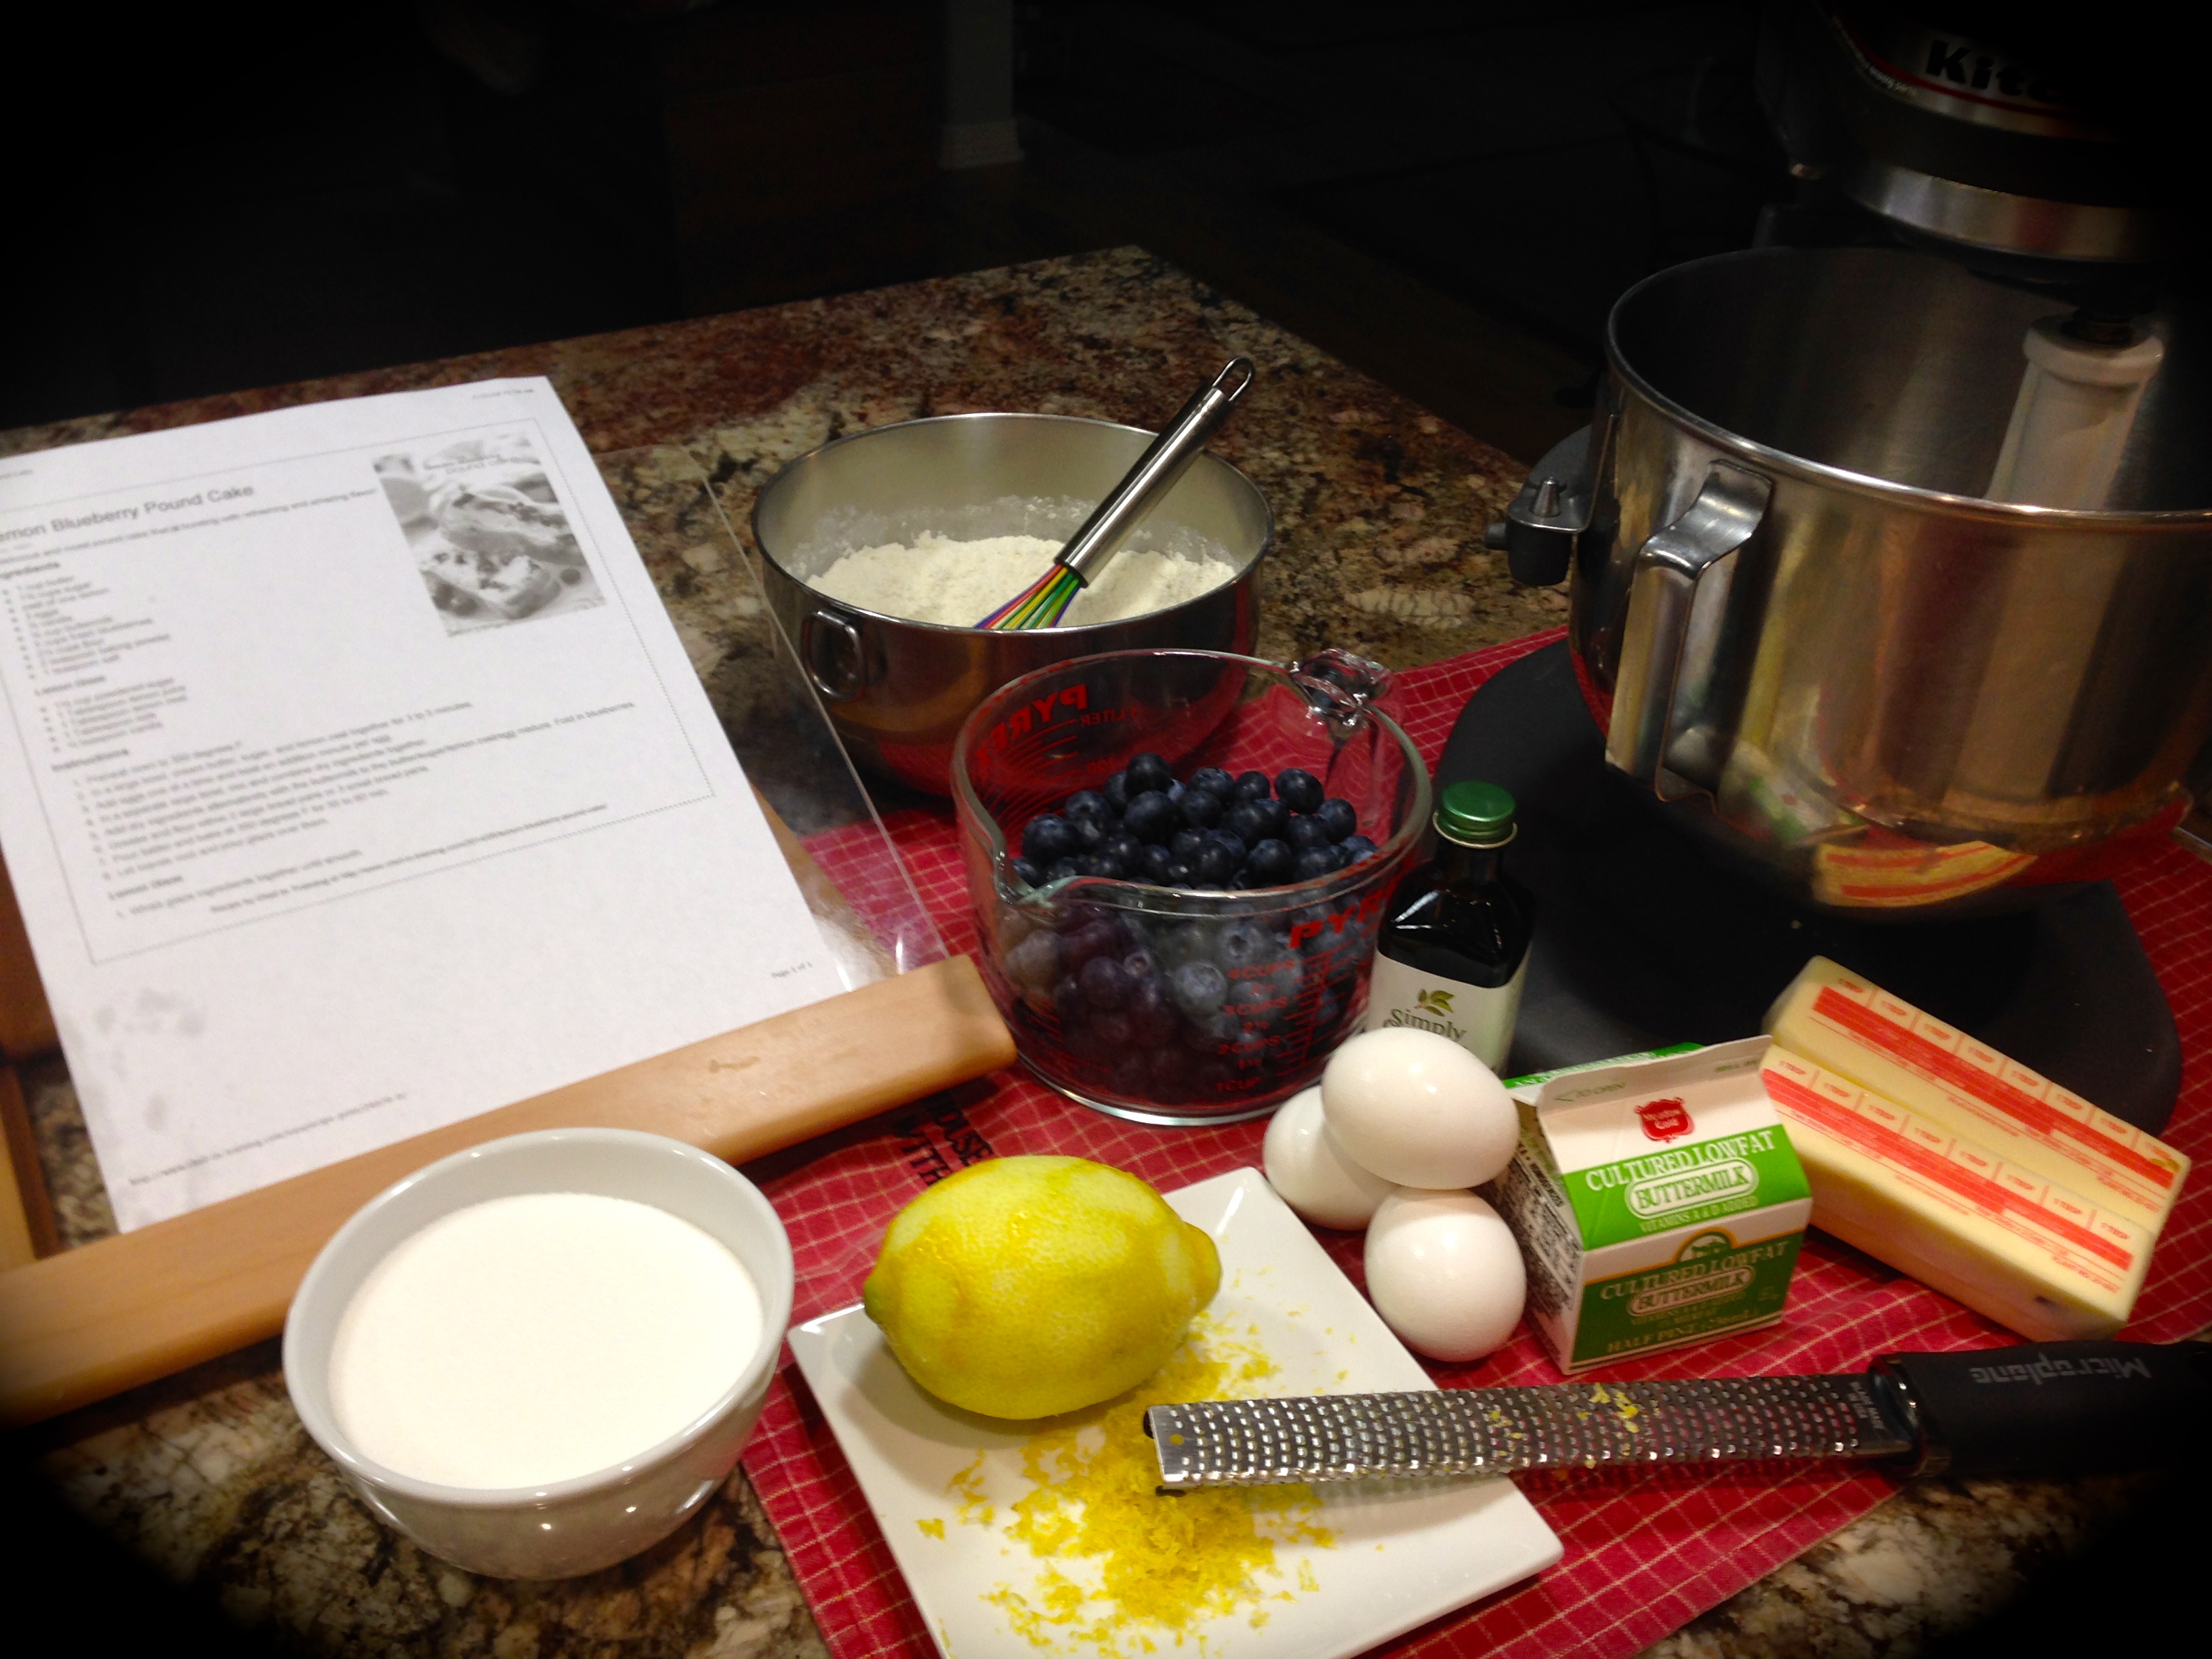
INGREDIENTS:
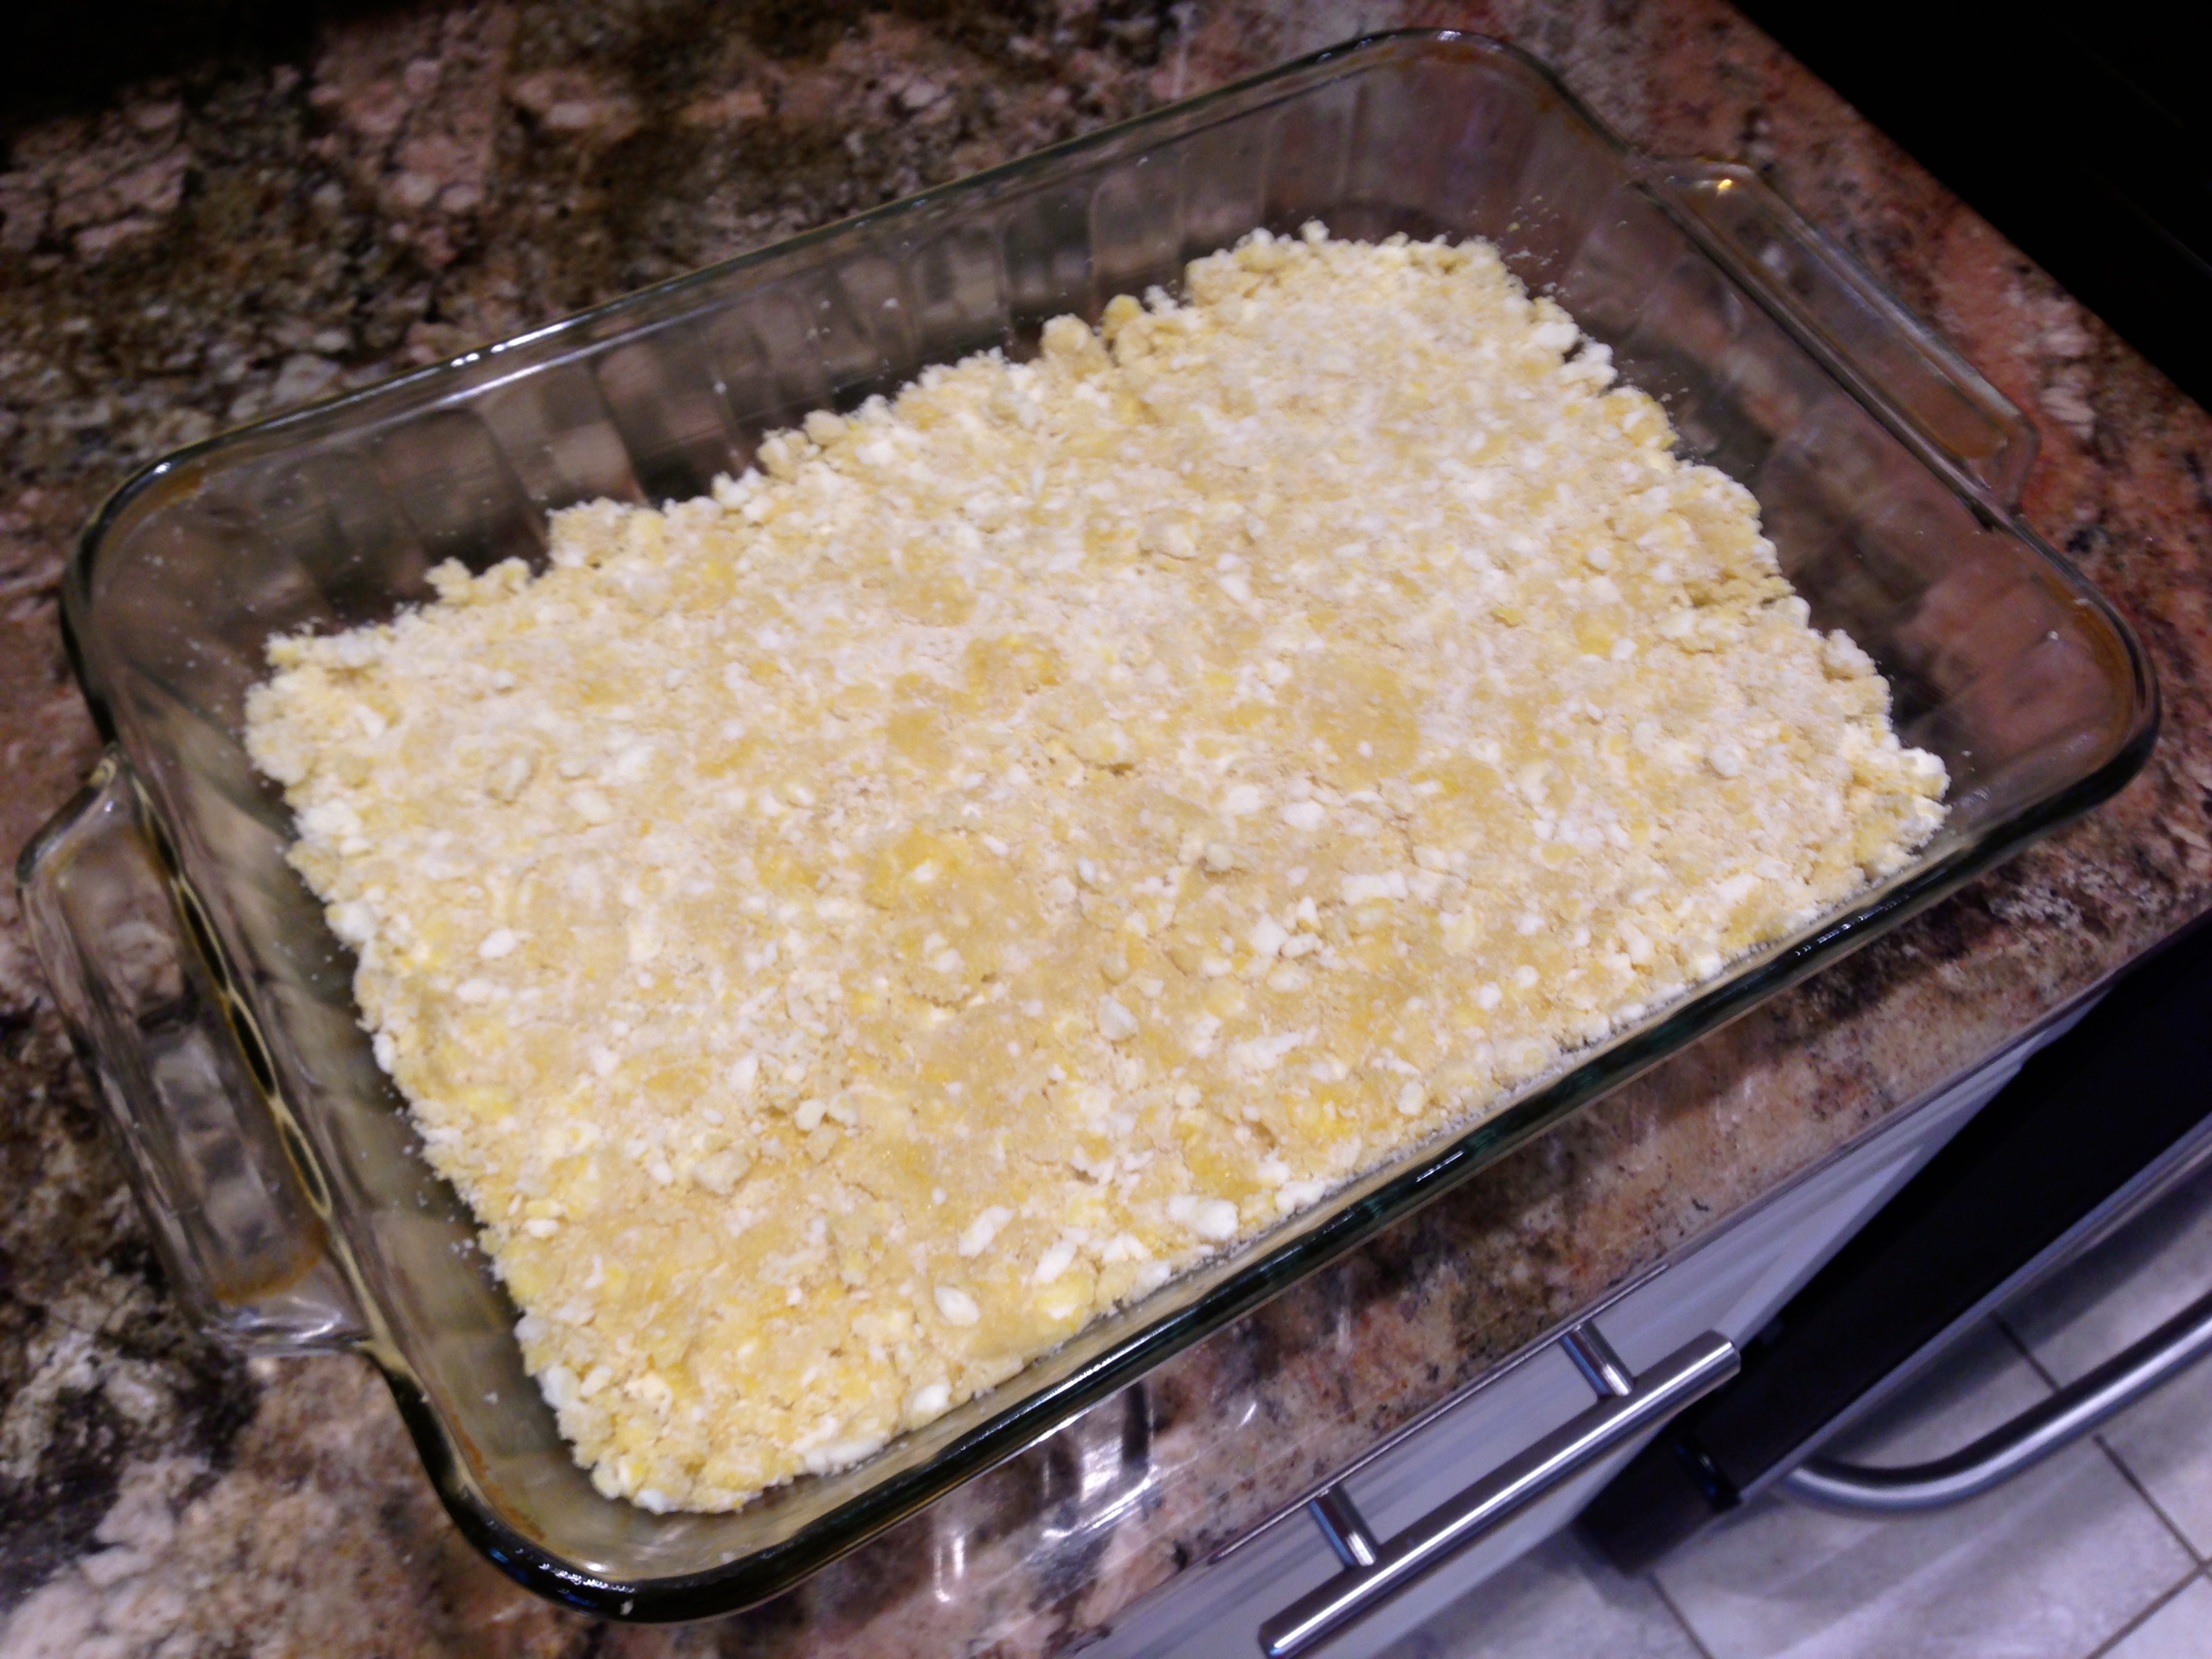
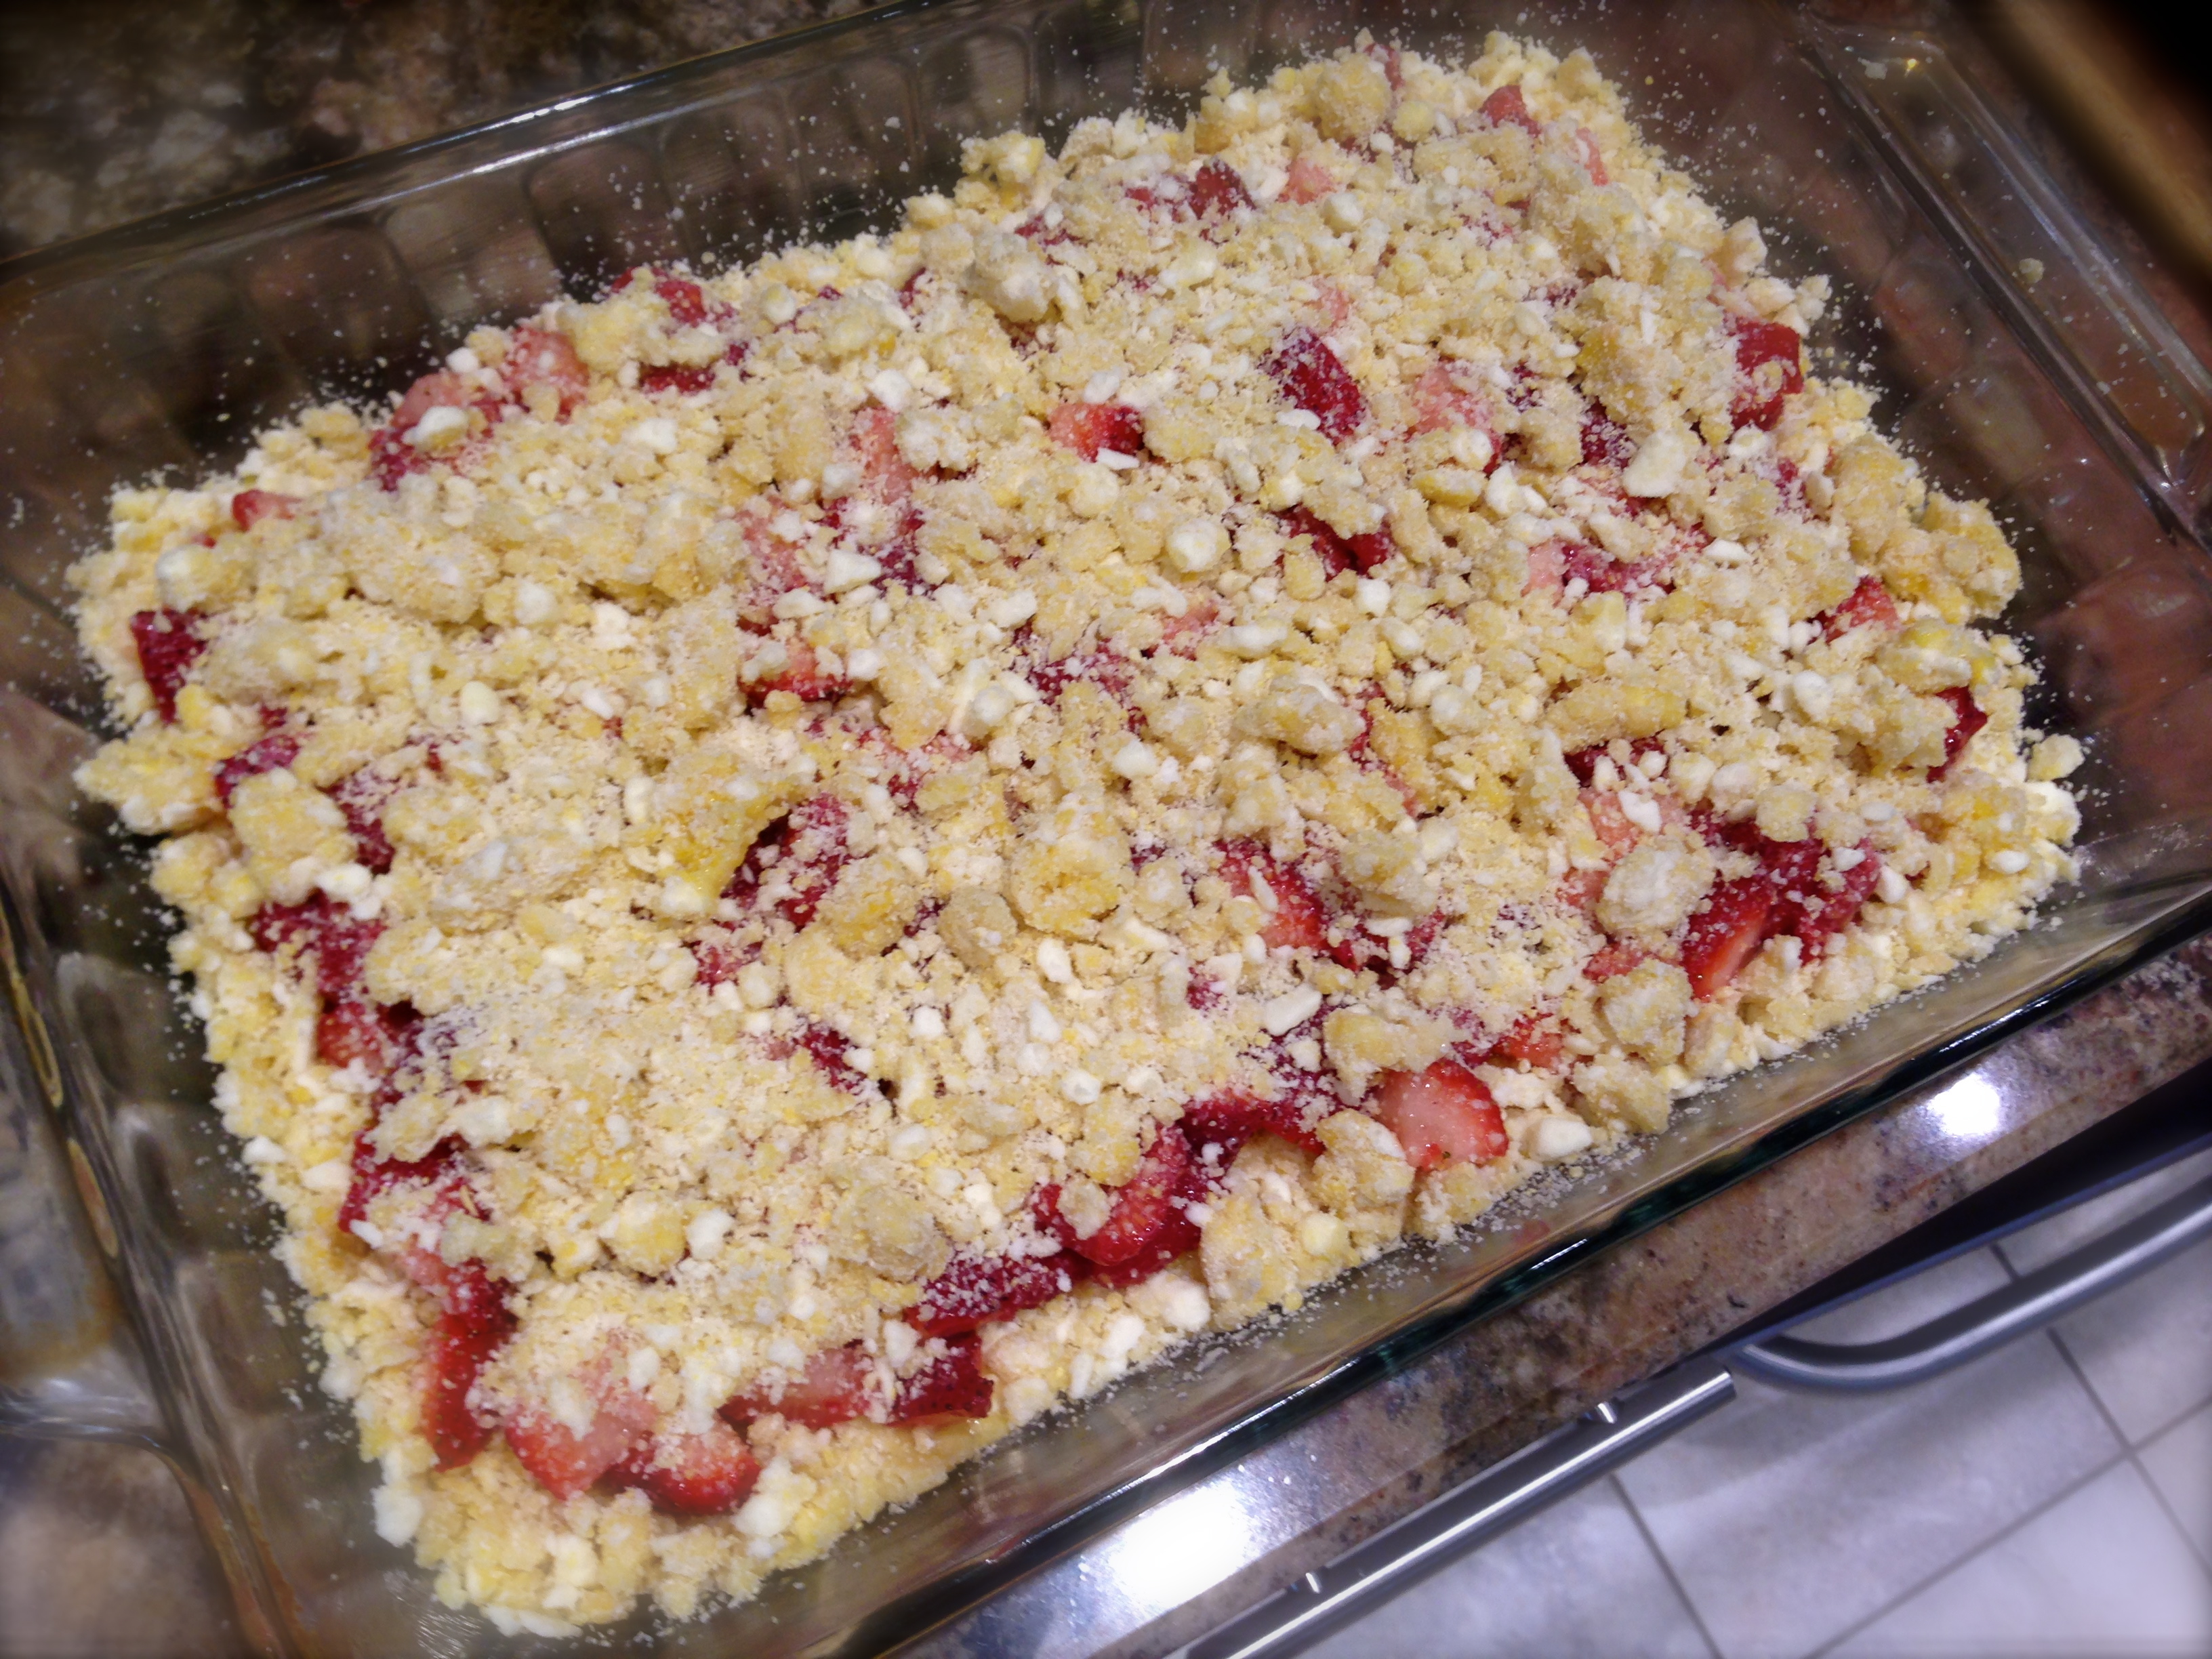
Graham Cracker Crust
1 1/2 cups finely crushed graham cracker crumbs (about 9 sheets)
1/4 cup sugar
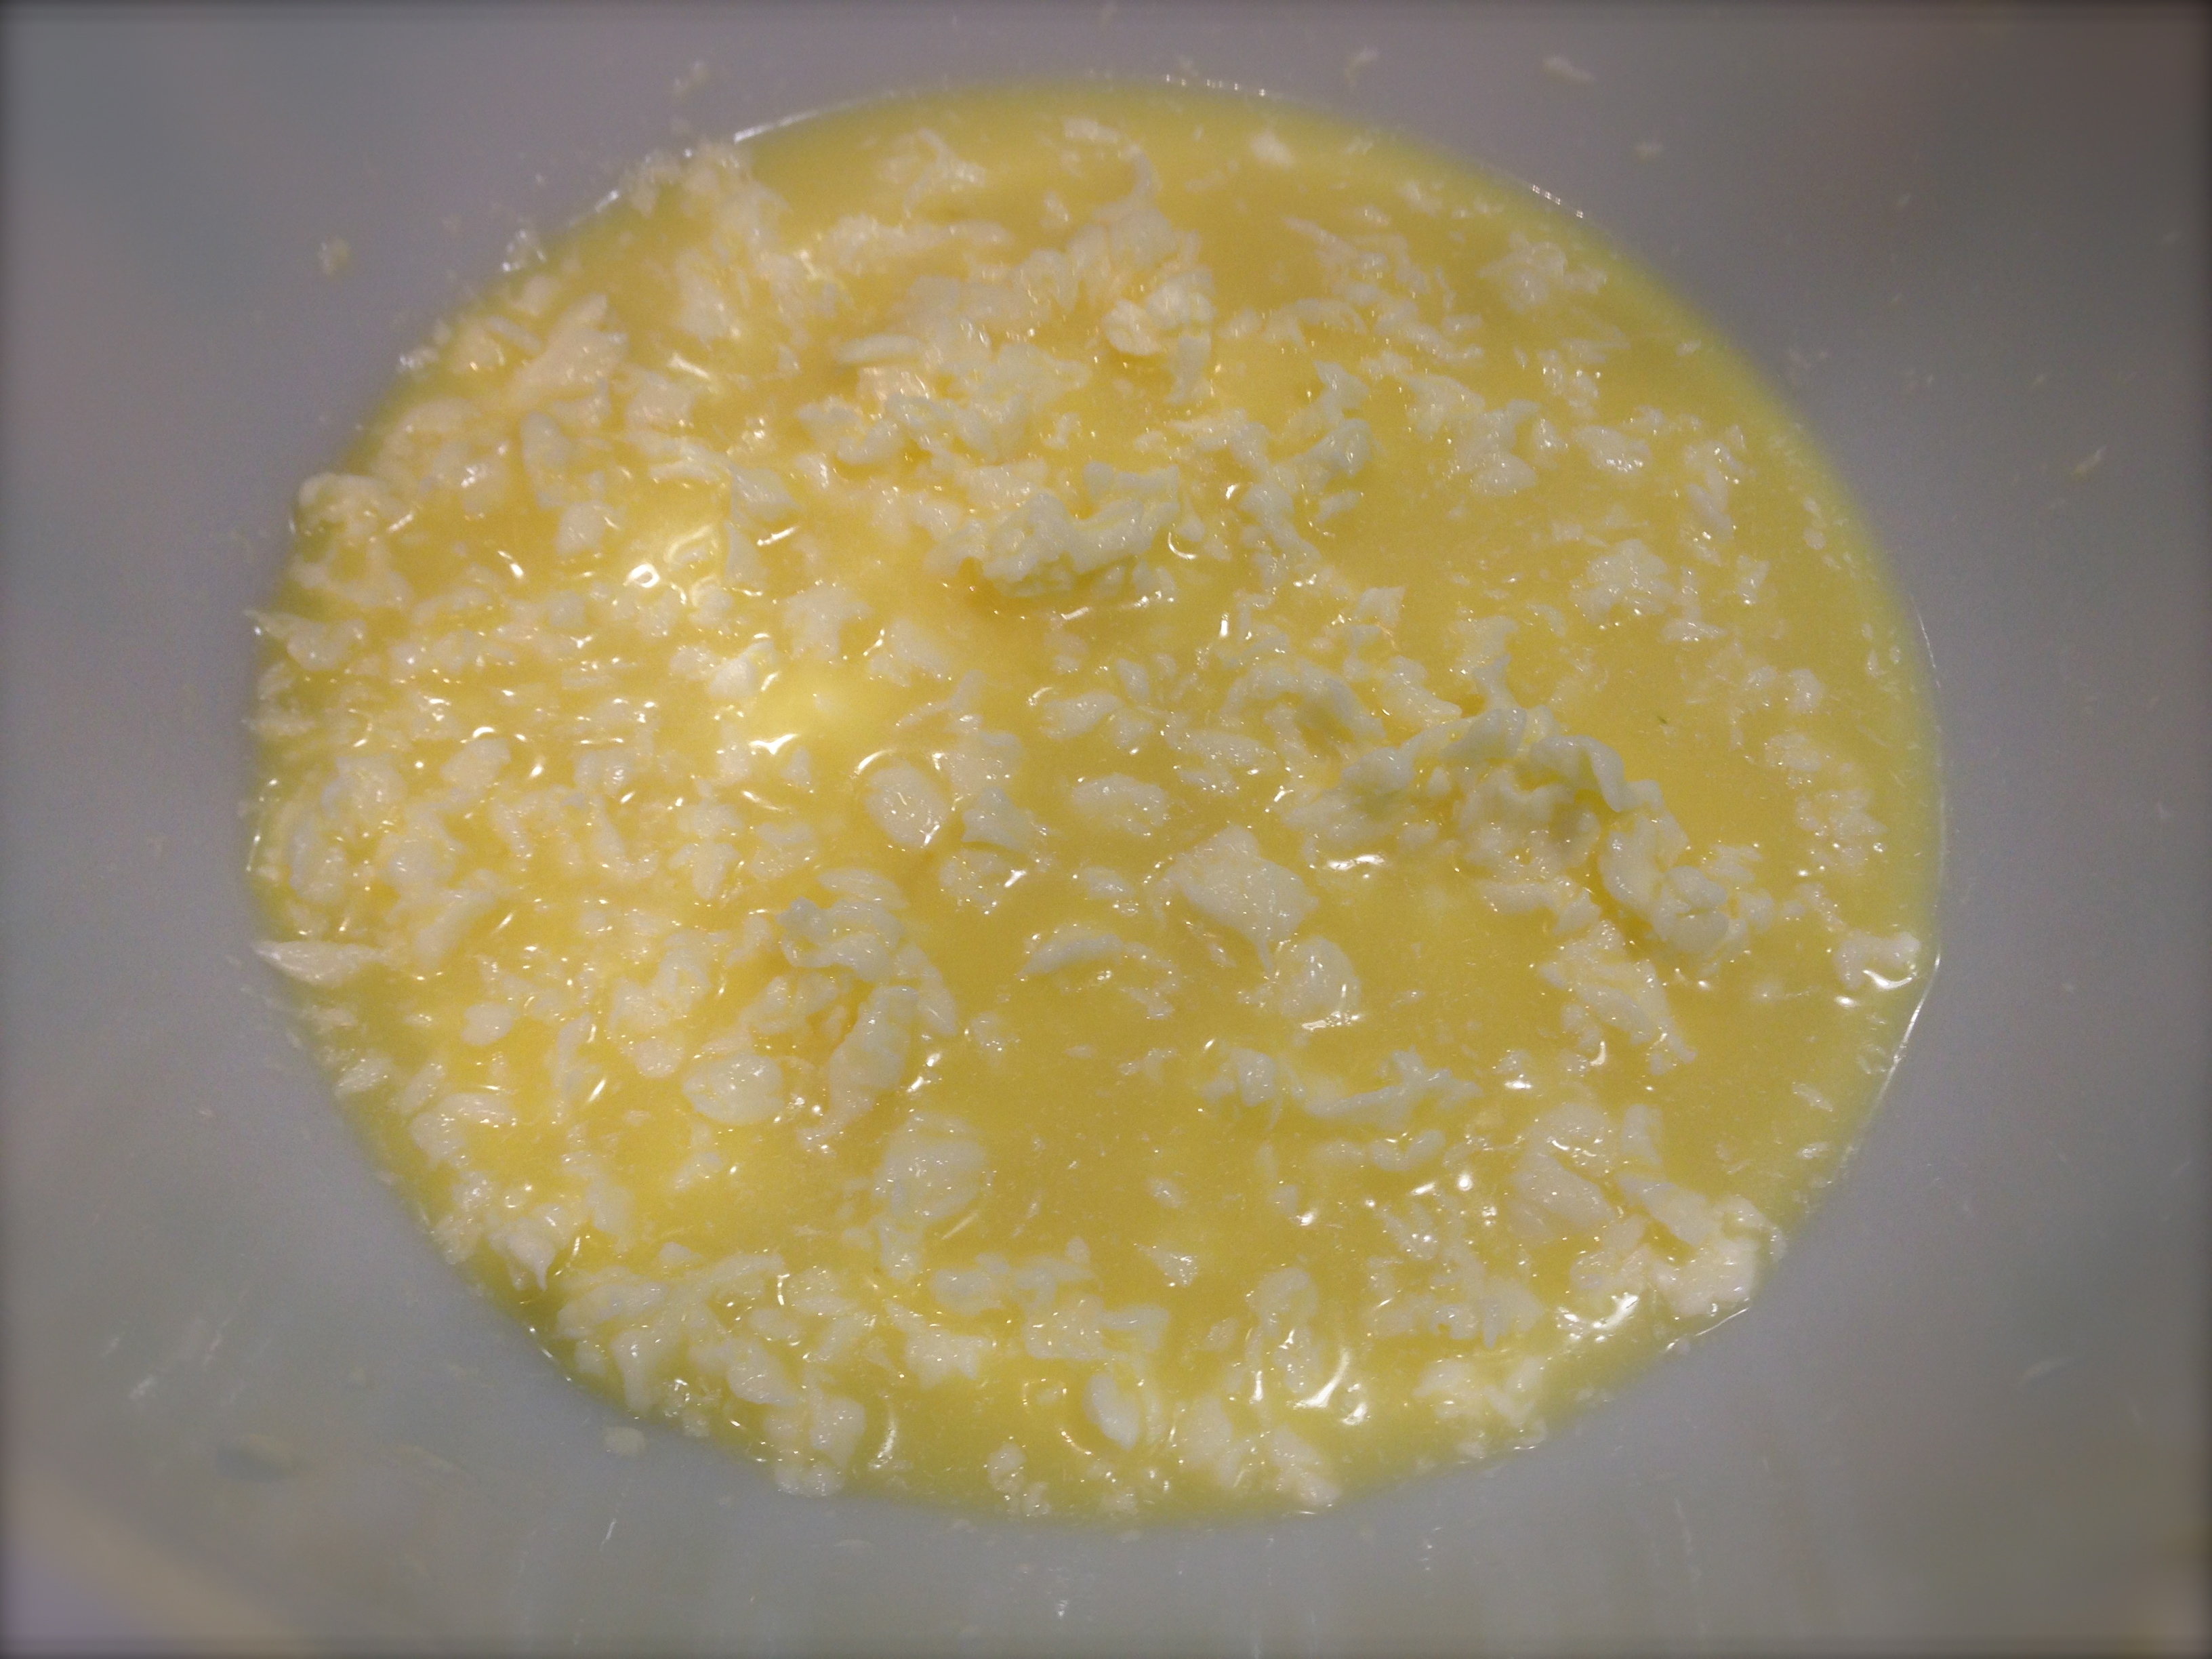
1/4 cup non-salted butter, melted
Cheesecake Filling
32 oz. (four 8 oz. packages) room temperature cream cheese
2 cups sour cream (you can use light sour cream)
4 large eggs, room temperature
1 1/4 cups sugar
2 1/2 Tbs. cornstarch
2 tsp. vanilla
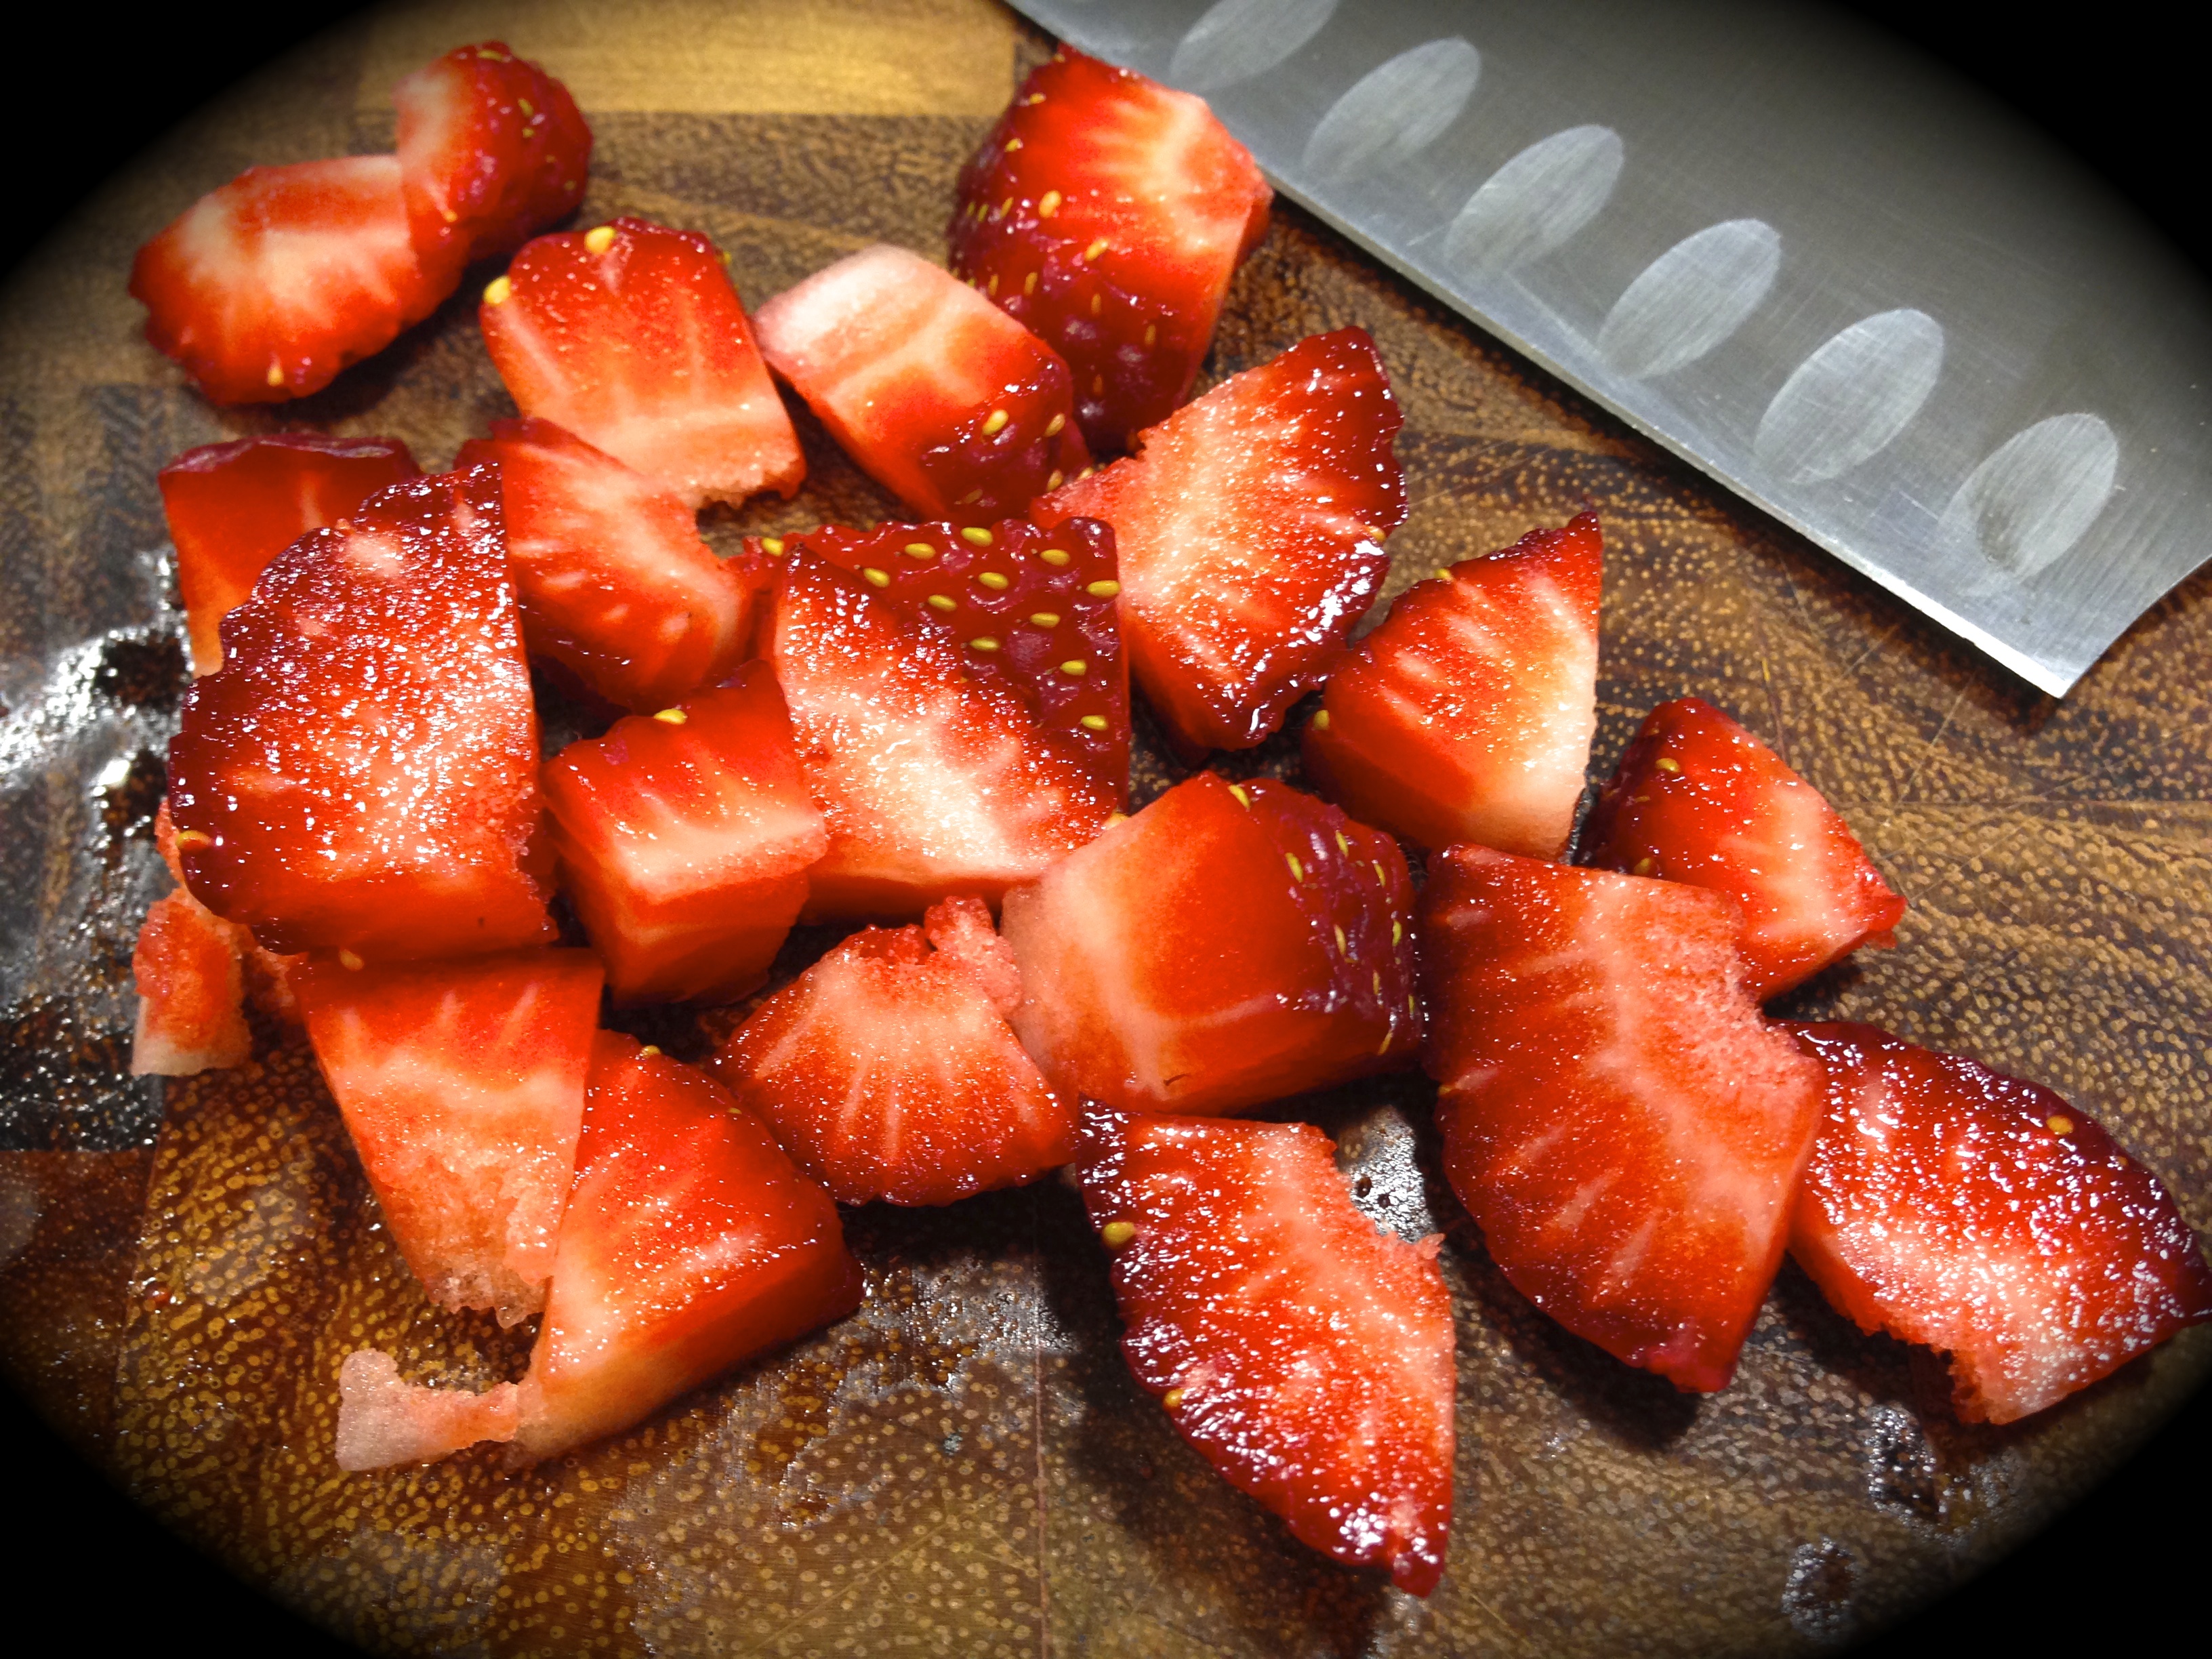
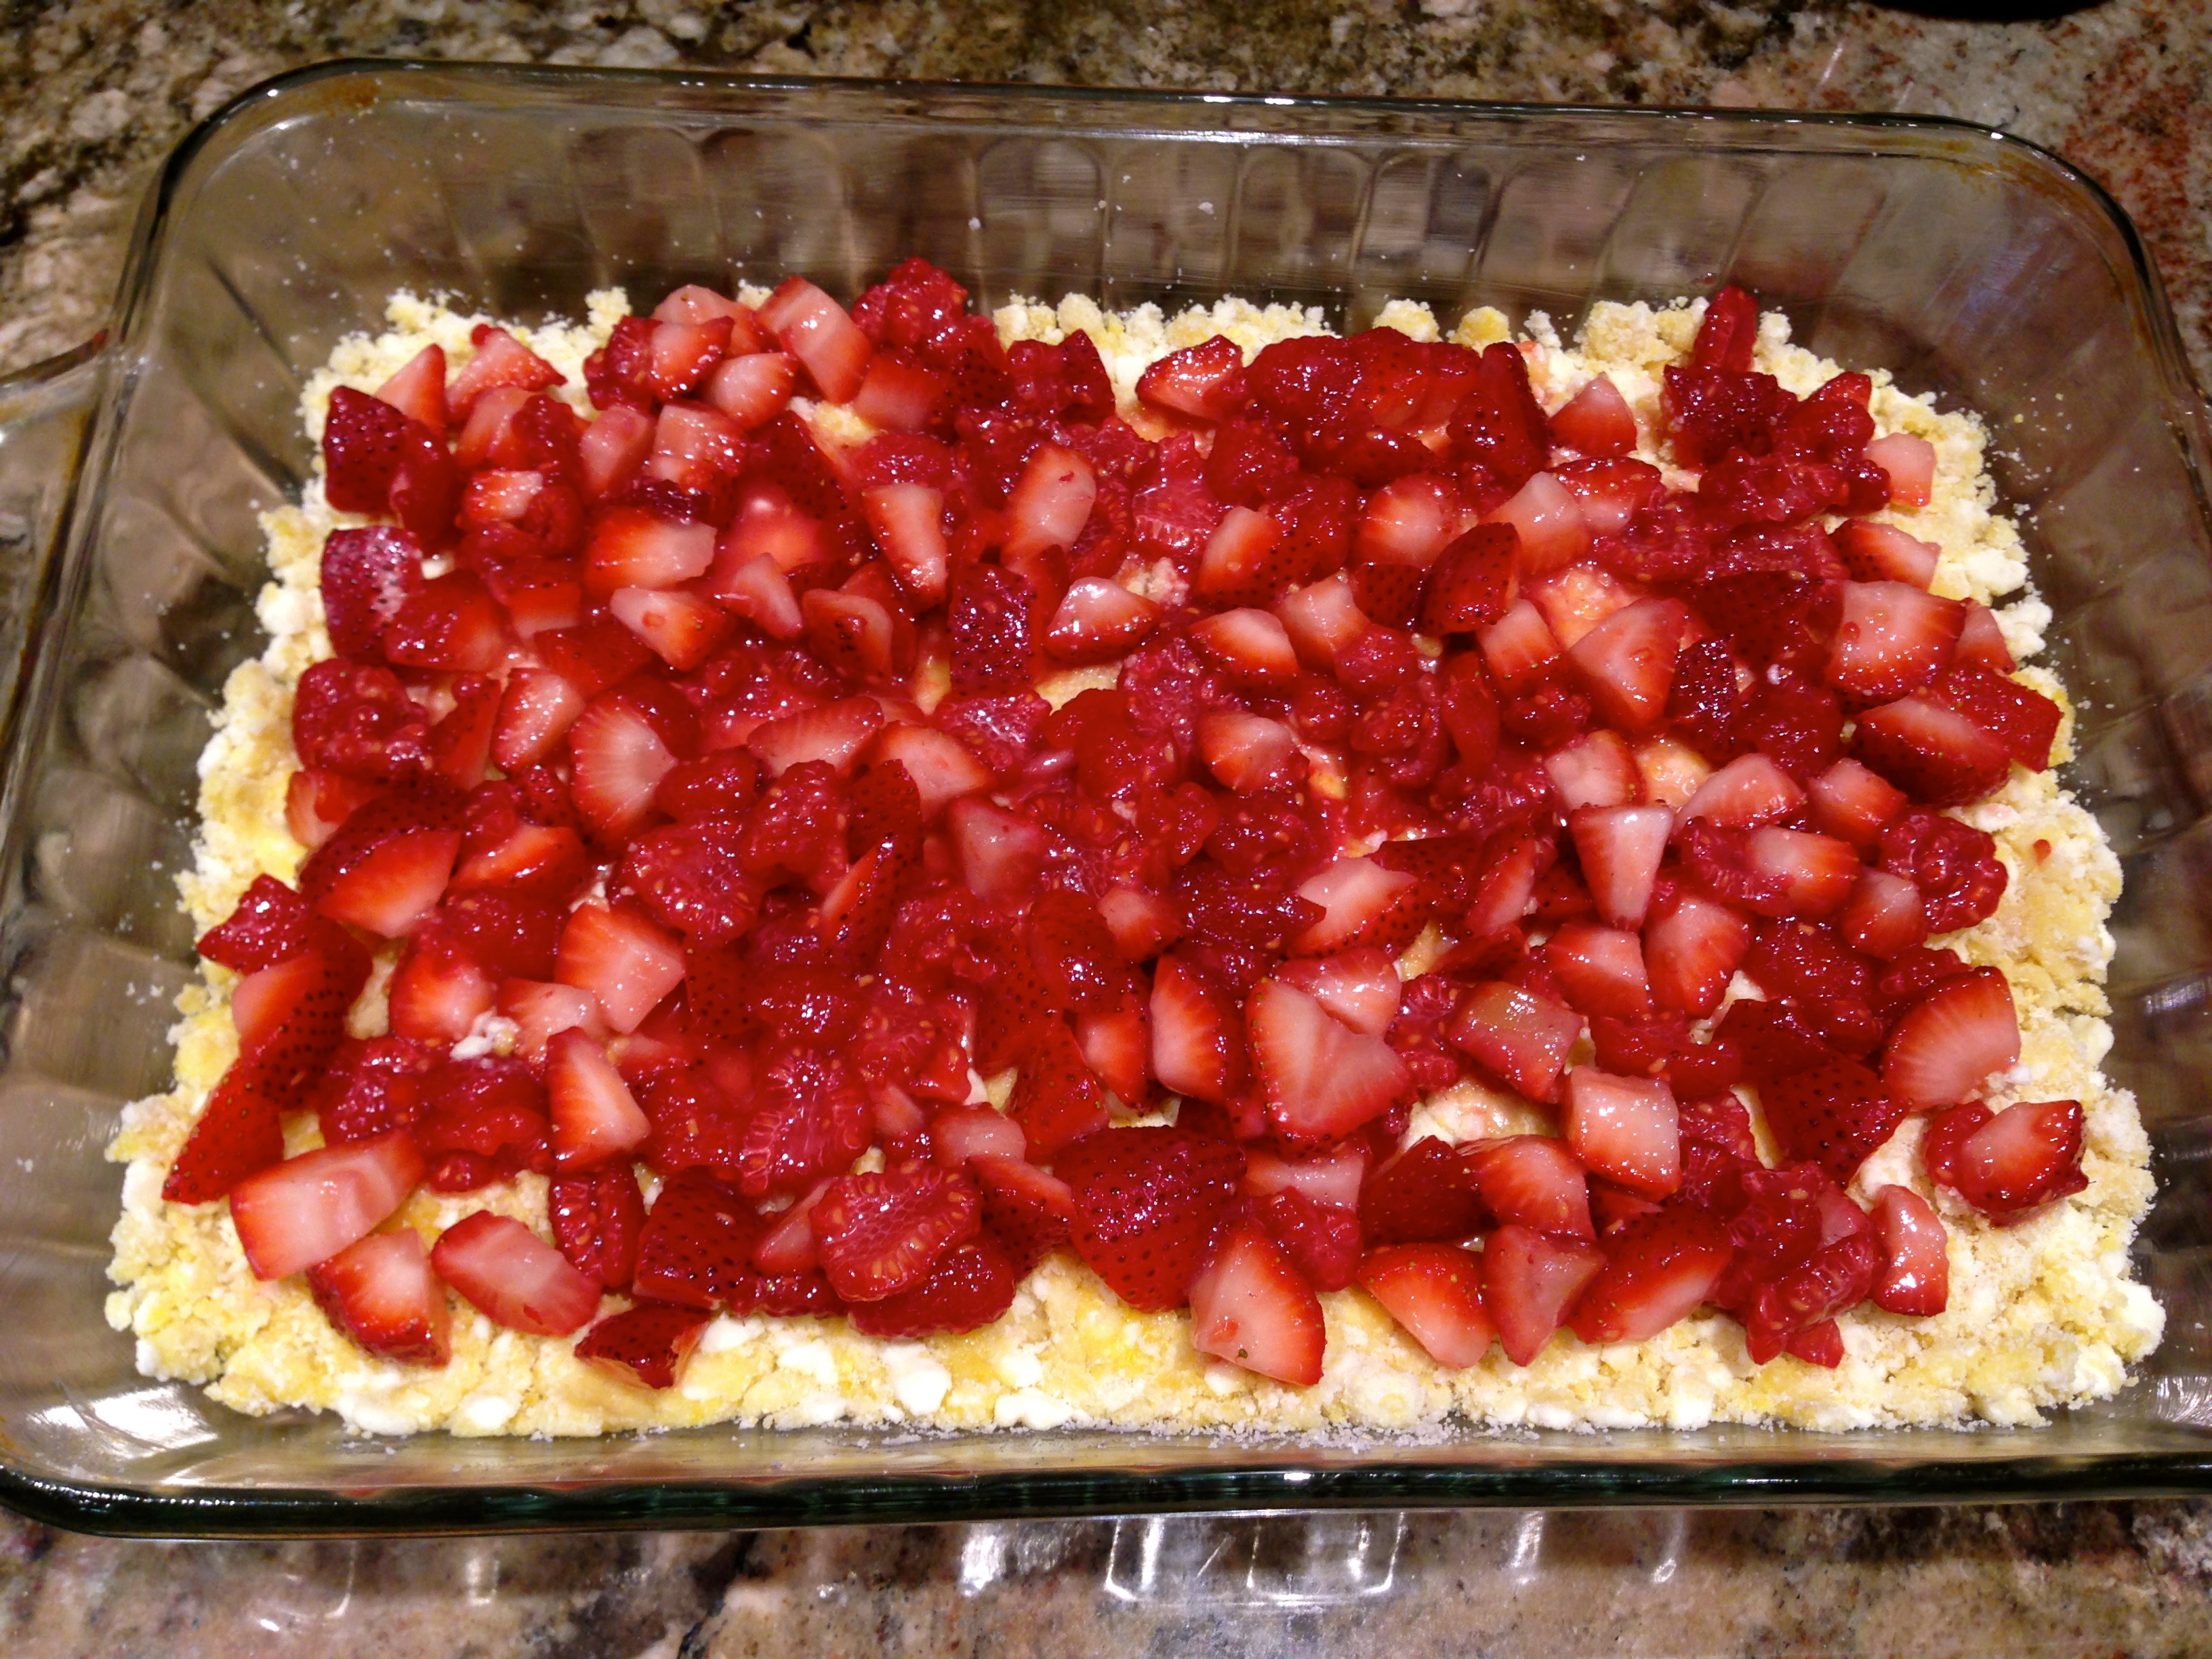
Strawberry Sauce
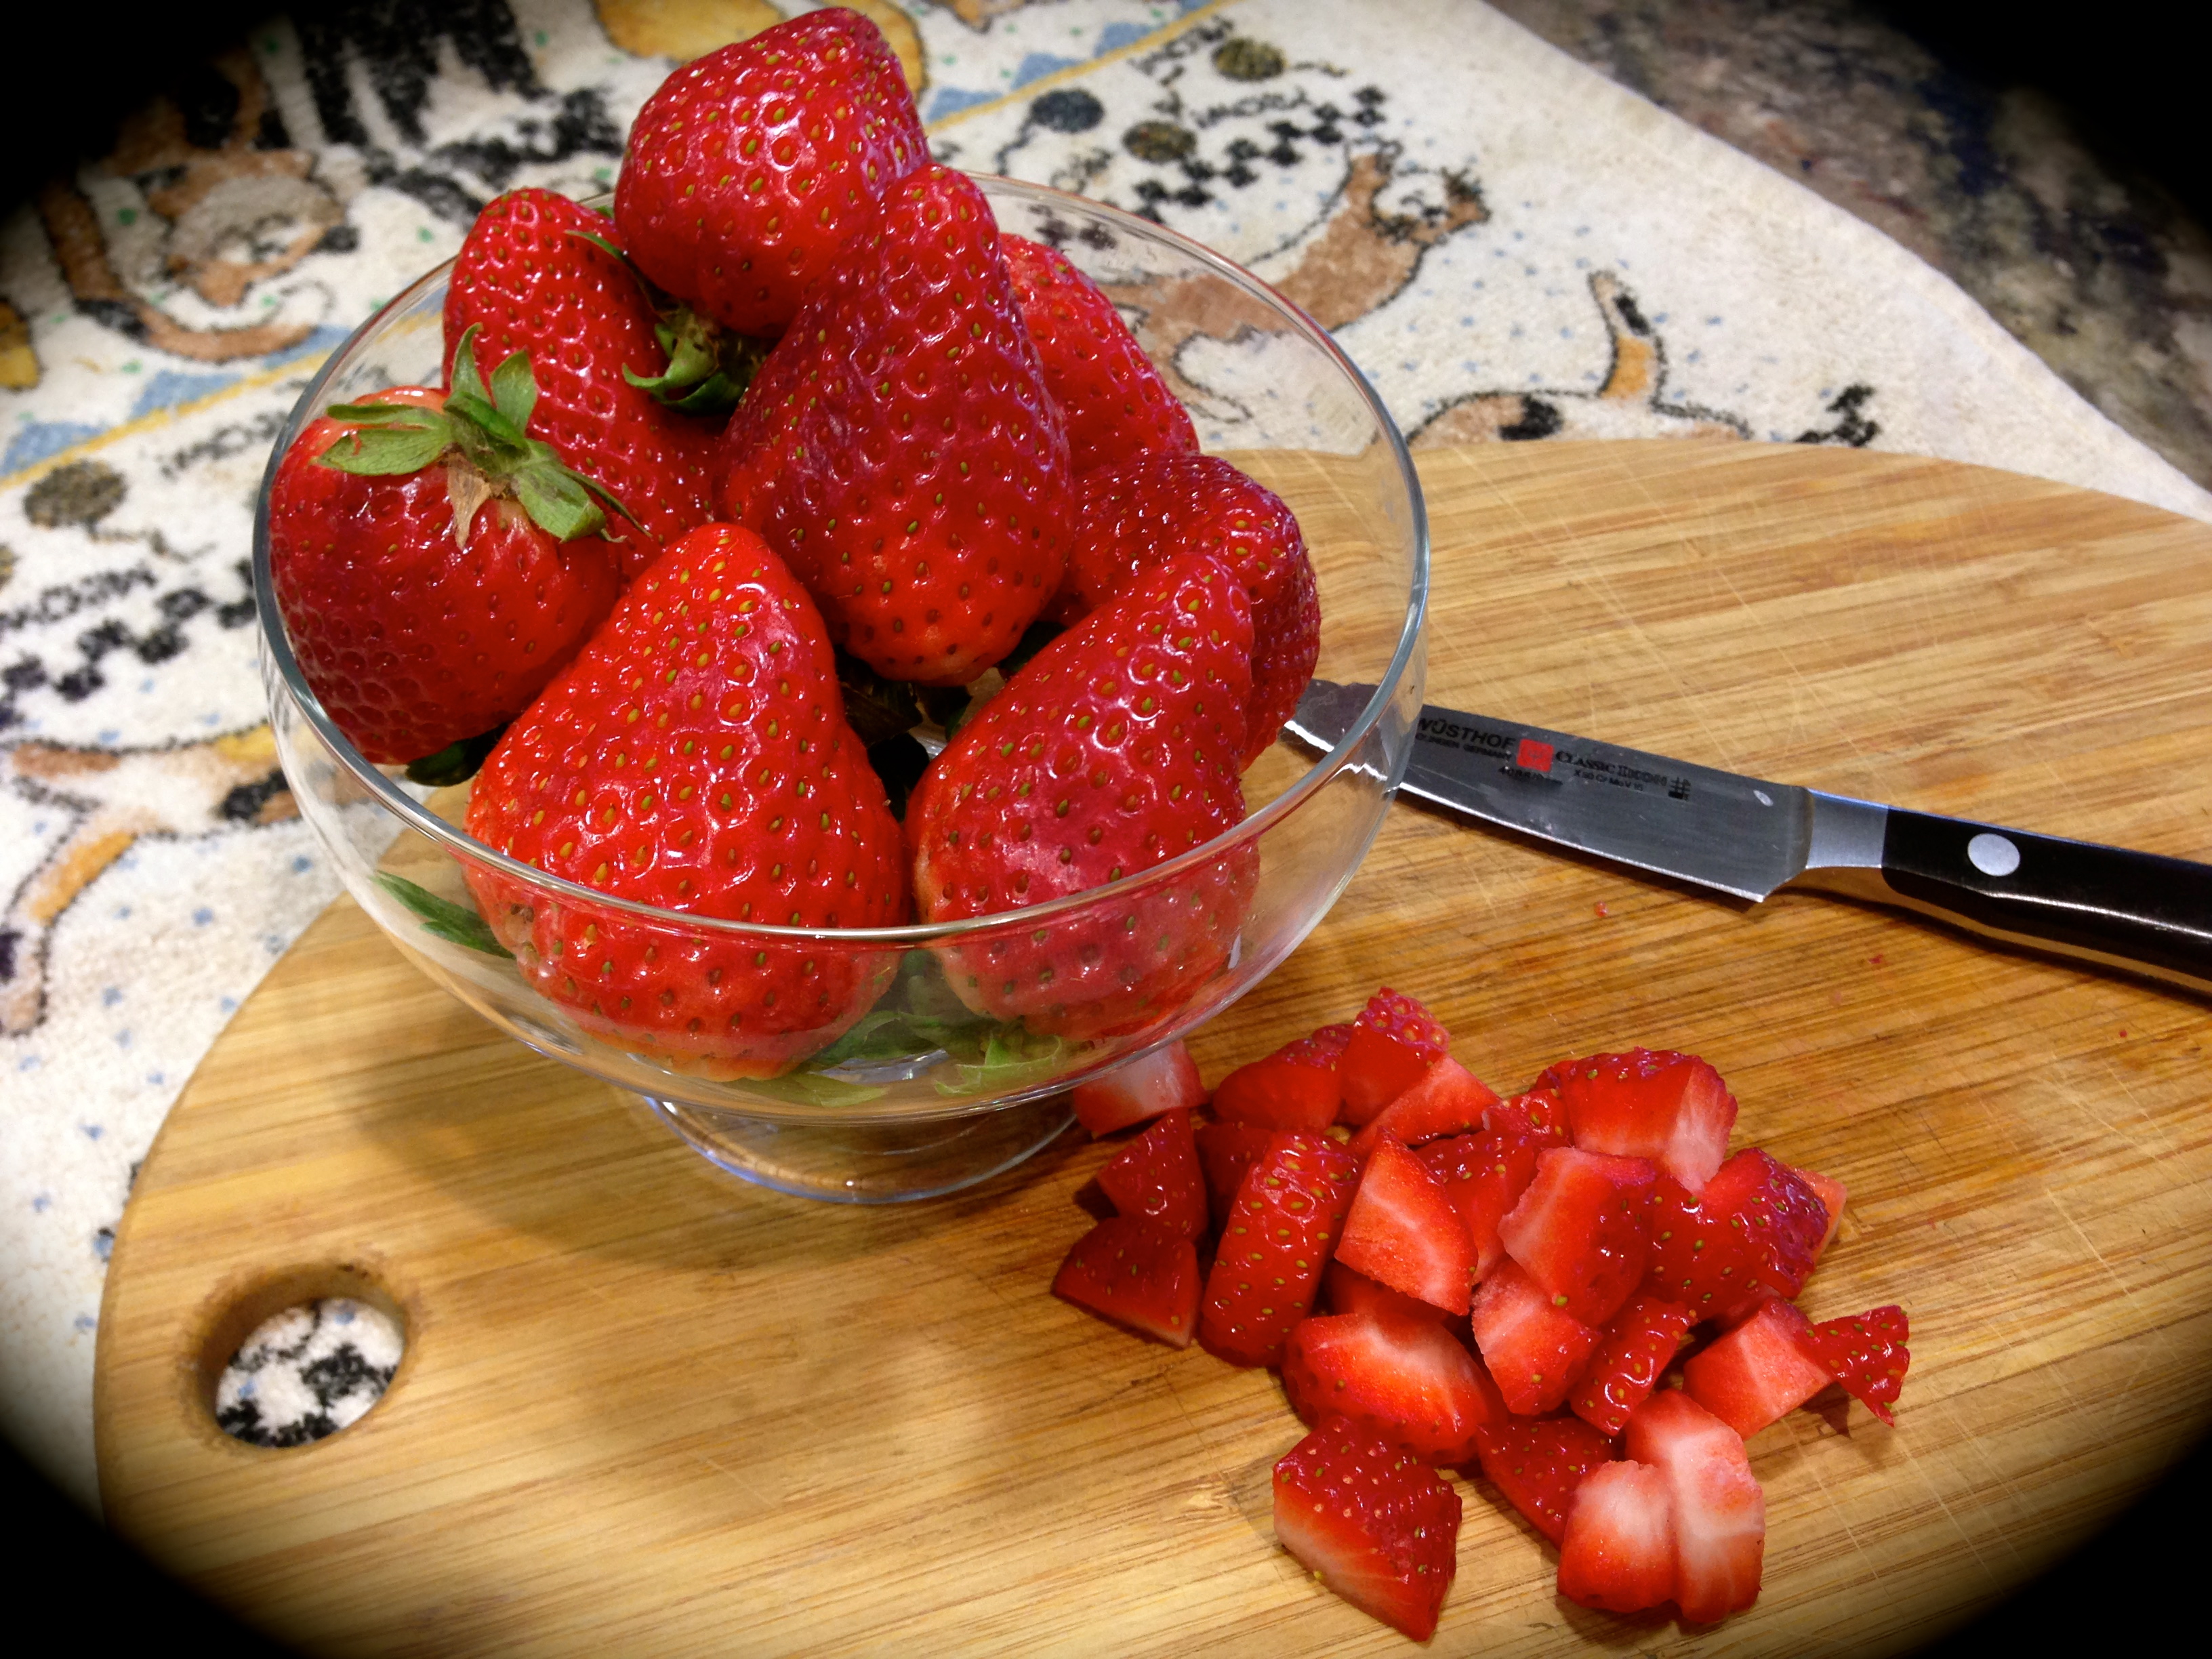
1 1/4 cup fresh strawberries, halved
1/4 cup sugar
1 small lime, zested
DIRECTIONS:
Preheat oven to 375 degrees. Make a parchment paper cutout for the bottom of a 10 inch round springform pan. Take foil and wrap it entirely around the base and slightly up the sides of the pan. Spray the bottom of the pan with cooking spray. Put the parchment paper in the pan and spray it as well. Set aside. (I did this at the very end and prepared the crust and filling and then put it all together at once).
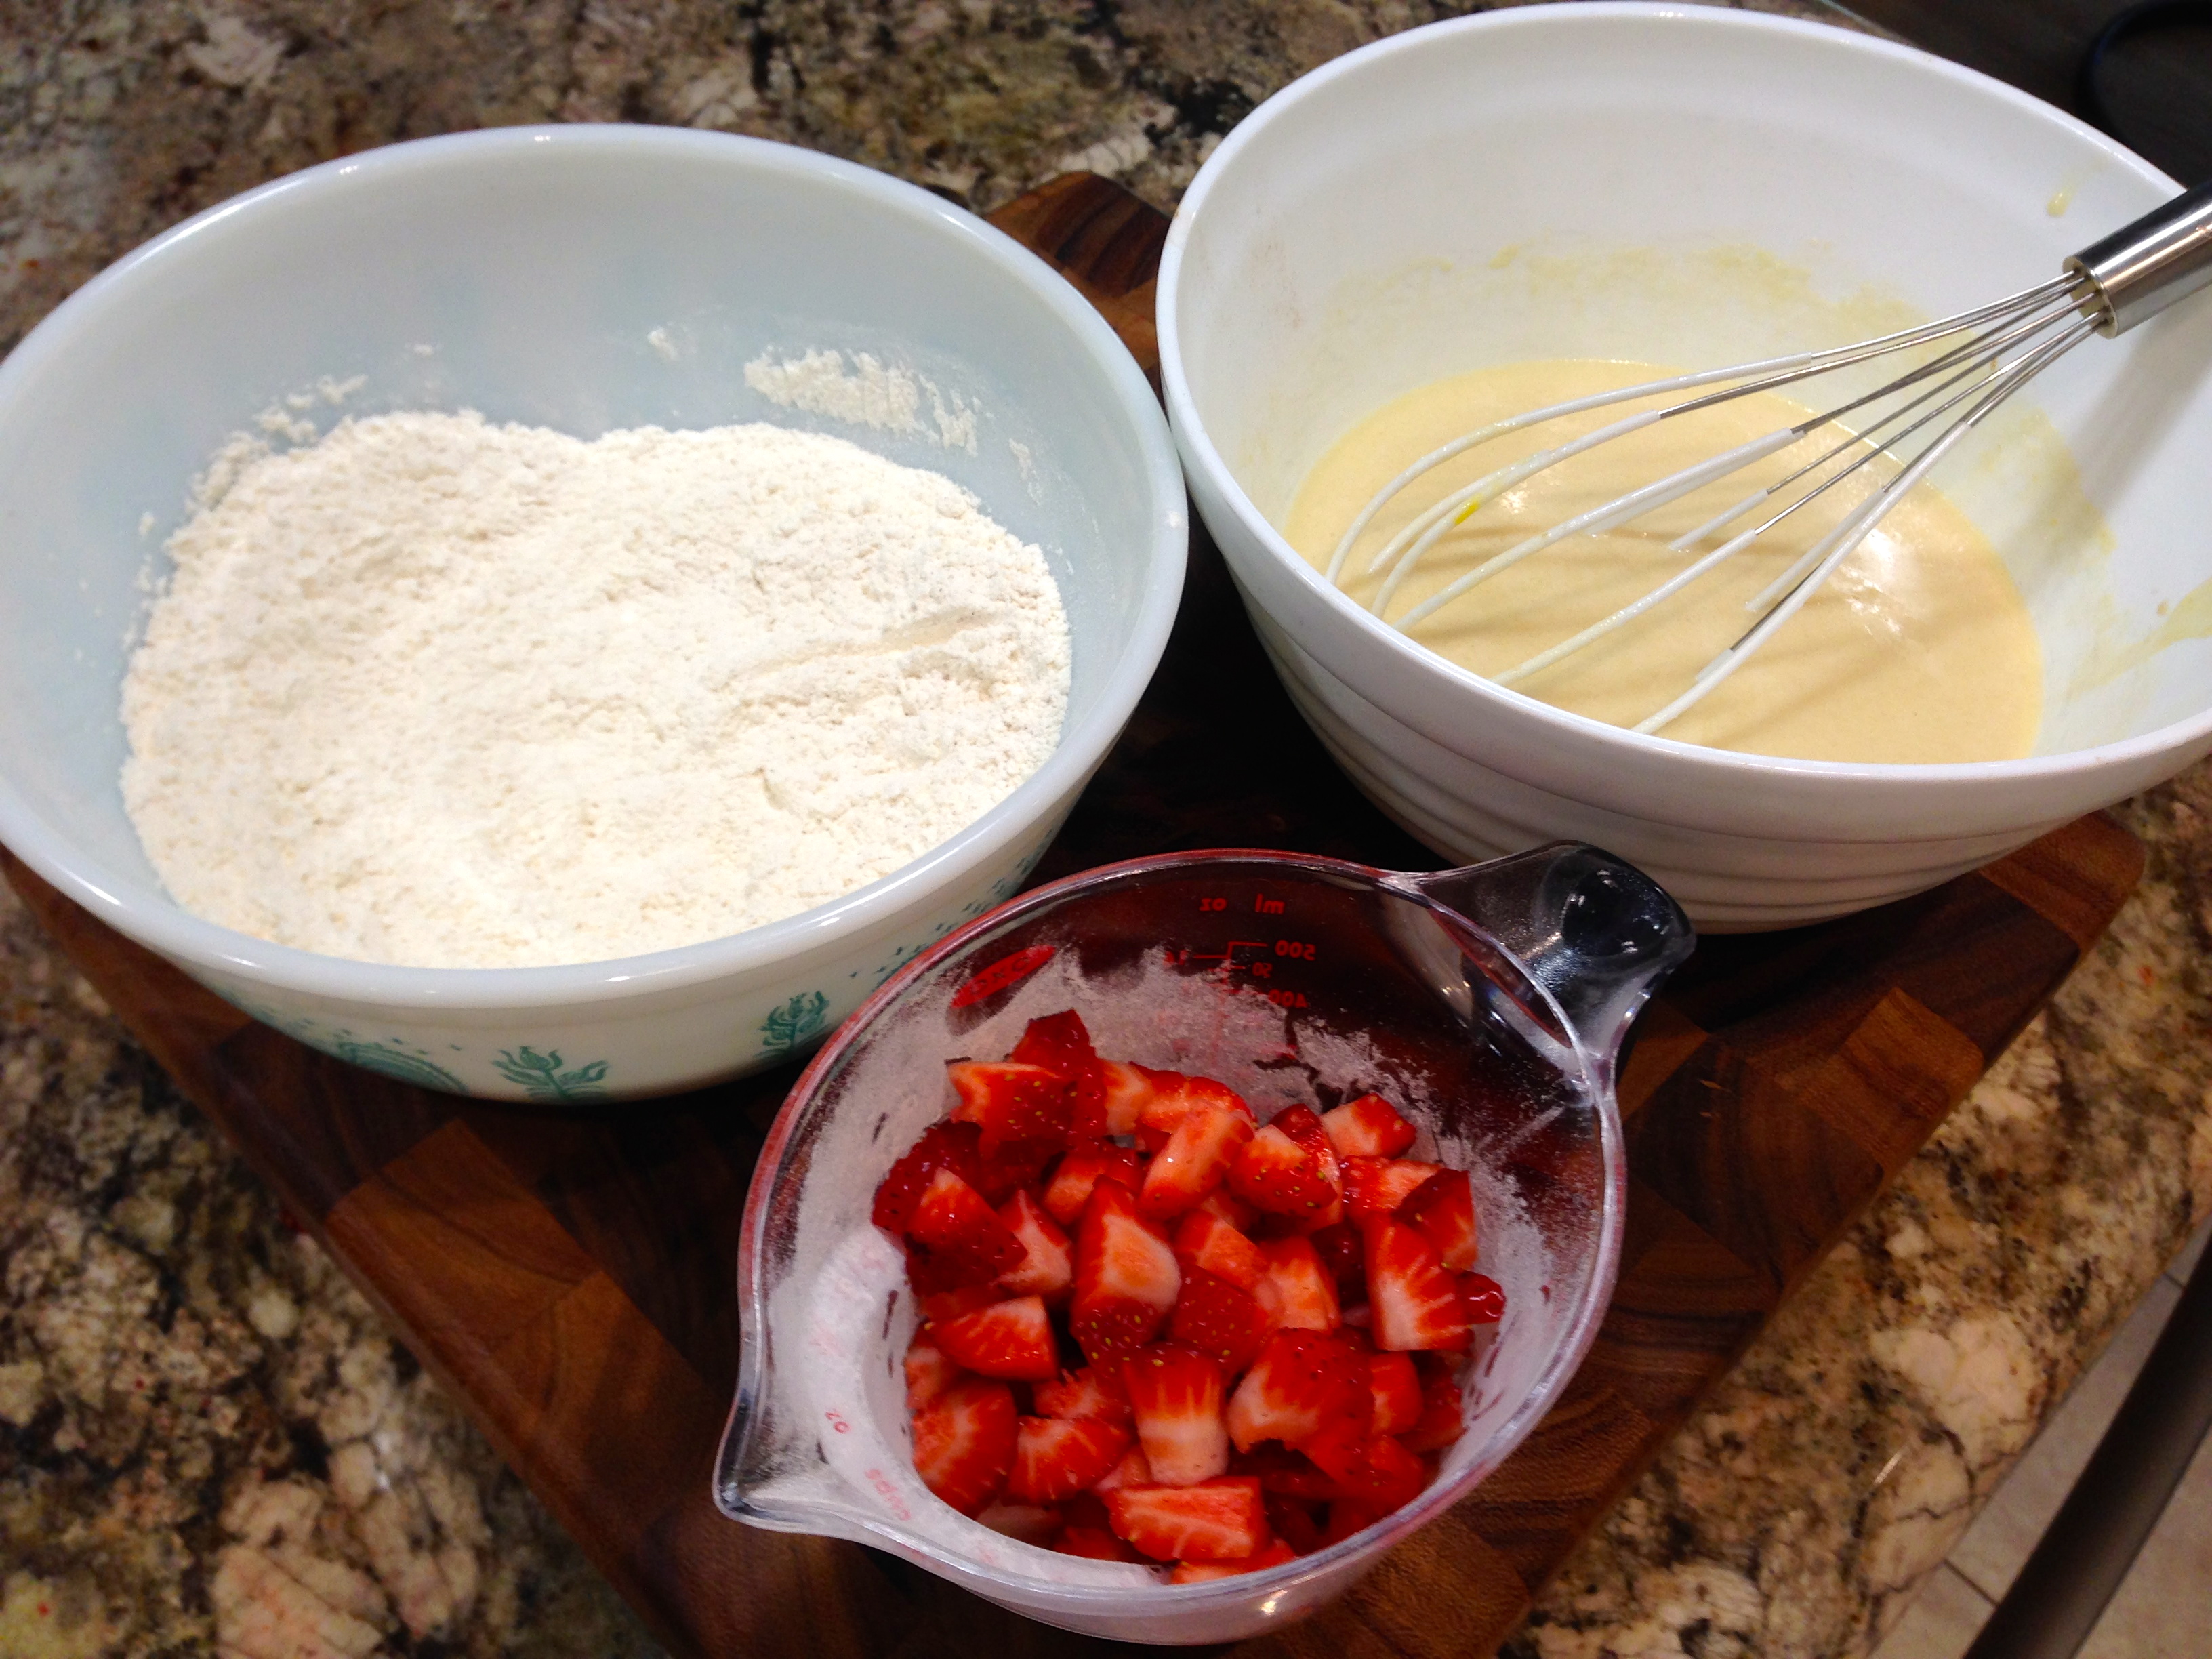
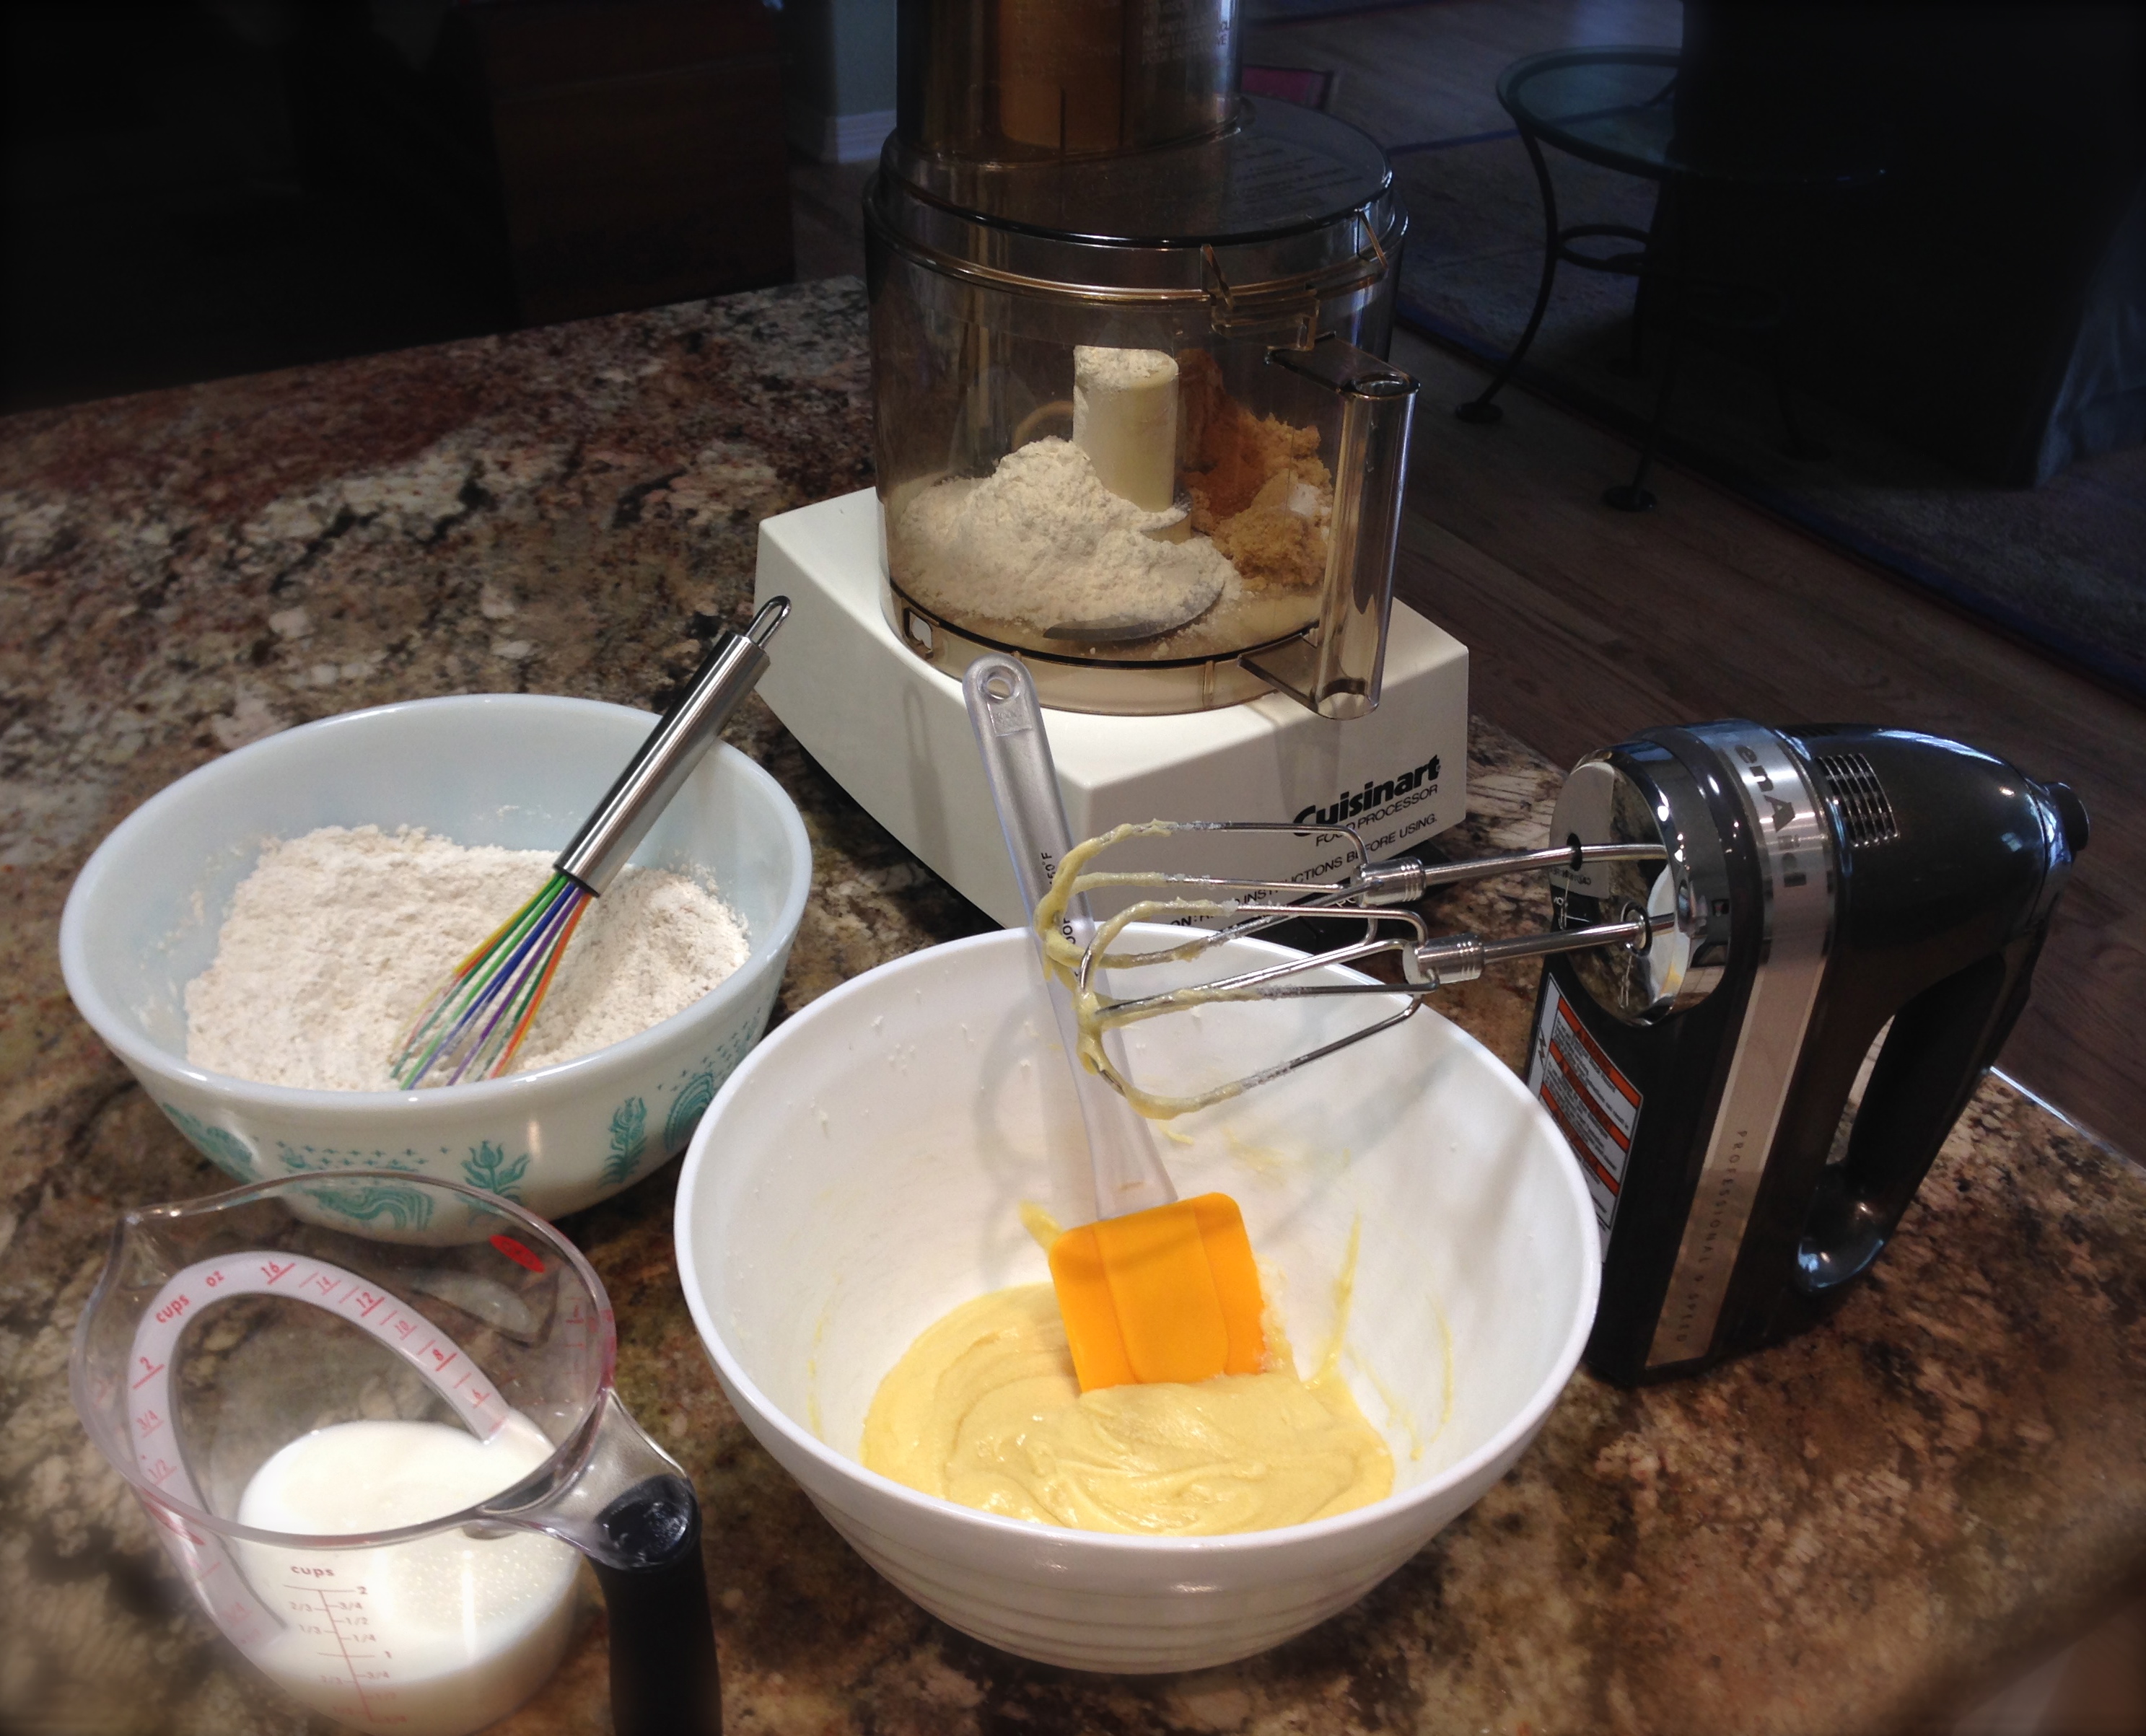
In a food processor, combine the the graham crackers and sugar. Pulse and then process until thoroughly combined and the crackers have a consistency of fine crumbs. Pour in a bowl and set aside.
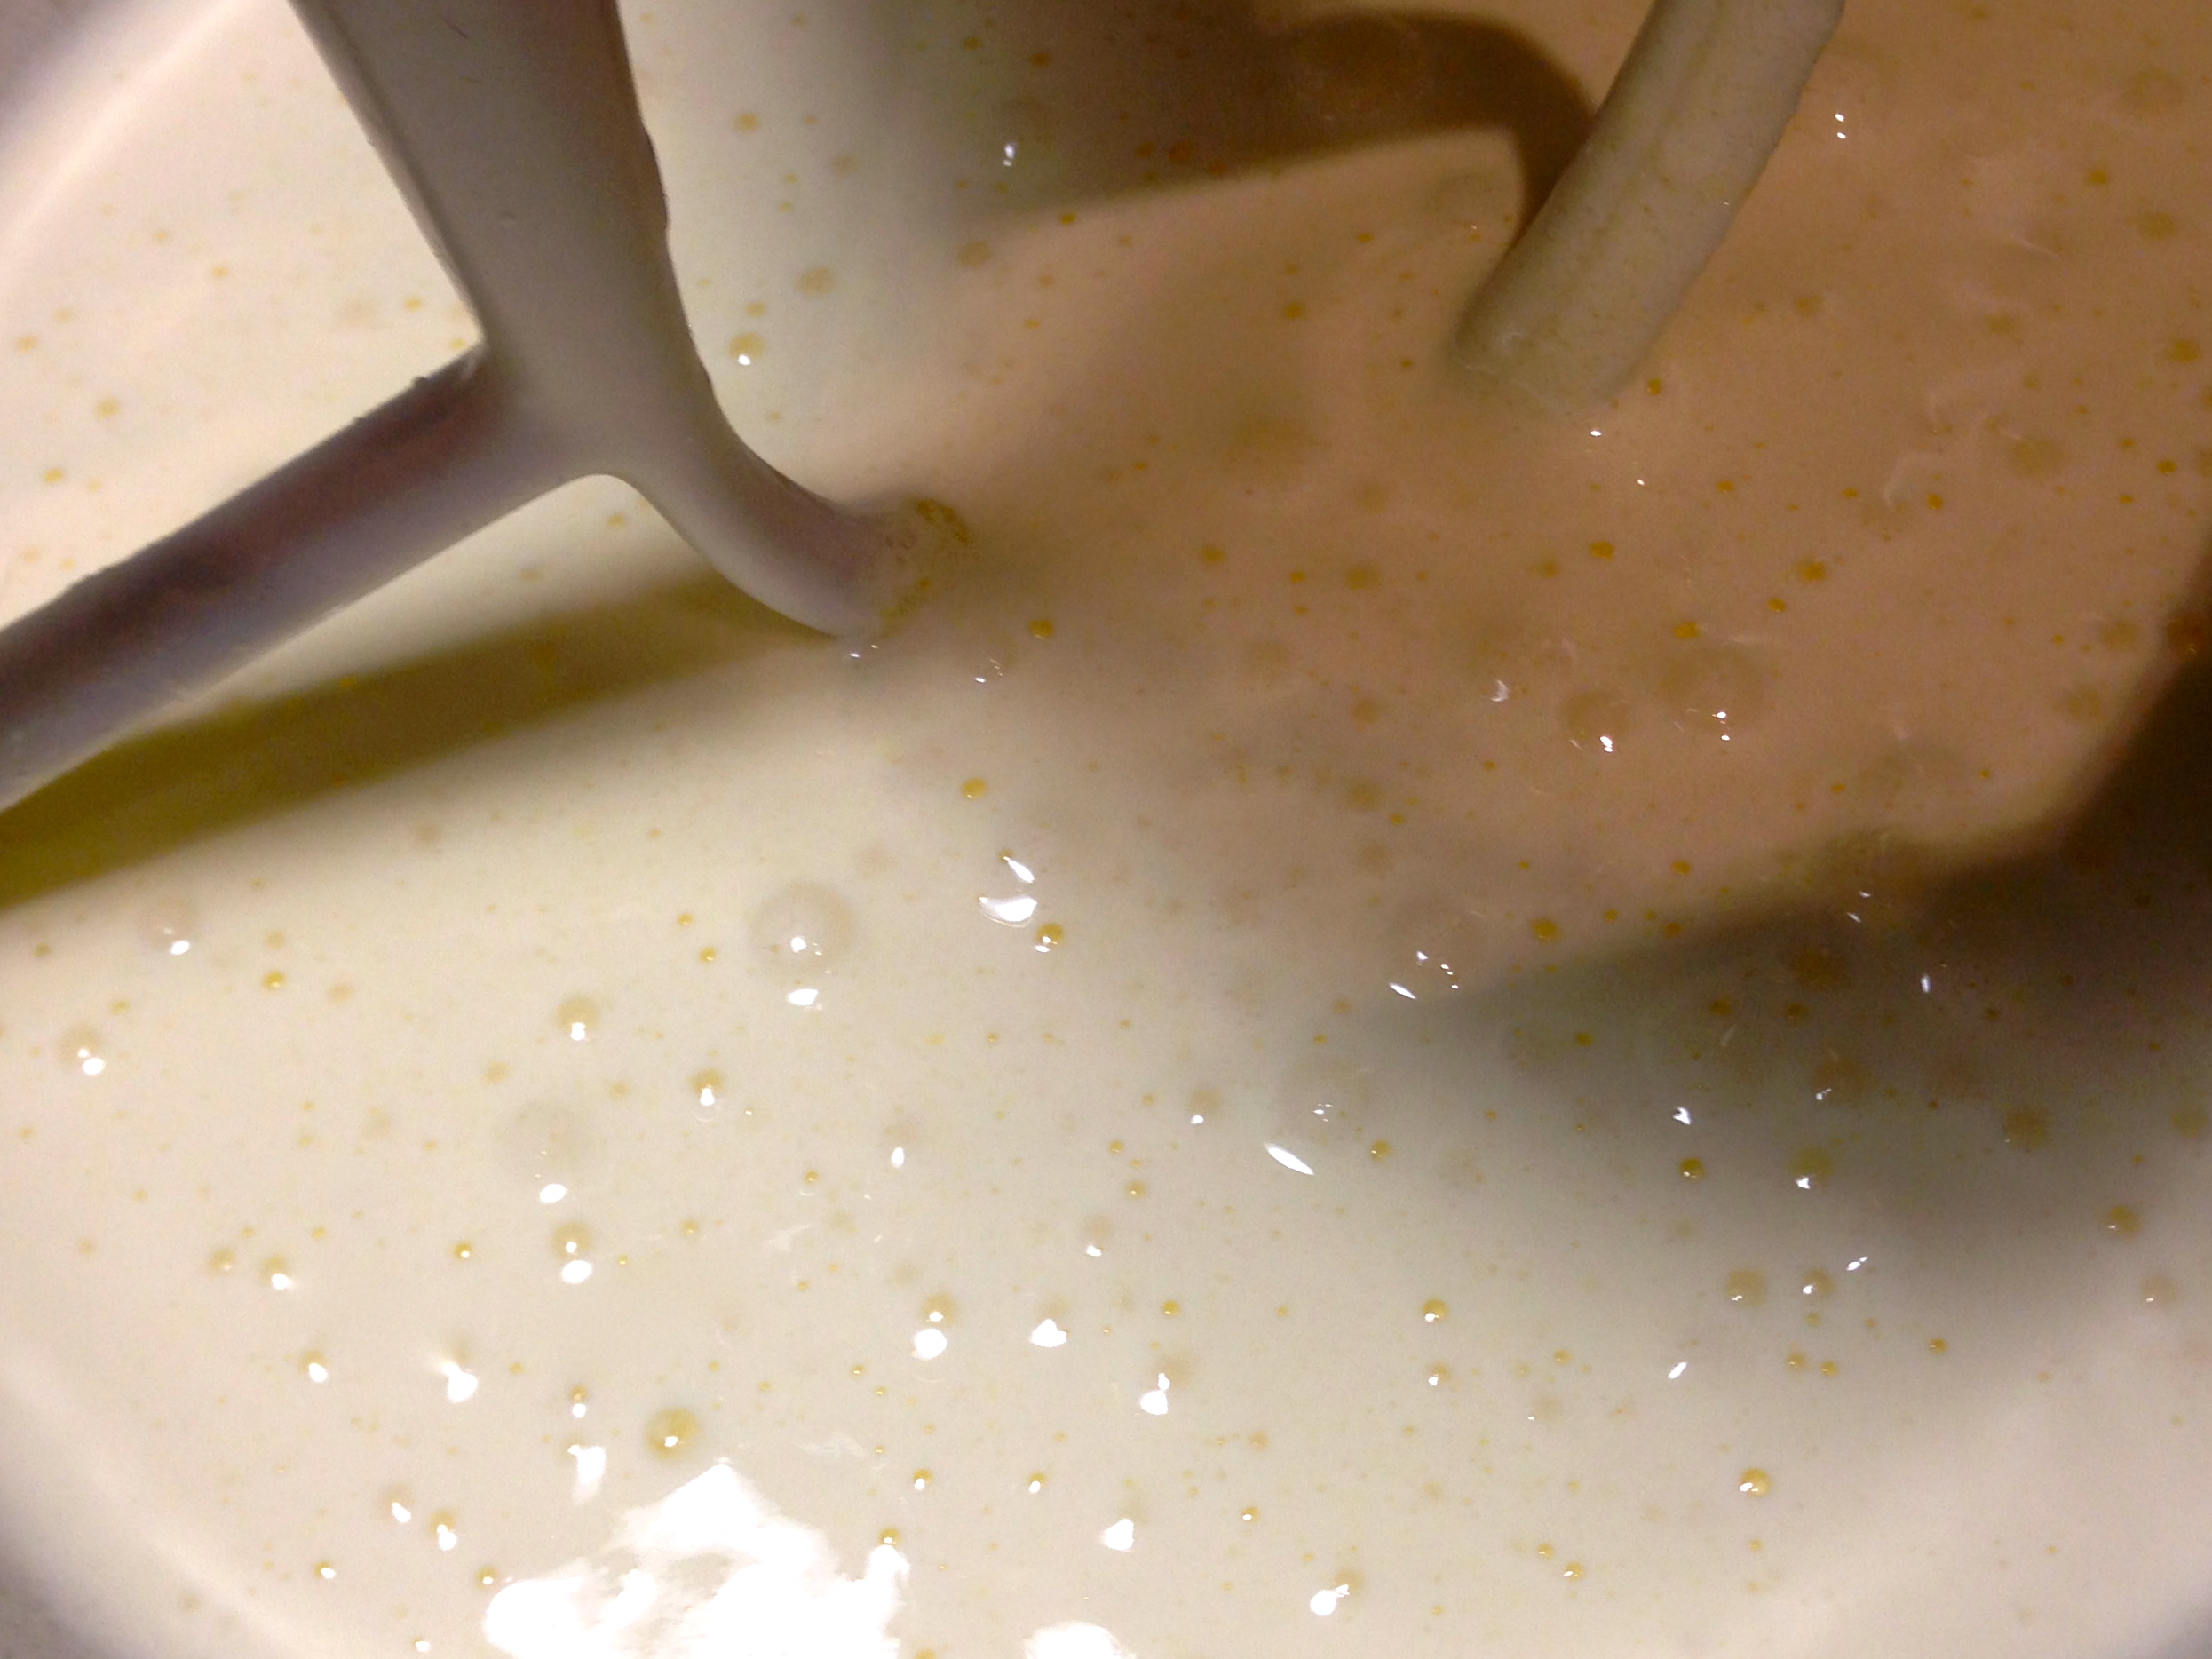
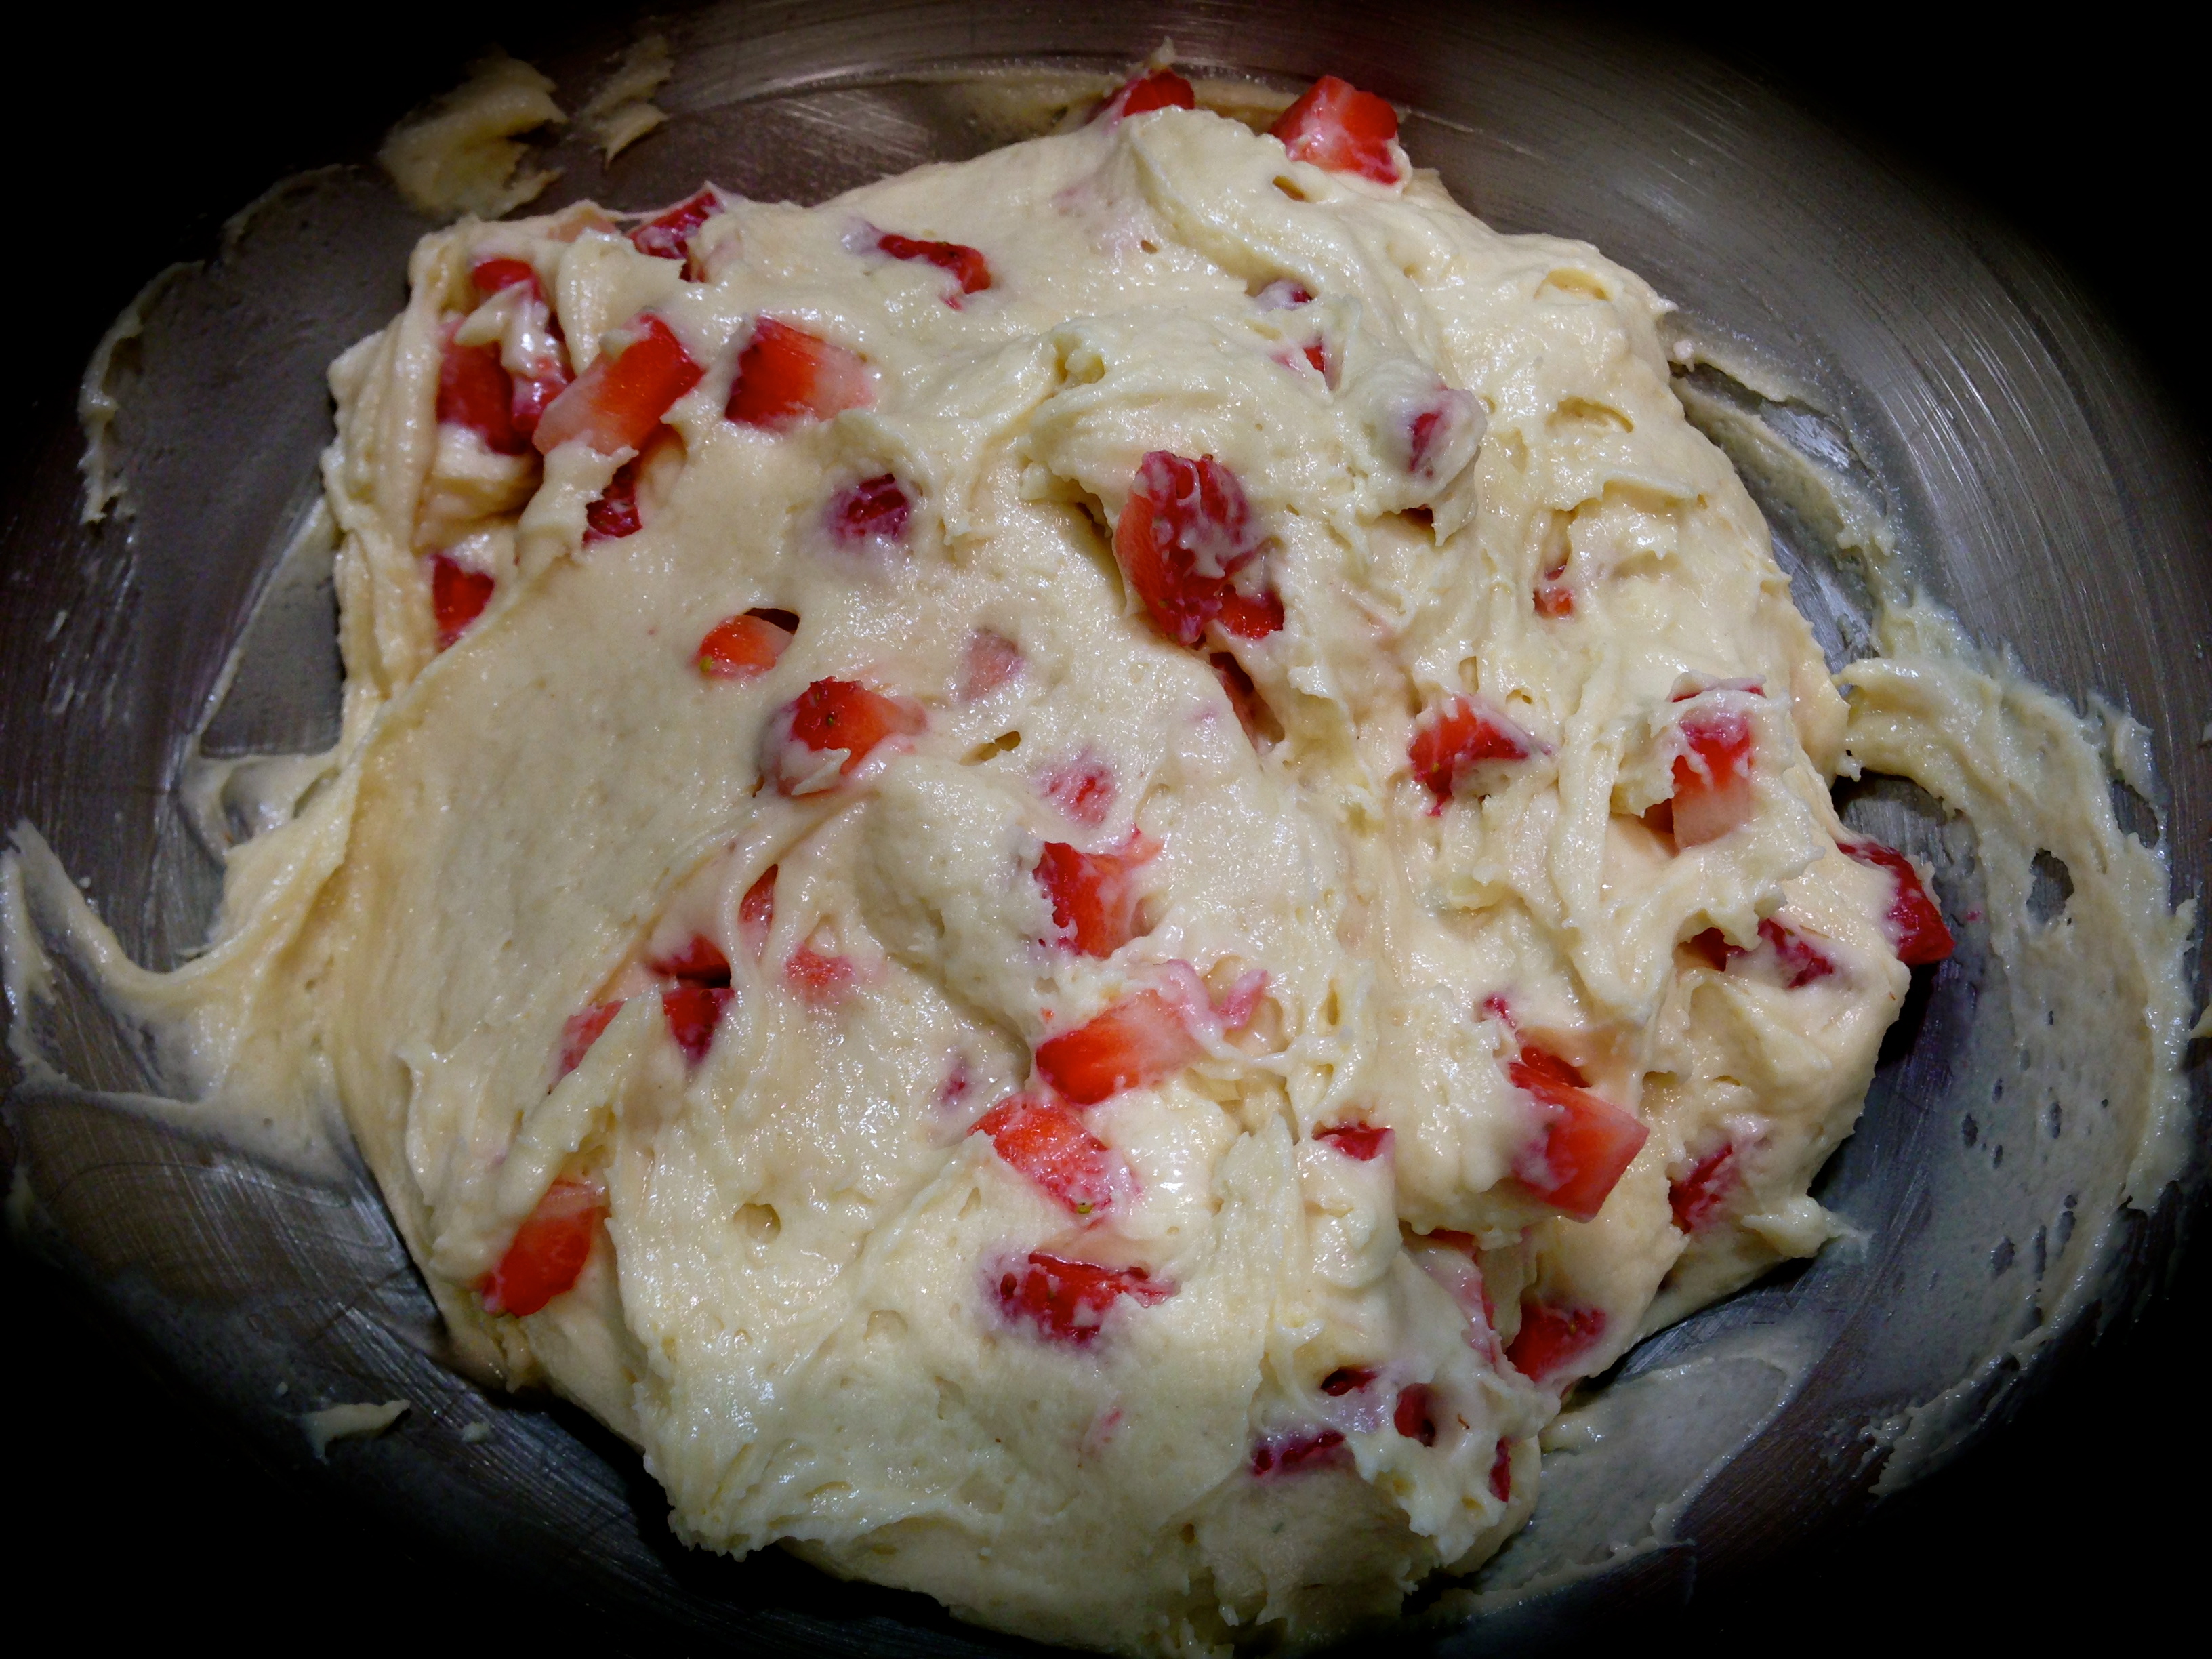
Using a stand mixer, beat the room temperature cream cheese and sour cream for about 5 minutes. Add the eggs one at a time and beat each time until thoroughly combined. (Make sure you check the bottom of the bowl occasionally to scrape up anything that may have collected down at the bottom to make sure it is all combined). Add the sugar, cornstarch and vanilla and beat until smooth.
Melt the butter. Add the melted butter to the graham cracker crumbs and mix until the crumbs take on the consistency of wet sand. Press the graham cracker mixture firmly into the bottom of the pan and up the sides.
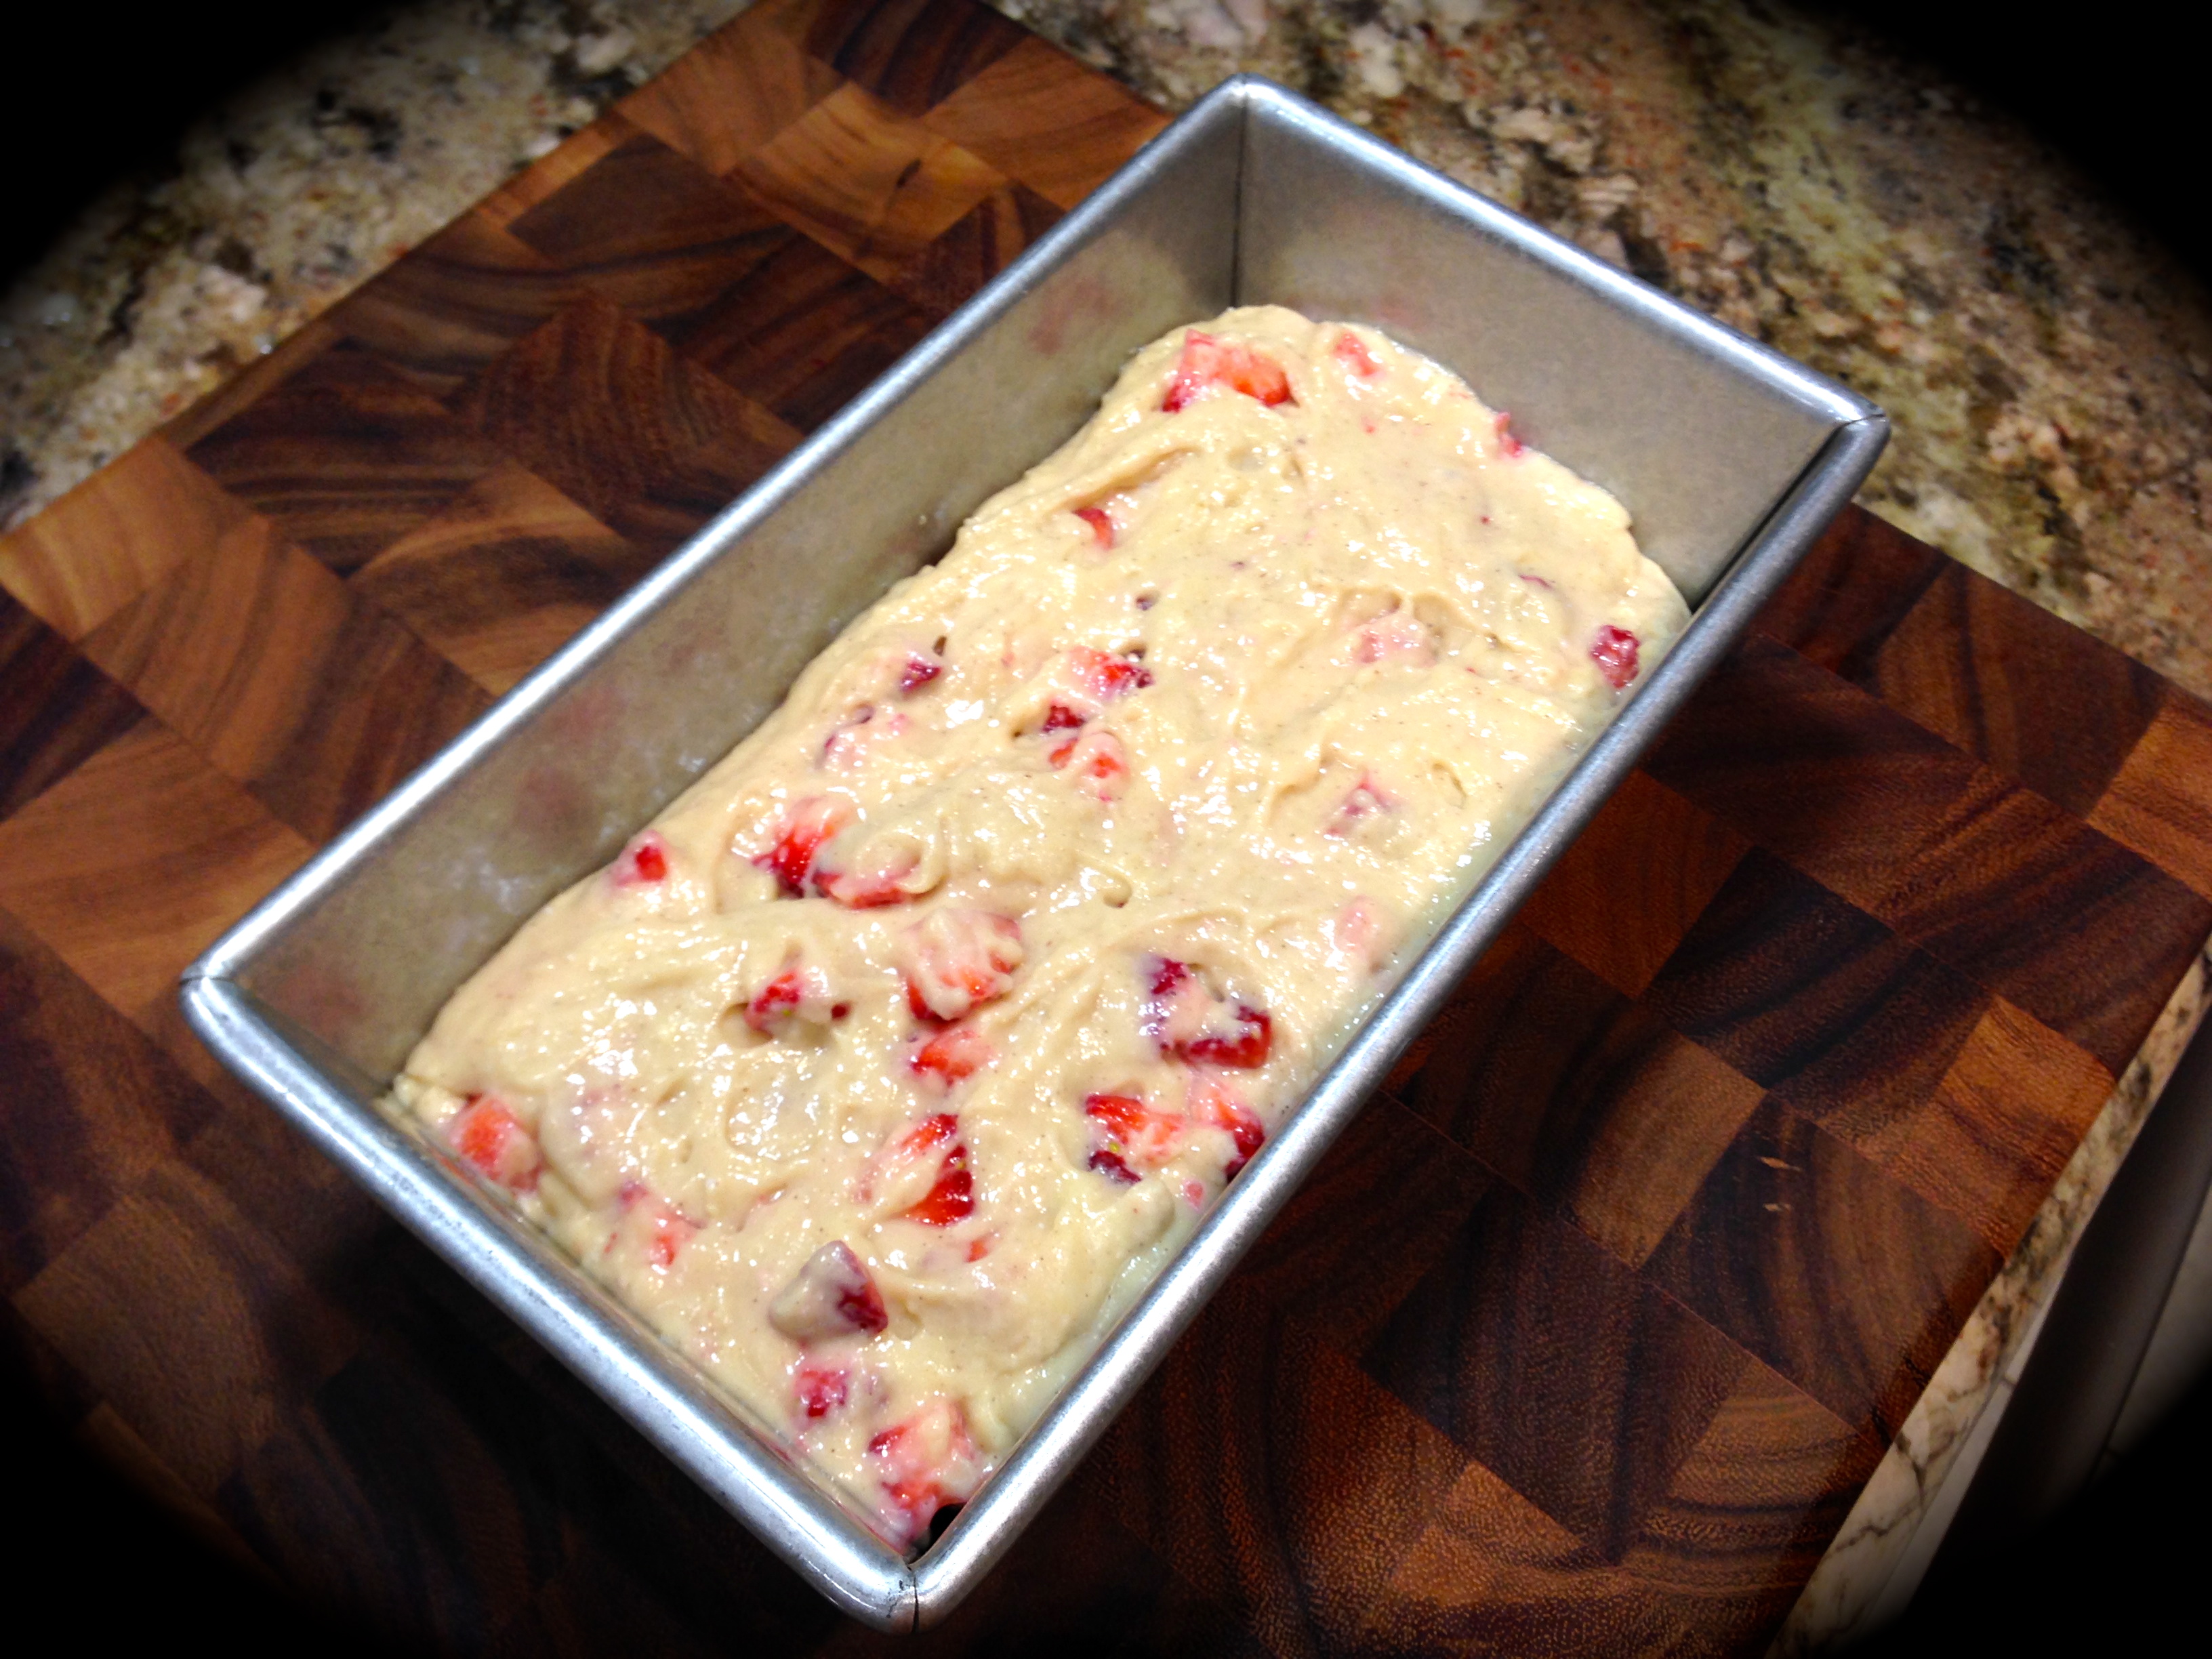
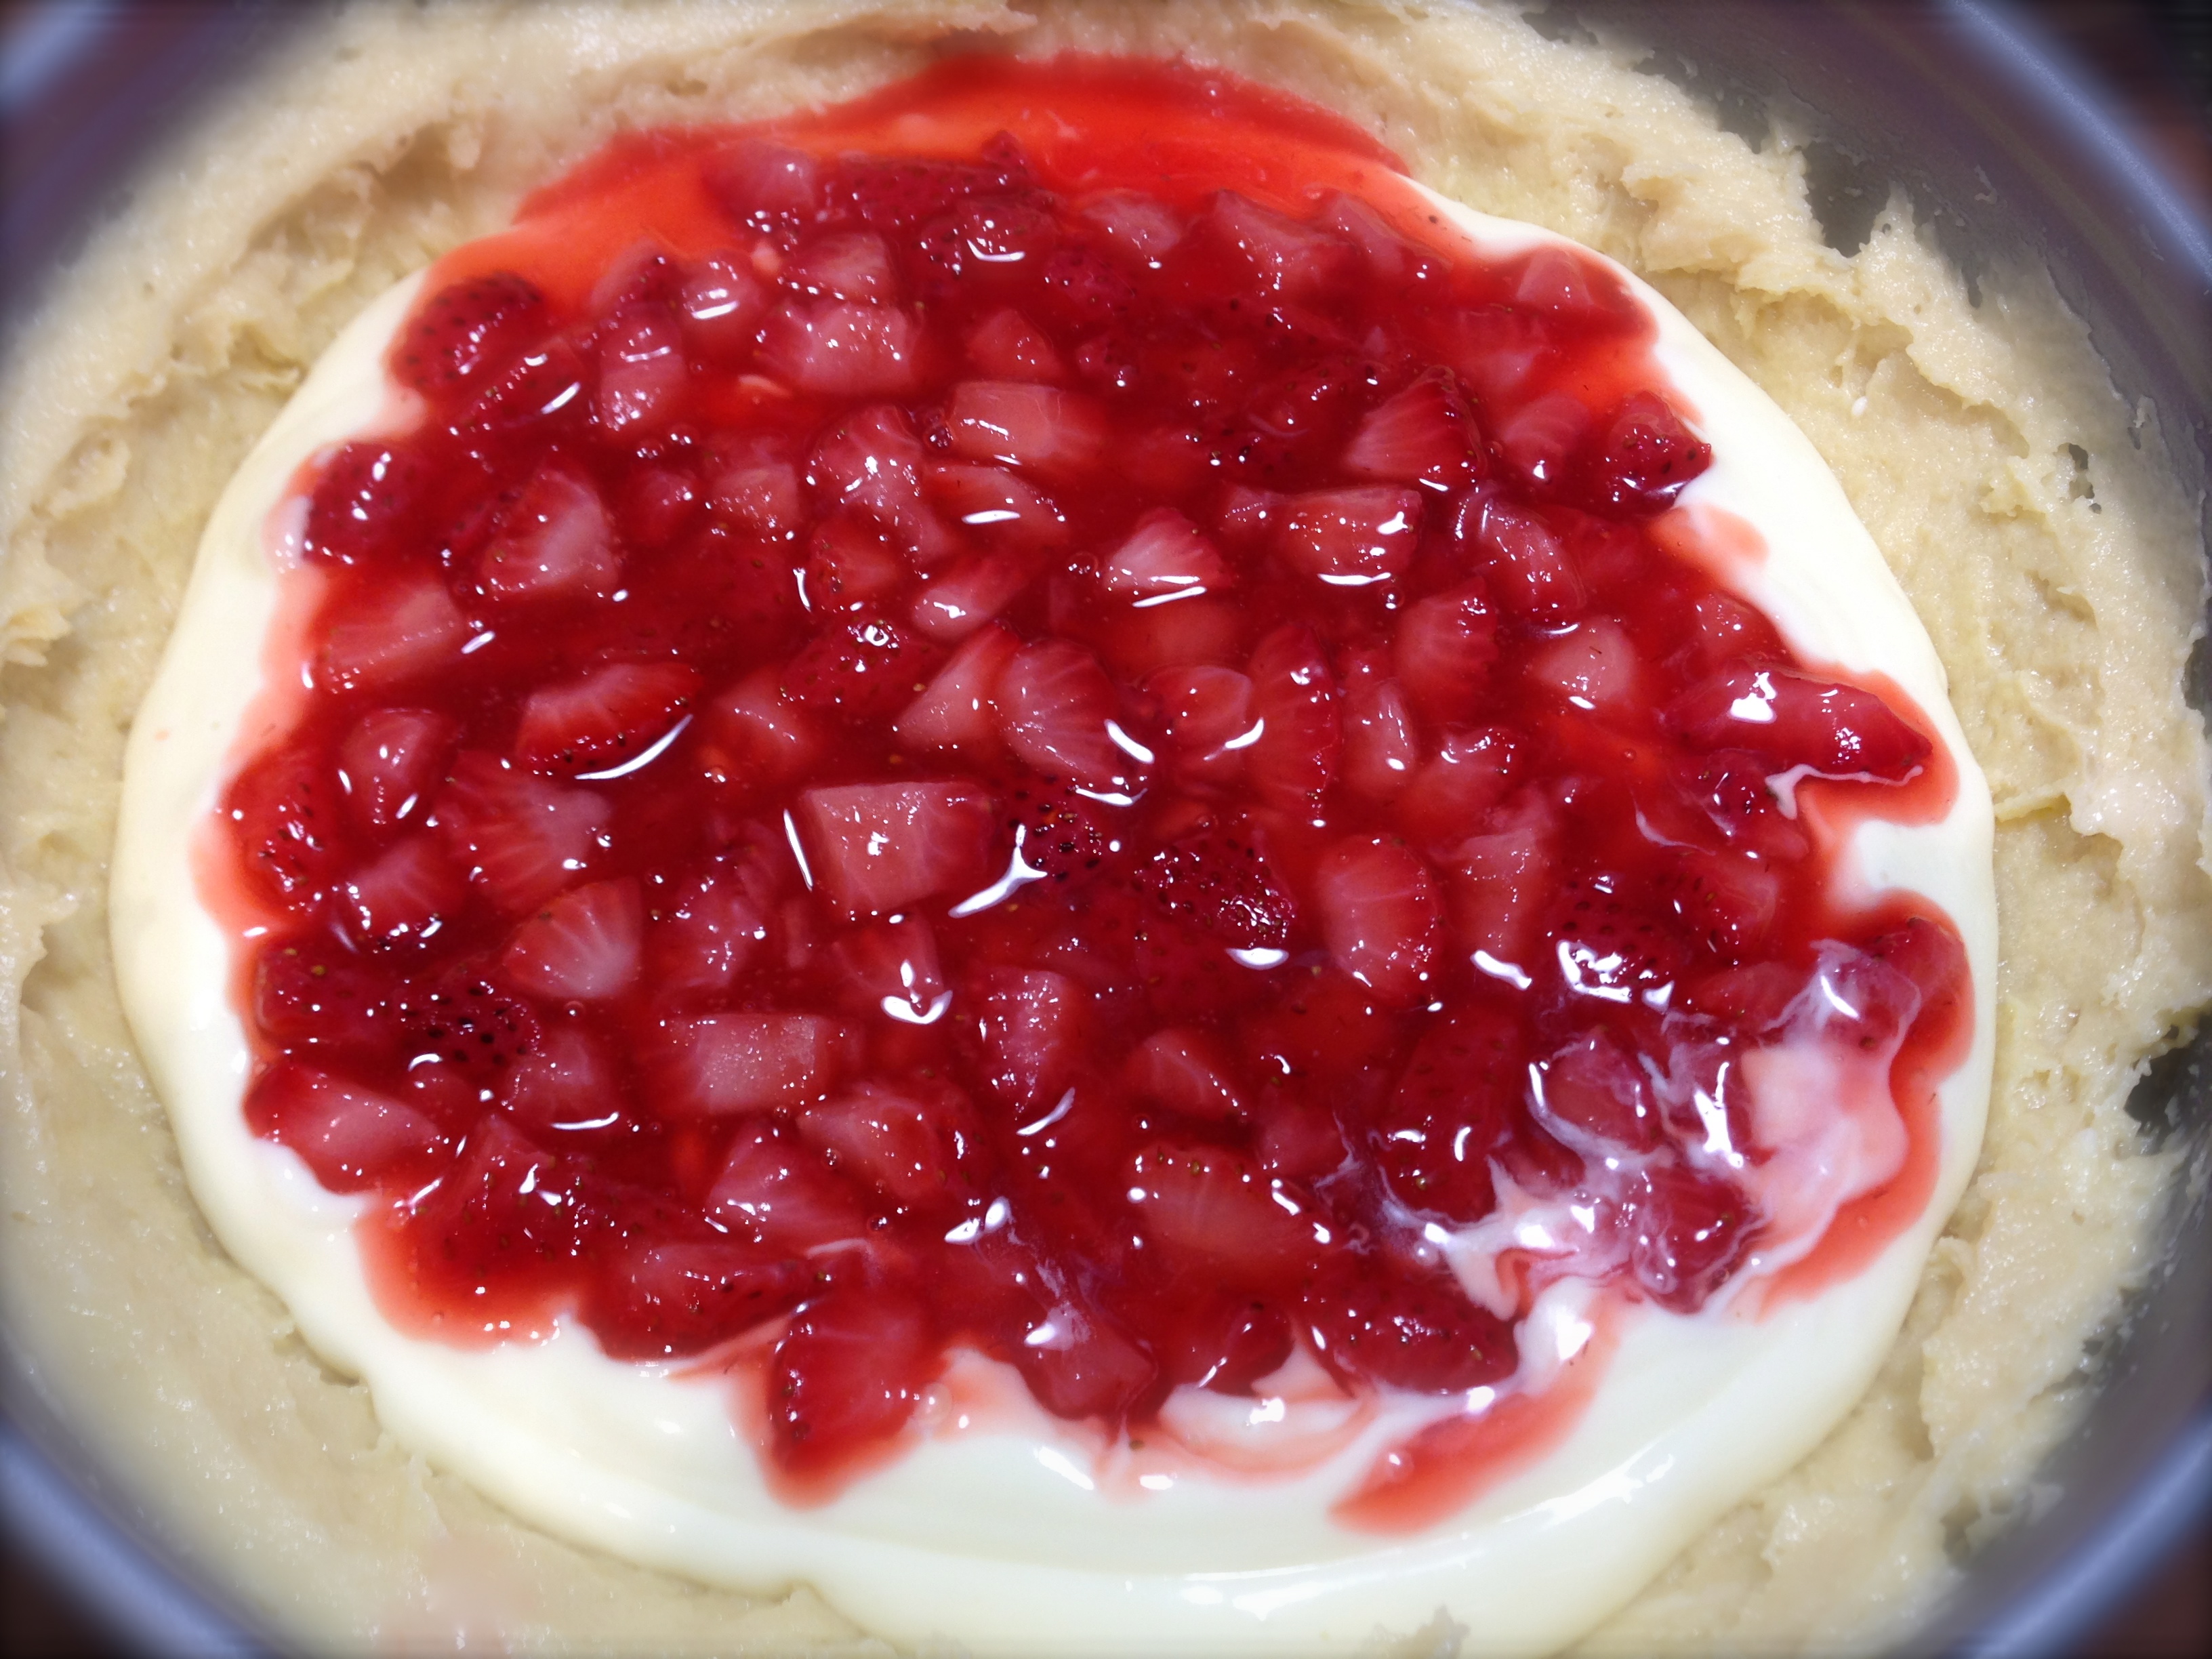
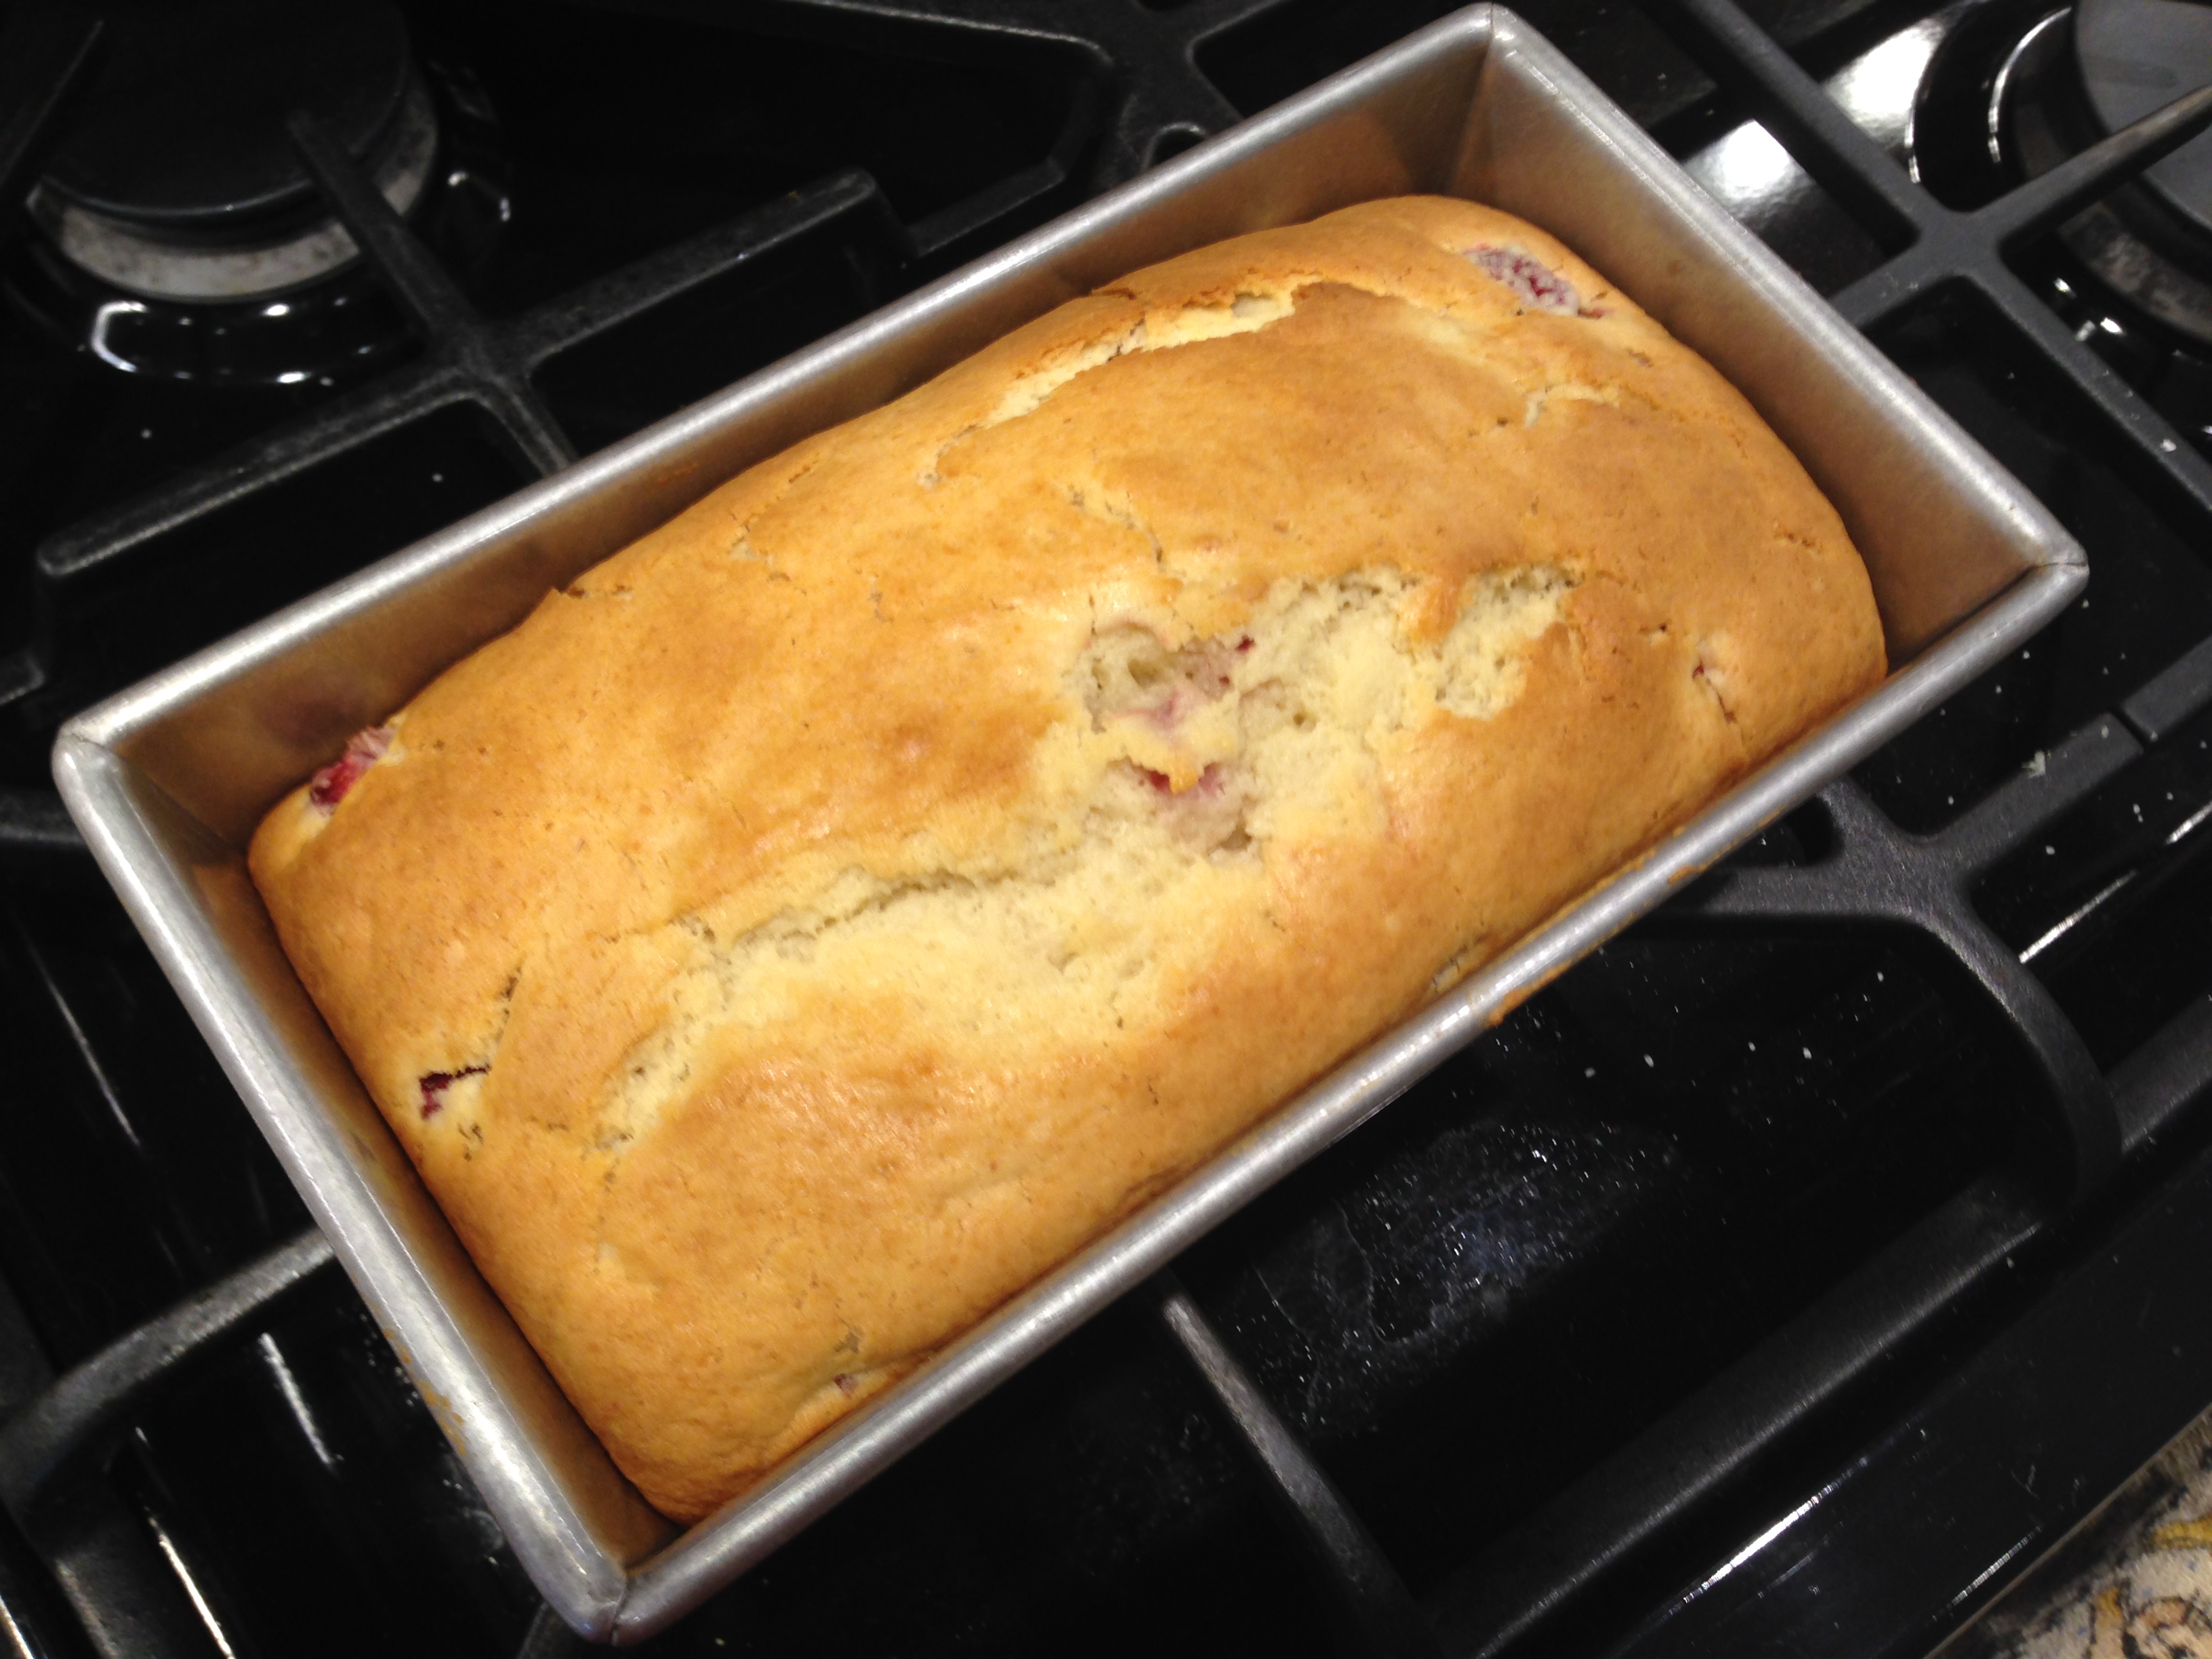
Pour the filling into the prepared crust. Set the foil wrapped pan into a large lipped pan and carefully pour about 1/2 inch warm water into the large pan to create the water bath. Place in the oven and bake for one hour. Turn off the oven, open the door and let the cheesecake stand in the opened oven for one hour. Remove from the oven and refrigerate for 2 hours or overnight. (I refrigerated mine overnight).
For the sauce, put the strawberries, sugar and lime zest into a small food processor and process until smooth. Refrigerate for at least one hour before serving.
Here is the link to the recipe on the Food Network site: http://www.foodnetwork.com/recipes/trisha-yearwood/joes-say-cheese-cheesecake-with-fresh-strawberry-sauce.html
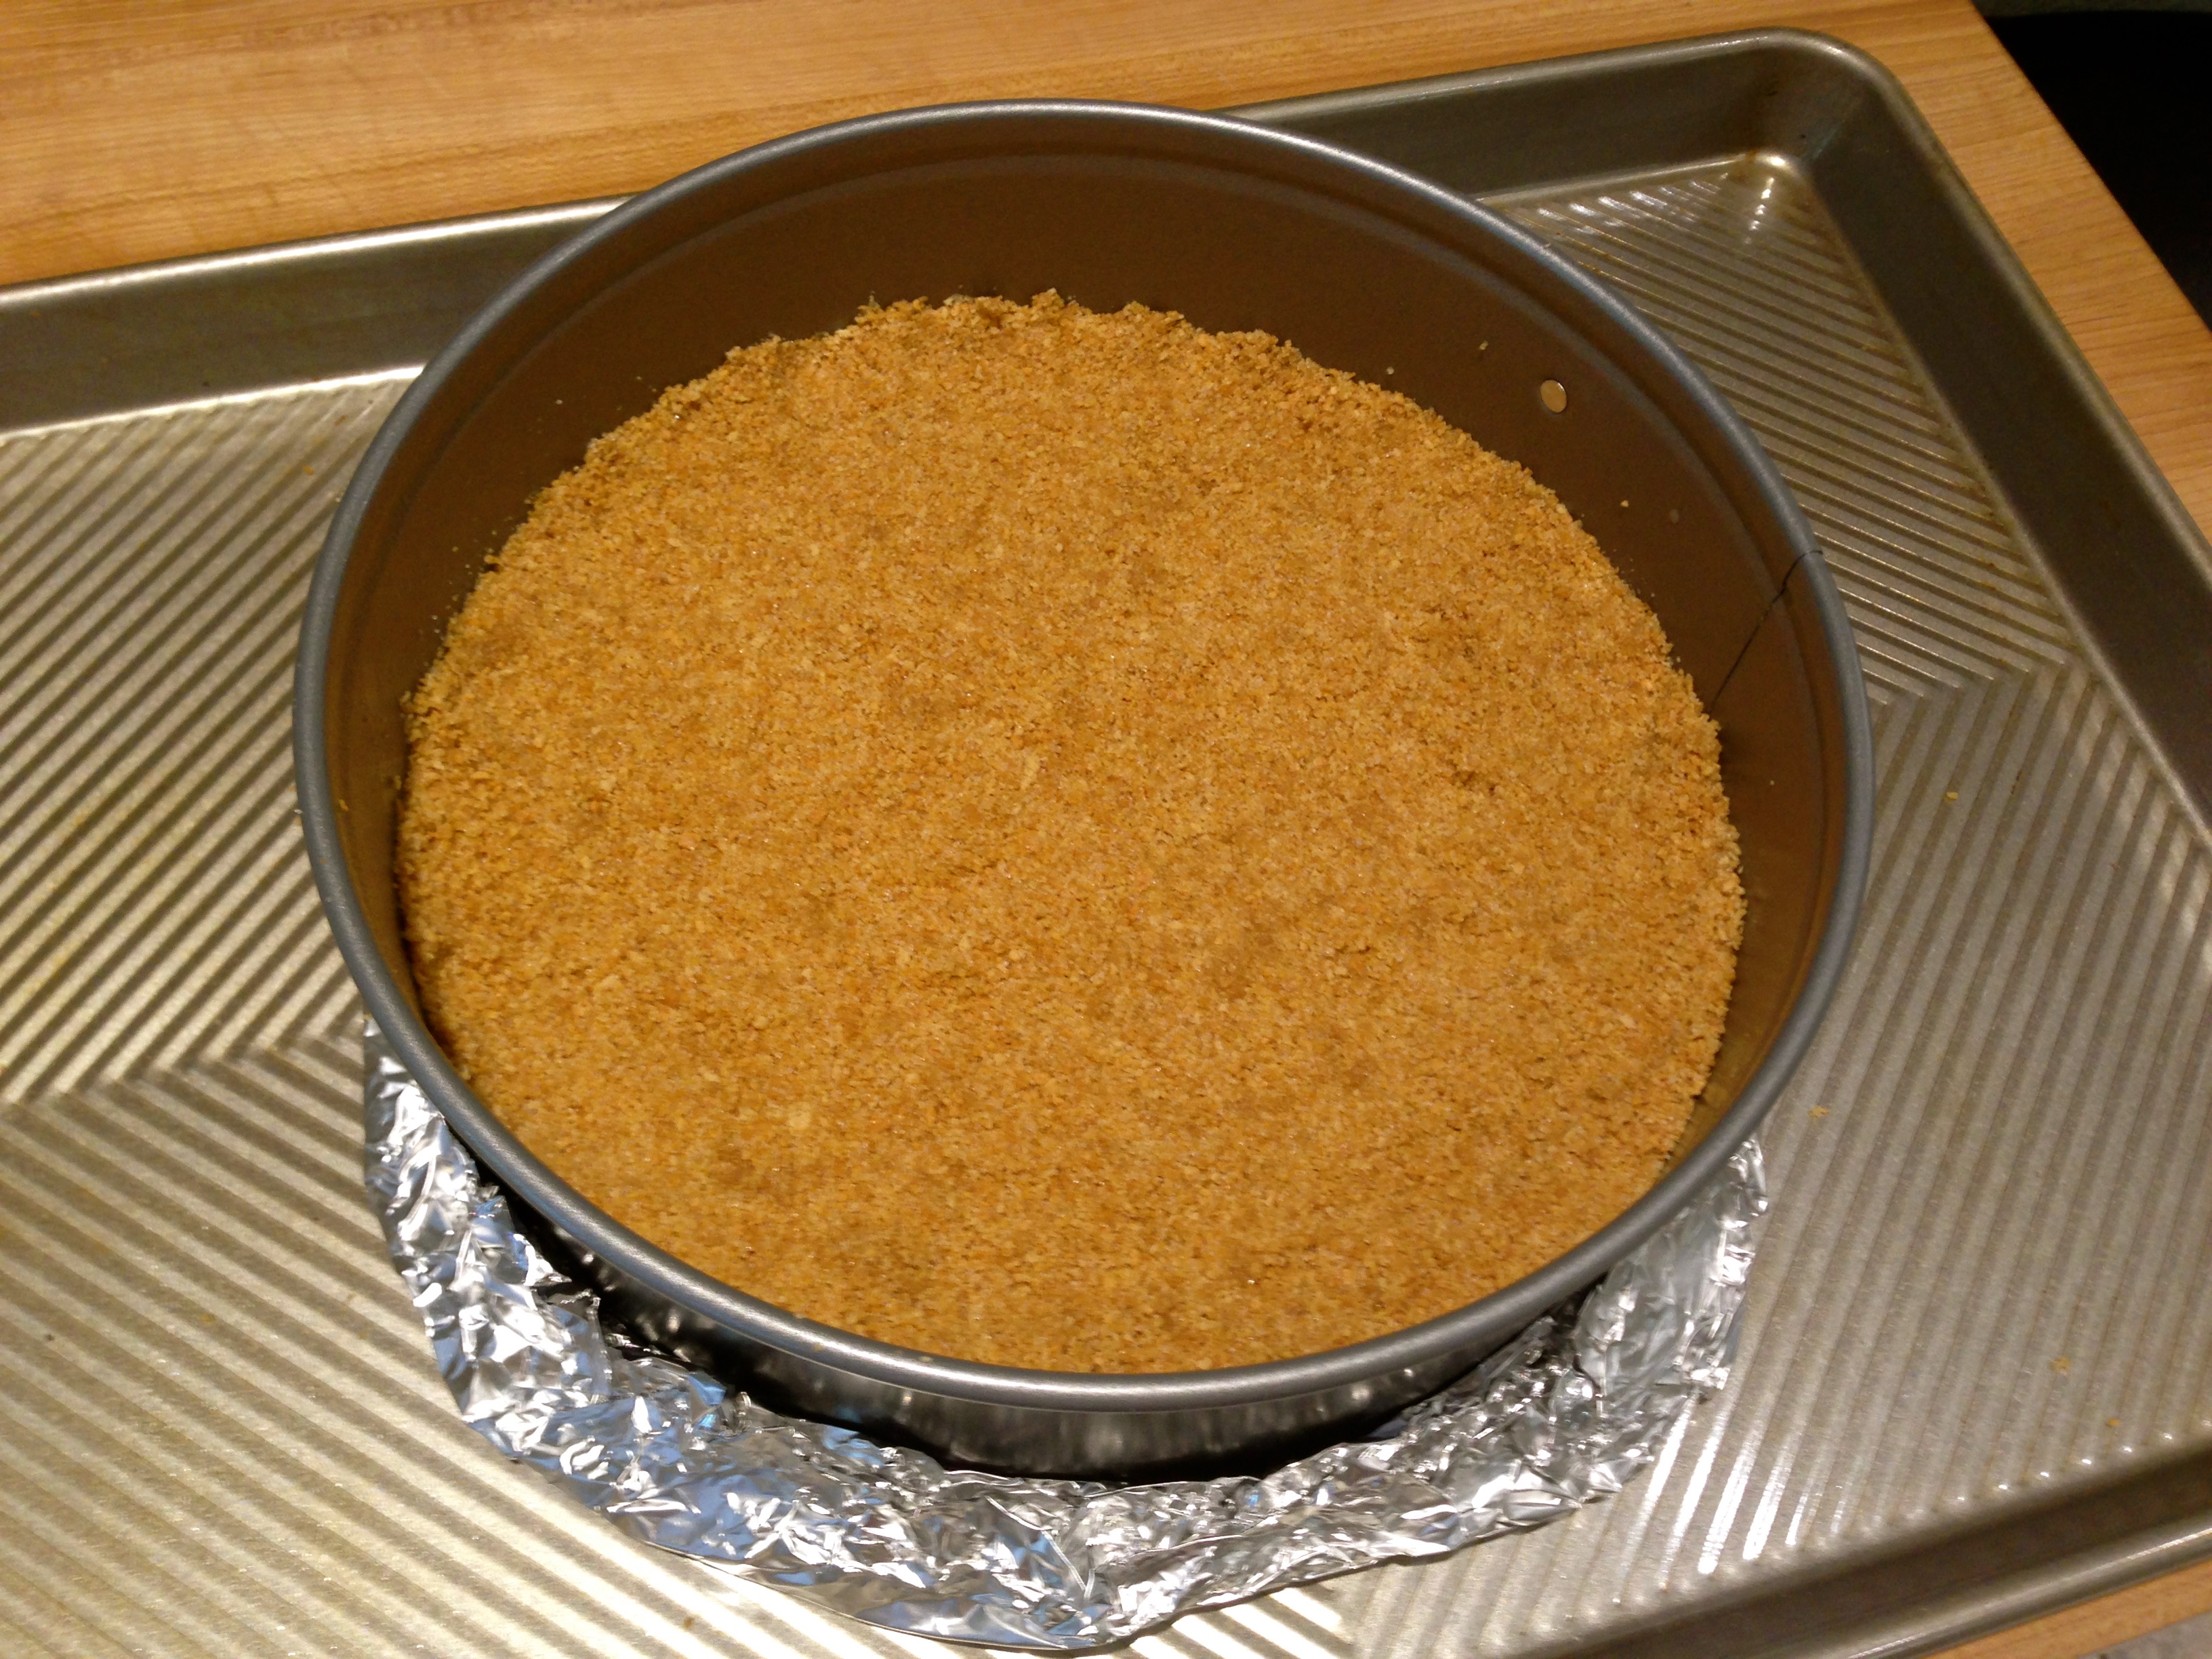
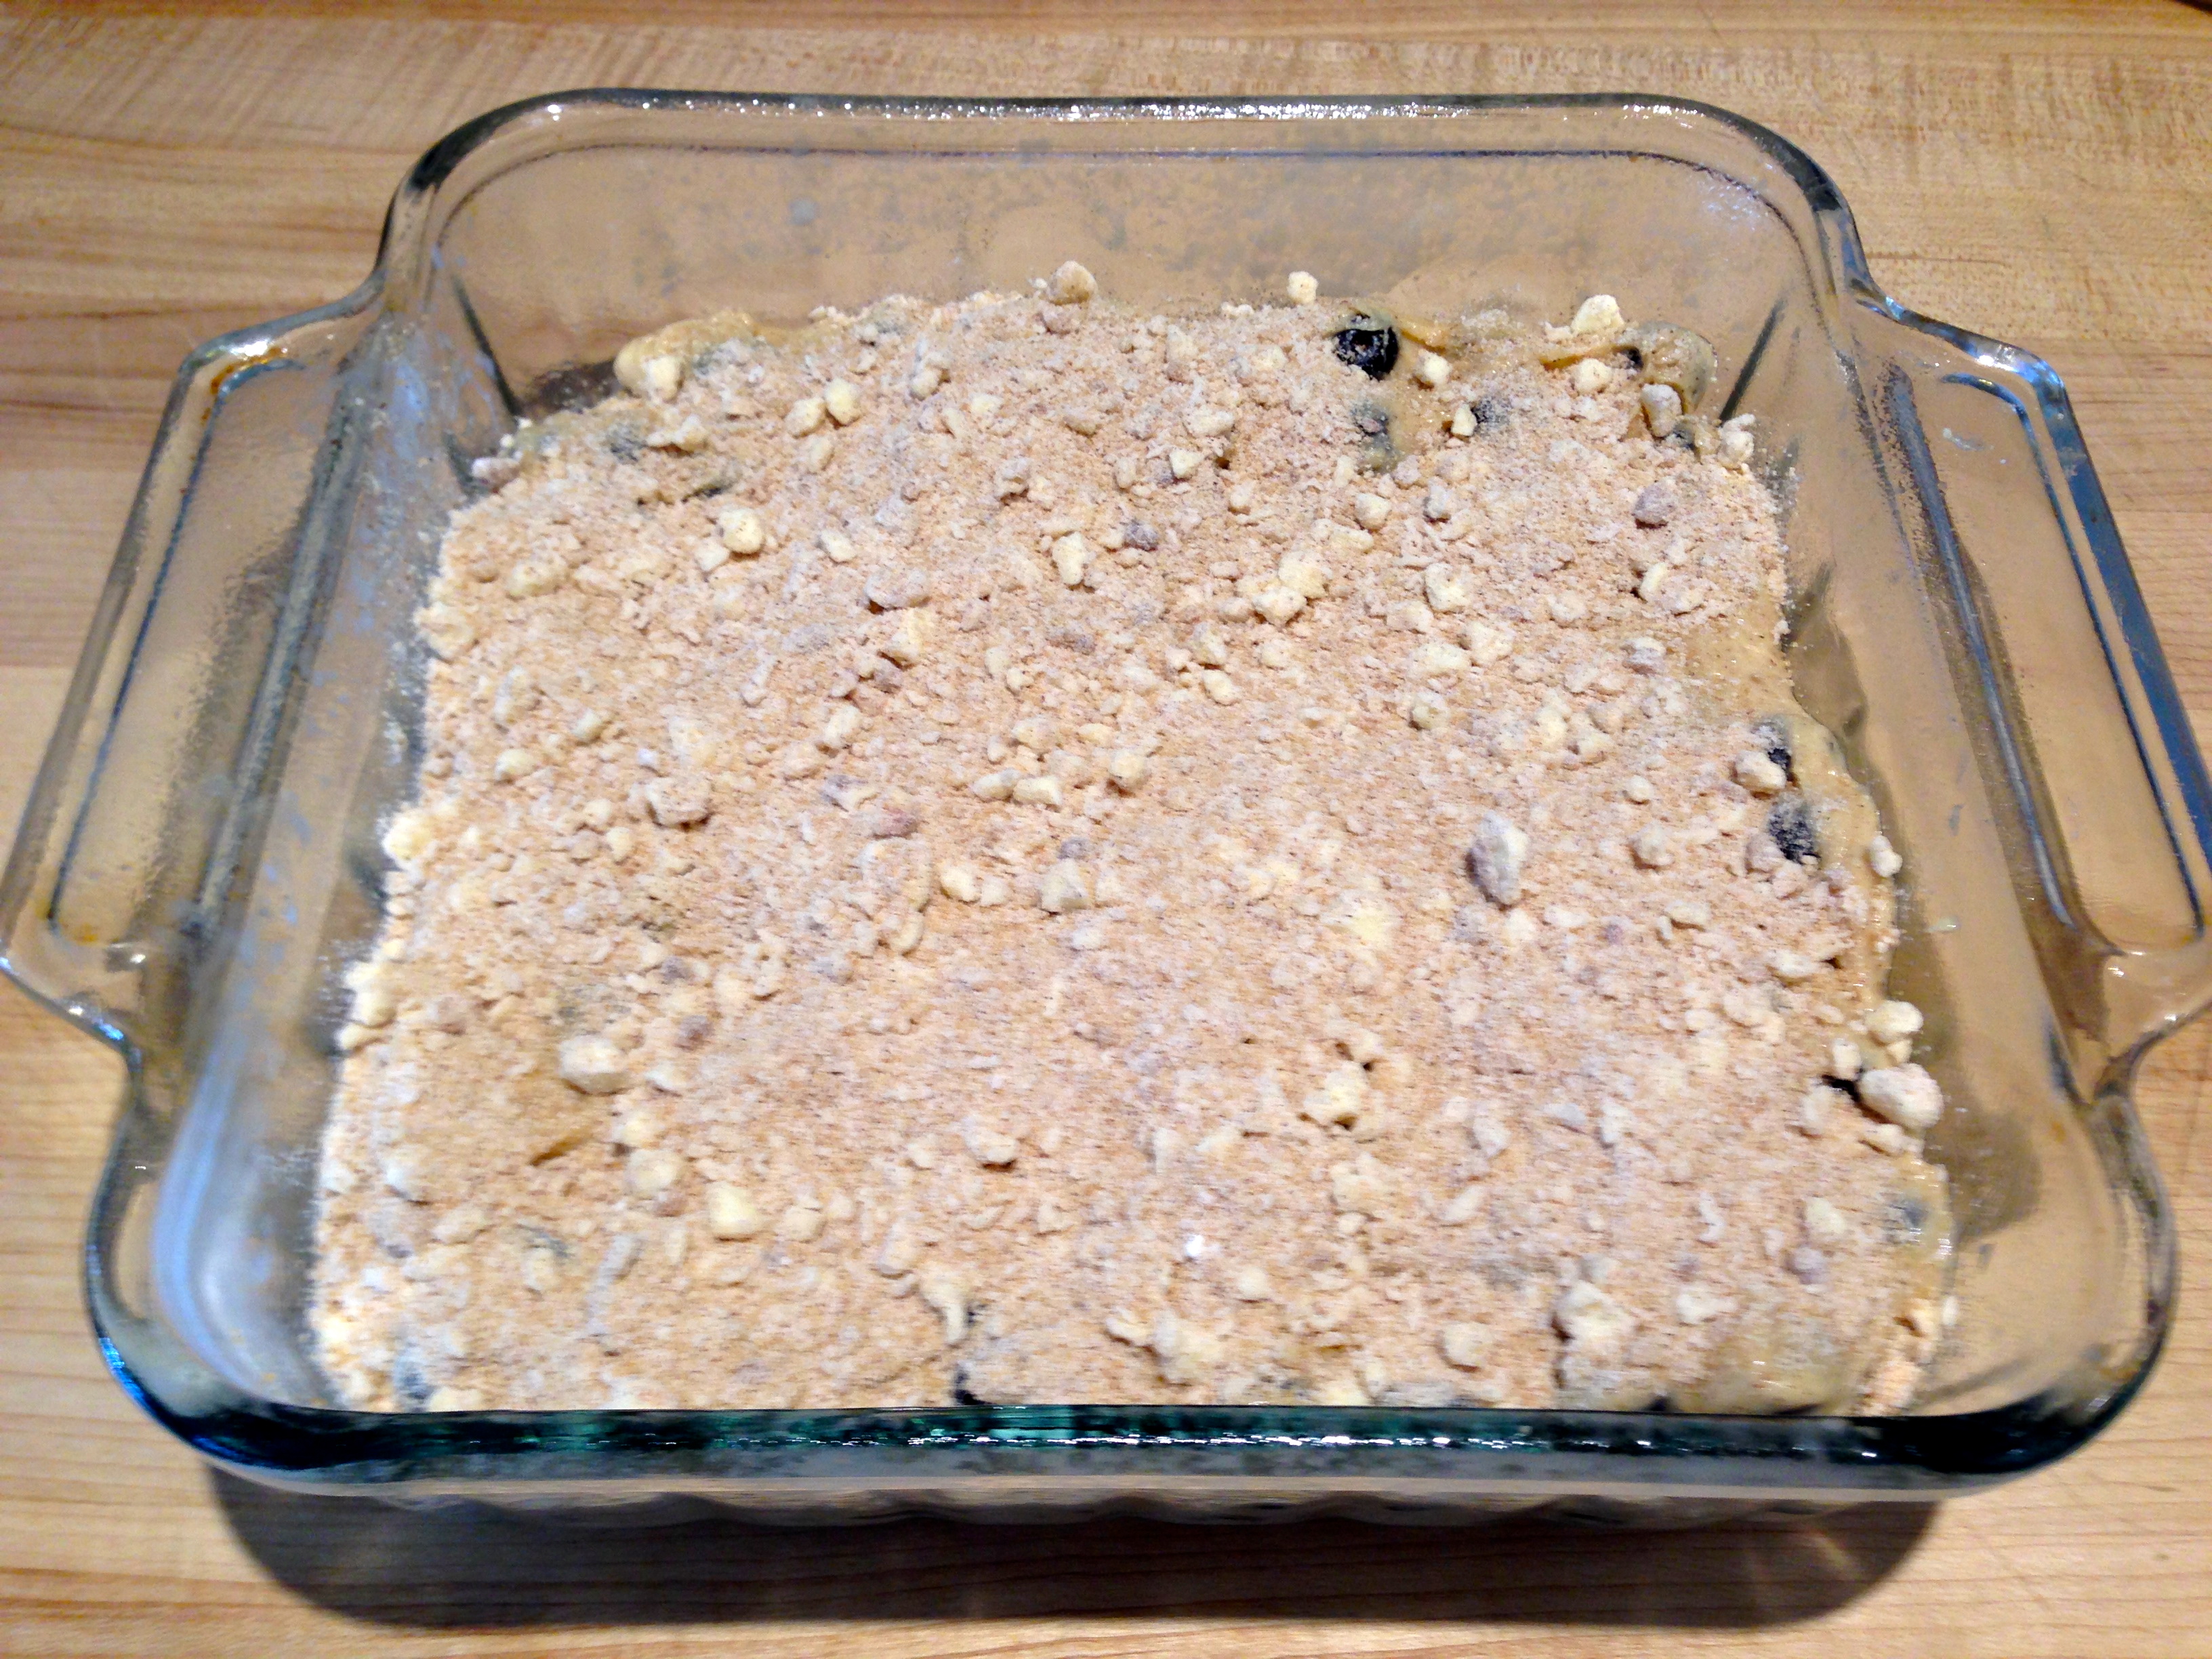
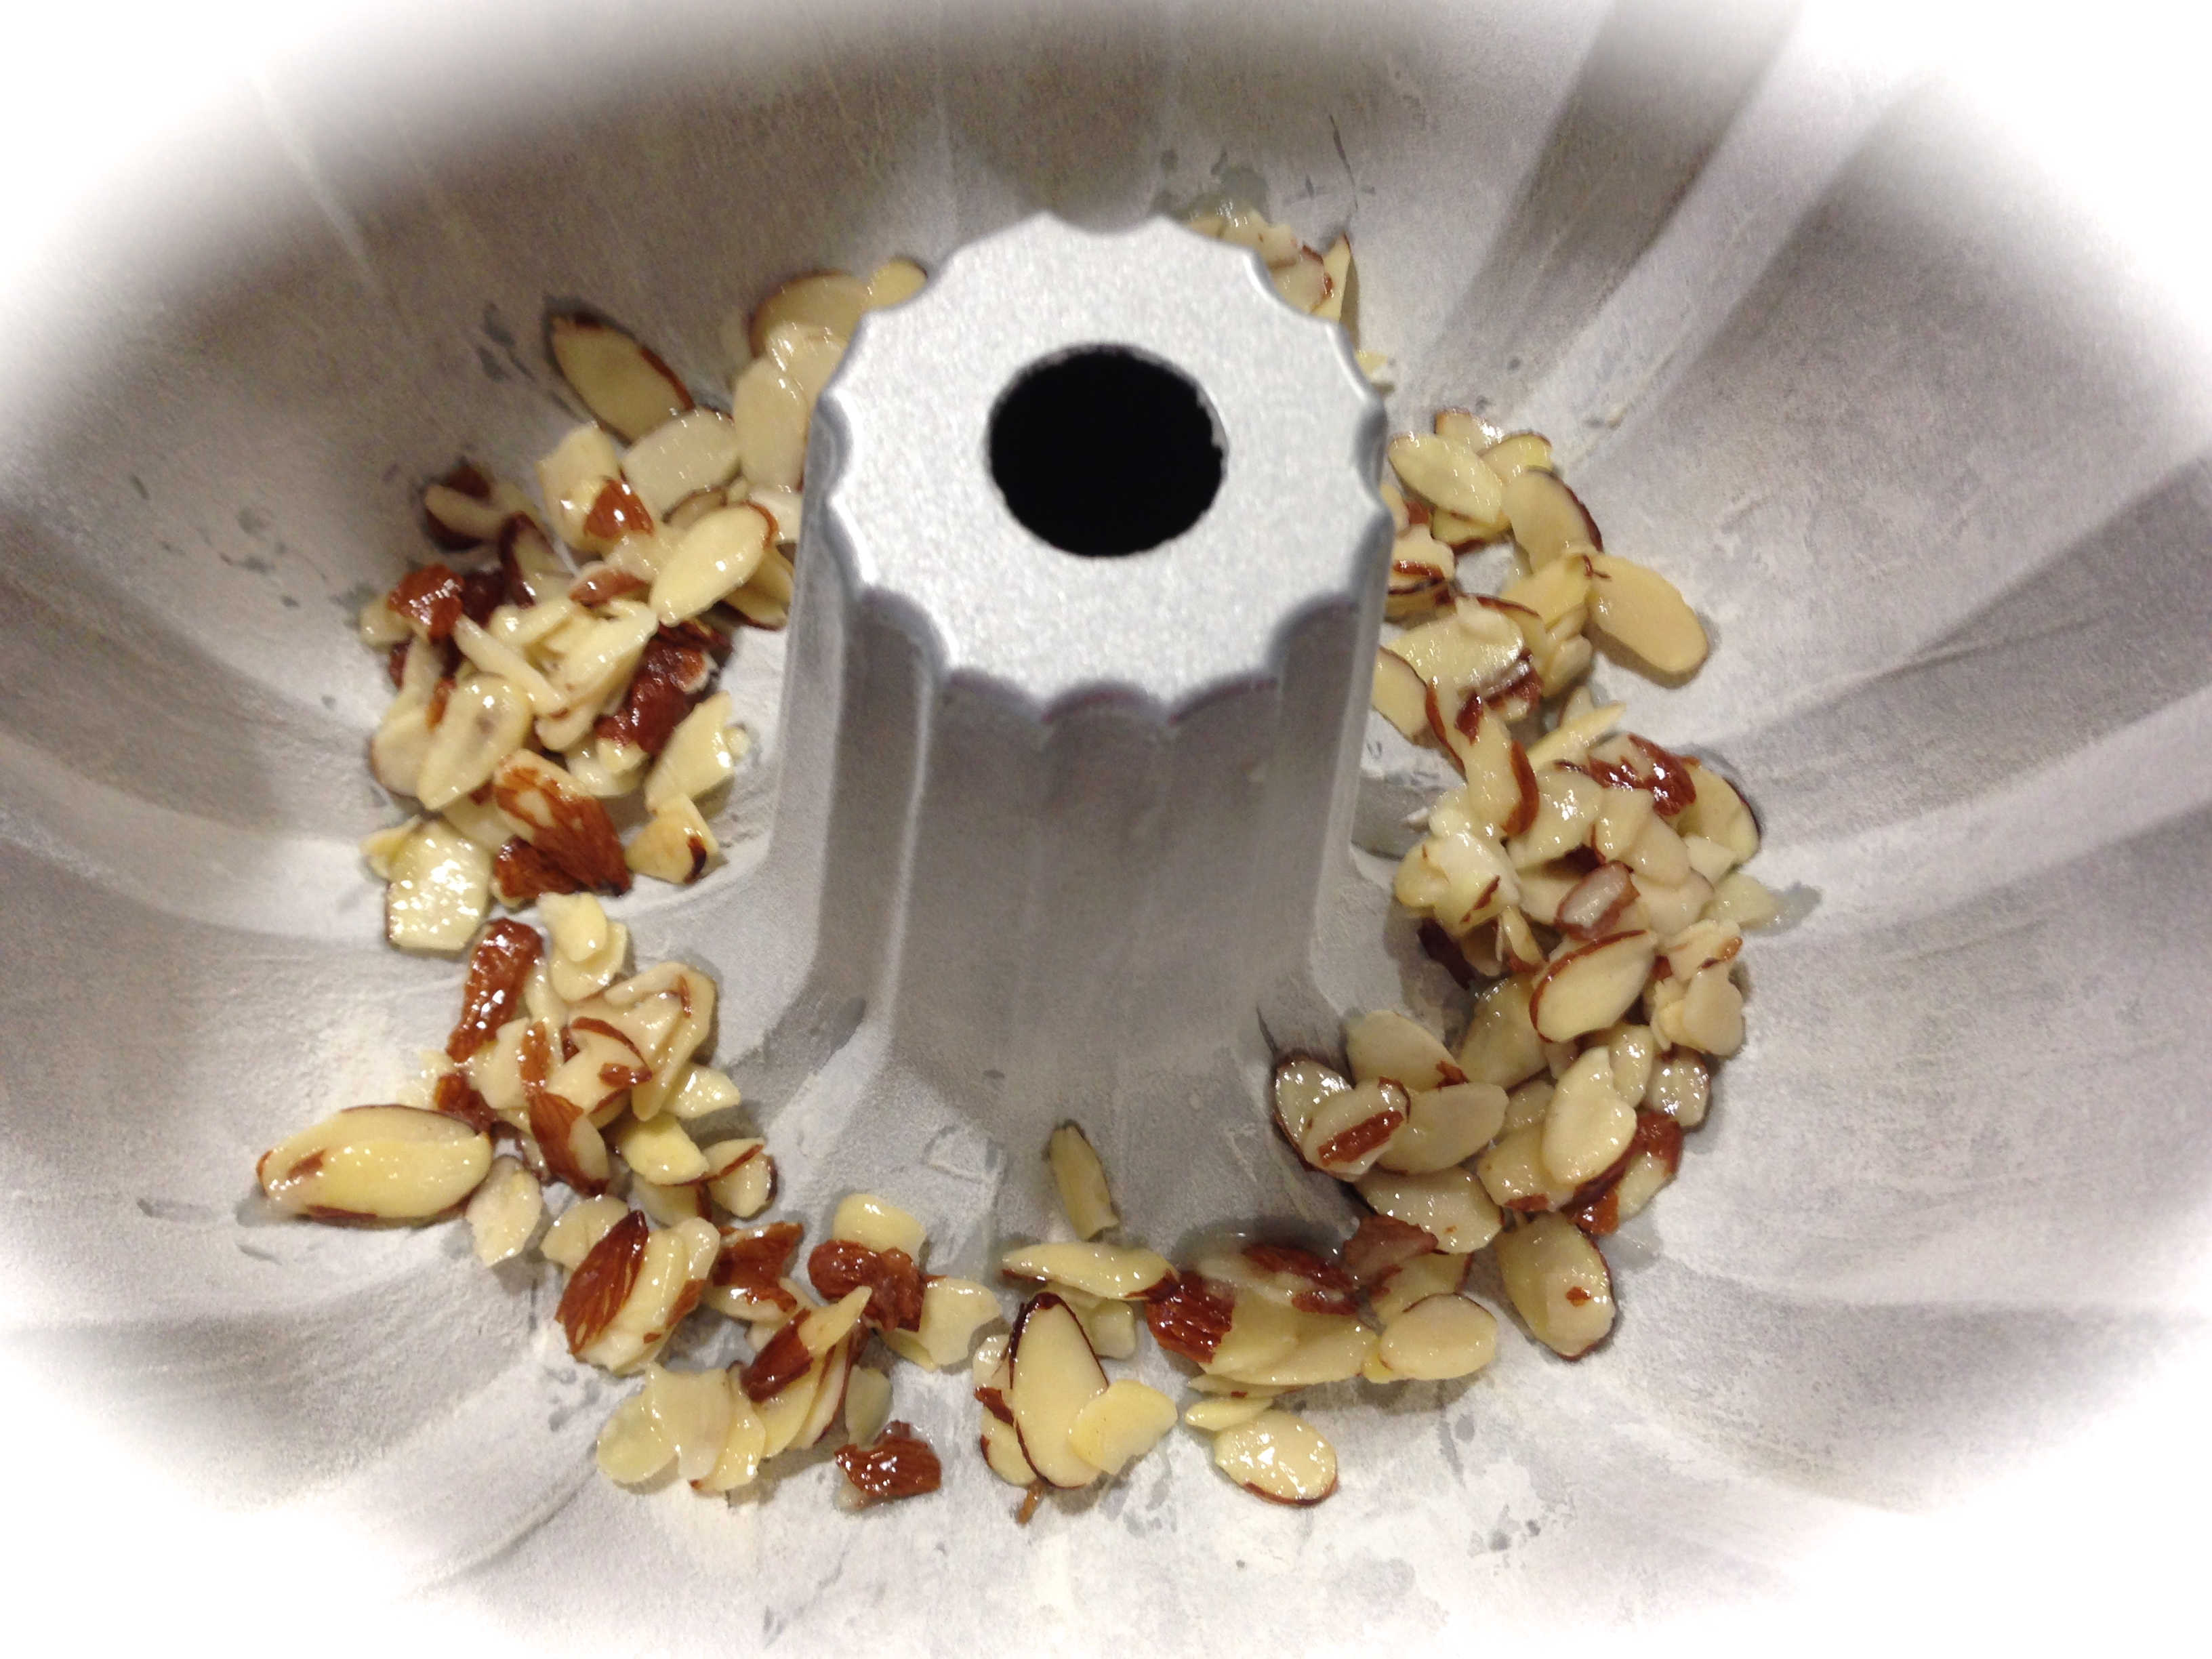
The Graham Cracker Crust
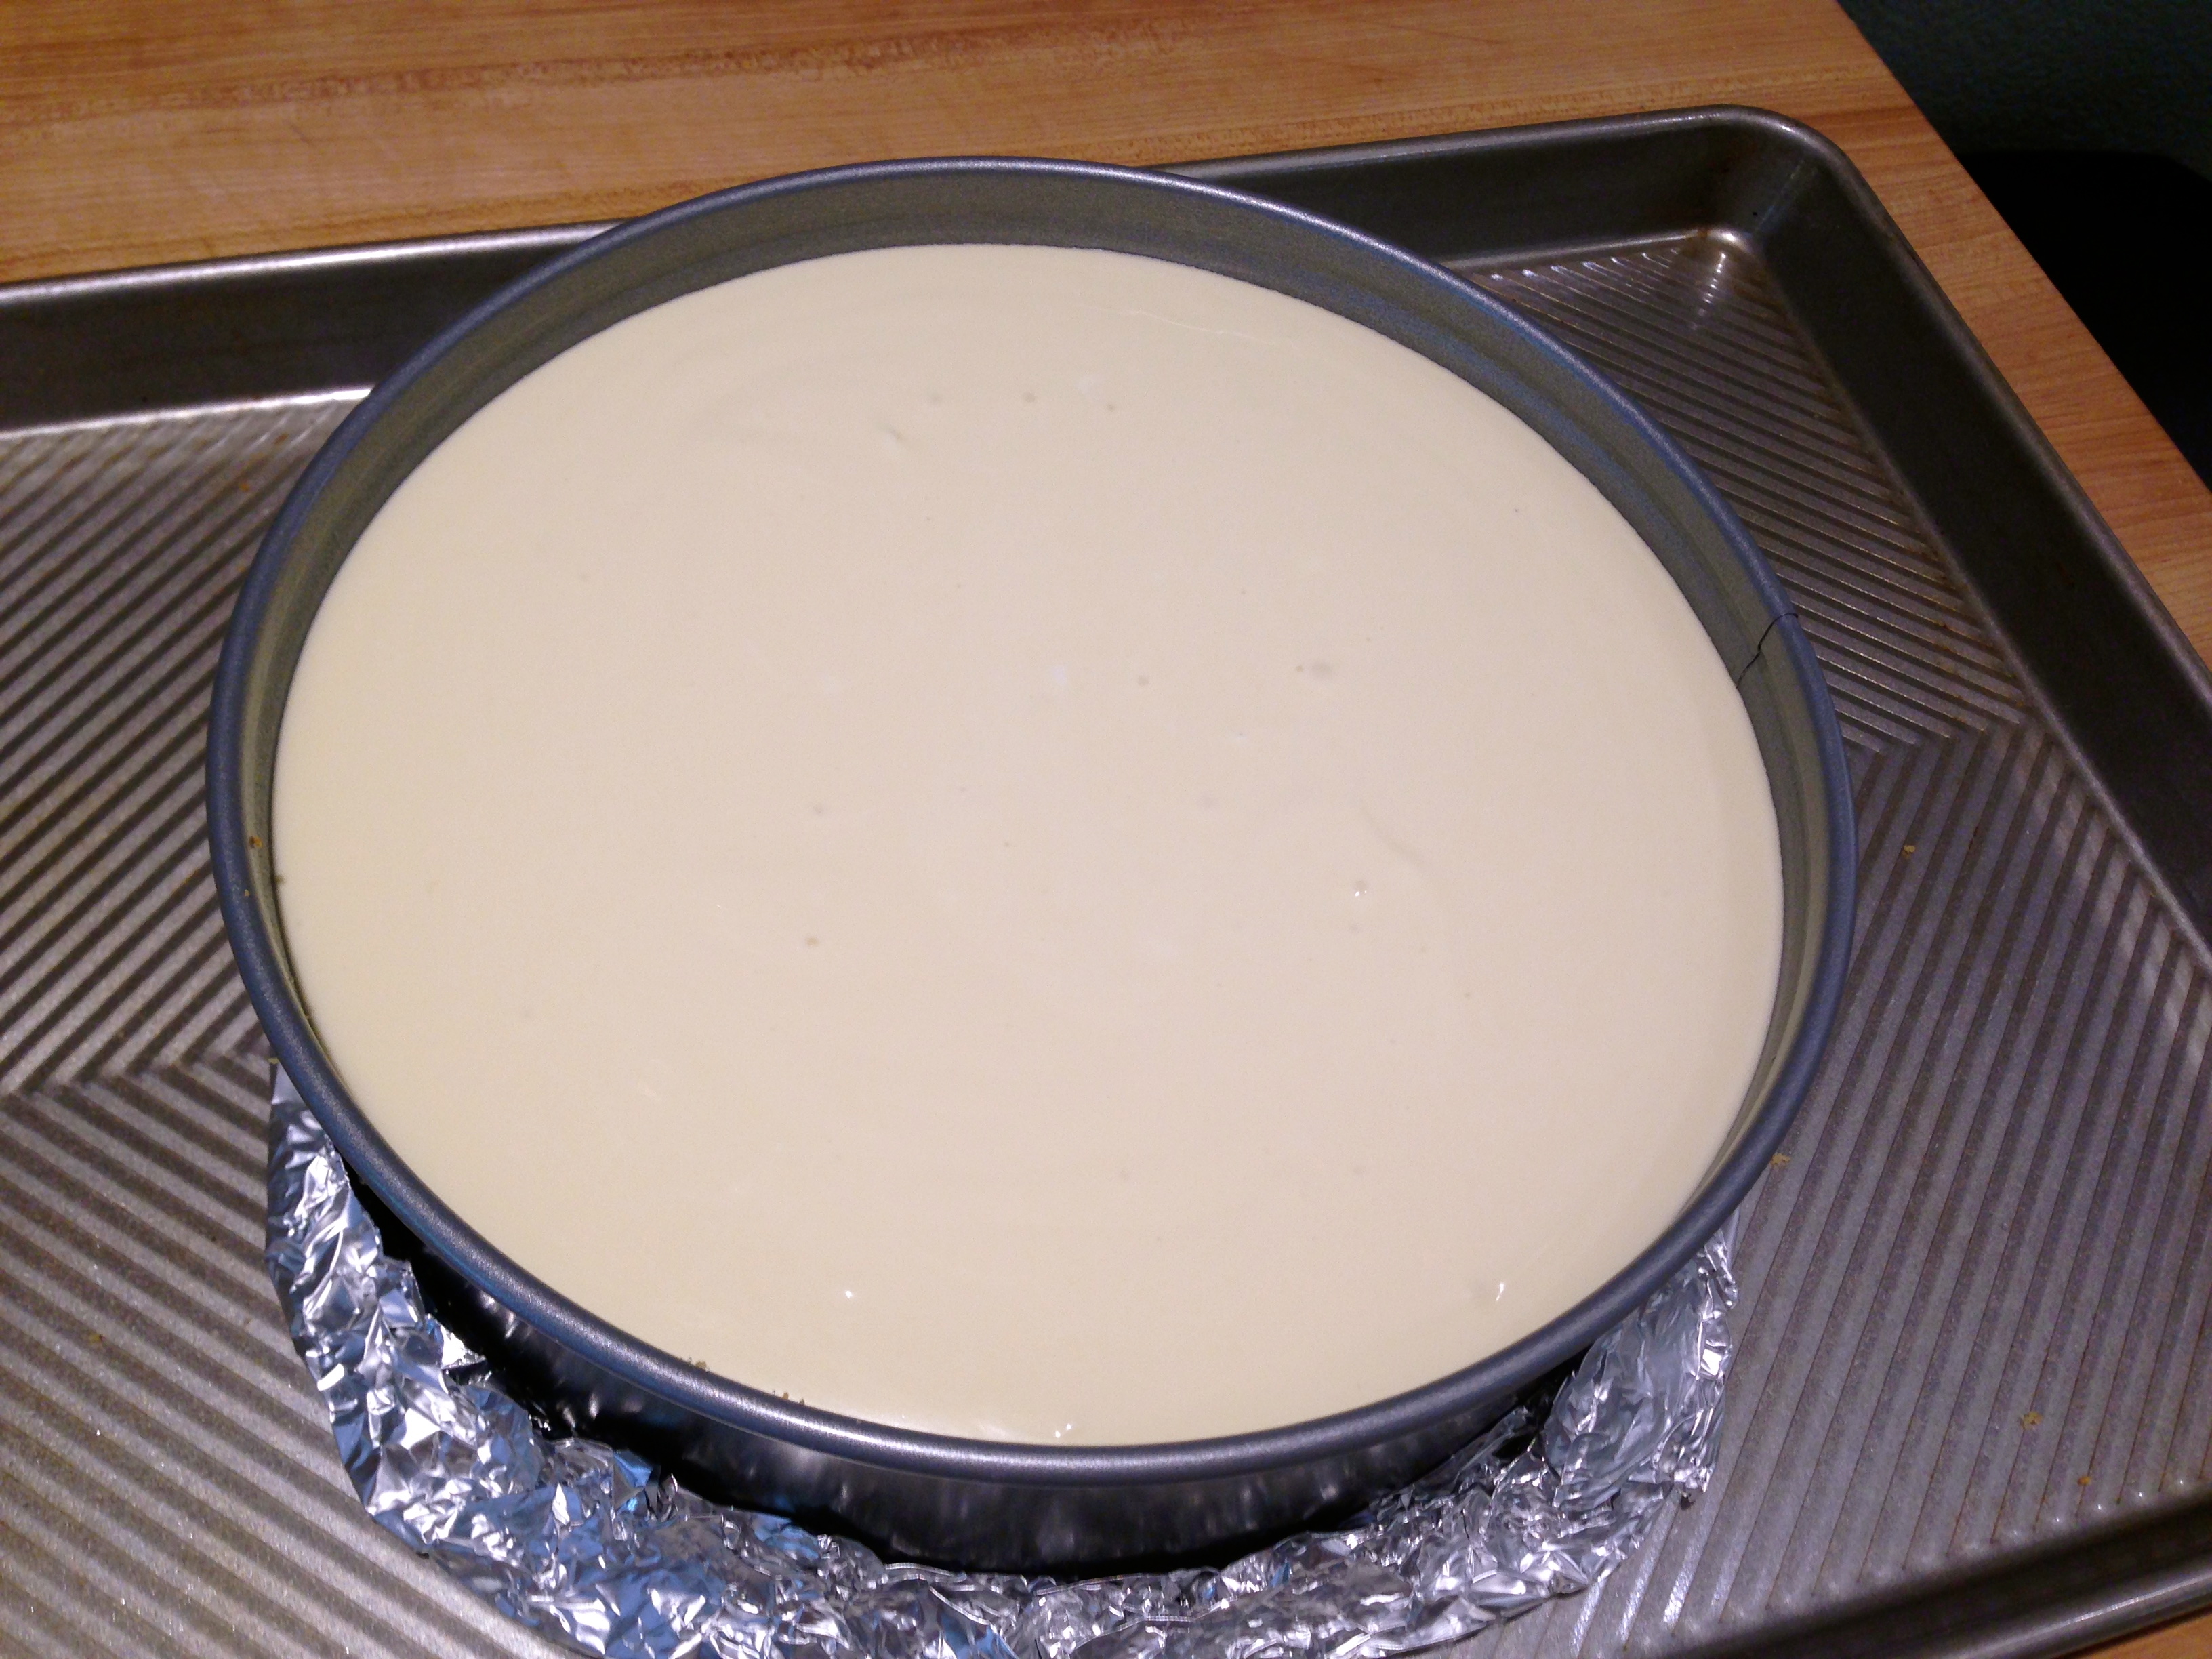
Pour In The Filling
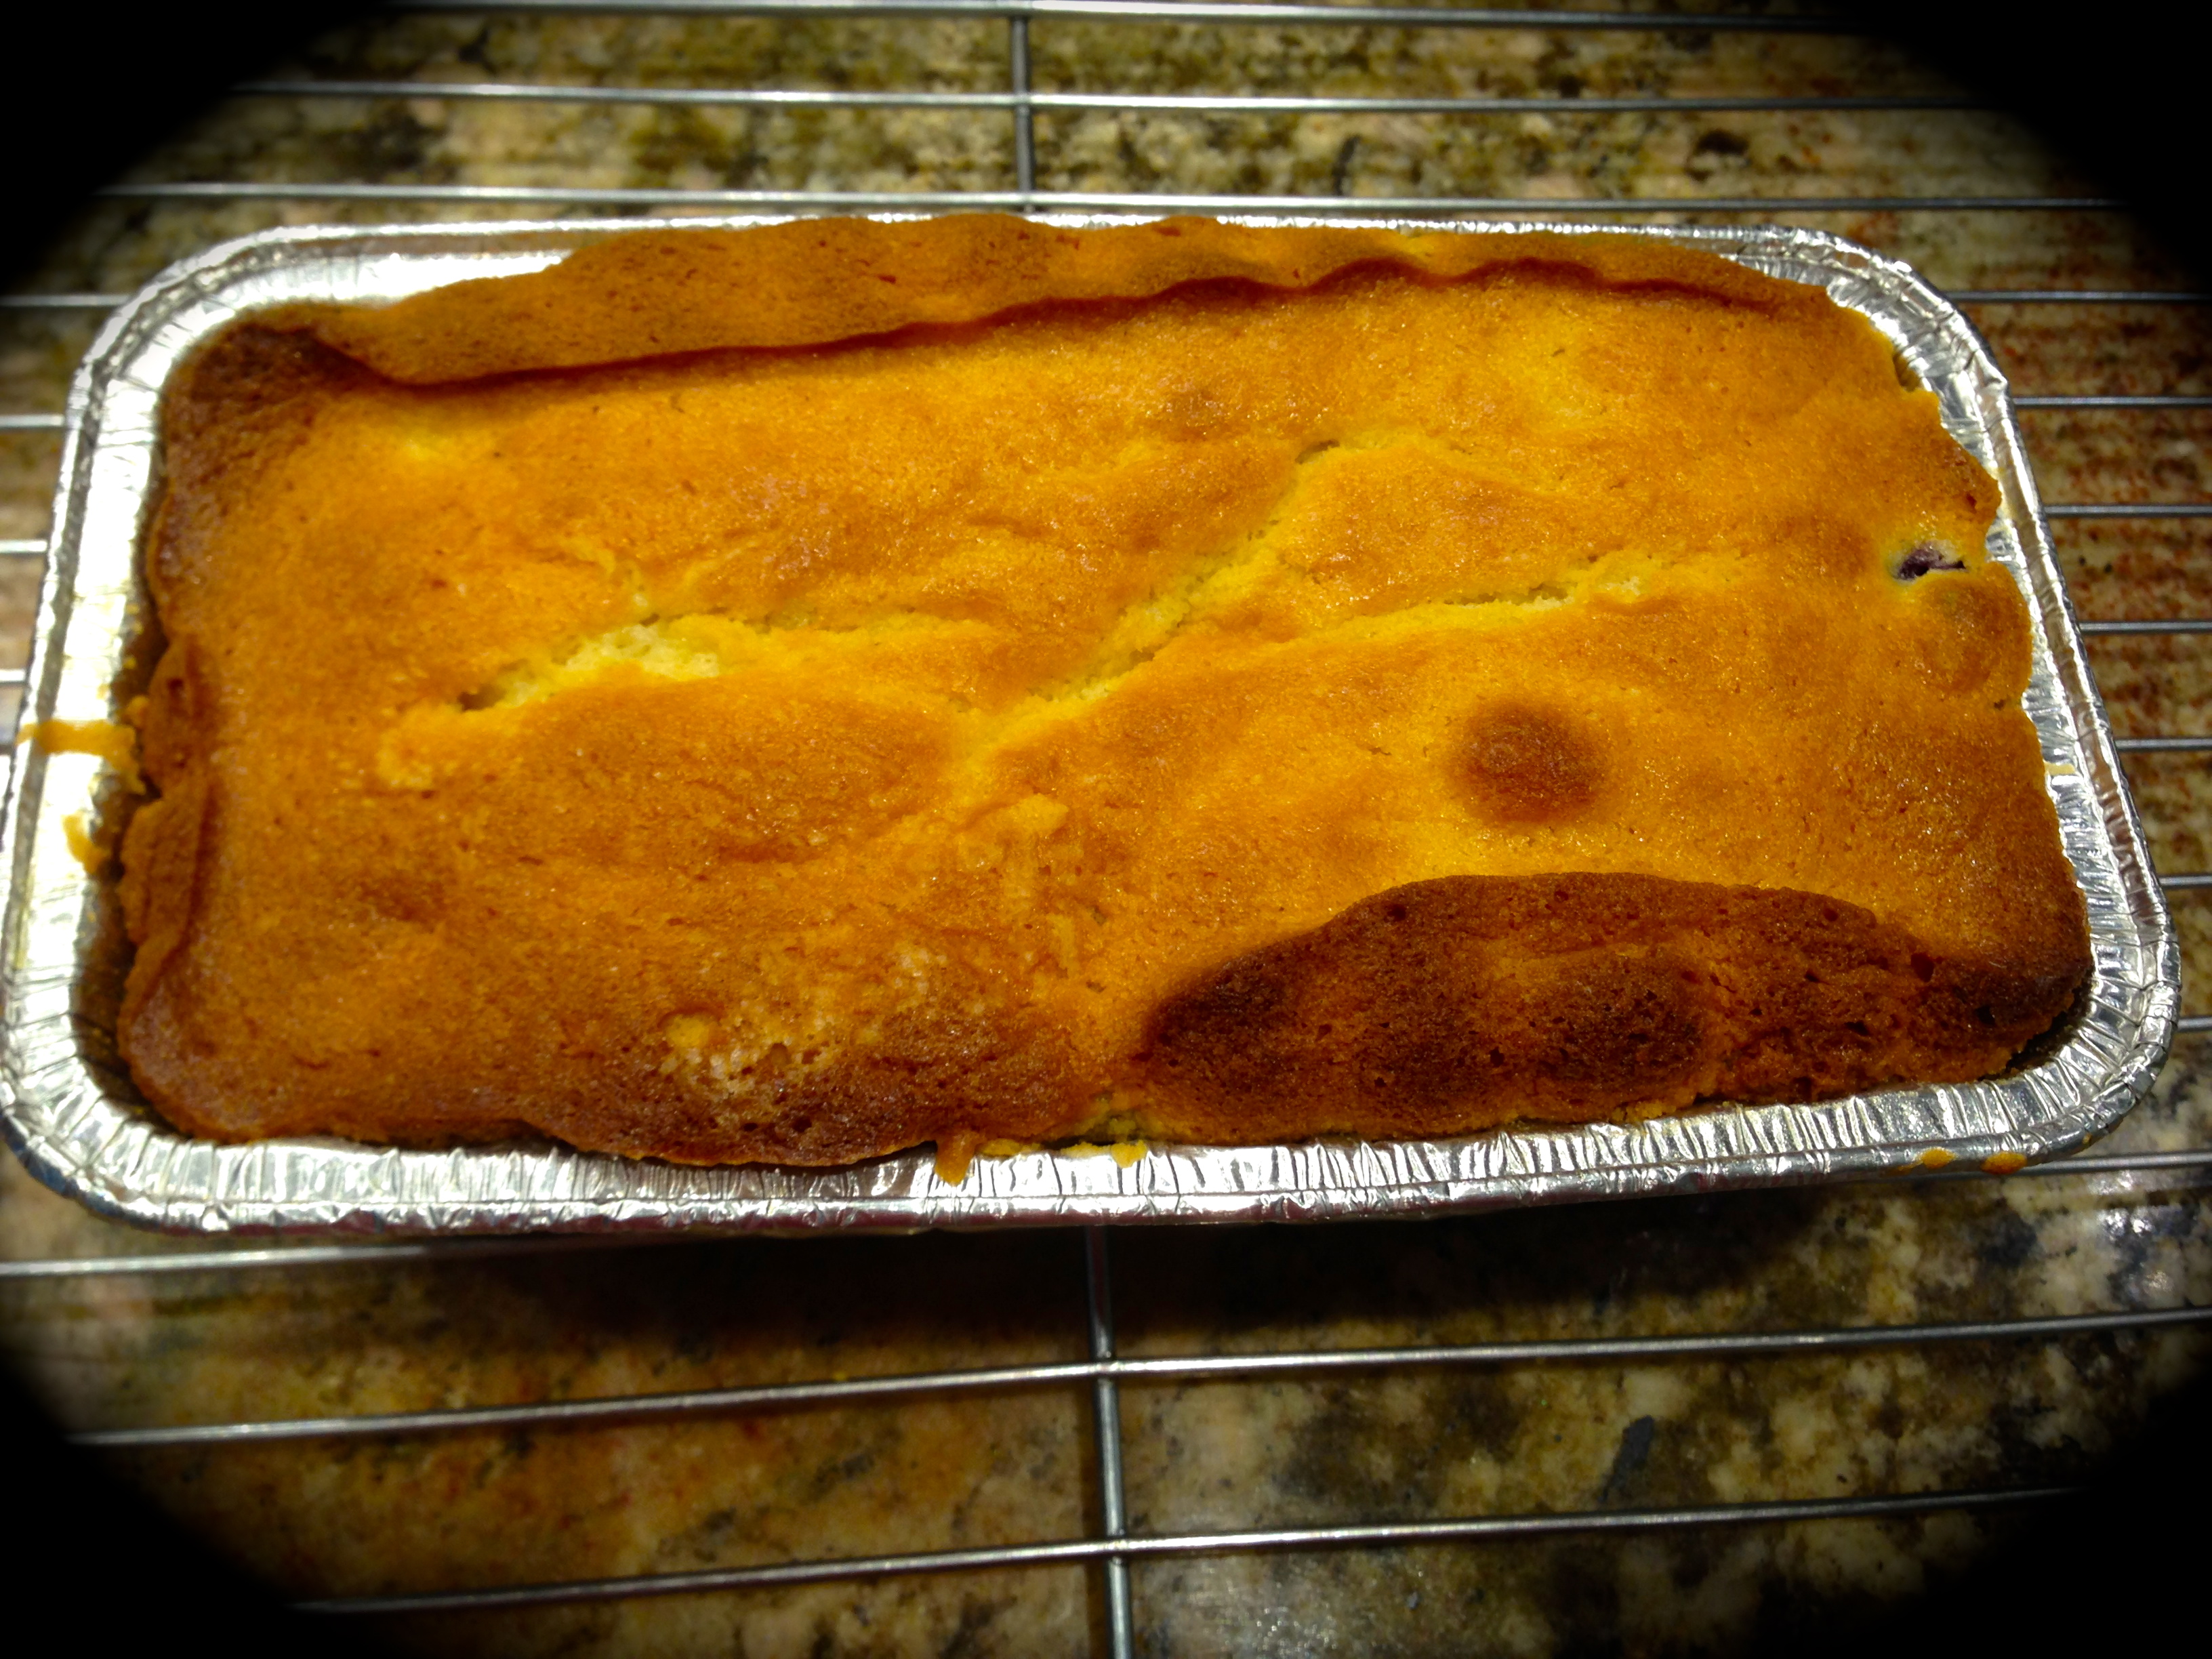
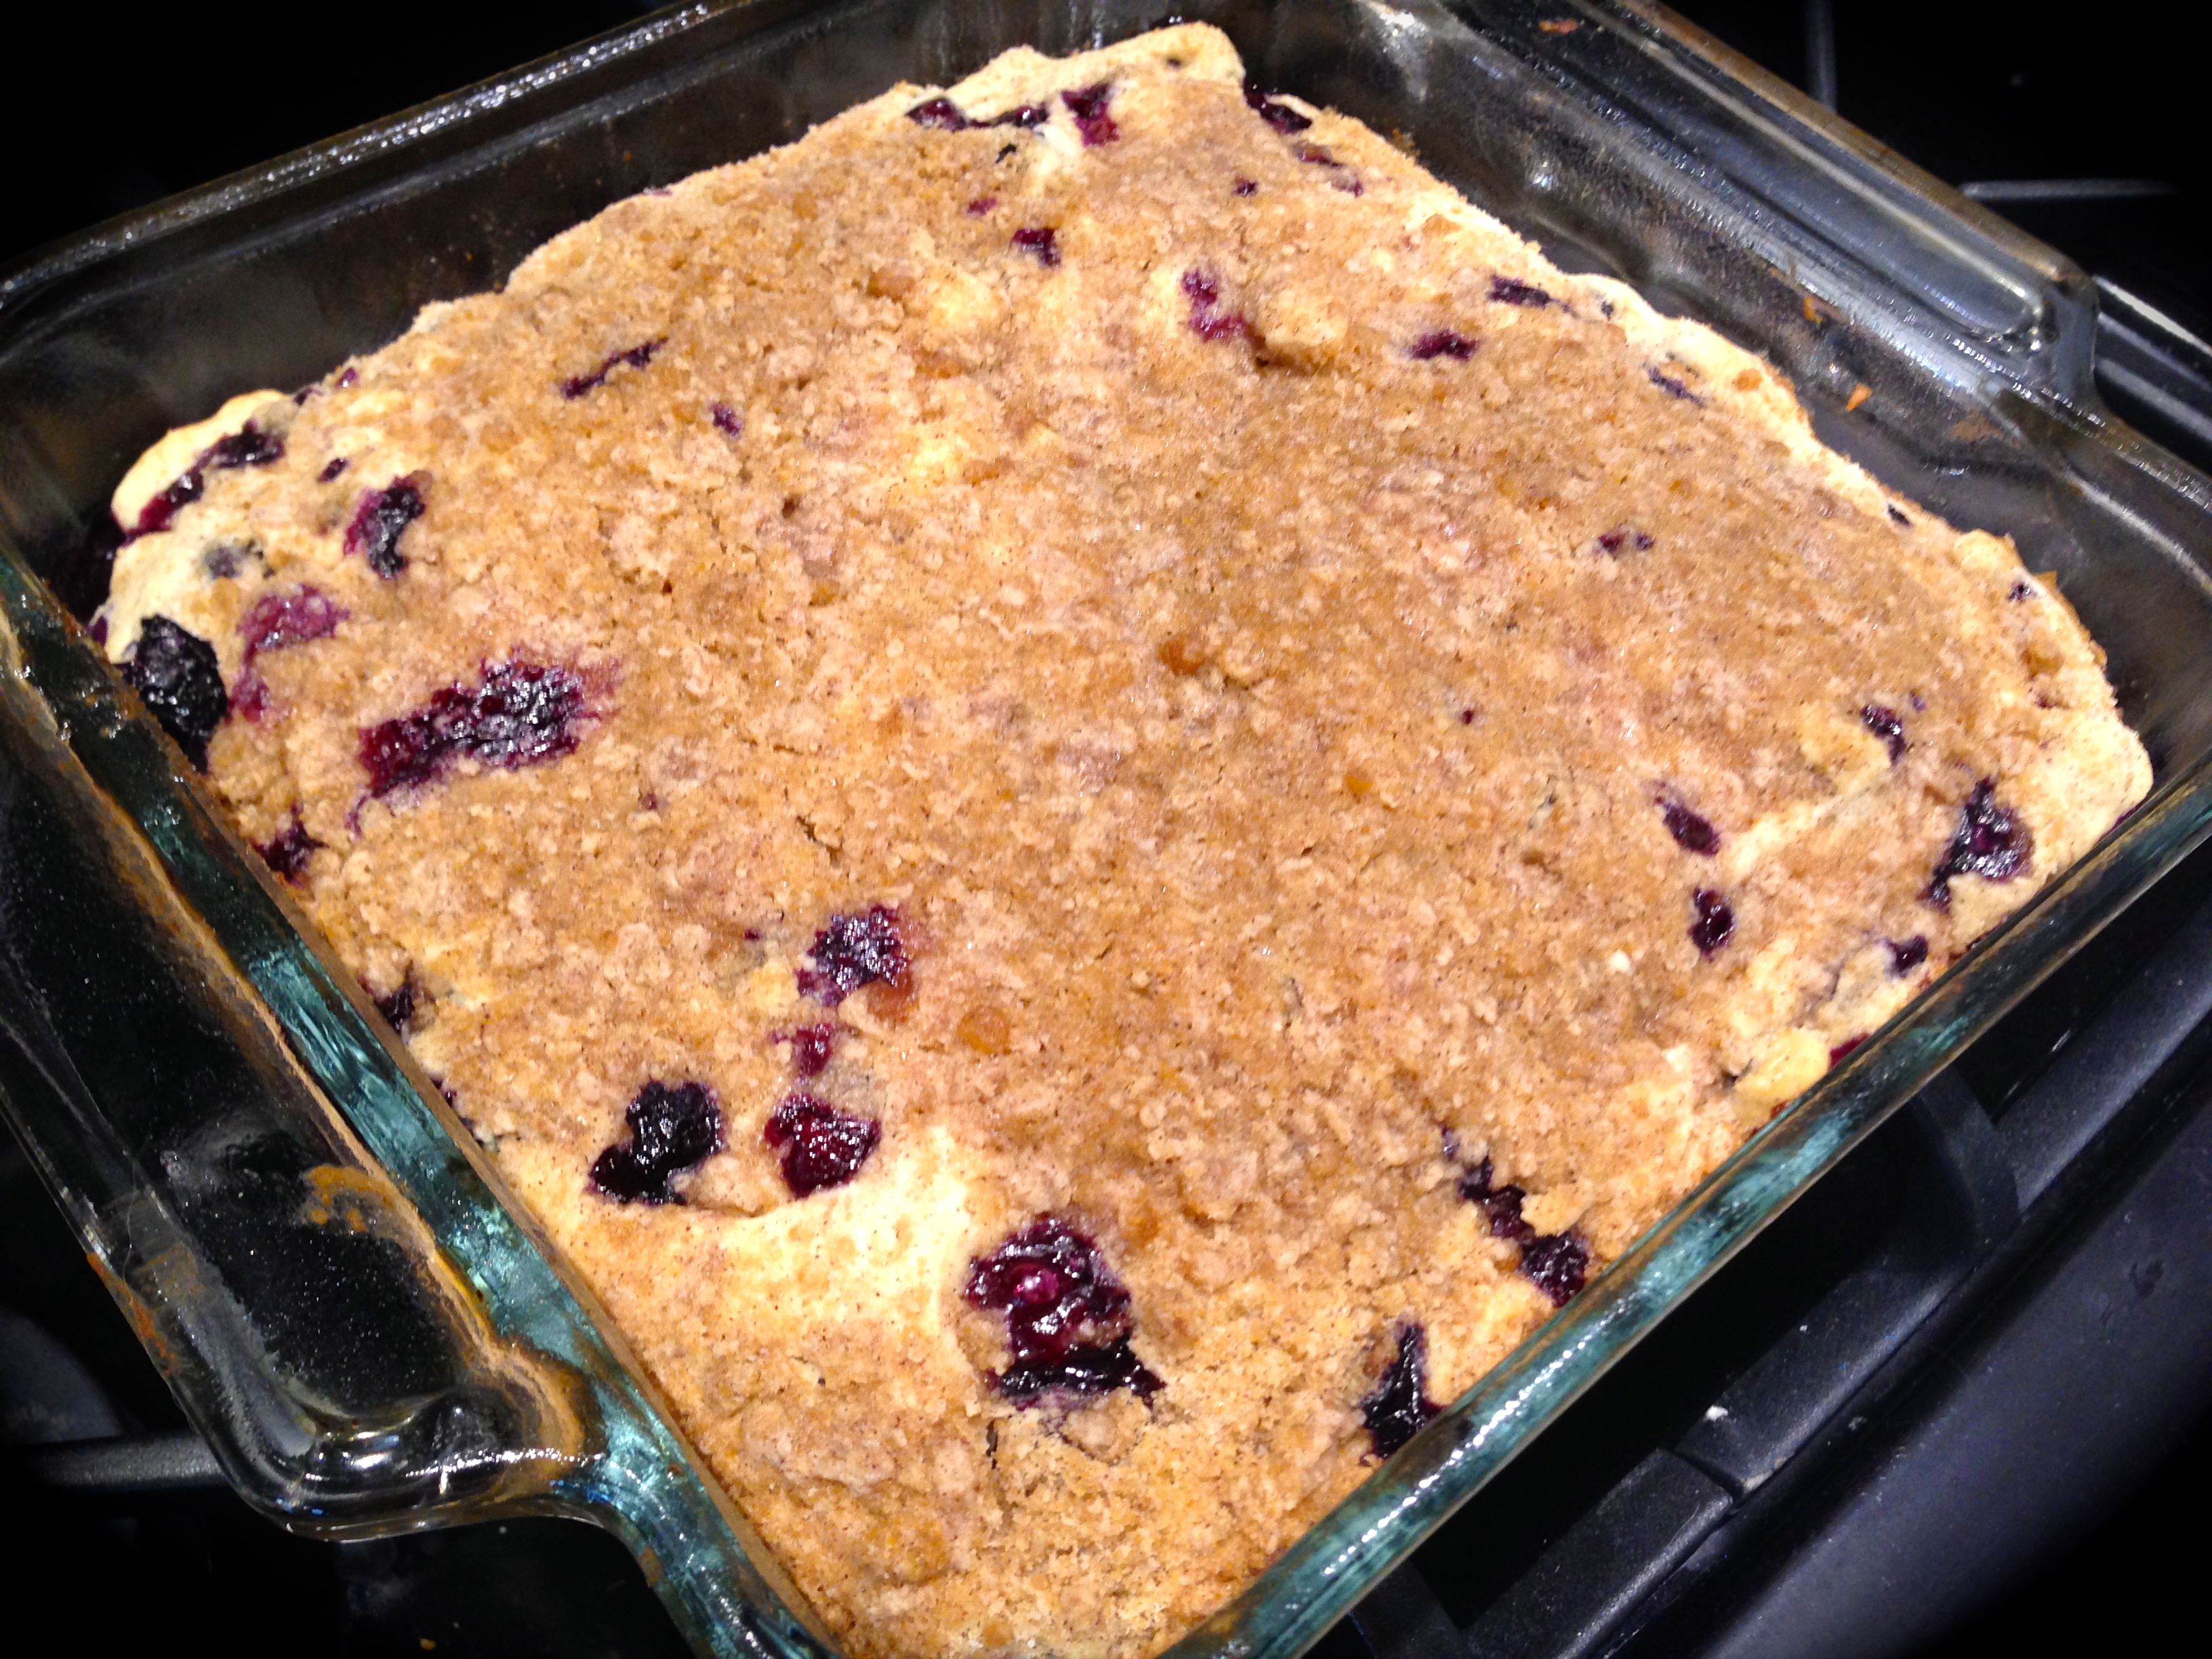
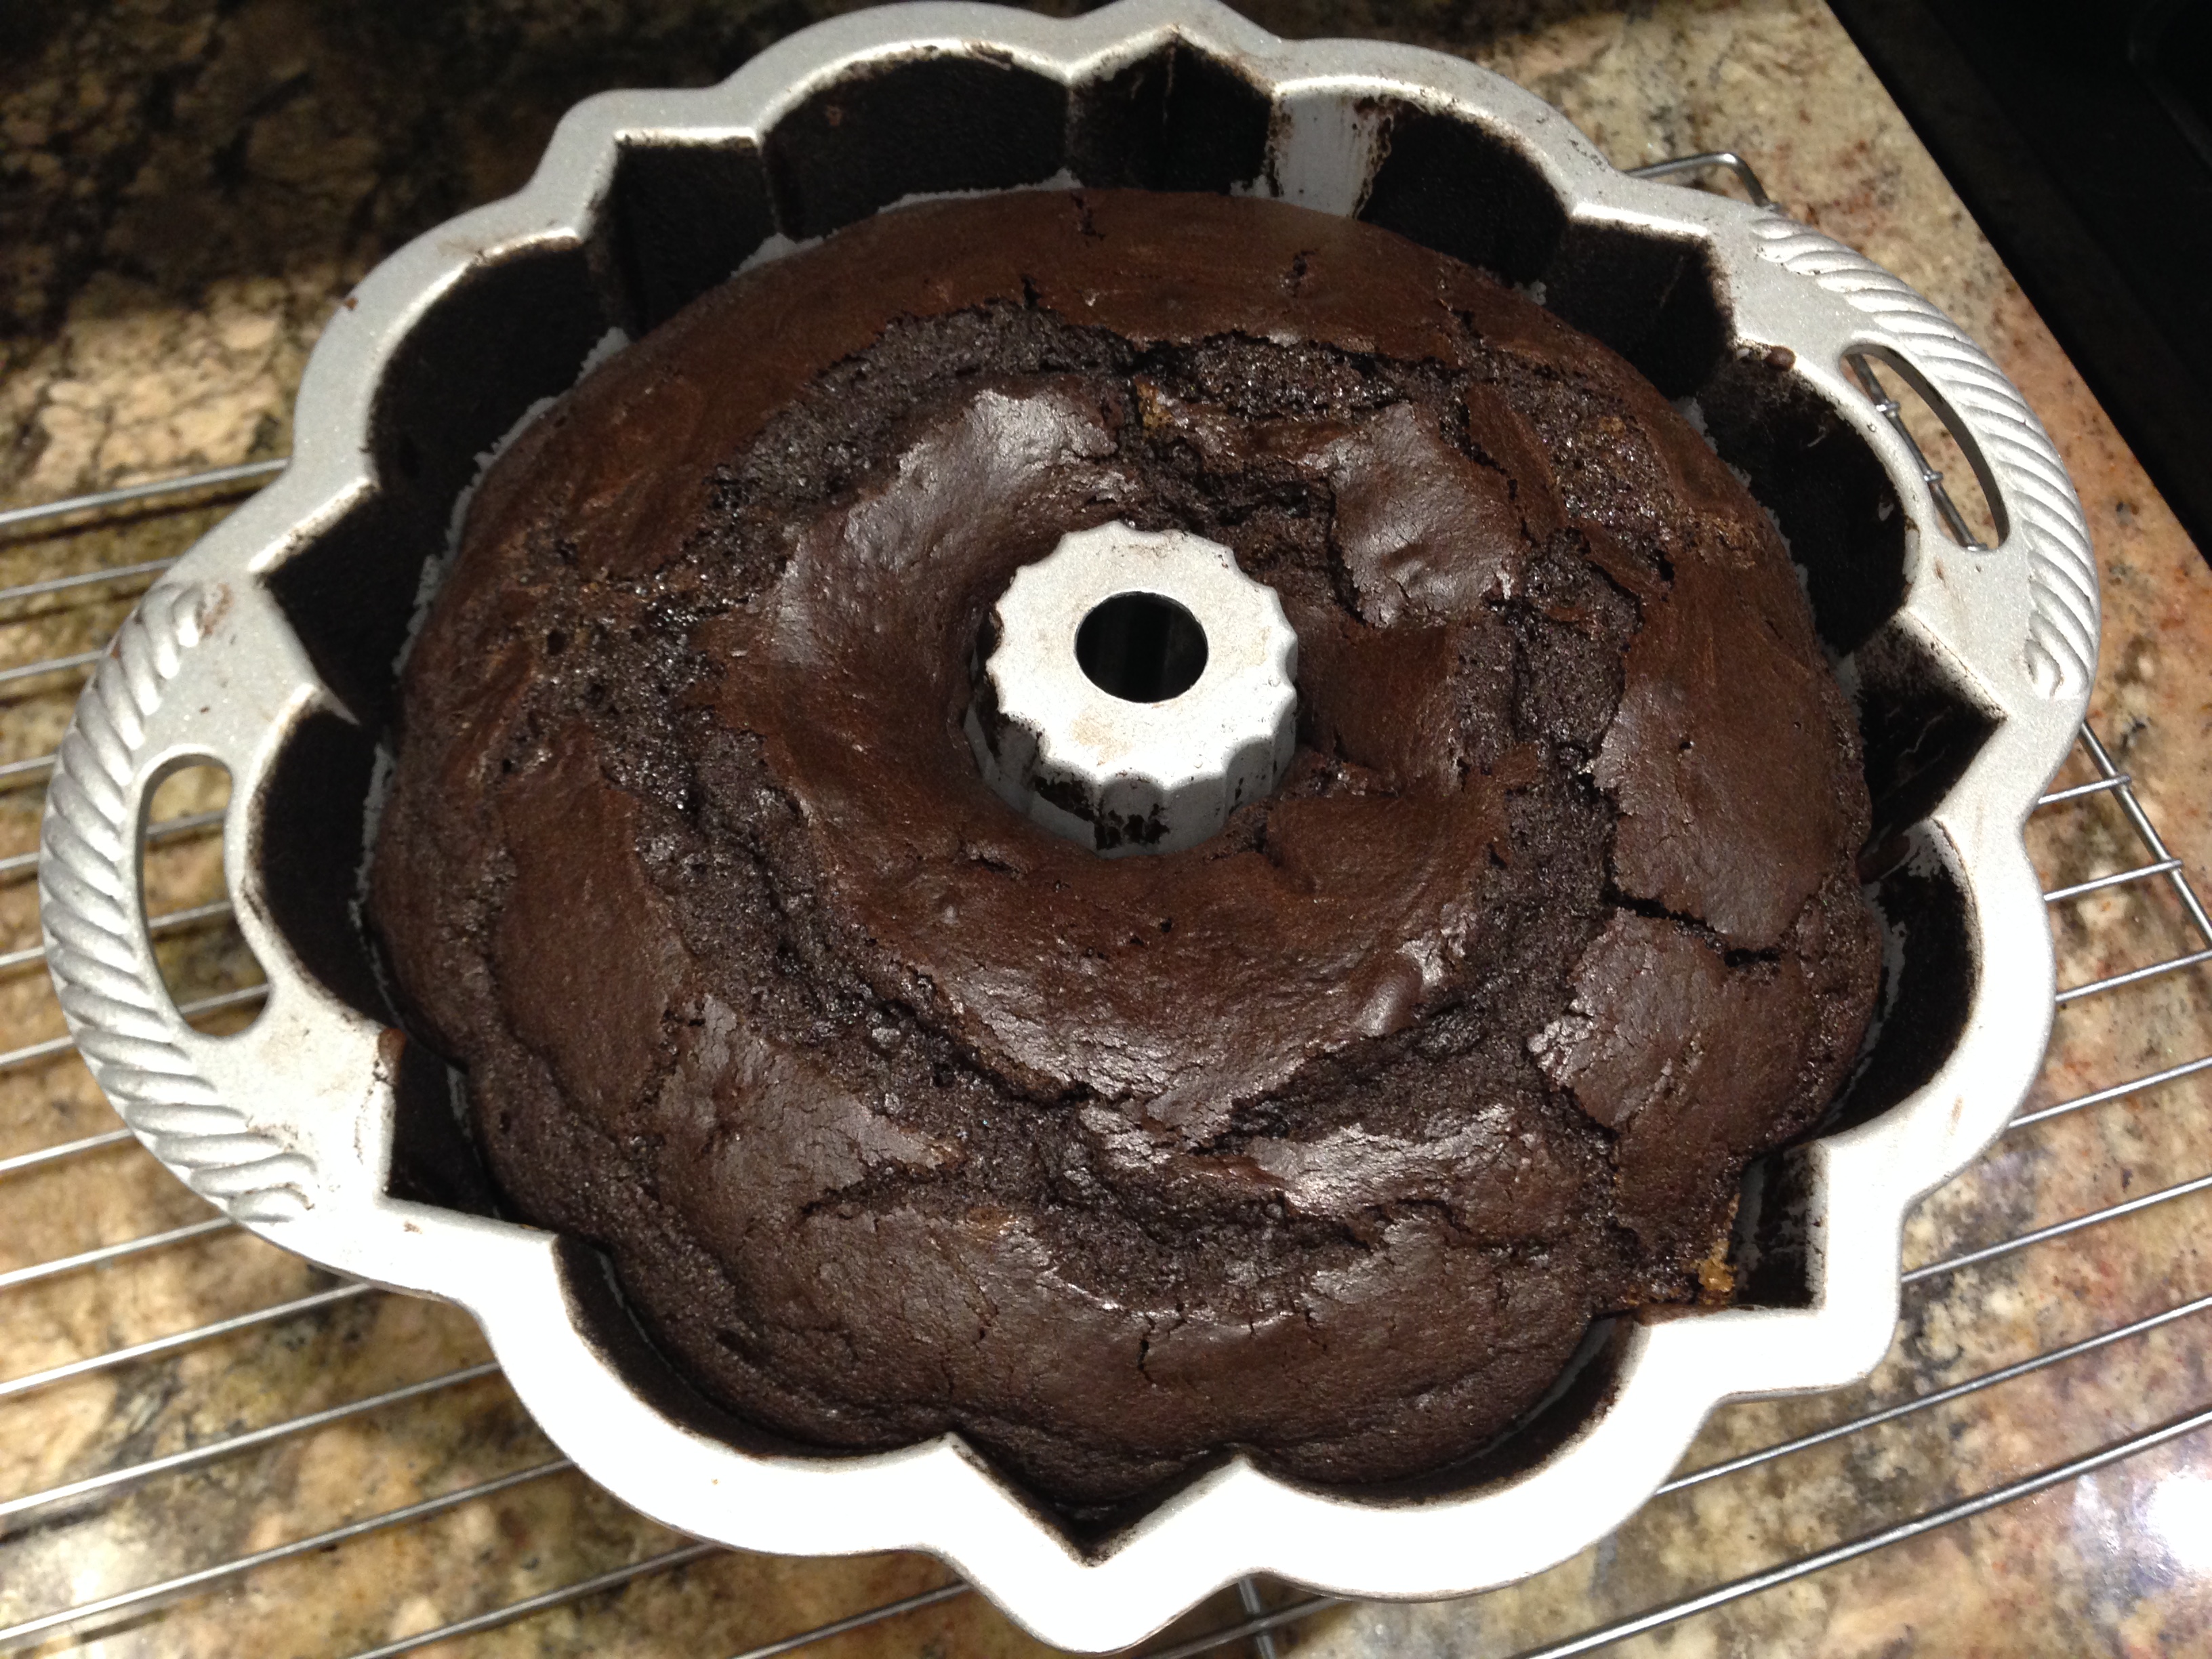
The Cheesecake
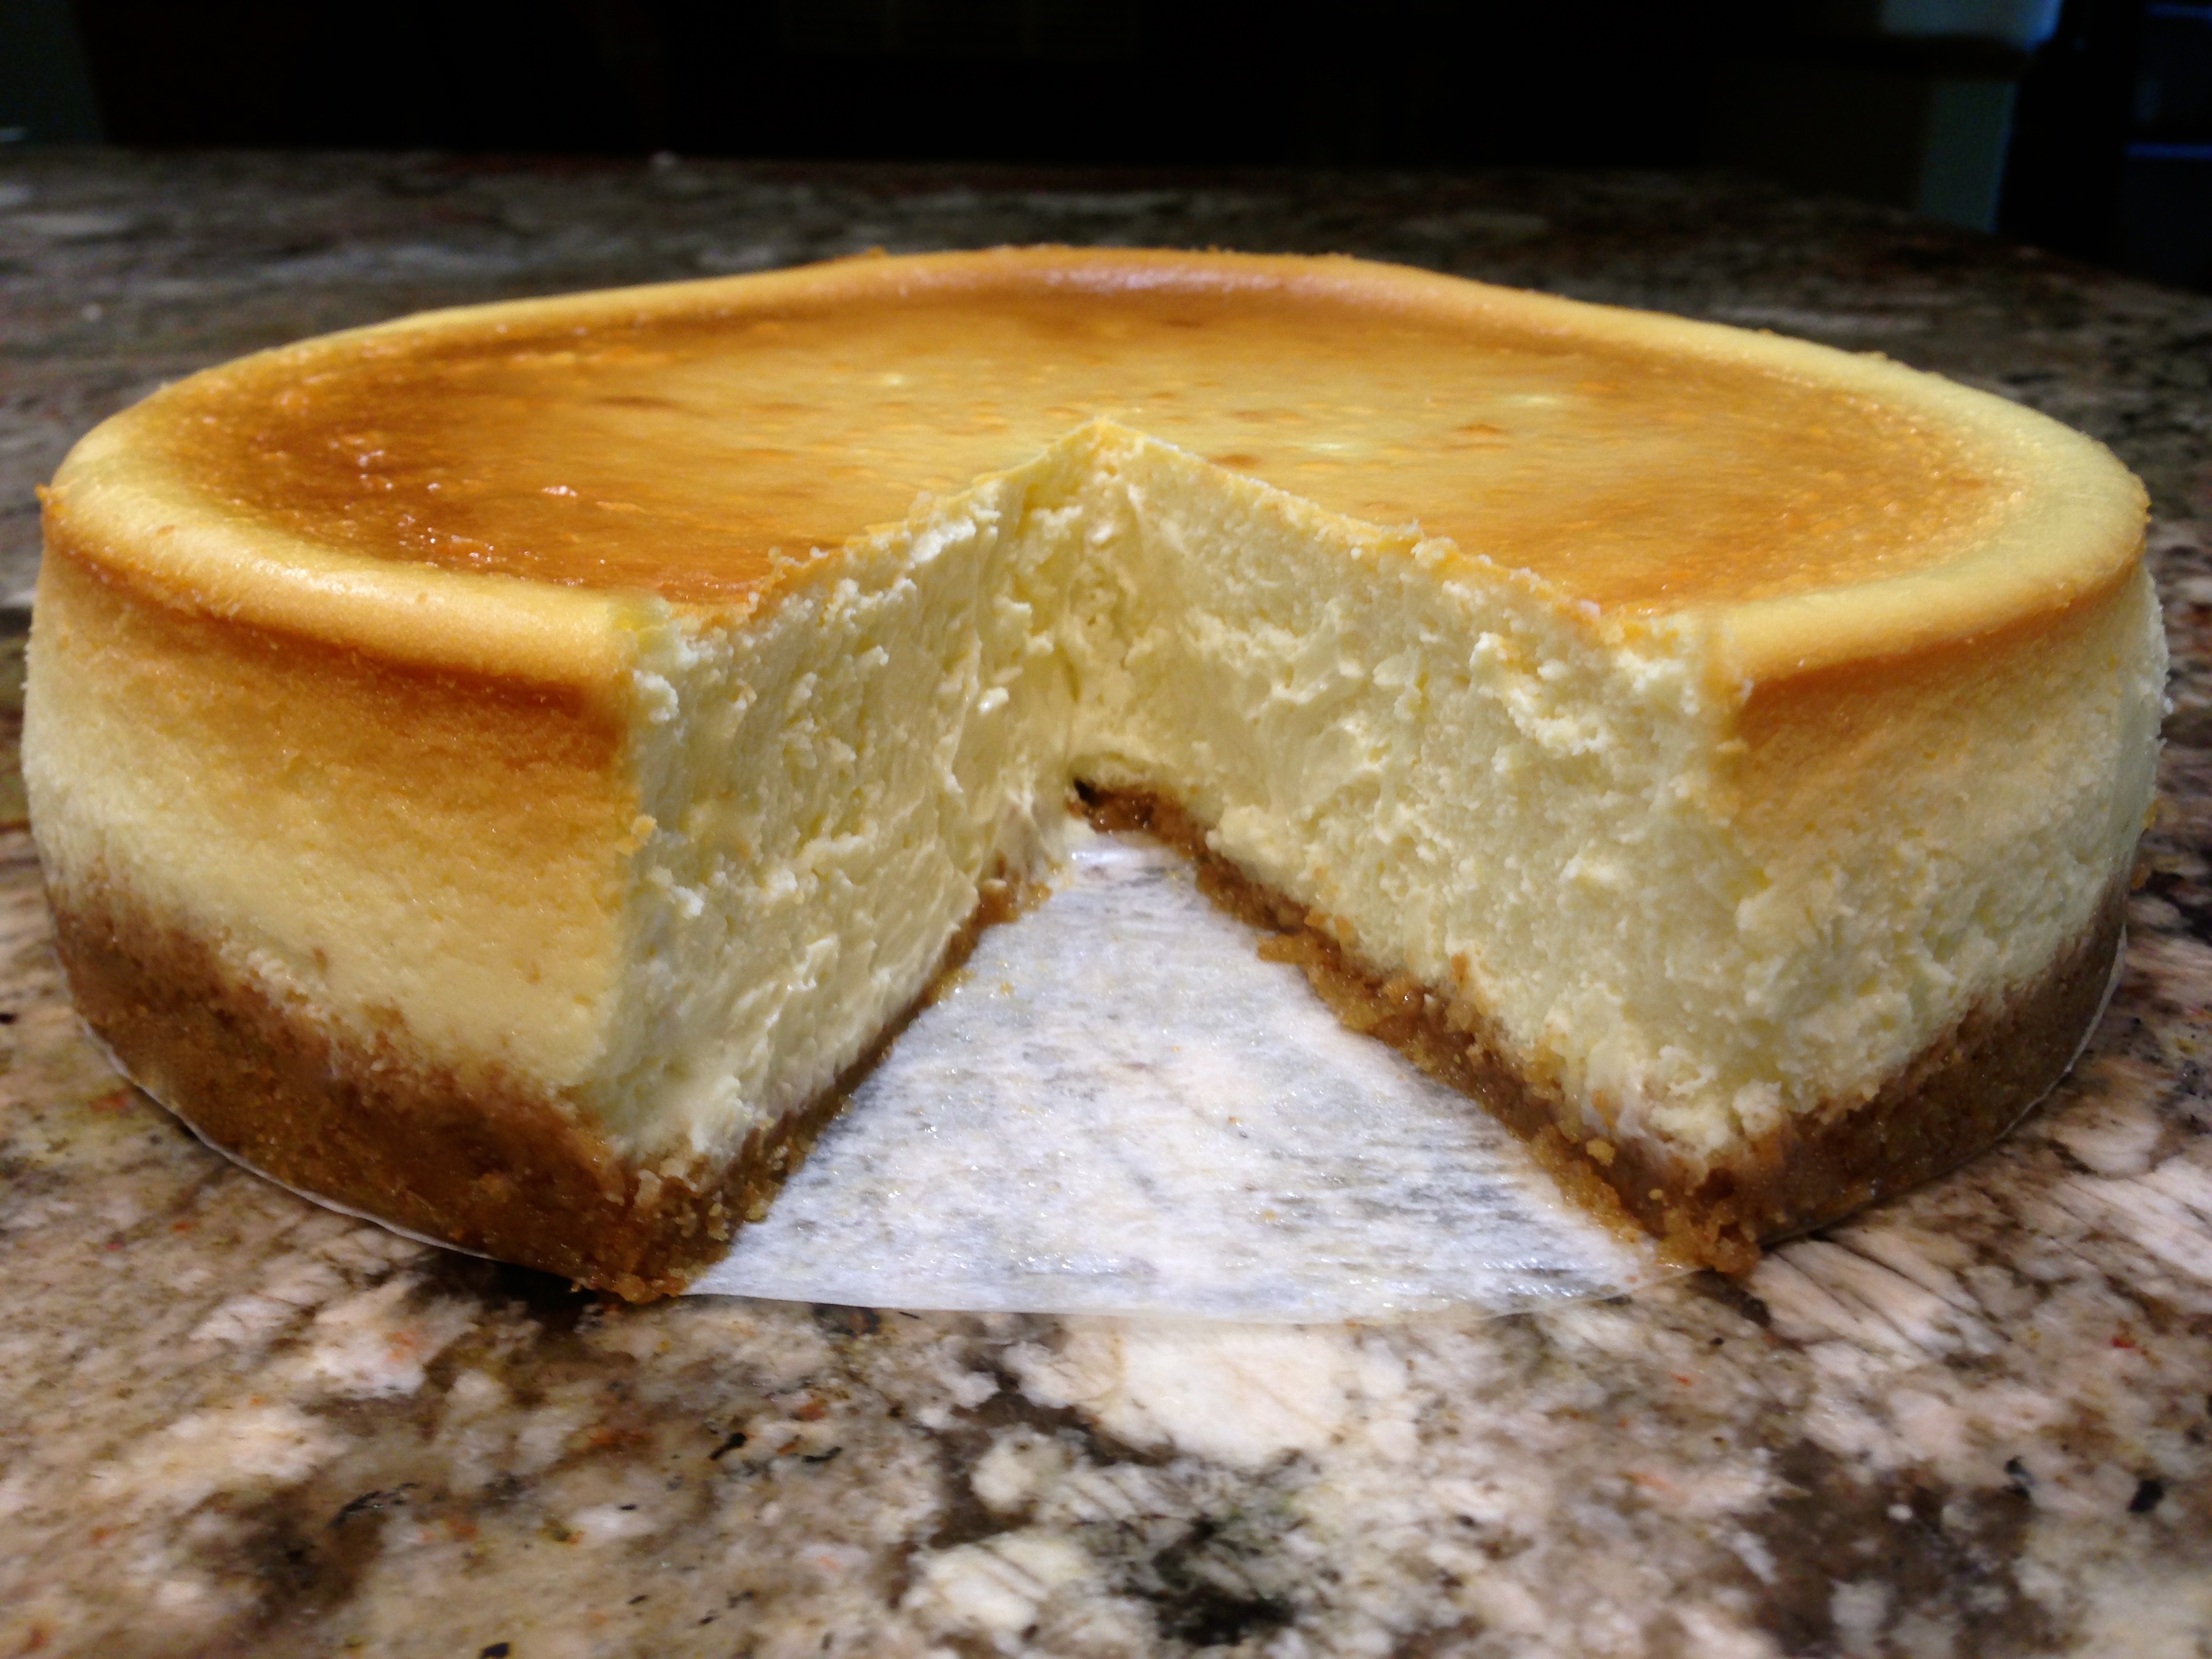
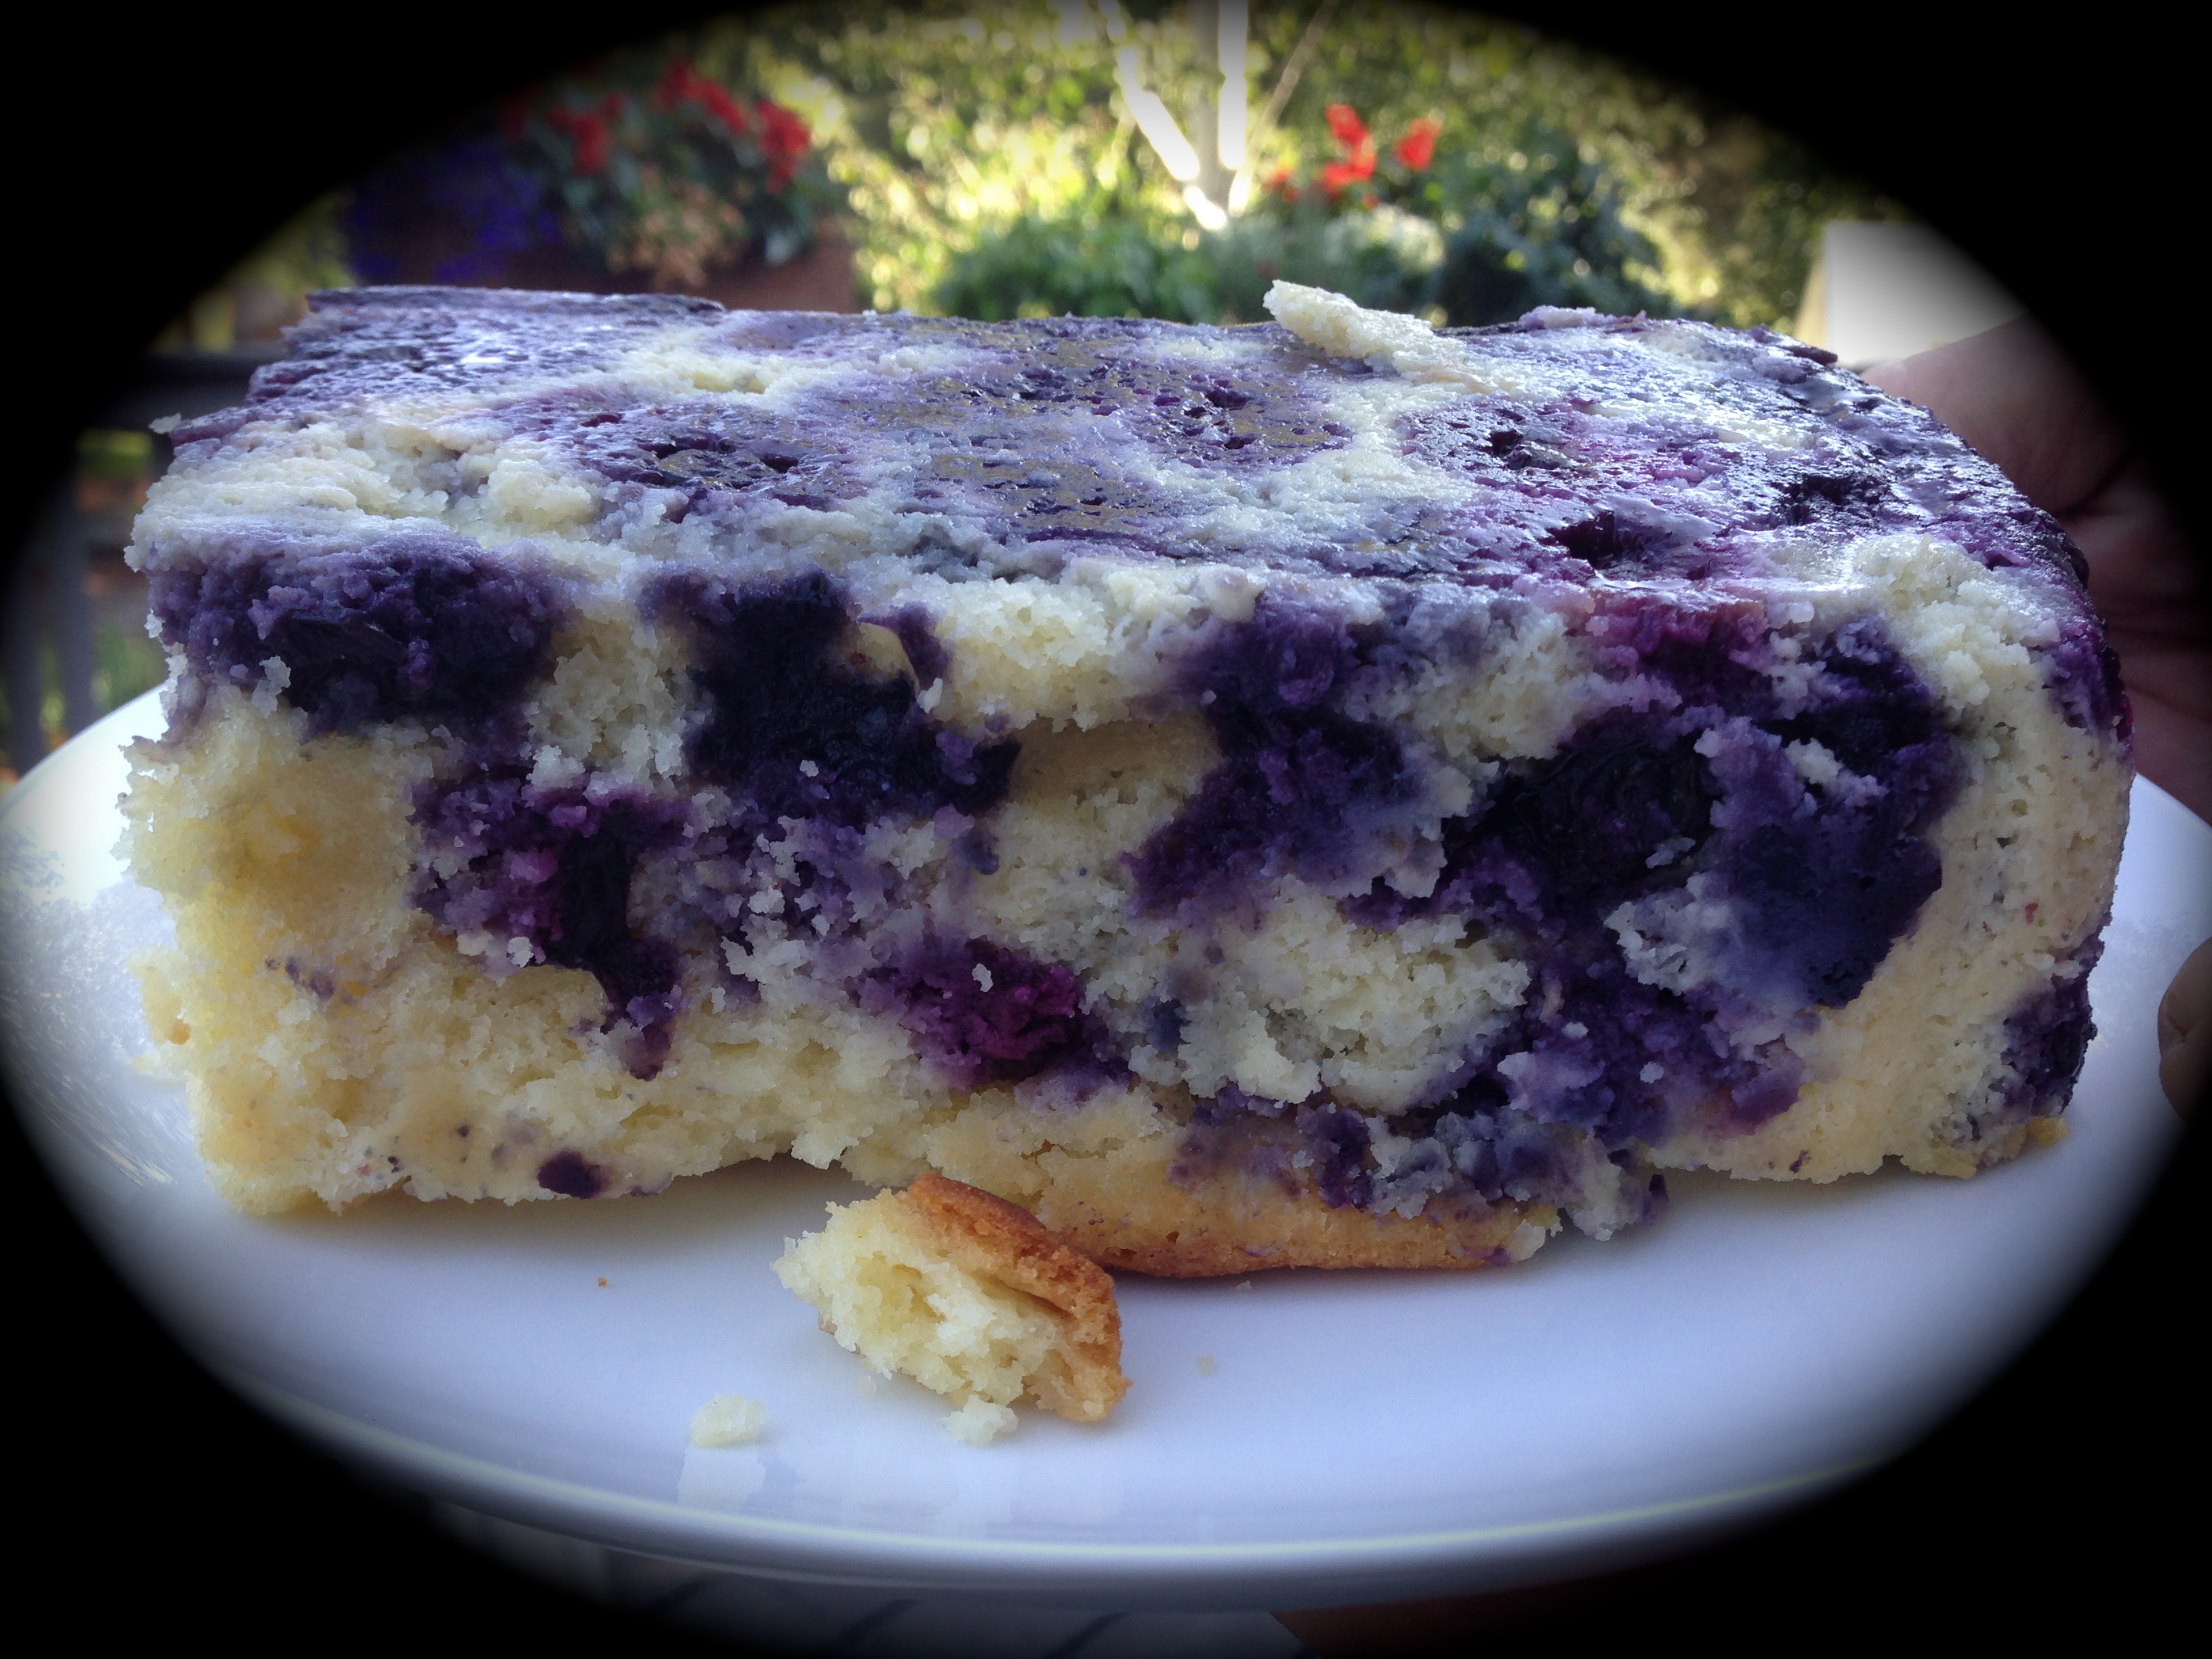
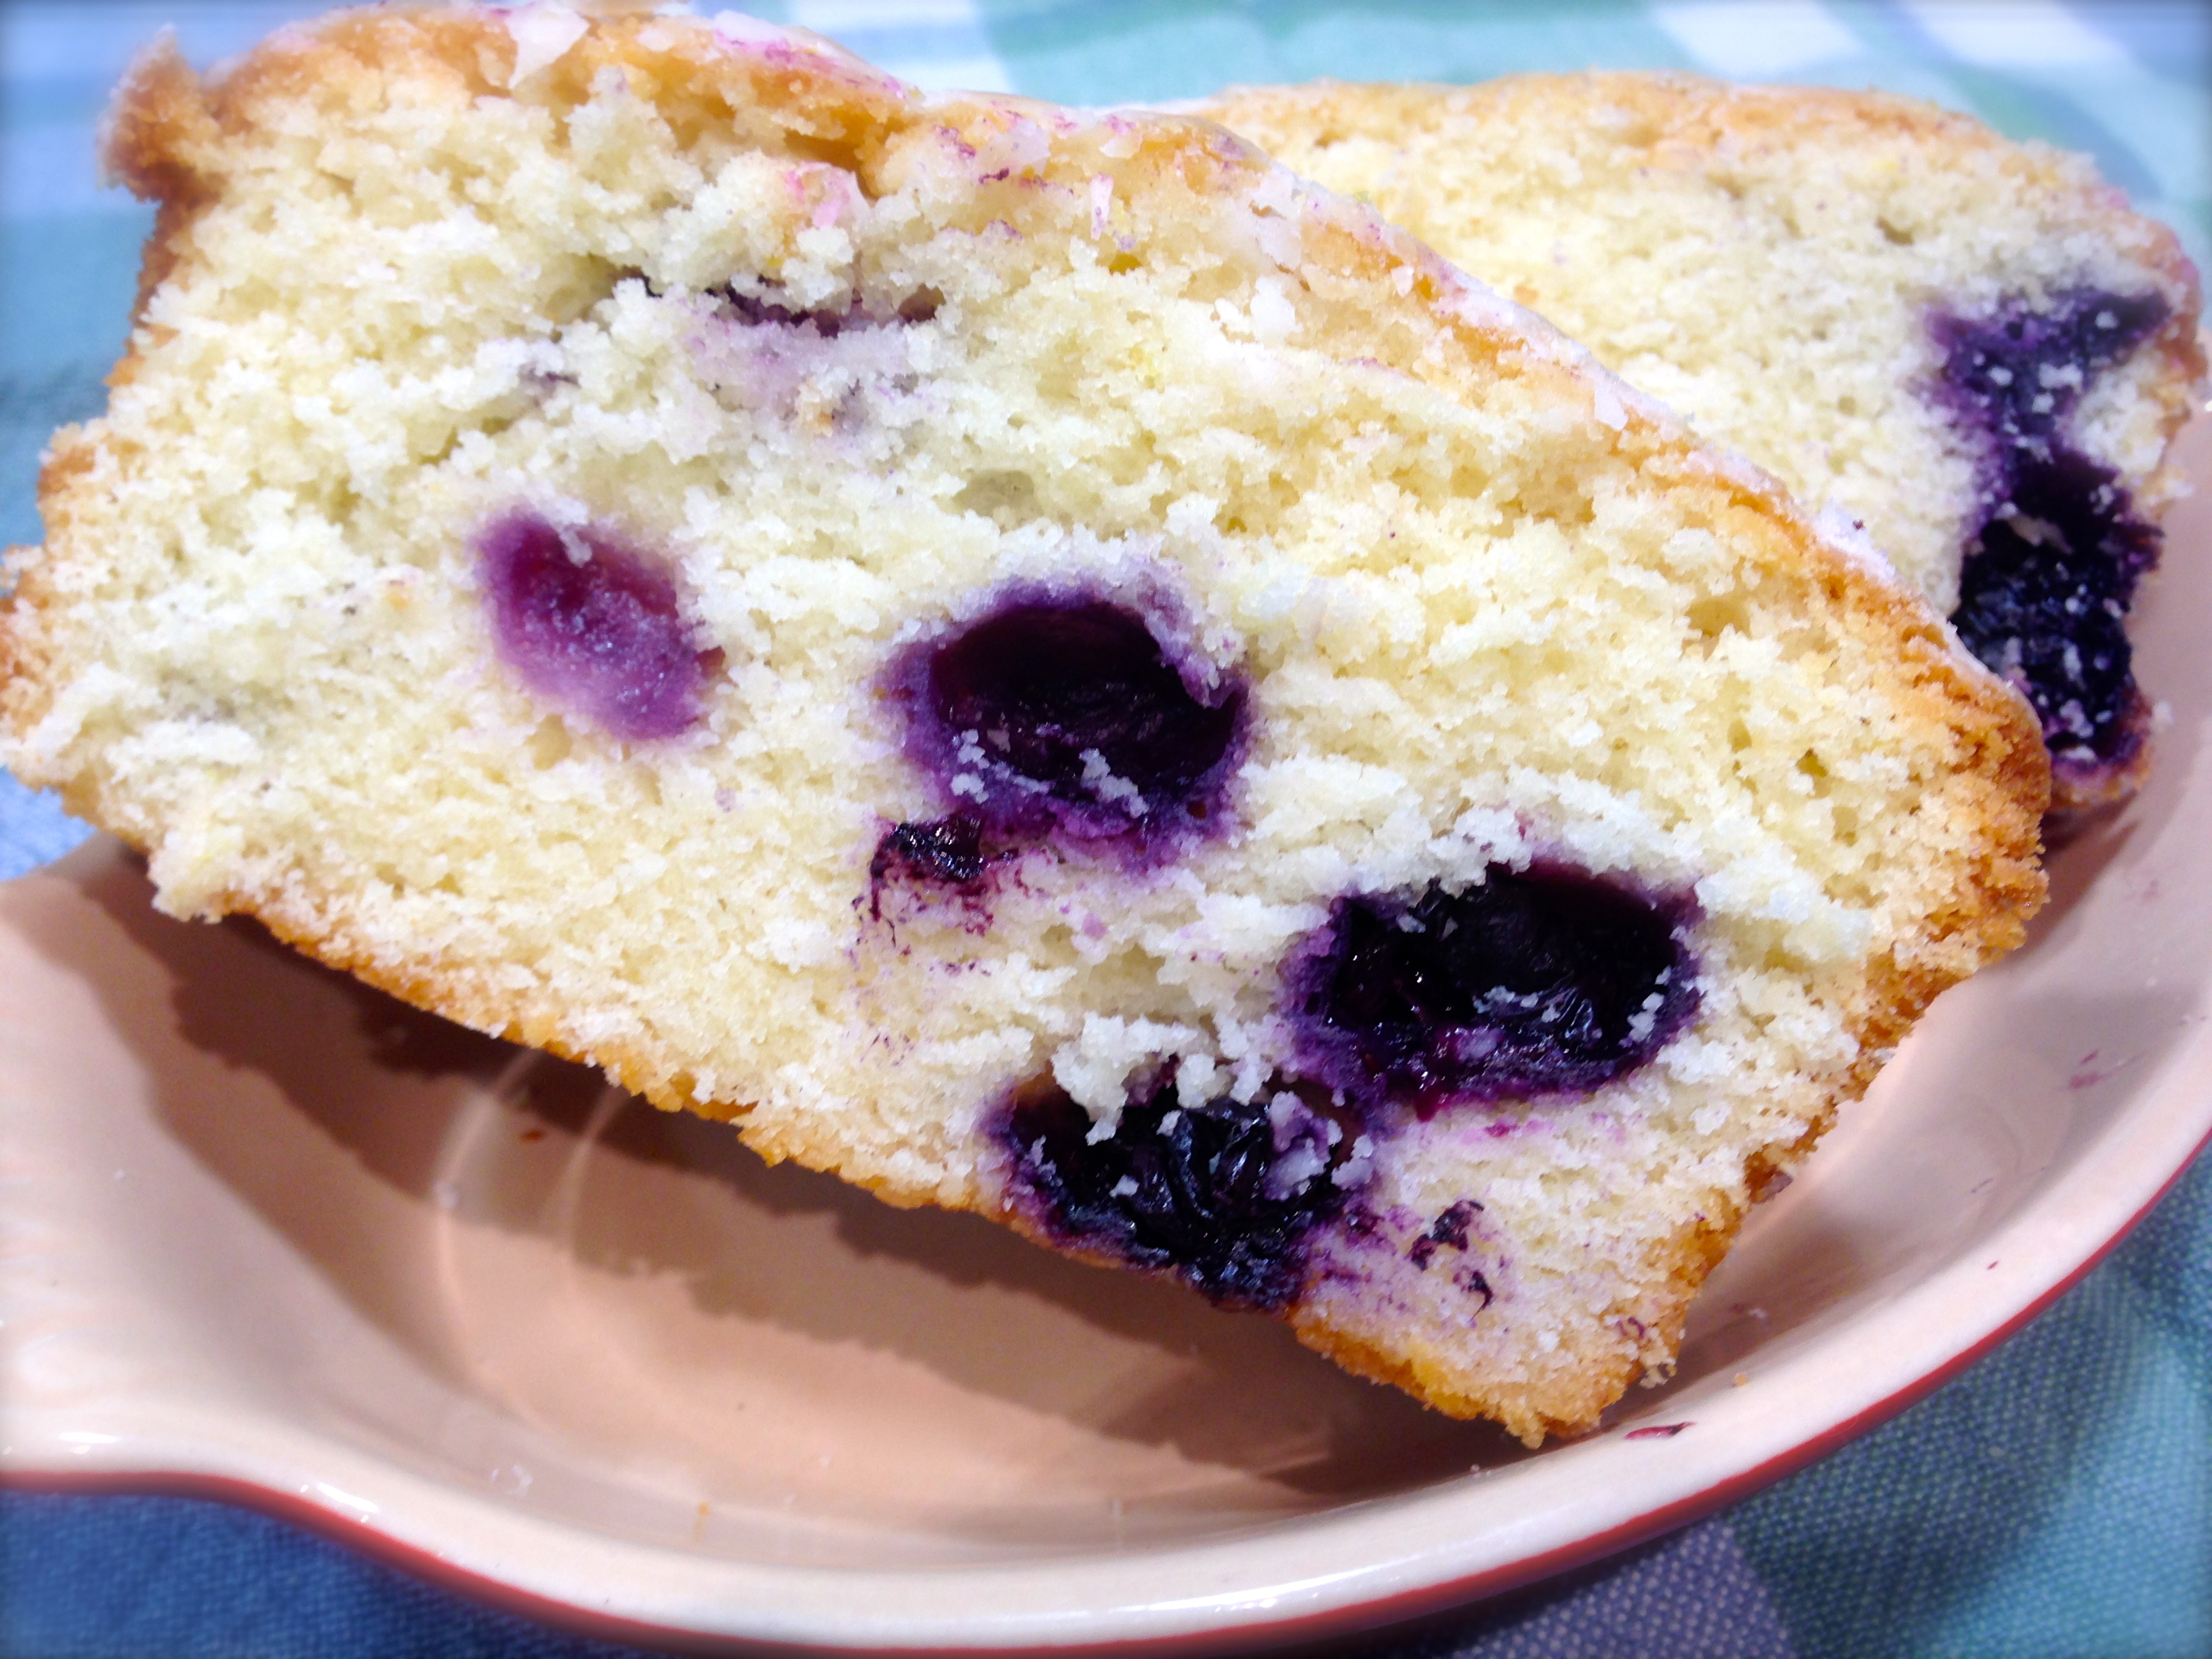
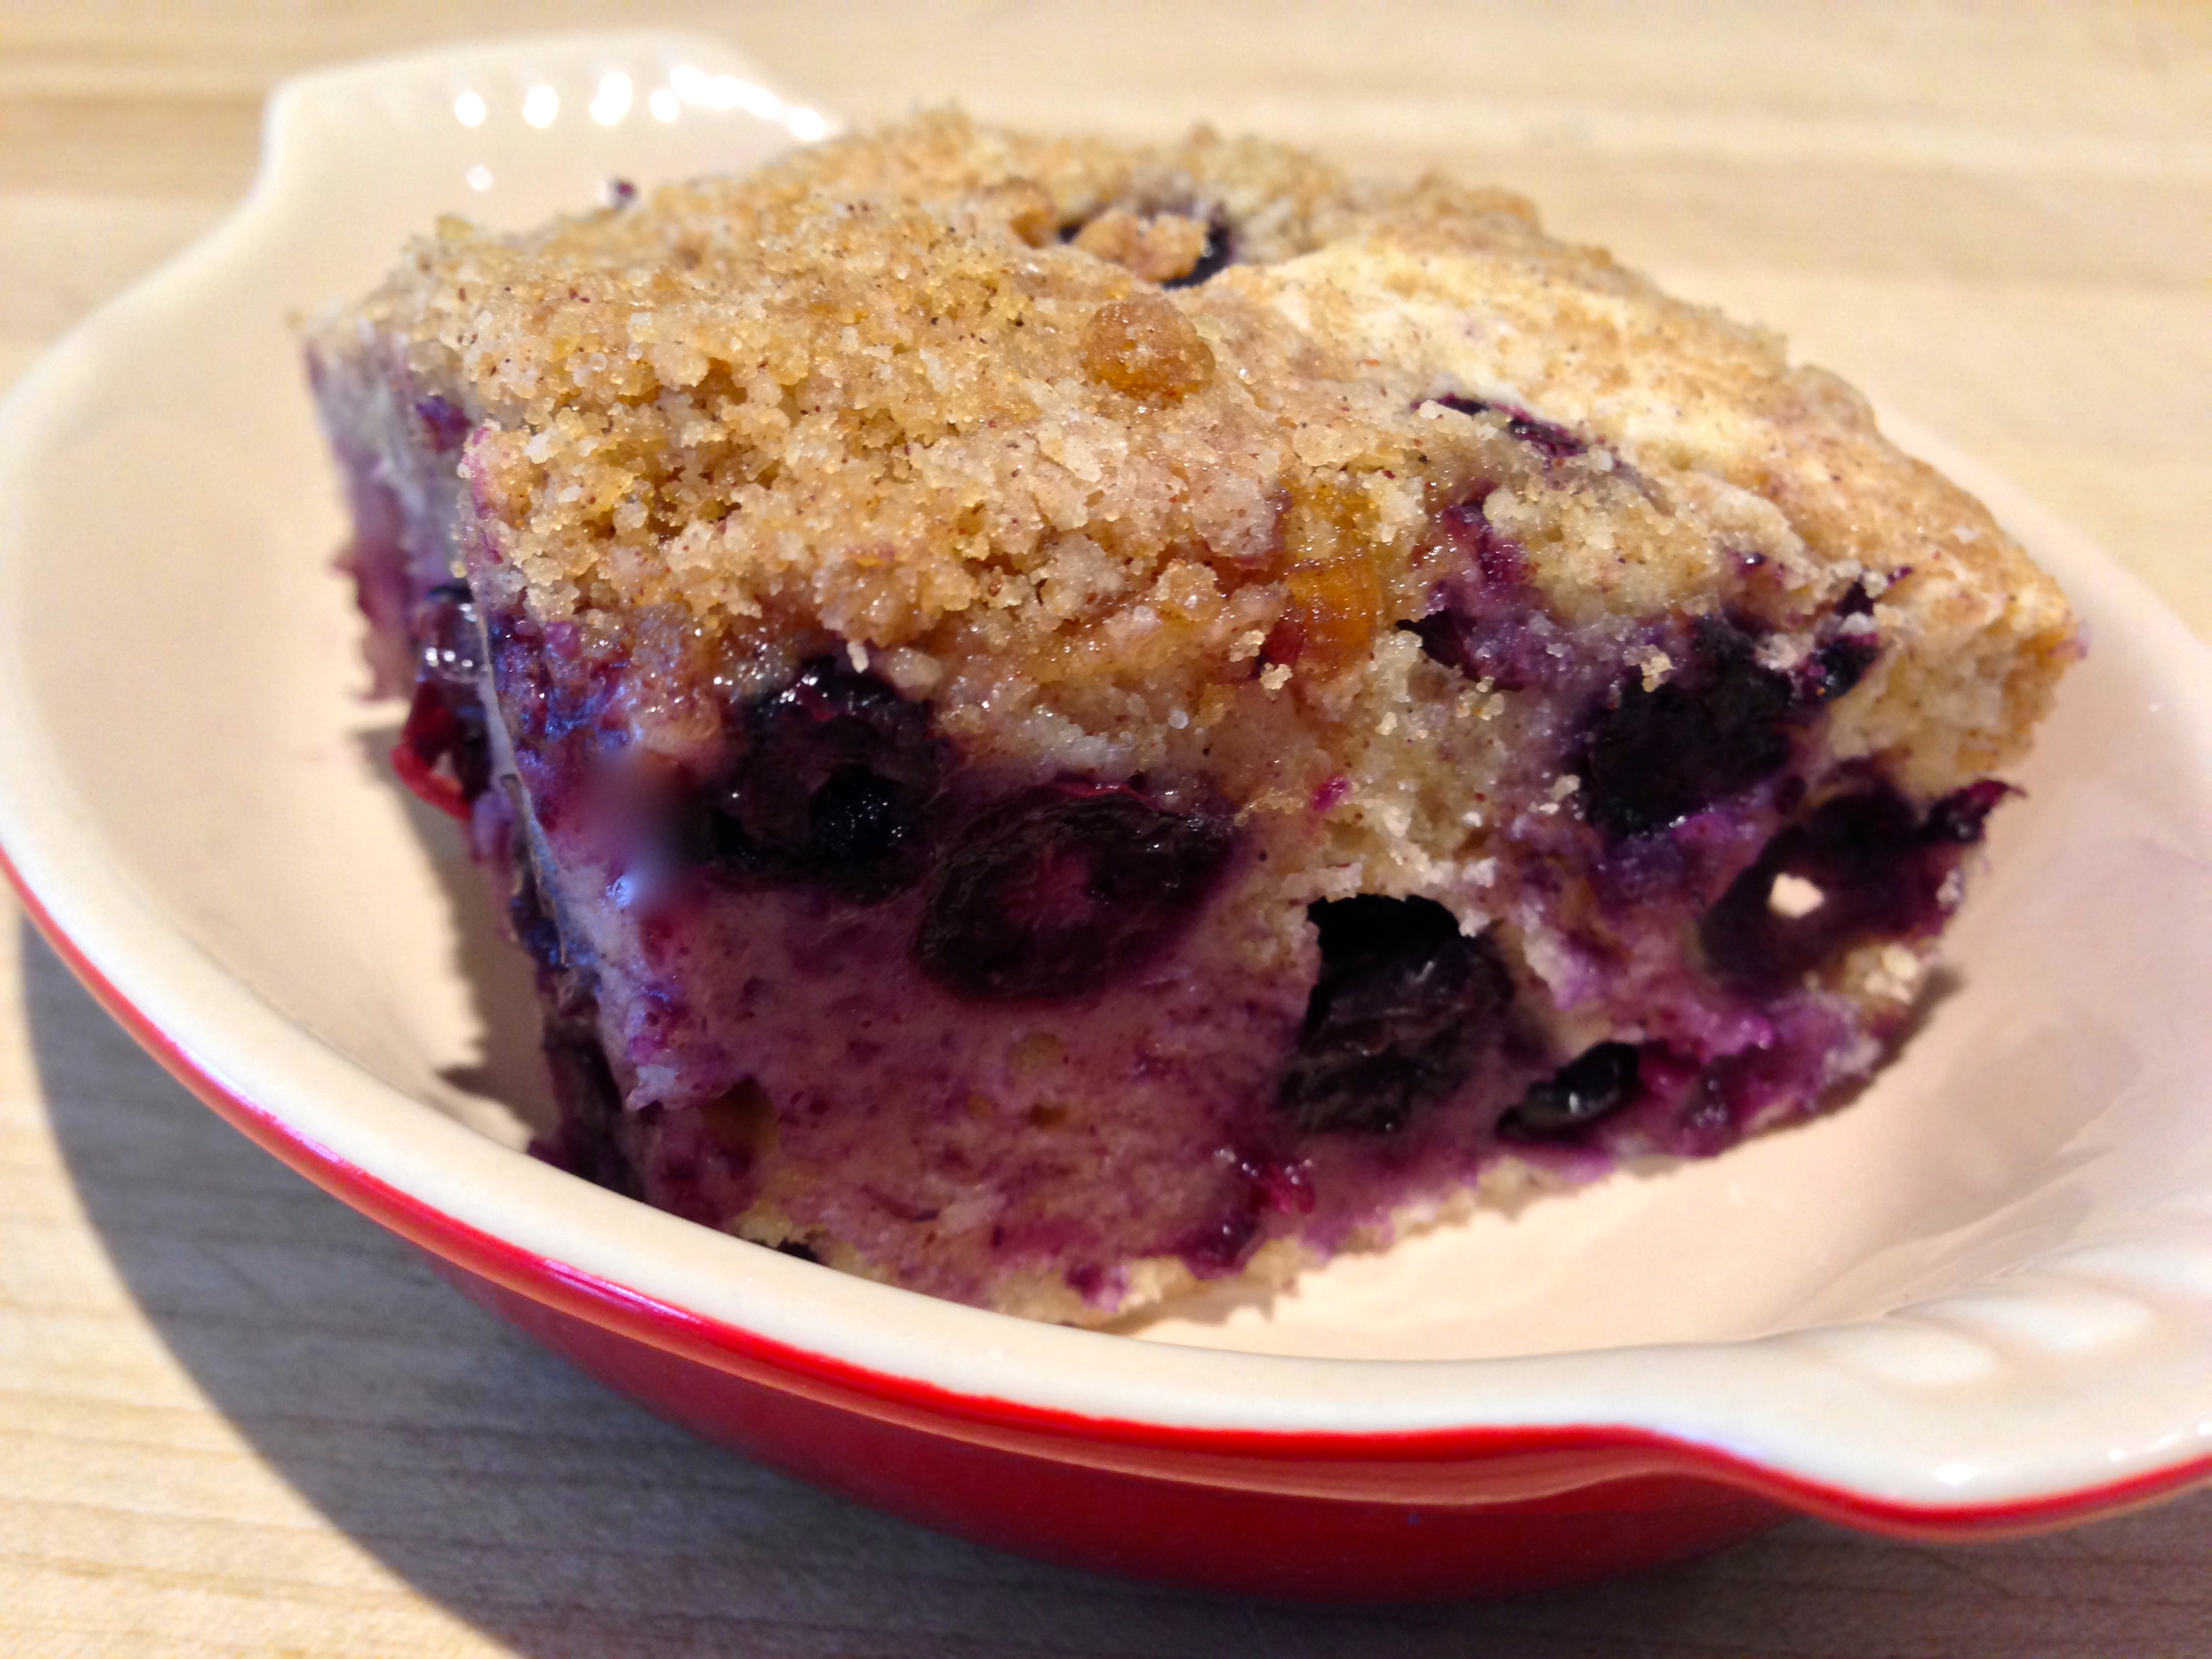
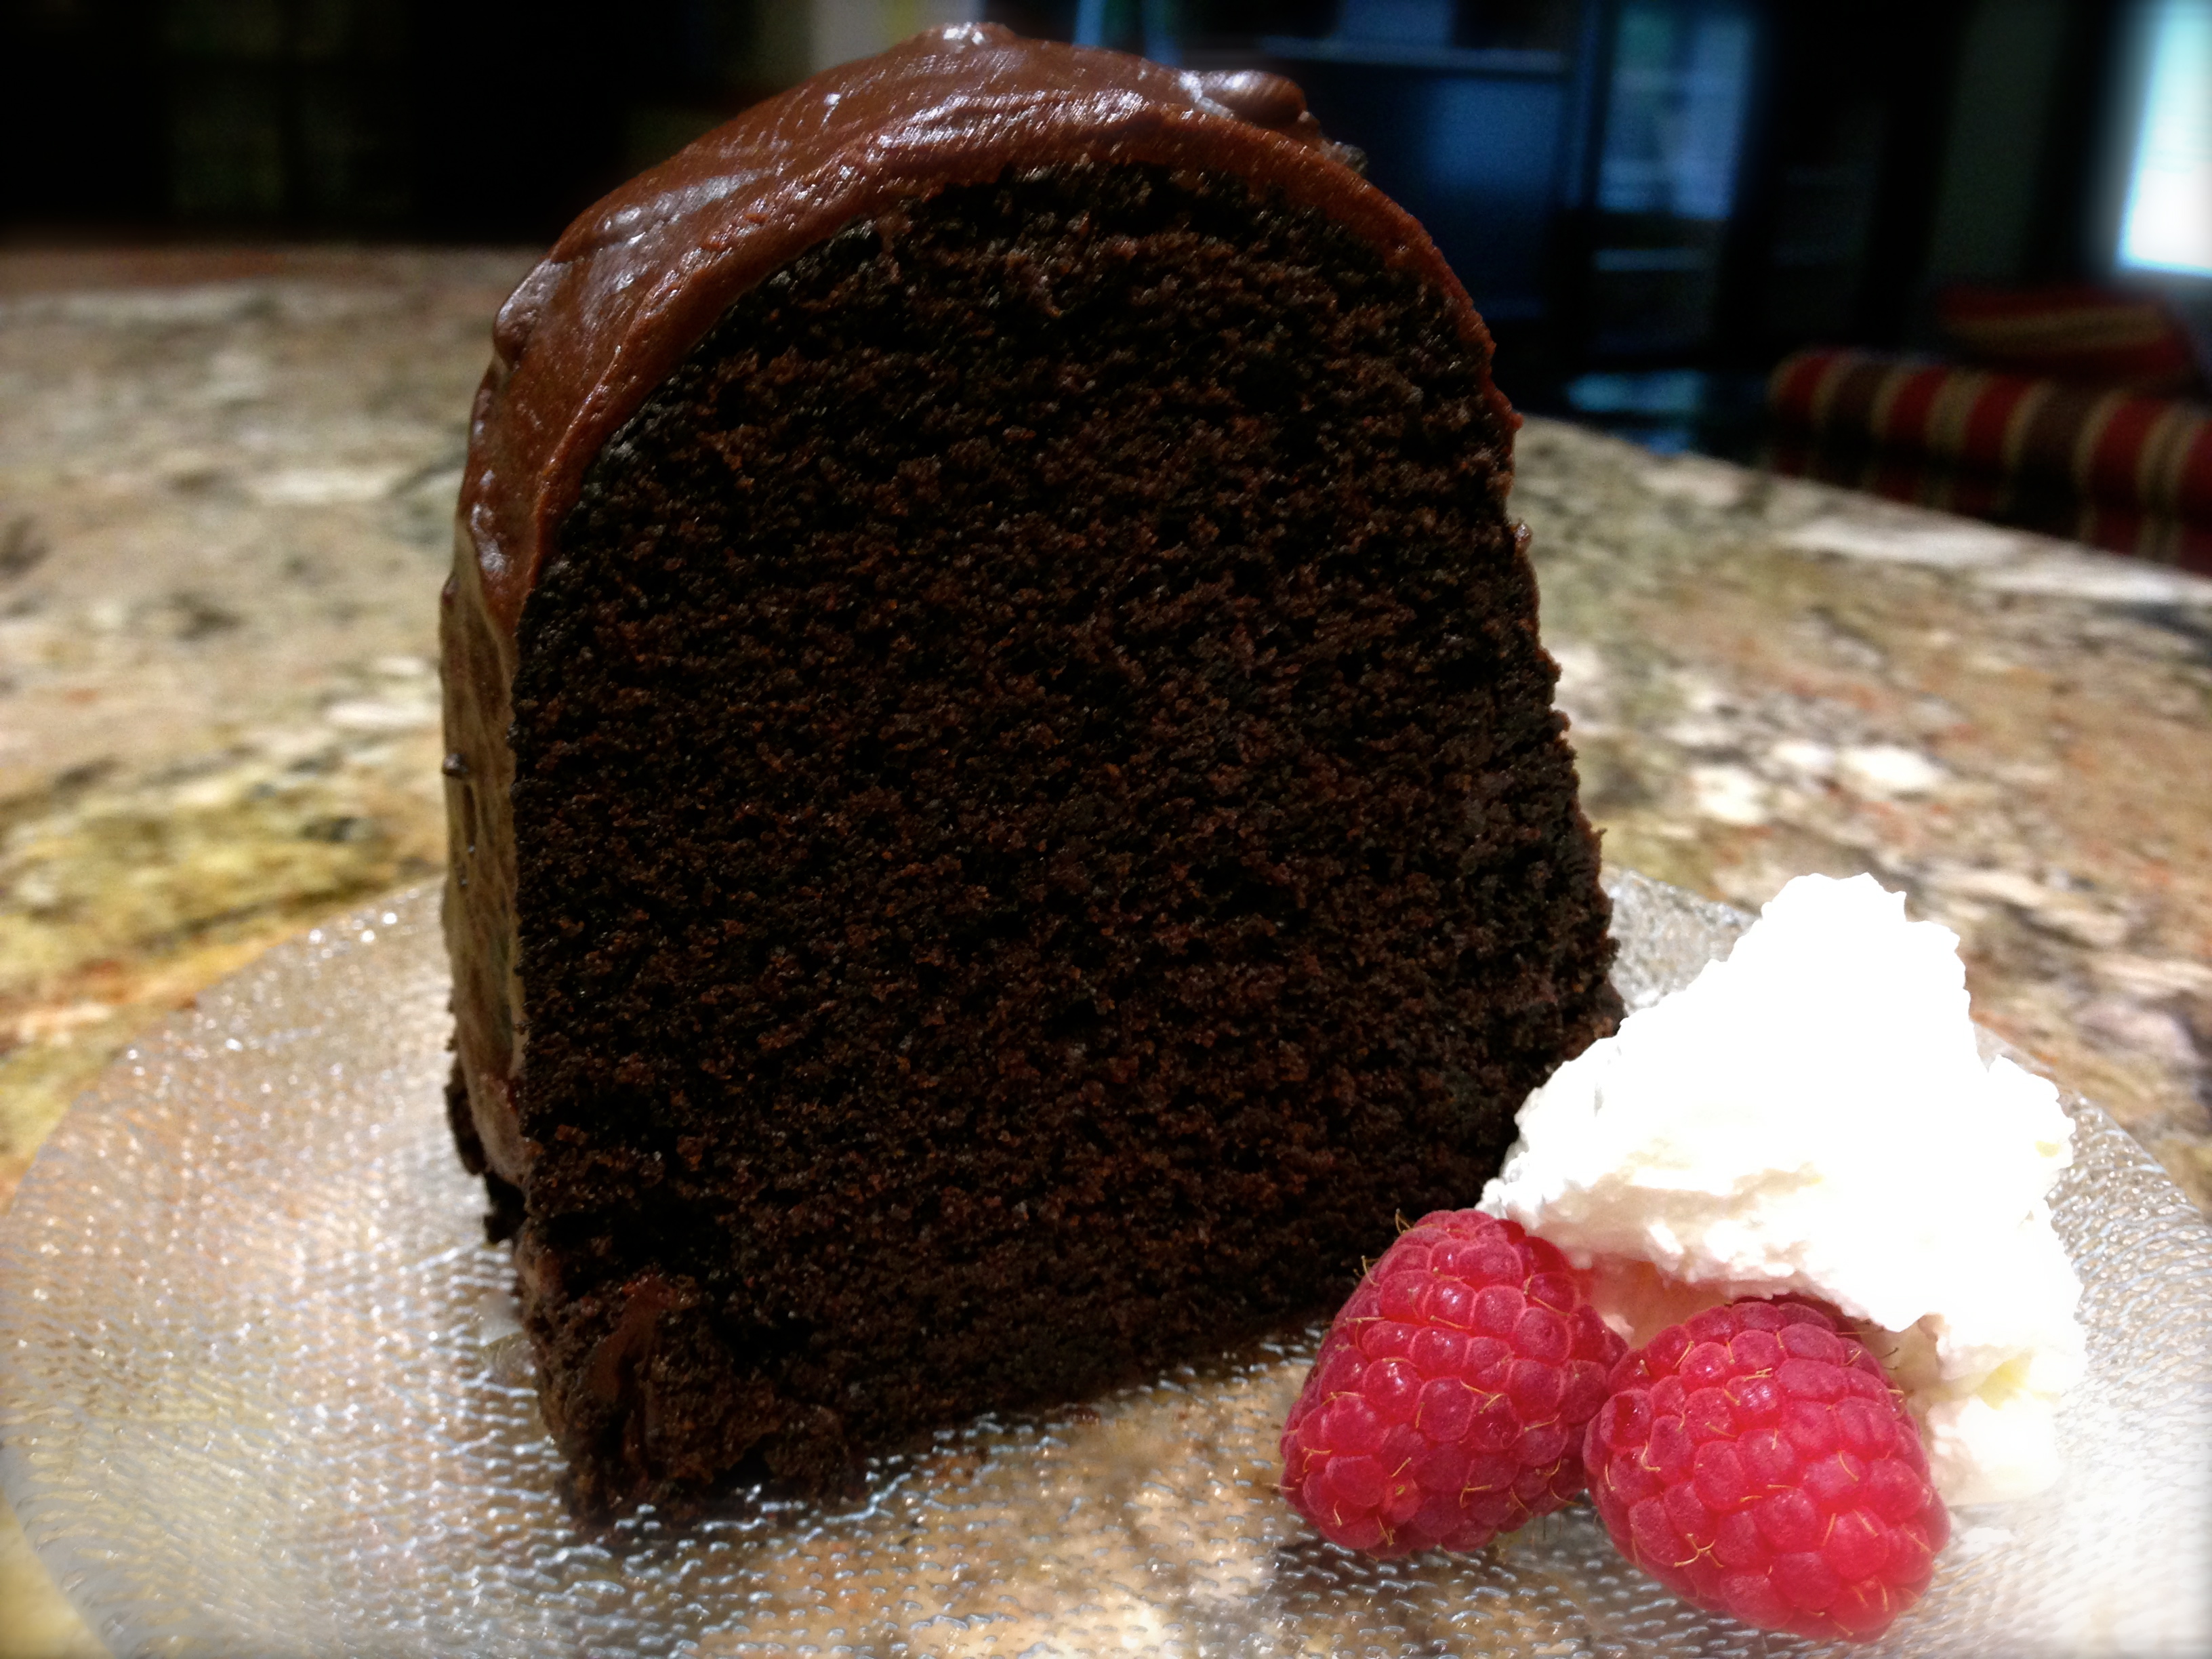
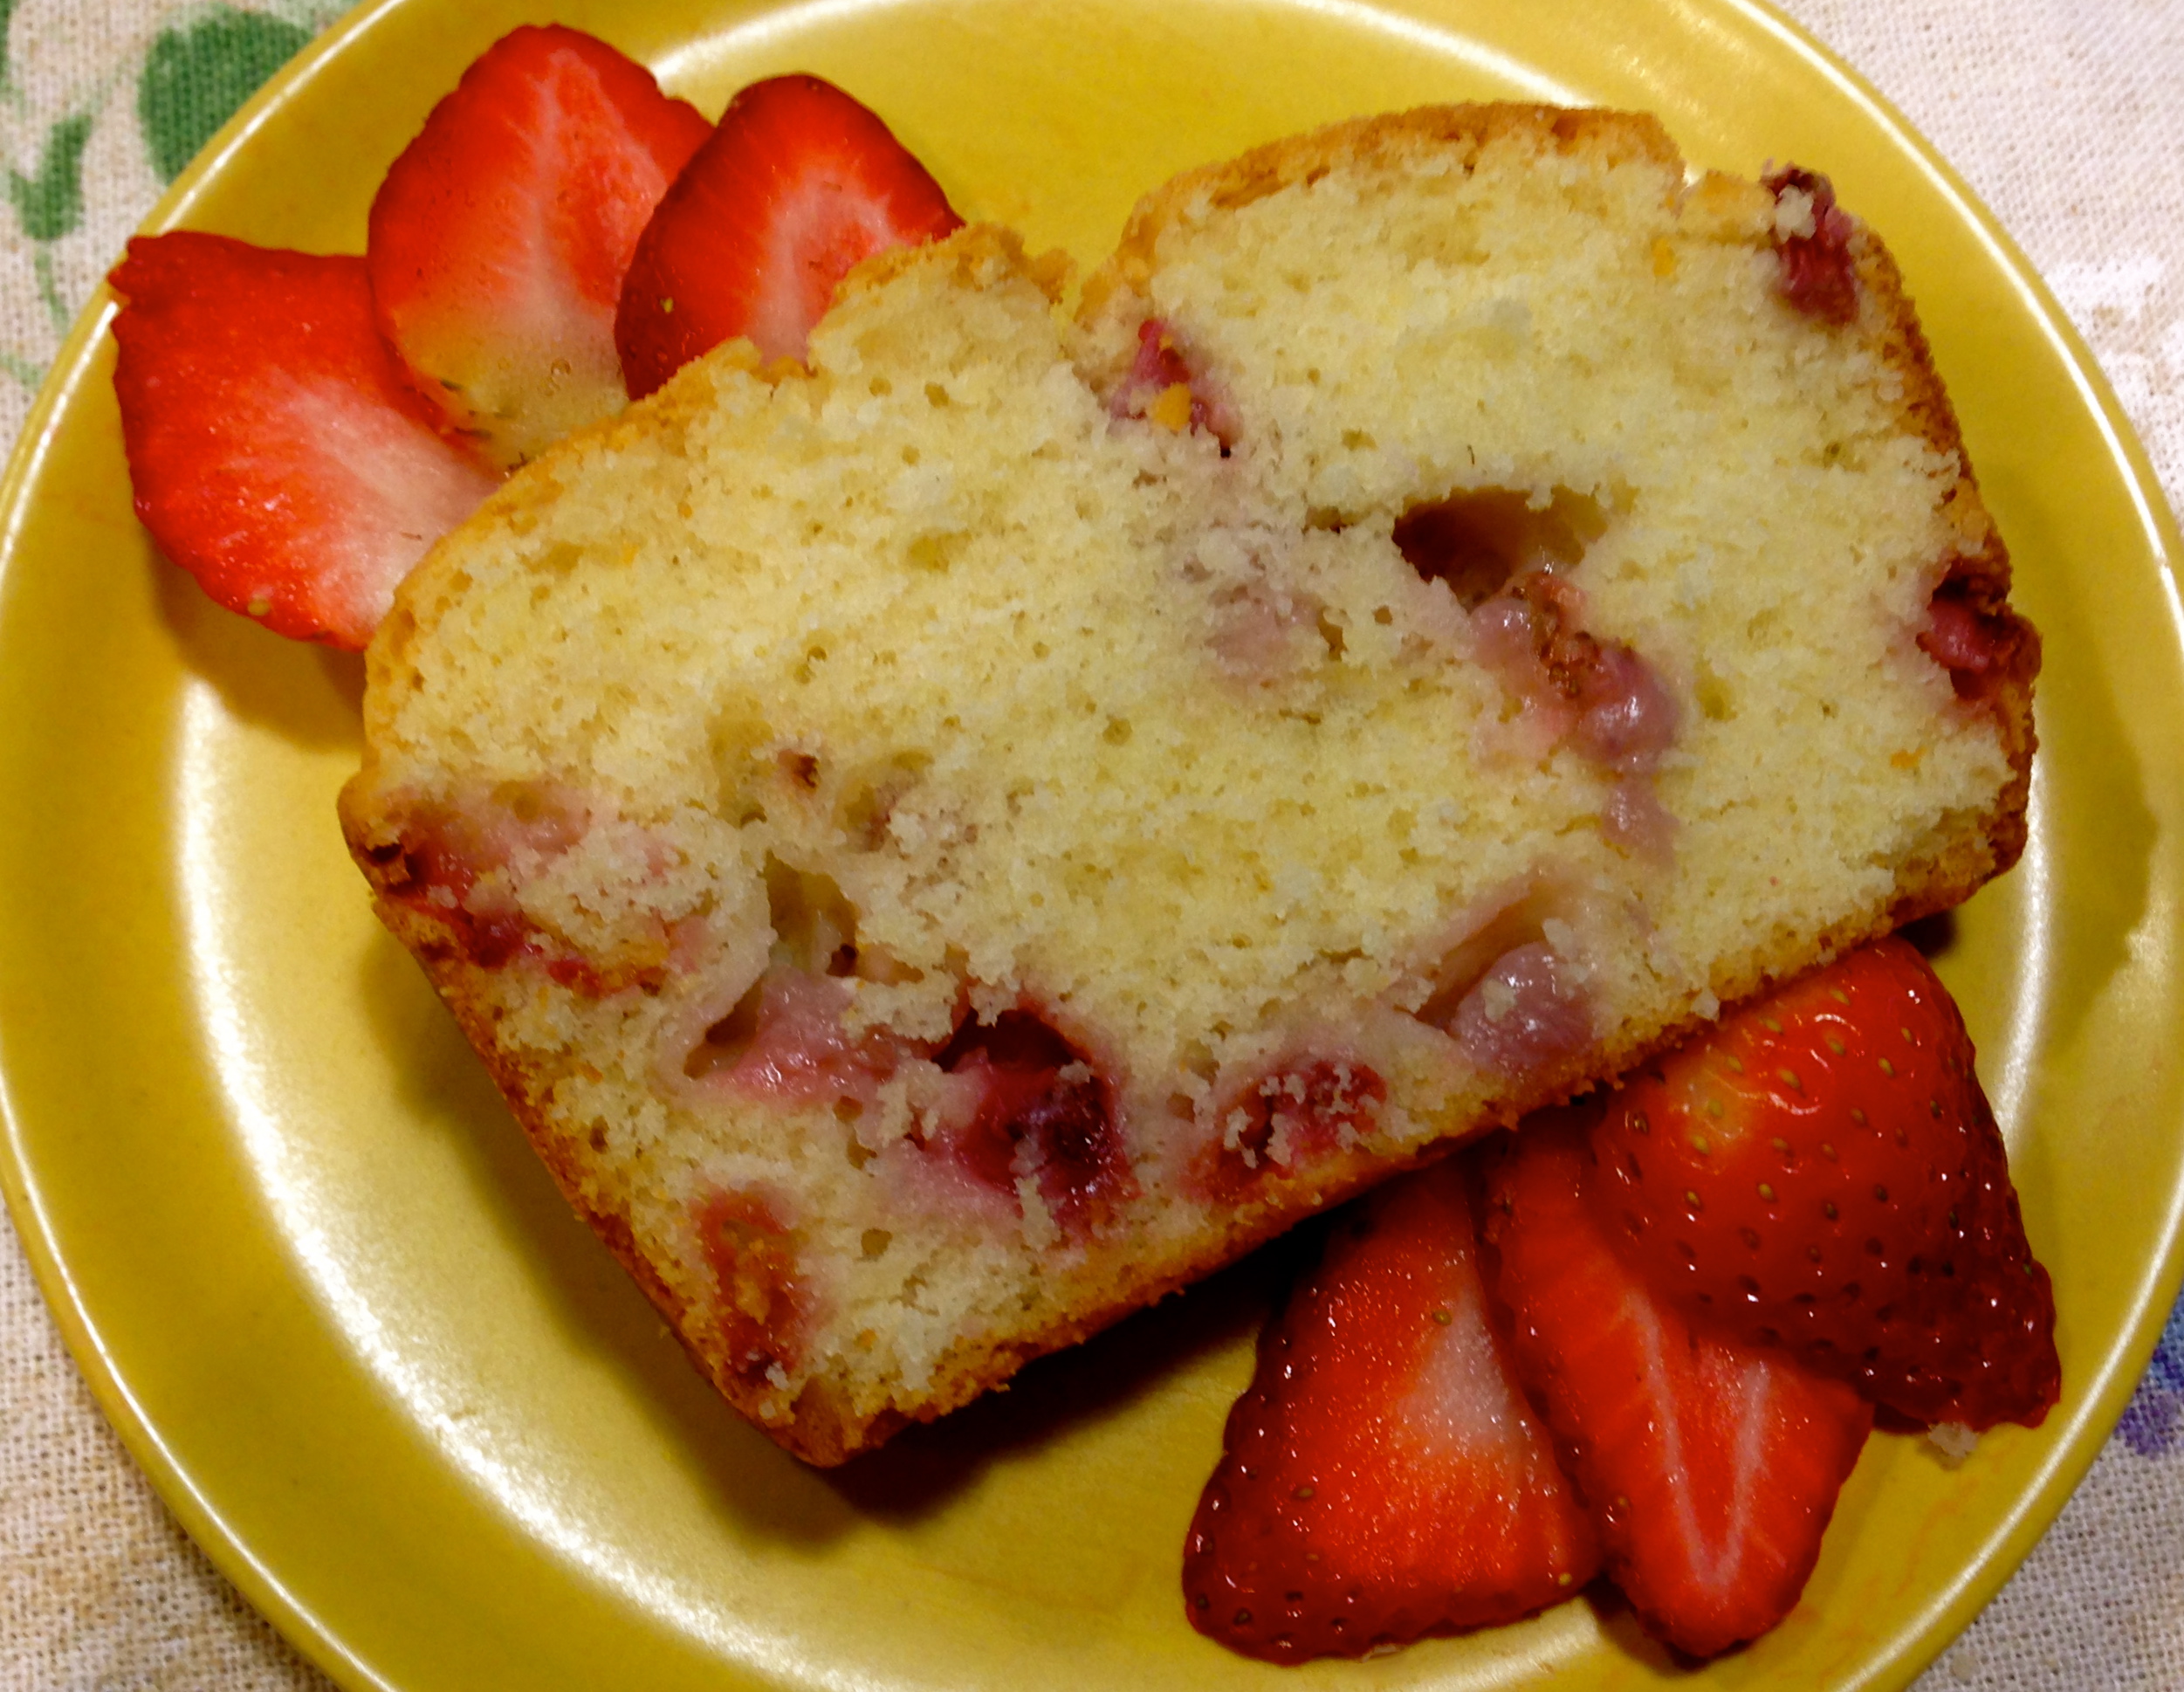
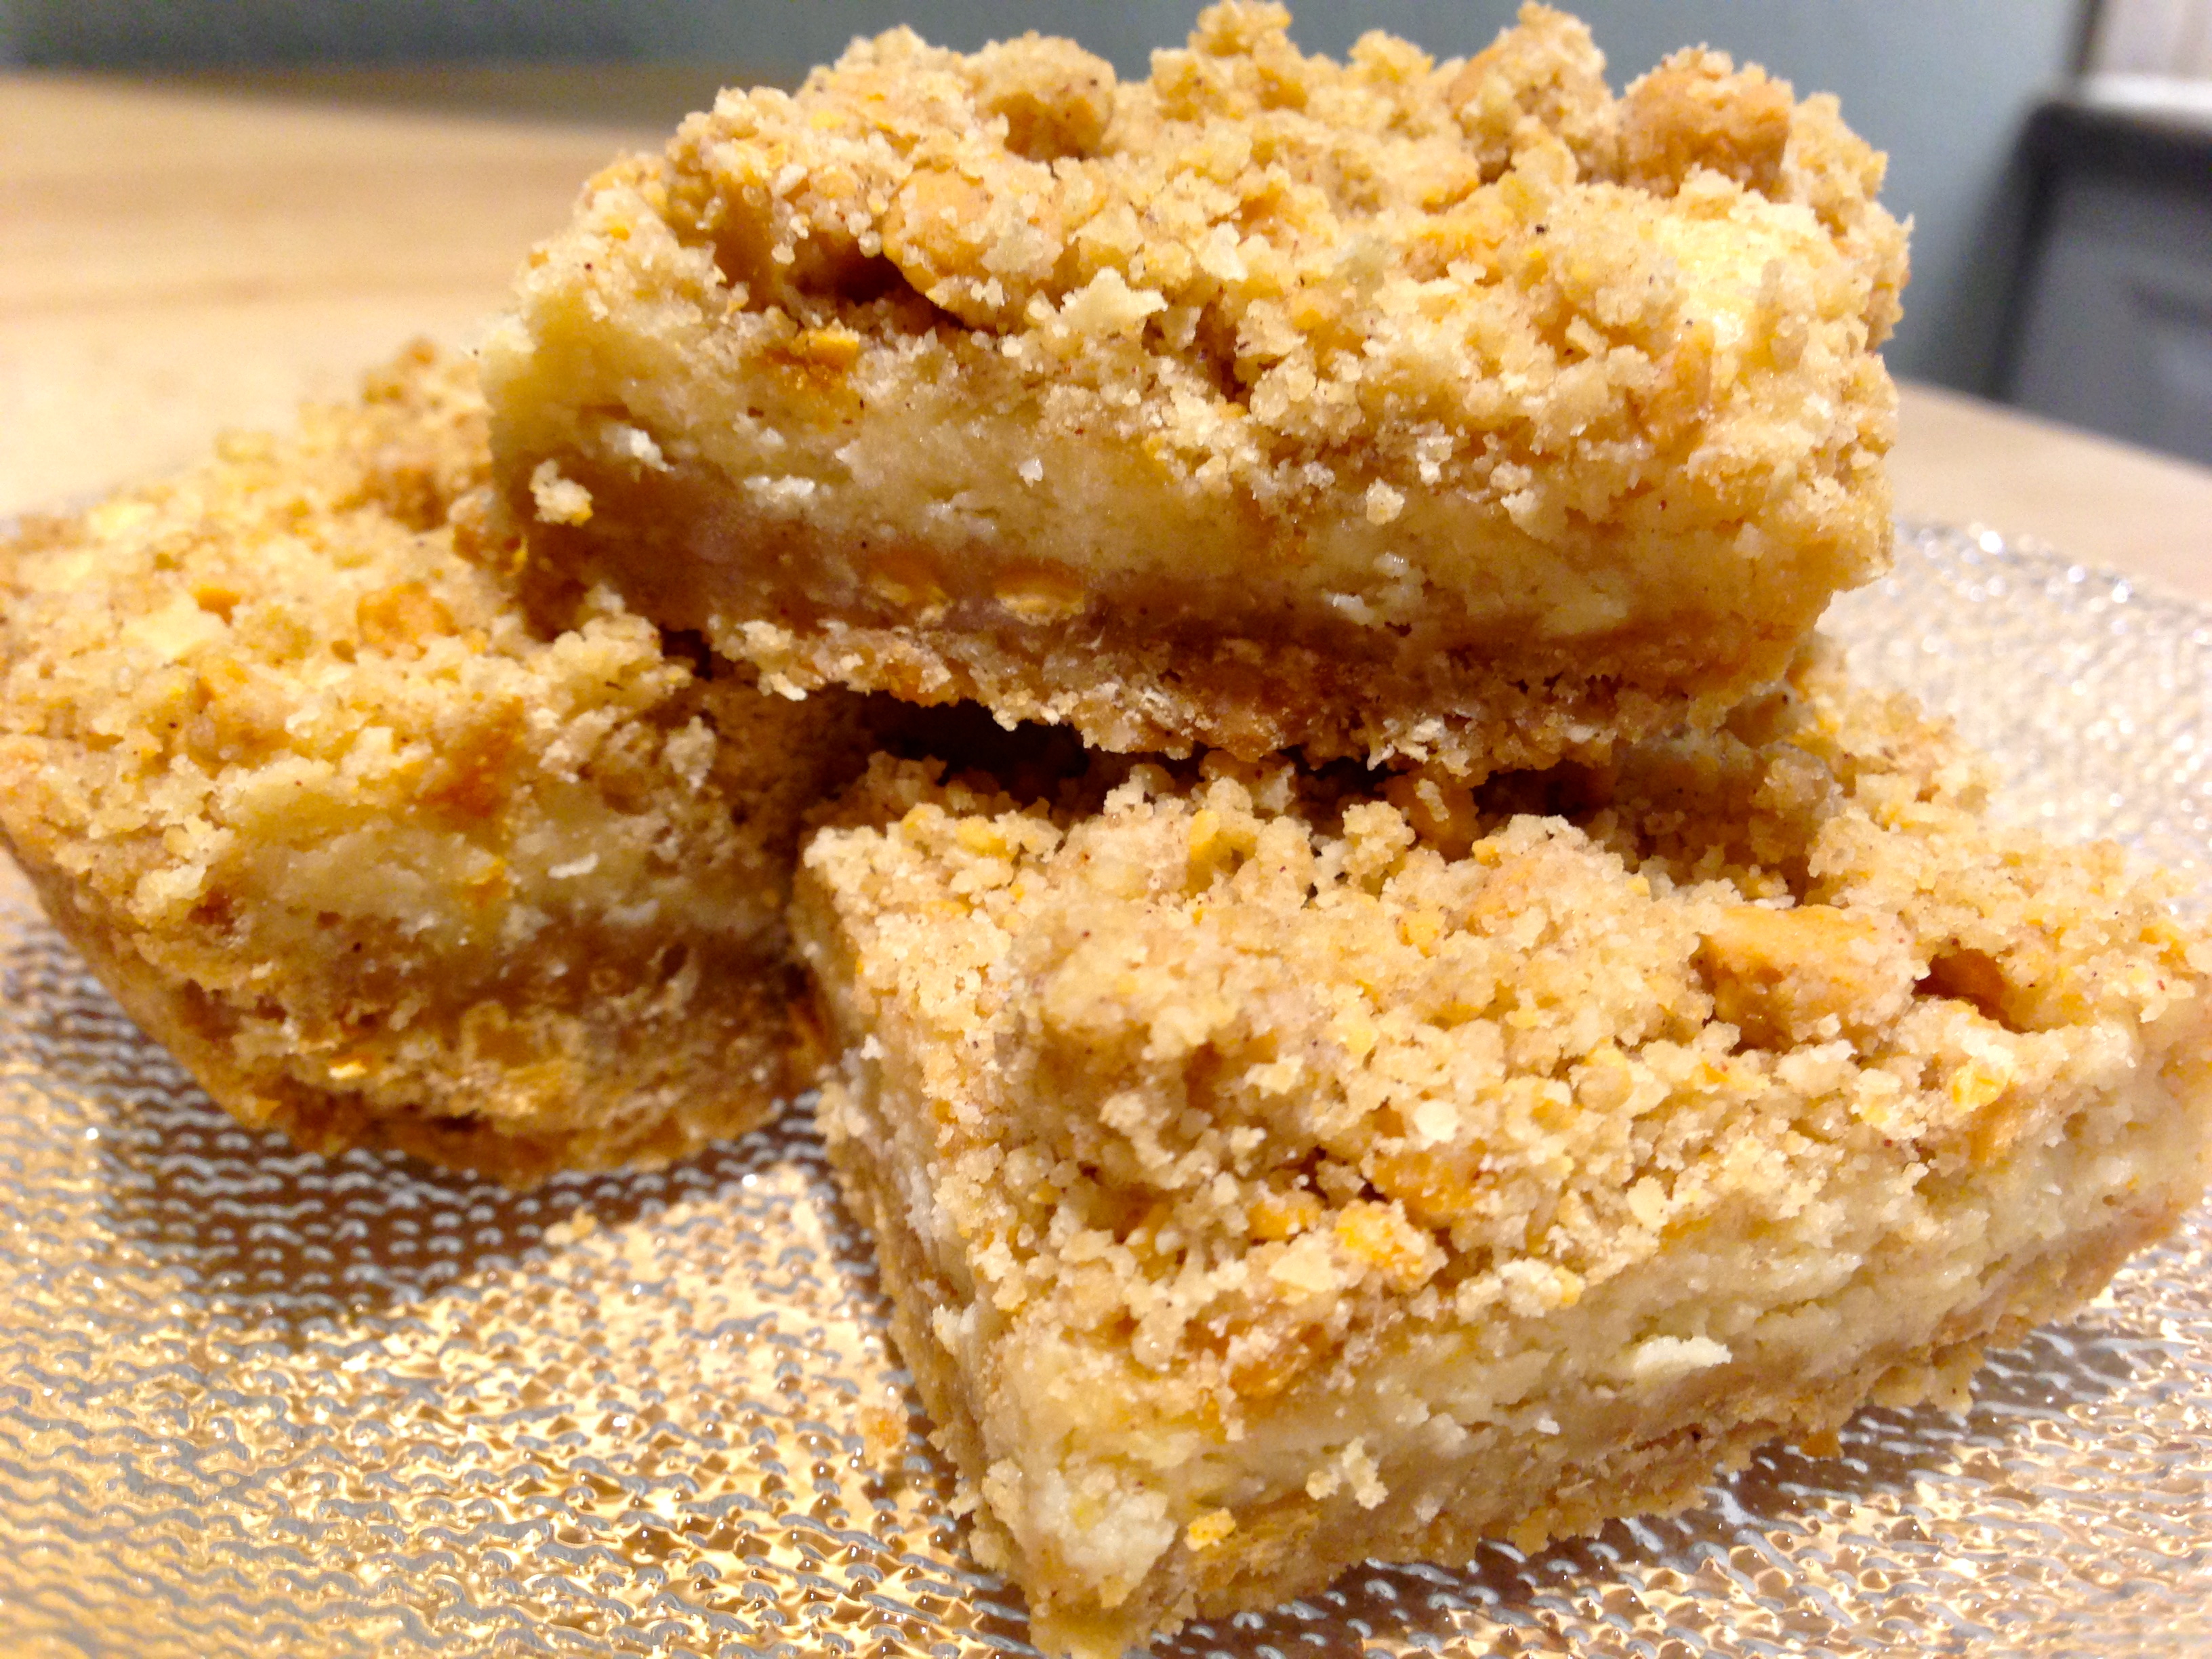
The Inside Of The Cheesecake
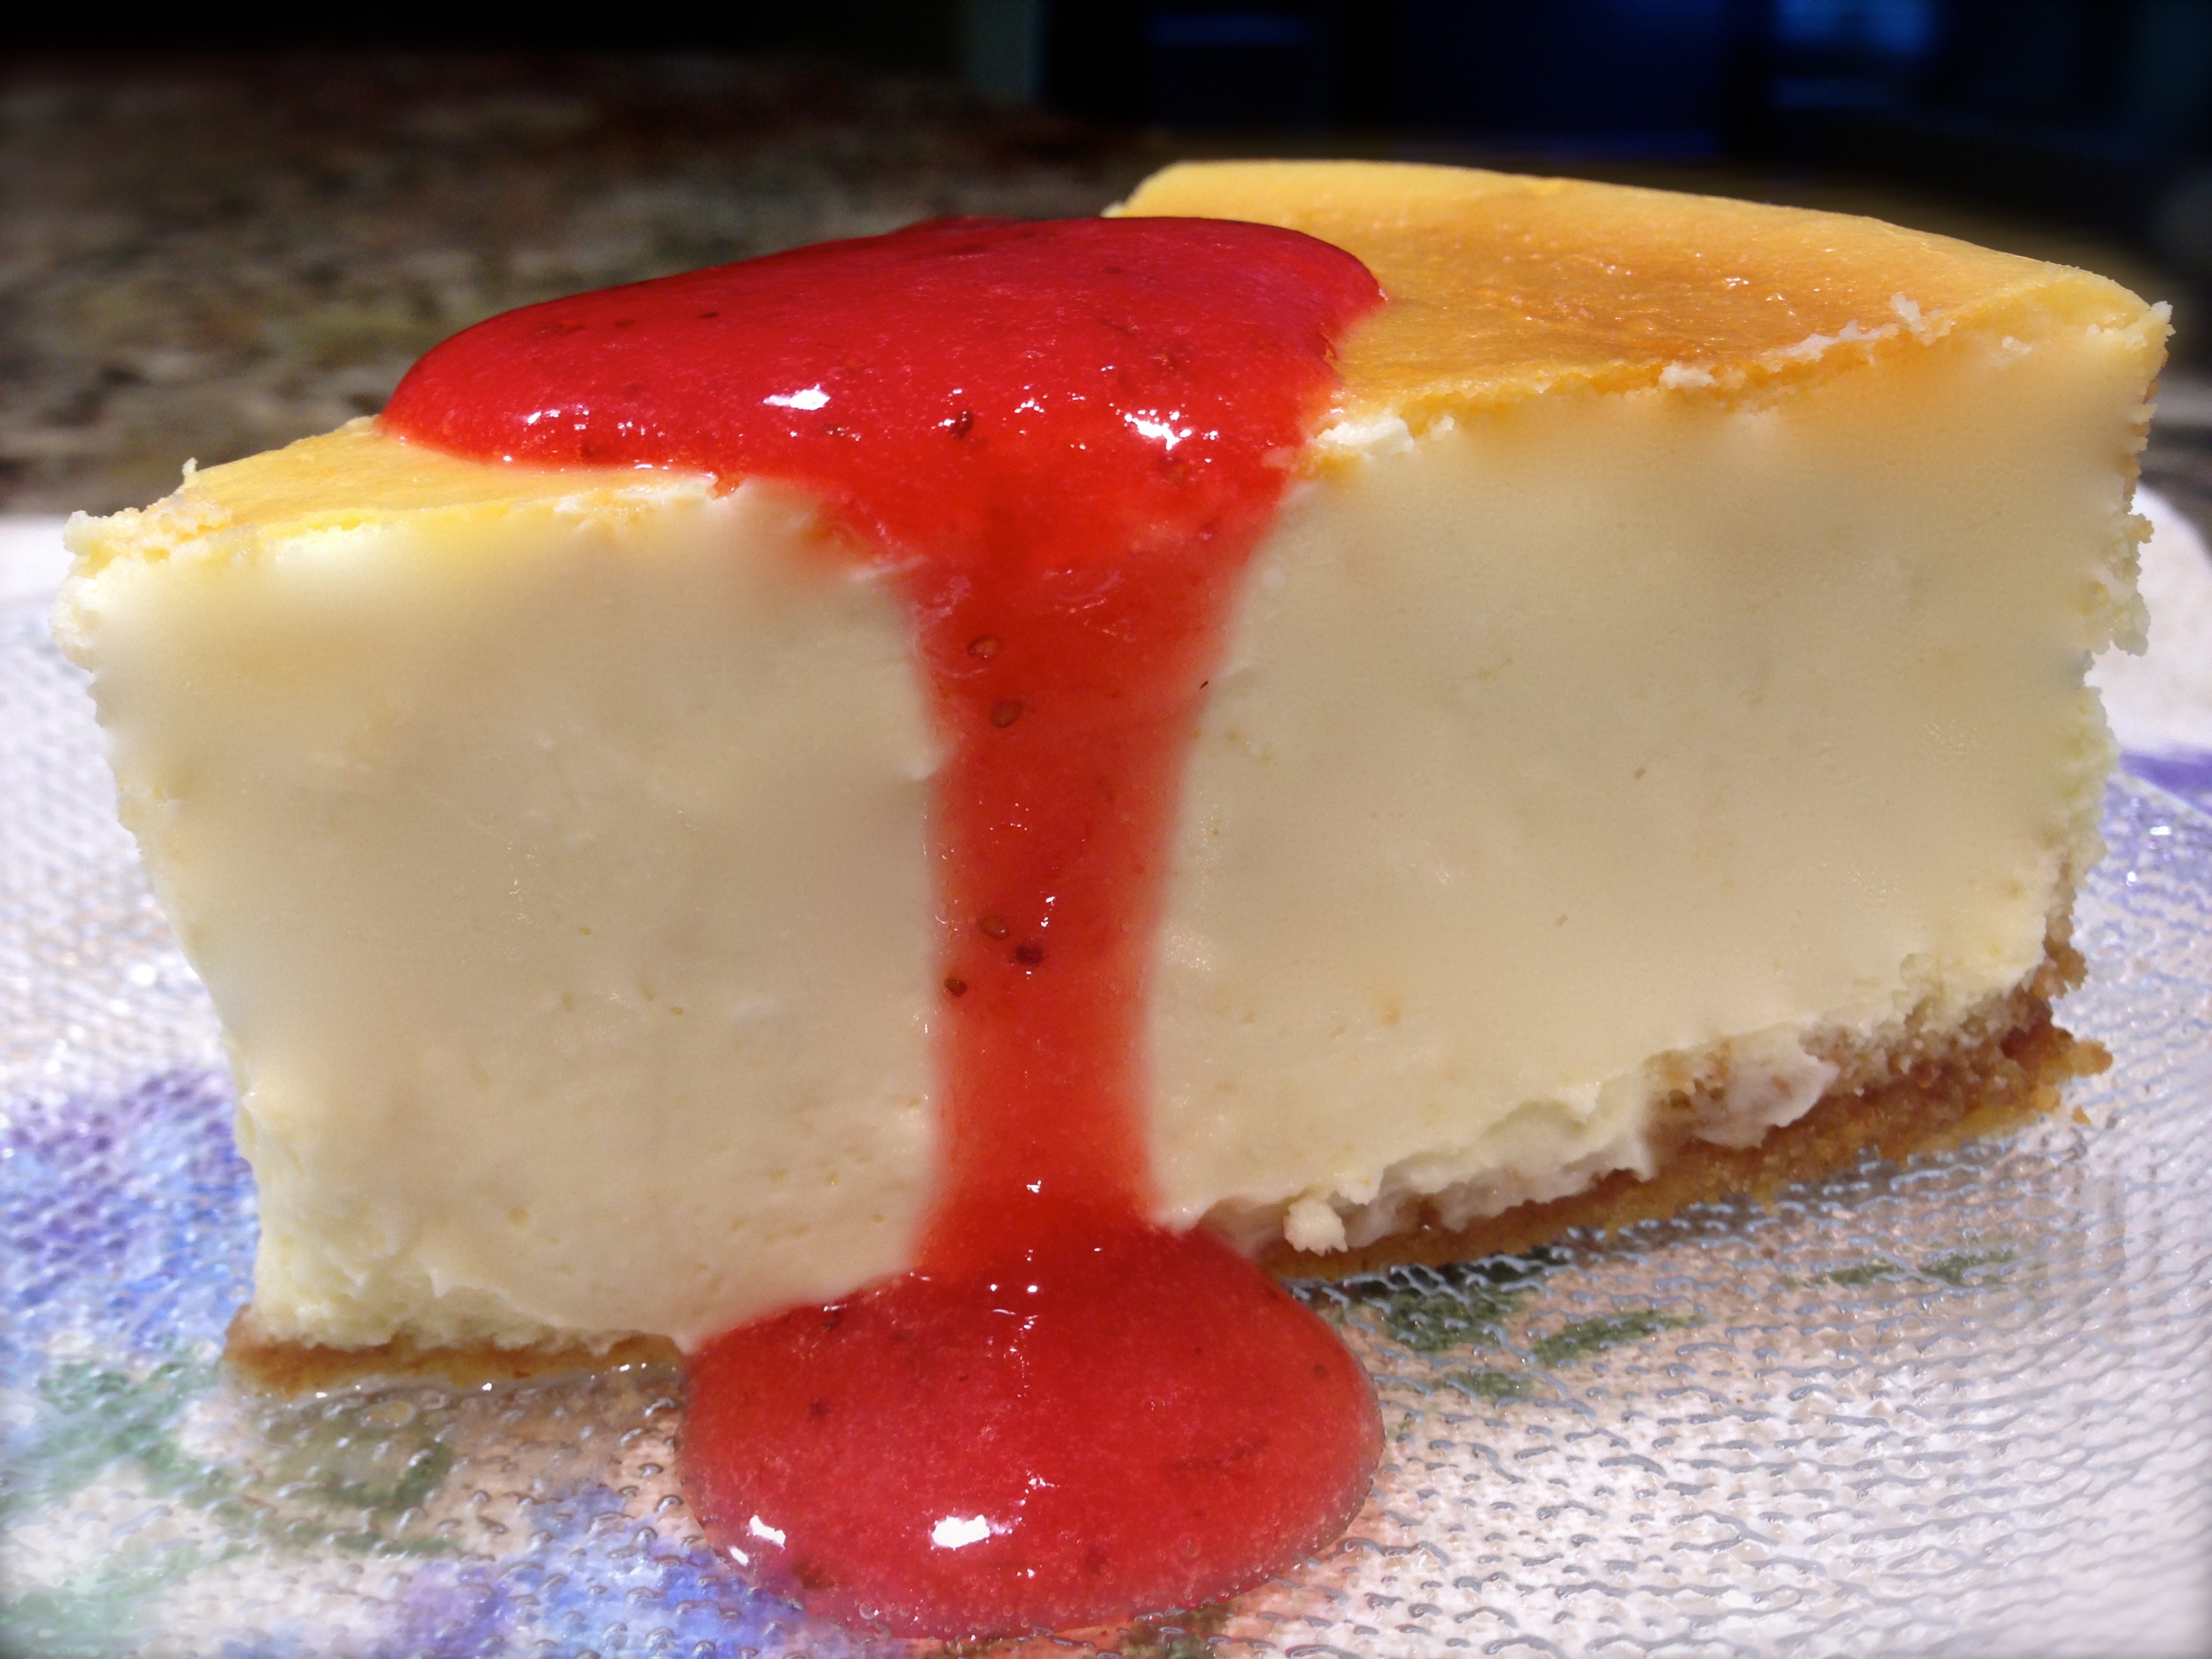
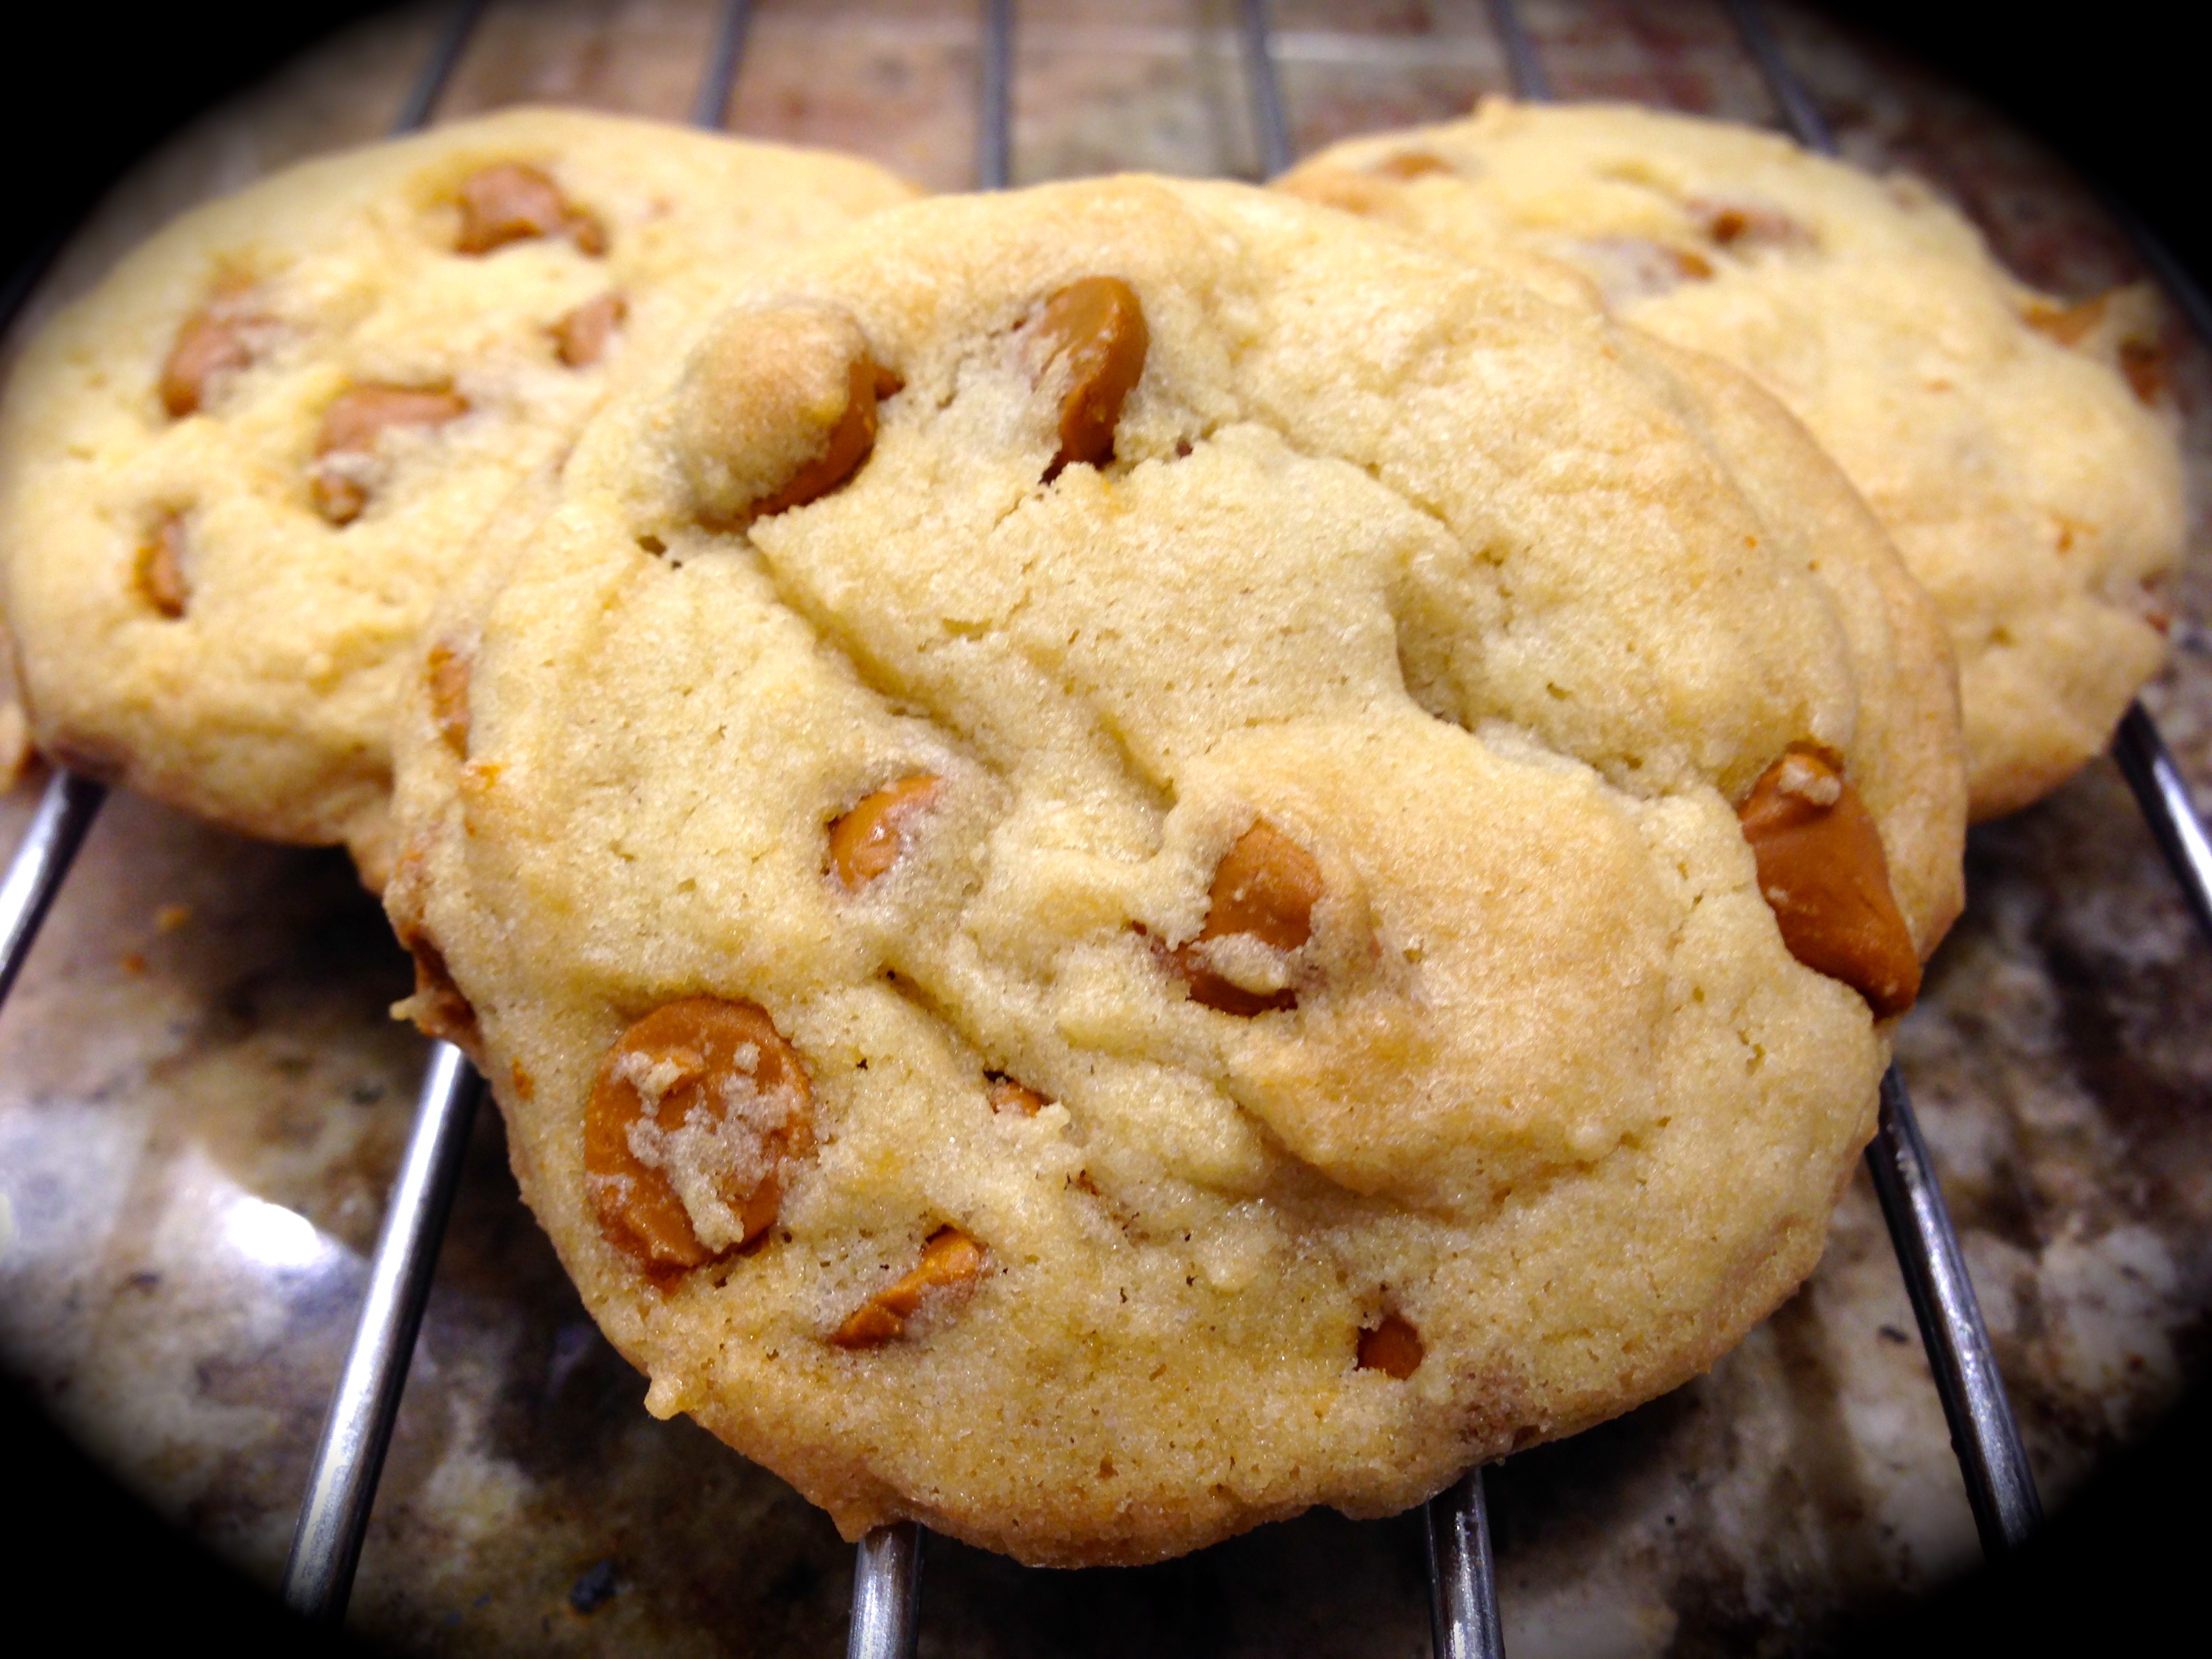
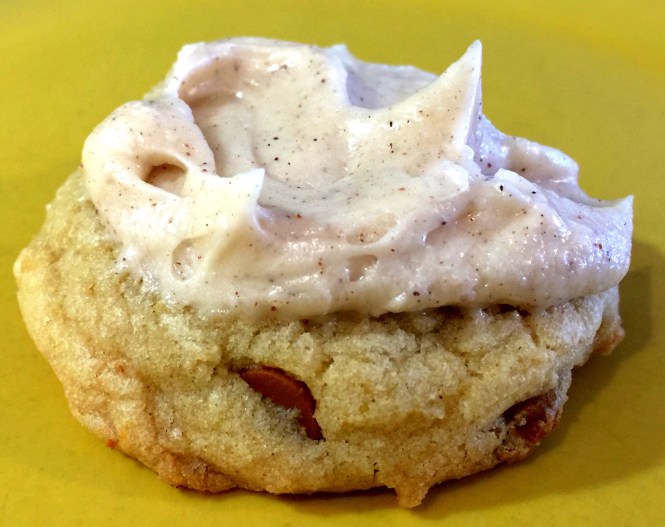
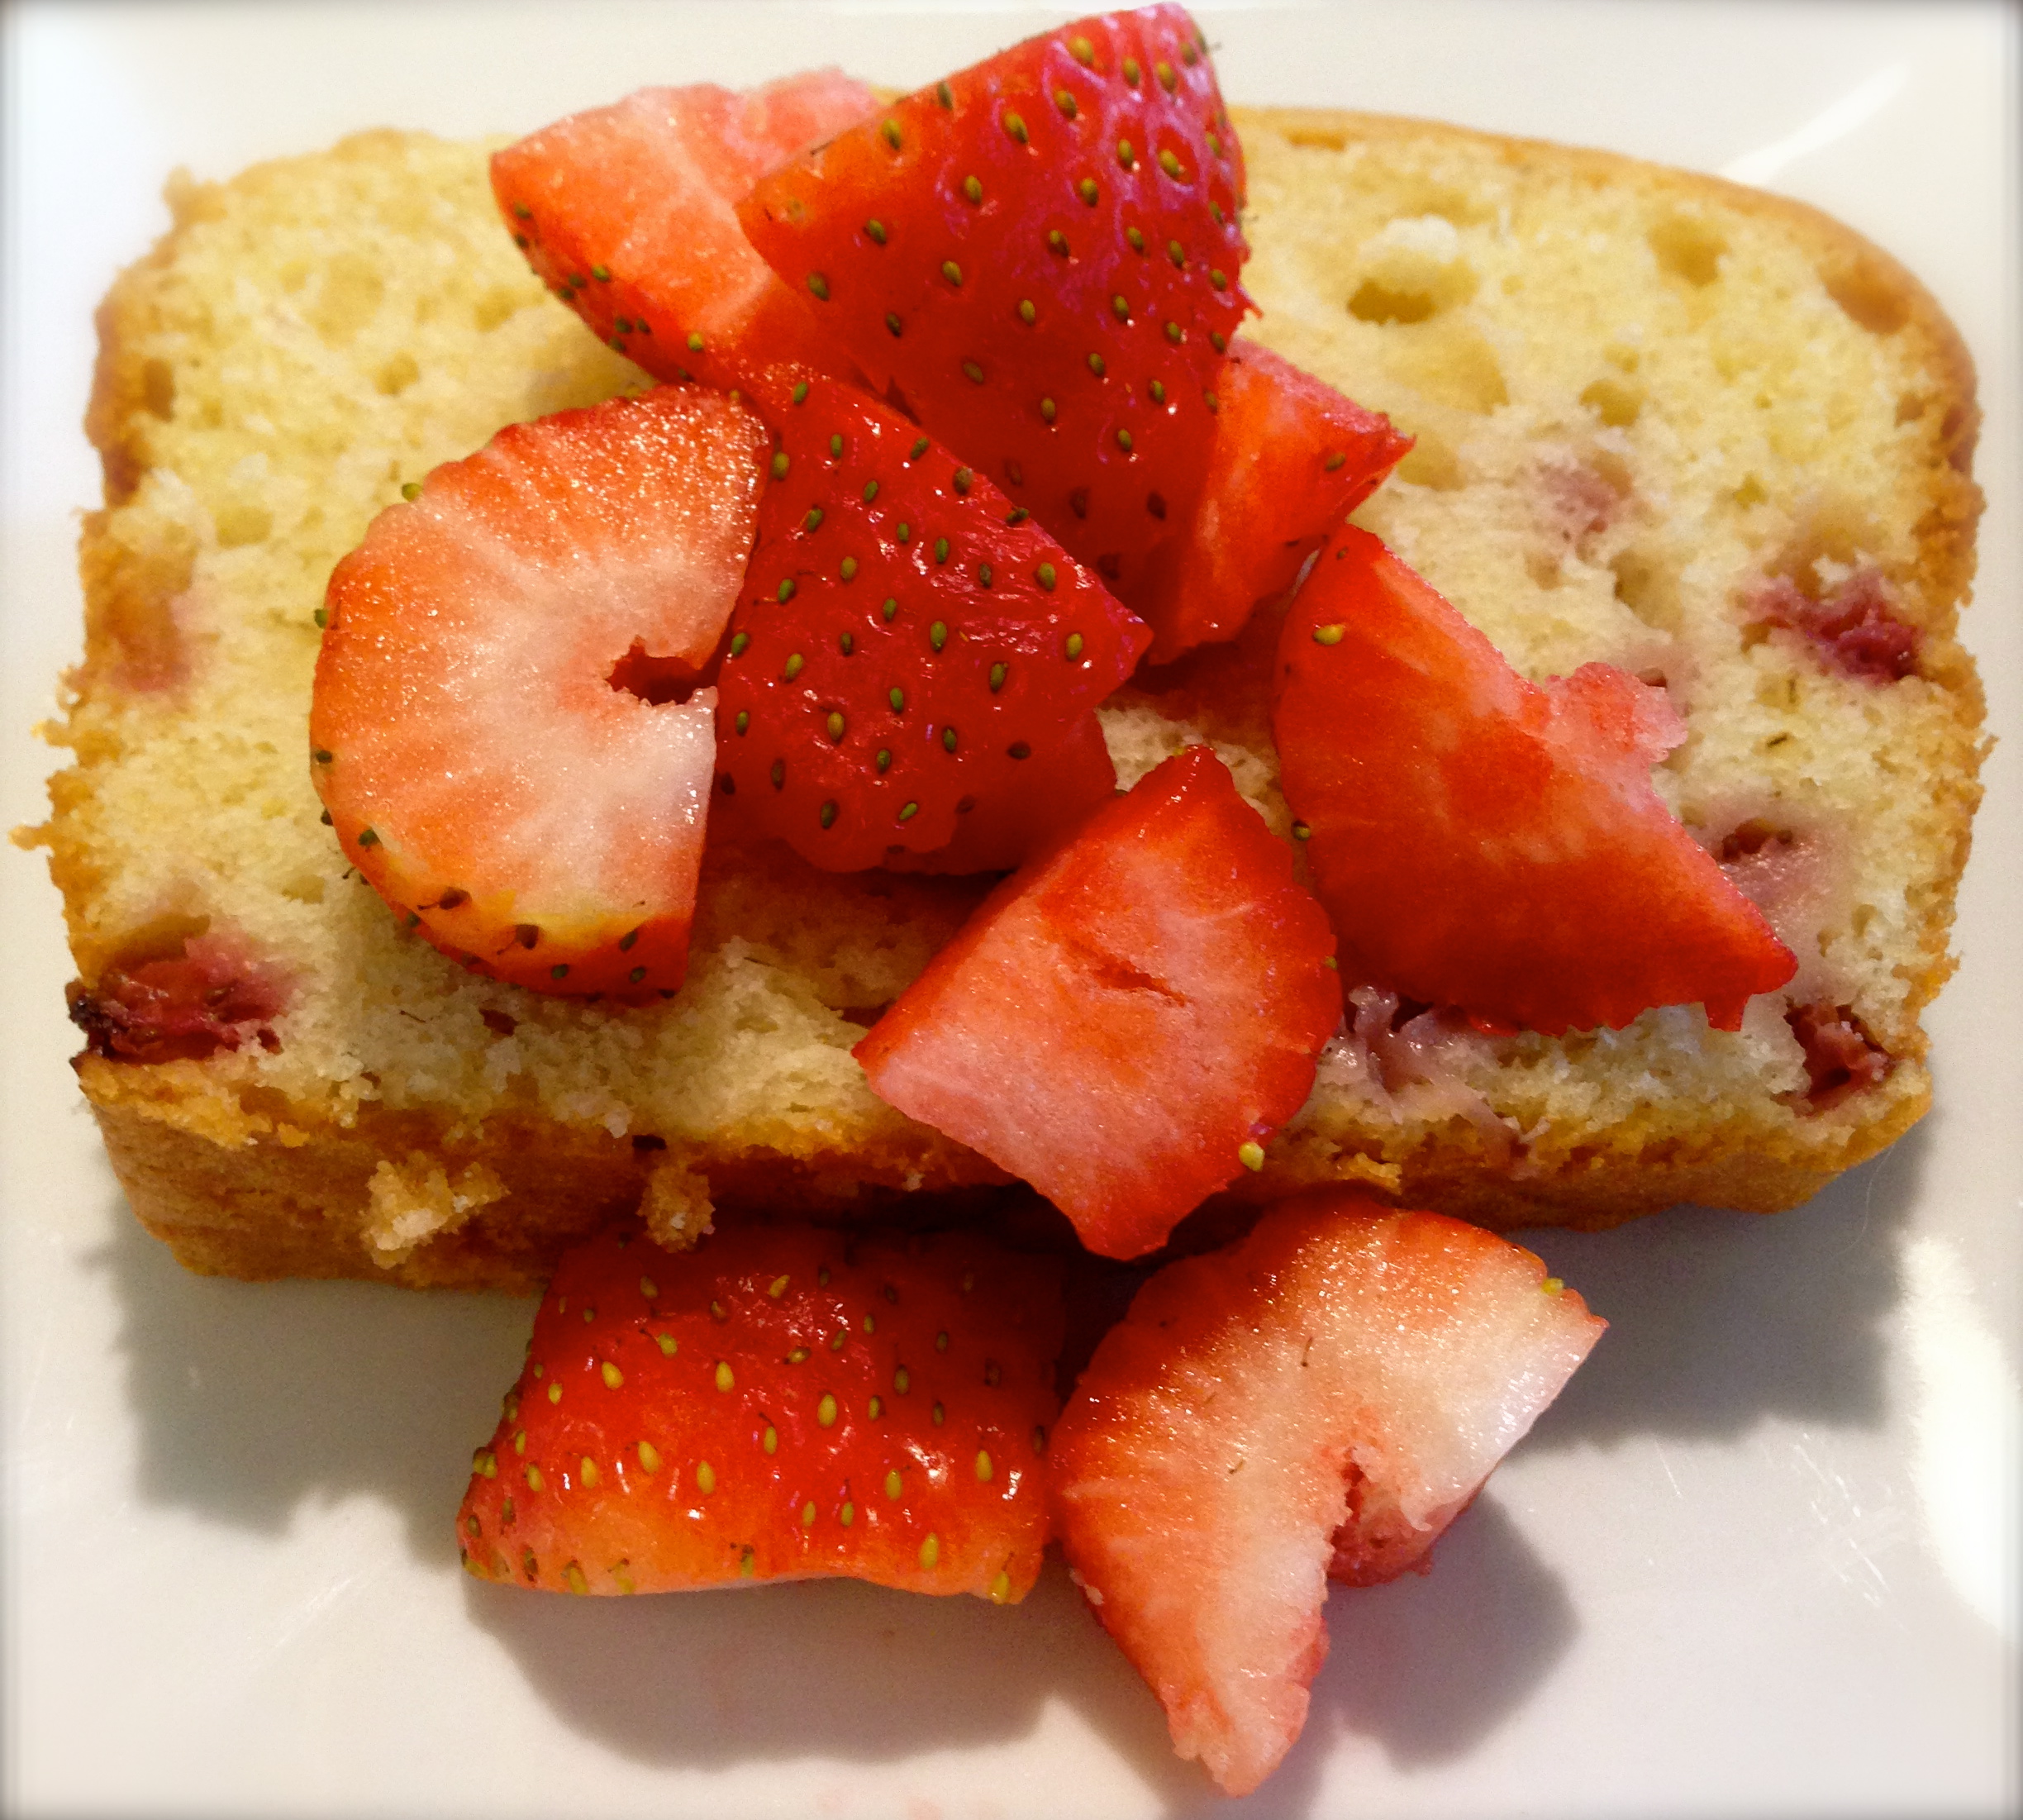
Cheesecake With Fresh Strawberry Sauce


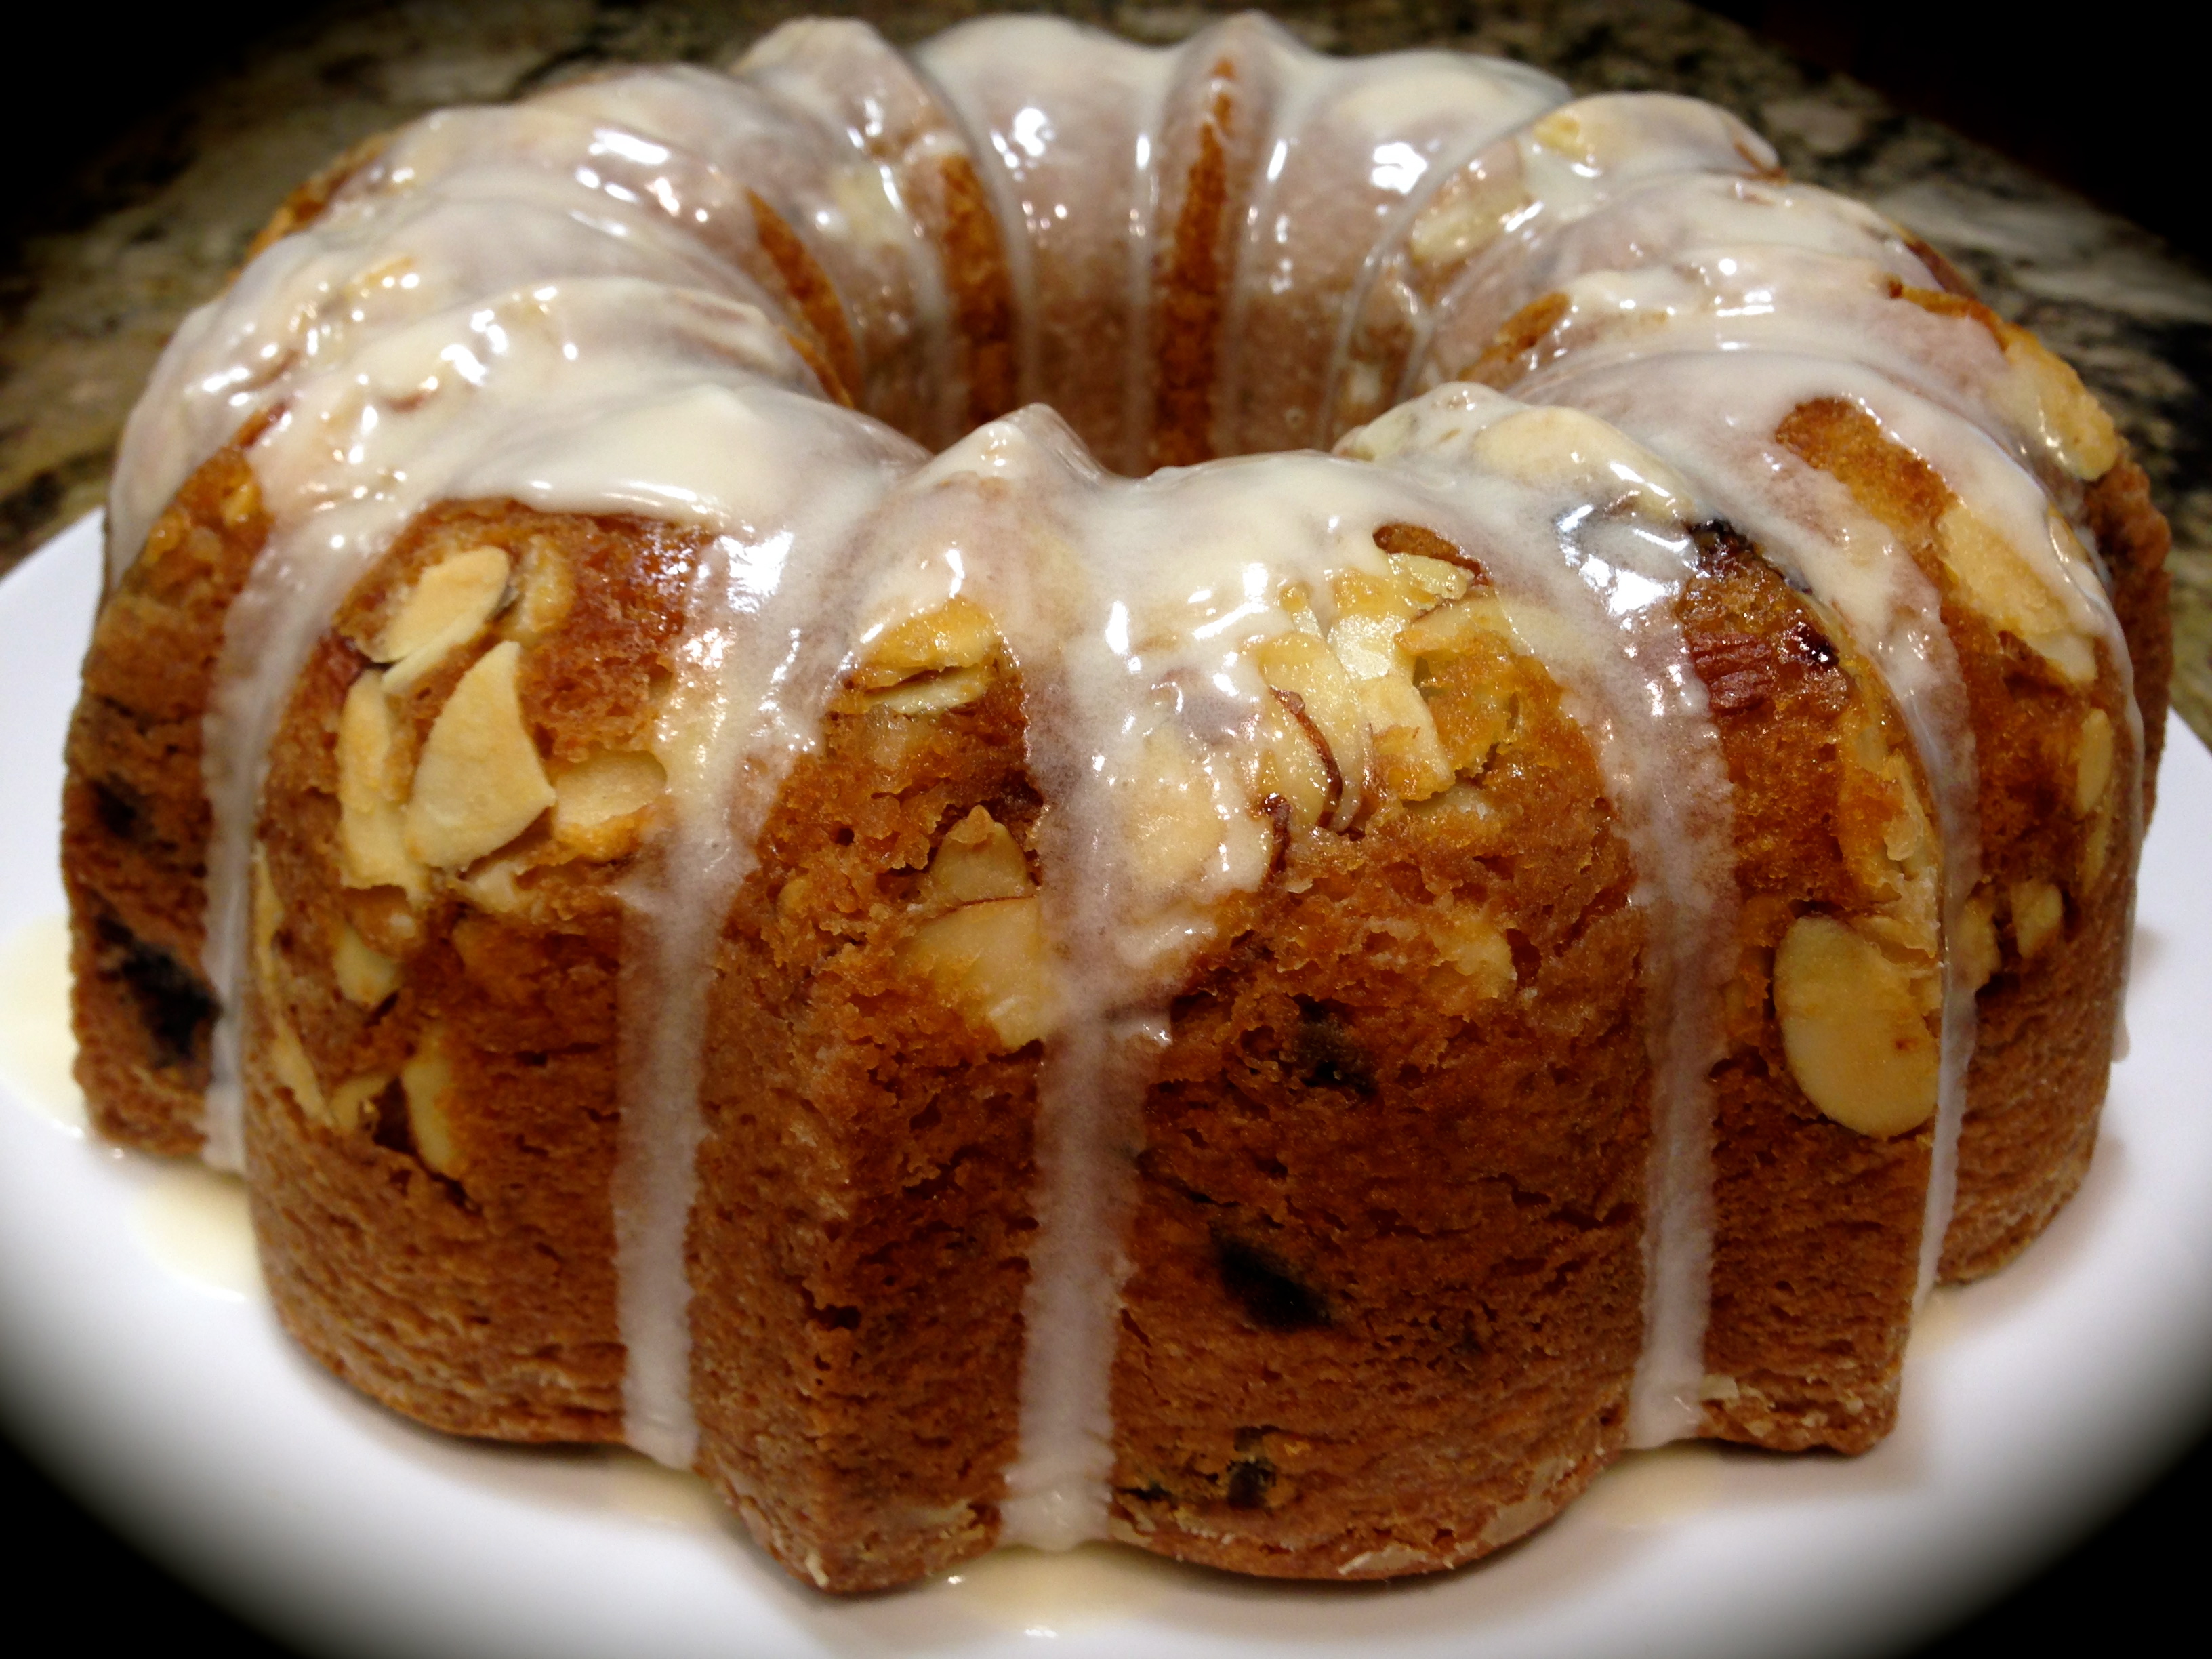
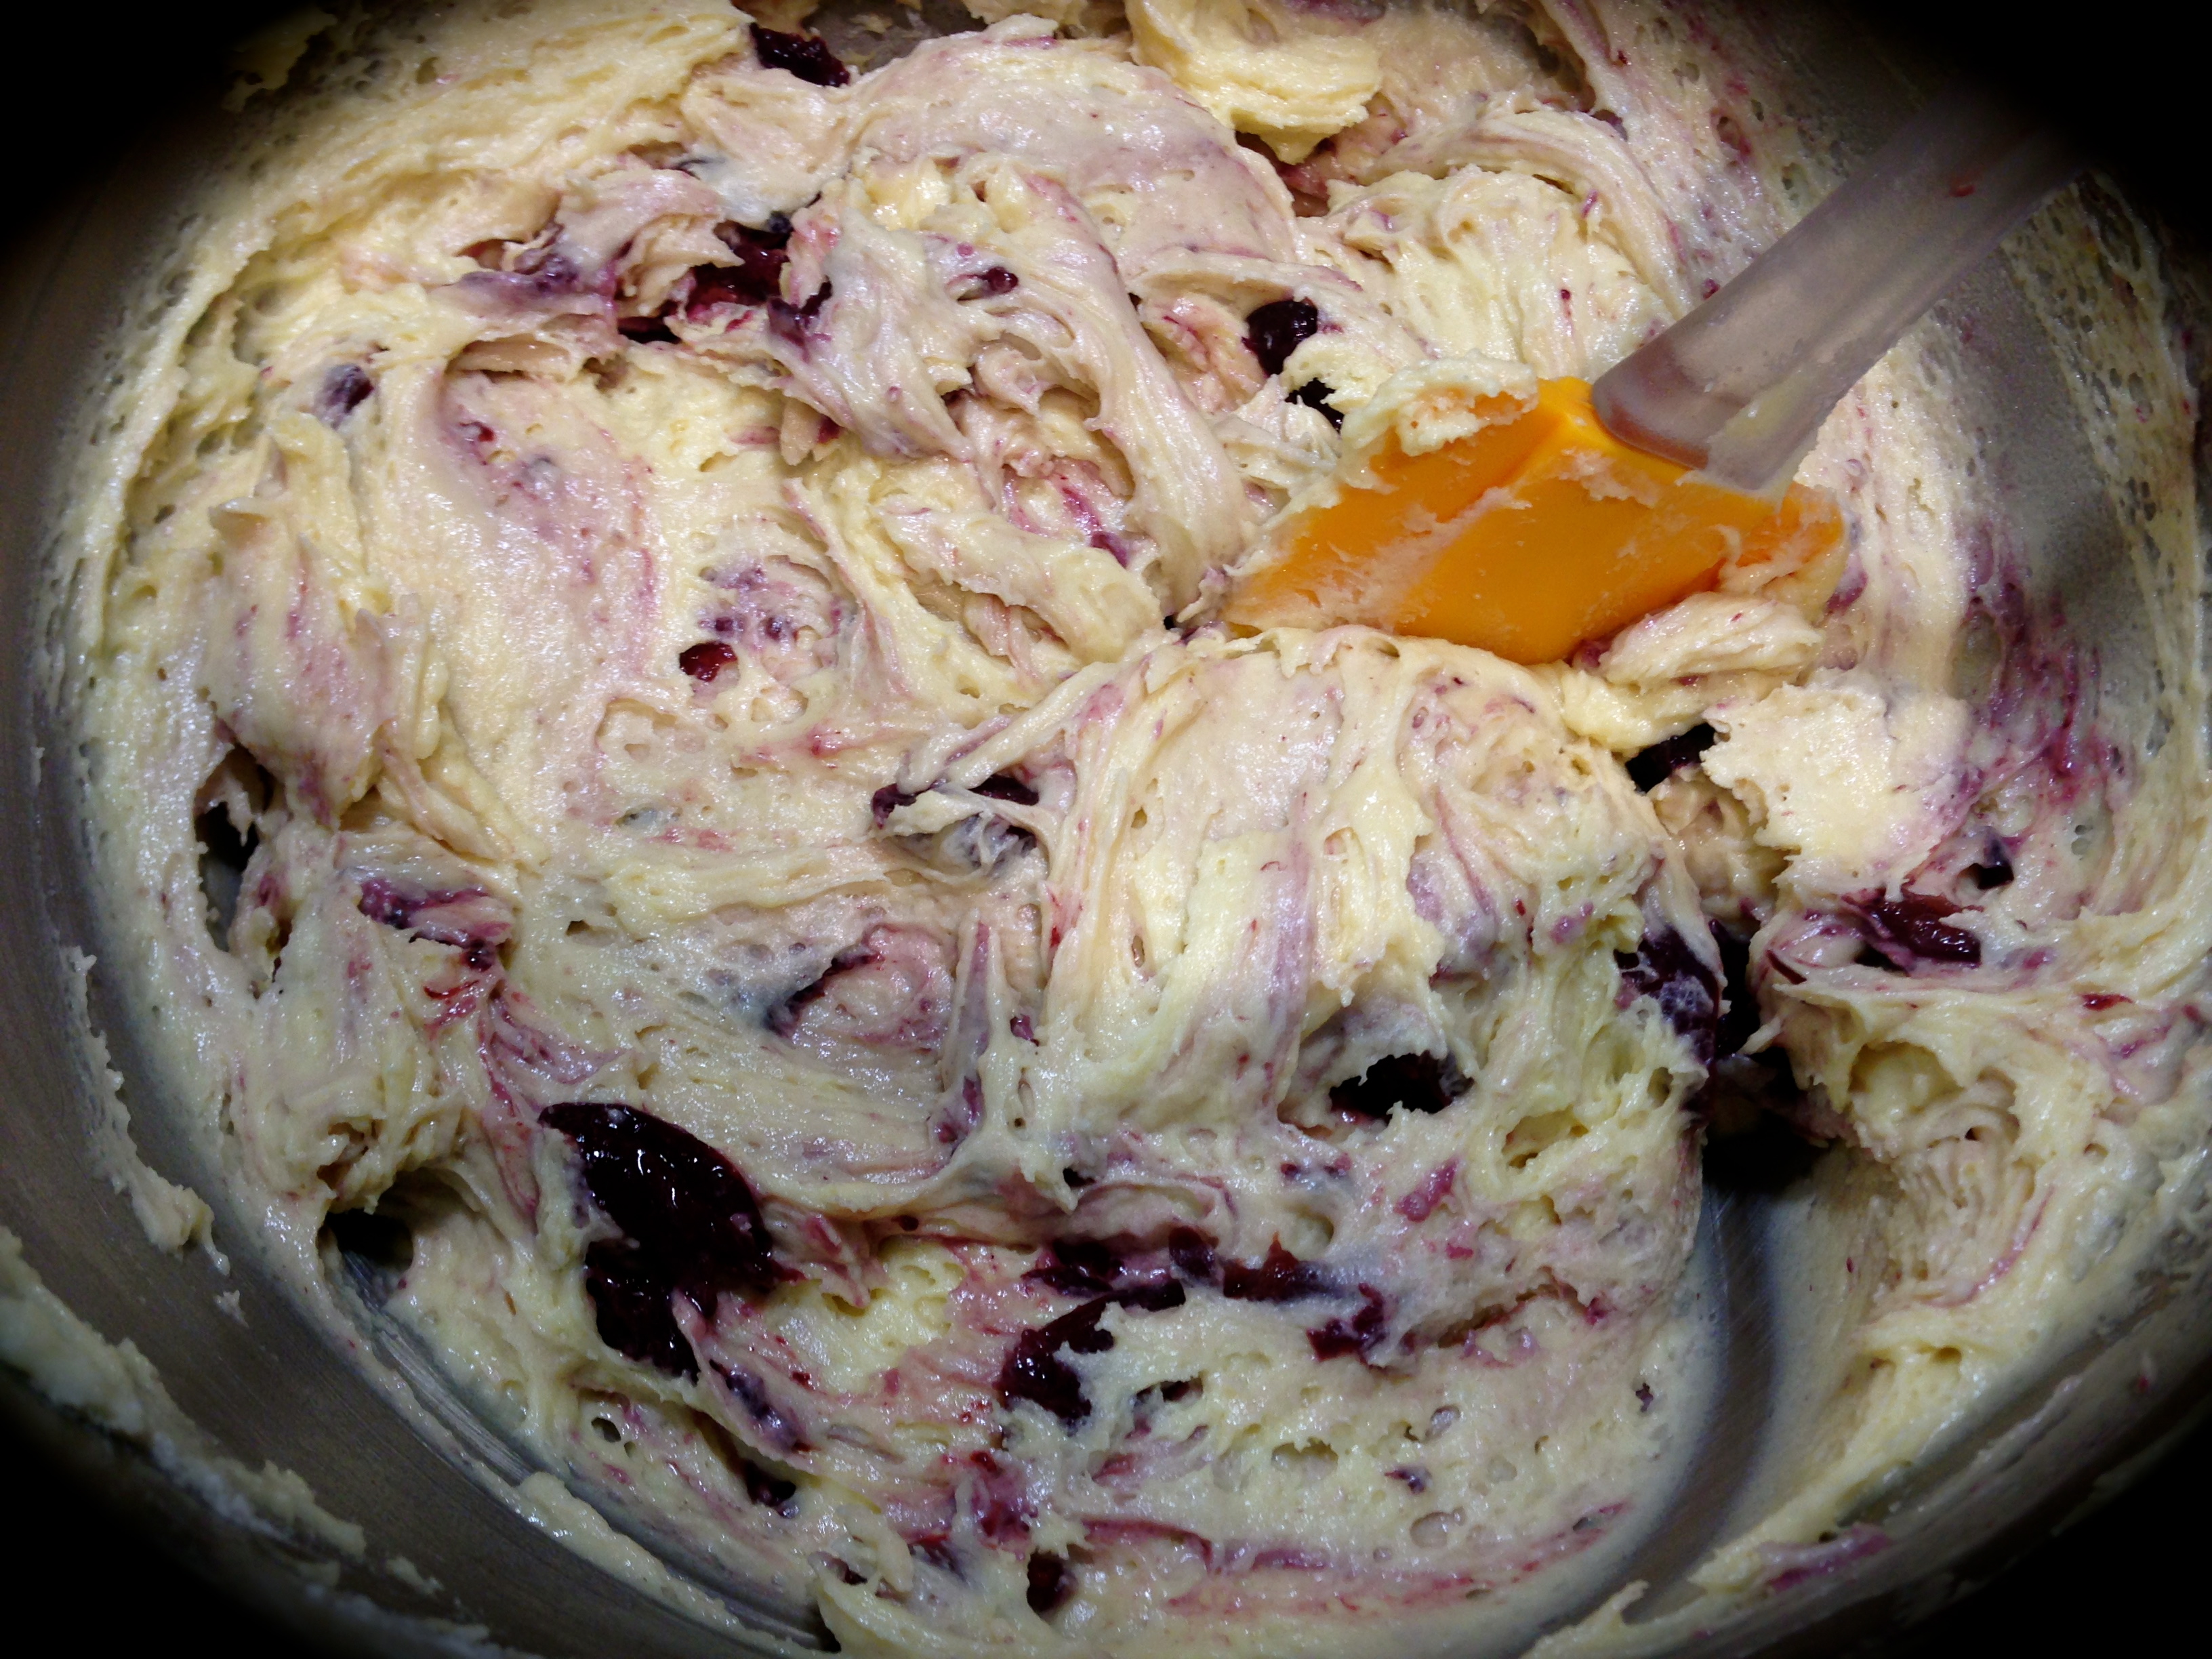
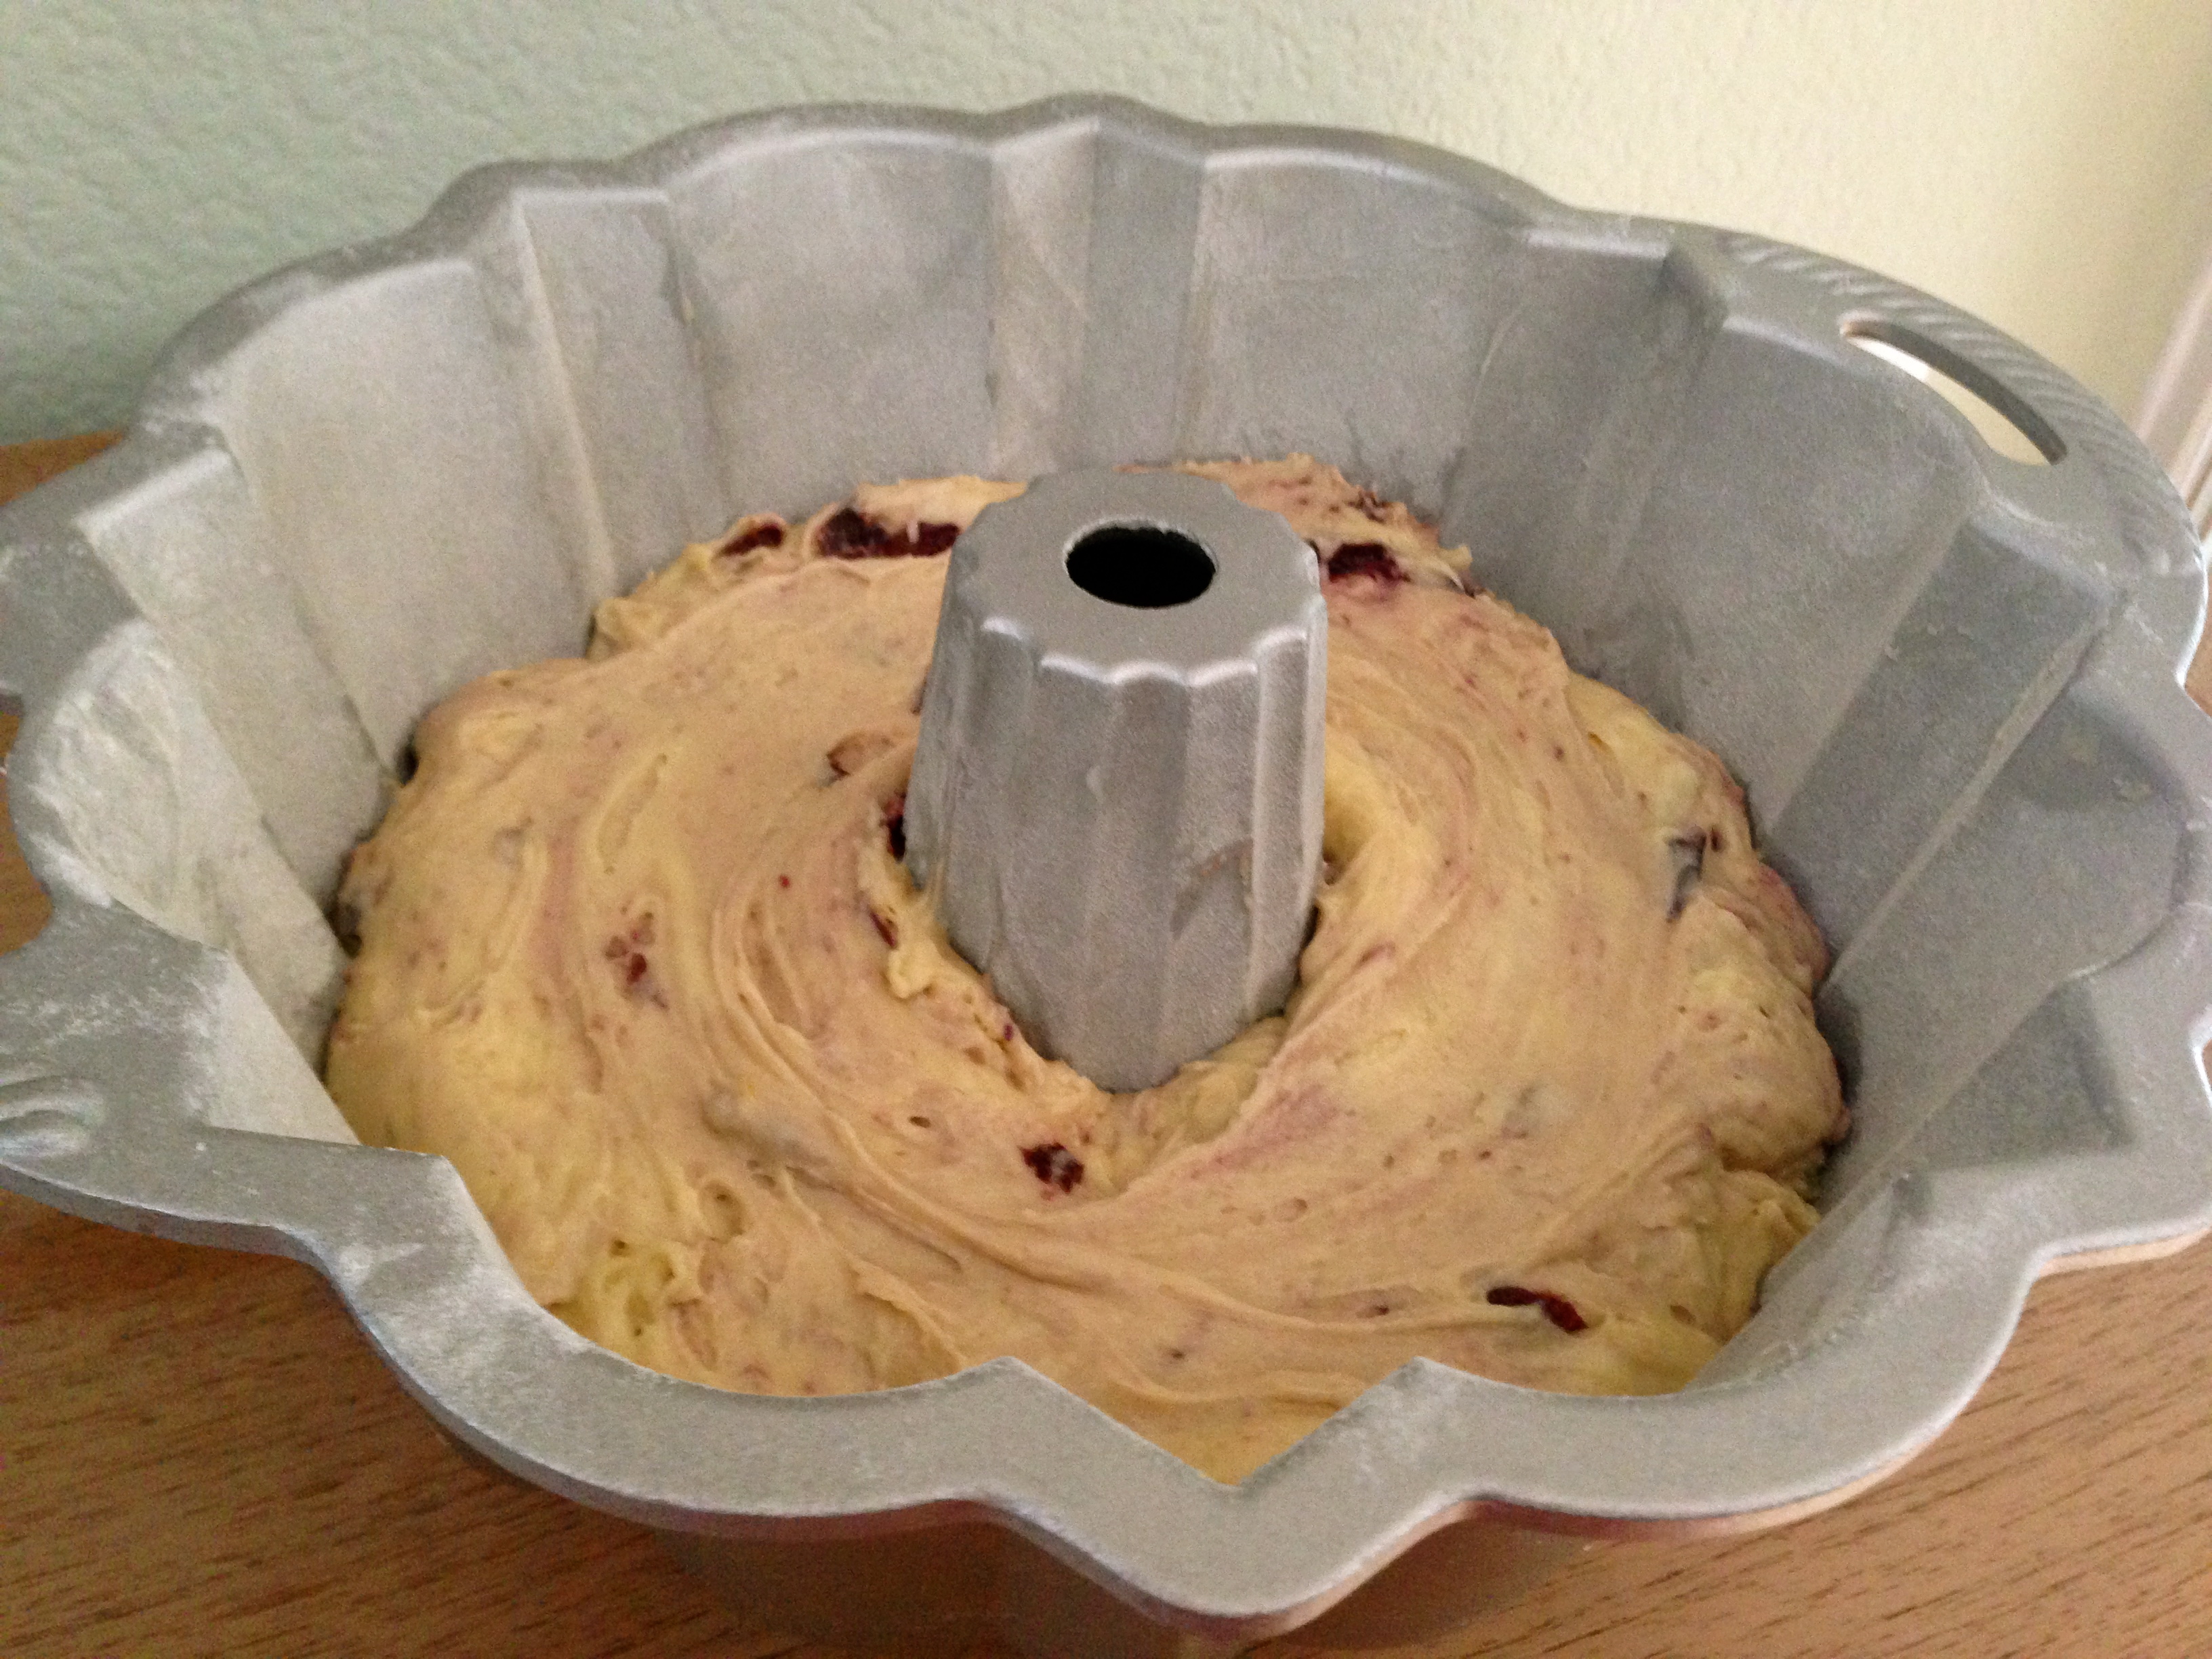


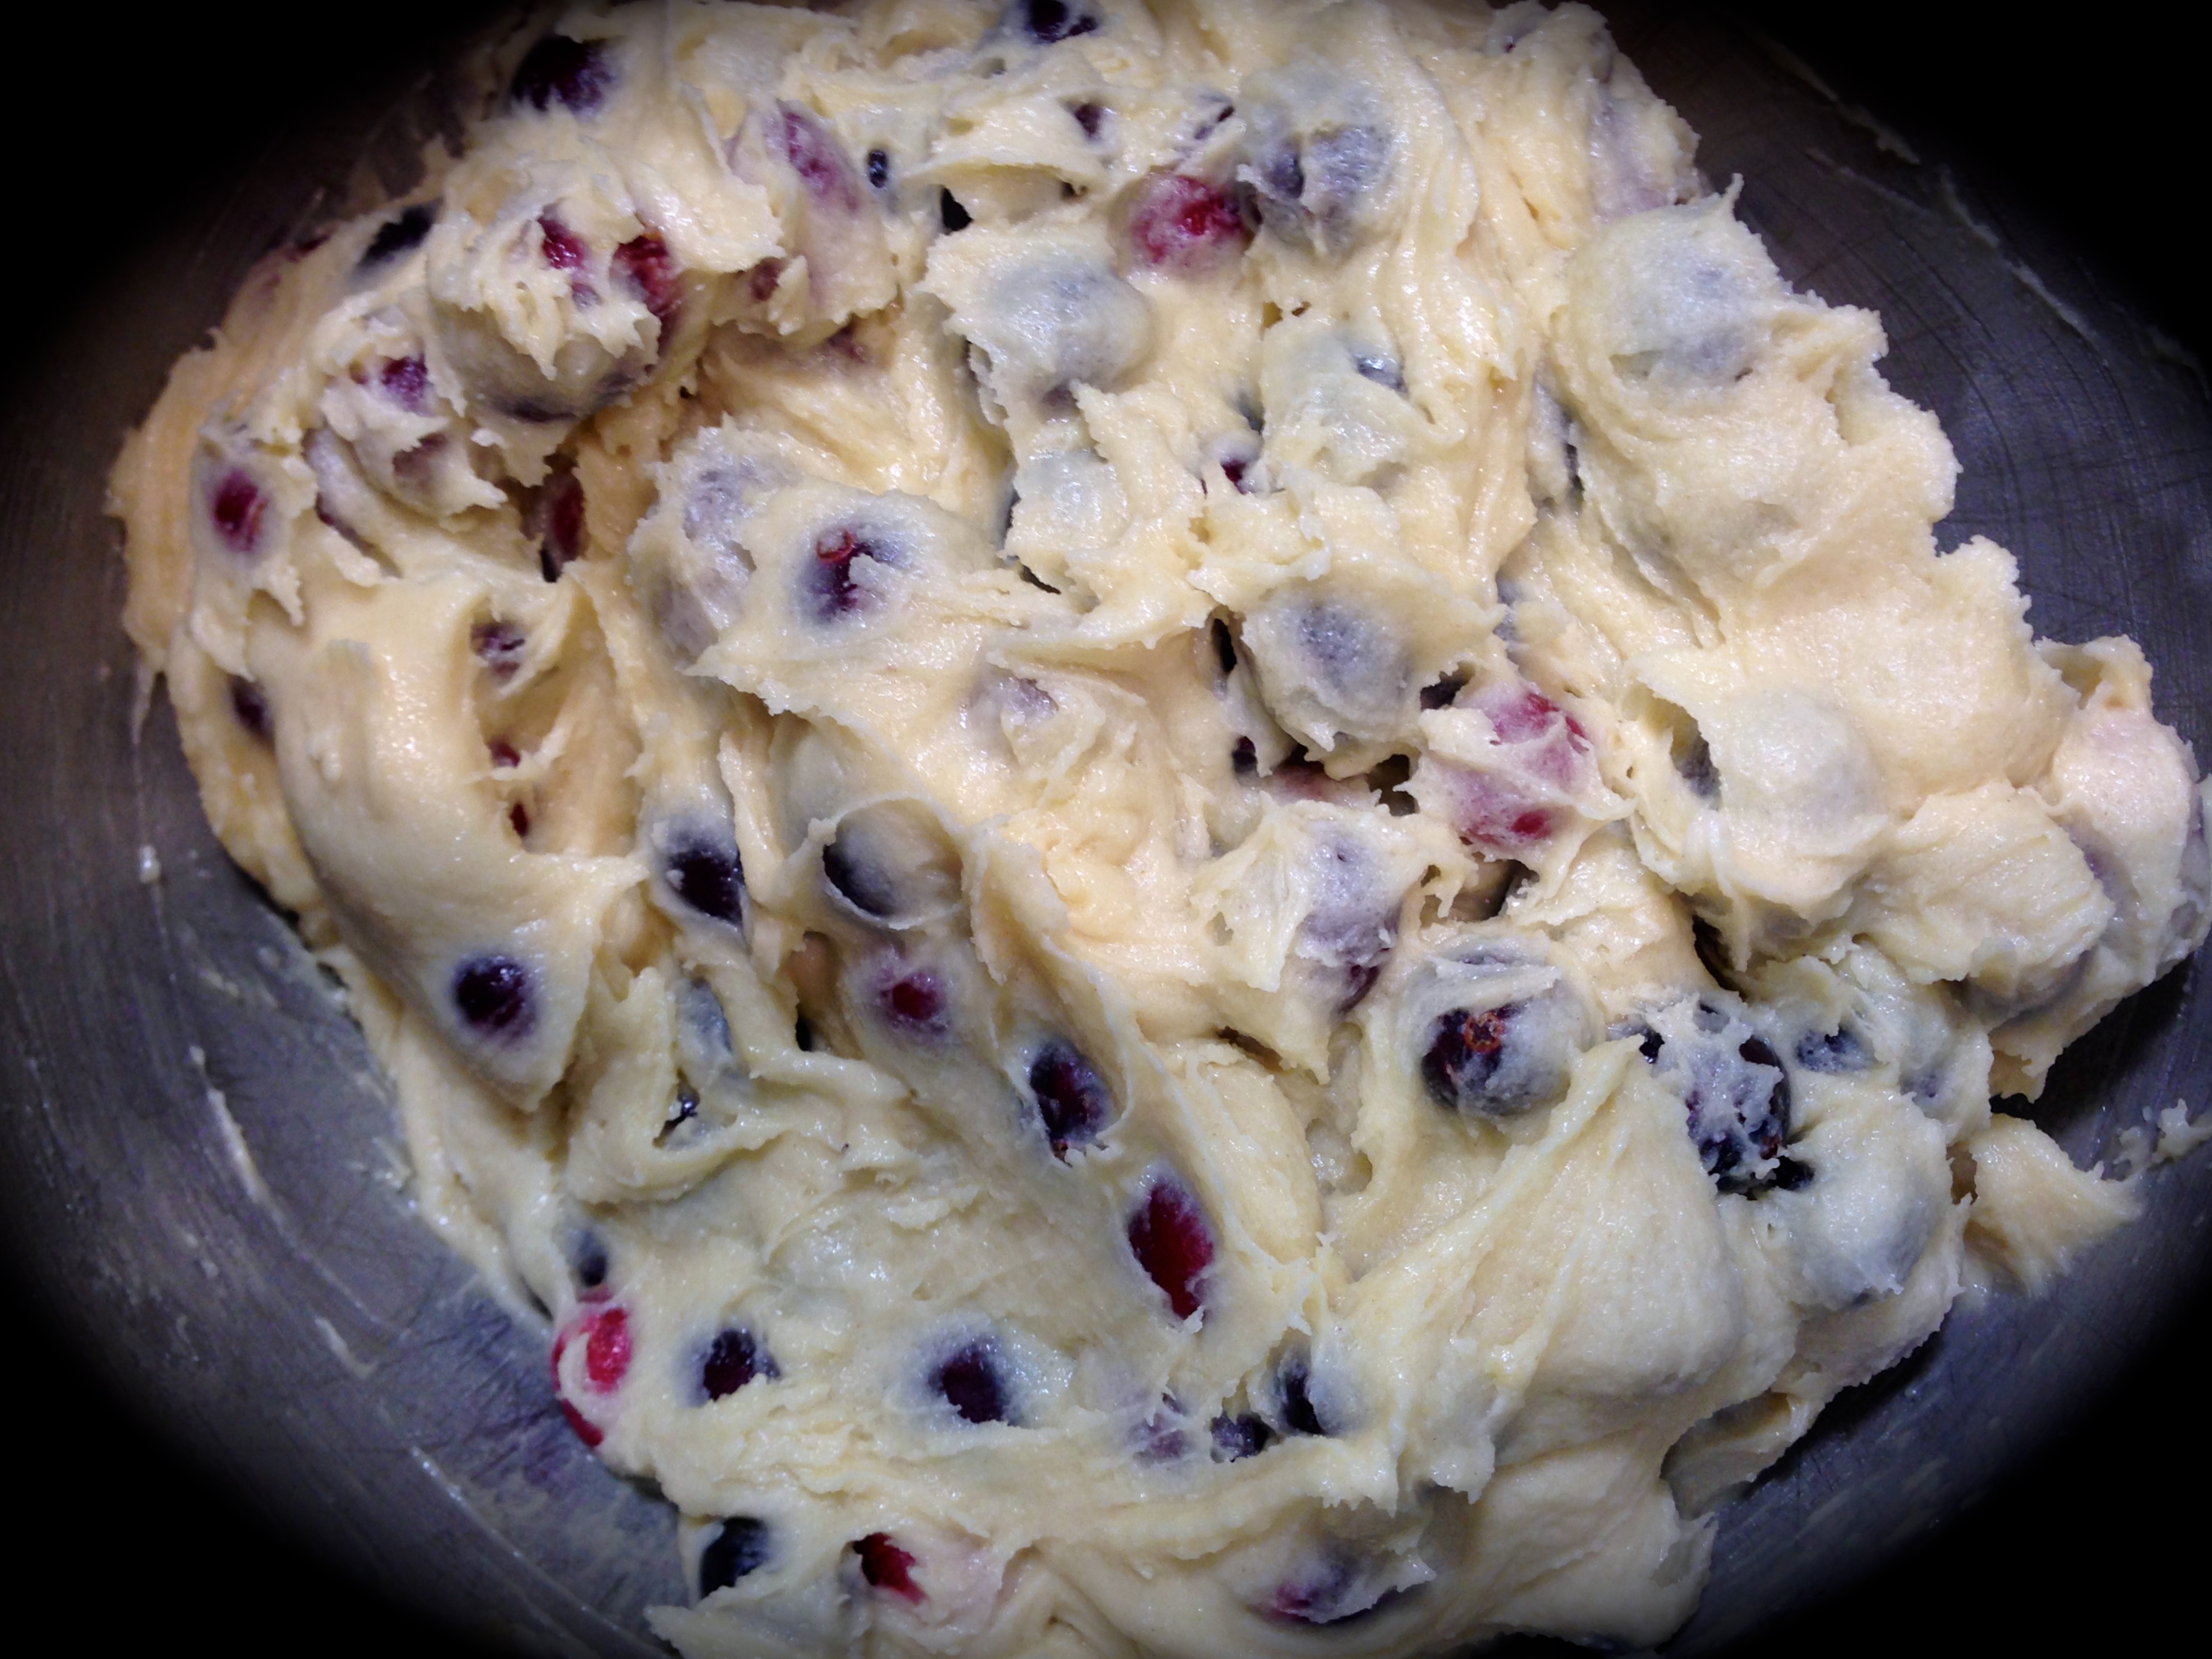
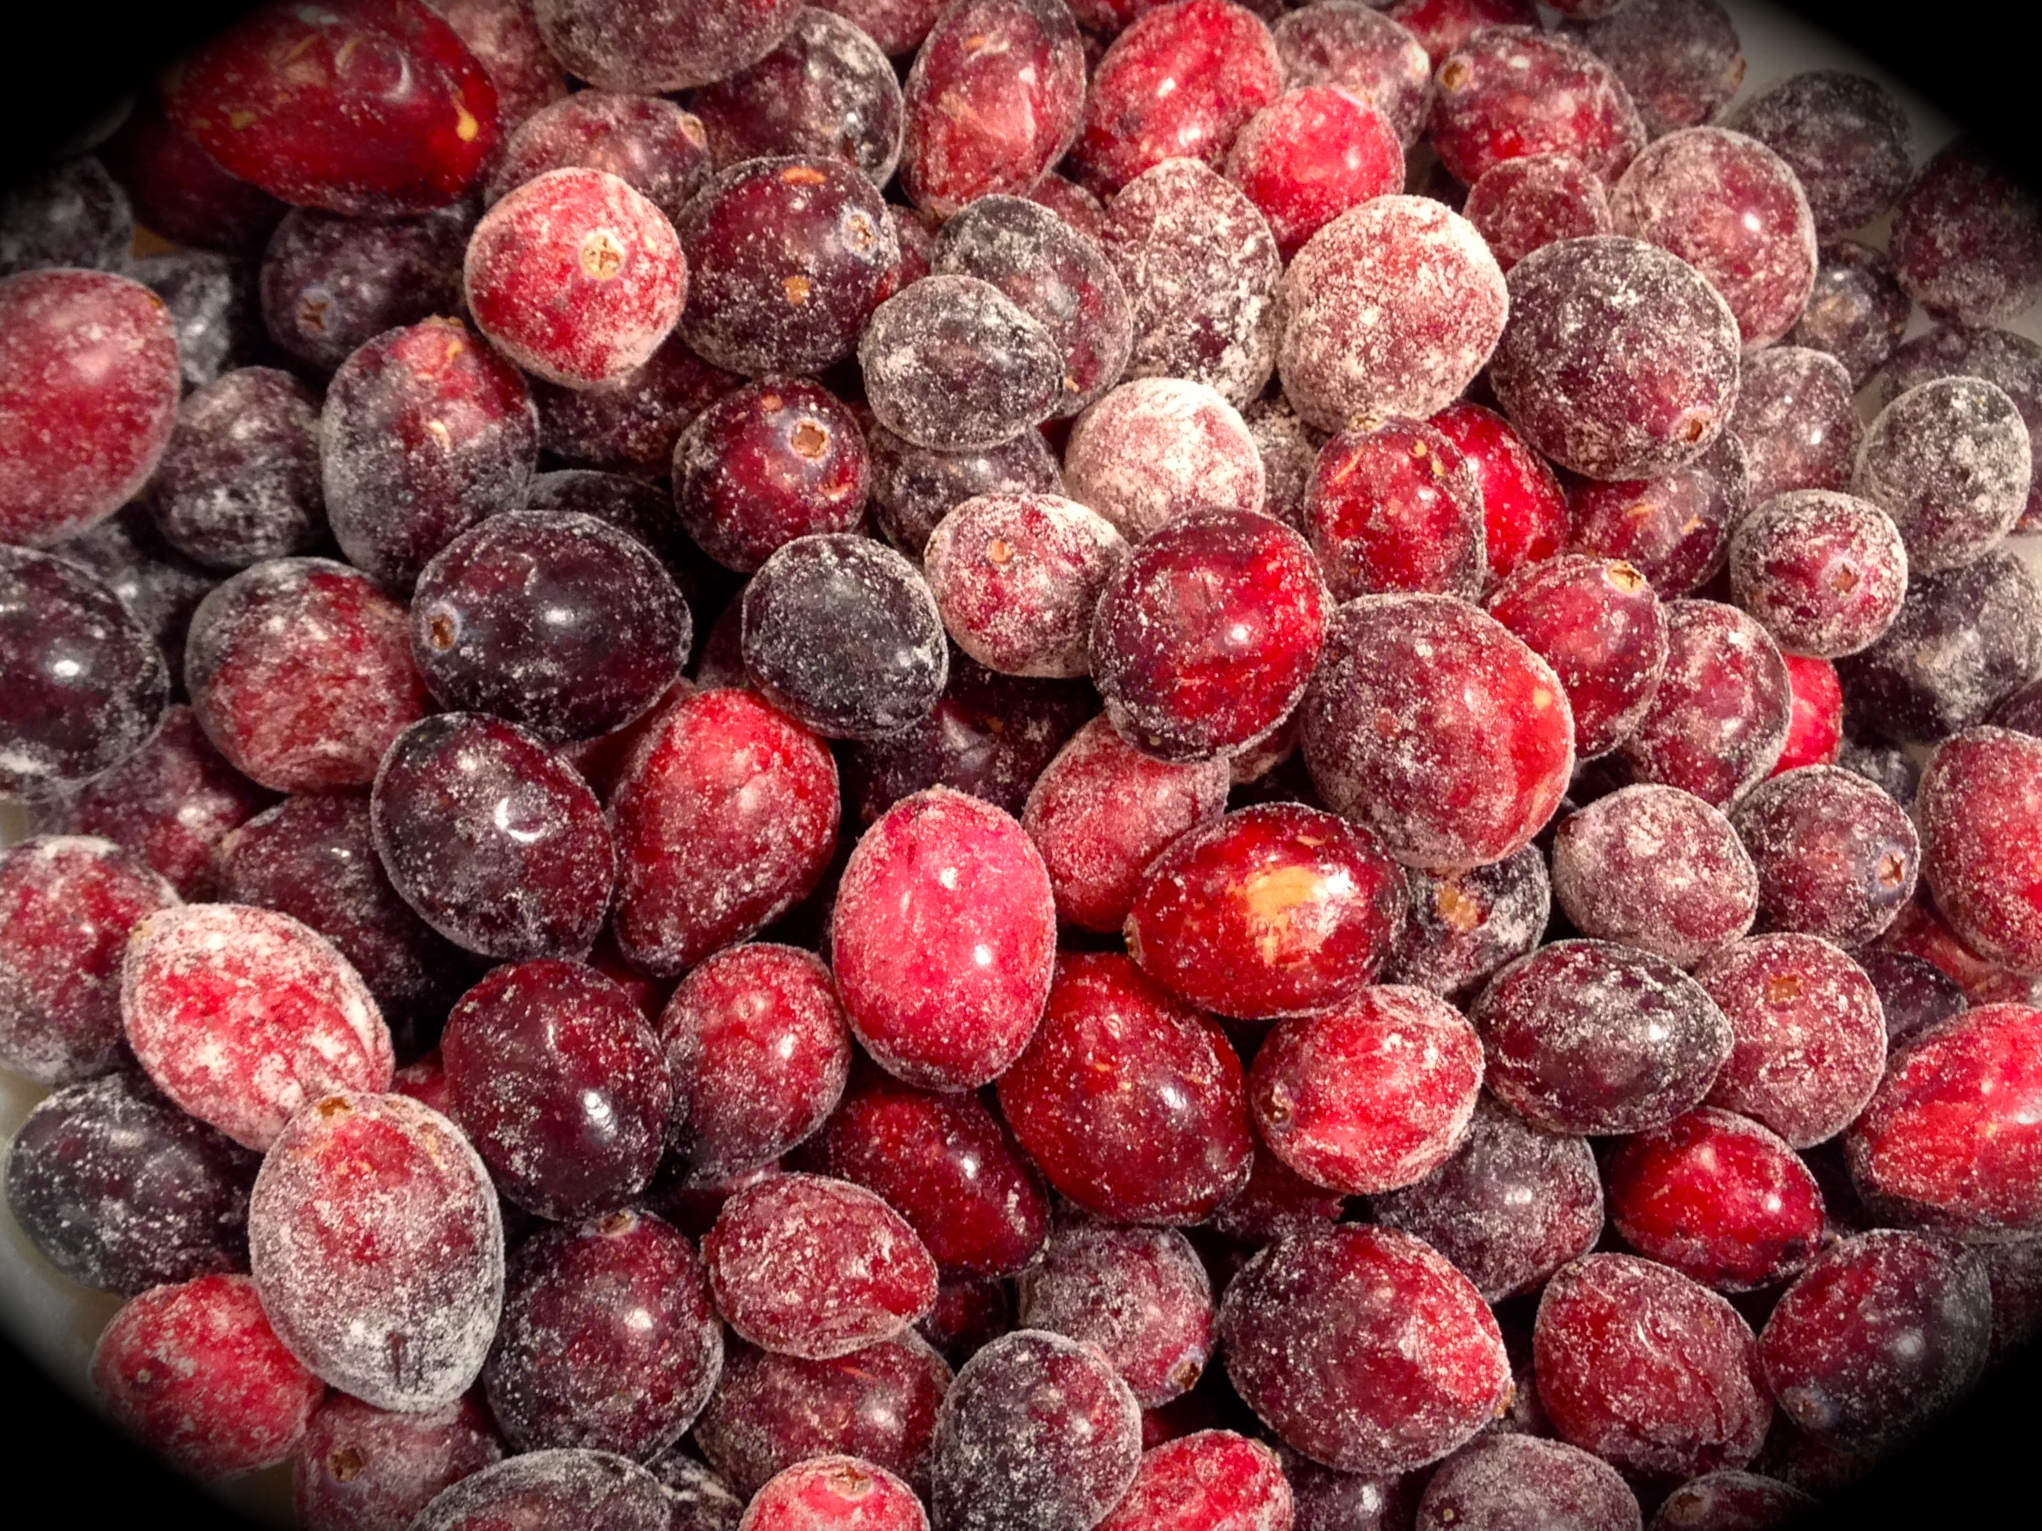
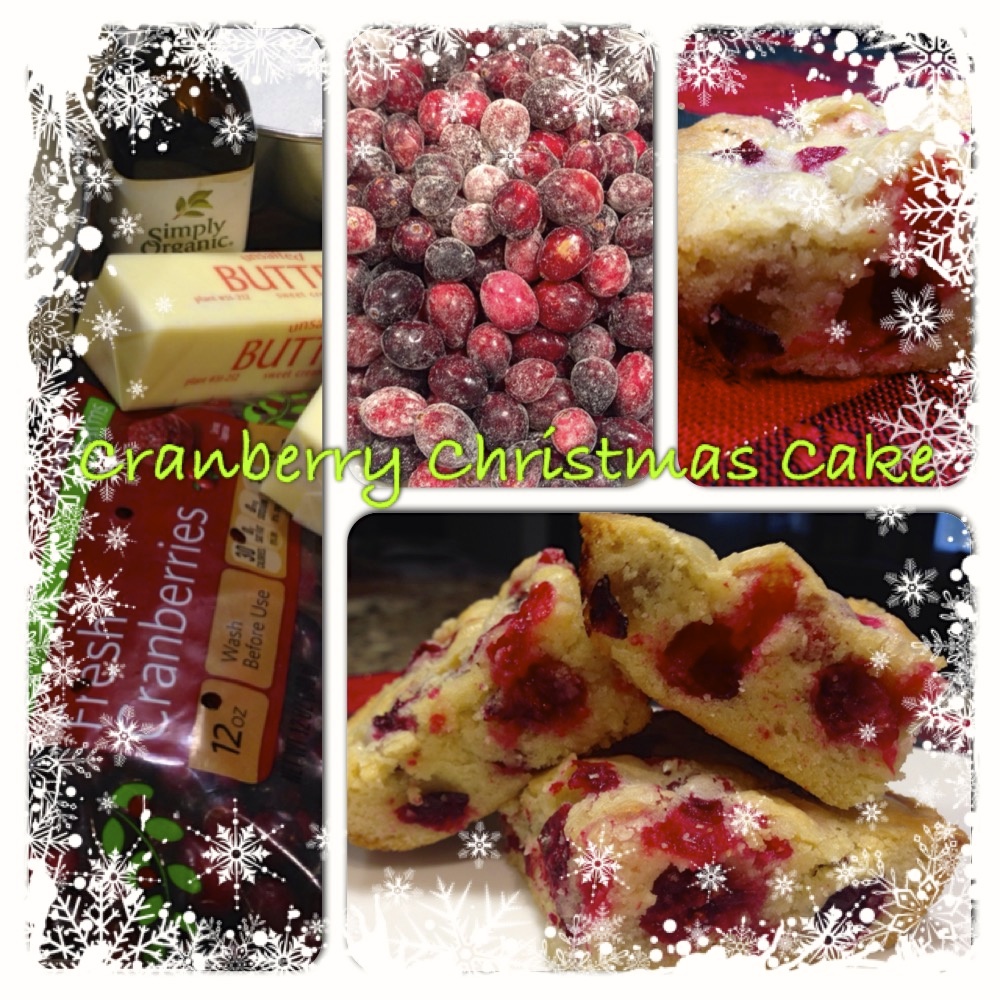
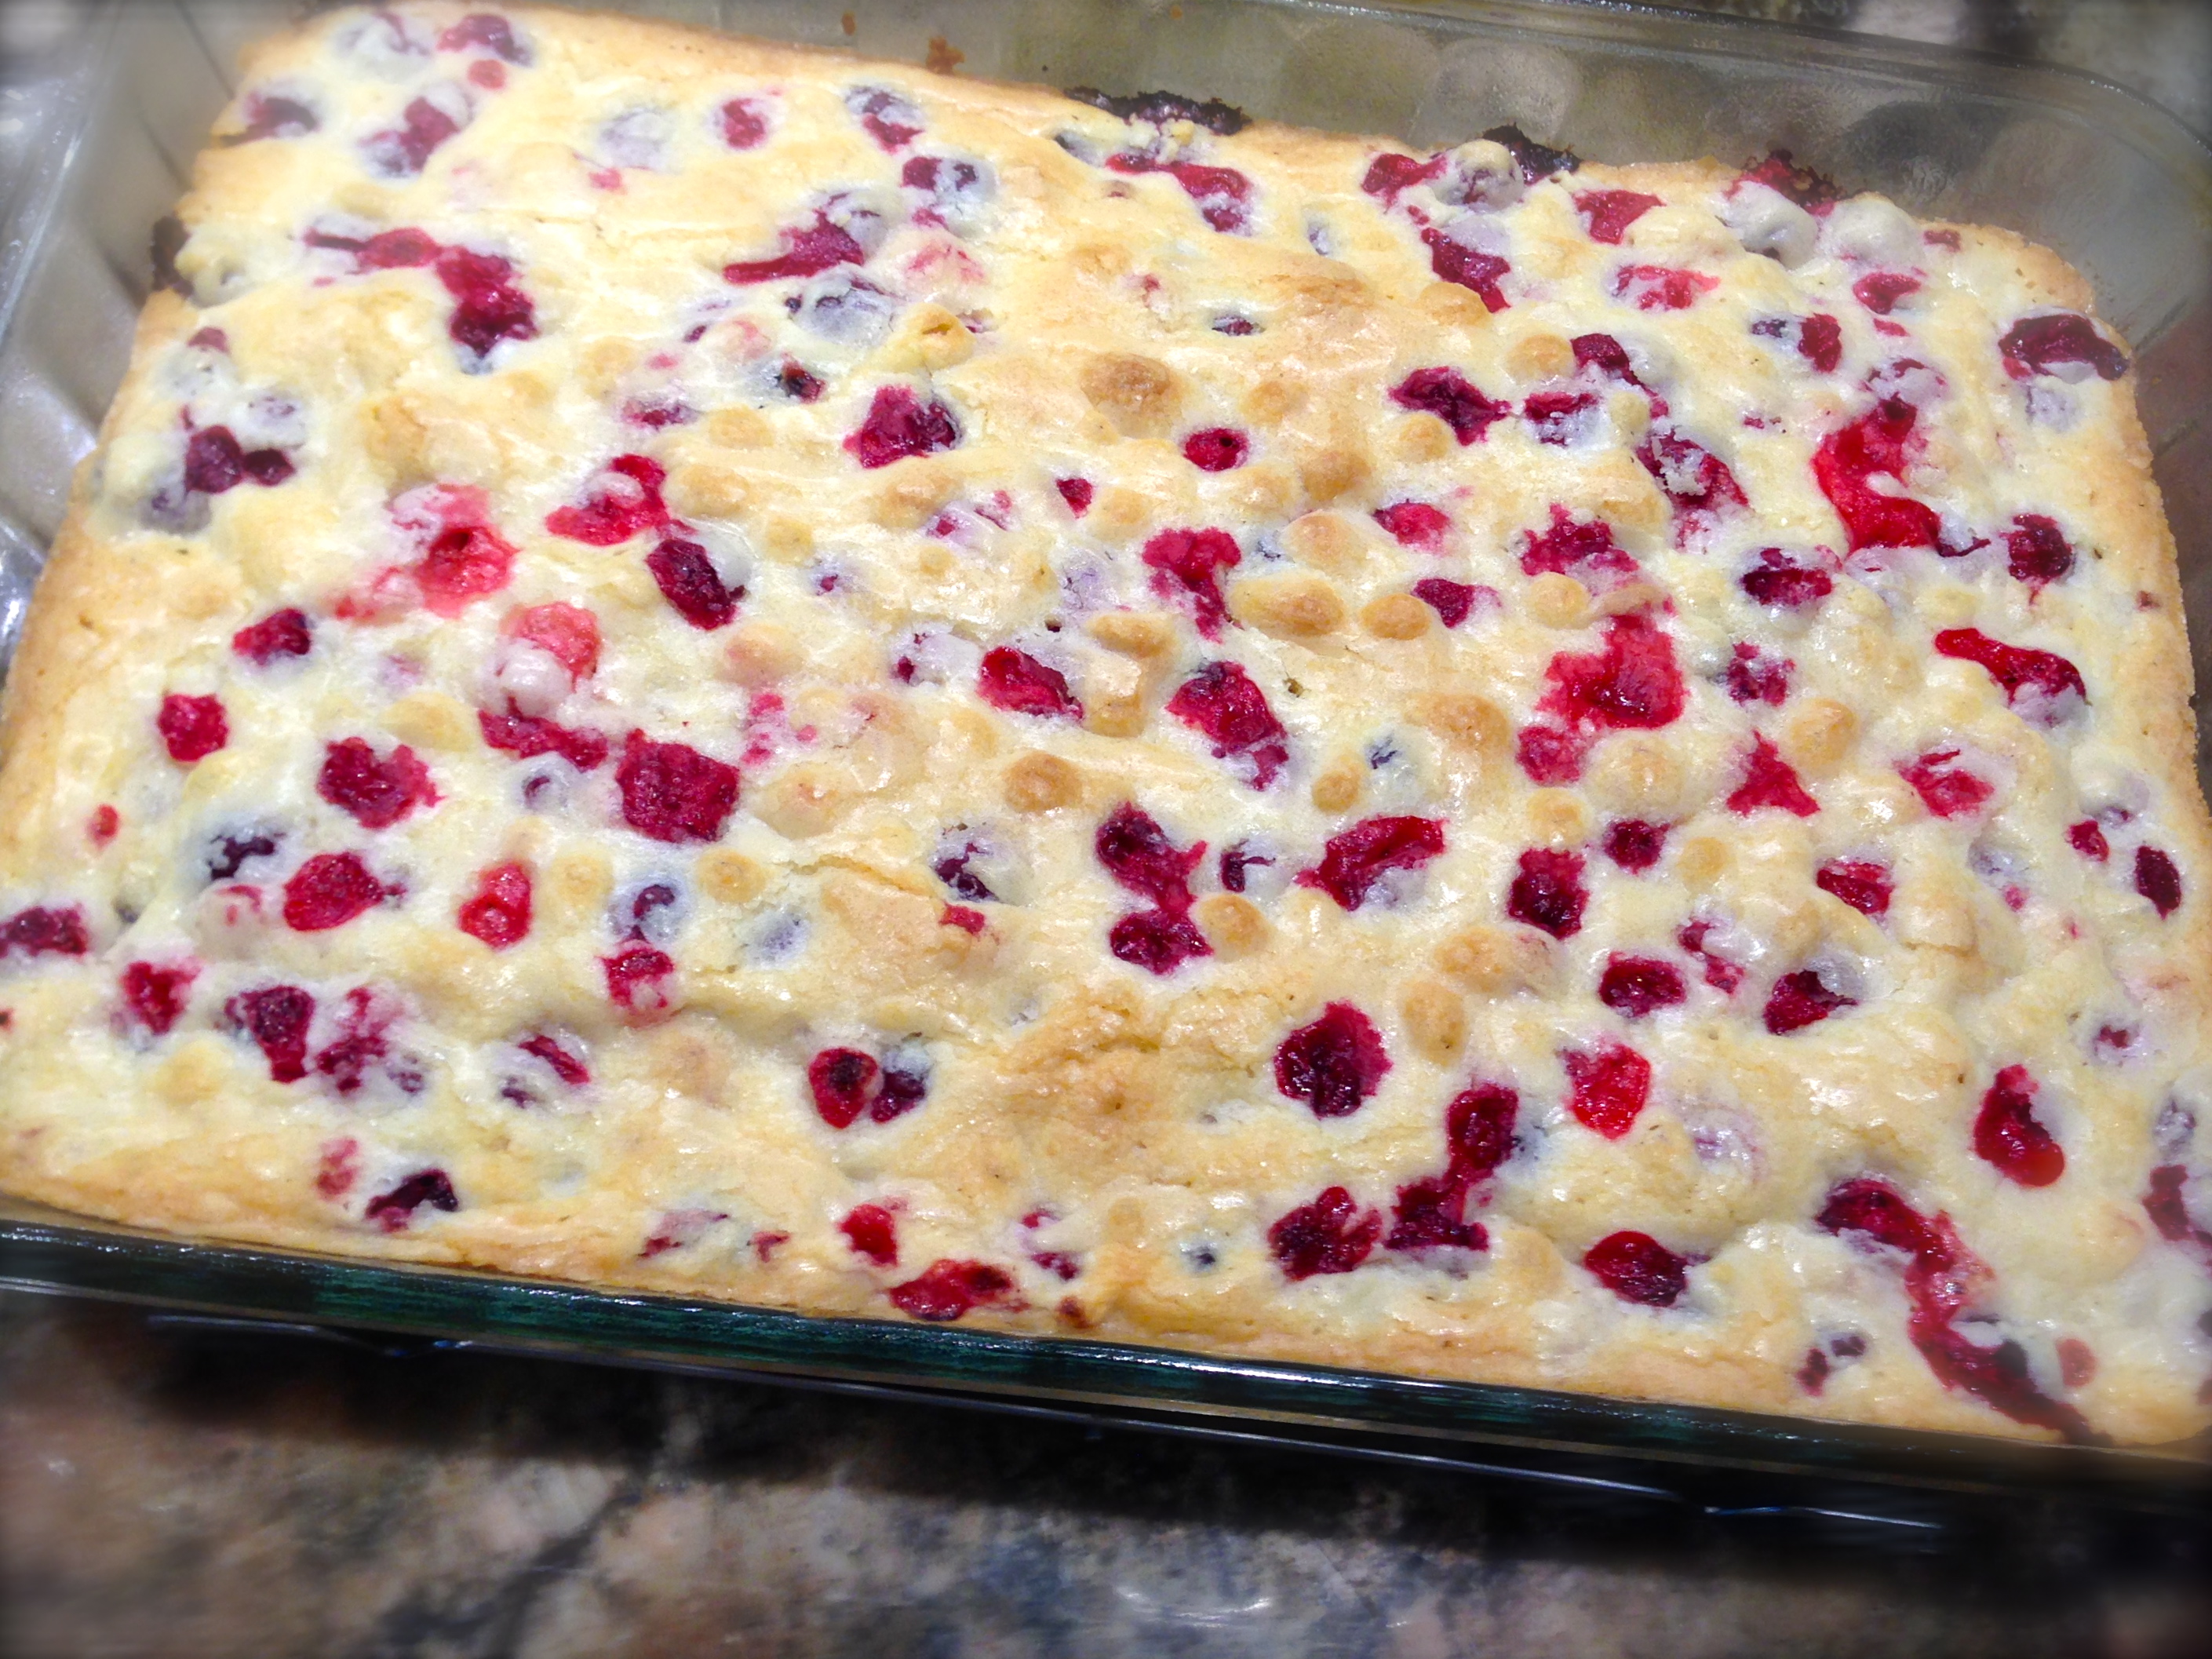
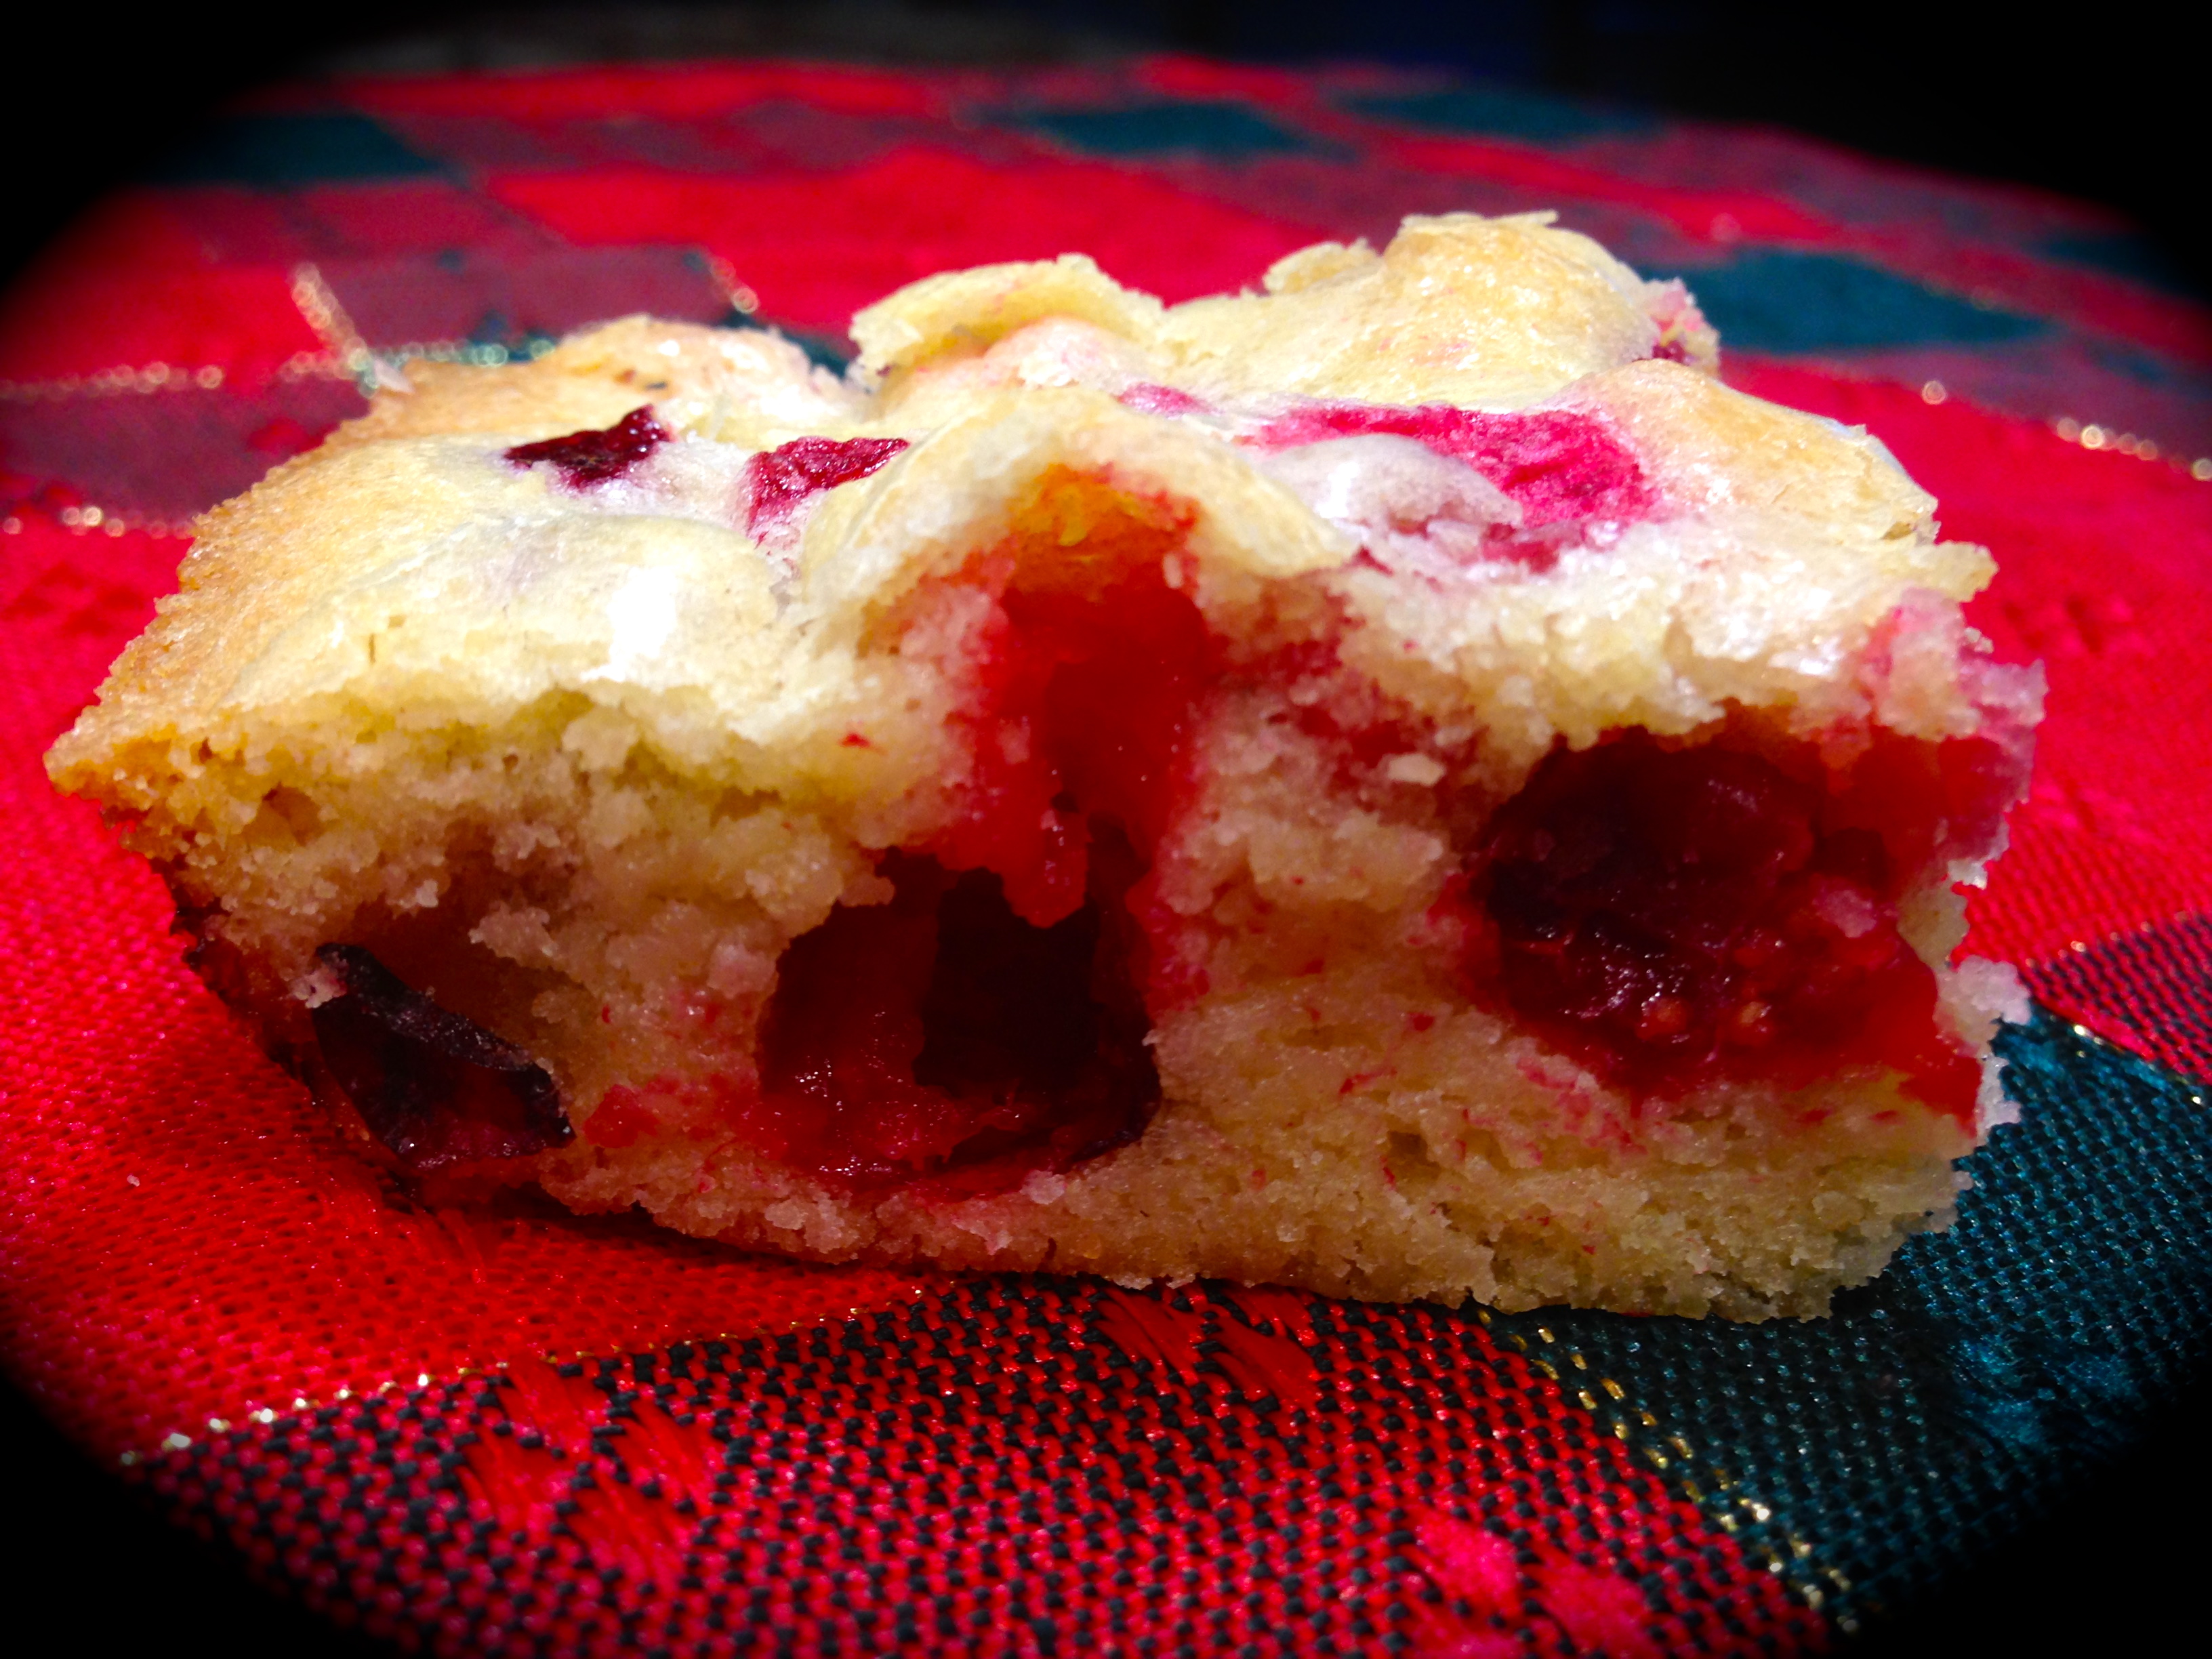
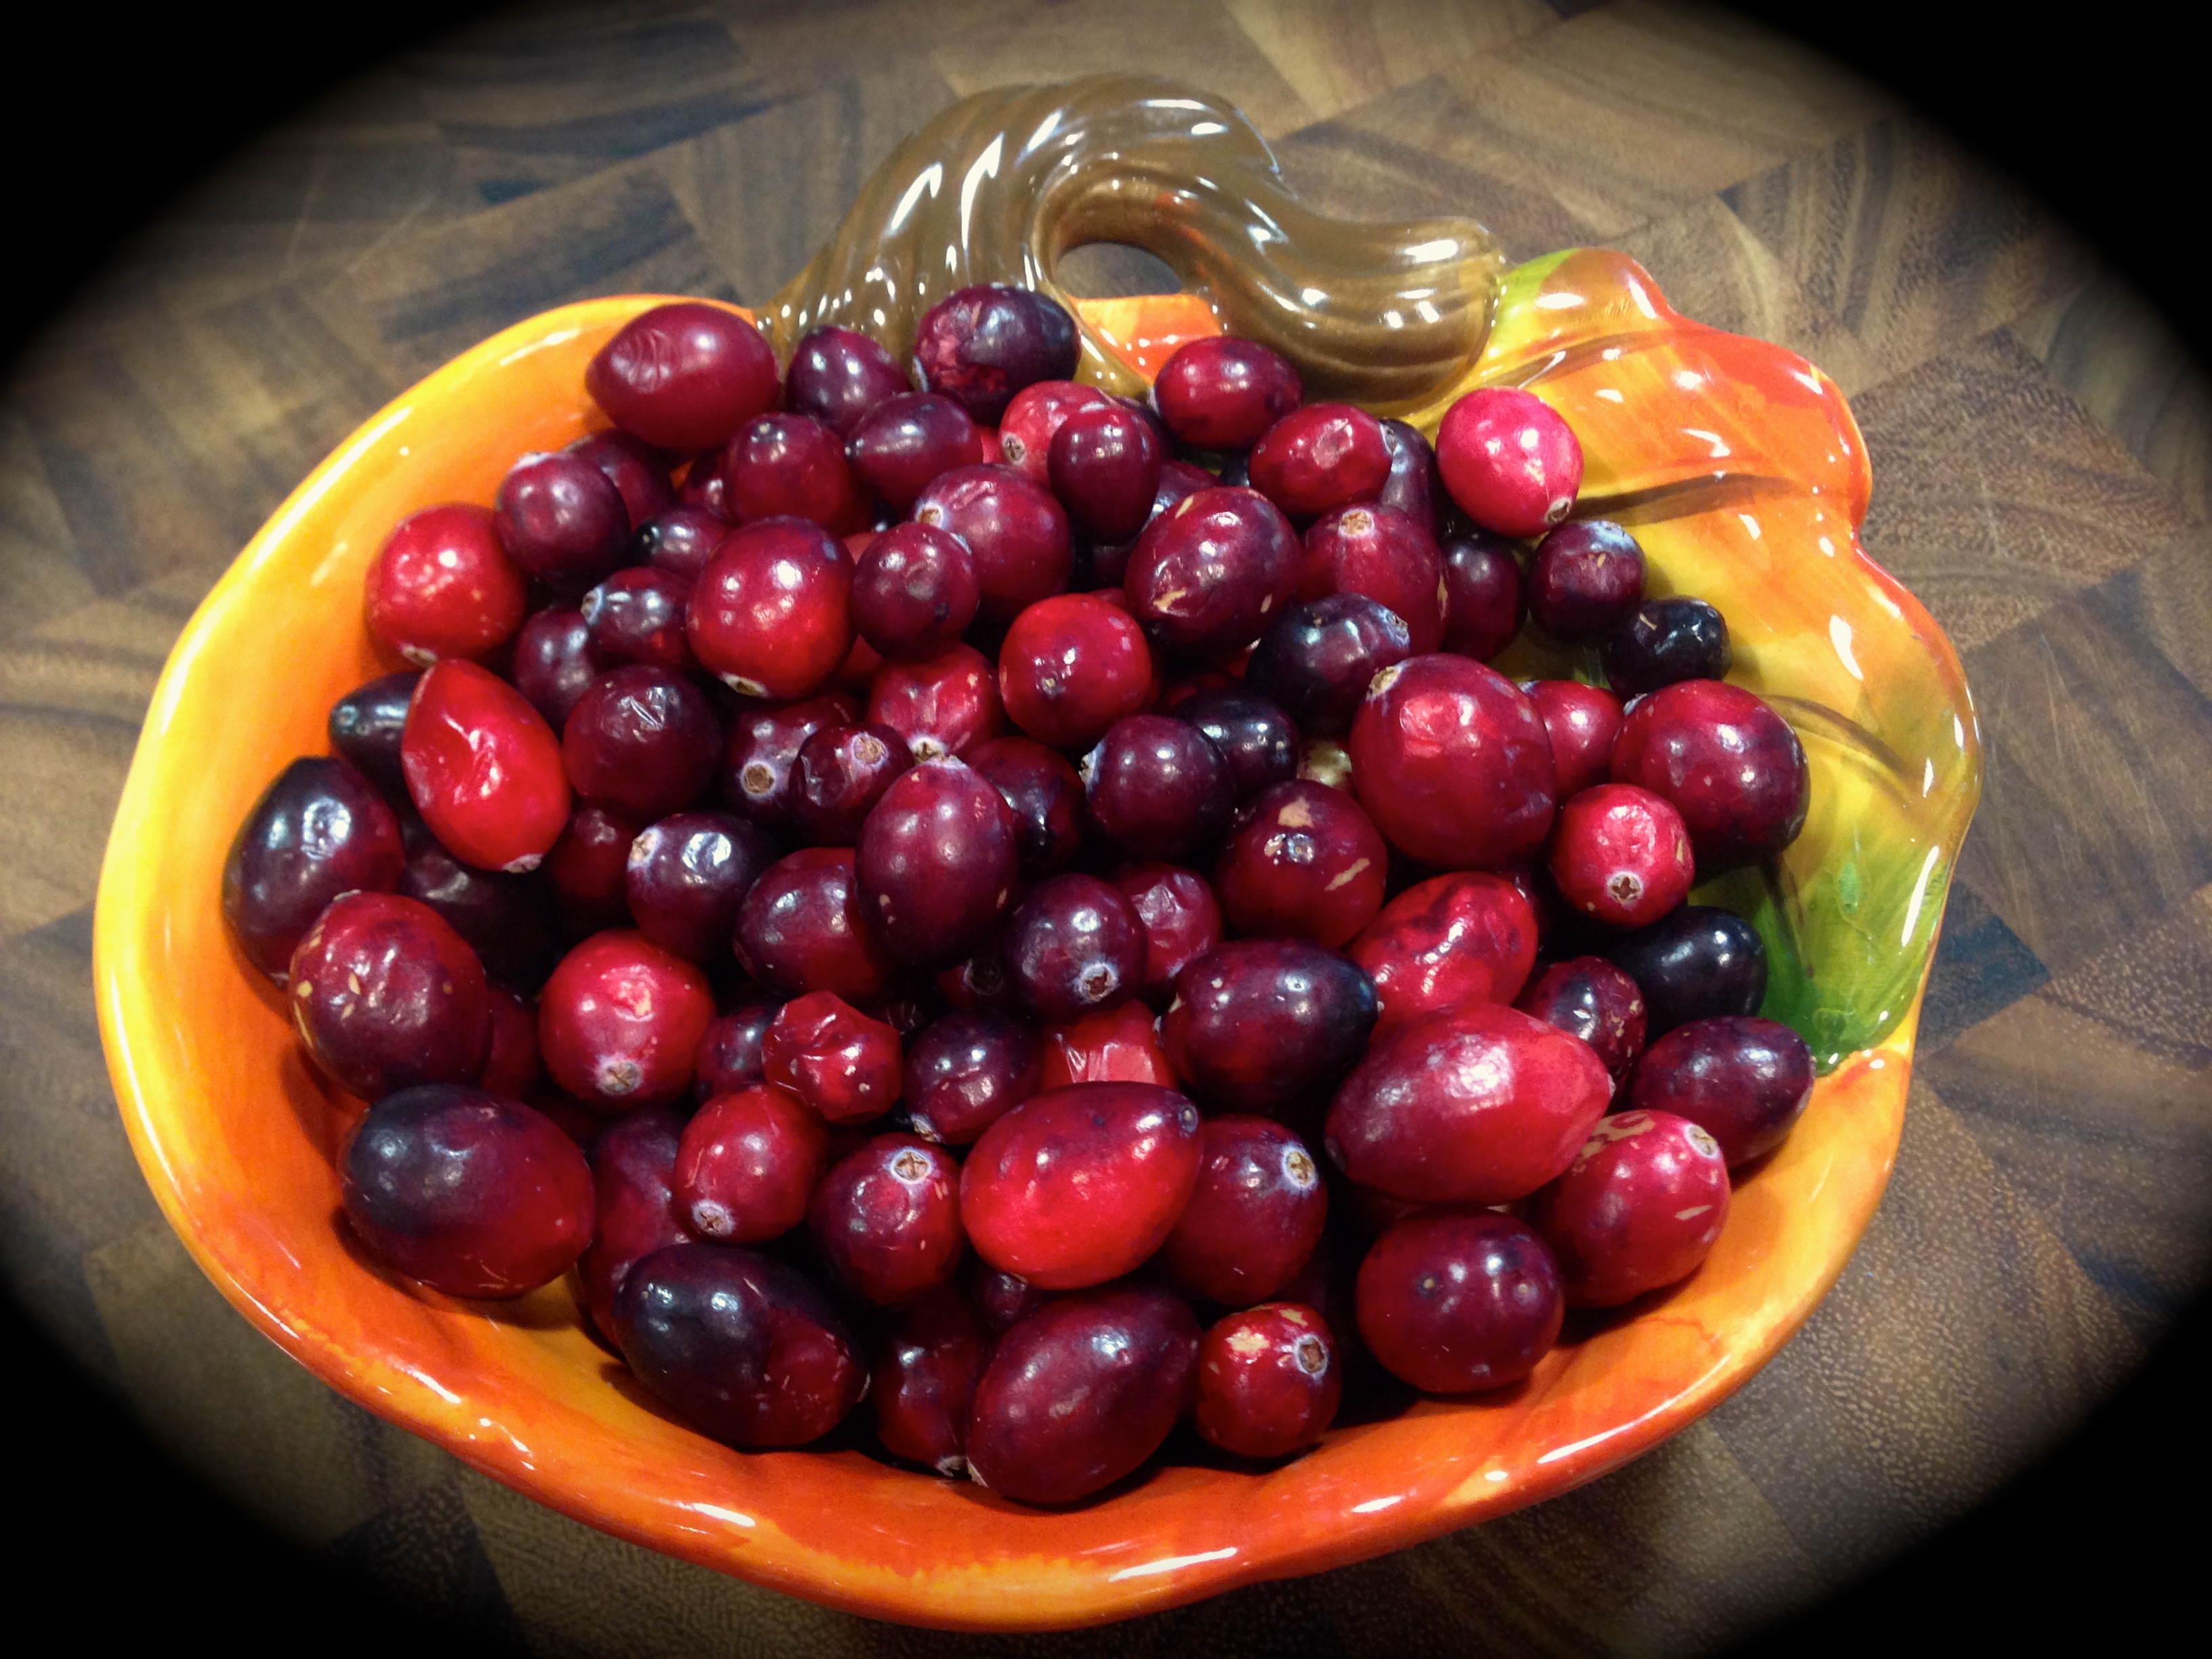
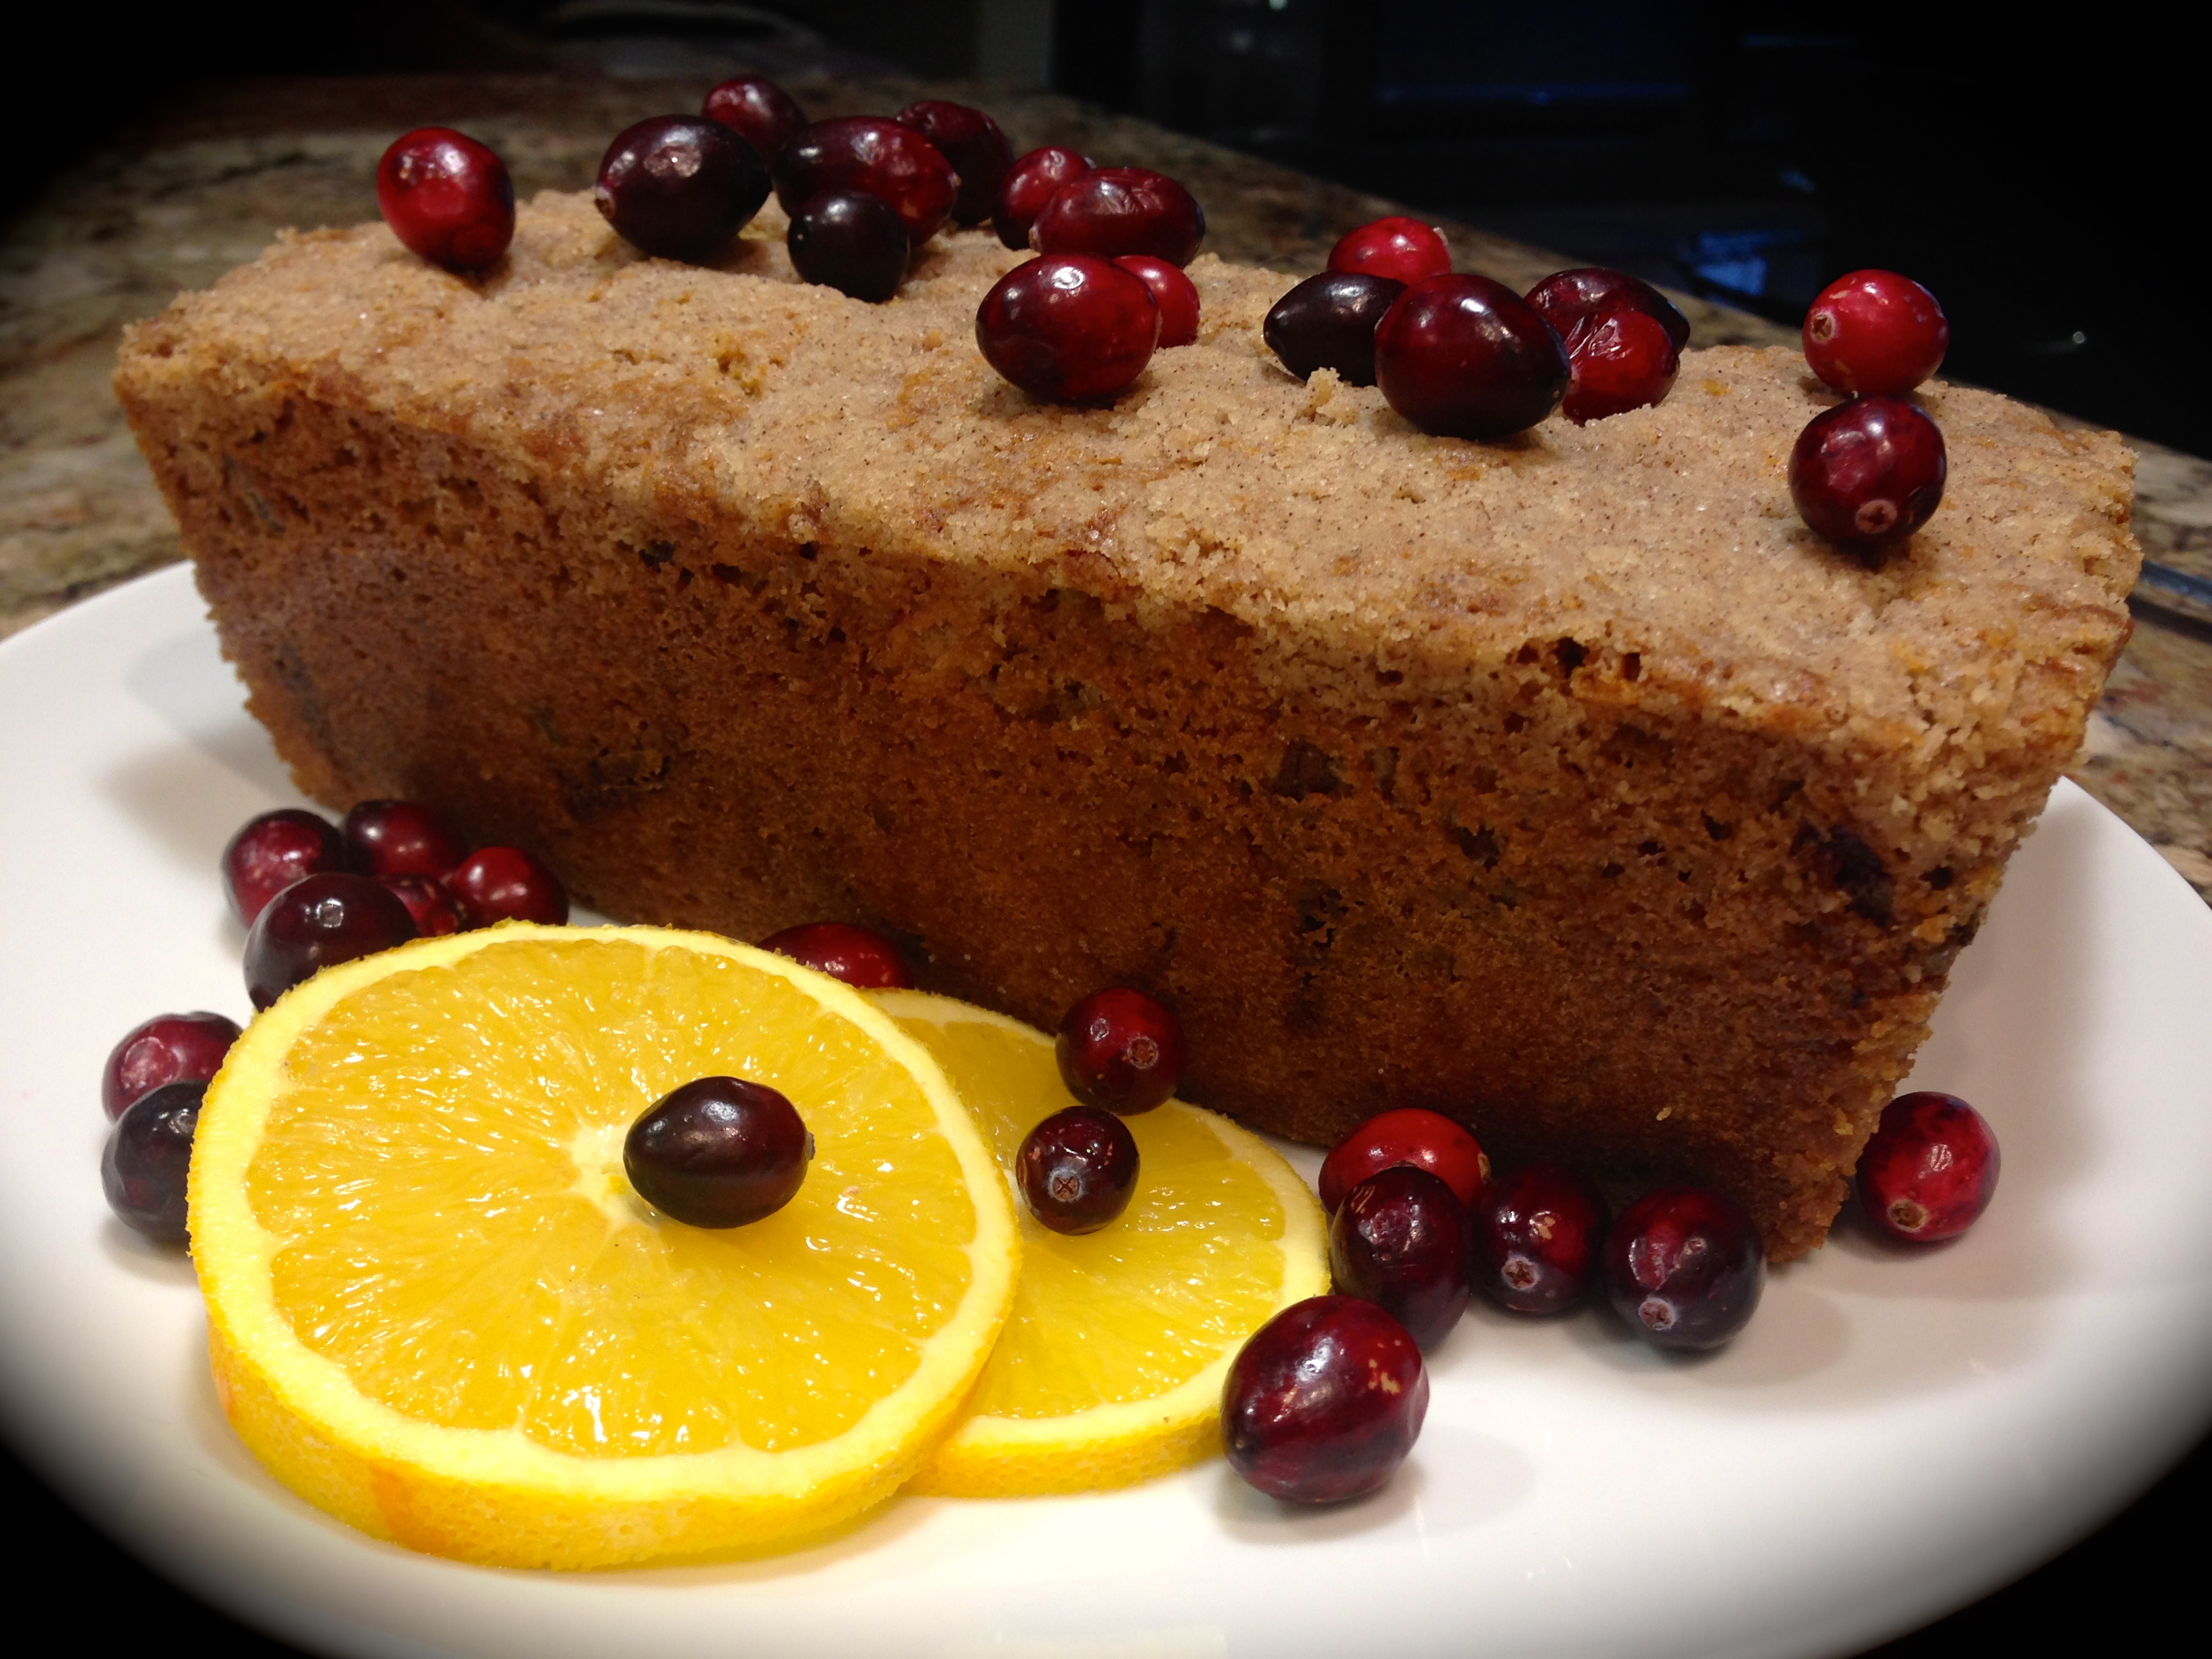
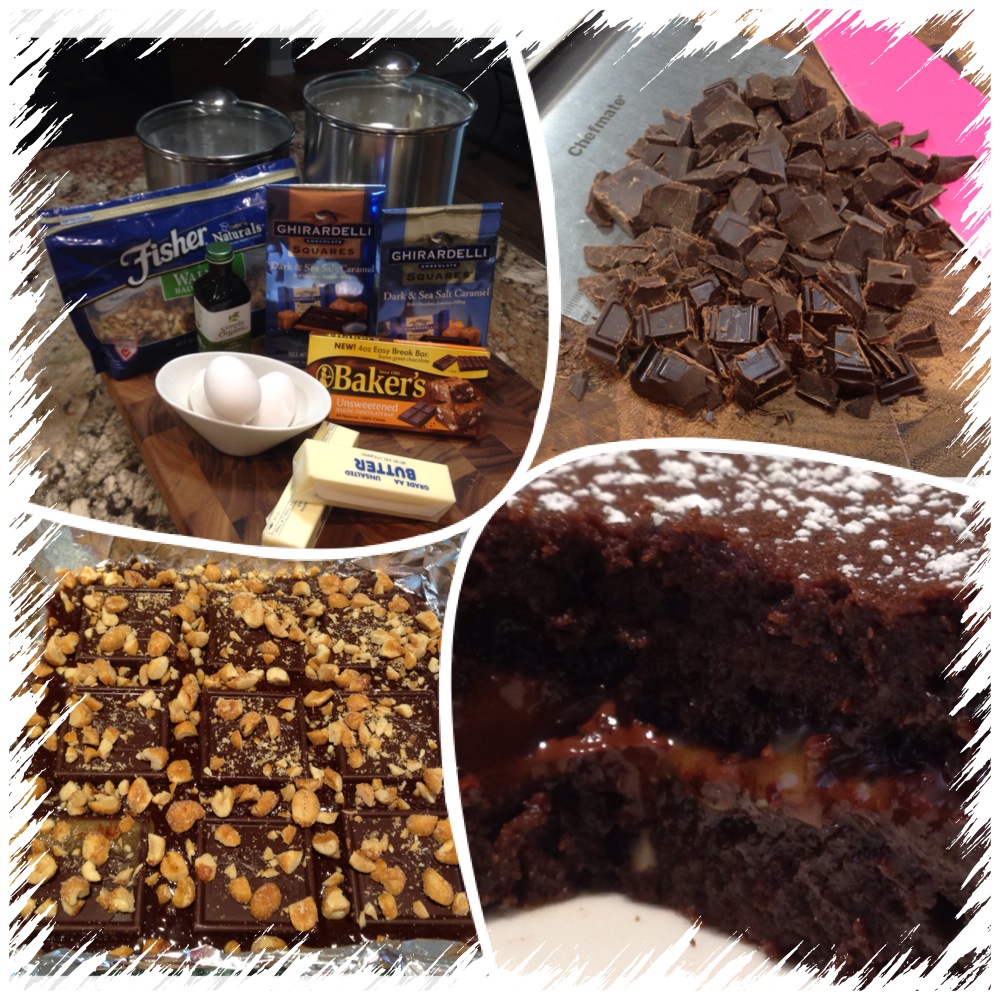
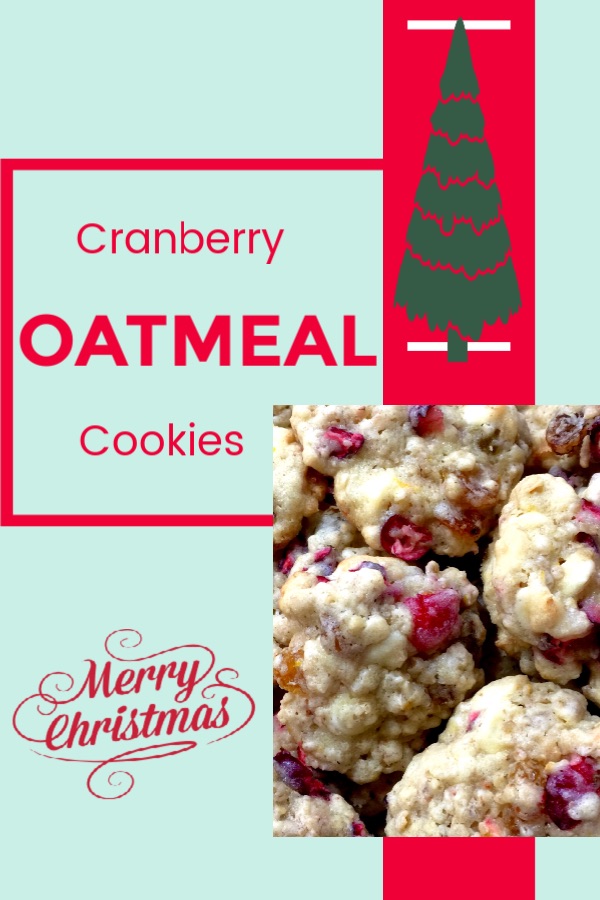
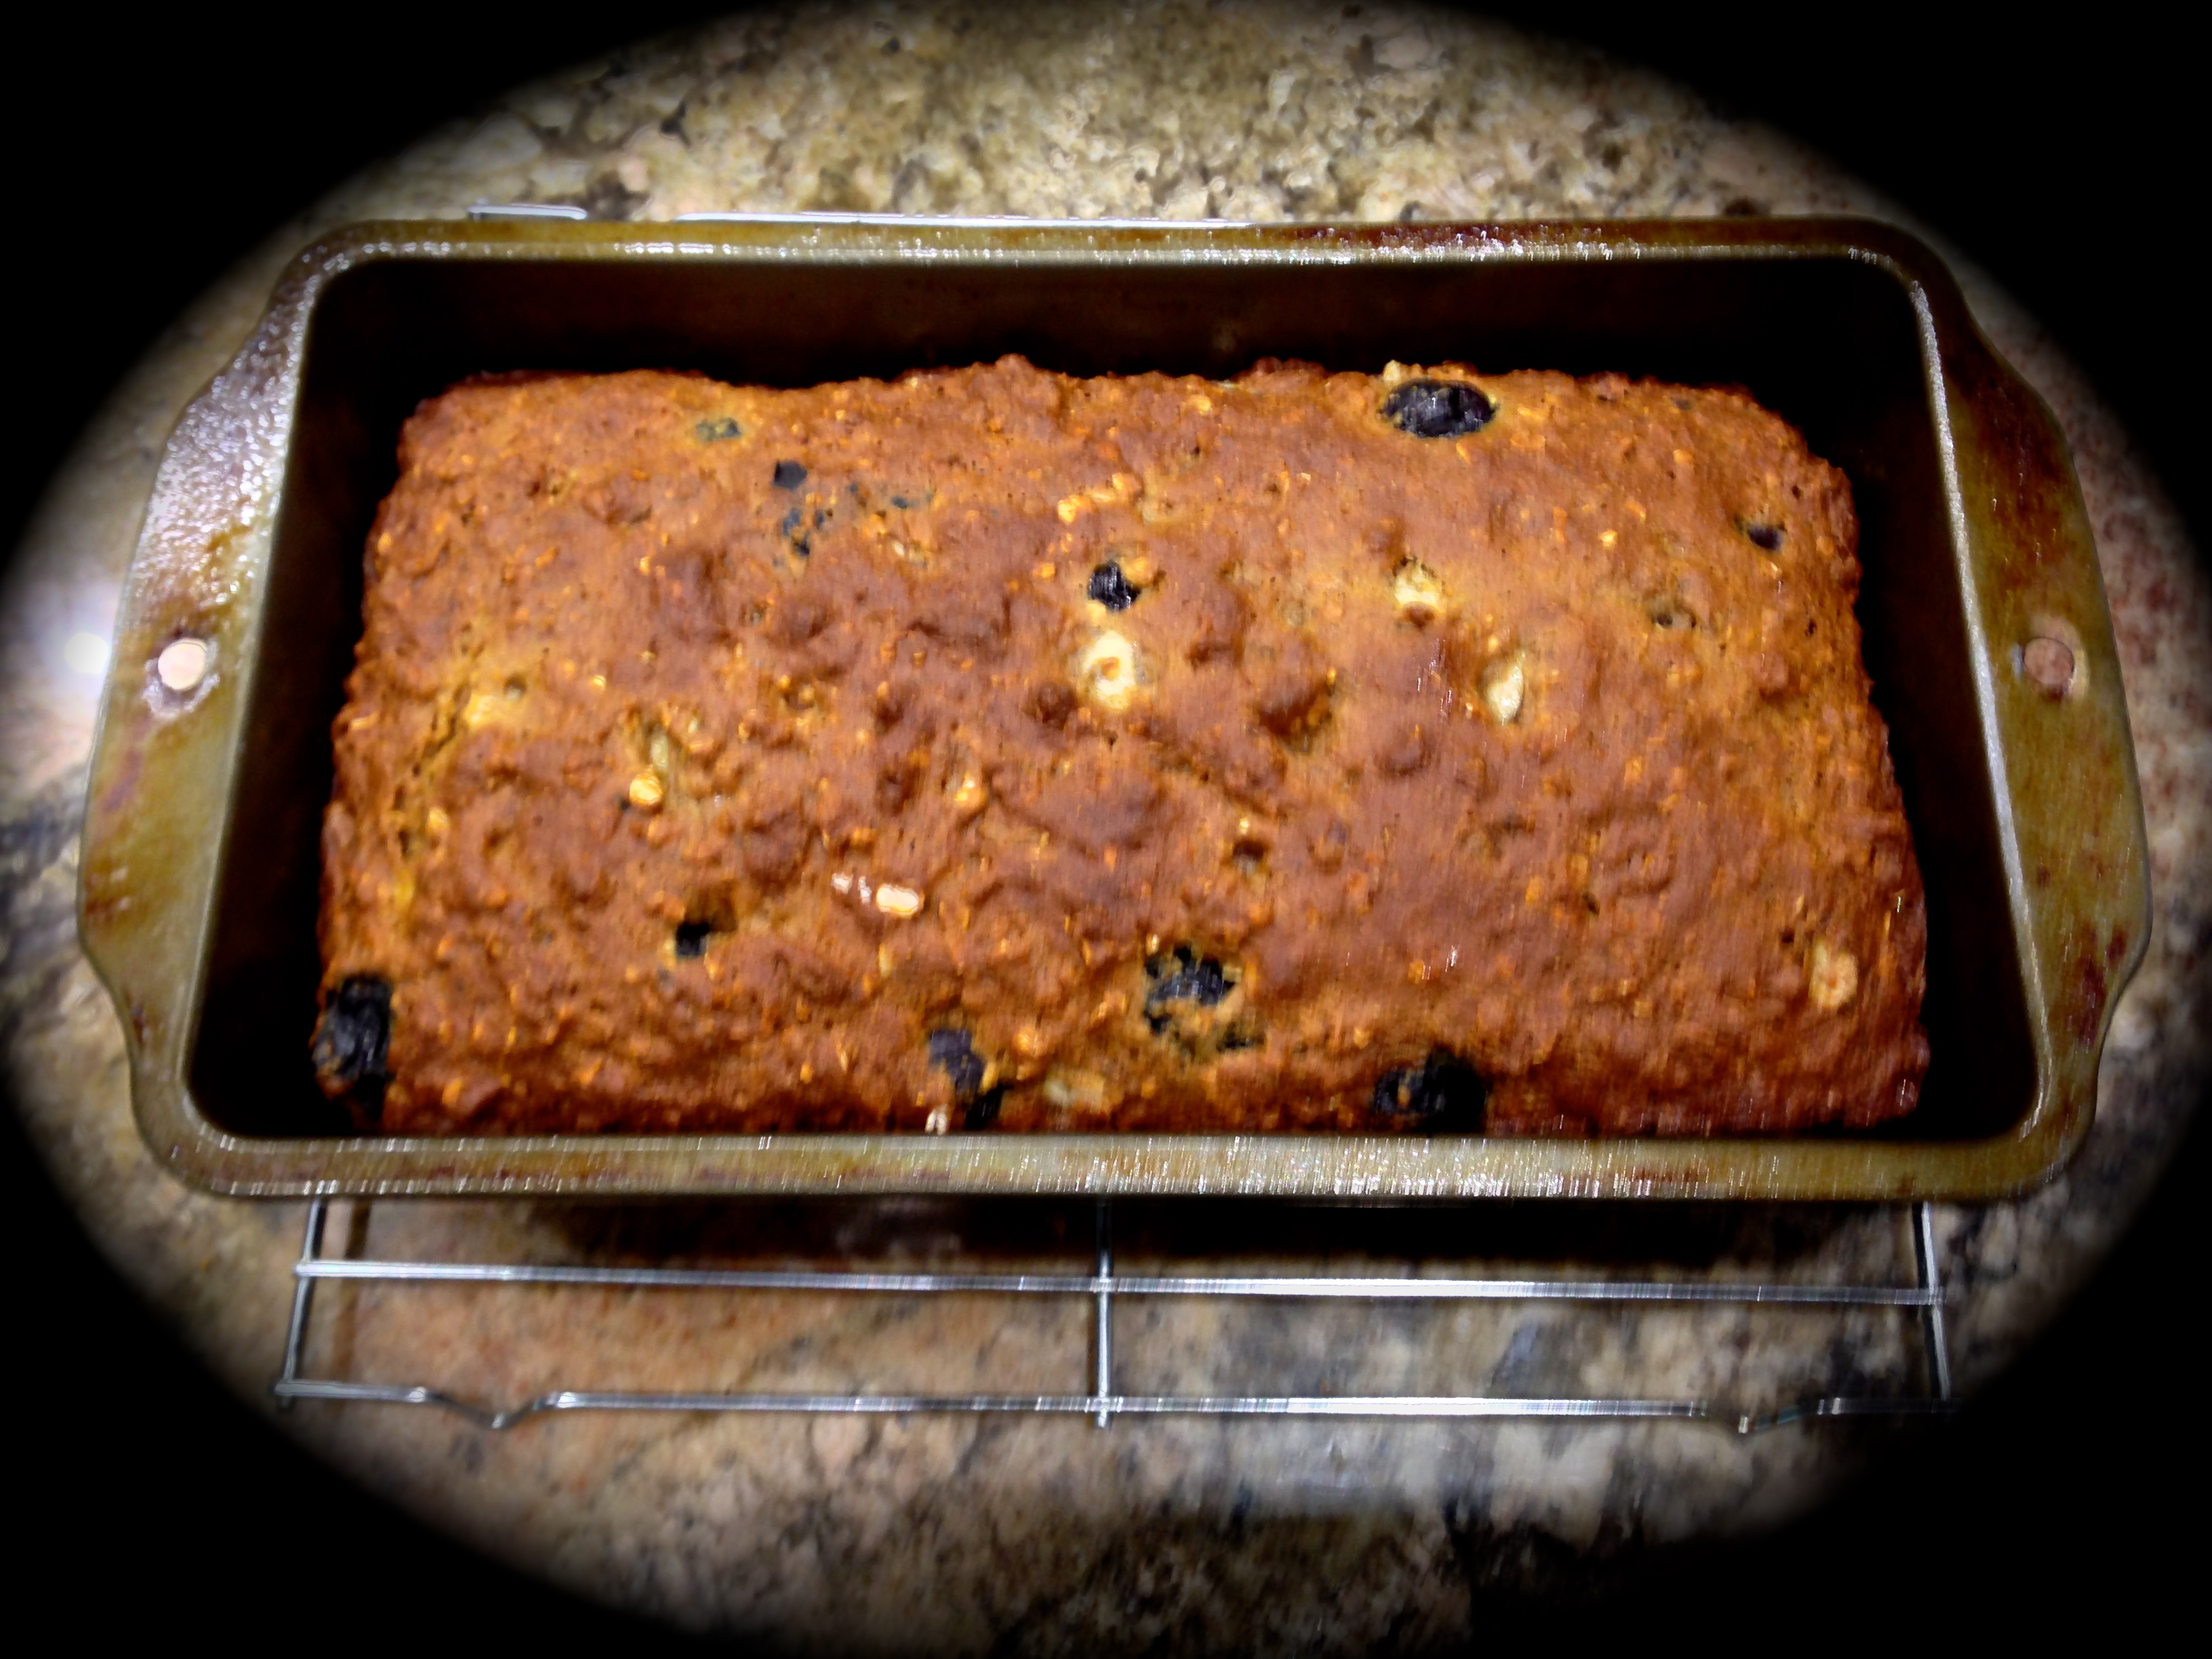
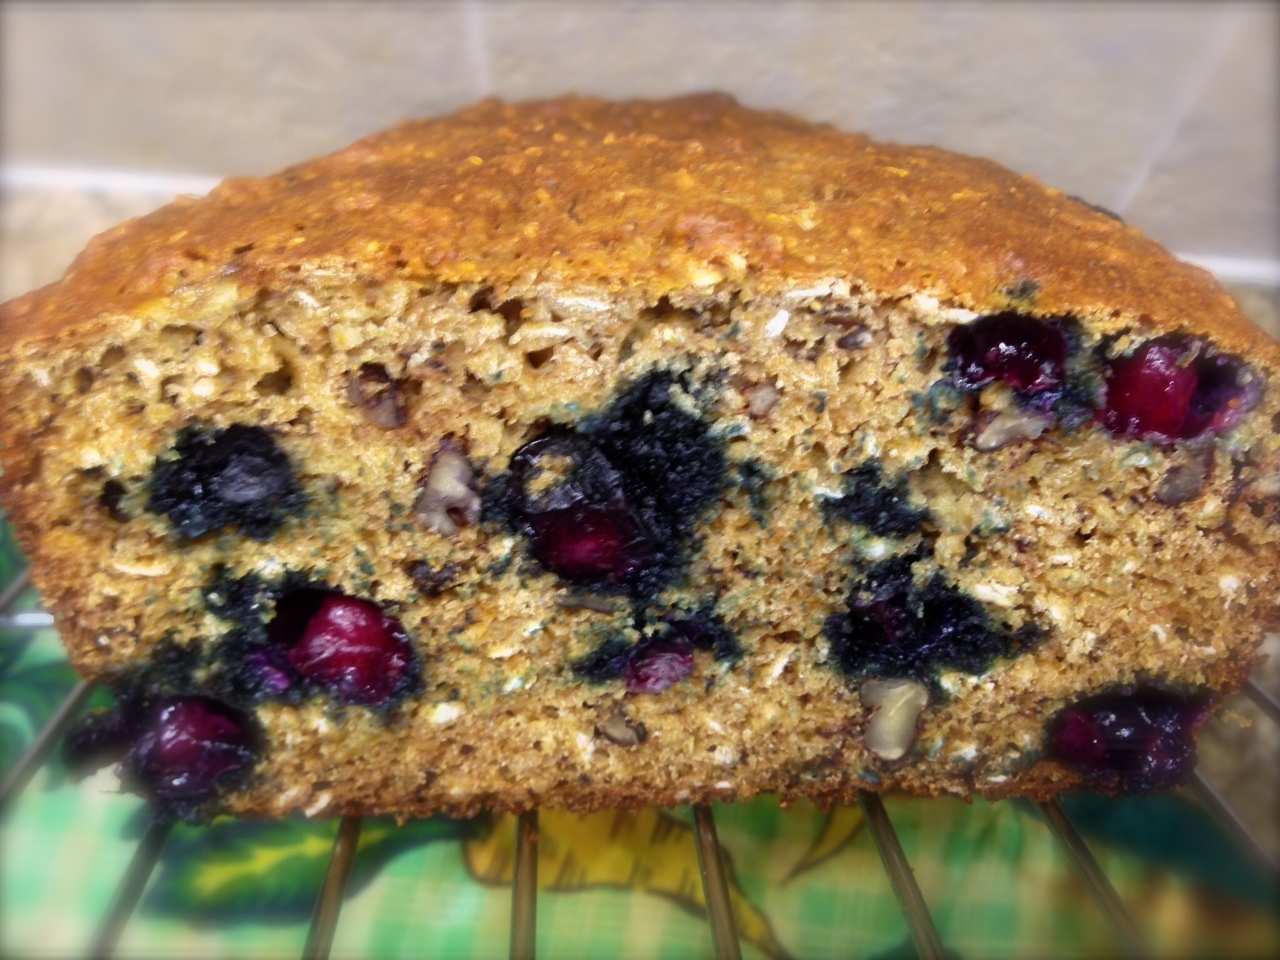
 his one because it only has 6 ingredients and the most labor intensive part of making it is beating the eggs and sugar for 5-7 minutes. I can handle that. Plus the cake uses one of my all-time favorite holiday ingredients, cranberries. This recipe is perfect for the novice baker who may not have confidence in the kitchen but wants to make a lasting impression with his/her confection creating skills. You can’t fail with this one, trust me!