Let’s face it. Once the football season is over there is definitely a sports vacuum. Major league baseball is just starting to tune up at spring training, college basketball still has over a month before the NCAA tournament, the next major in tennis is not until May, and everything else just seems to be a bunch of noise. And during this time I think back to some of the major highlights of recent sporting events. In my mind, nothing can surpass what the Chicago Cubs did last year but this past Super Bowl was no slouch of a game either. Then I started thinking about my Super Bowl party this past year and what I served and I thought, wow, I never posted this recipe!
This recipe was so much fun. I wanted what I served to be easy and fun and allow me to spend time with my guests and not in the kitchen. I decided to serve this dip along with a hot crab dip for appetizers. Dinner consisted of slow cooker bbq pulled chicken sandwiches with cole slaw and sliced tomatoes. The meal was a hit and this appetizer was the star of the show!
So let’s talk spinach artichoke red pepper dip…
Lesson Learned 1 – If you want to impress your guests, make this appetizer: This recipe couldn’t be any easier and boy does it impress. You basically combine the ingredients in stages in the food processor, put it in the carved-out bread bowl, bake it and the oven does all the rest. I was amazed at how great it looks and above and beyond that, it is absolutely delicious. It is a fabulous appetizer to serve at any party!
Lesson Learned 2 – Take your time when carving out the bread bowl: I used an artisan sour dough bread that I bought at the grocery store. You start out by cutting the opening on top of the bread. Make it large enough so you can stuff the bread but not too large that you cut off a lot of the bread. Then take a paring knife and begin cutting out the inside and under the sides. Take your time so that you don’t cut to close to the crust on any side. You want at least about 1 inch of bread at the bottom. You can do a little less than that on the sides. And make sure you save what you cut out. You can cut that into cubes and serve it as one of the sides with the warm dip. Yum!

Carved Out Bread Bowl
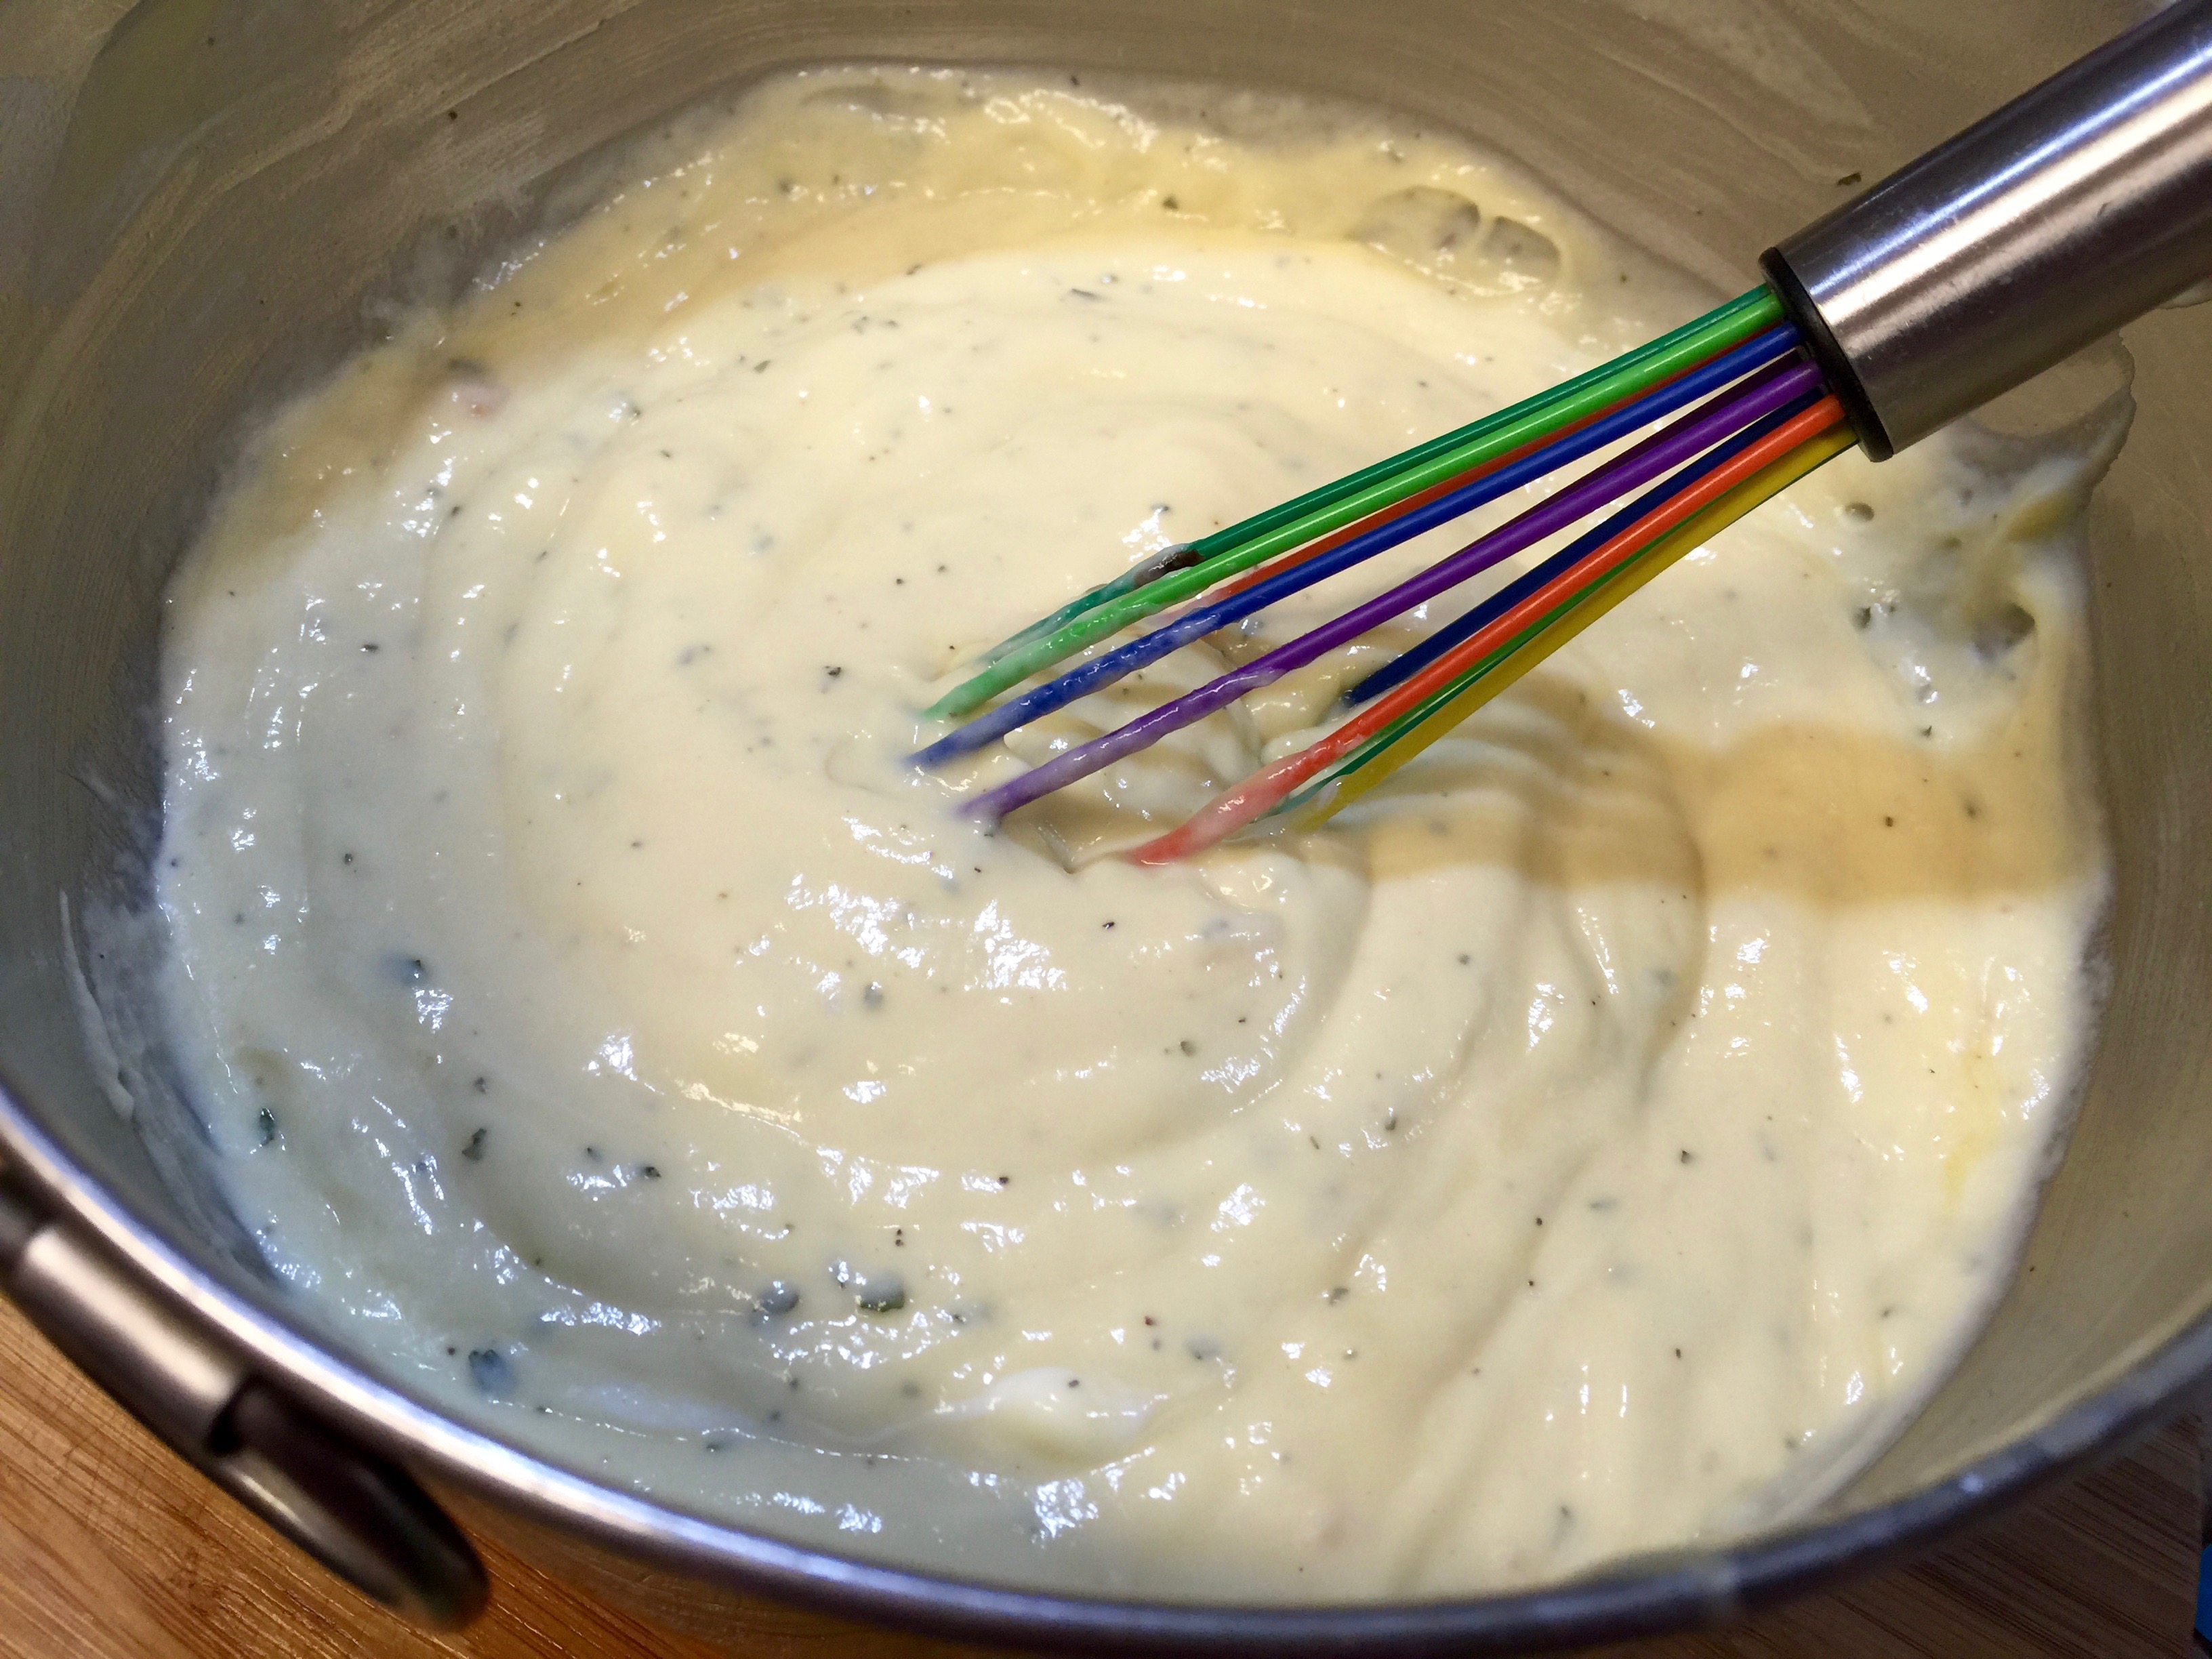
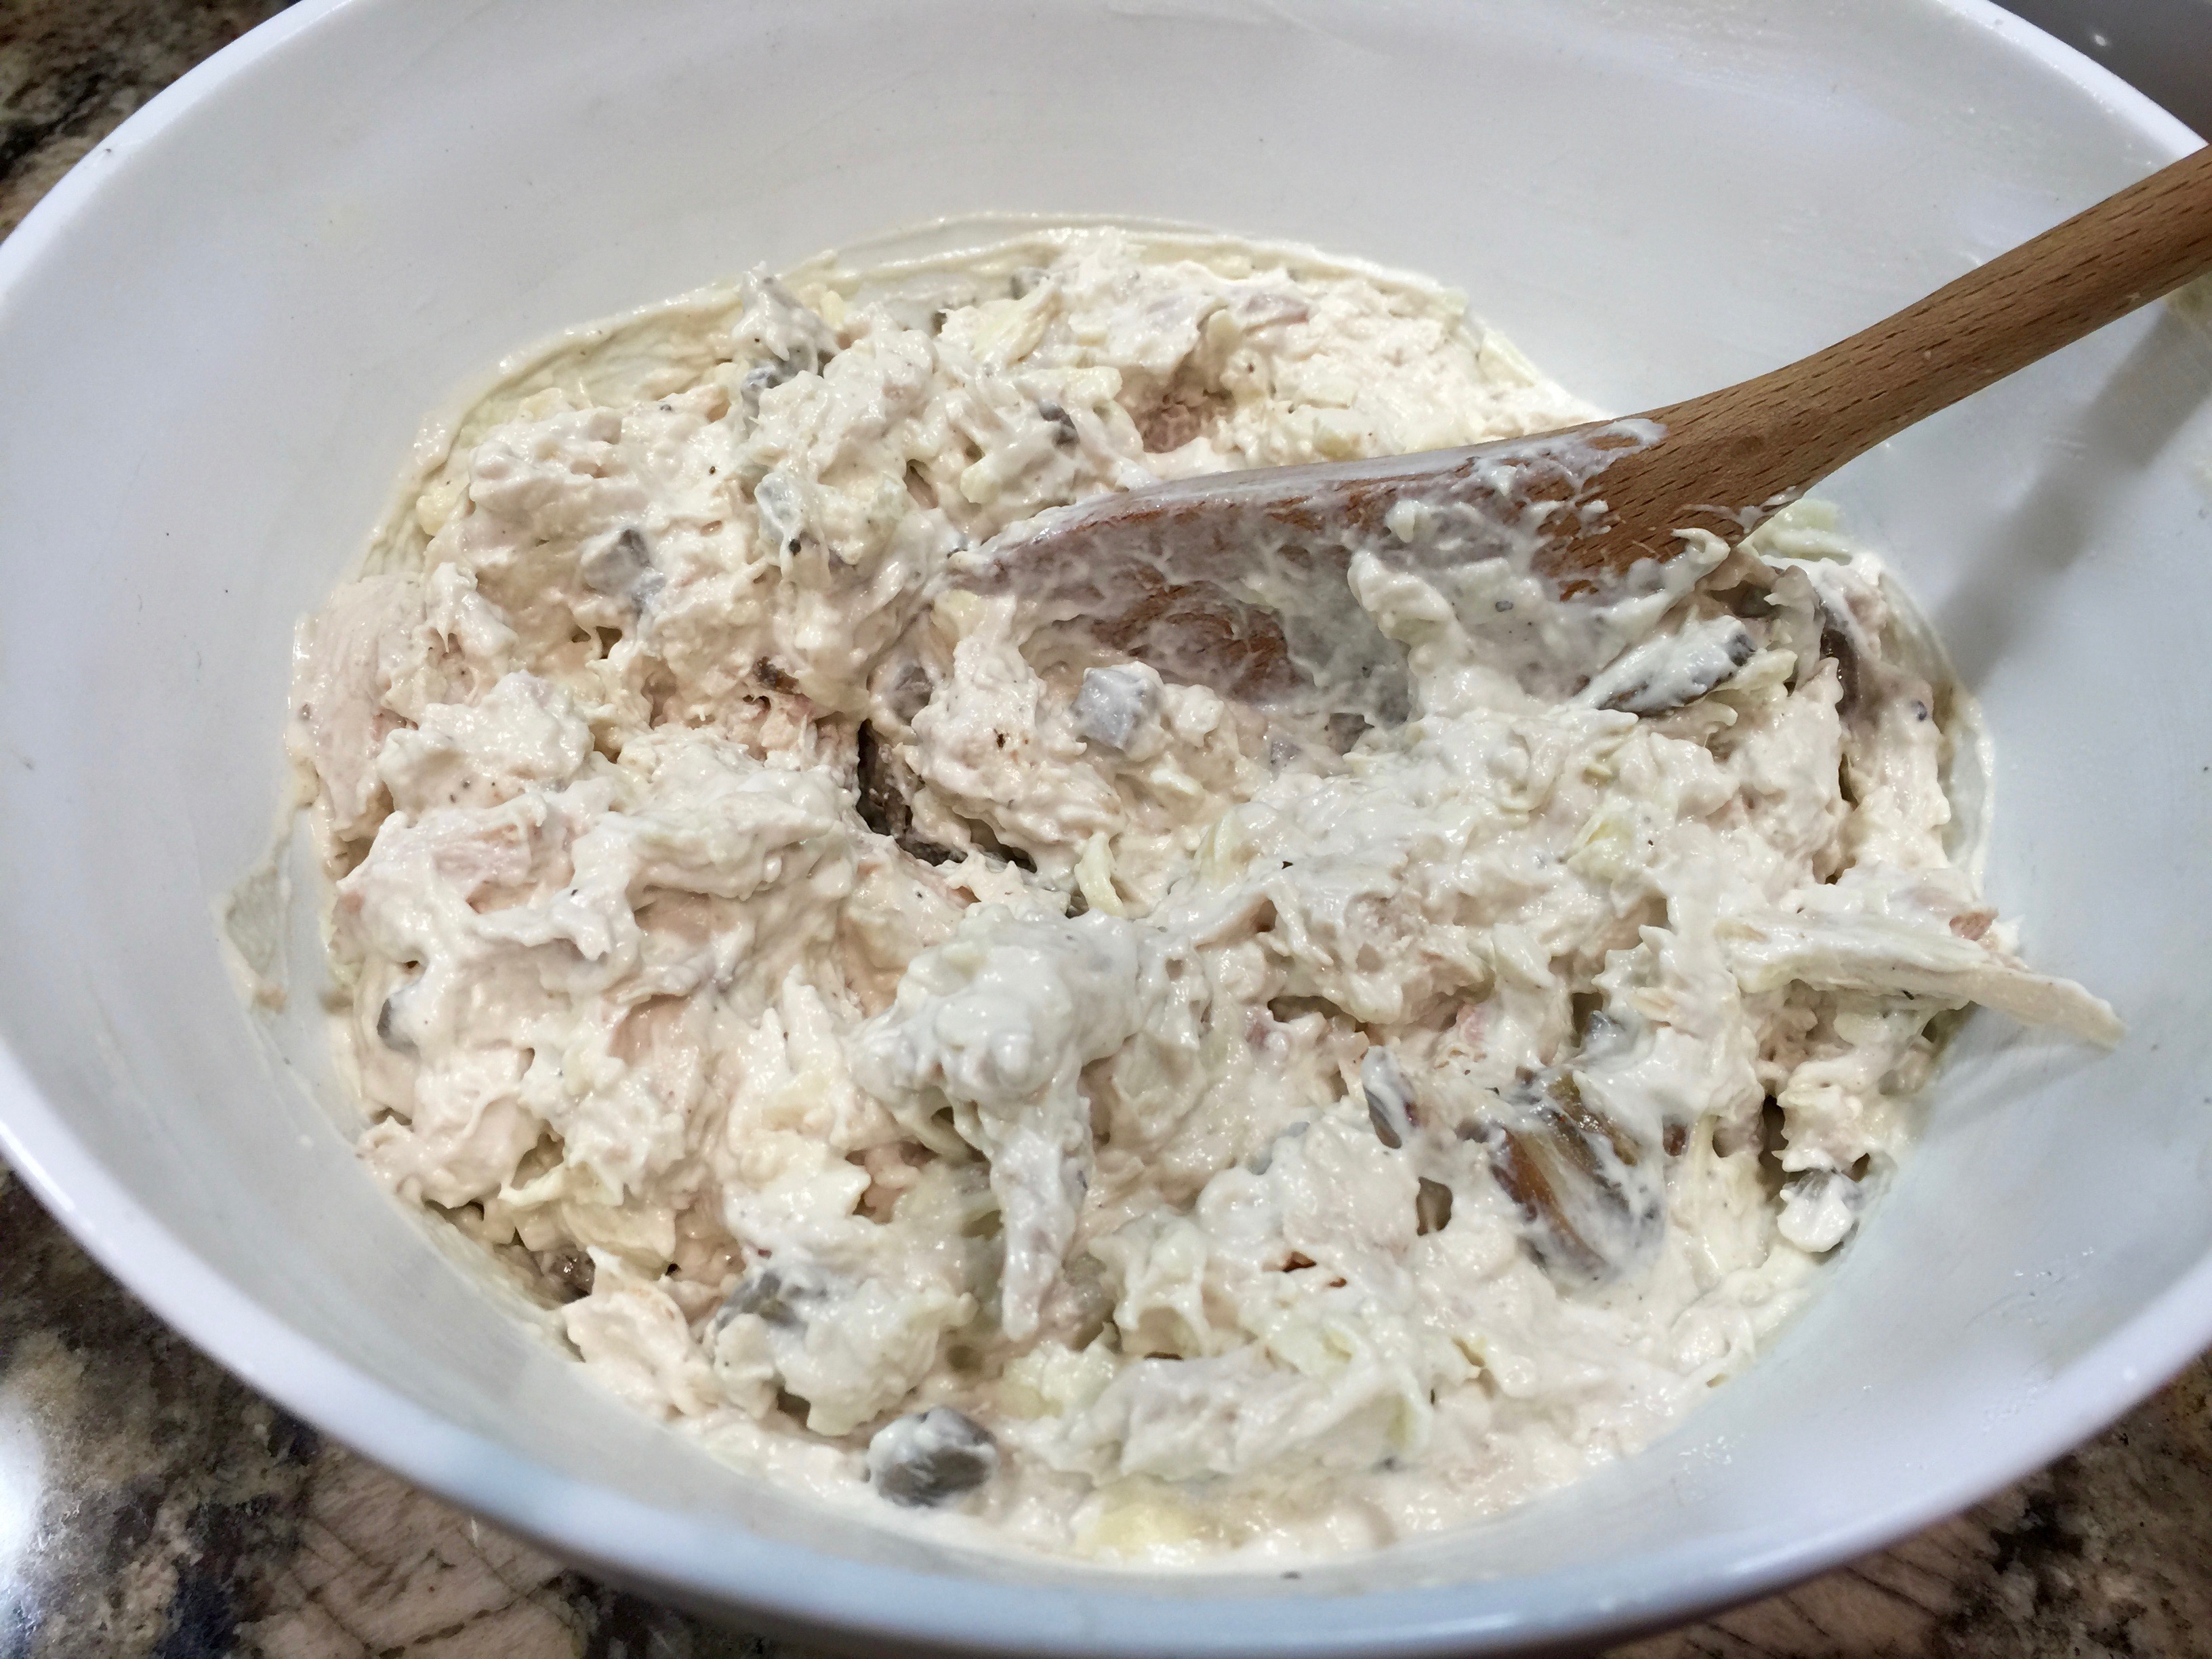
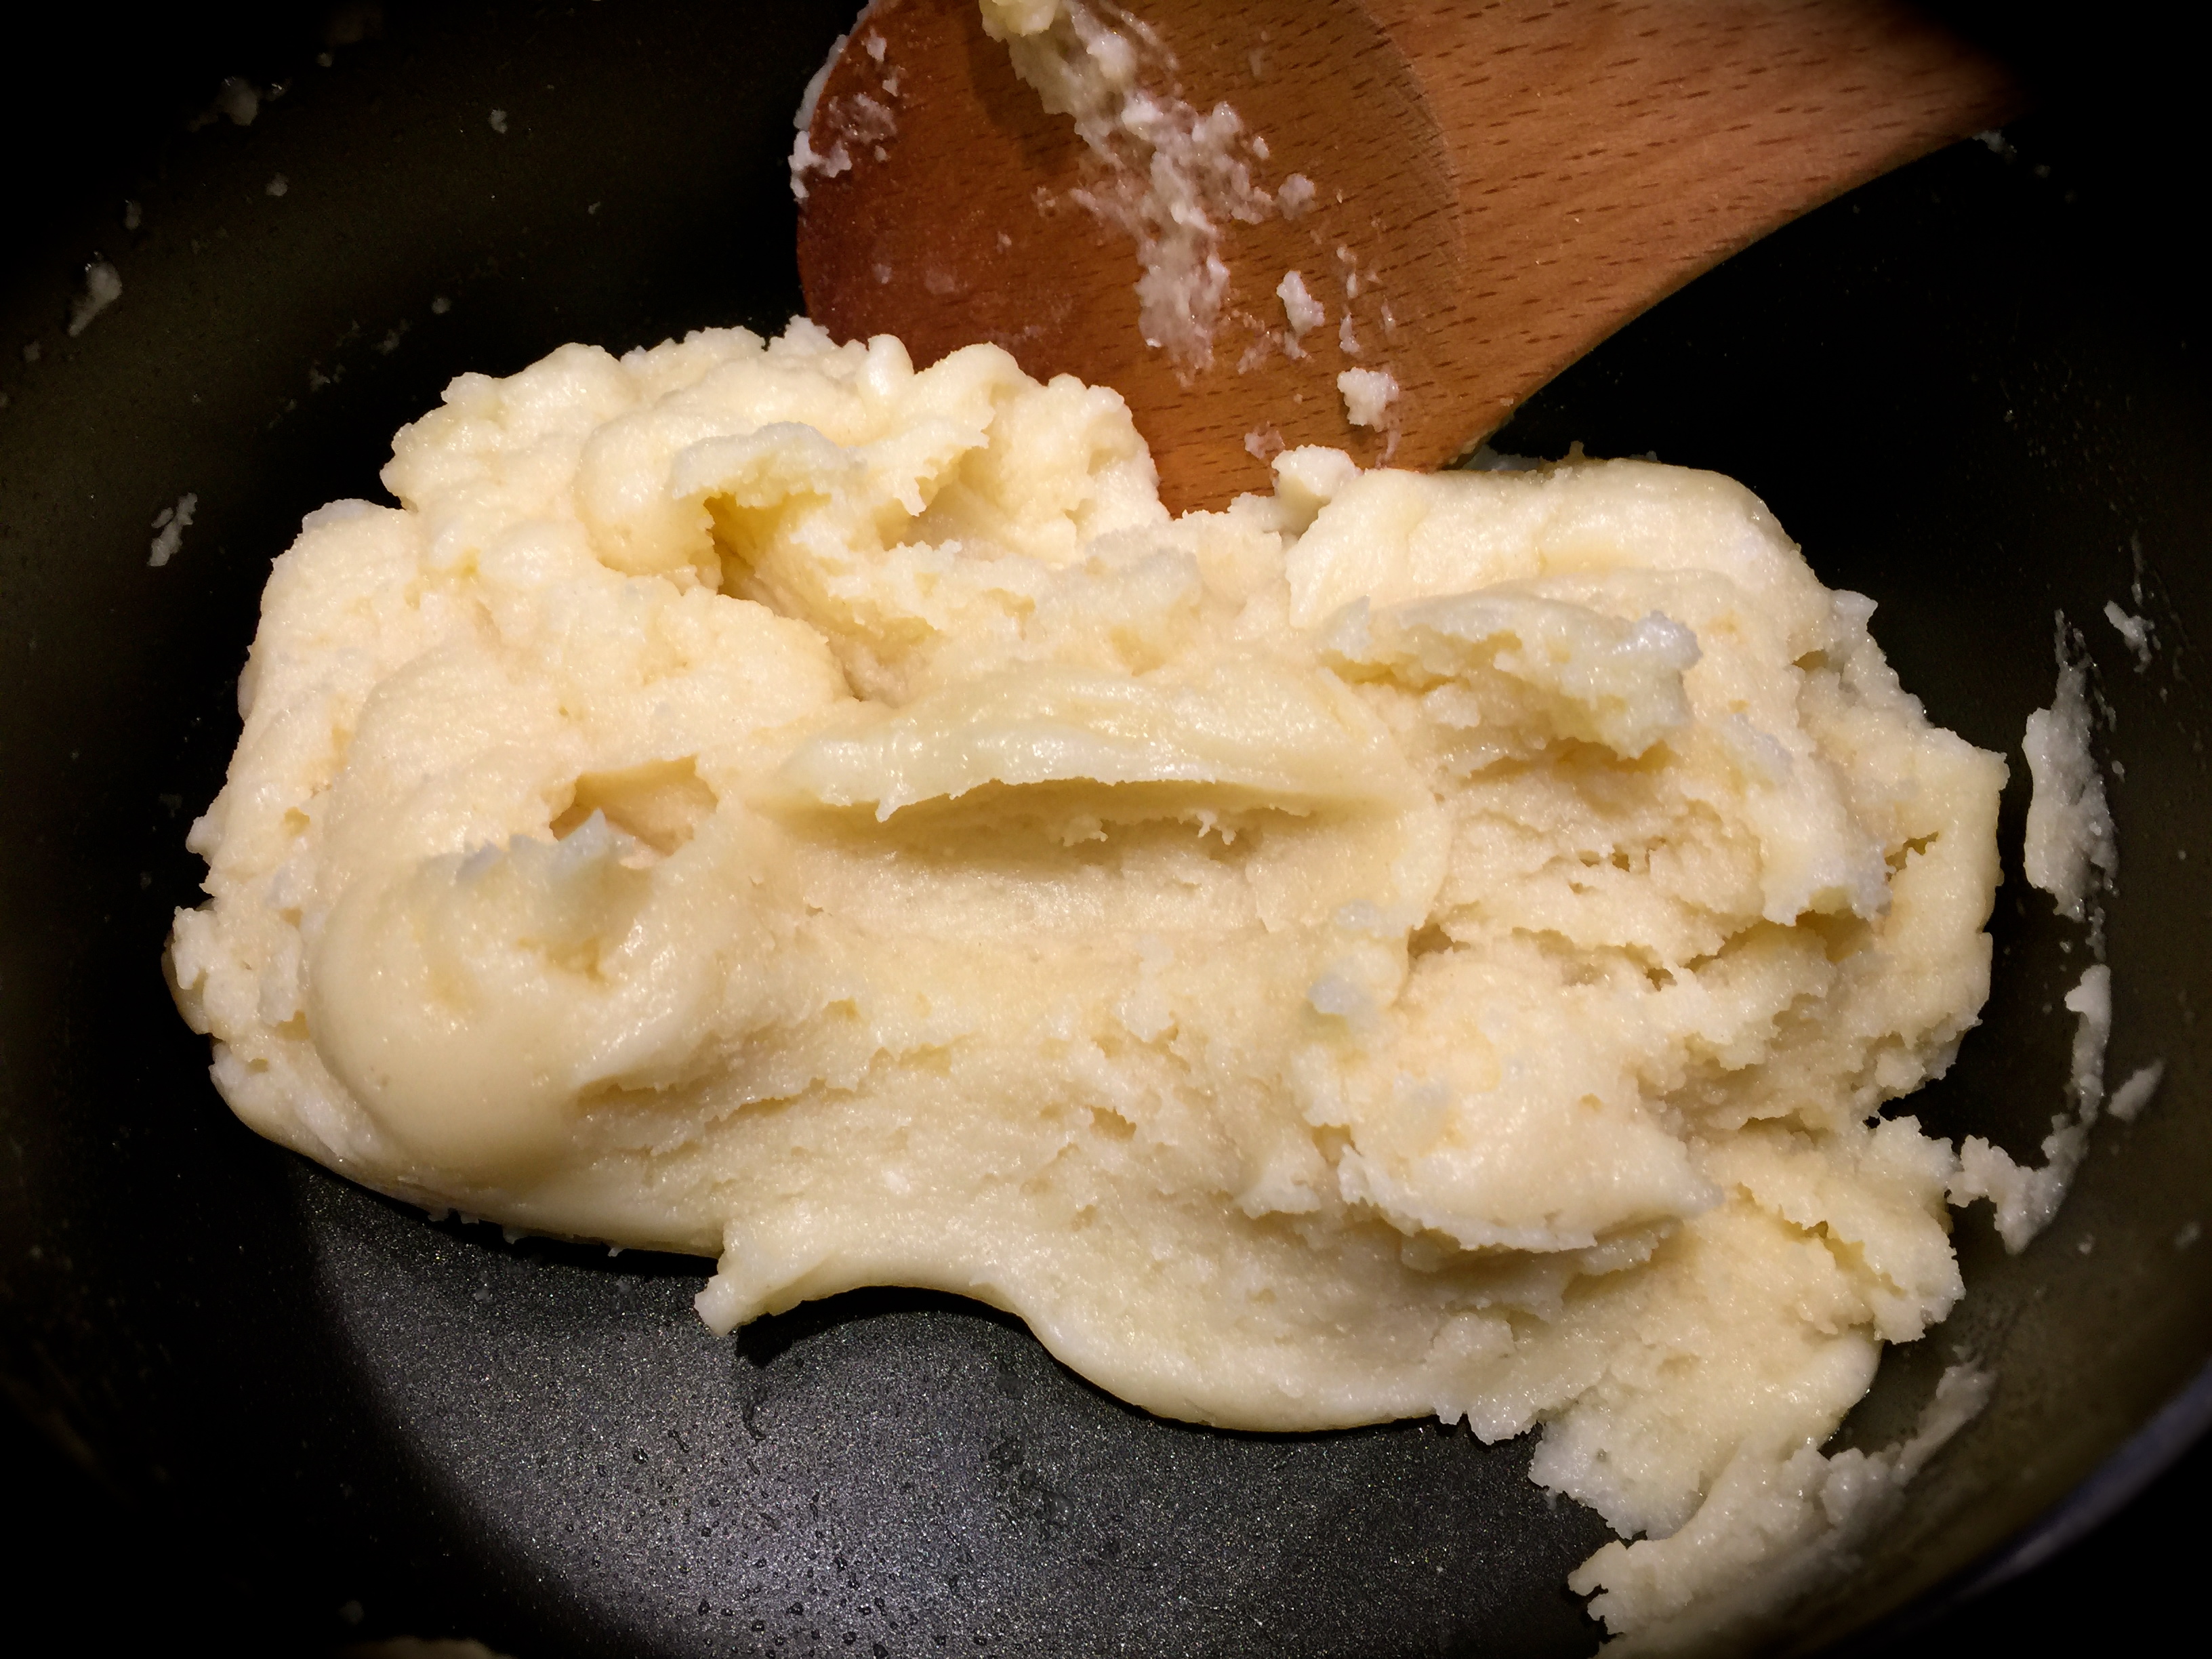
Lesson Learned 3 – Combine your ingredients in stages in the food processor: Your food processor will be your best friend for this recipe. But don’t mix everything all at the same time. Some ingredients you will want mixed until smooth, other ingredients you will want chunky. Follow the process in the recipe and you will get the correct consistency for this dip.

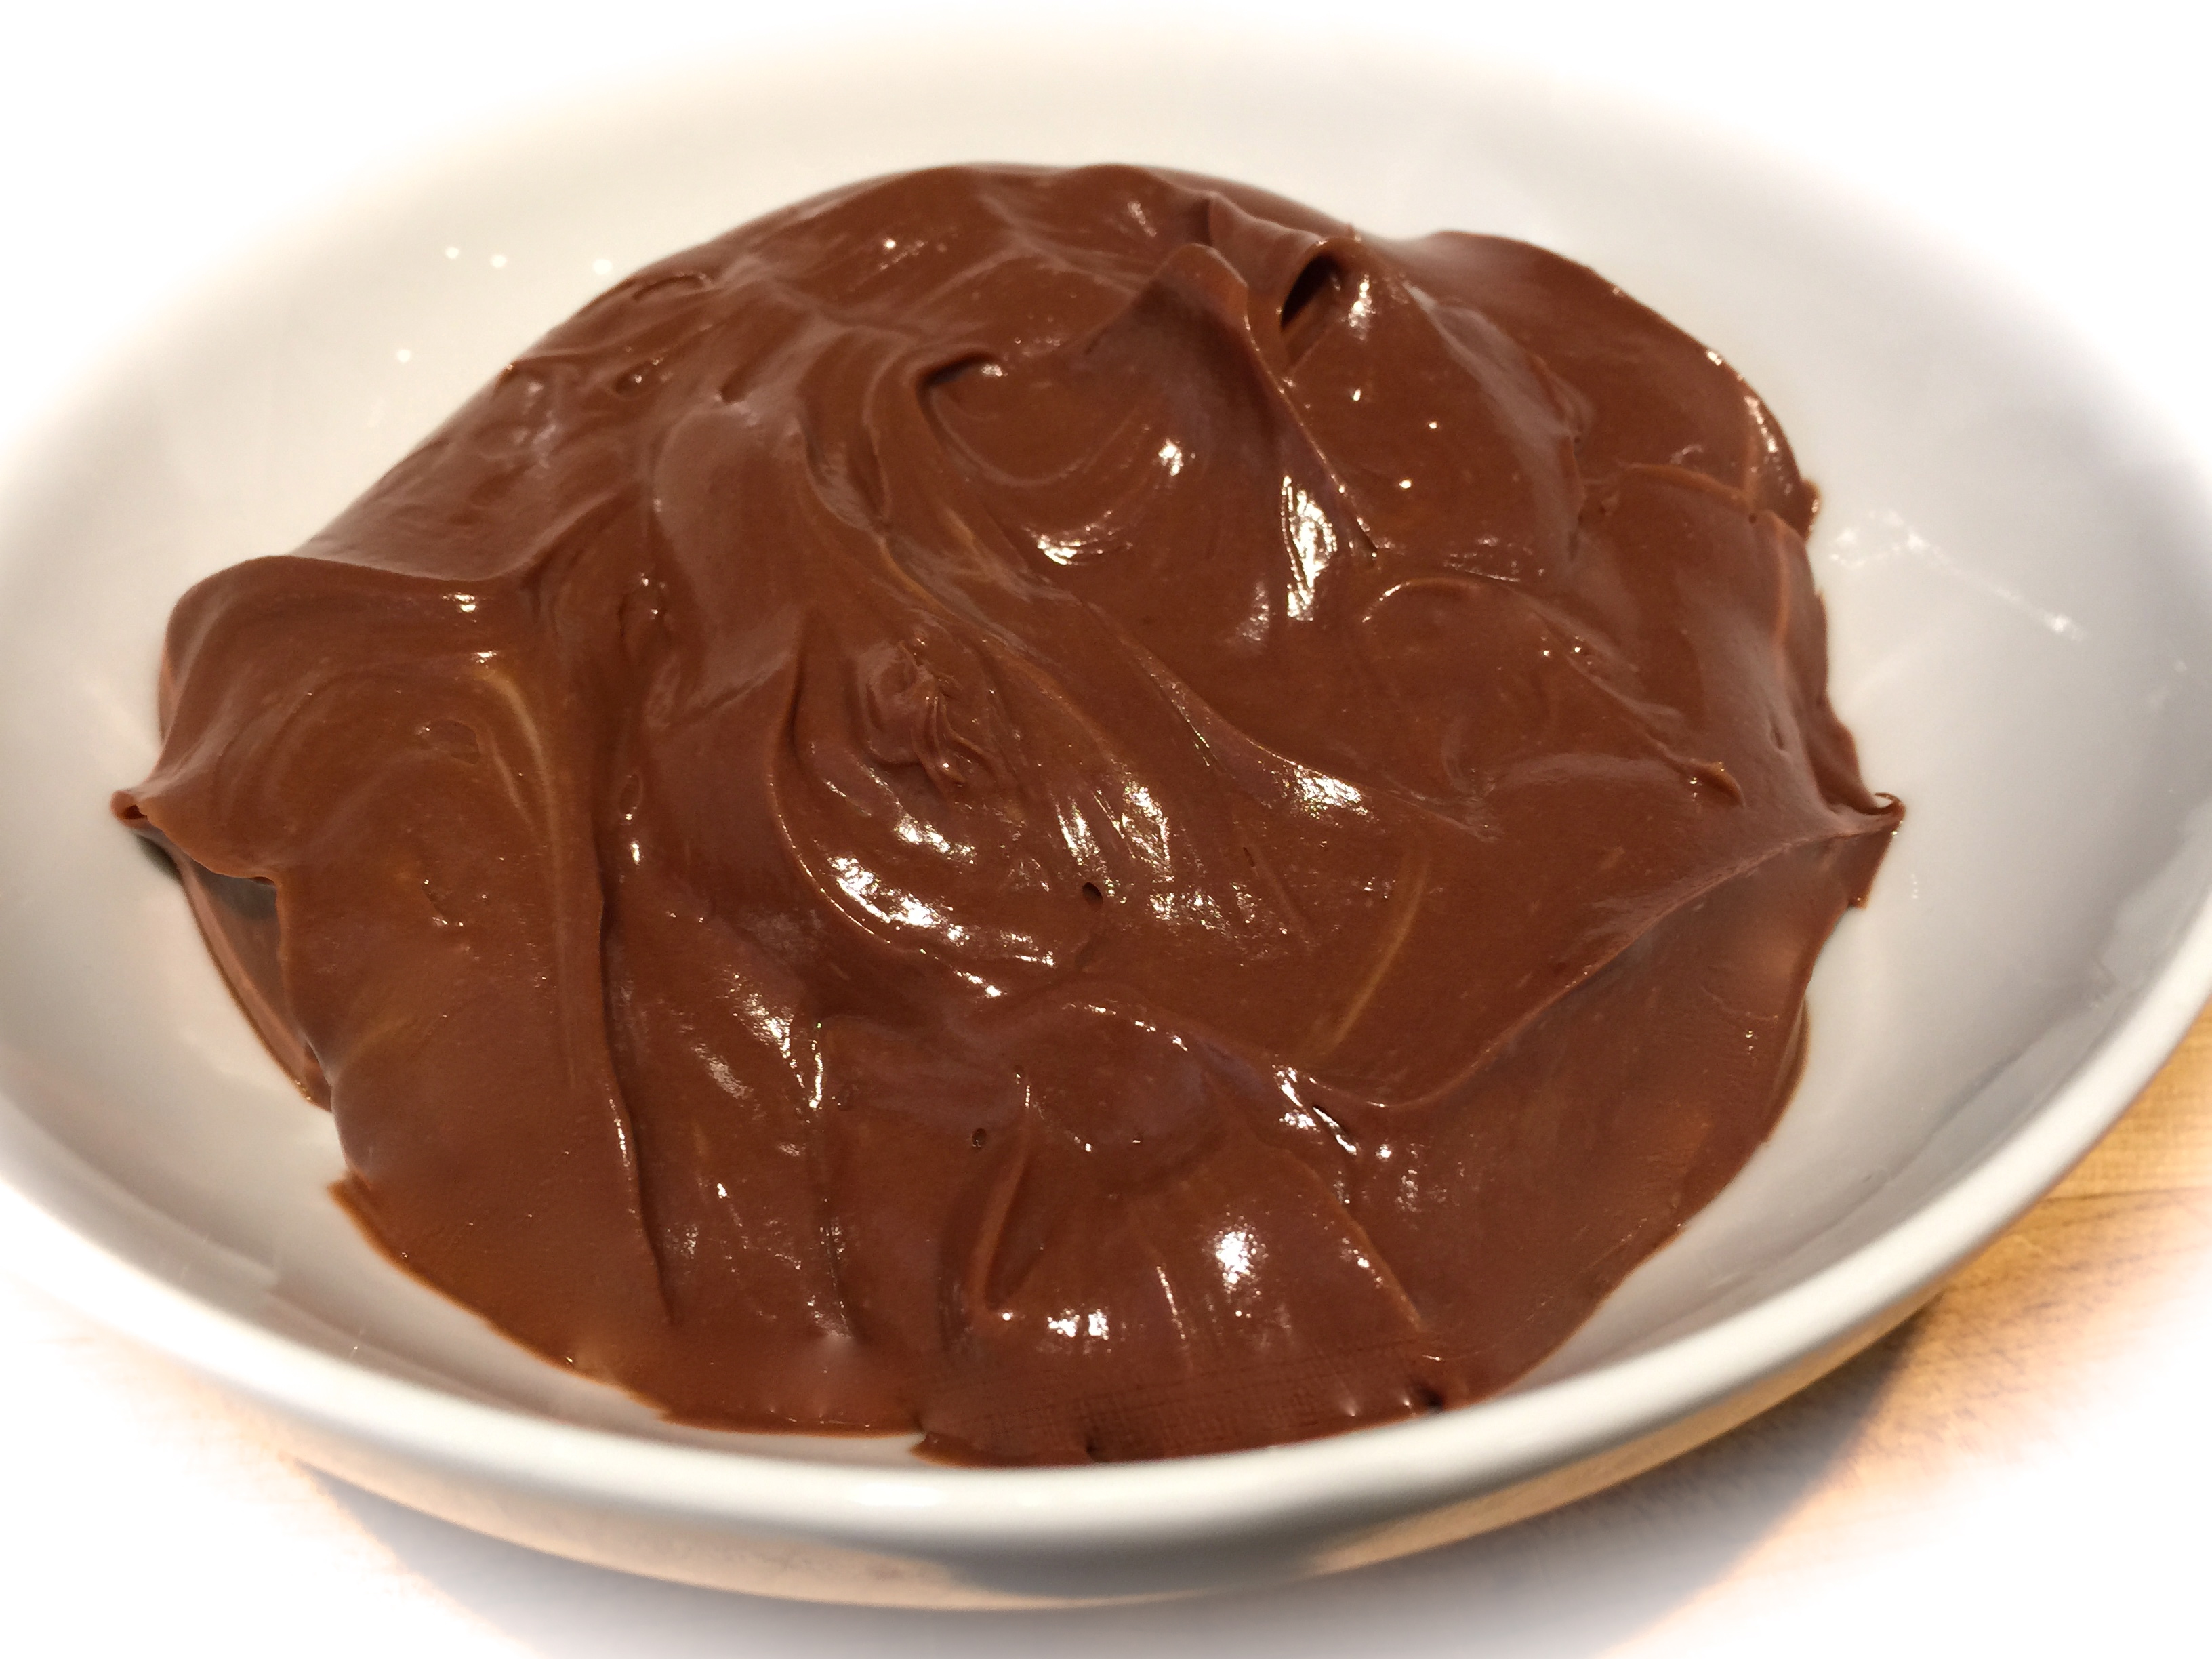
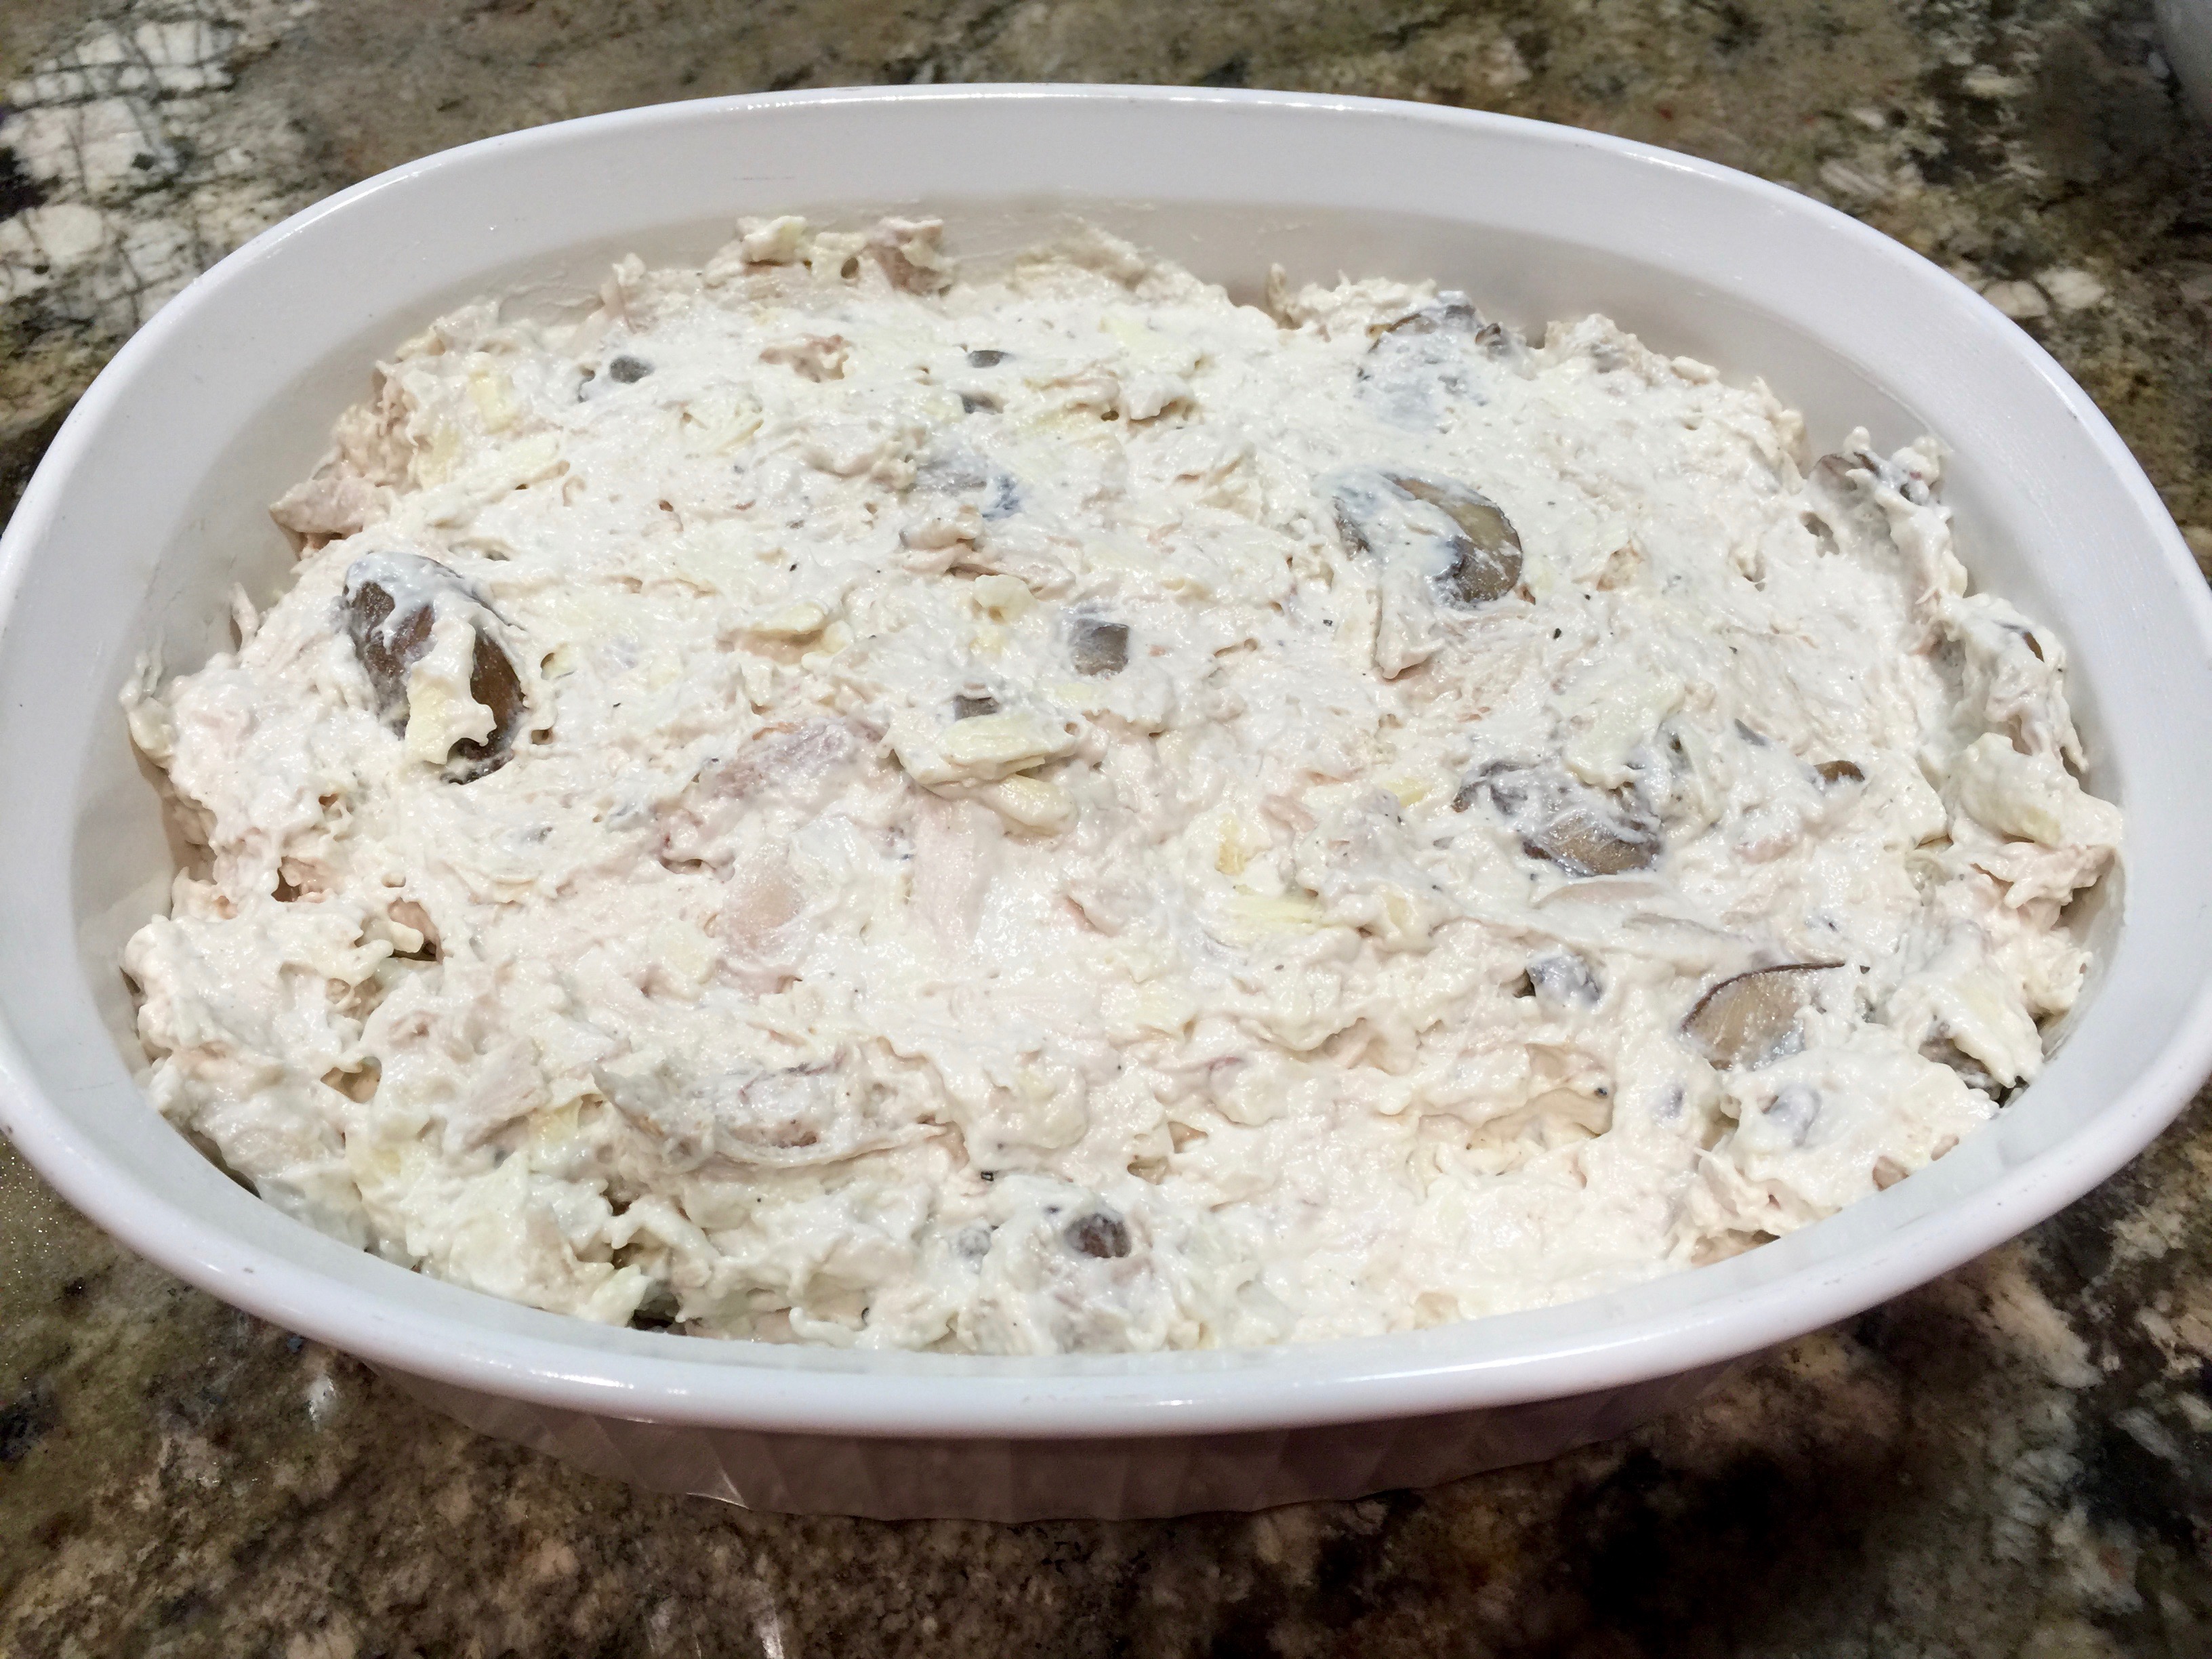
The correct consistency for the dip
Lesson Learned 3 – Garnish is your best kept secret: Are you always looking for ways to make your dish look more professional? Well look no further. Let garnish be your best friend. This appetizer baked in a bread bowl is pretty impressive on its own but what set the presentation over the top was cutting up some flat leaf parsley and garnishing the bread bowl and the accompaniments with the parsley once they were on the platter. You could also dice up some jalapeños and sprinkle them on top of the dip. Since I actually included them in the dip I chose not to use them as a garnish this time. But diced jalapeños are also an option. Garnish tends to make the colors in your food pop and in general makes every dish look more professional. So don’t forget the garnish.
Lesson Learned 4 – Did you ever hear of a Daikon? When looking at things I could serve with this dip, one recipe that I saw suggested daikon. I had never heard of daikon before. I googled it and found out that is part of the radish family. I’d never seen it at the store and so I thought if any store would have it, Whole Foods would. Well I was right. Whole Foods had it. Daikon sort of looks somewhat like a white carrot but they are not parsnips. Anyhow, they are a great side for this dip. Just cut them in rounds like you would a radish. And after I found them at Whole Foods I also found them at my local supermarket, so just look for them and try them.
Make this appetizer for your next party. I guarantee you it will be a hit! Enjoy.
Spinach Artichoke Red Pepper Dip...
INGREDIENTS:
 1 large round sourdough bread
4 ounces cream cheese, room temperature
1/2 cup mayonnaise
1/2 cup sour cream
1 small jalapeño, seeded and chopped
1 clove garlic, chopped
1 10 ounce box of frozen spinach, thawed and squeezed dry in a towel
1 cup marinated artichokes, rinsed and drained
1/4 cup + 2 Tb. chopped Italian parsley
1/2 cup roasted red pepper, chopped and divided
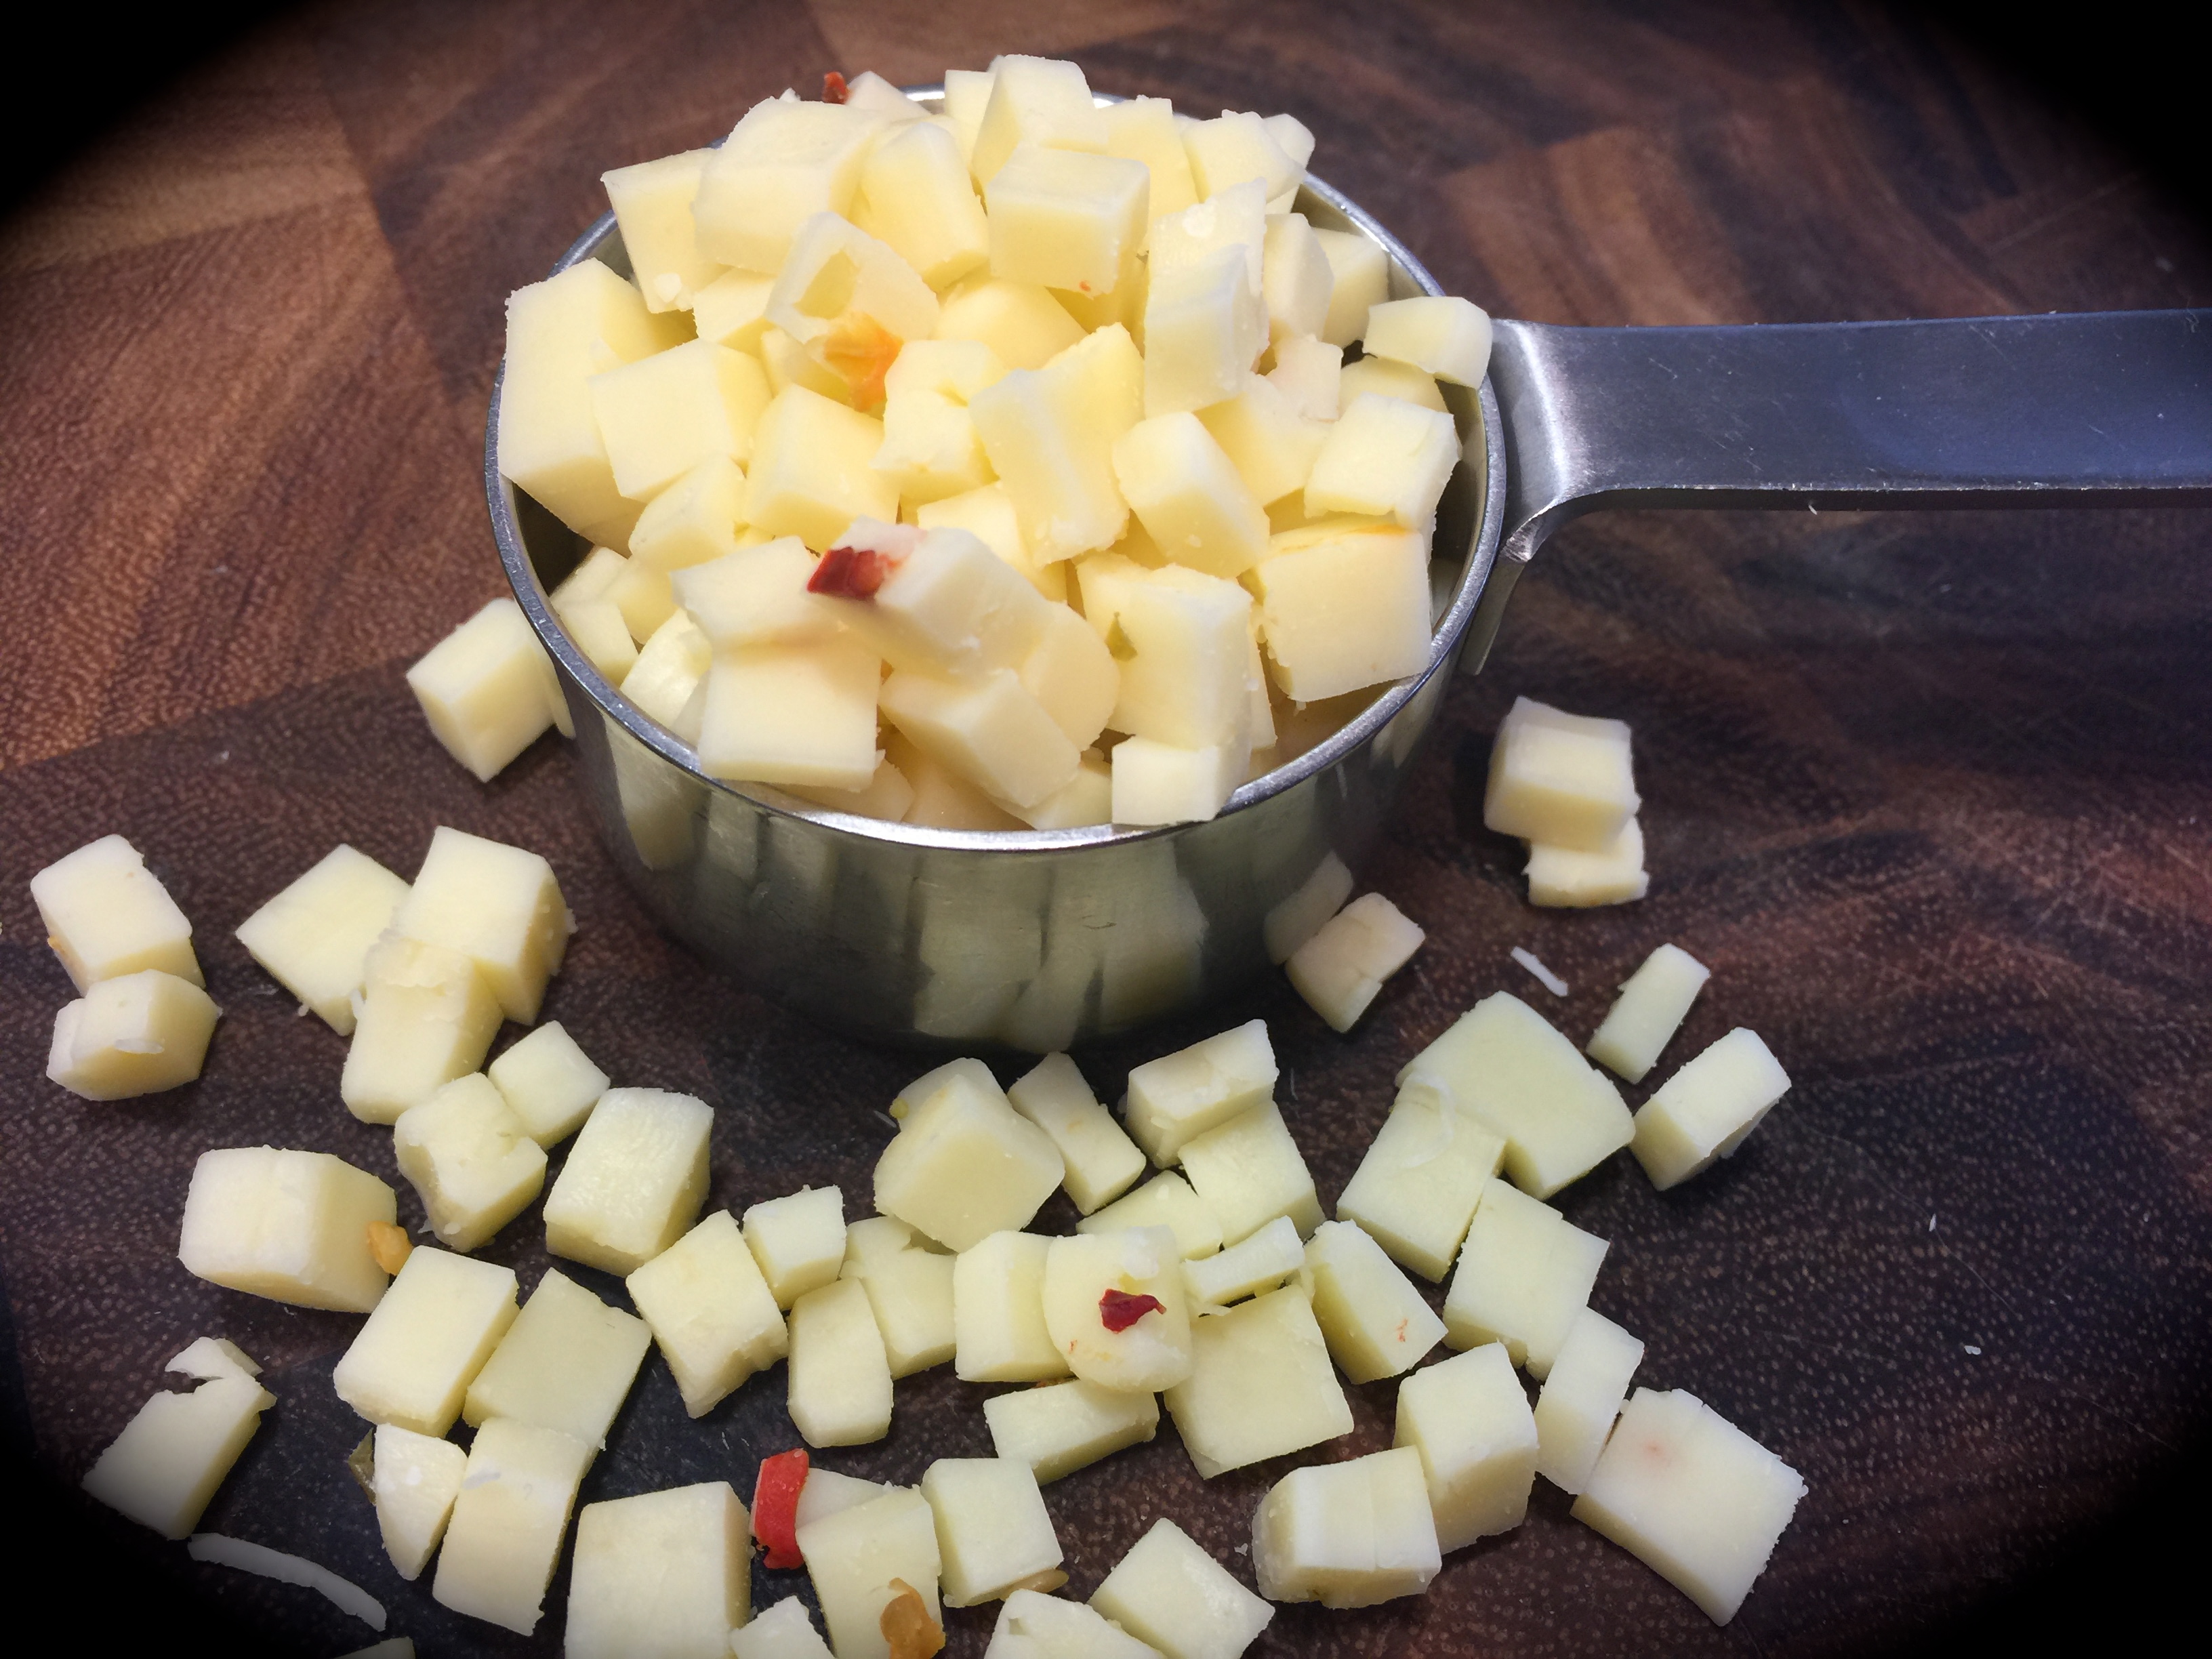
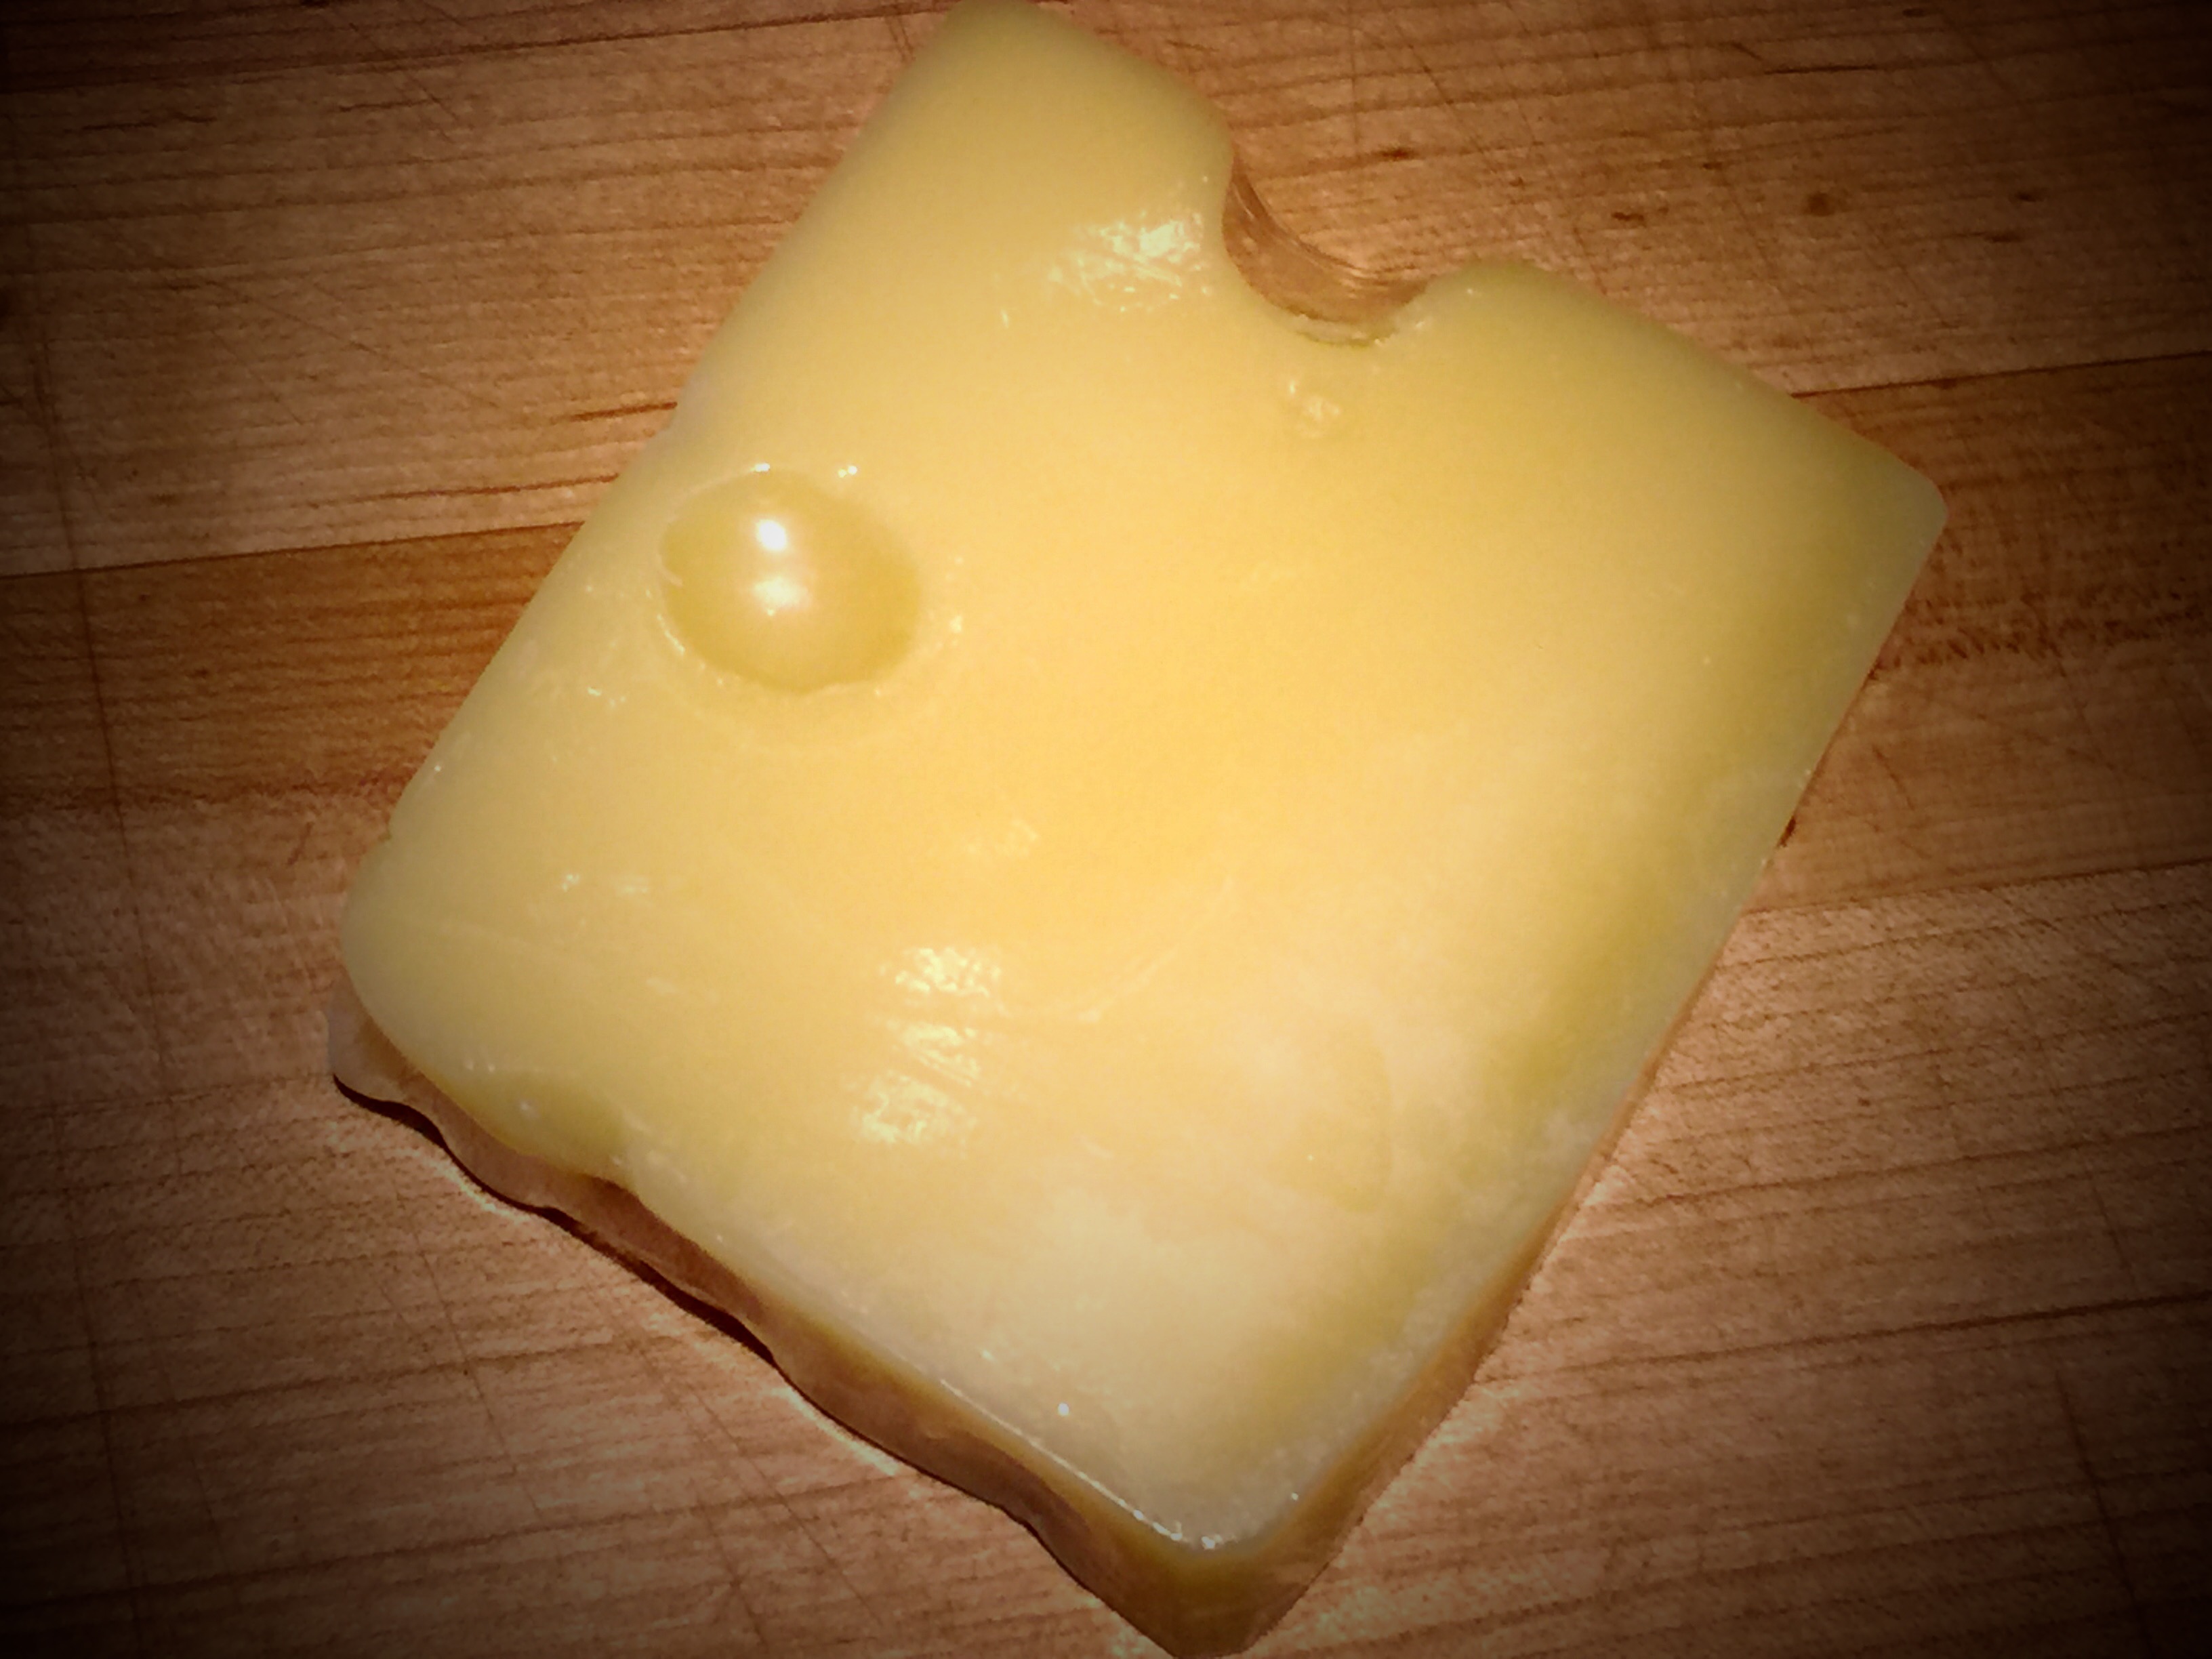
1 1/2 cups pepper jack cheese, divided
Salt and pepper to taste
Garlic infused olive oil for brushing the bread
Crackers, baby carrots, red radishes, daikon, celery and bread cubes, for serving
DIRECTIONS:
Preheat the oven to 400 degrees. Cut a thin slice from the top of the bread. With a paring knife cut out the exposed inside to about 1 inch from the bottom and at least 1/2 inch from the sides. Cut the extracted bread into cubes and use for serving later.
Combine the cream cheese, mayo, sour cream, chopped jalapeños and garlic in the food processor and process until smooth. Add the spinach and artichokes and pulse until chunky. Add the parsley, all but 1 Tbs. of the red pepper, 1 1/4 cup cheese and salt and pepper and pulse until just combined.
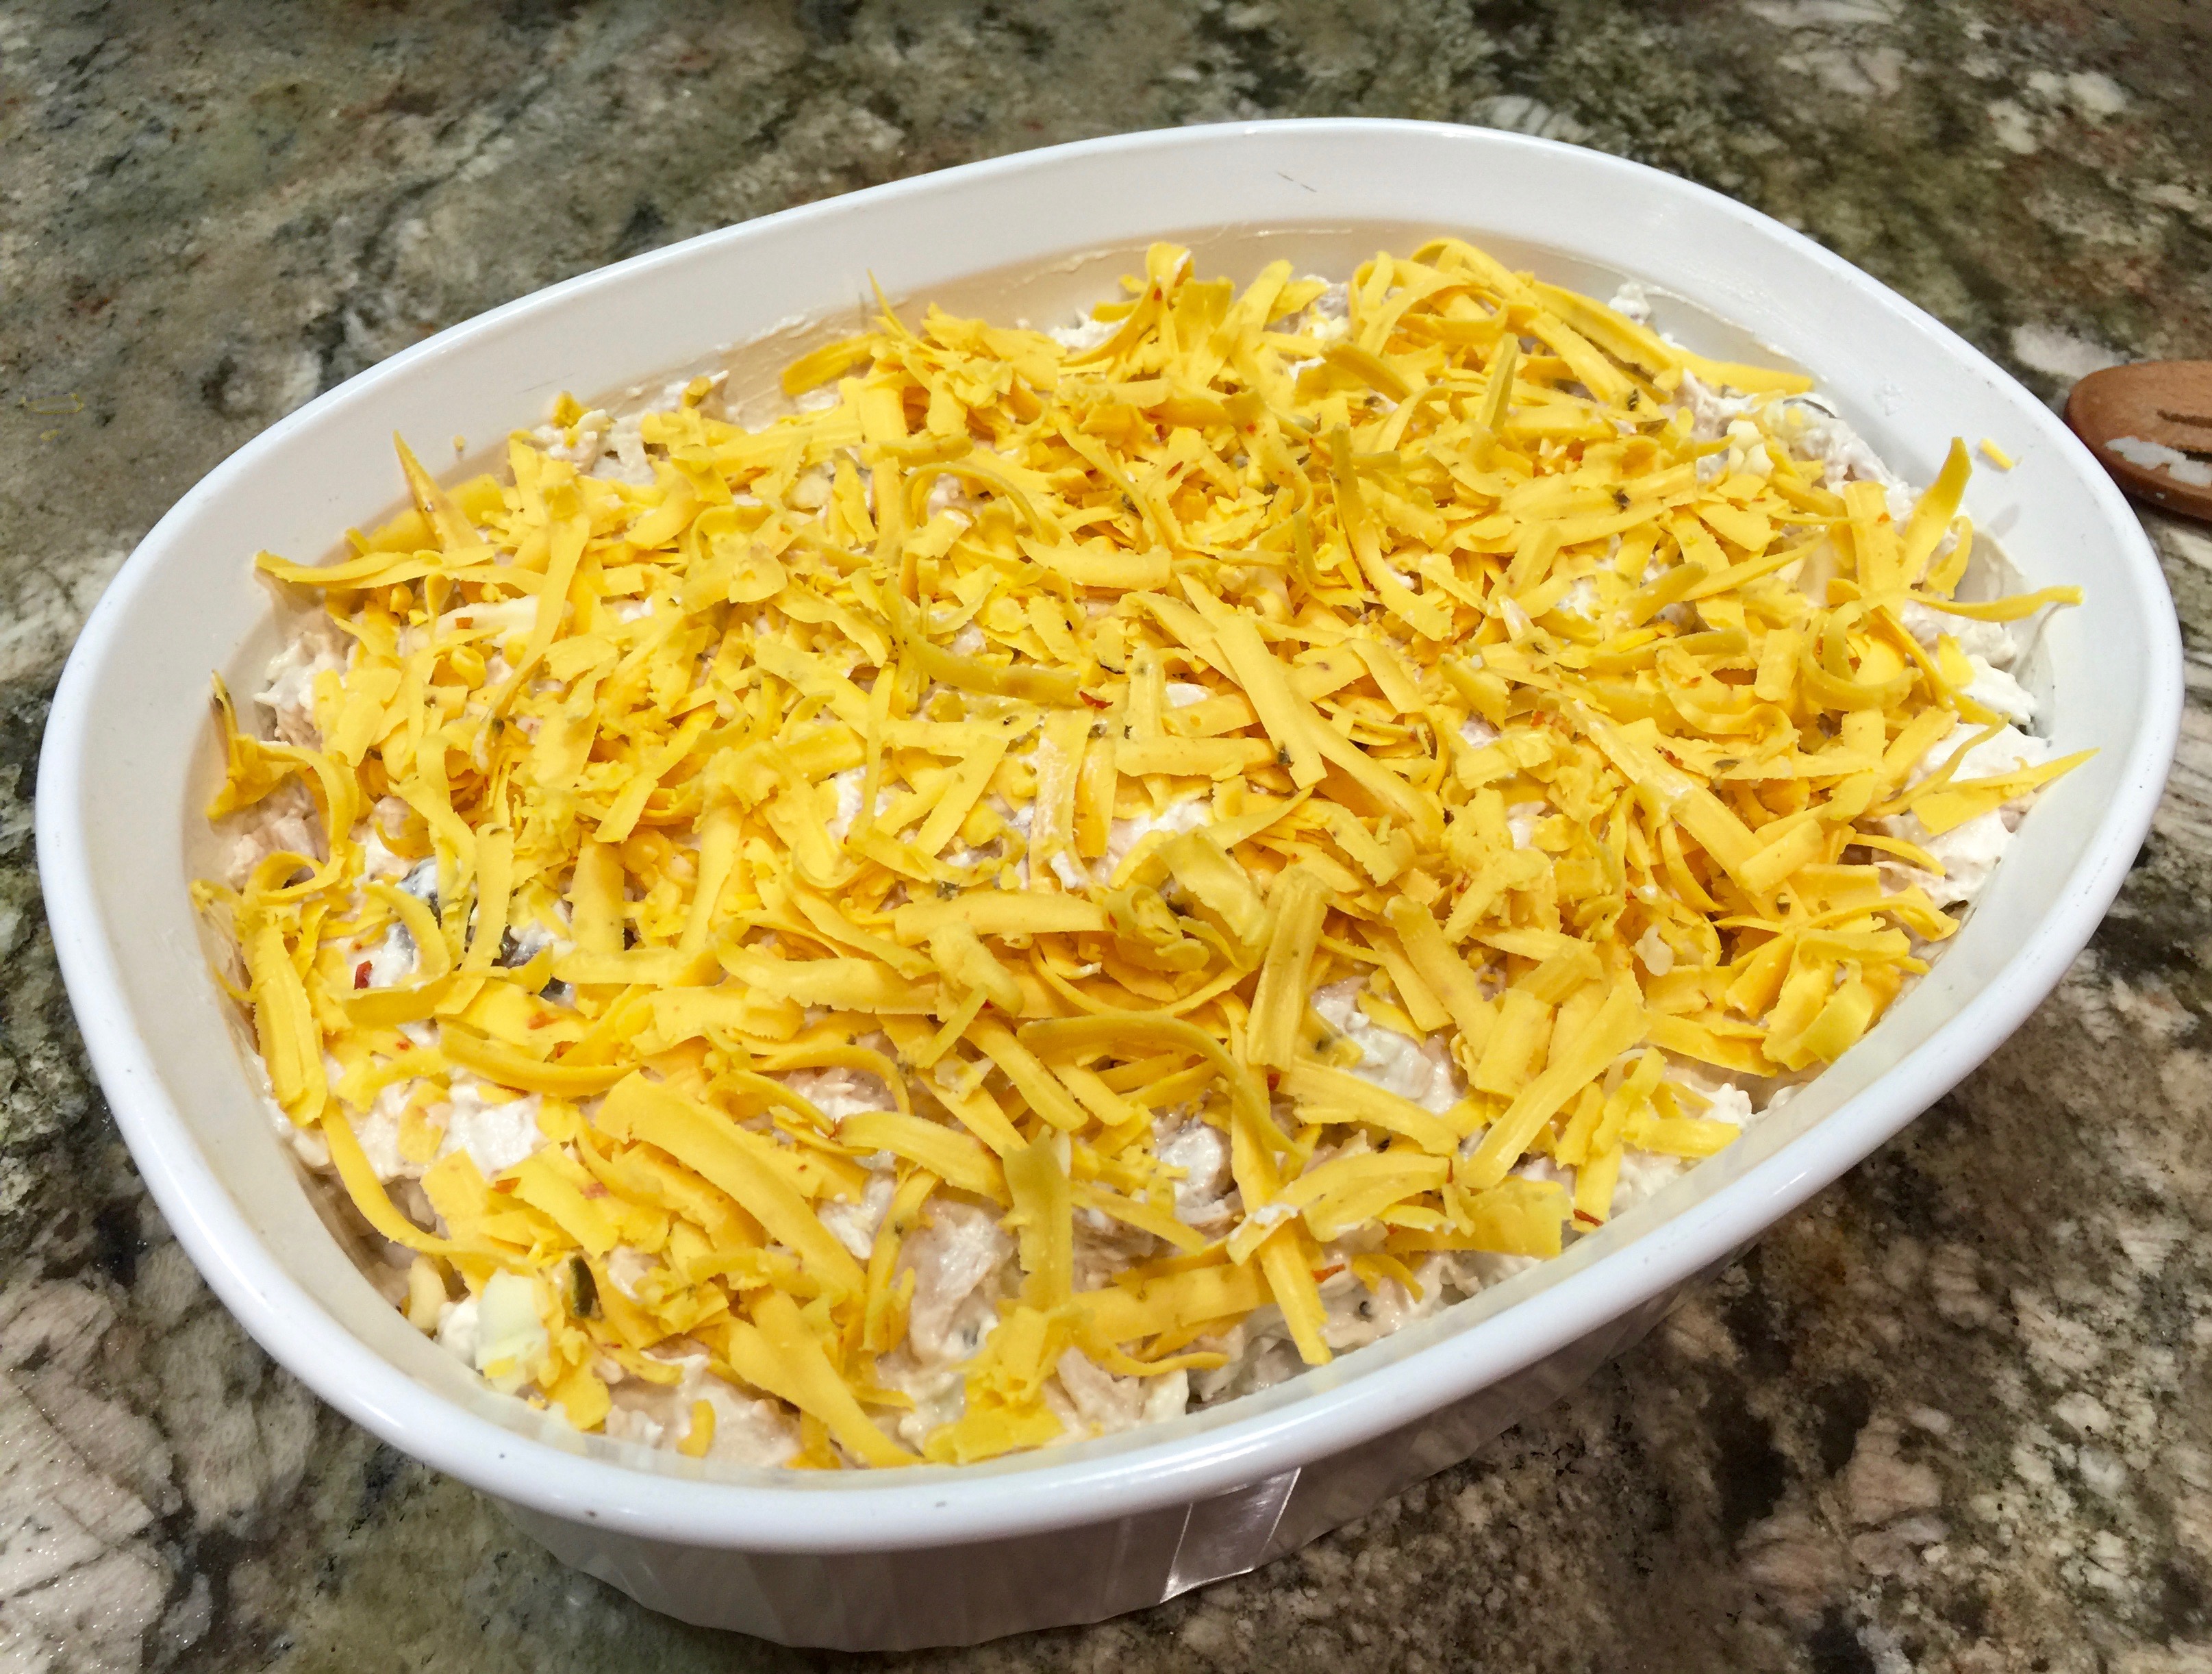
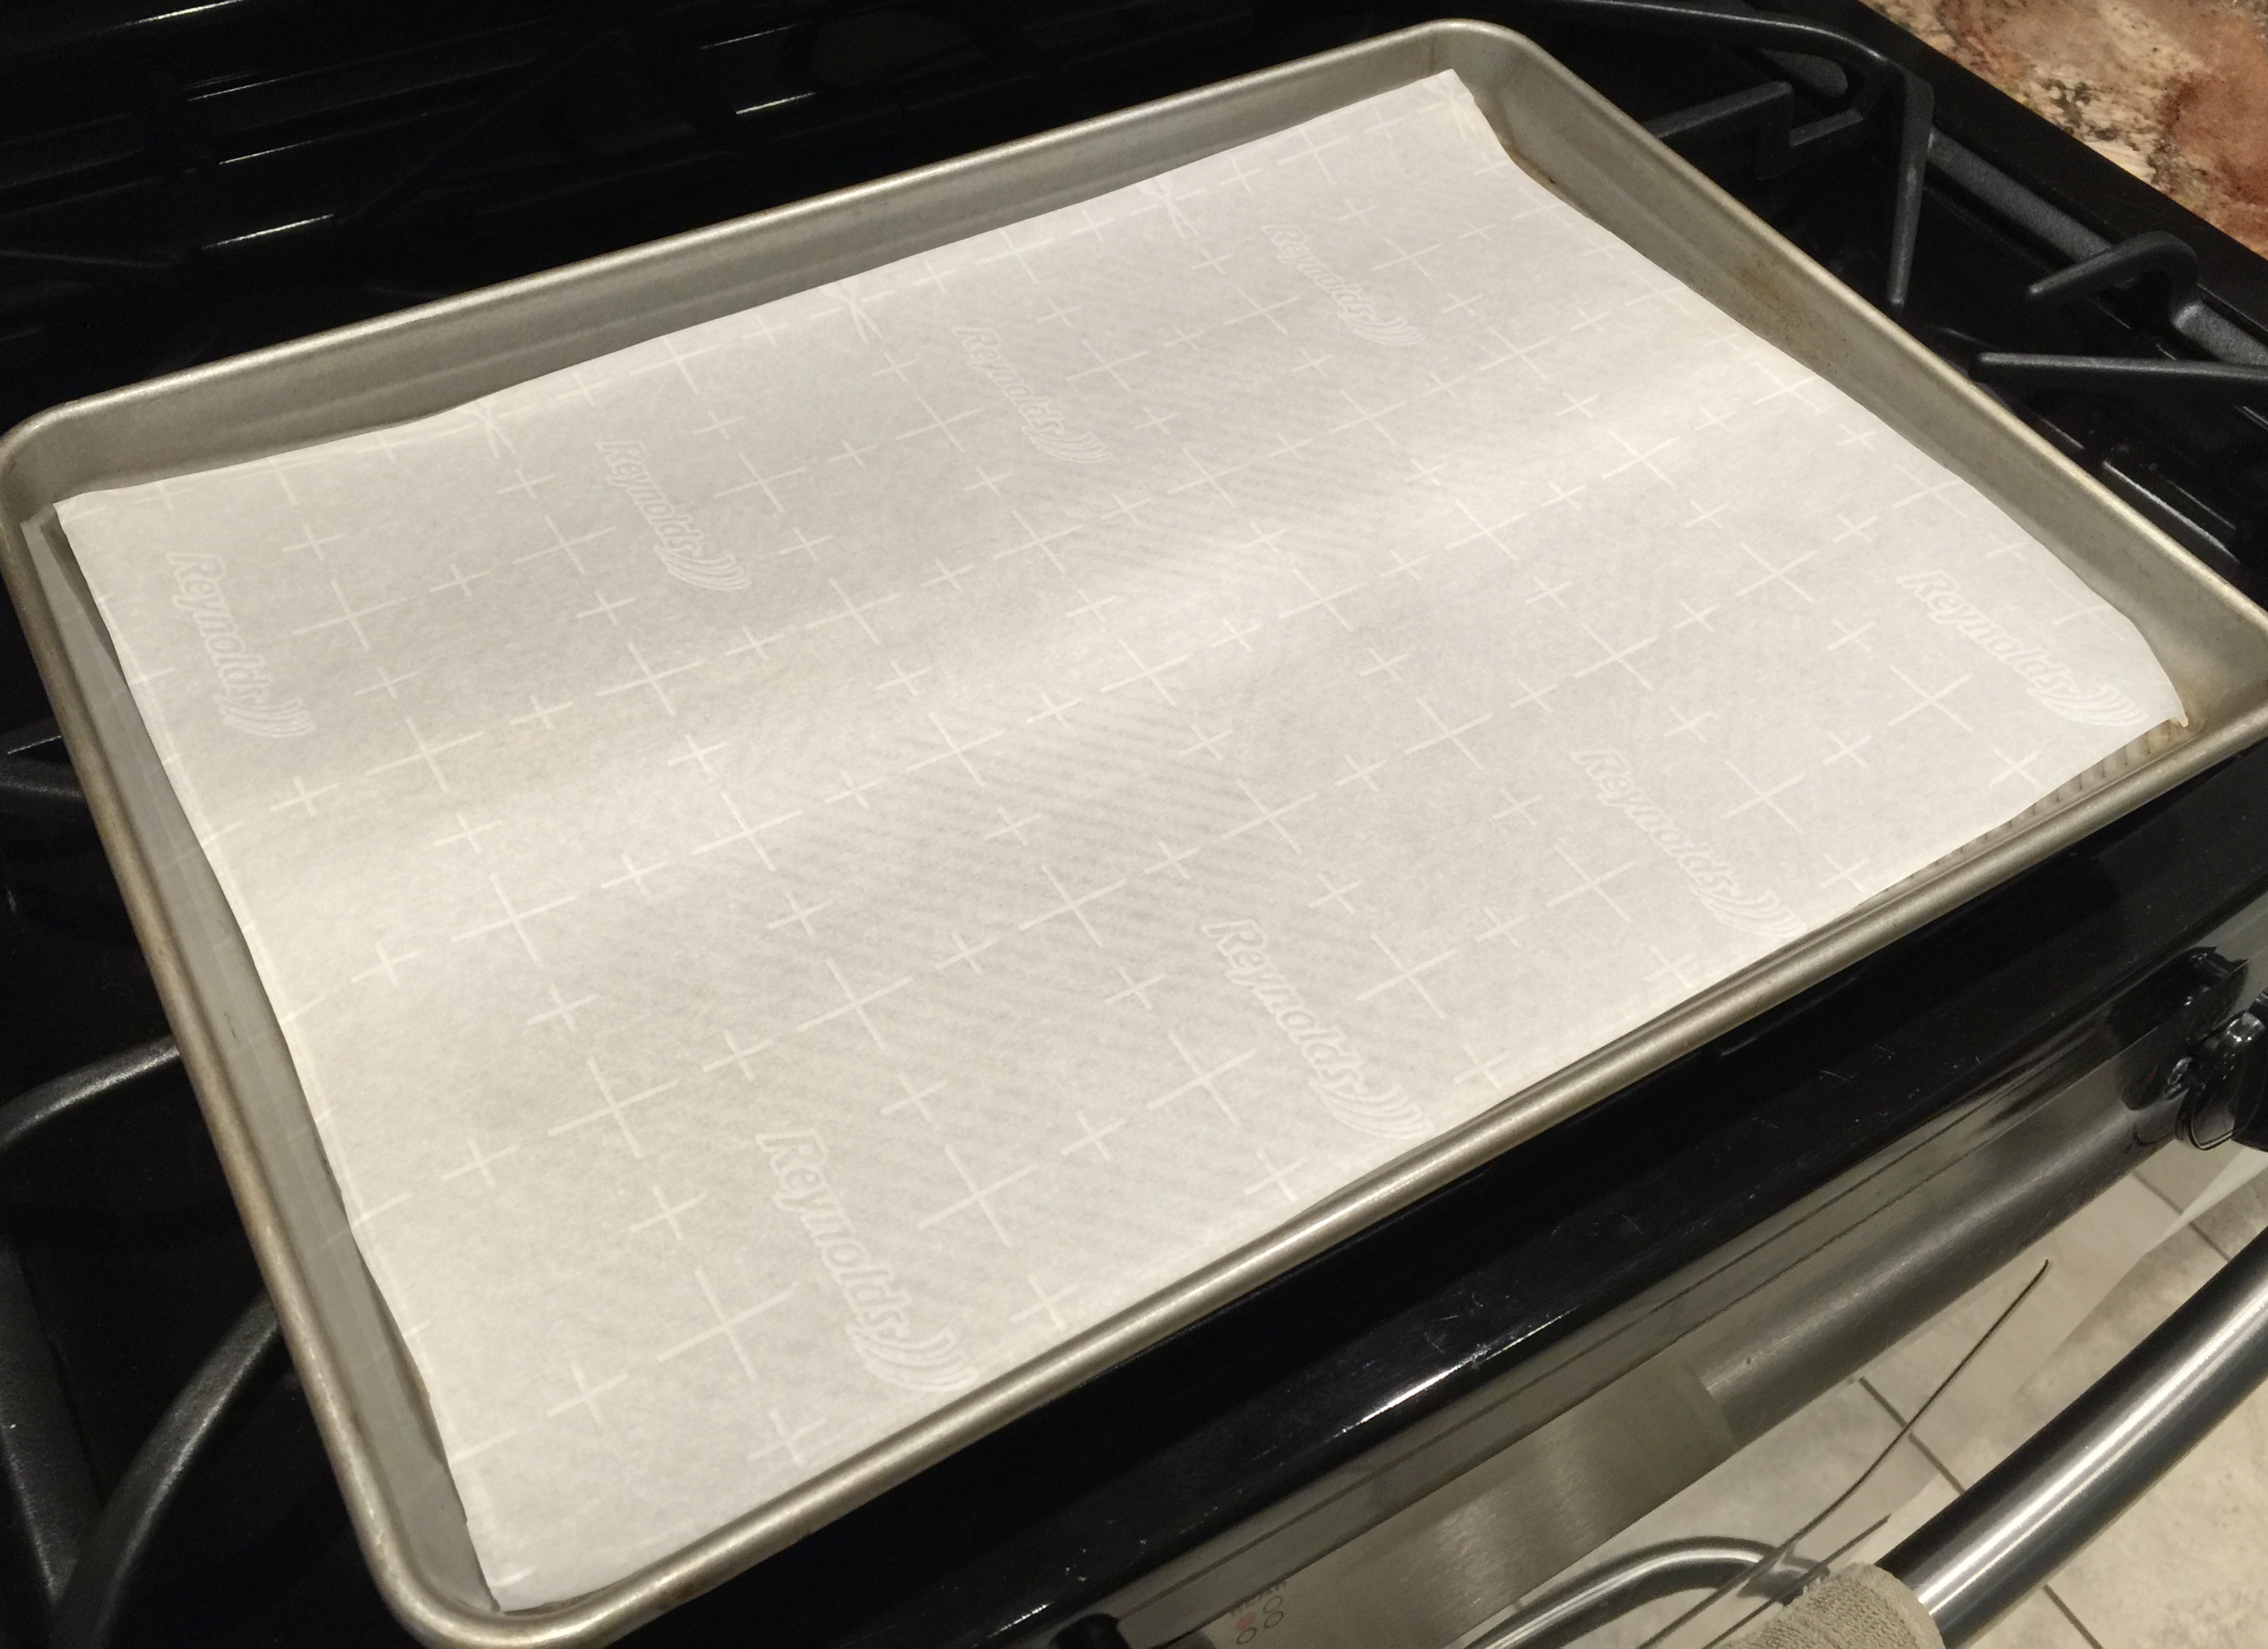
Spoon the mixture into the bread bowl. Top with the remaining cheese and red pepper. Place the bread on a baking sheet. Brush the bread with olive oil. Bake 25-30 minutes.
Serve with crackers, veggies and crudités. Garnish with chopped flat leaf parsley.
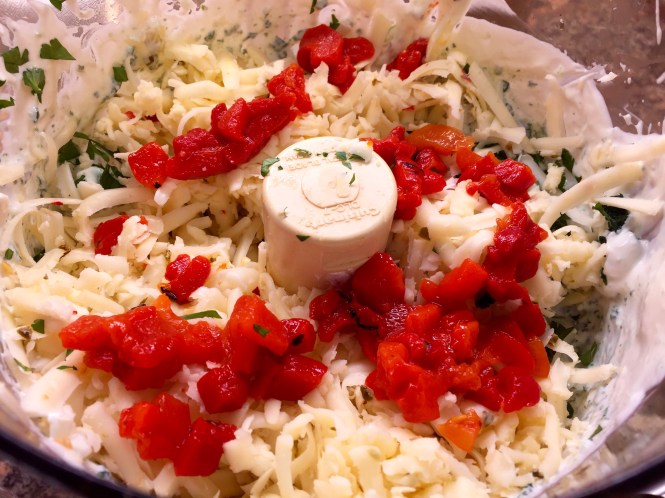
Pulse for a chunky consistency
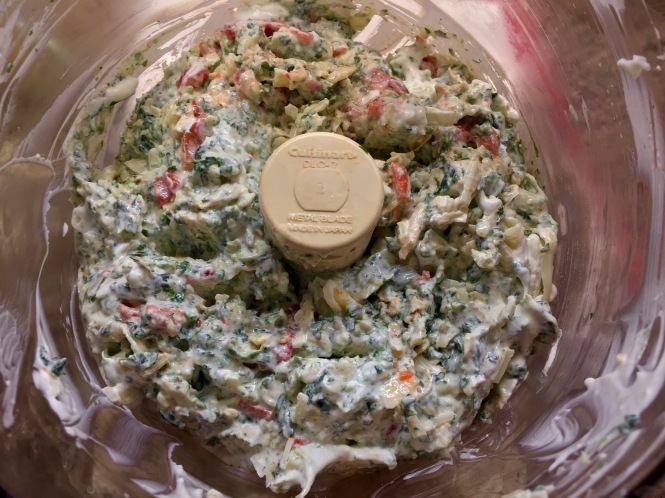
The correct consistency of the dip

Spoon into the bread bowl. Brush the bread with olive oil.
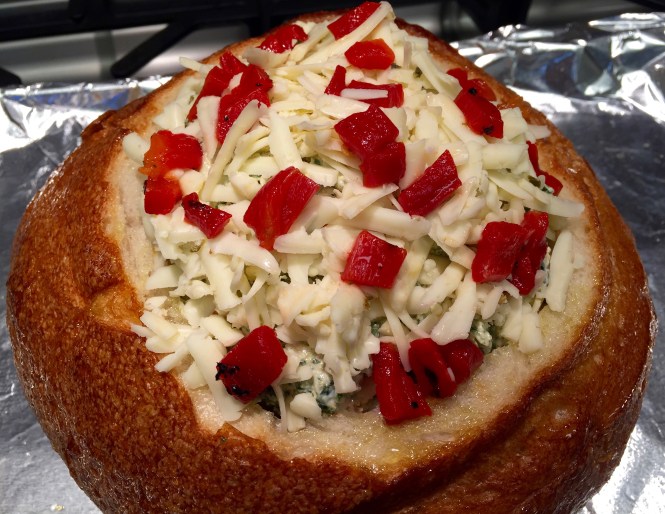
Add more cheese and roasted red pepper on top
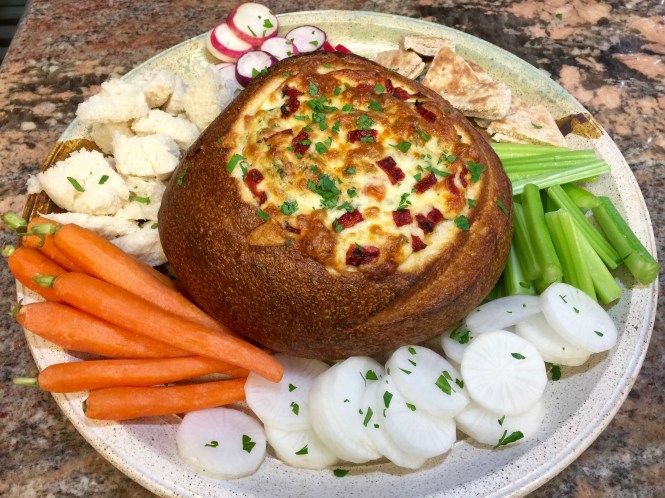
Serving Suggestion


 Lesson Learned 2 – Use a little cream of rice or wheat: My grandmother used “farina” in her recipe. Farina used to be very popular when I was growing up but not so much now. As a substitute you can use either cream of rice or wheat. They are both a very creamy type of hot cereal and the little bit you use gives extra creaminess to the kugelis.
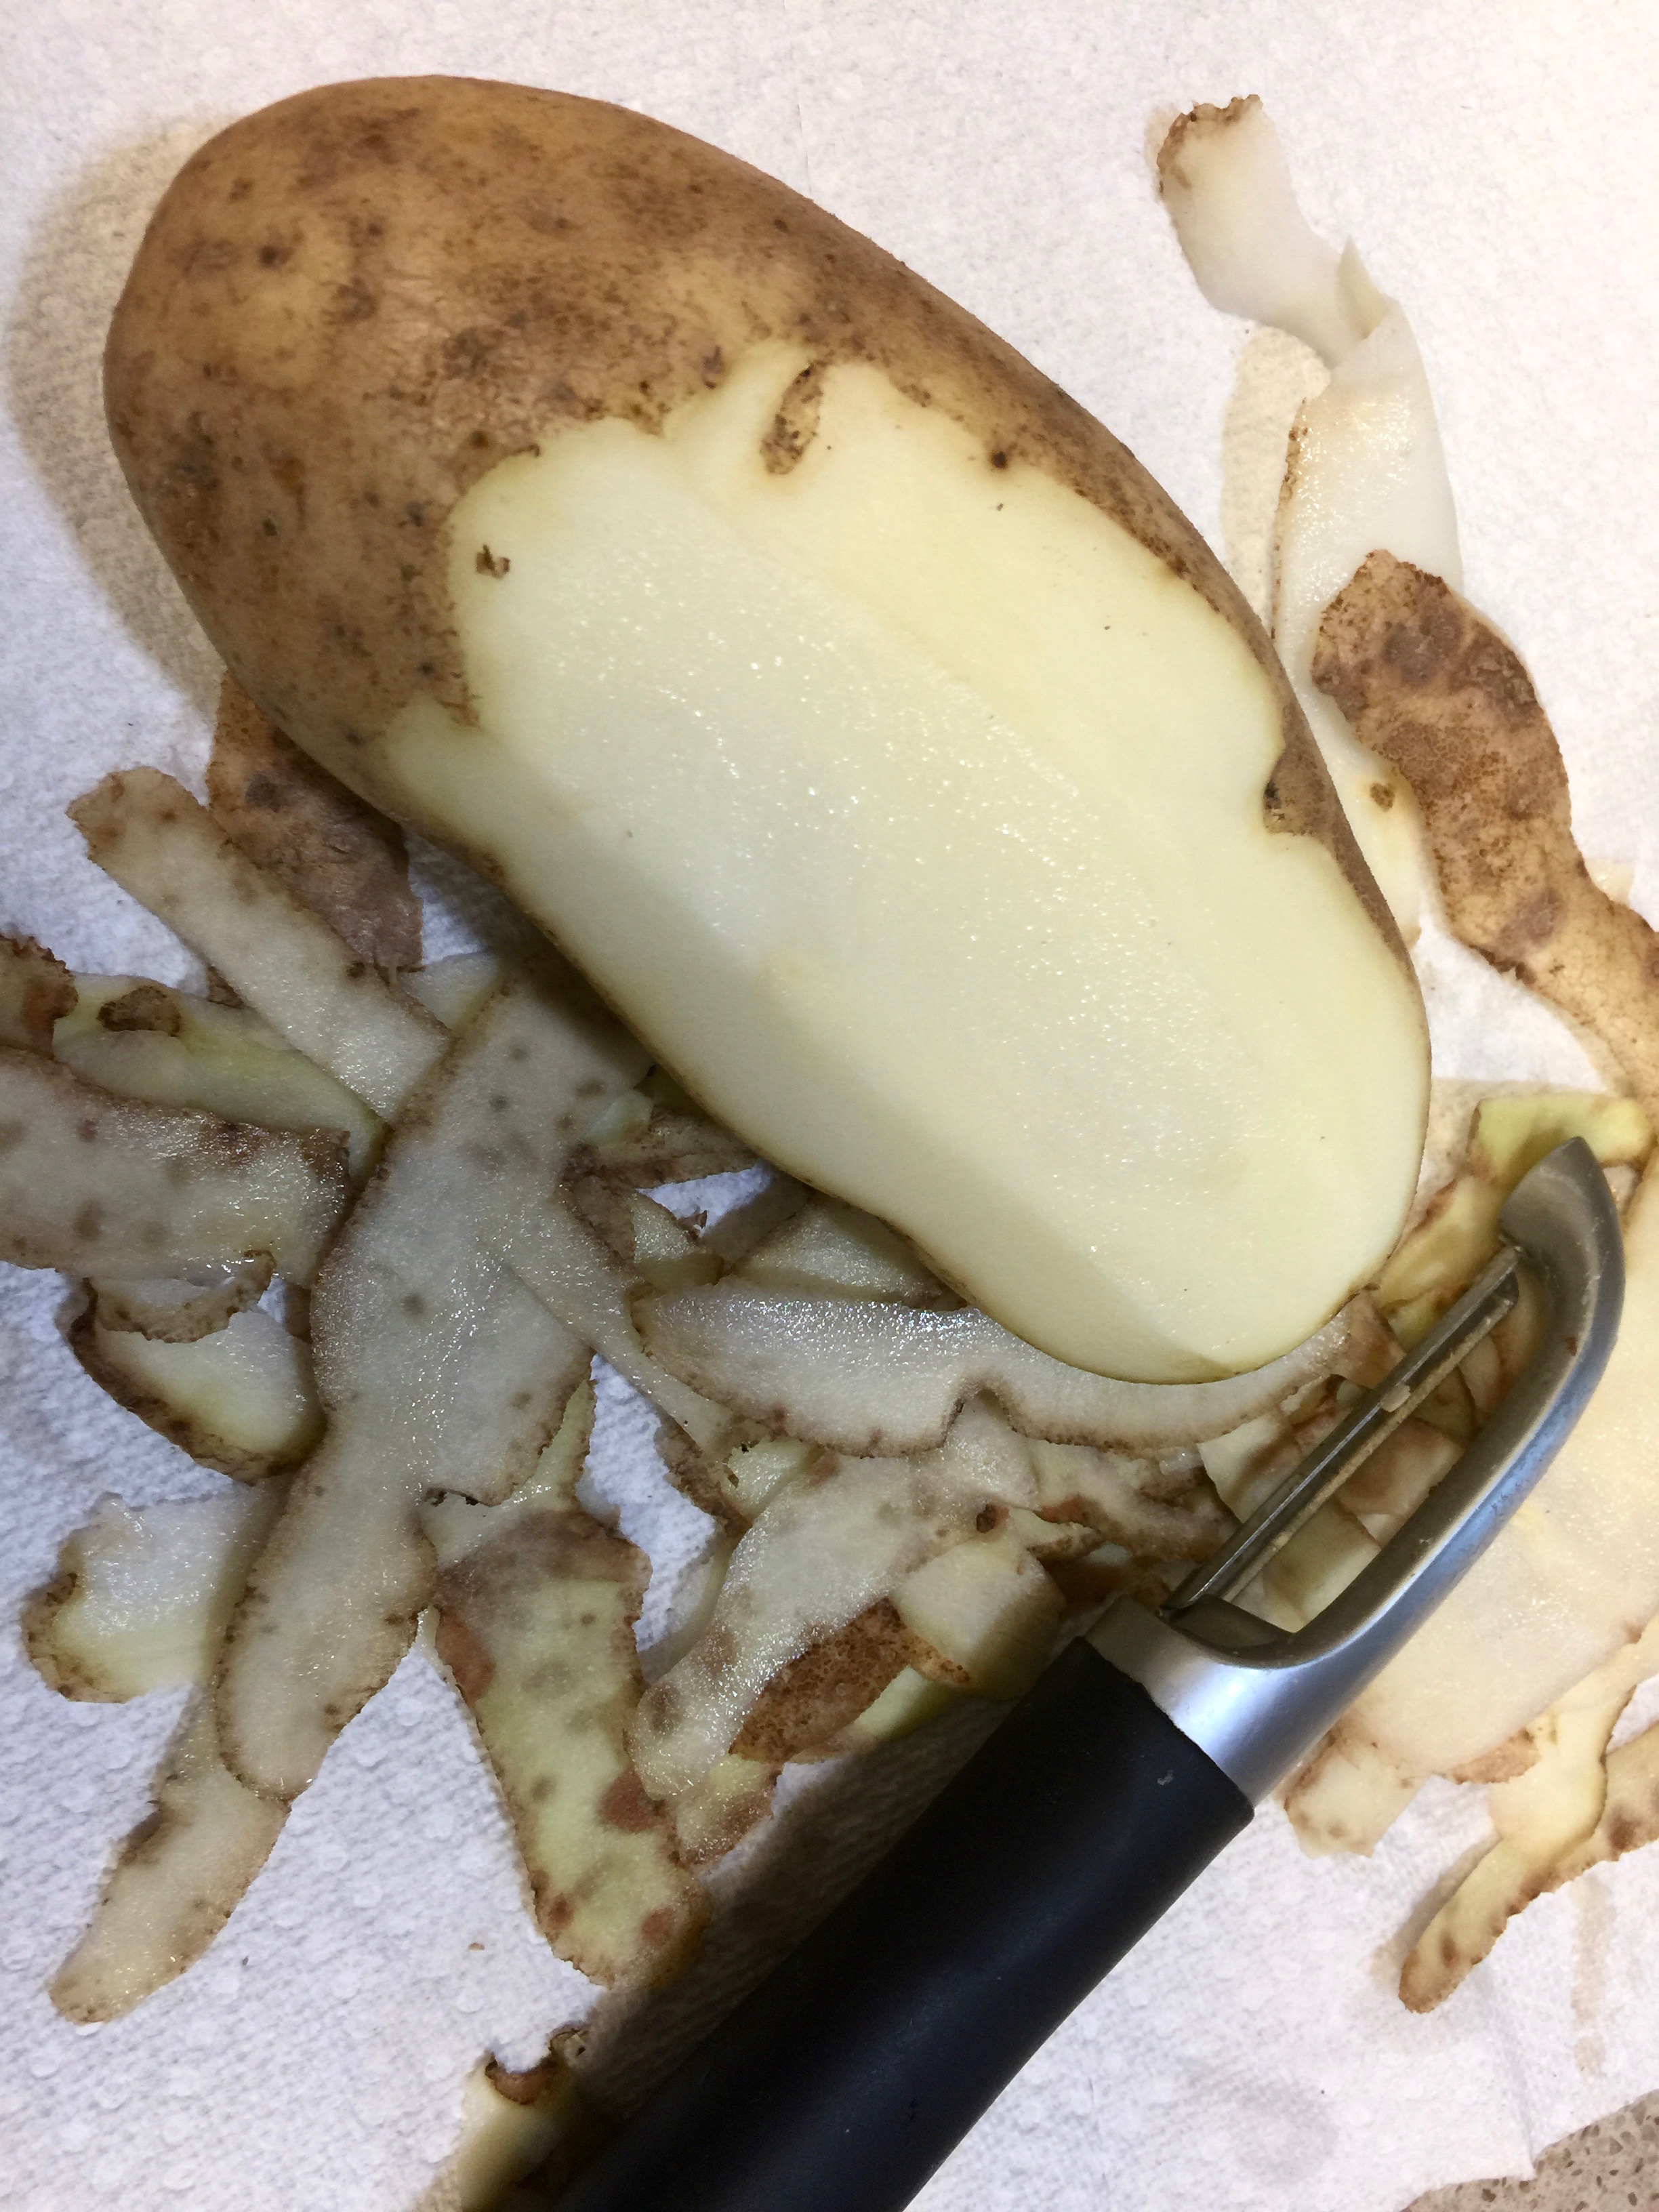
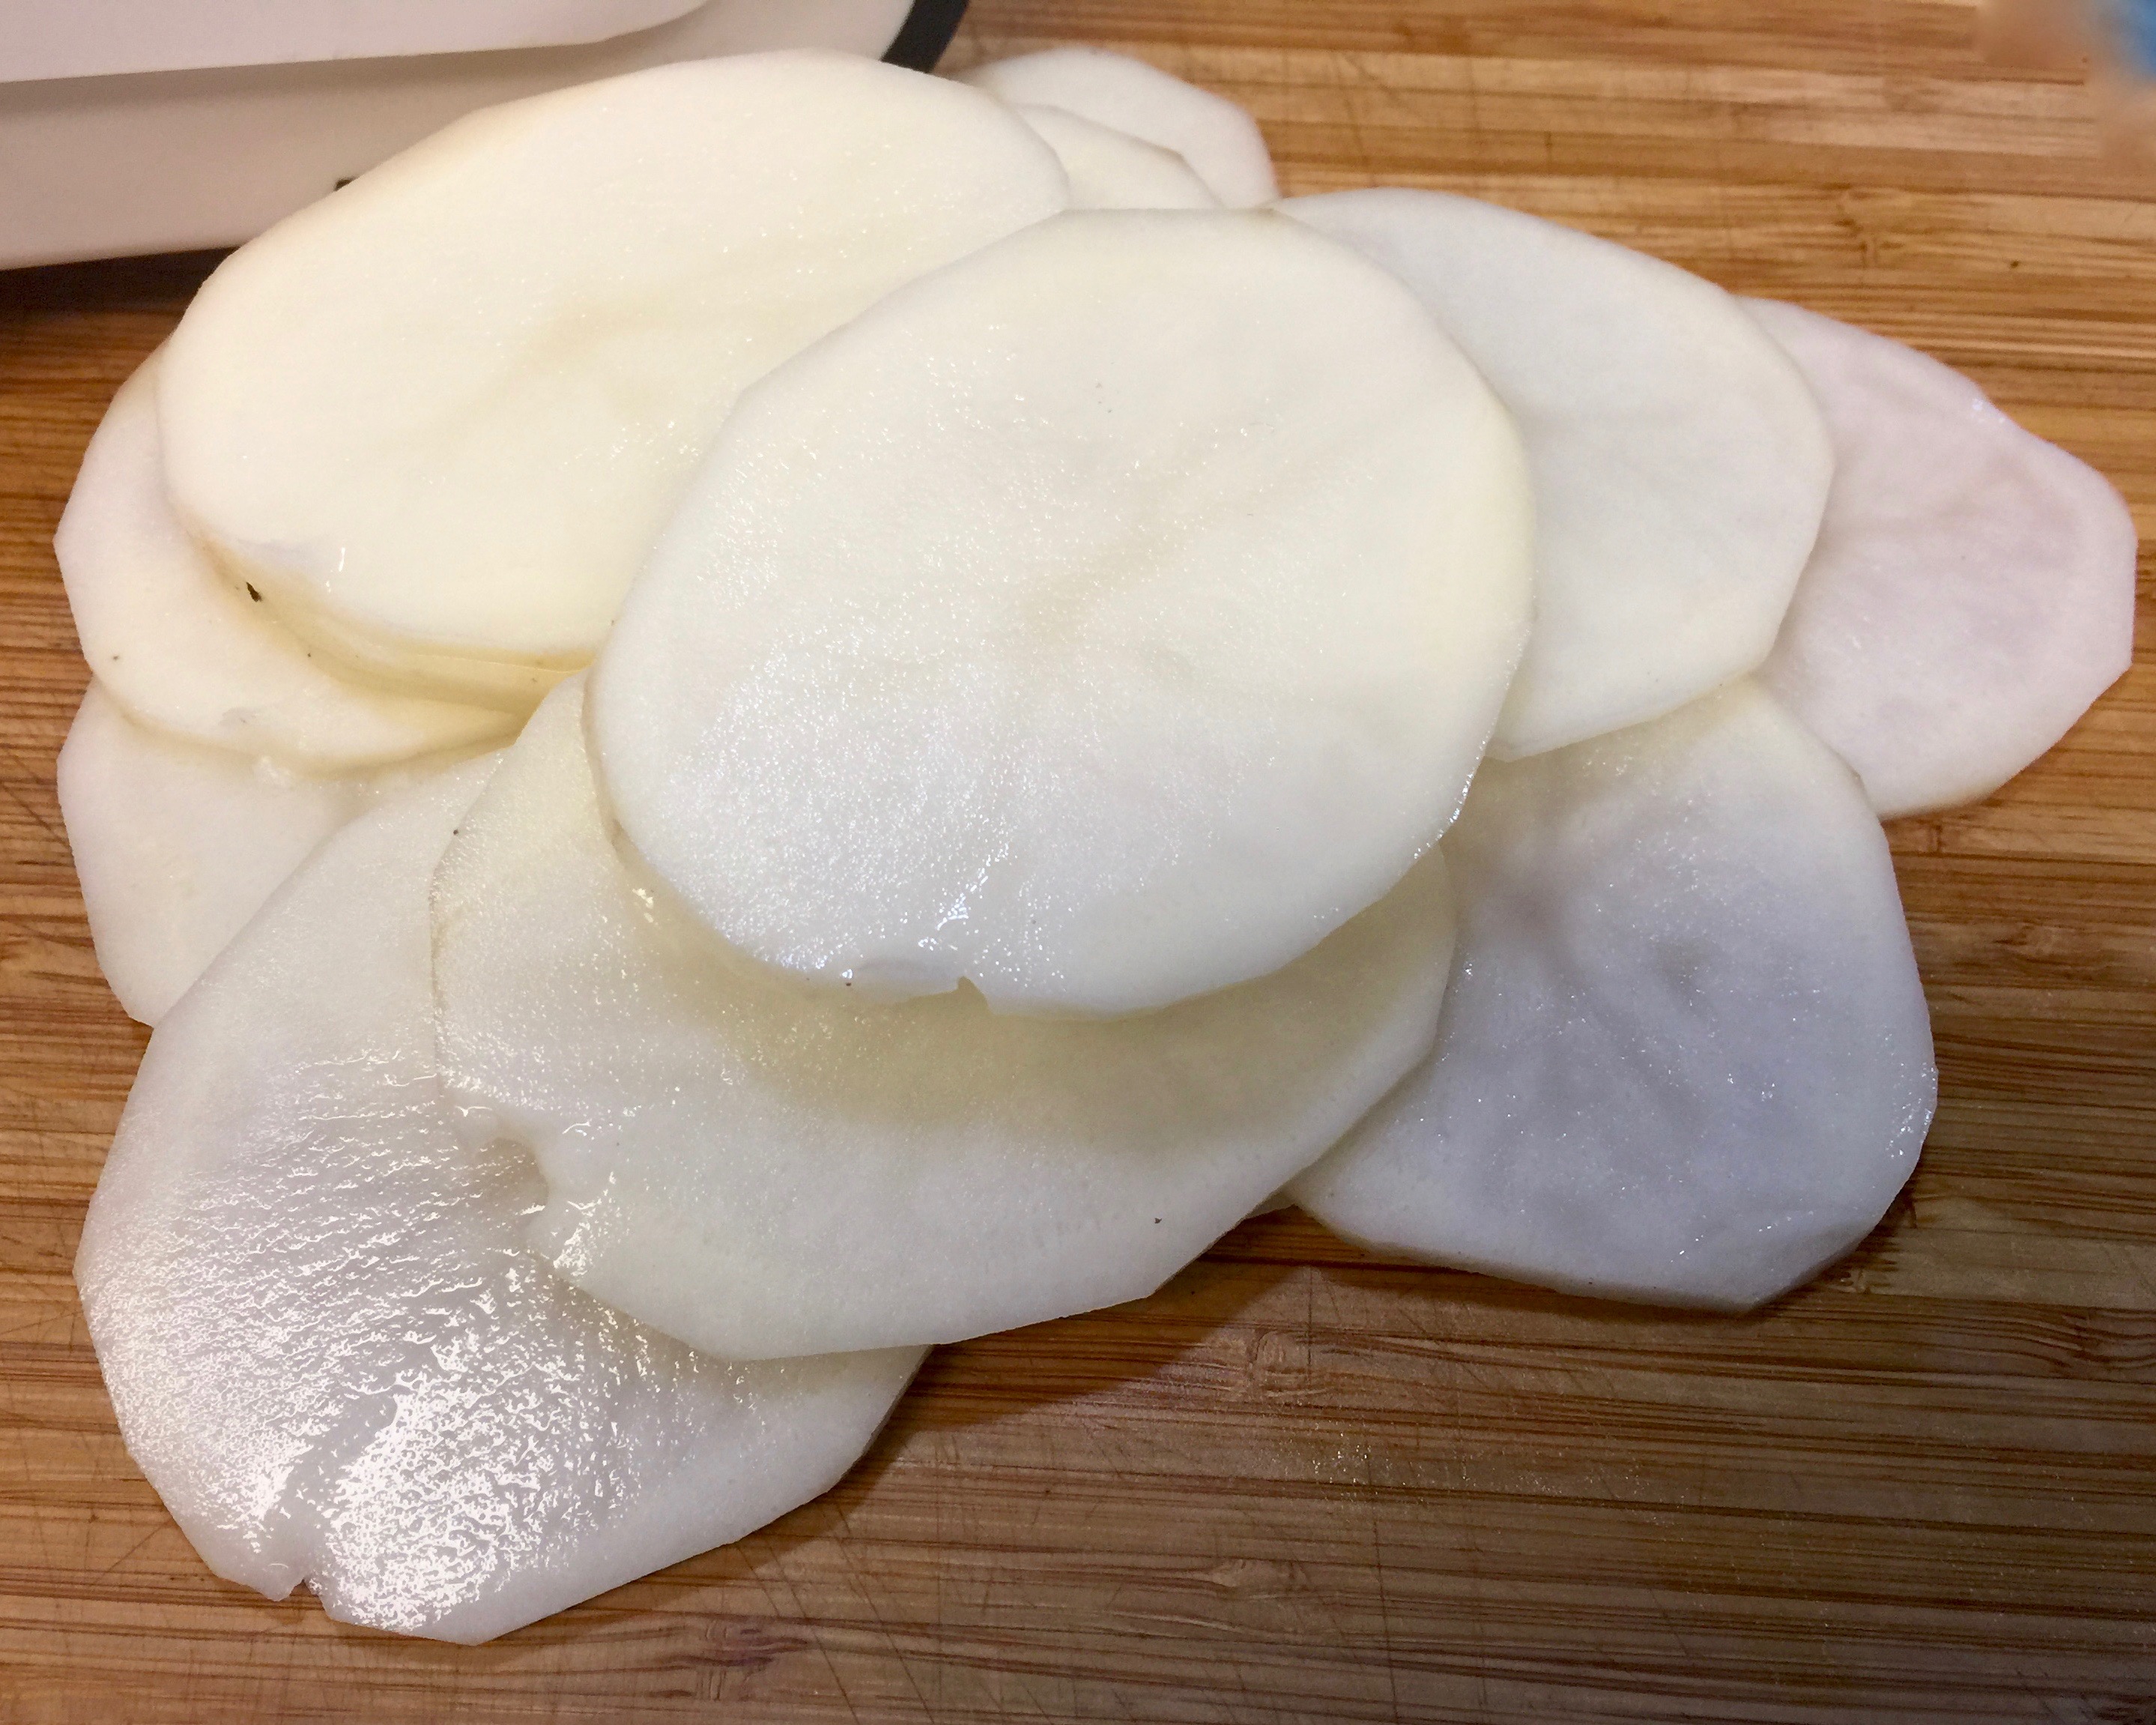
 The last thing you want to have happen is for the potatoes to oxidize and turn brown while waiting to be grated. Once you peel them put them in a bowl of cold water until you are ready to grate them. That way they will not turn brown on you.


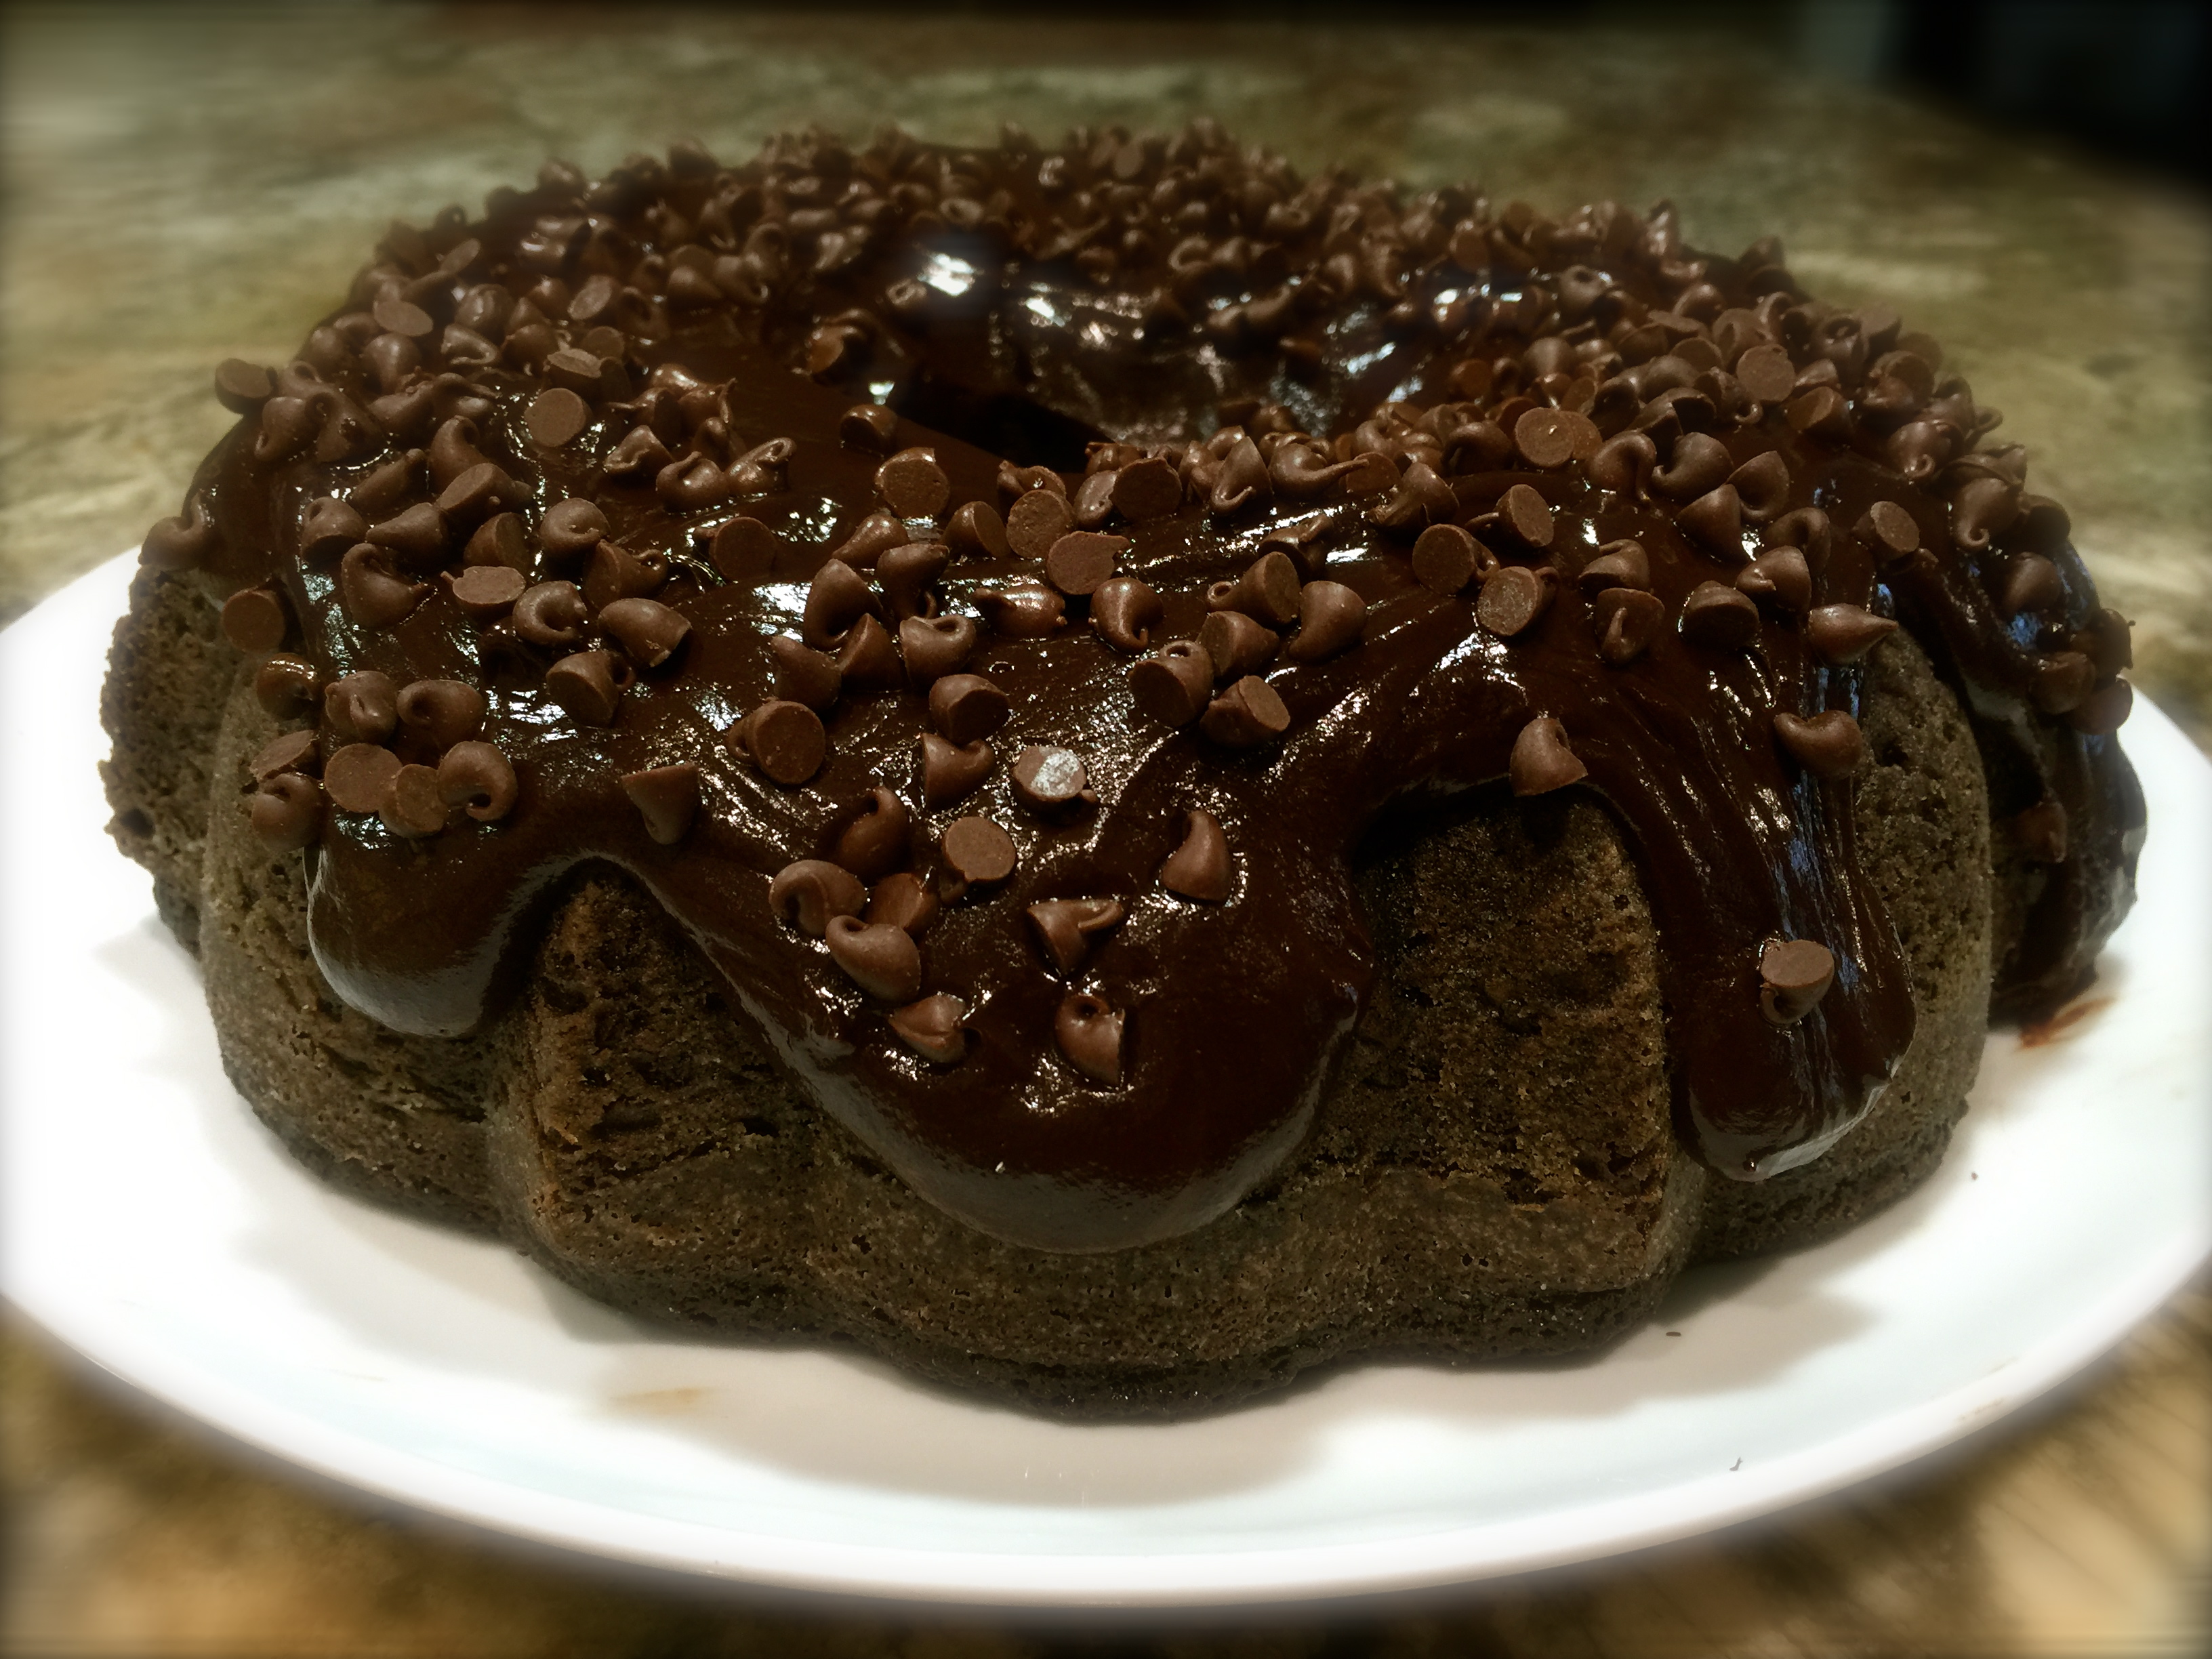
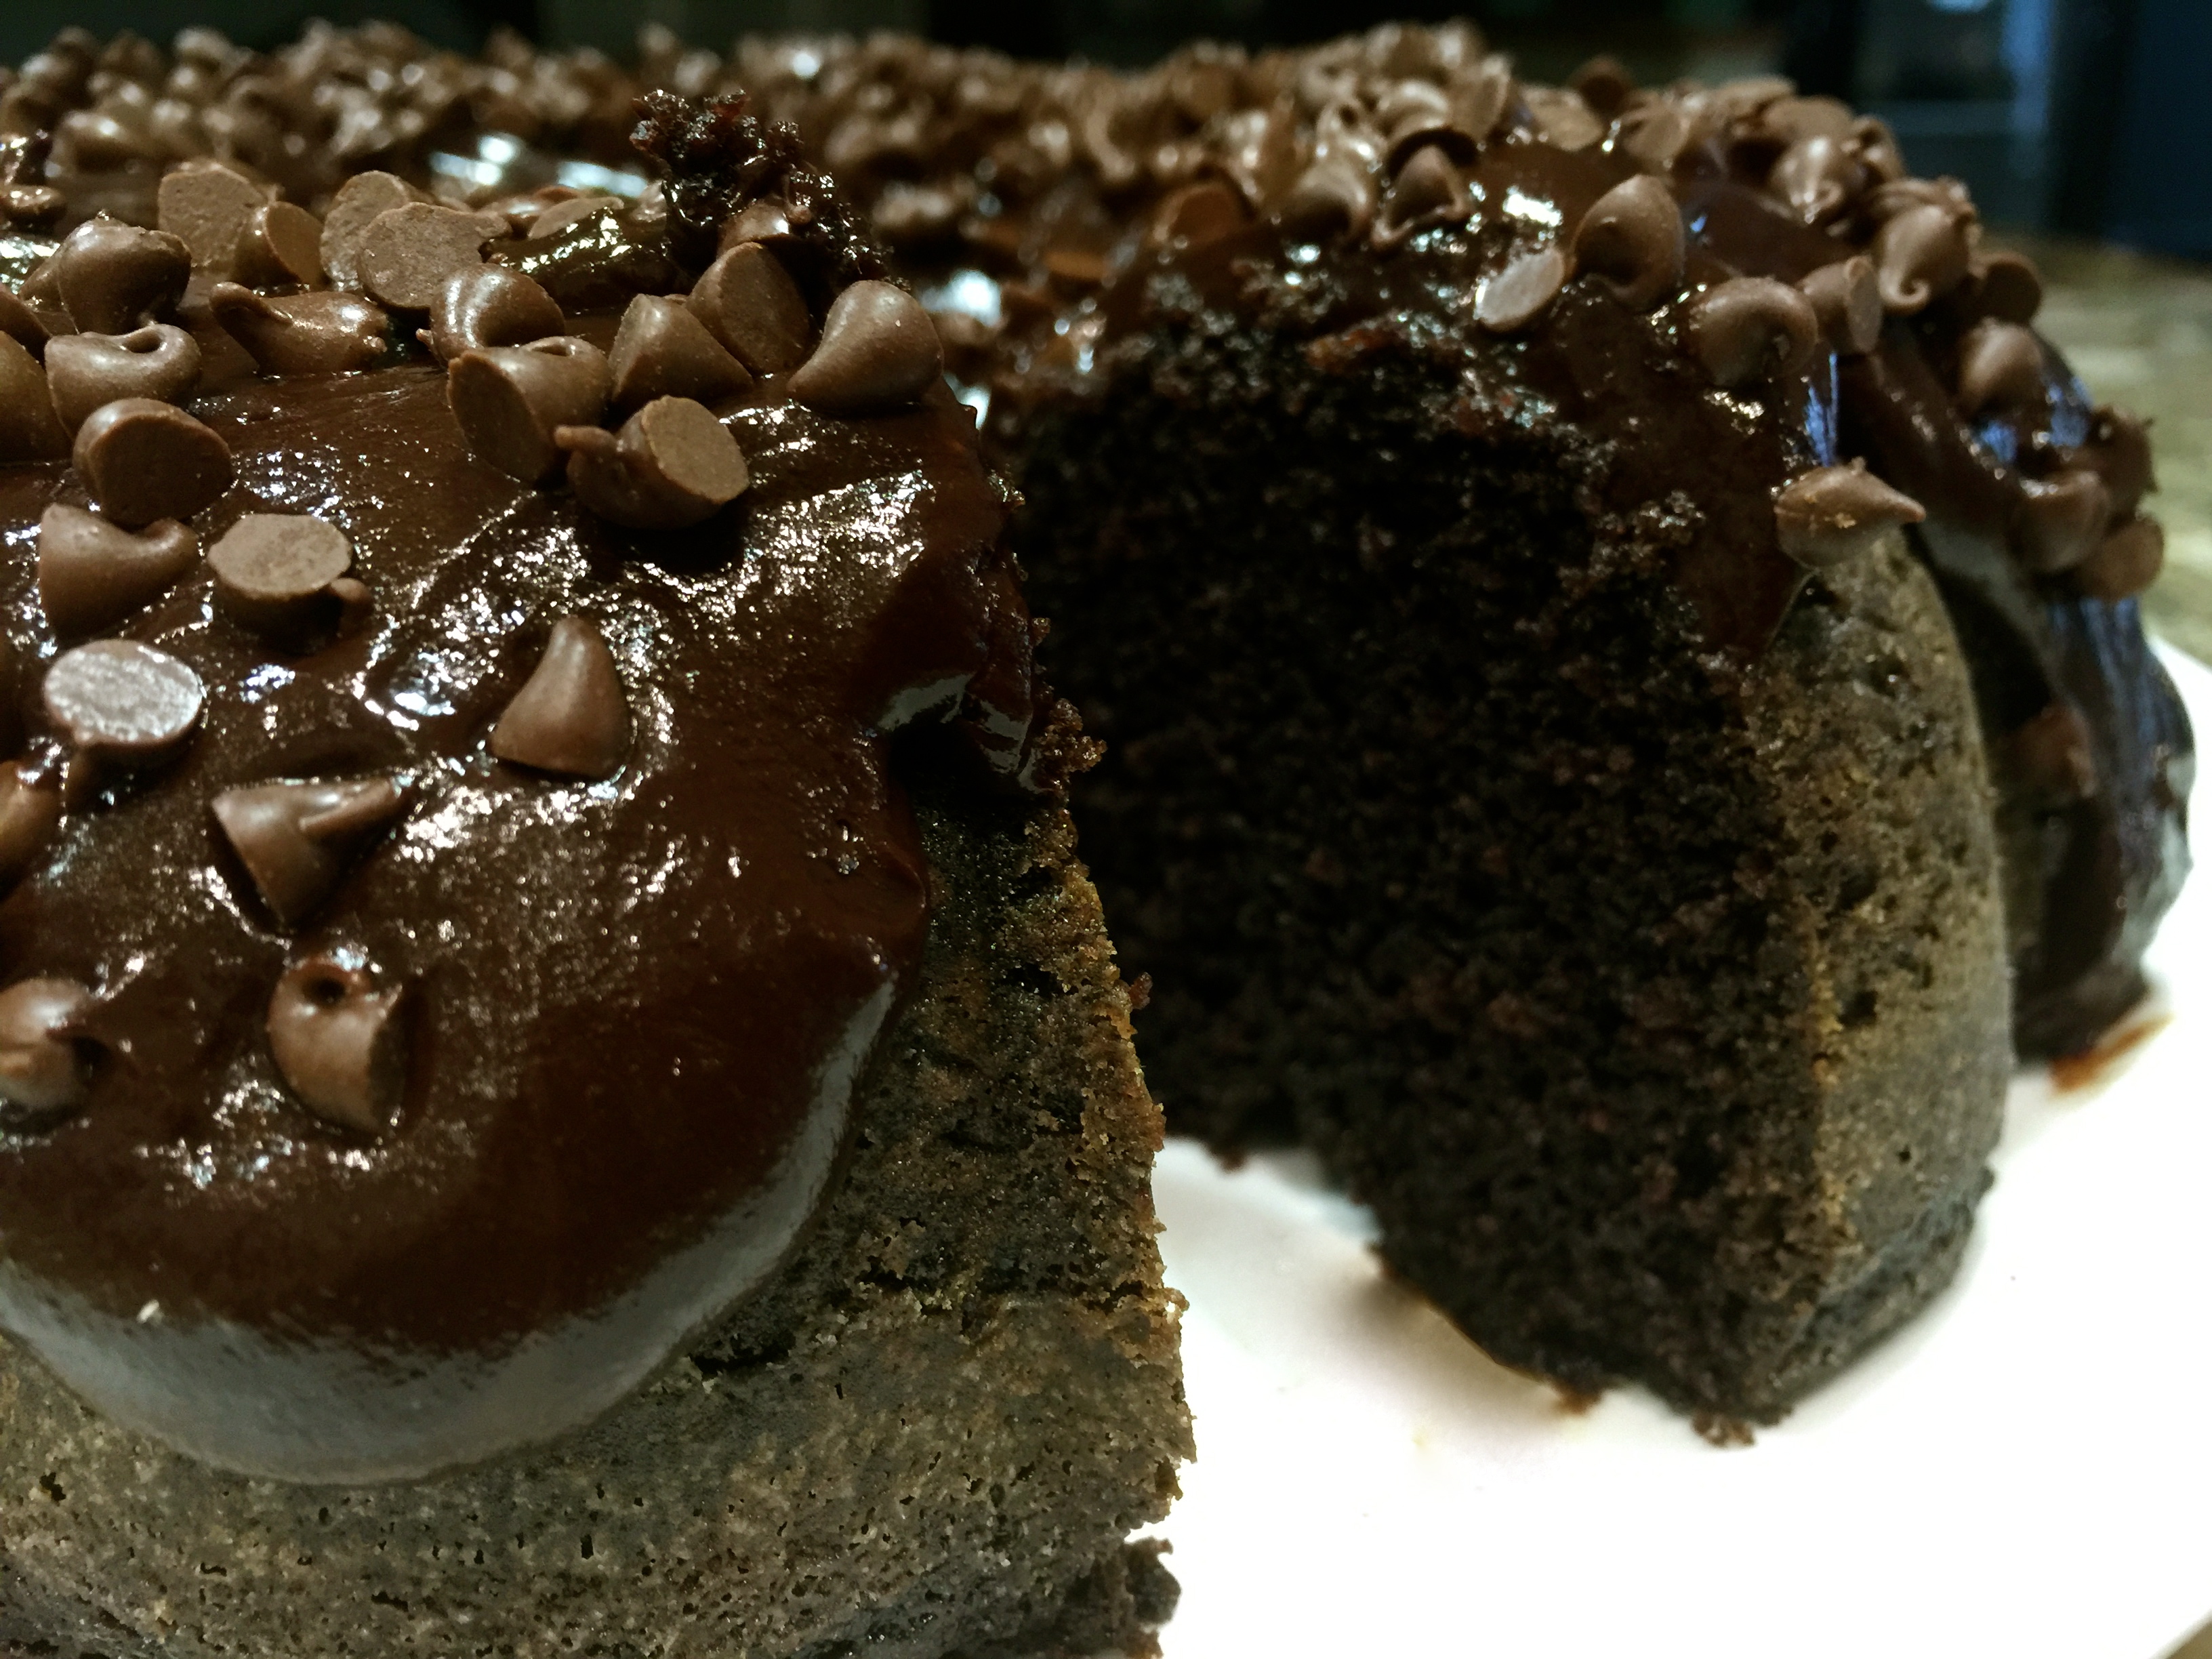
 1/2 cup semi sweet chocolate chips


 Lesson Learned 1: Make sure your bananas are really ripe: and by really ripe I mean the peels are really dark, dark brown as in the picture to the right. You don’t want a lot of yellow on your banana skins and you definitely don’t want any green. Most of the time the bananas you buy in the store are under ripe, mainly green and yellow. Those bananas have not reached their full peak of flavor. The skins need to look pretty dark. As the banana ripens it releases more sugar and becomes more flavorful. And as they ripen the skins turn darker. If you want the best tasting cake you need to use bananas with dark skins.


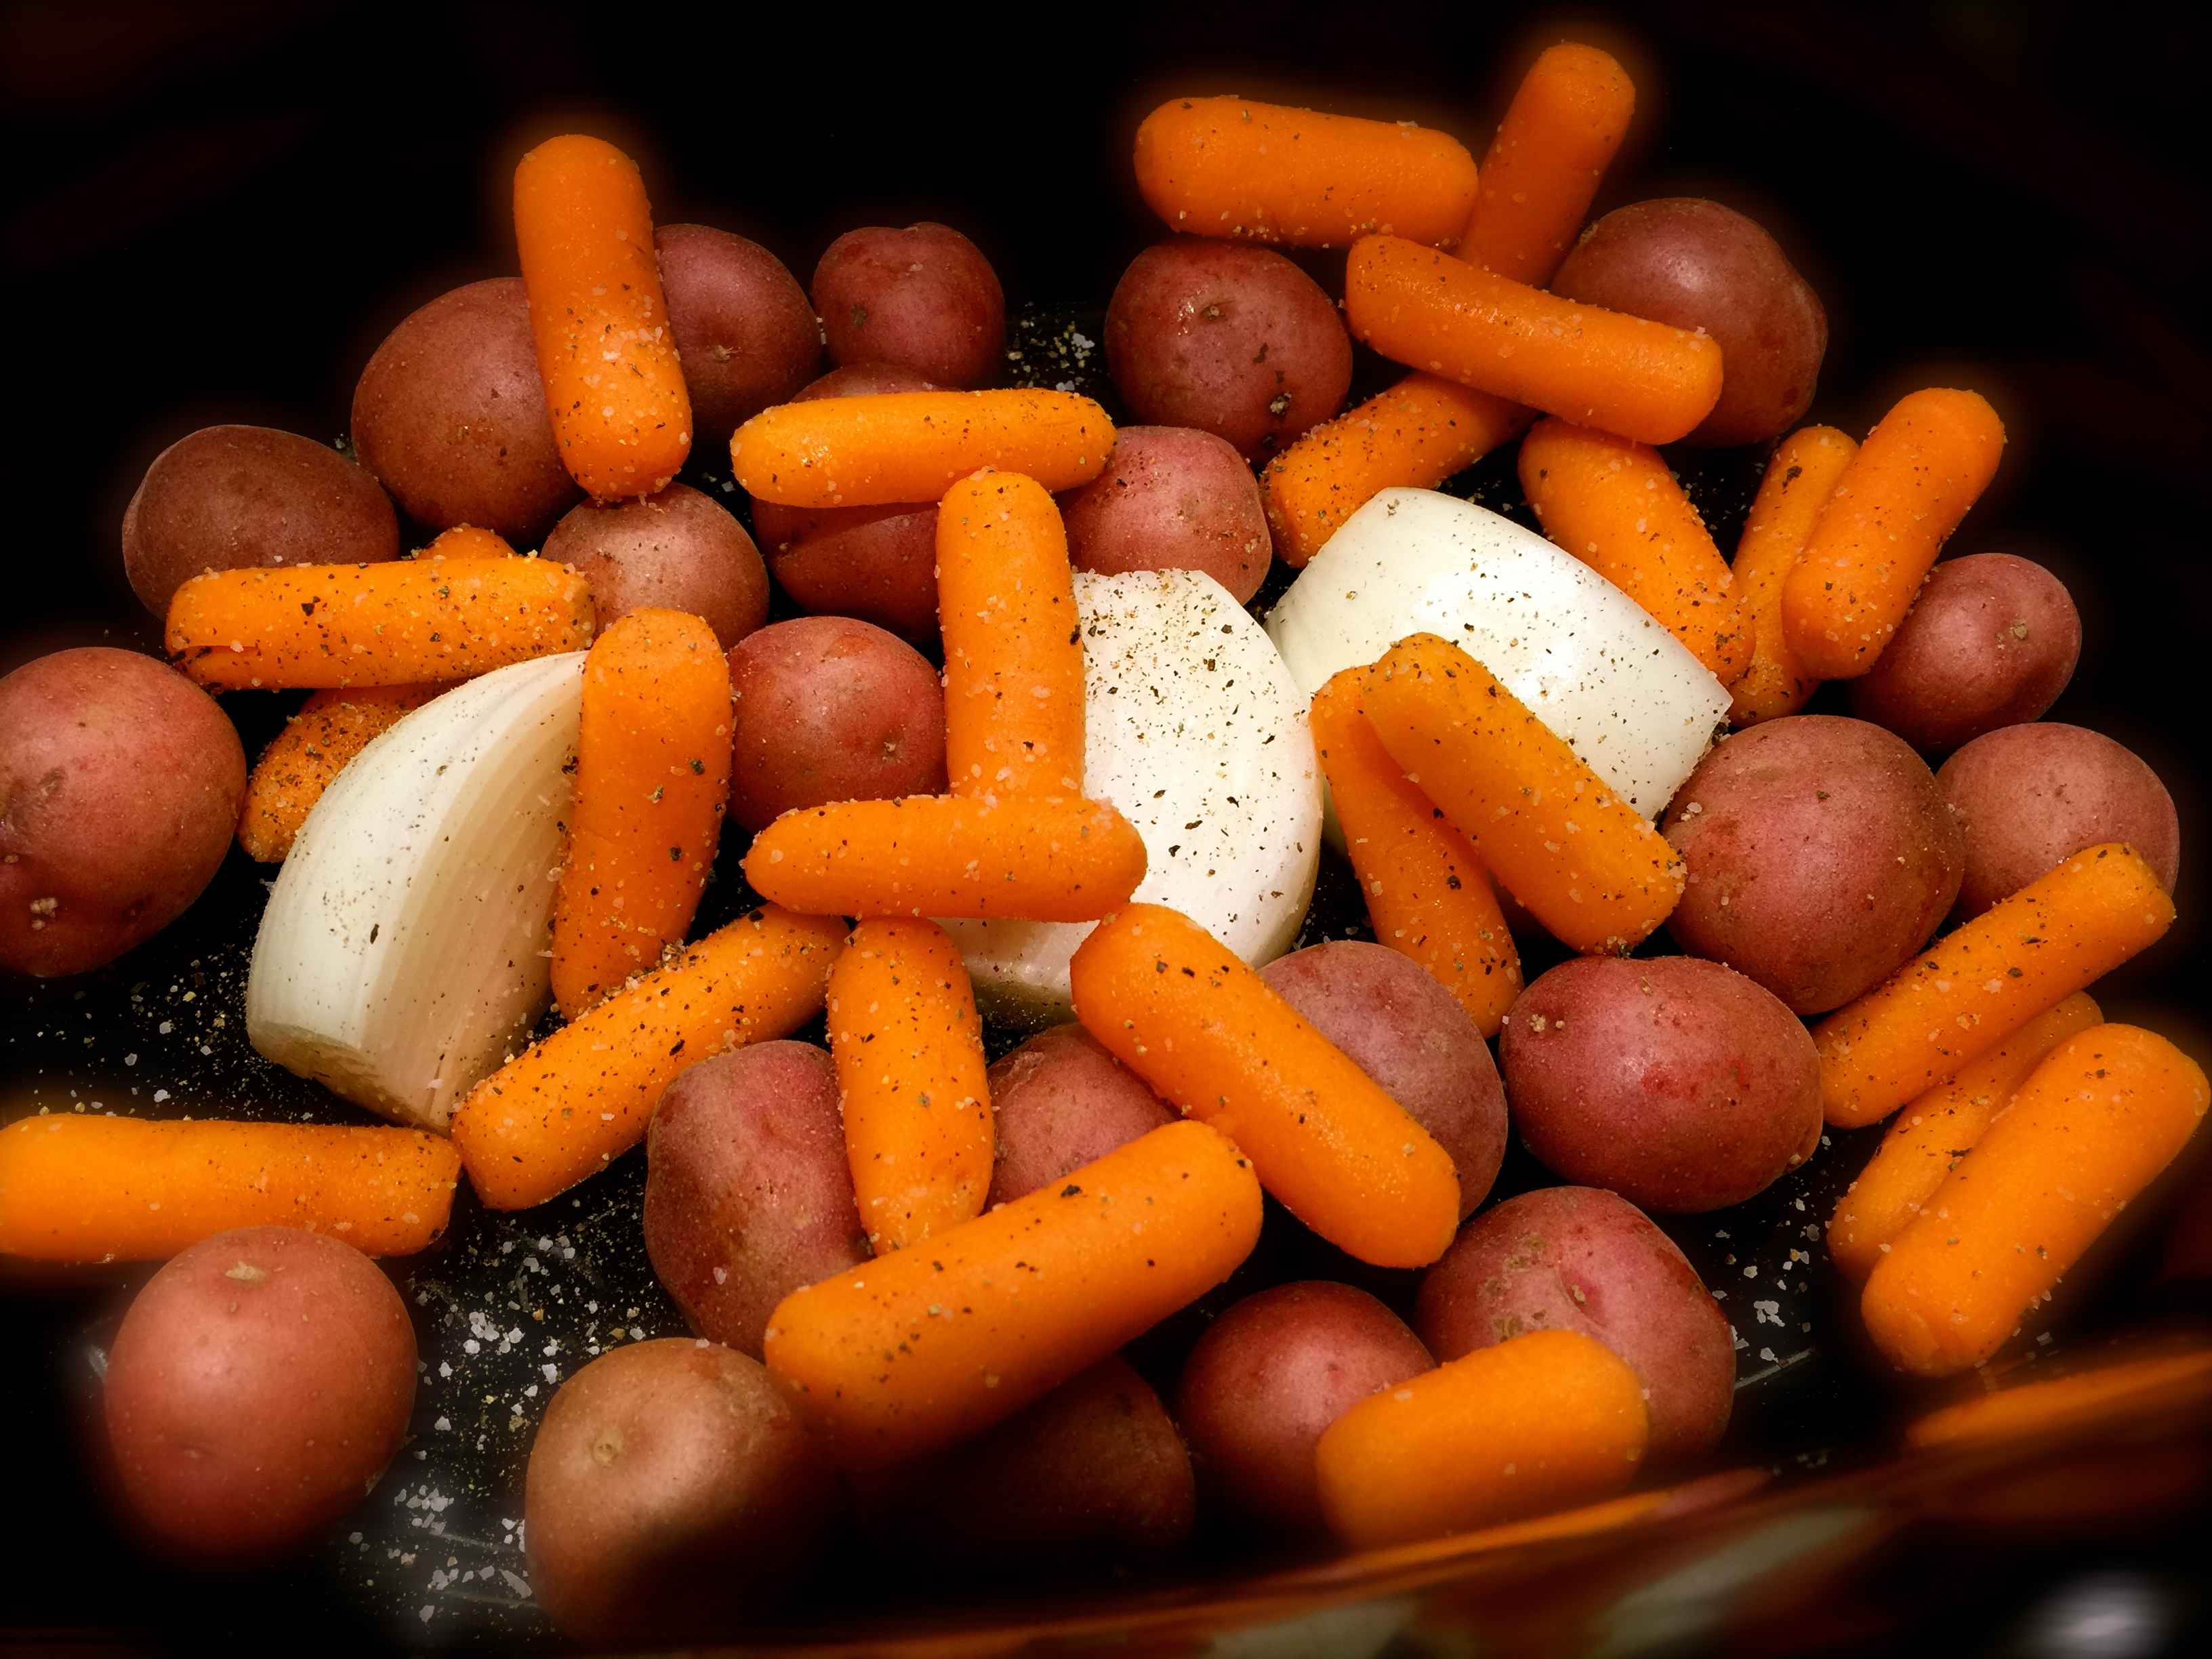
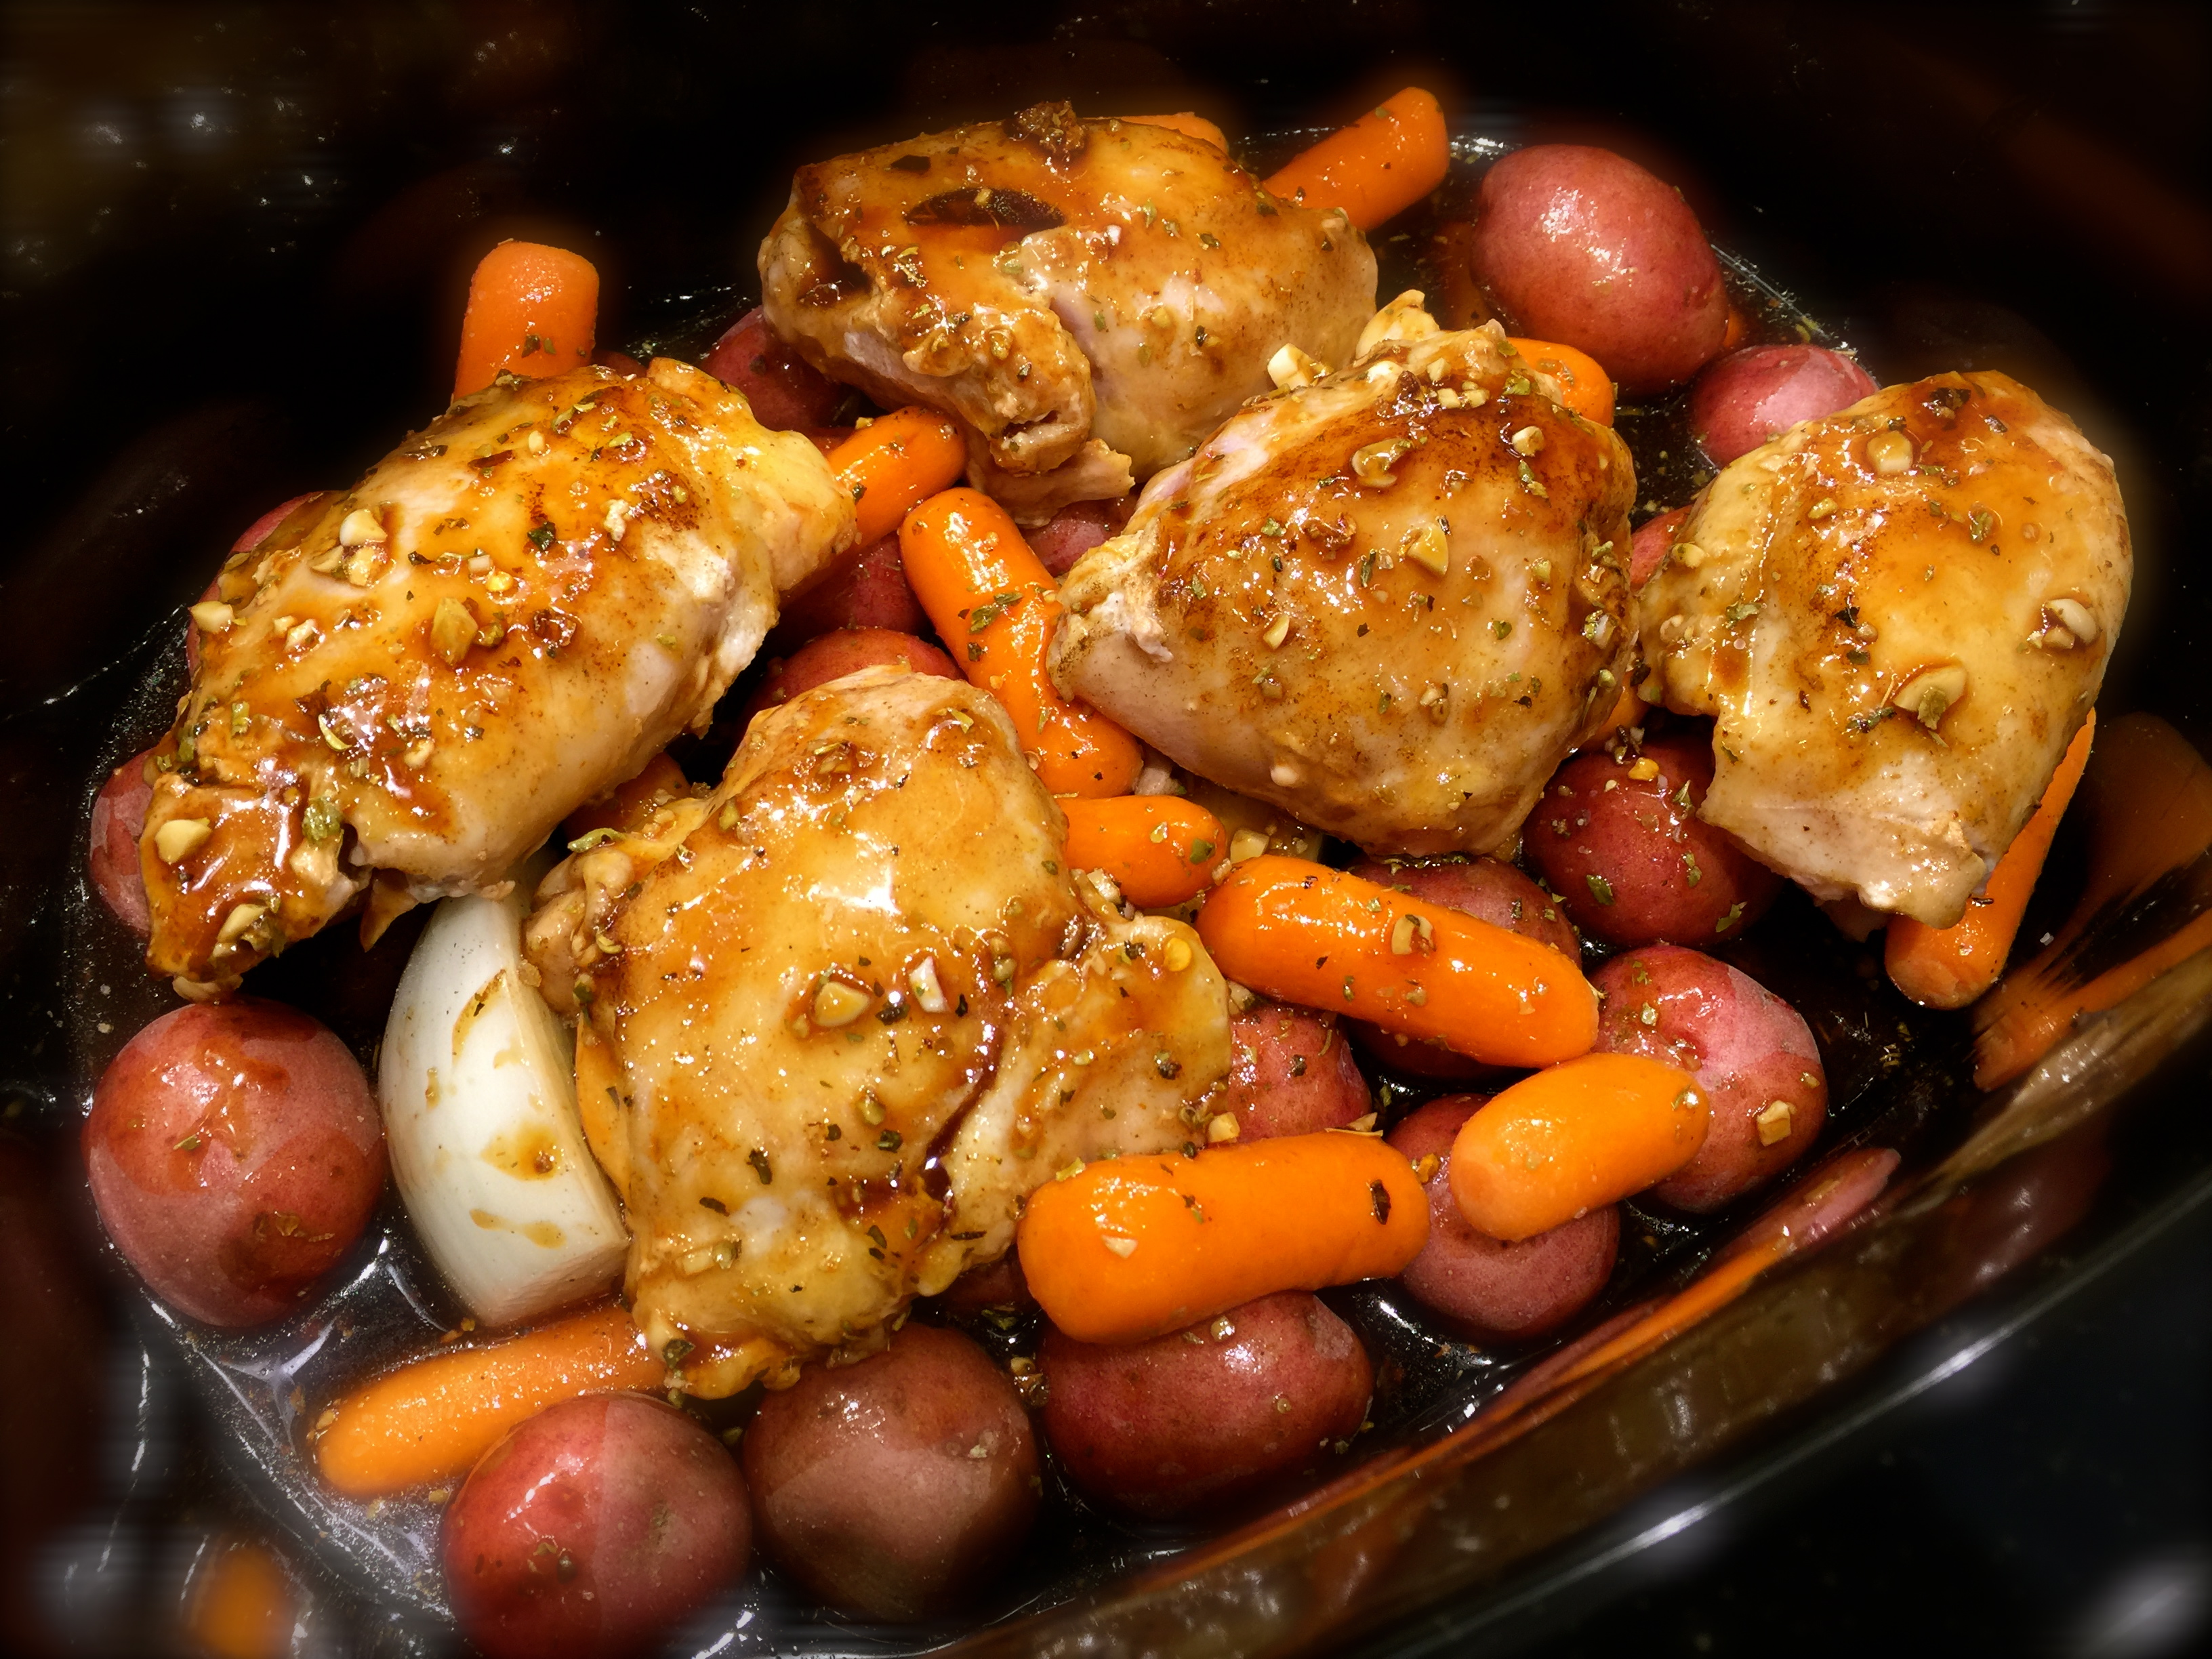
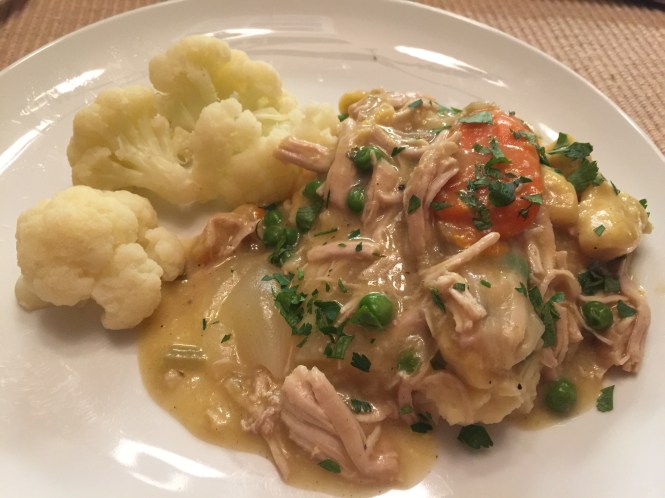
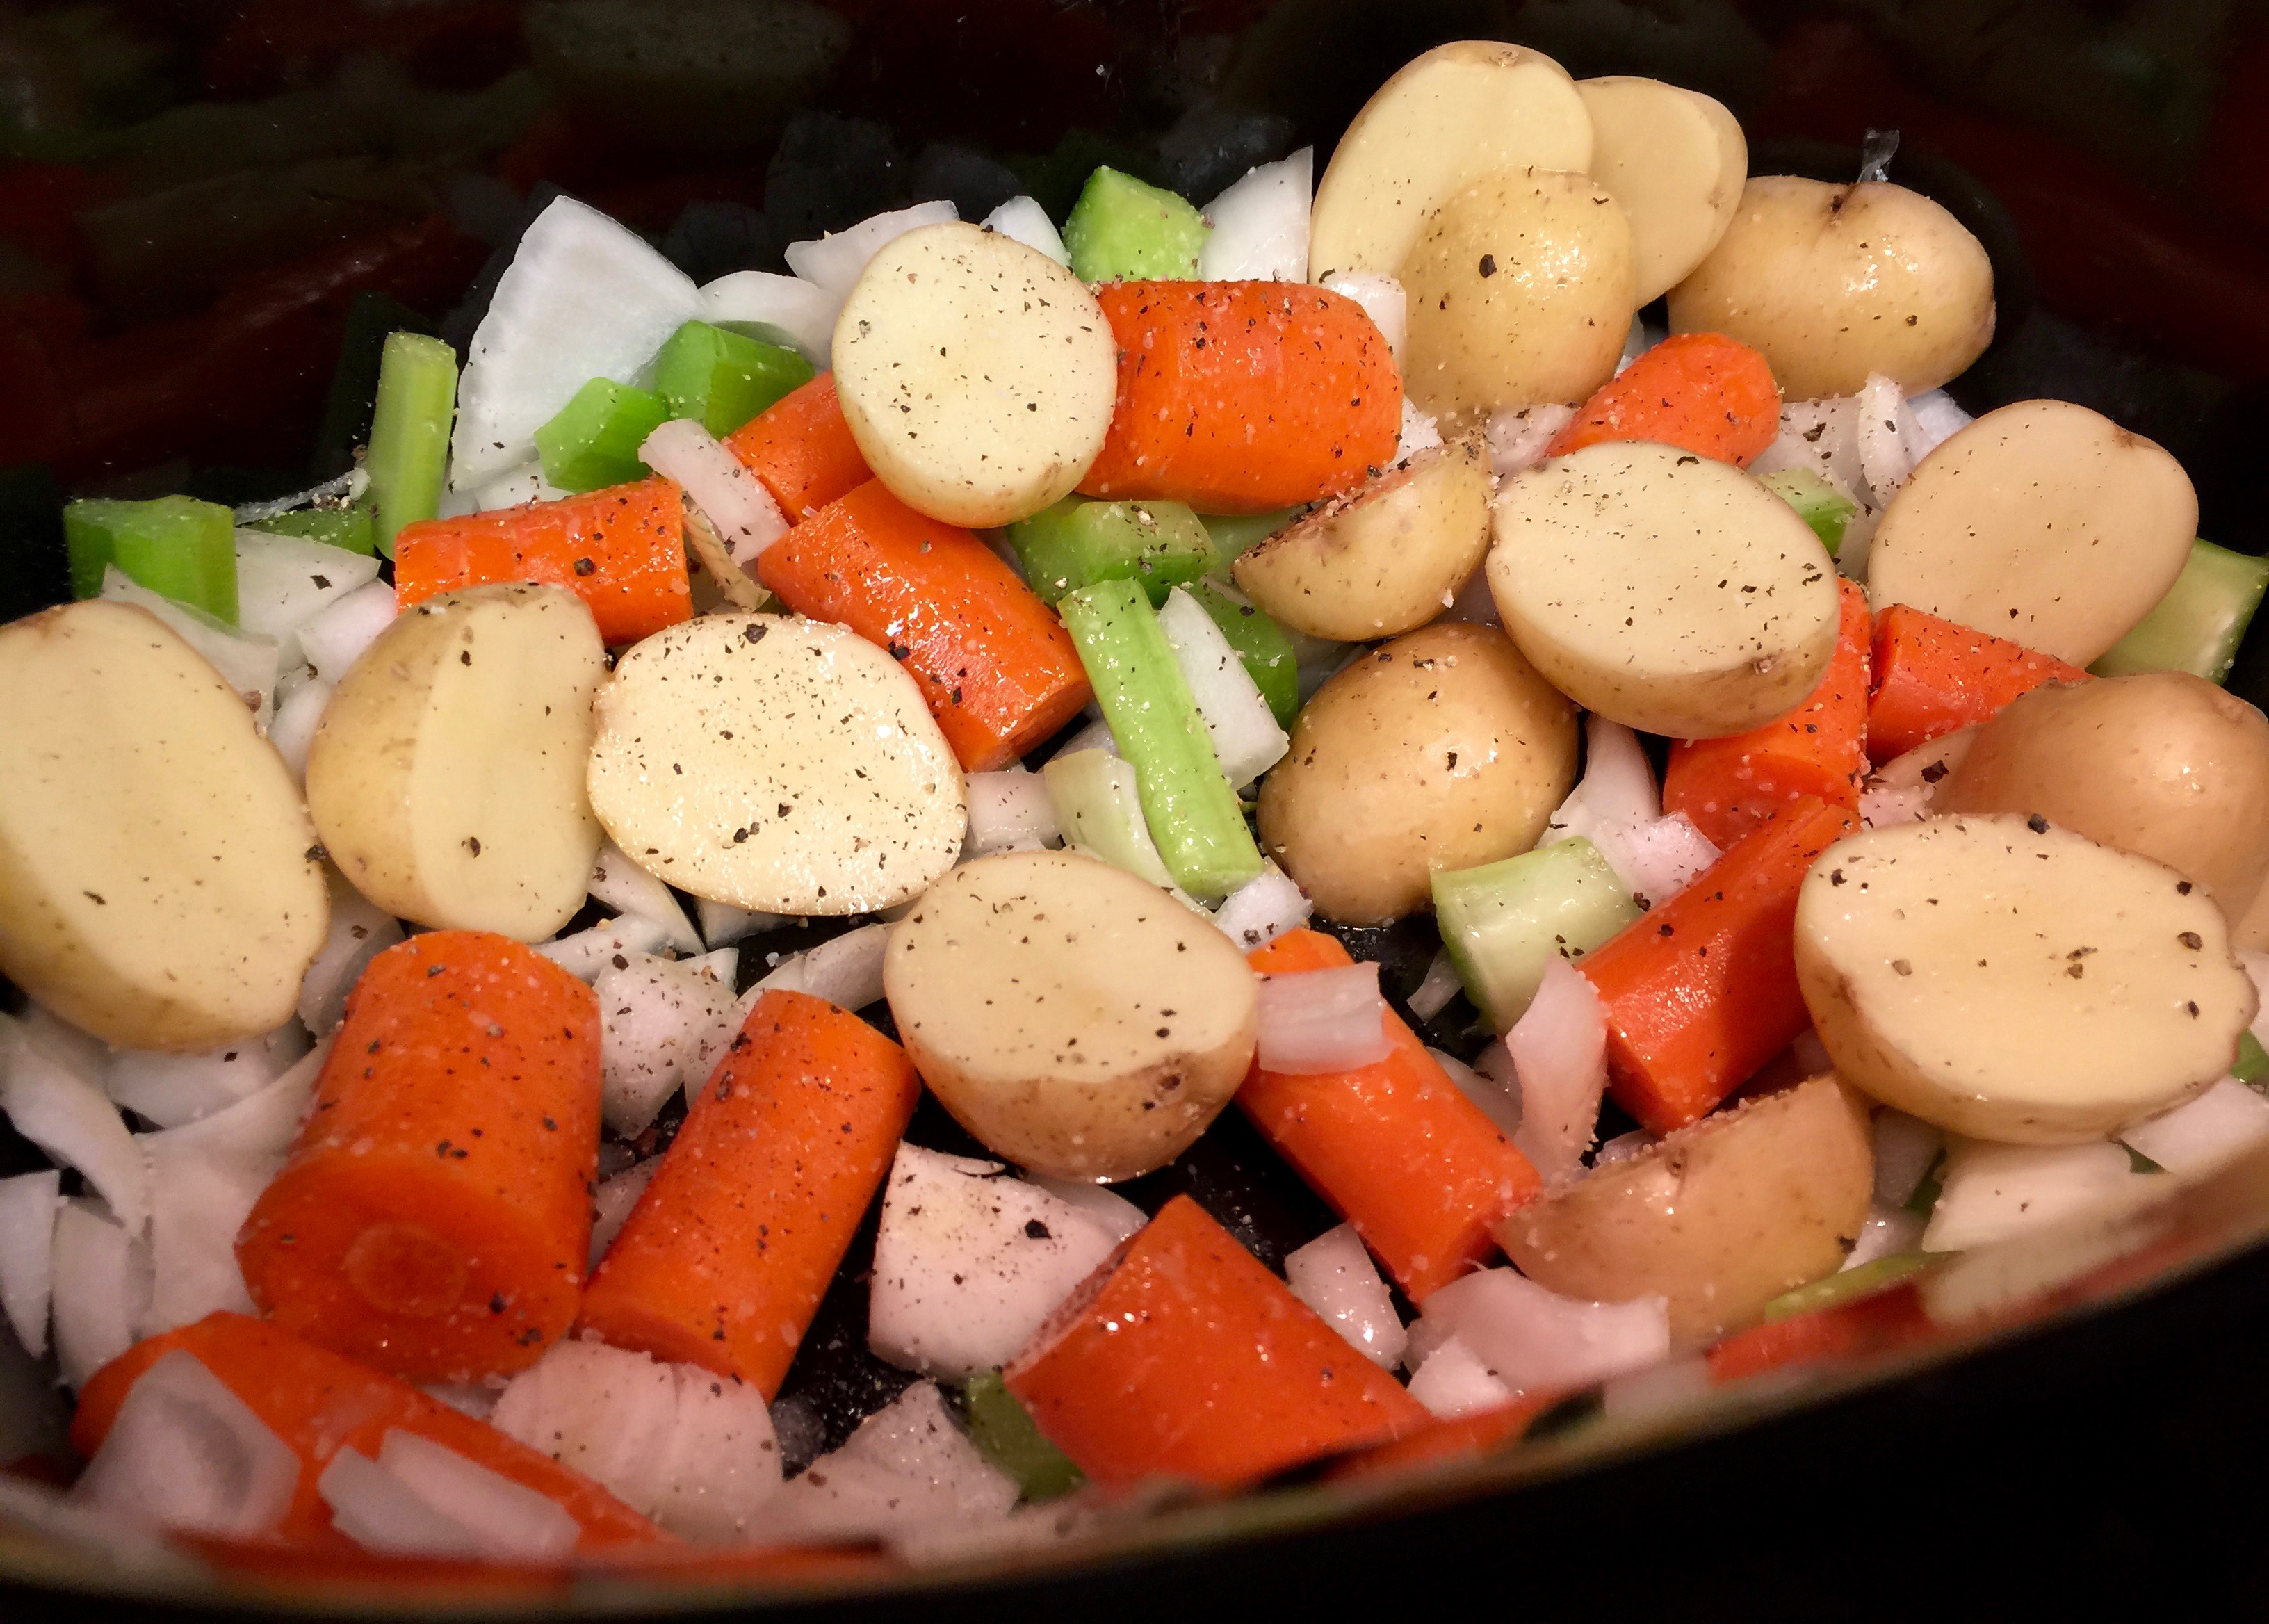
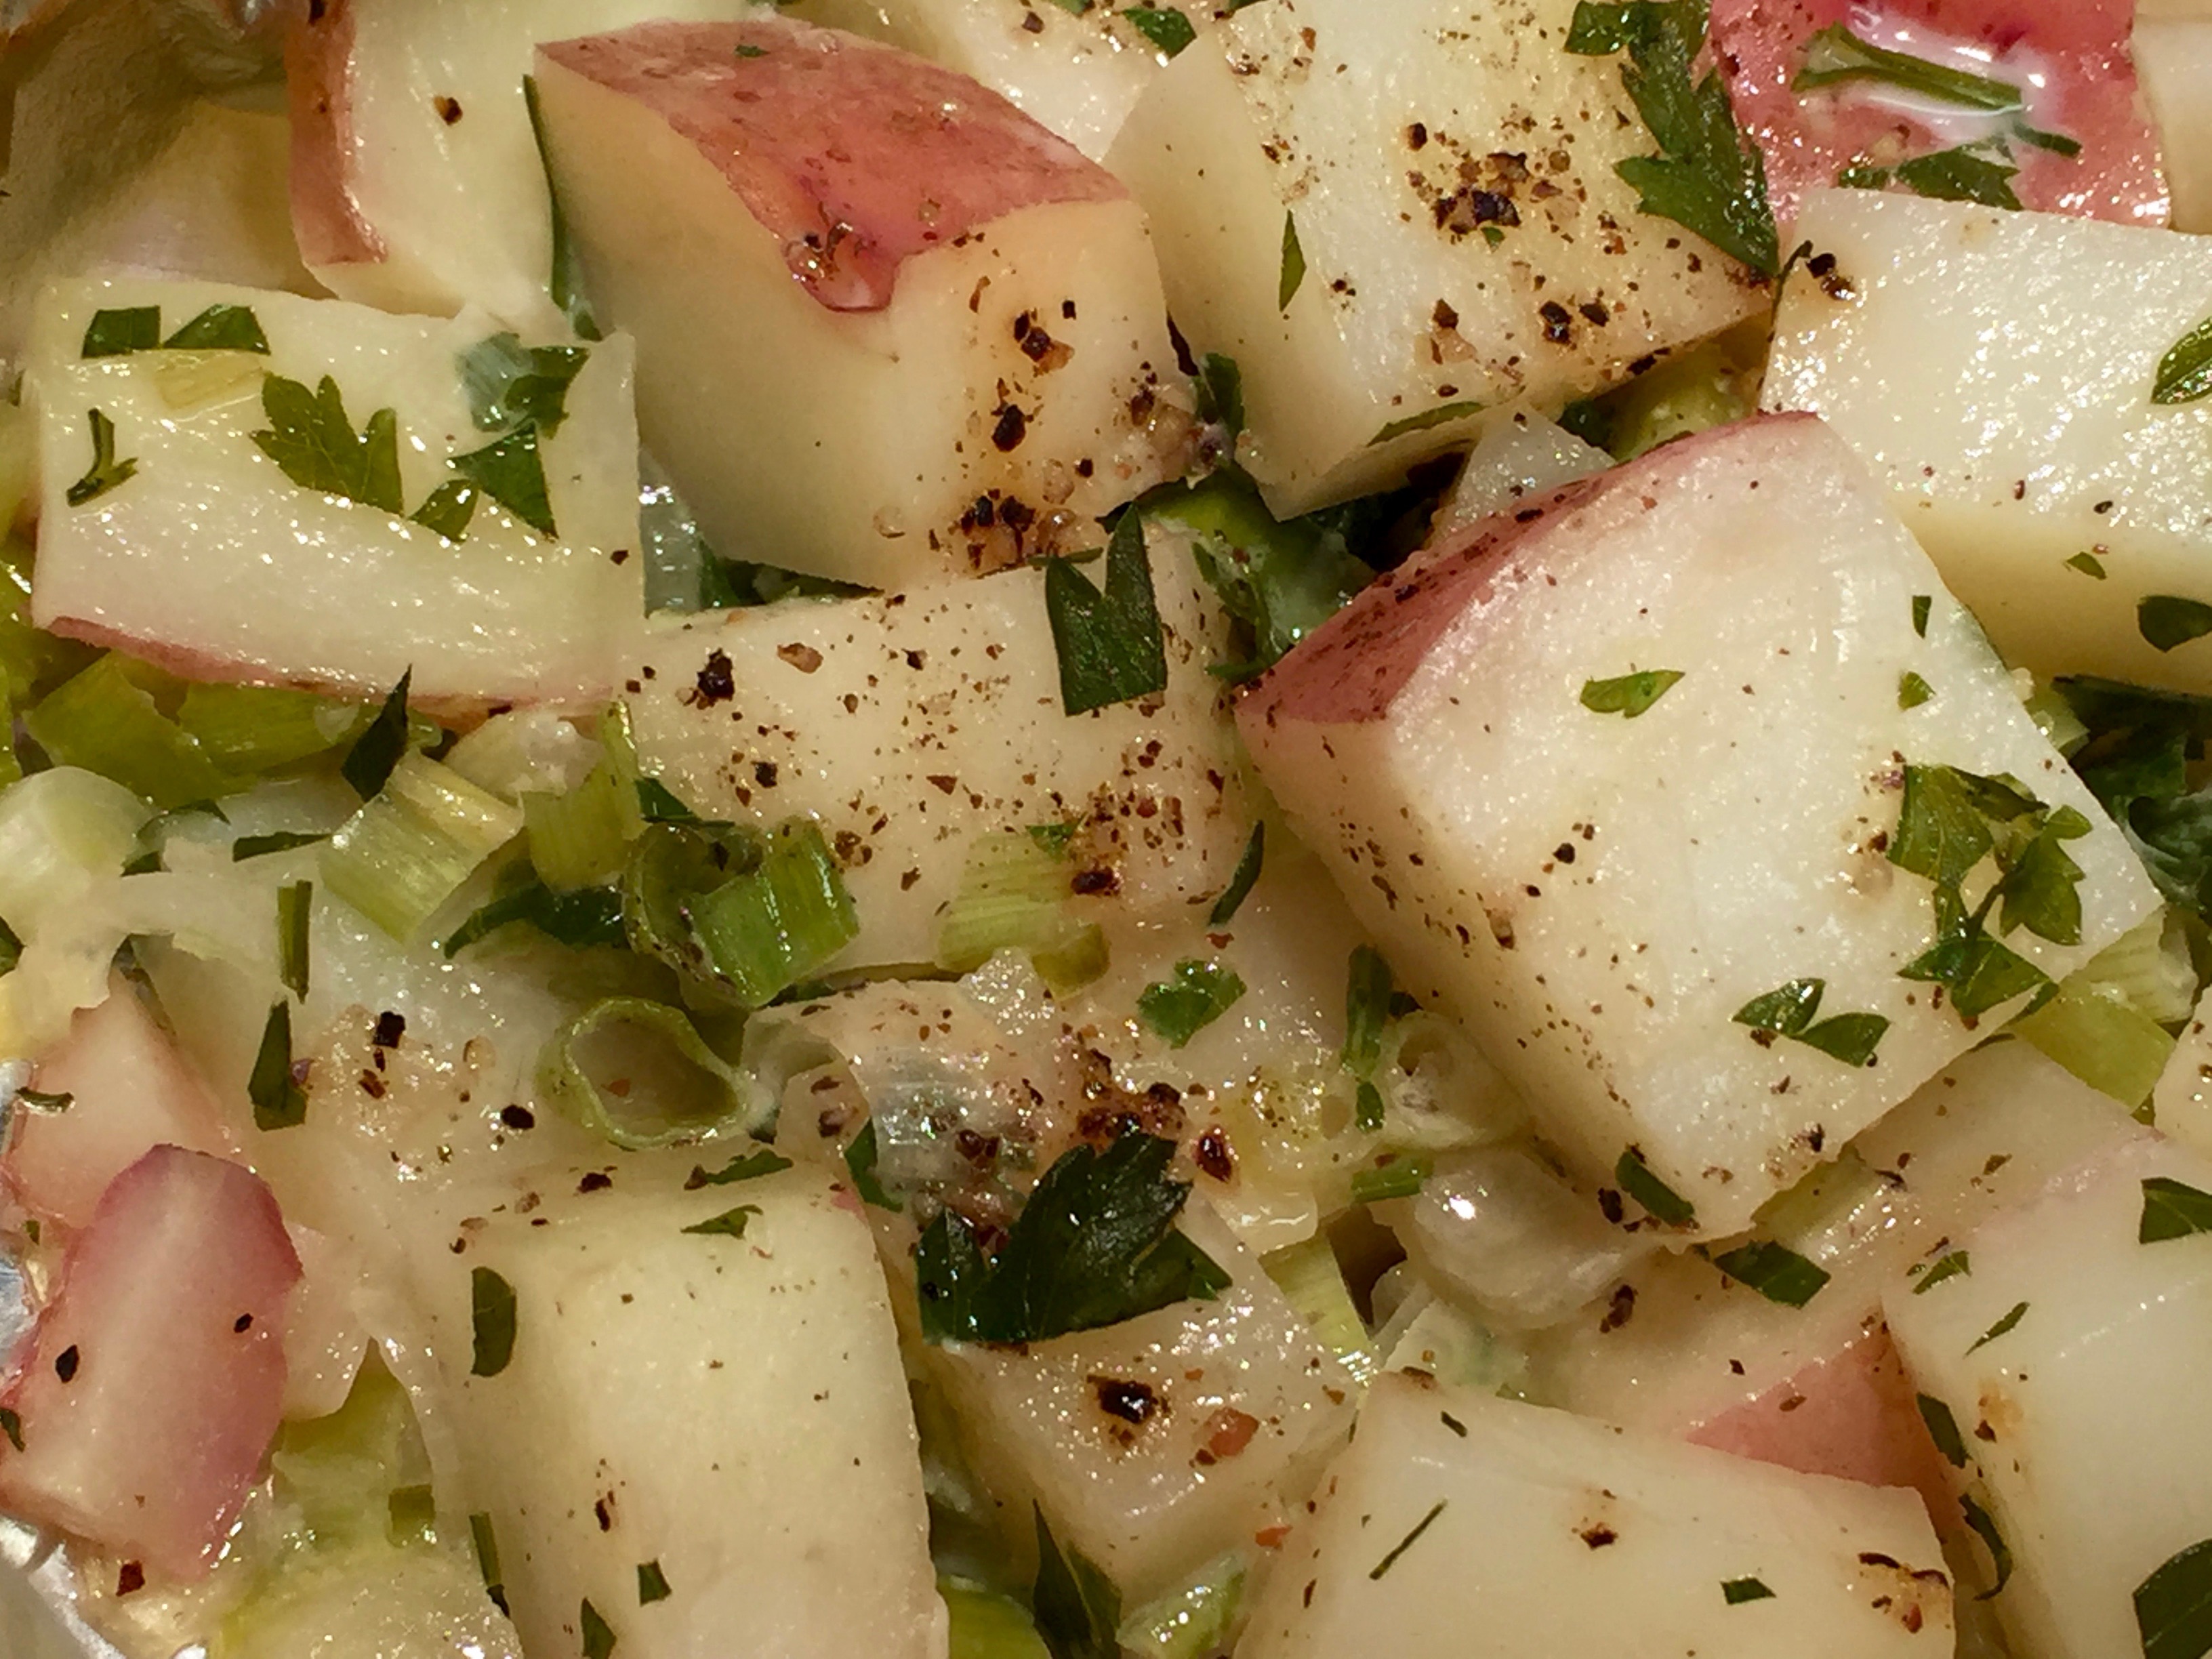
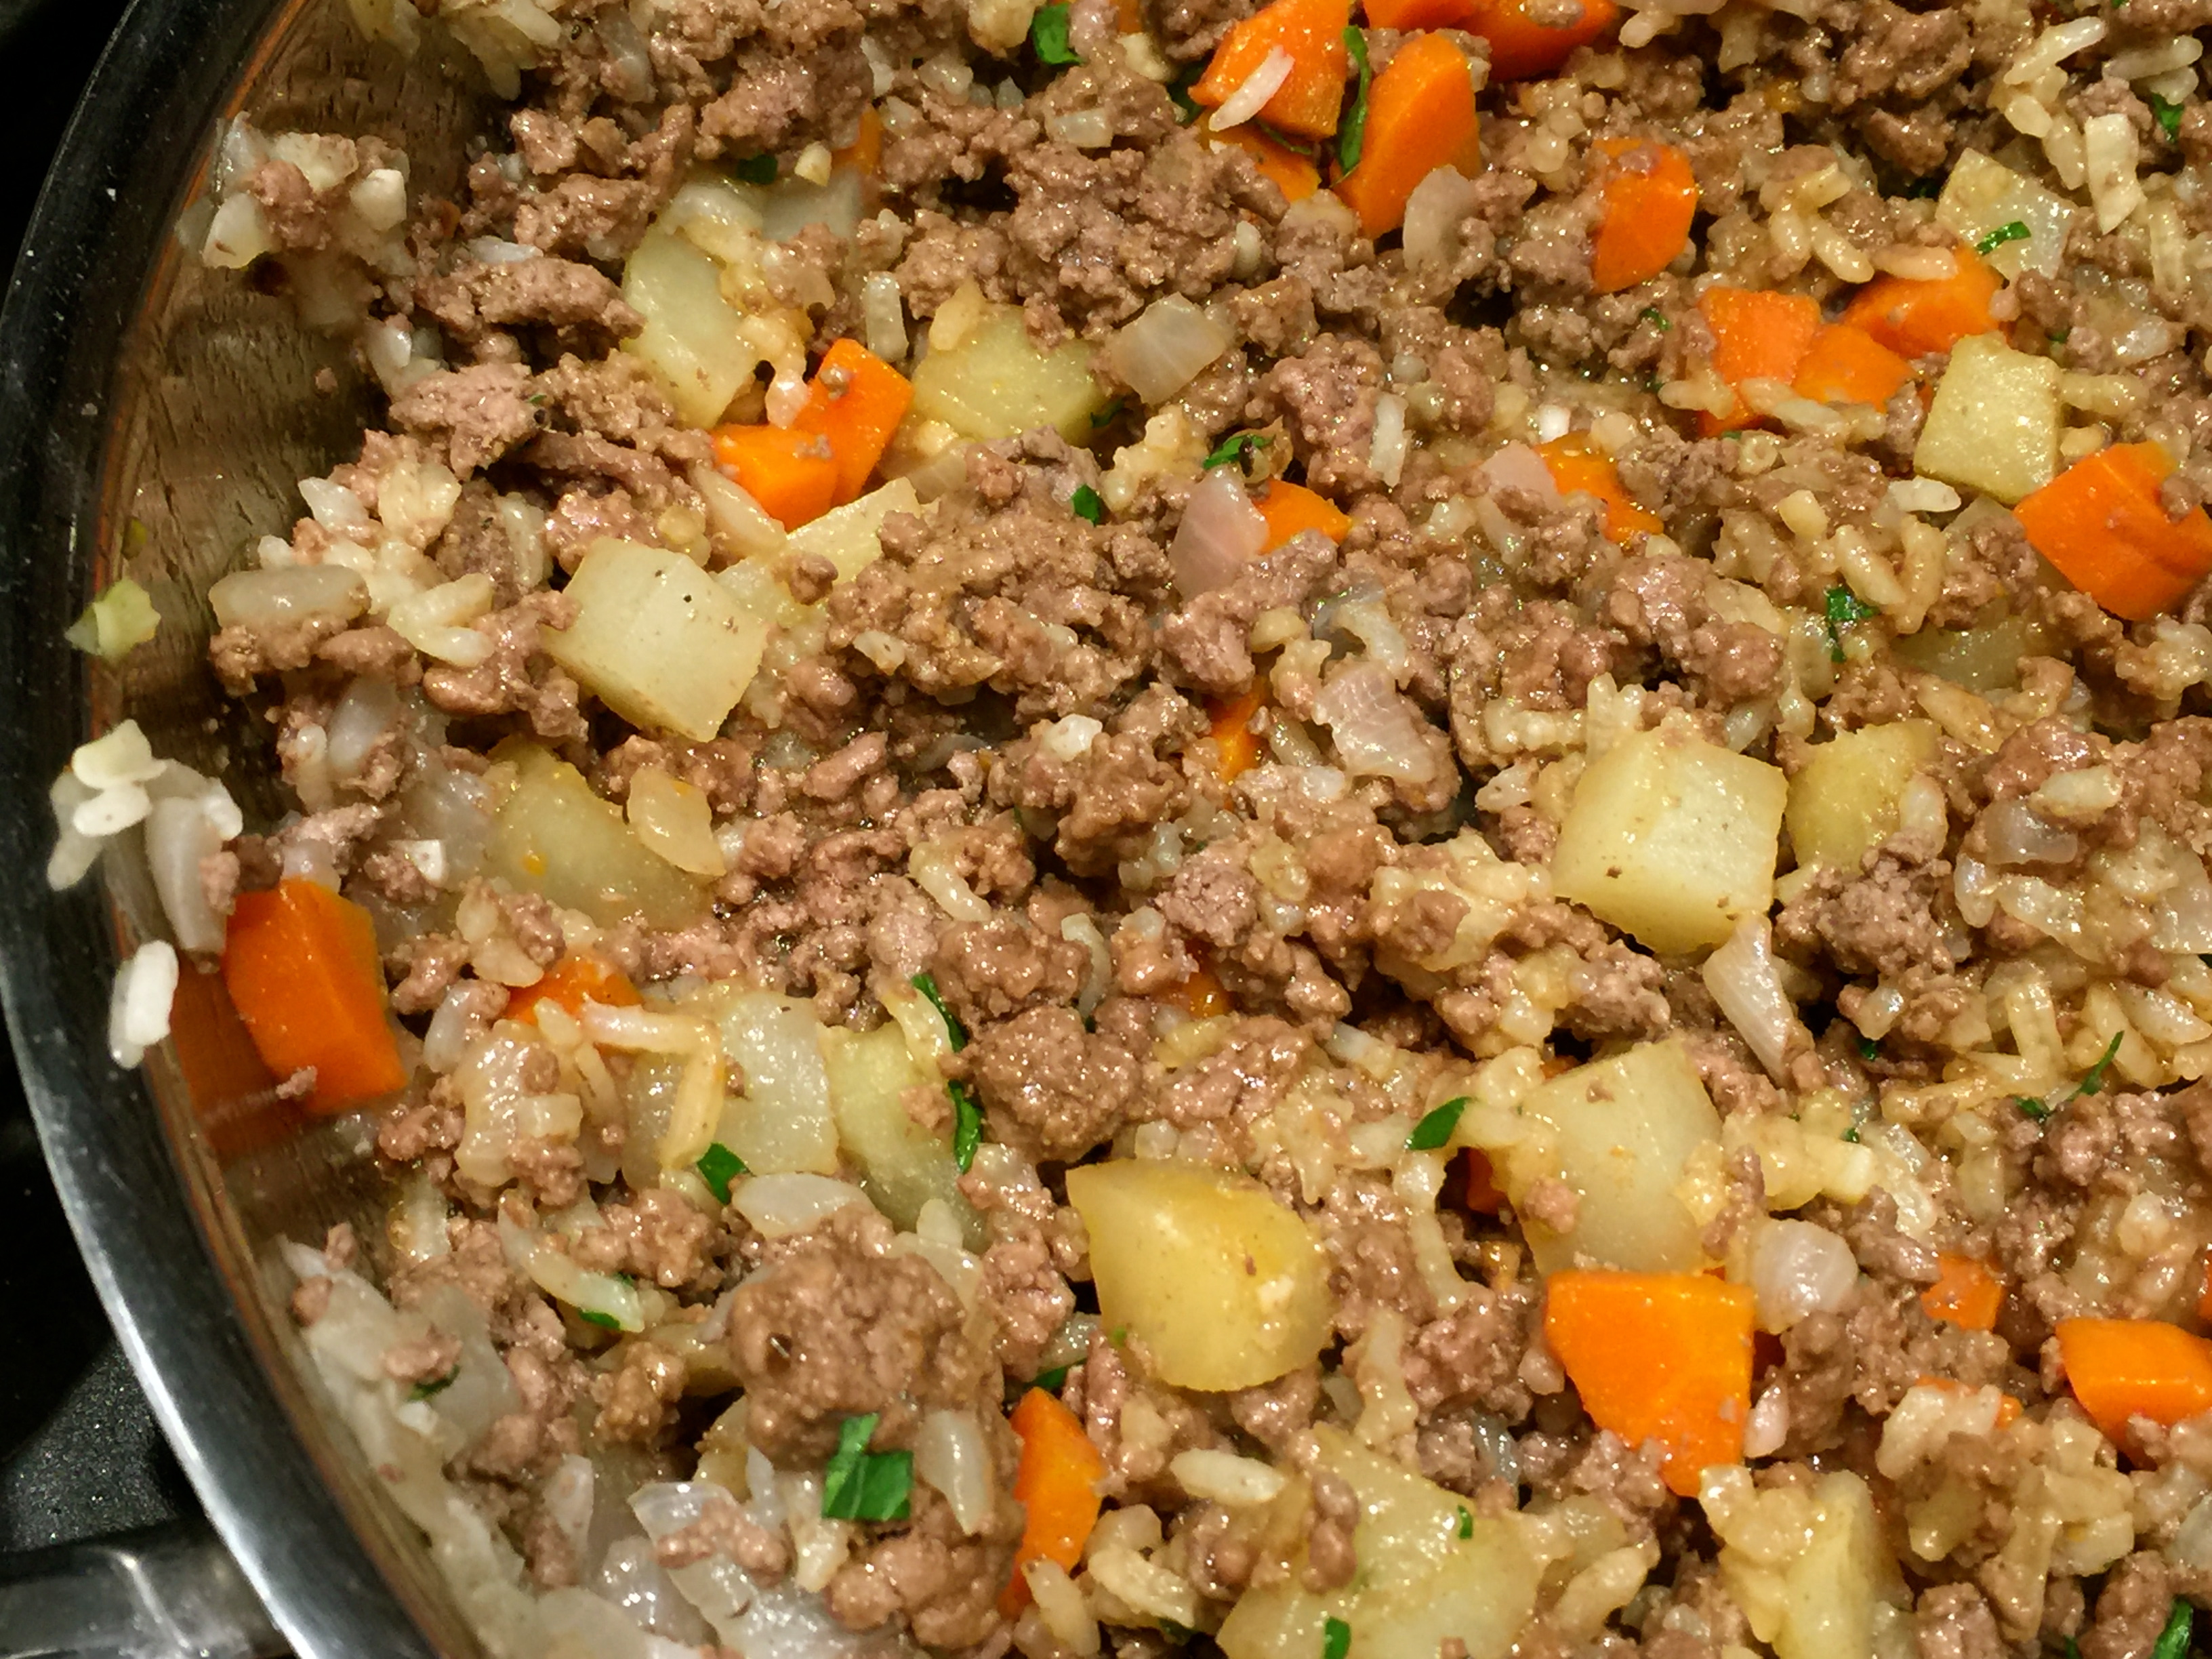
 Lesson Learned 1 – It bears repeating, cut your veggies into chunky pieces: Because you cook for extended periods of time in a slow cooker your veggies can break down if you don’t cut them chunky. You want to see and taste your veggies. So don’t be afraid to cut them into chunky pieces. They will cook I promise you.
 Lesson Learned 3 – Don’t be afraid to be creative: Originally I was going to add chunks of sausage links to the recipe but my husband has a hard time with the casings. So I removed the casings and formed portions of the meat into meatballs. That worked just fine. I also used sweet Italian sausage in my recipe but you can use hot Italian sausage and give the soup a little more kick if you like. You can also use ground beef, but I think the seasonings in Italian sausage give more zip to the flavor of the soup.
 1 pound Italian sausage (ground or links cut into chunks)


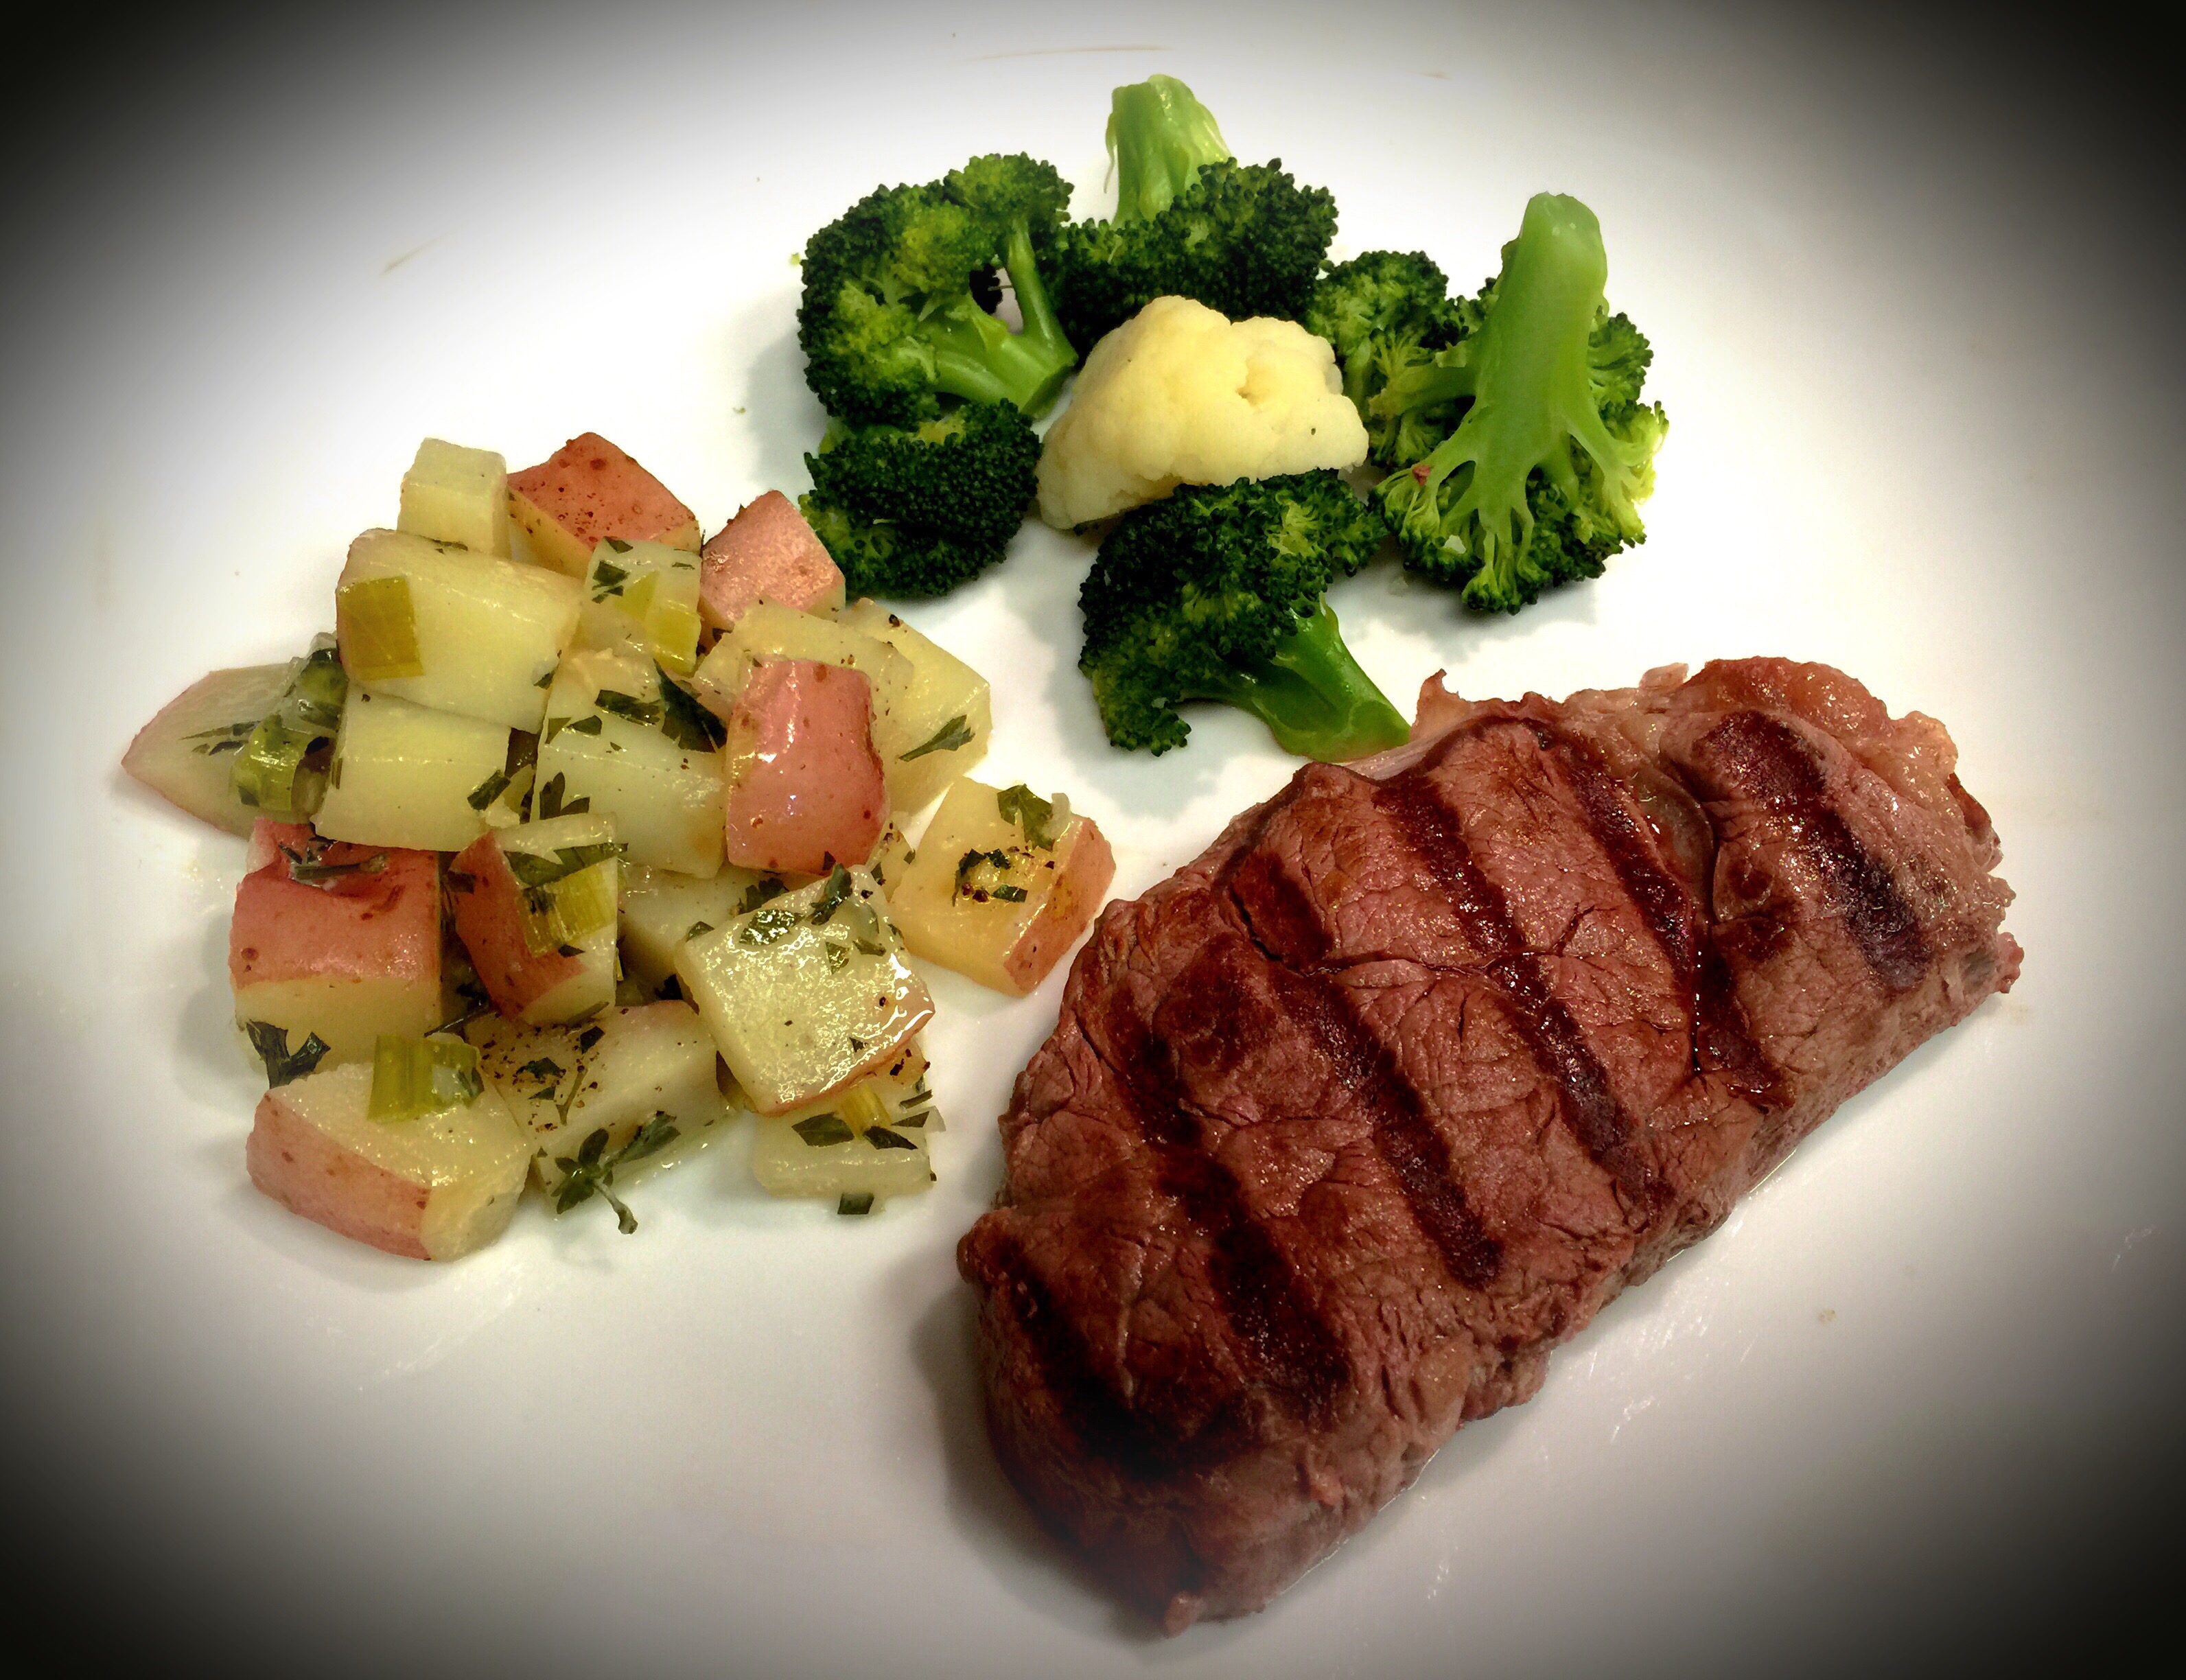
 I finally worked with a butcher at Safeway who cut me a two rib roast and tied the bones to the bottom as I requested. The roast coast $44 for a 4.3 pound roast. Still expensive, and choice but not prime, but I could rationalize that for a special meal more than $68.00. In the end the roast was fabulous so I was glad I opted for the less expensive cut. My next step was researching various cooking methods and determining what I felt would work for me. So I have some really good lessons learned to share with this blog…
 Lesson Learned 4 – A rub on the roast makes a difference: I used a rub consisting of olive oil, fresh garlic, fresh rosemary, thyme, and salt and pepper. What I found is the rub creates a delicious crust when cooked at those initial high temperatures. It added a fabulous flavor to the meat. I highly recommend the rub in this recipe. It tasted divine!
 1 4-5 pound rib roast, bones tied to the bottom


 Lesson Learned 1 – You probably will not need an entire tube of breakfast sausage: This recipe is made in an 8 x 8 pan and serves four. Double it if you want to make it in a 13 x 9 pan. In the smaller pan you probably will not need the entire tube of sausage. Use as much as you like and if you are a true meat eater use the whole thing. We only needed about three quarters of the tube. We froze the rest to use later.


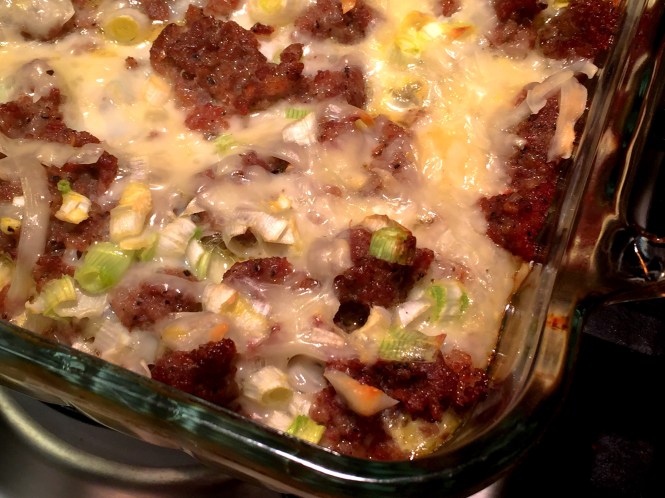


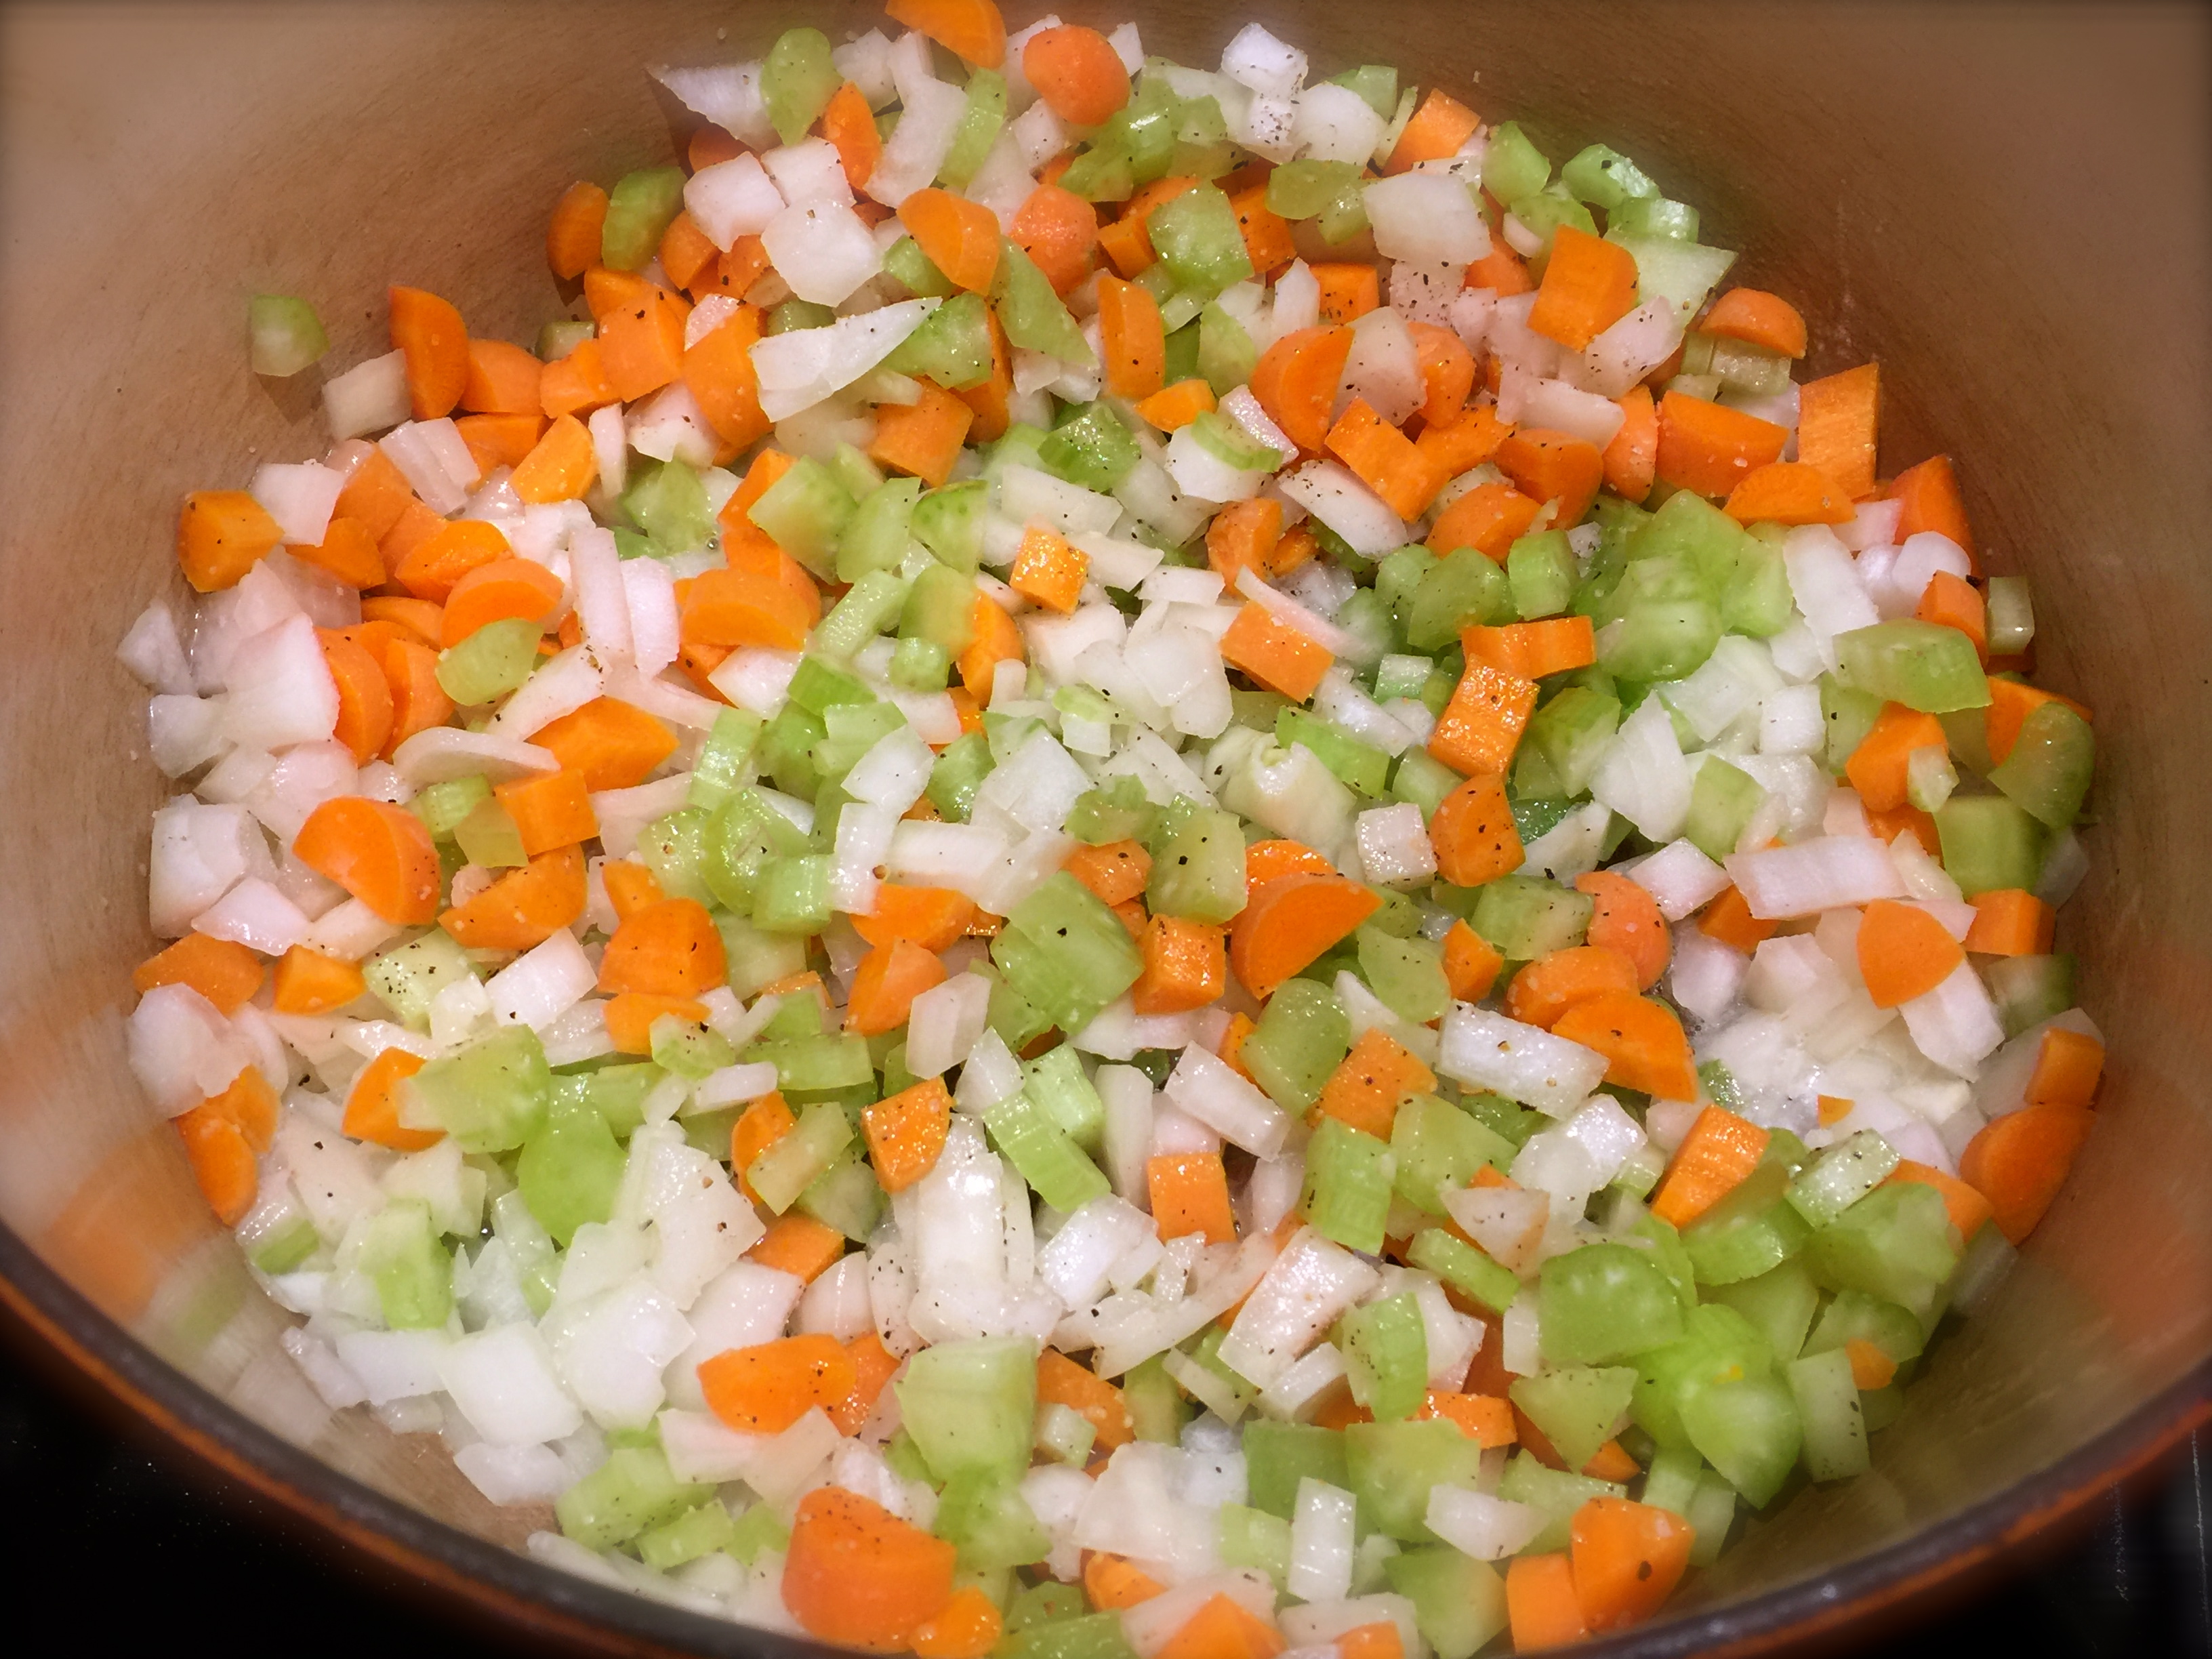
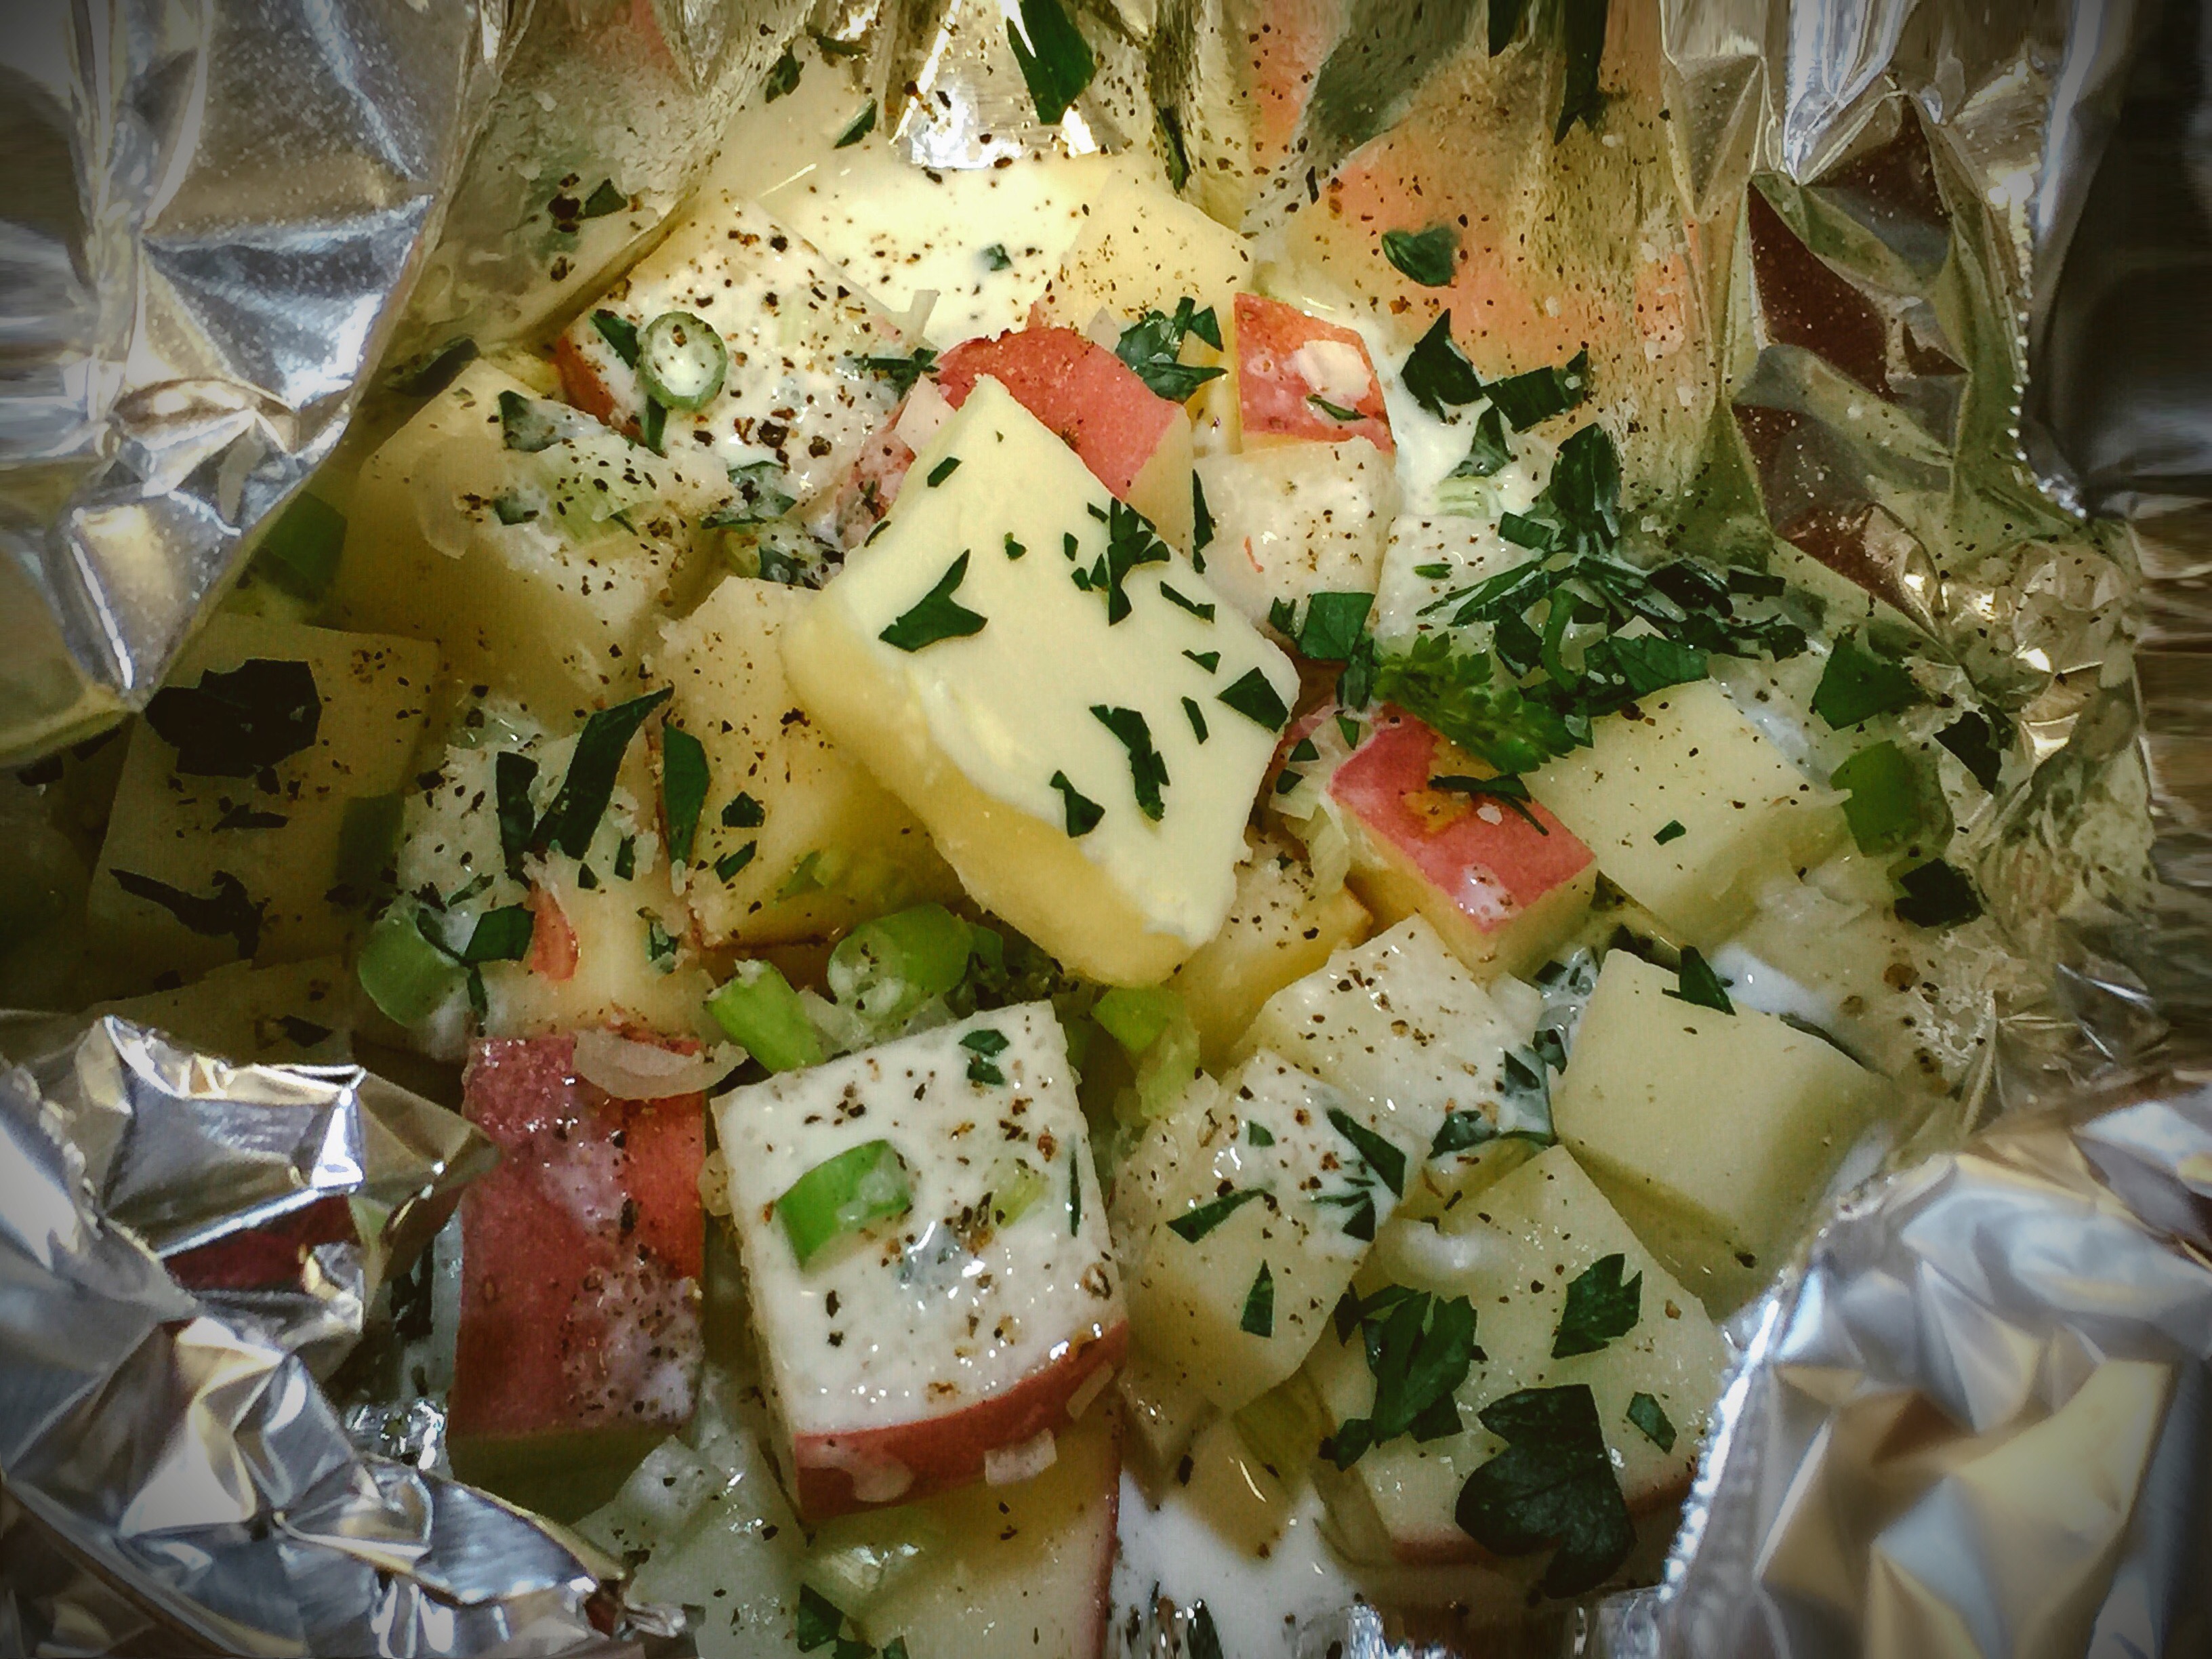
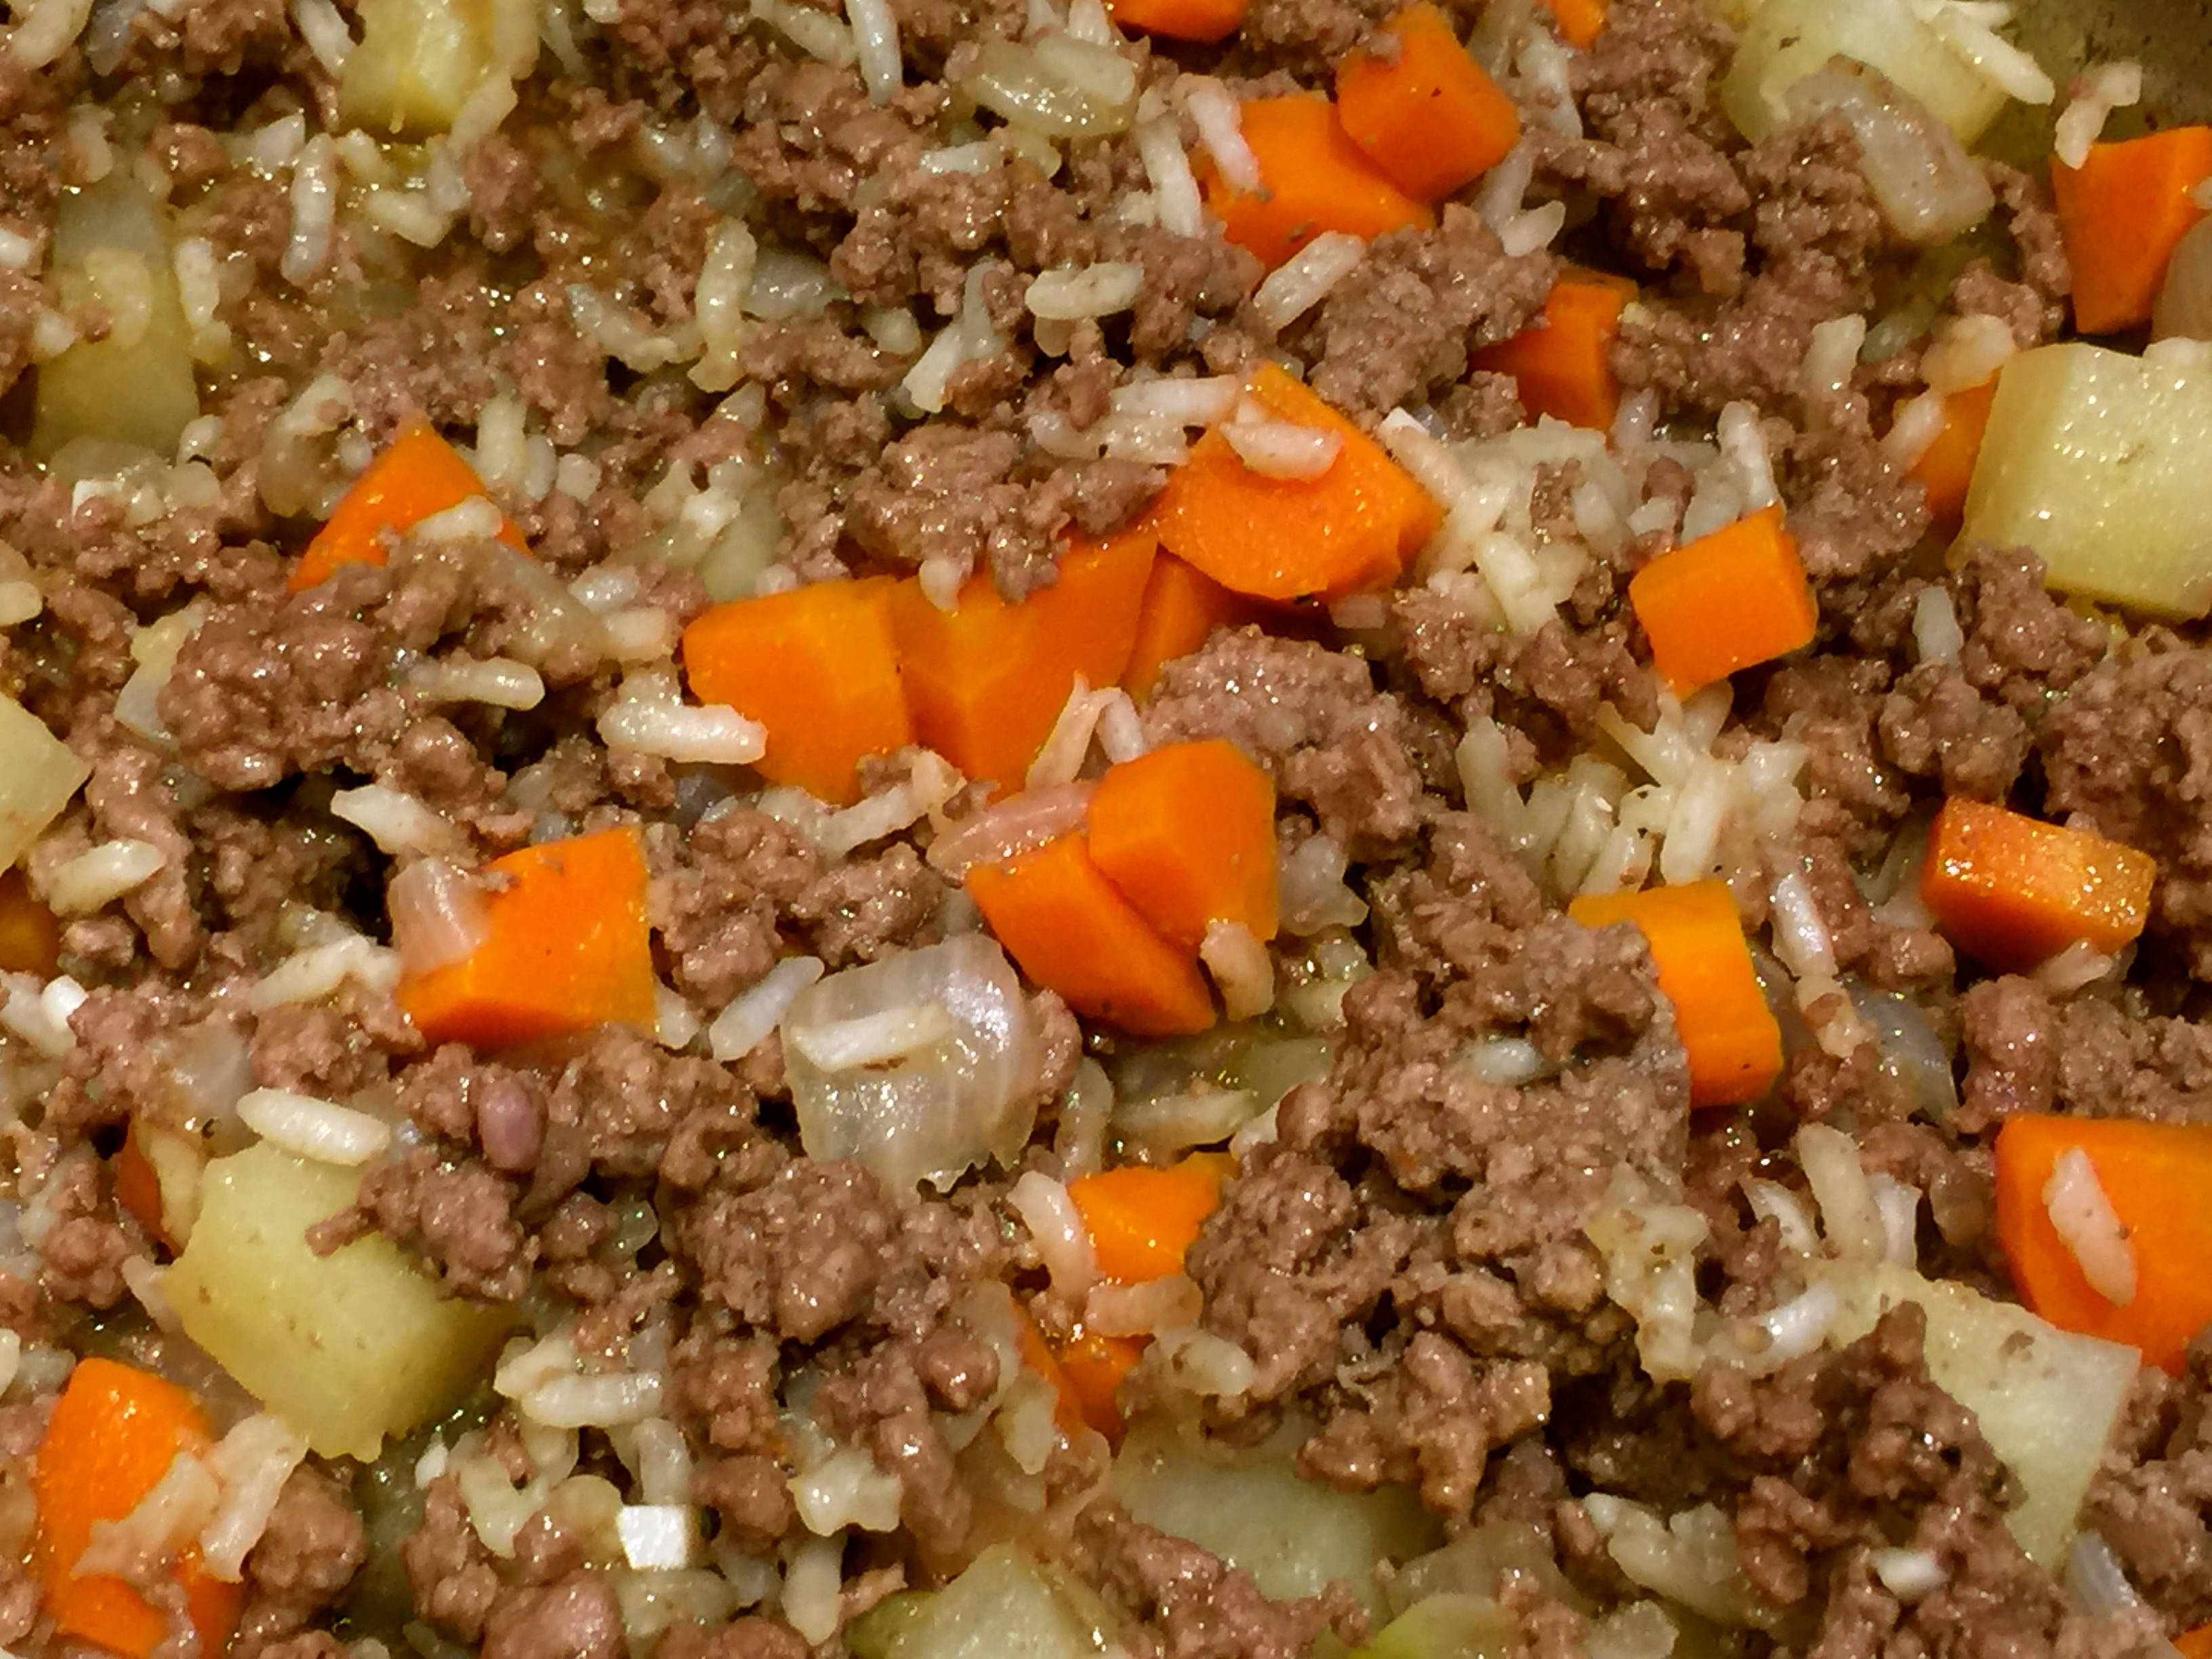
 Lesson Learned 3 – Cut large slices of your veggies: Whenever I slow cook I always cut my veggies on the larger side. I find that after cooking for 4-8 hours I’m left with veggies that still have texture and flavor versus veggies that have been completely broken down by the long cooking process.


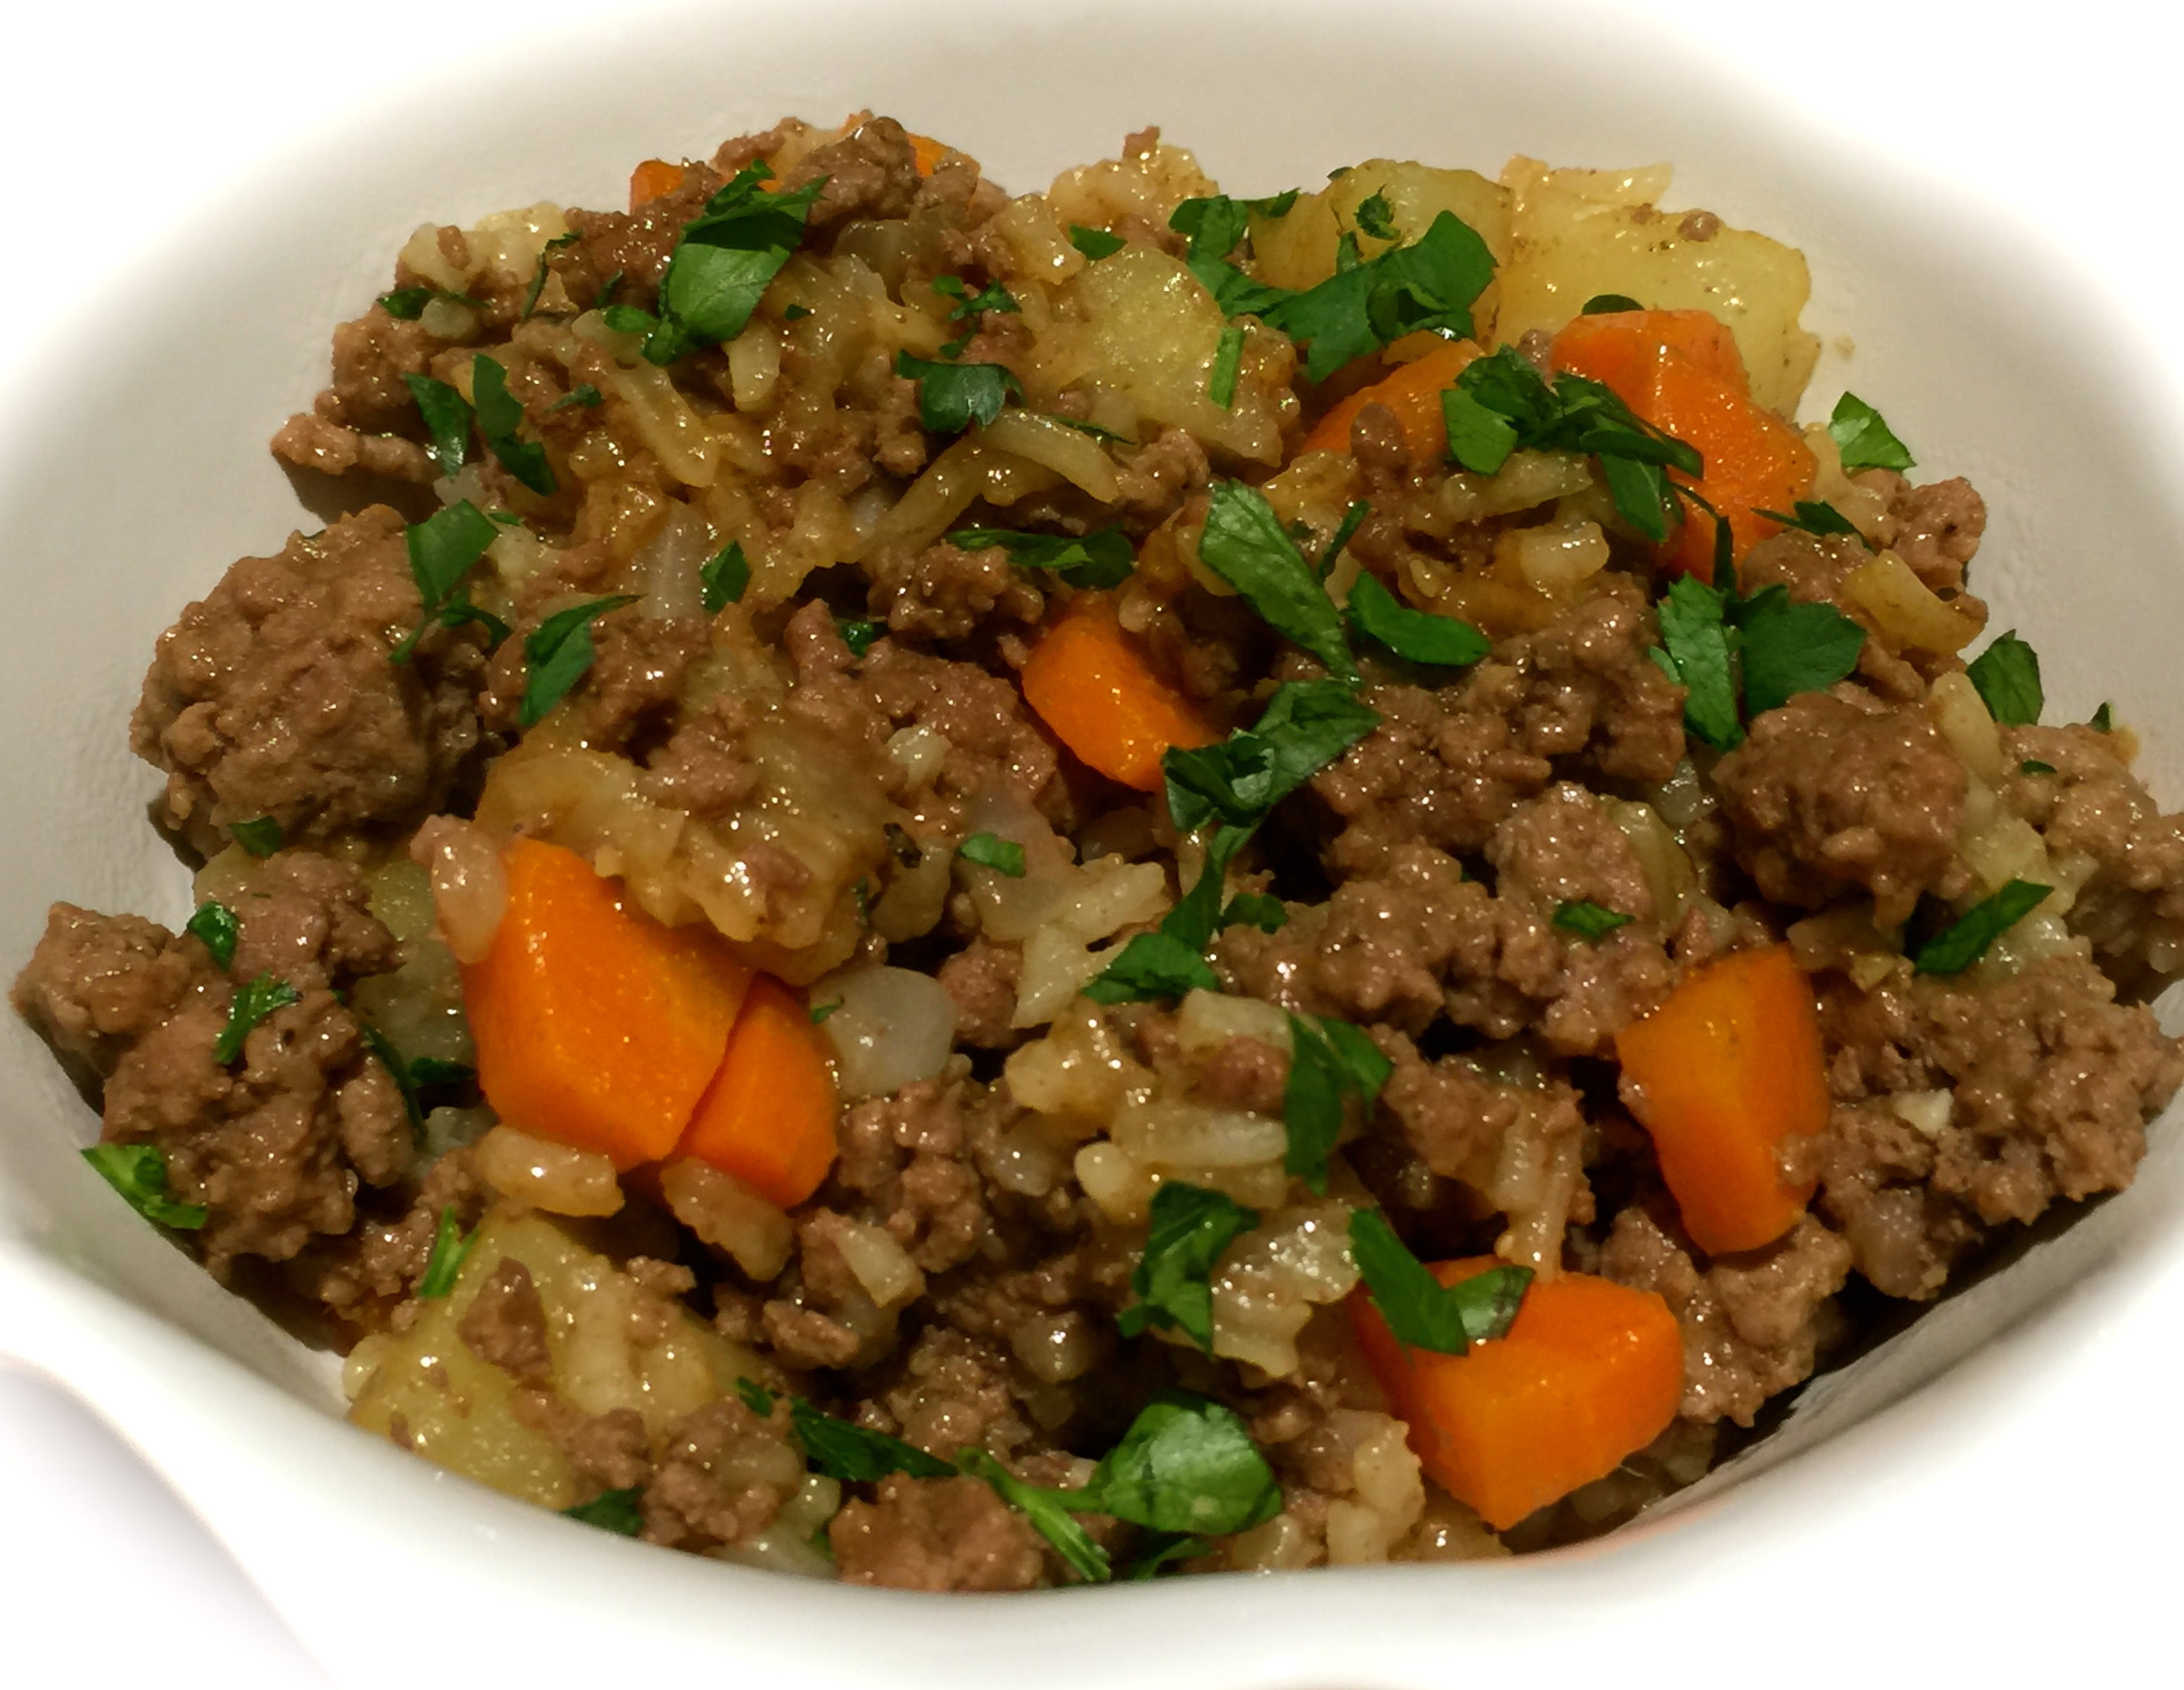
 Lesson Learned 1 – I used ground italian sausage but you can also use prosciutto: My husband needs to eat foods that are easy to chew and so I used ground italian sausage. If you choose to use prosciutto, use about 5 thin slices. Add them to the onions once they are translucent and cook them until they are crisp. Then follow the remainder of the recipe as is. I guarantee it will be equally as good.
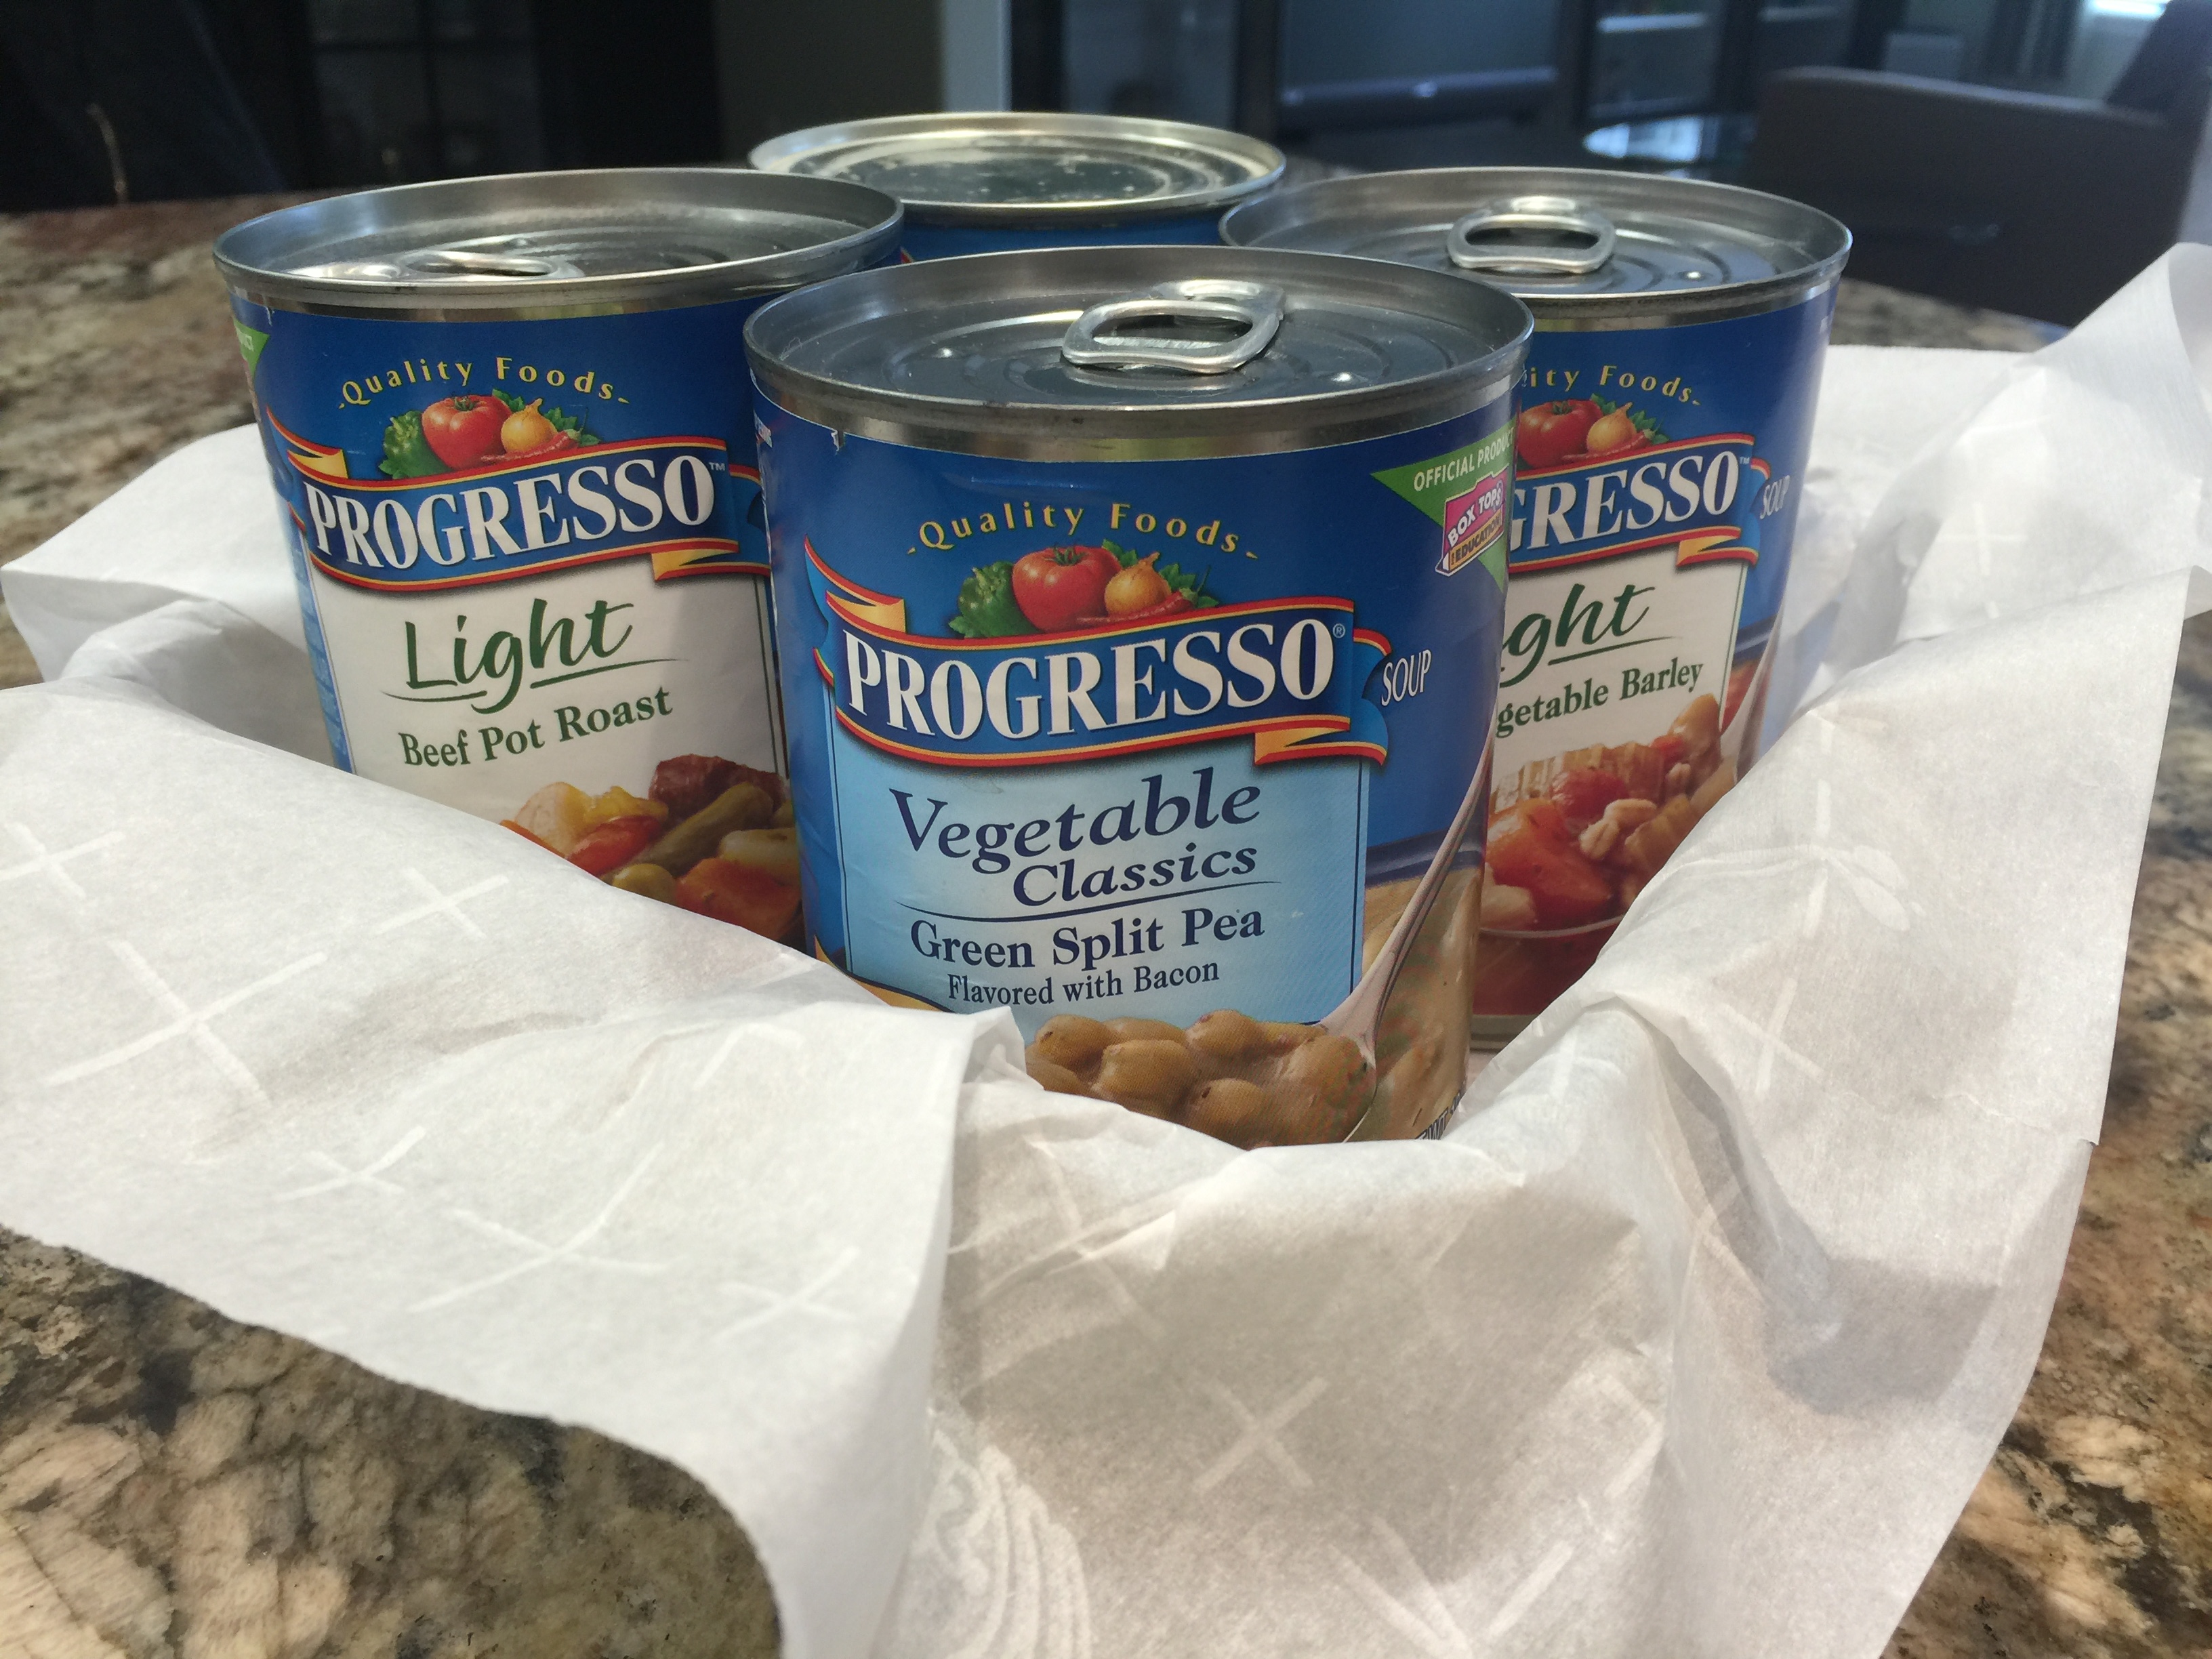
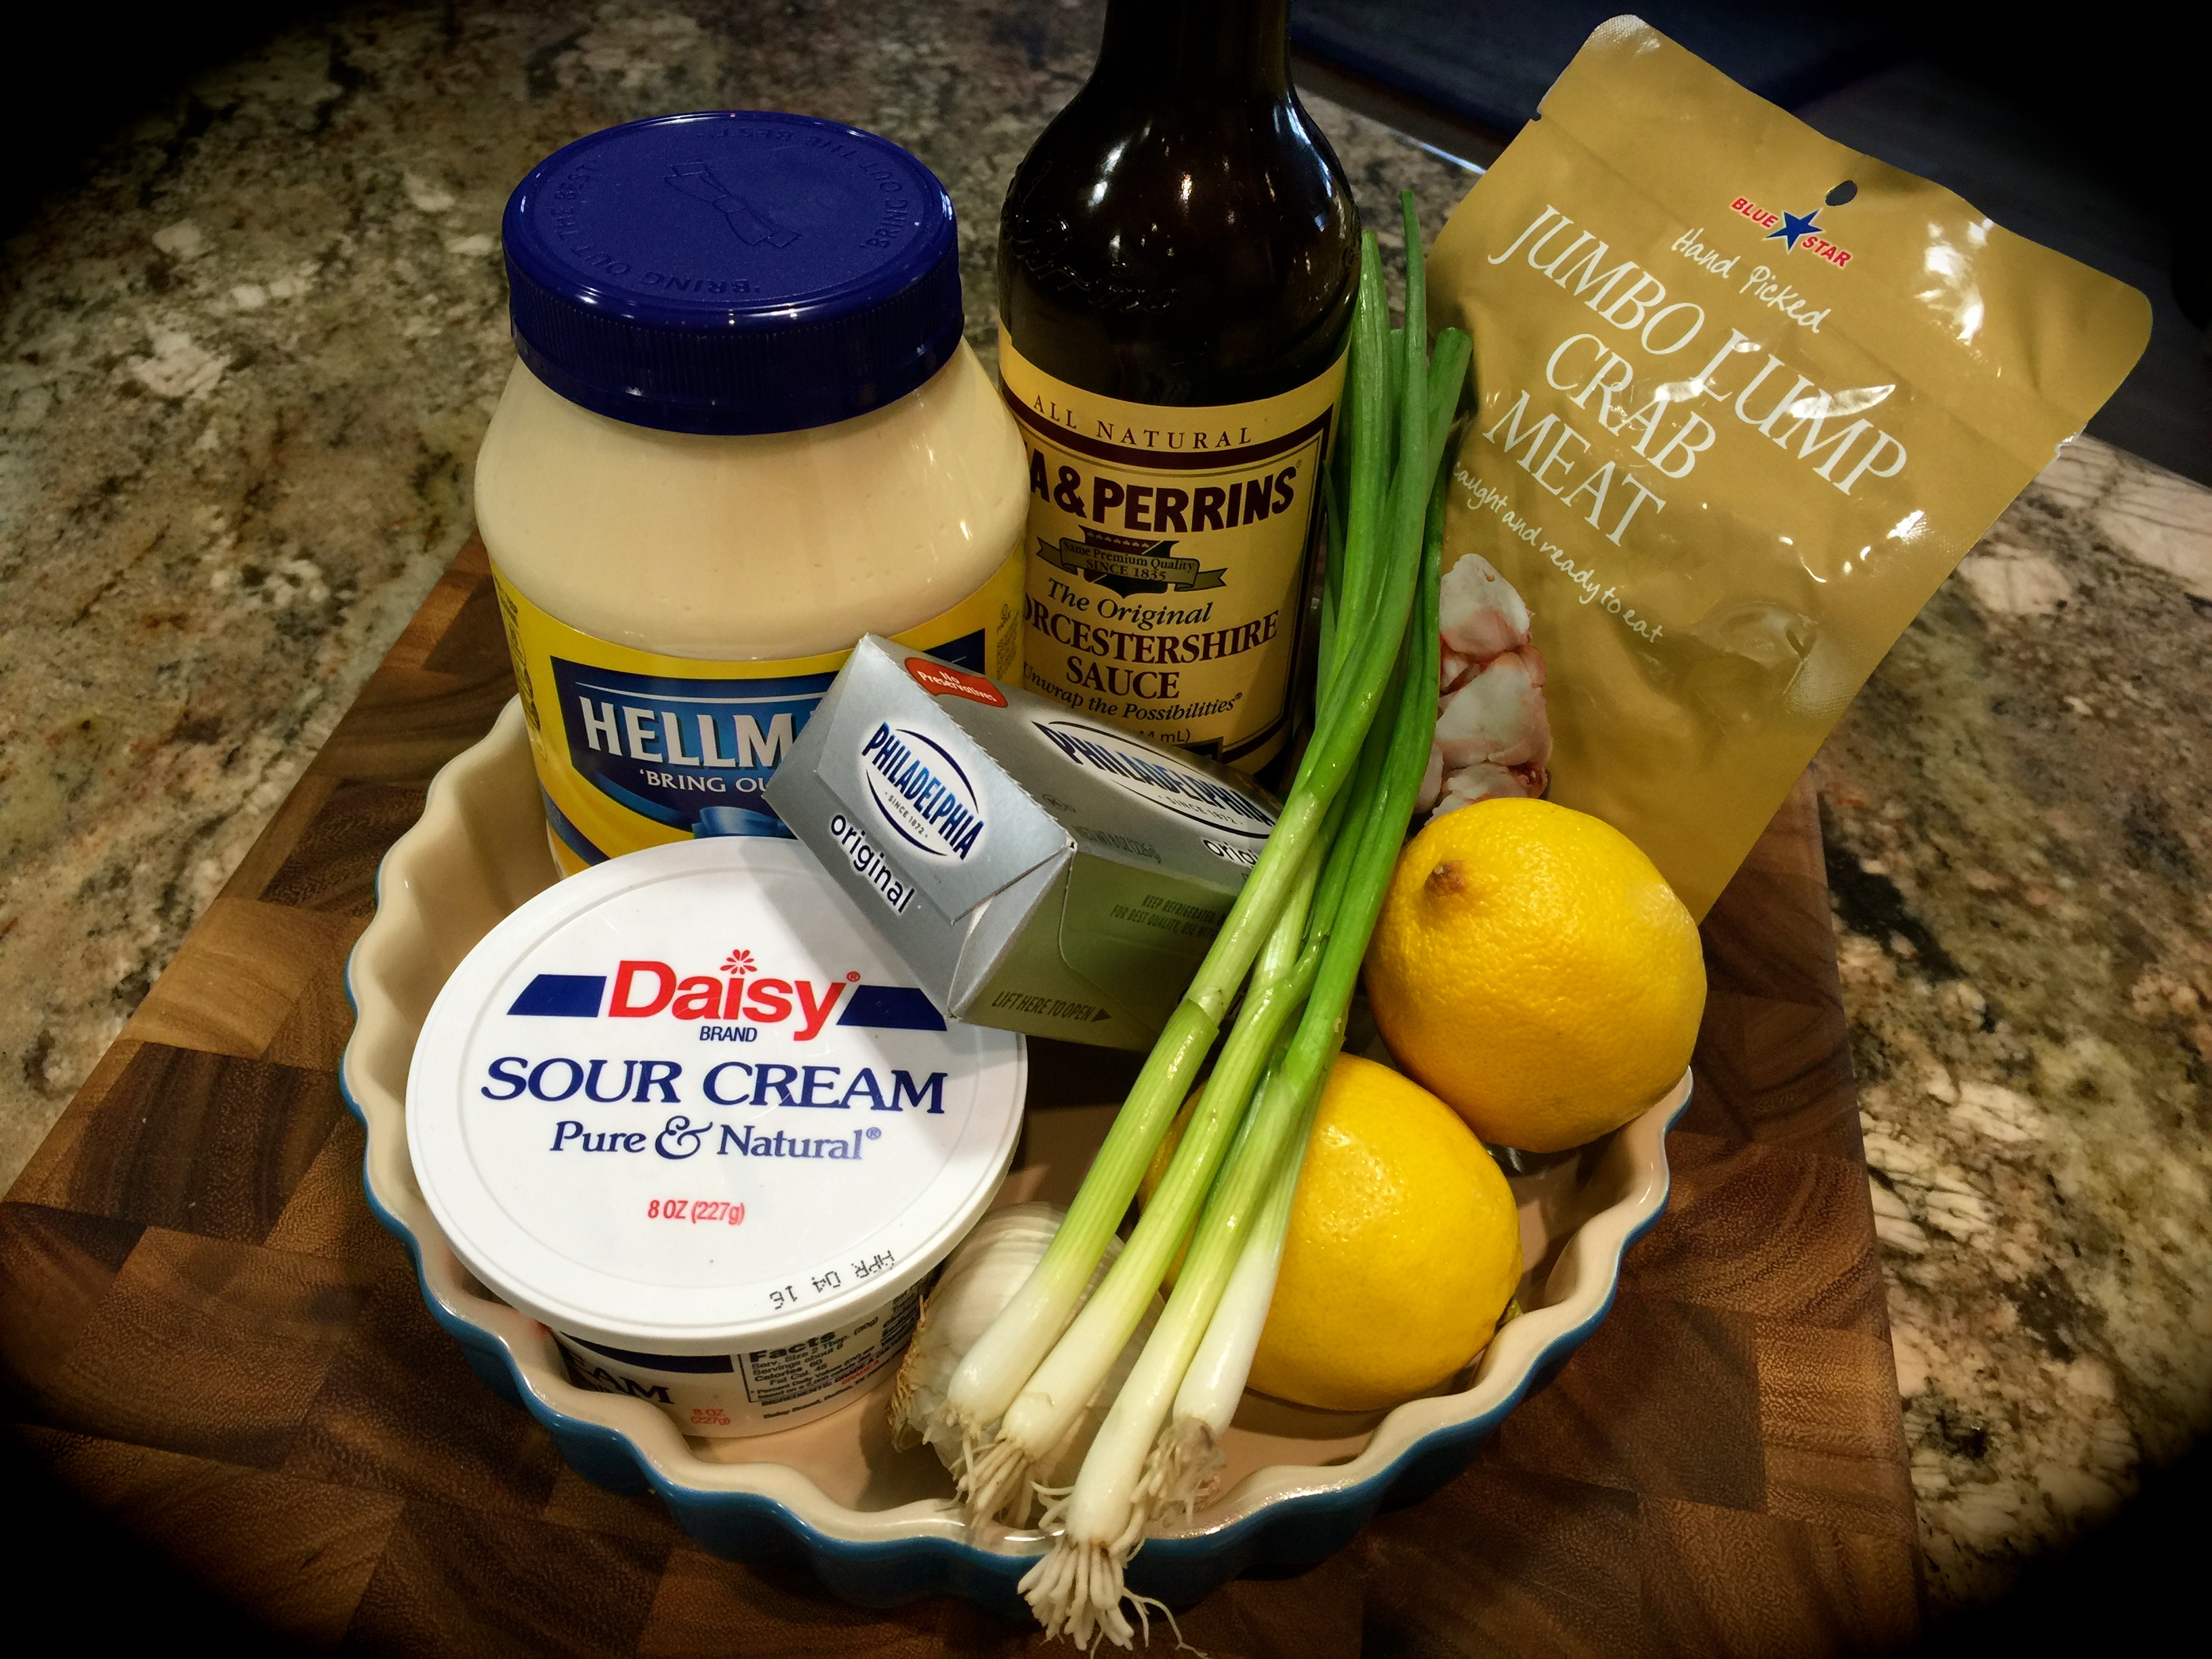
 when I looked at the ingredients they were all natural. There were no names that I couldn’t pronounce. Natural and organic foods are much higher in cost. That is unfortunate as I hate to think about all these chemicals we can put in our bodies every day. But heck, before I was born my mother drank and smoked and I’m still here. I guess the idea is why tempt fate. The better you take care of yourself the better your chances are of living a longer healthier life.


 Lesson Learned 3 – If you’ve never had it, try some mint jelly with your lamb chops: I was introduced to lamb chops with mint jelly when I was a kid. I was at a friend’s house for dinner and this is what was served. I never had lamb before and didn’t know what to think. At the time I was not all that enamored with the flavor but was afraid to say anything to my friend’s mom so I just said it was fabulous. Because of that, she made lamb with mint jelly every time I came over for dinner. I learned to love it, and now it is one of my all time favorites. Just use a little jelly with a piece of lamb. The flavor combination is to die for!


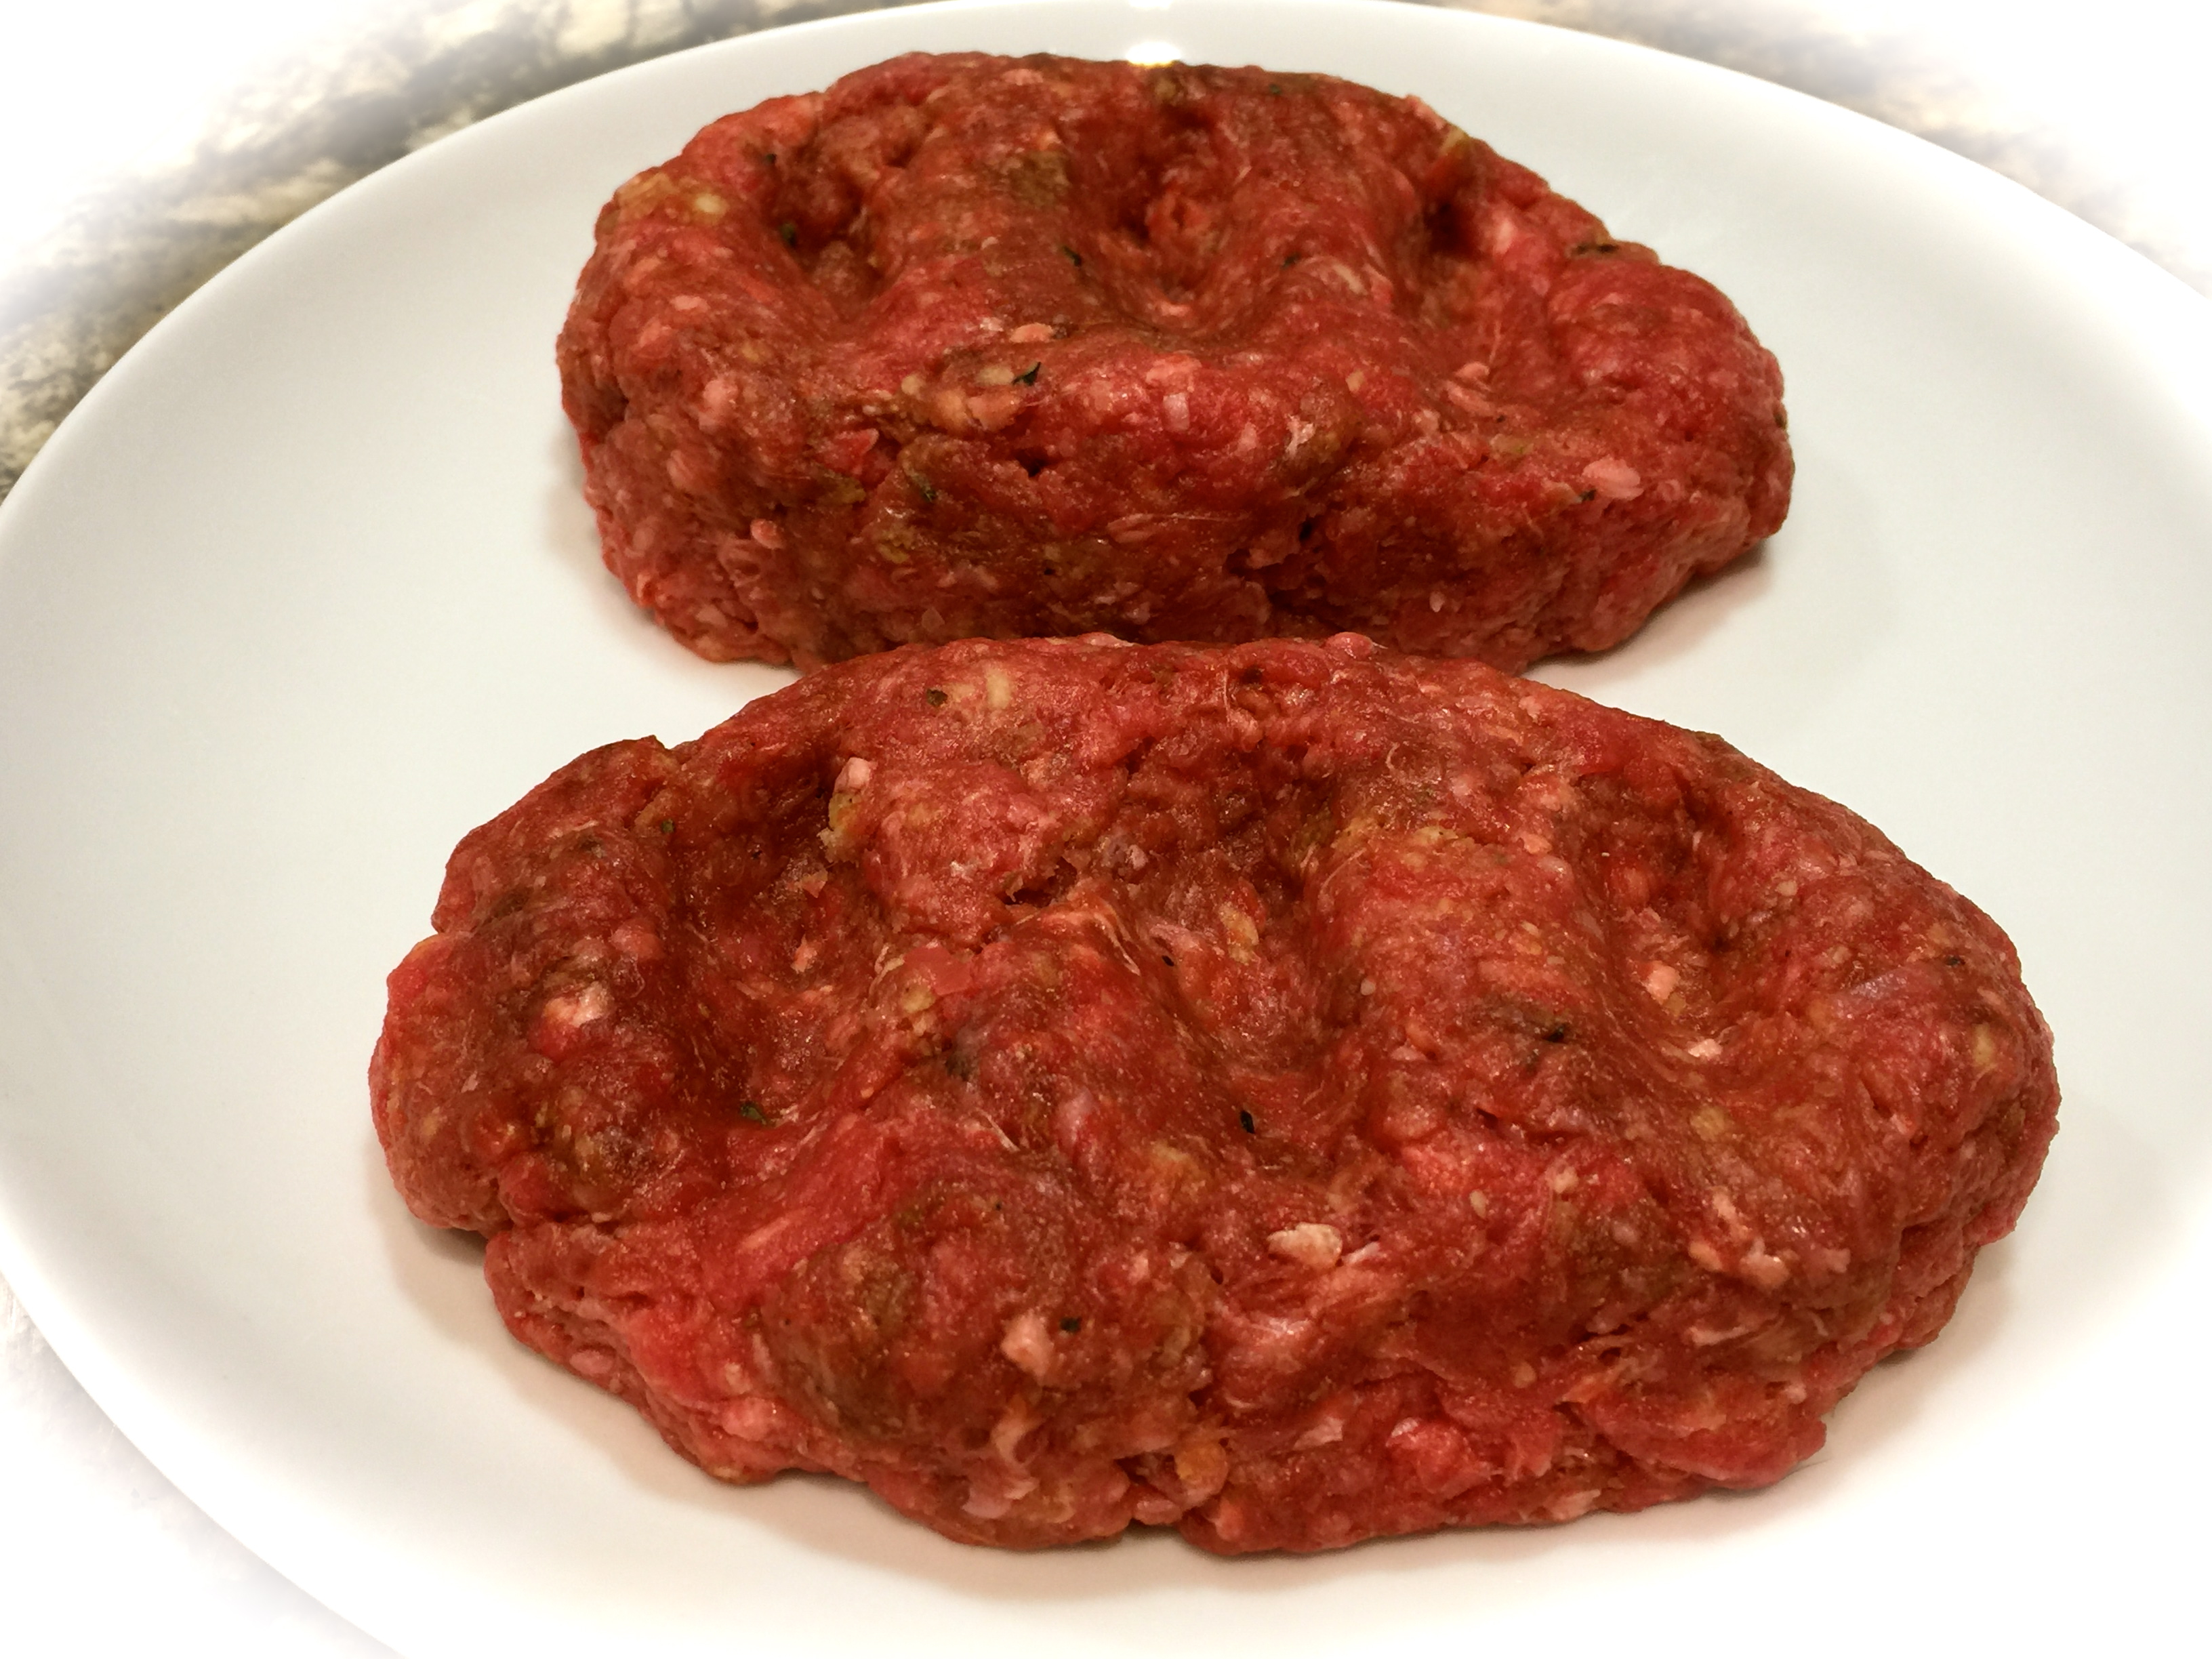
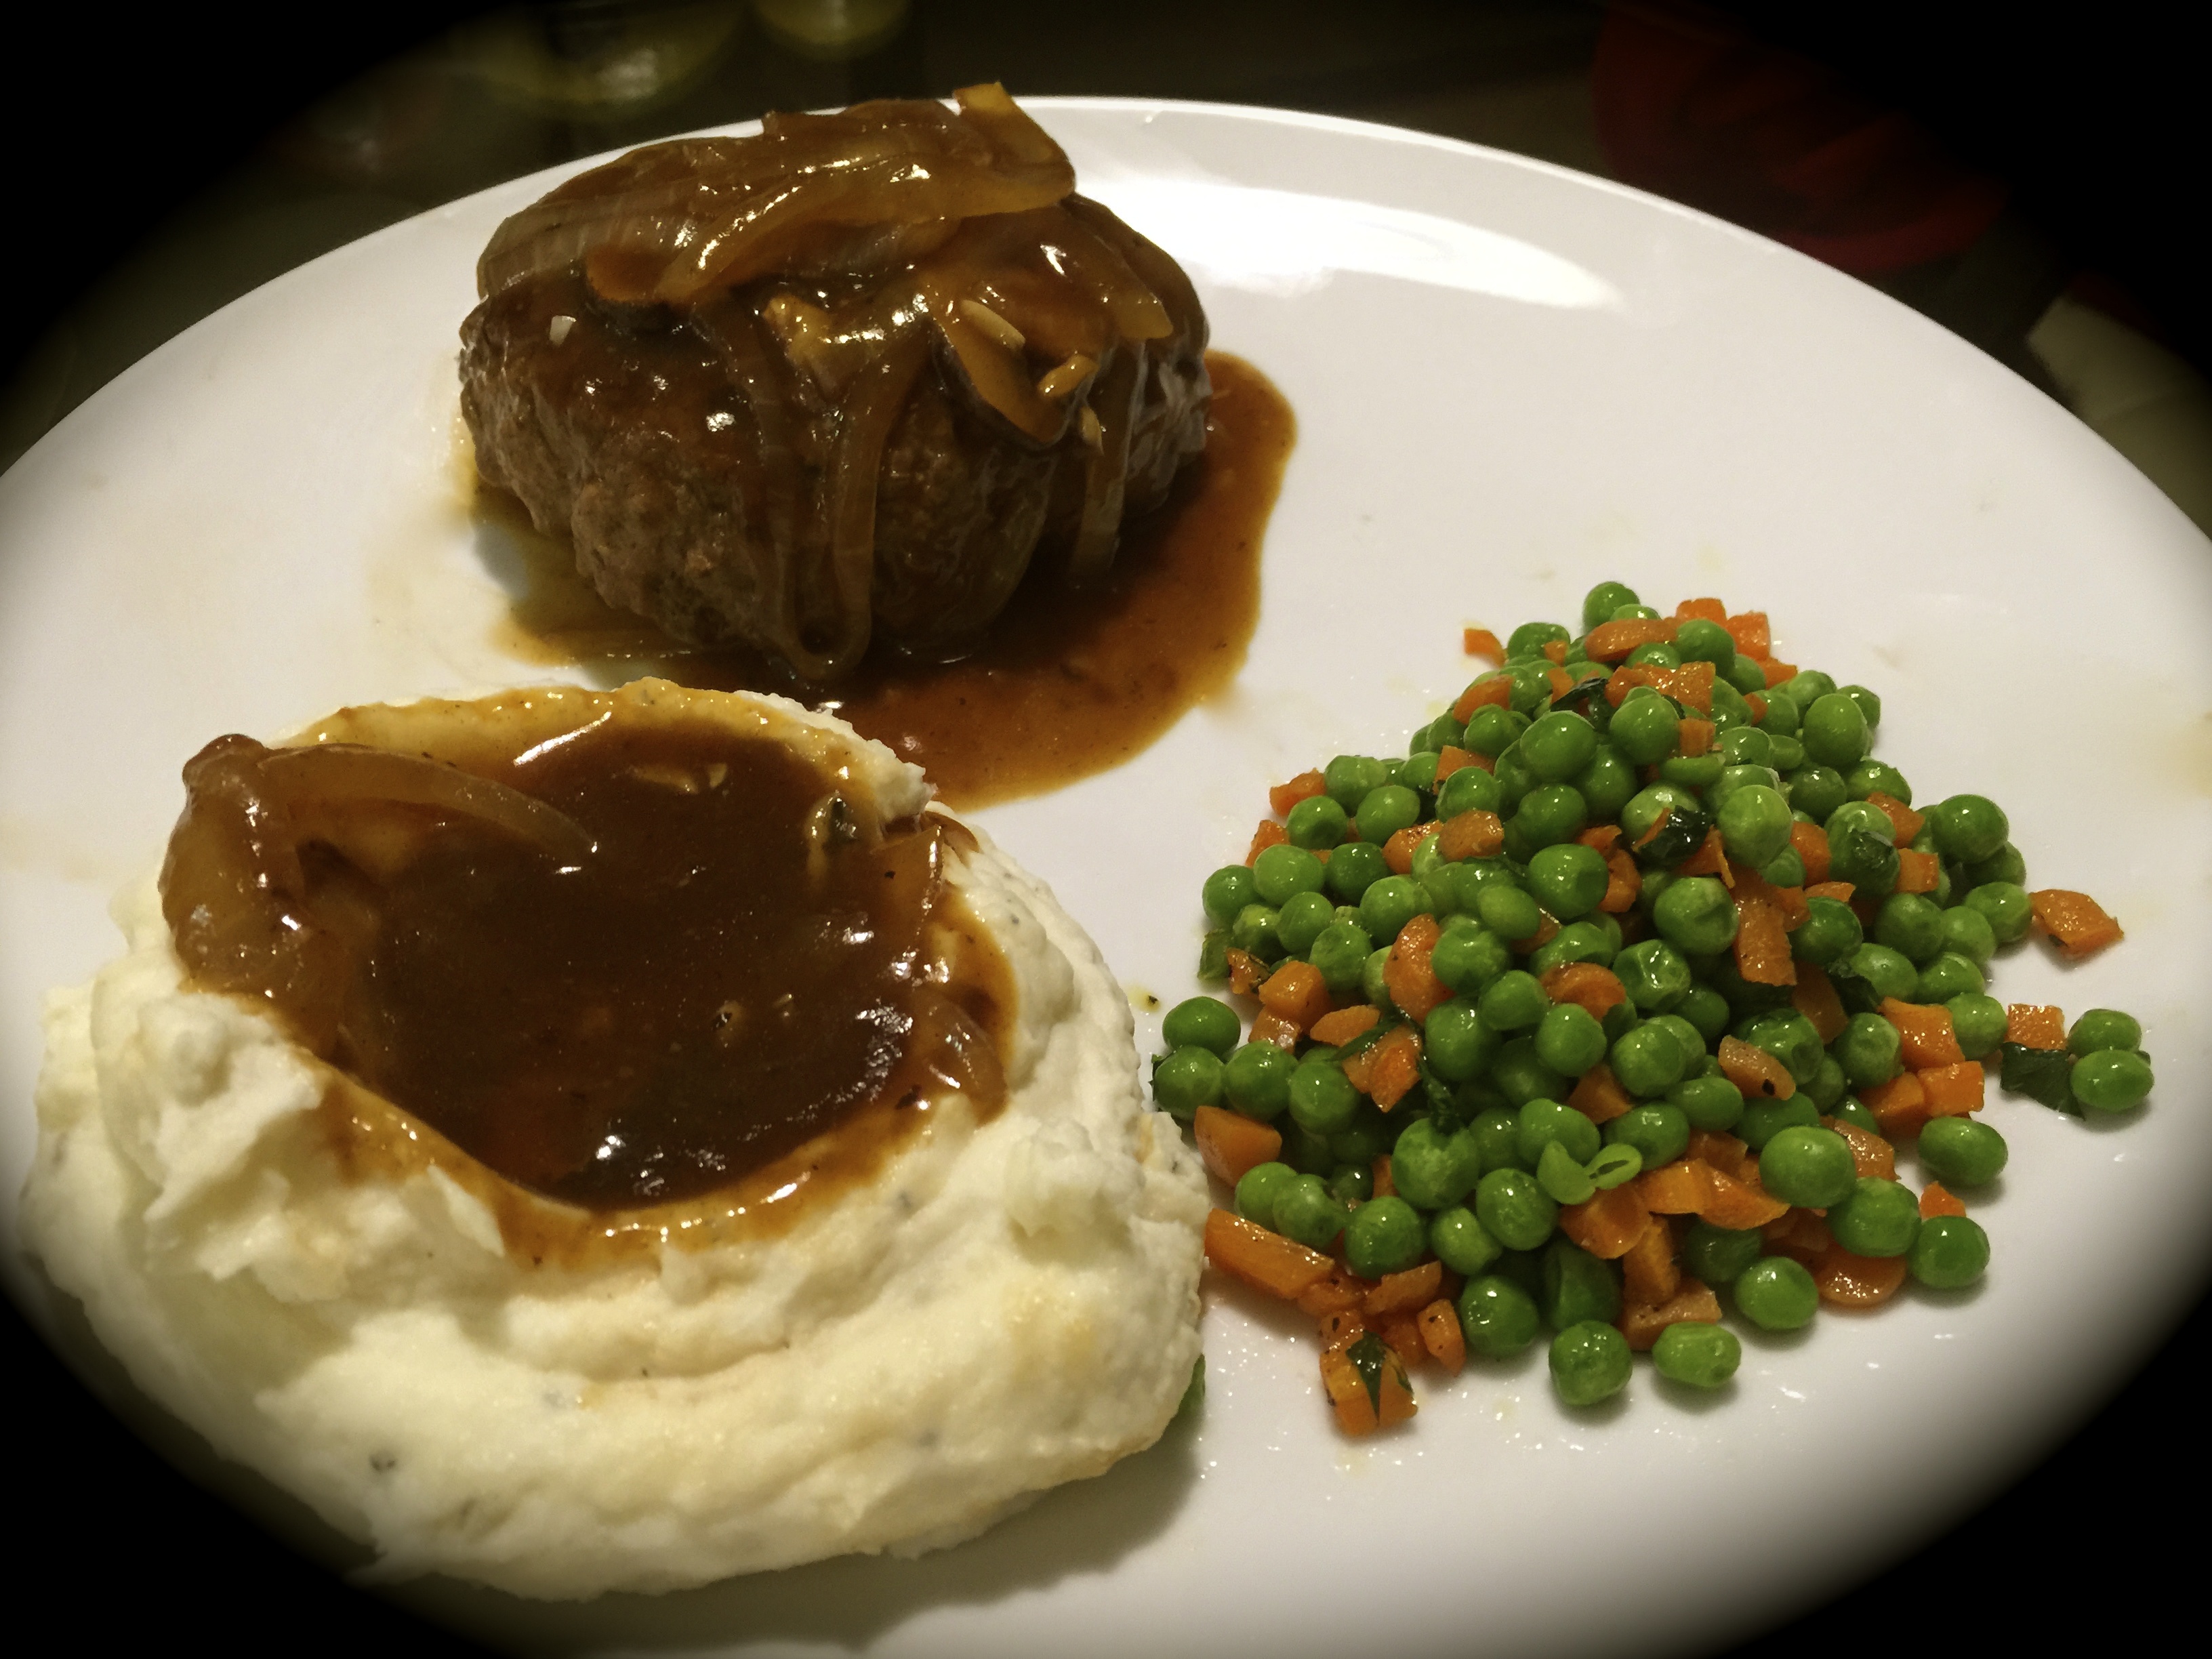
 You want to be careful not to overload your ground beef with bread crumbs. You’ll dry it out. After making hamburgers and meatloaf for years and now salisbury steak, I know how the beef should feel so that it will not be overly dry. It should feel moist but not overly sticky. This is something you’ll get a feel for over time. Don’t worry about it. I always add about half the amount of bread crumbs the recipe calls for to begin with and add more from there. You can always add more and you don’t want to wind up with too much bread crumbs in the mix.